Introduction
Resin is a versatile material that has fascinated artists and hobbyists for years. Used in creating jewelry, decorations, and art pieces, resin offers endless possibilities. This article will explore unique resin ideas you have not tried yet, helping you find new ways to enhance your crafts and projects.
You will learn about various innovative uses of resin, from combining it with natural elements to creating functional art objects. These ideas will encourage you to experiment and bring fresh creativity into your work with resin.
Resin Jewelry with Natural Inclusions
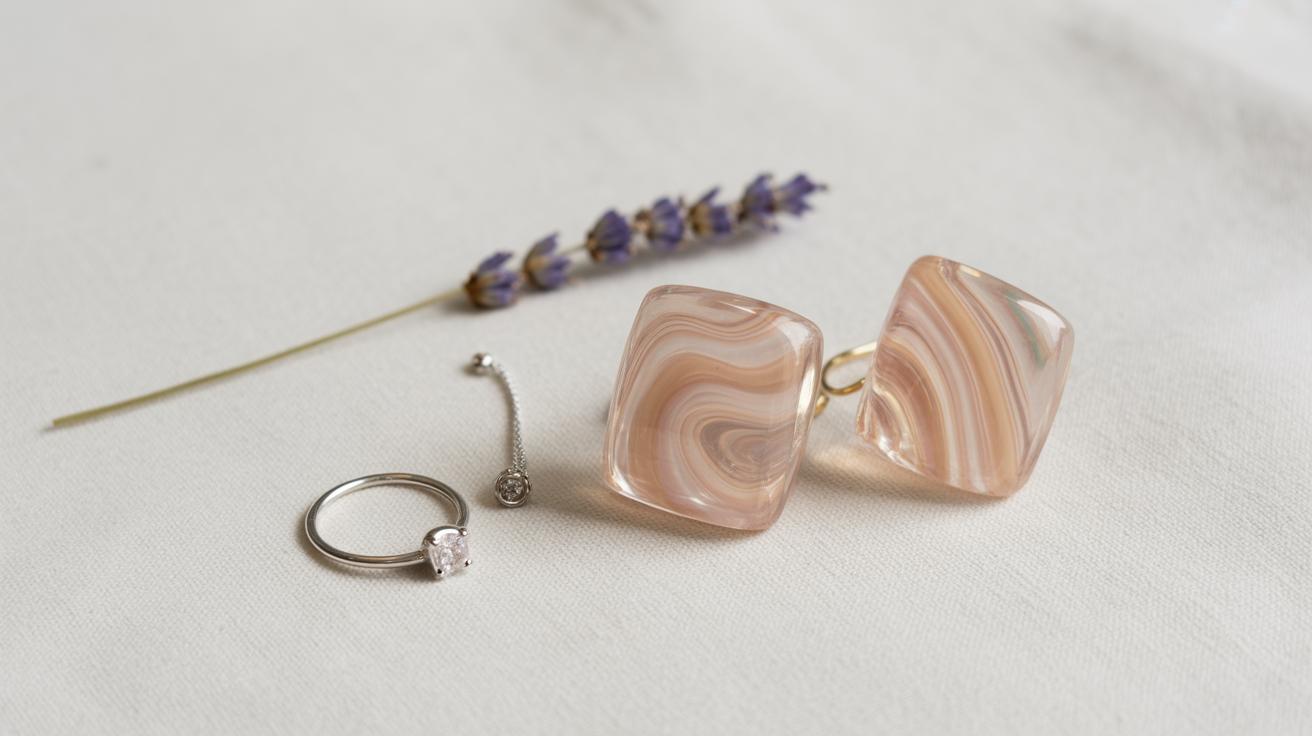
Working with natural inclusions like flowers, leaves, or small stones in resin jewelry creates something truly one-of-a-kind. Each piece carries a tiny fragment of nature, caught forever in glossy resin—not just pretty, but meaningful too. You might find yourself drawn to a particular petal or a tiny fern frond; these little treasures give your jewelry a story.
Choosing the Right Inclusions
Picking natural materials is more than just grabbing whatever looks nice. Some flowers and leaves dry better than others, shrinking less and keeping their color. For example, pansies and baby’s breath often press and dry well. Stones are easier in that they don’t change, but their shape and size matter to fit your mold.
Preparing them often means drying or pressing to remove moisture. Sticky resin and damp inclusions can cause cloudiness or bubbles, which you usually want to avoid. A few days under heavy books or a flower press can make a big difference.
Casting and Finishing Techniques
Pouring resin with inclusions isn’t just about mixing and pouring. You need to layer carefully, especially with delicate items. Pour a thin base layer, let it start to set, then arrange your natural pieces, and follow with another coat. This layering helps avoid movement and bubbles.
When it comes to finishing, sanding and polishing really lift your piece from amateur to professional. Start with a rough grit to smooth edges, then move to finer ones for shine. Using a buffing wheel or even just a soft cloth with polishing compound can bring out that glassy finish. Honestly, finishing can take more time than casting sometimes, but it’s worth it for the feel and look of the final product.
Have you ever noticed how the smallest things—like a faded floret—can make a huge visual impact? Resin captures that, preserving memories just beneath the surface of your jewelry.
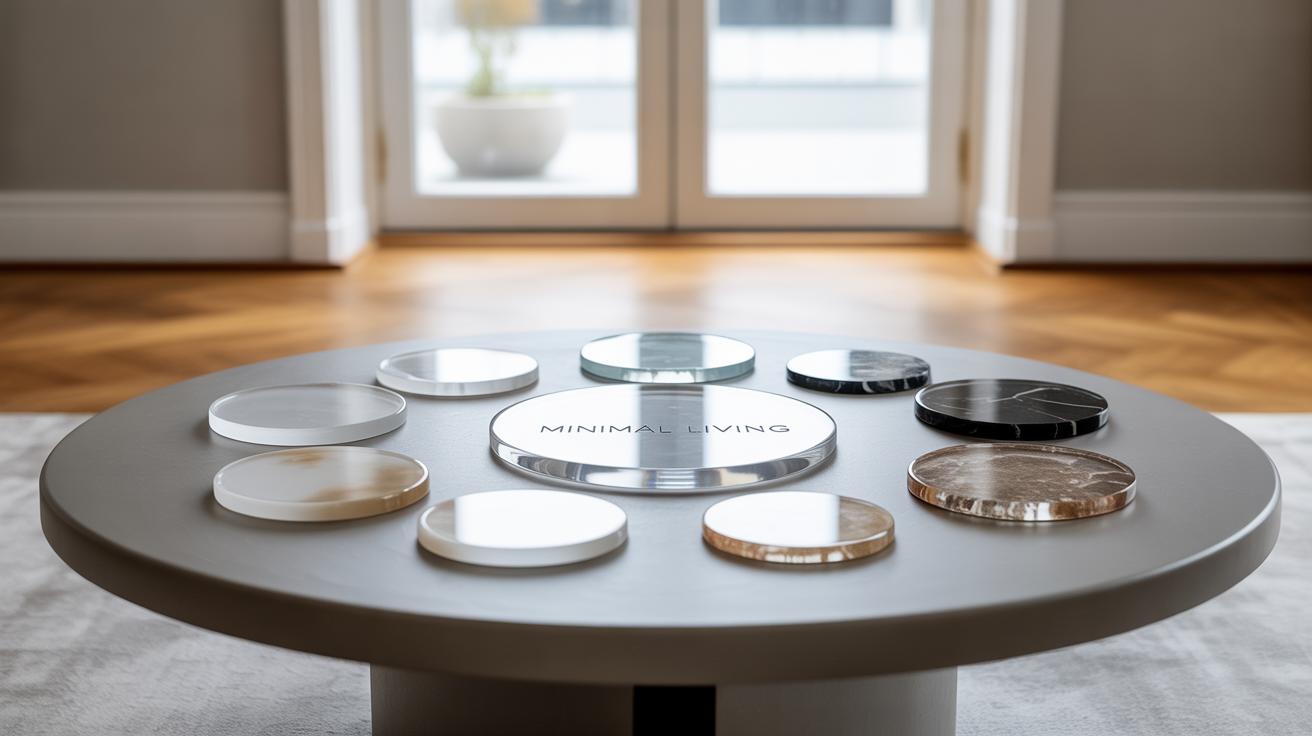
Functional Resin Art for Everyday Use

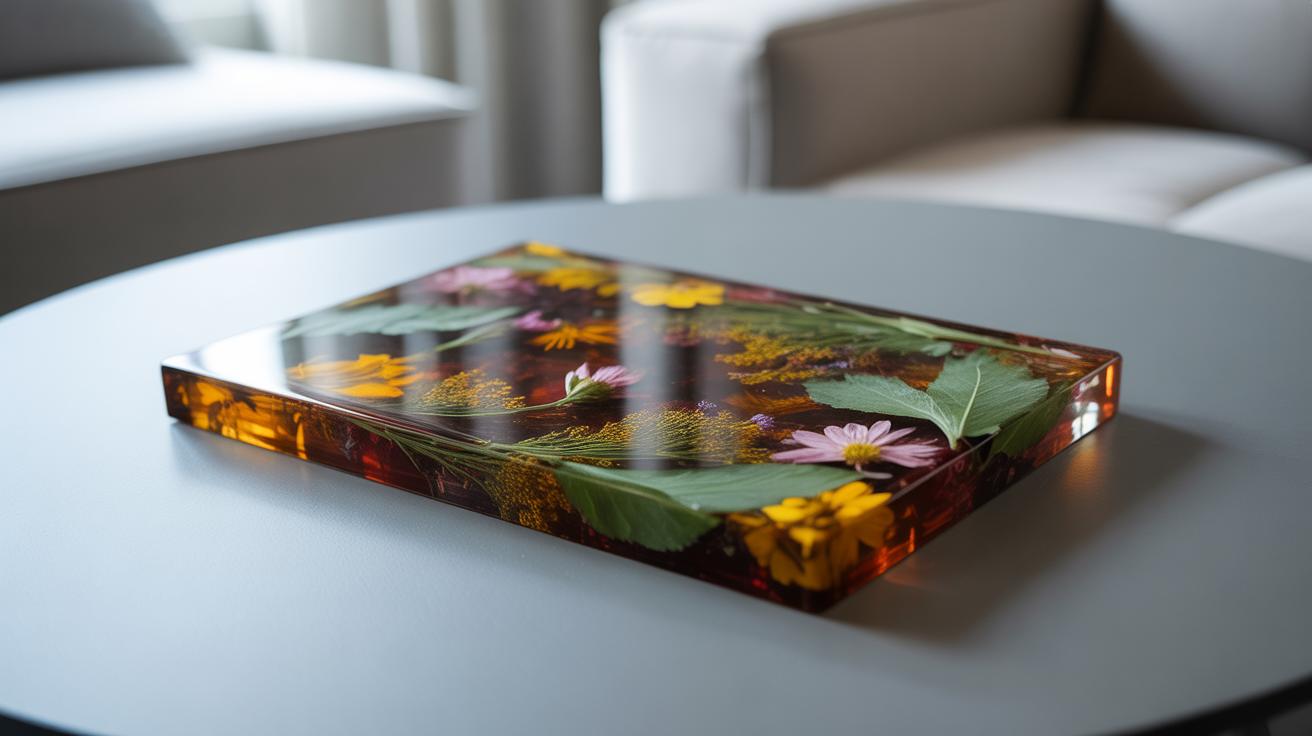
Resin art isn’t just for decoration—it can serve a very practical purpose around your home. Creating everyday objects like coasters, trays, or even countertops with resin offers not only durability but also a chance to experiment with design in ways you might not expect. Imagine a coaster that holds colors and textures at once—something that stays vibrant despite constant use.
Working on resin trays or countertops lets you play with depth and layering that ordinary materials can’t achieve. Pouring resin over pigments, metallic flakes, or even small embedded items can yield surfaces that look unique and are easy to clean. I once made a small resin tray combining crushed glass and earth tones—it was surprisingly sturdy and served as a conversation starter during gatherings.
Besides giving a fresh look to functional items, resin adds resilience against spills, scratches, and heat to objects that otherwise wear down quickly. You might not think of a resin finish for your kitchen counters, but its protective quality makes it worth a try—if you can look past the curing time and gentle care it requires.
Combining Resin with Wood and Other Materials
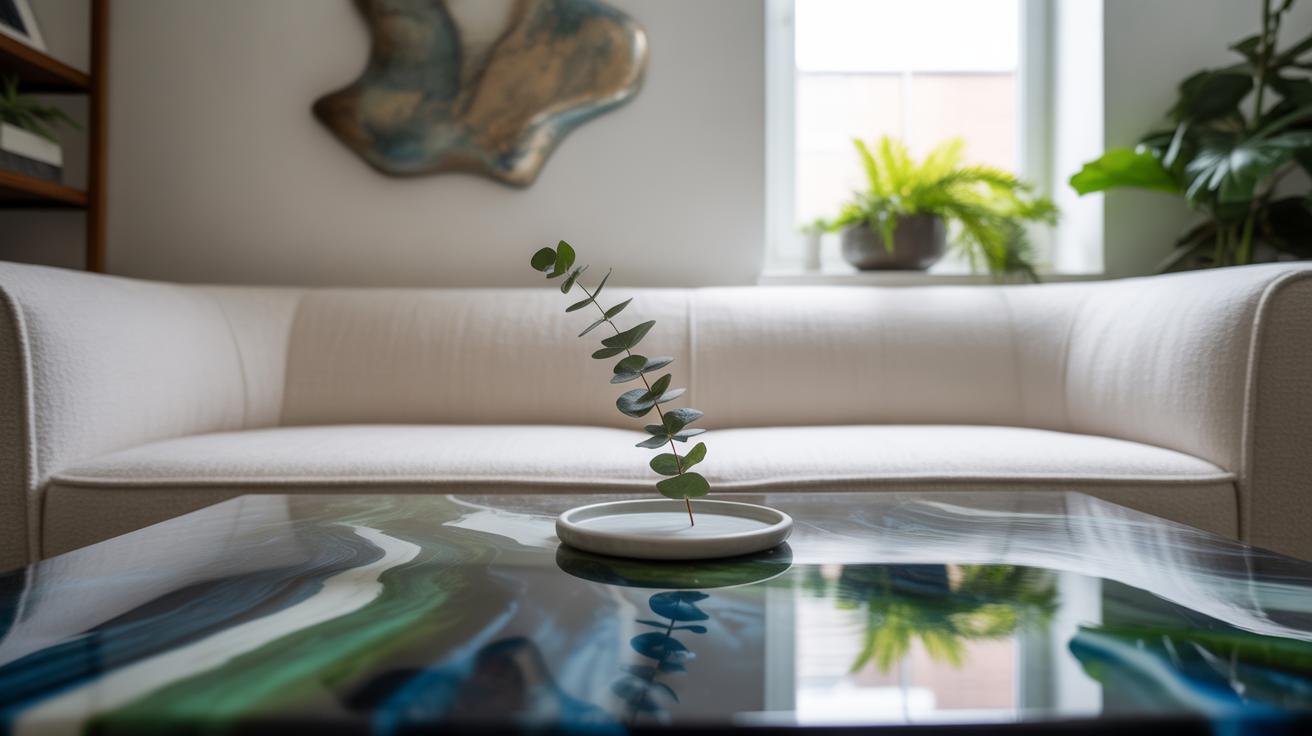
Pairing resin with wood creates a balance between the organic and the synthetic, resulting in pieces that are both durable and visually interesting. Wood’s natural grain contrasts beautifully with the glass-like gloss of resin. You could think about making a river table where resin fills cracks or gaps in rustic wood slabs. I’ve seen a bench like this once—it was subtle but somehow captivating.
Besides wood, materials like metal, fabric, or even stone can interact with resin to produce items that stand up to daily use. These combinations allow for flexibility—maybe a wooden cutting board rimmed with resin, or a metal tray base covered with translucent resin layers that catch light differently throughout the day.
Protective and Decorative Finishes

Finishing your resin functional art isn’t just about looks; it helps protect these pieces against wear and tear. You can sand and polish resin to a glossy surface, which makes spills easy to wipe off. Applying UV-resistant sealers can prevent yellowing or fading, which I found especially useful when I first started out experimenting—some pieces began to dull under sunlight unexpectedly.
For a more tactile finish, matte or satin topcoats offer reduced glare and a softer feel, which might suit countertop surfaces better. A clear, high-build varnish also enhances the depth of colors and inclusions within resin while adding an extra layer of defense. These finishing touches let your resin projects stay functional though time may test them.
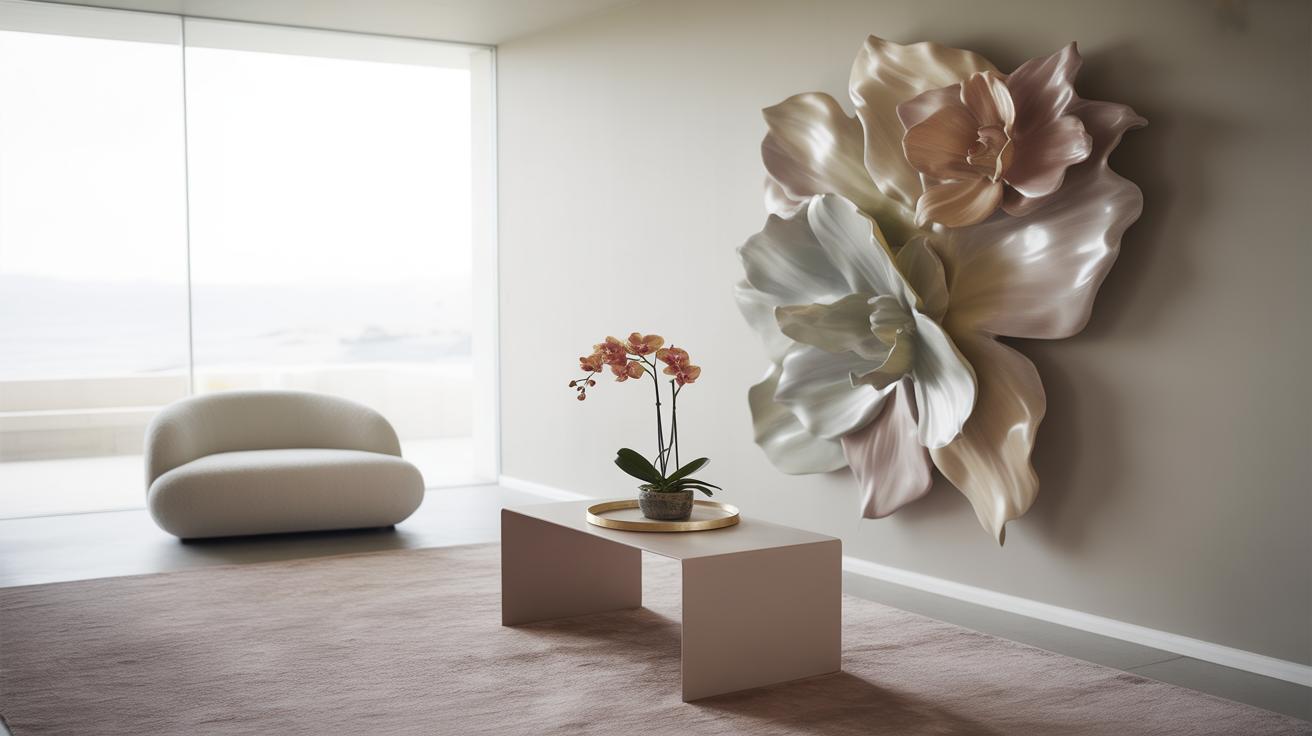
Resin Wall Art and Decorative Panels
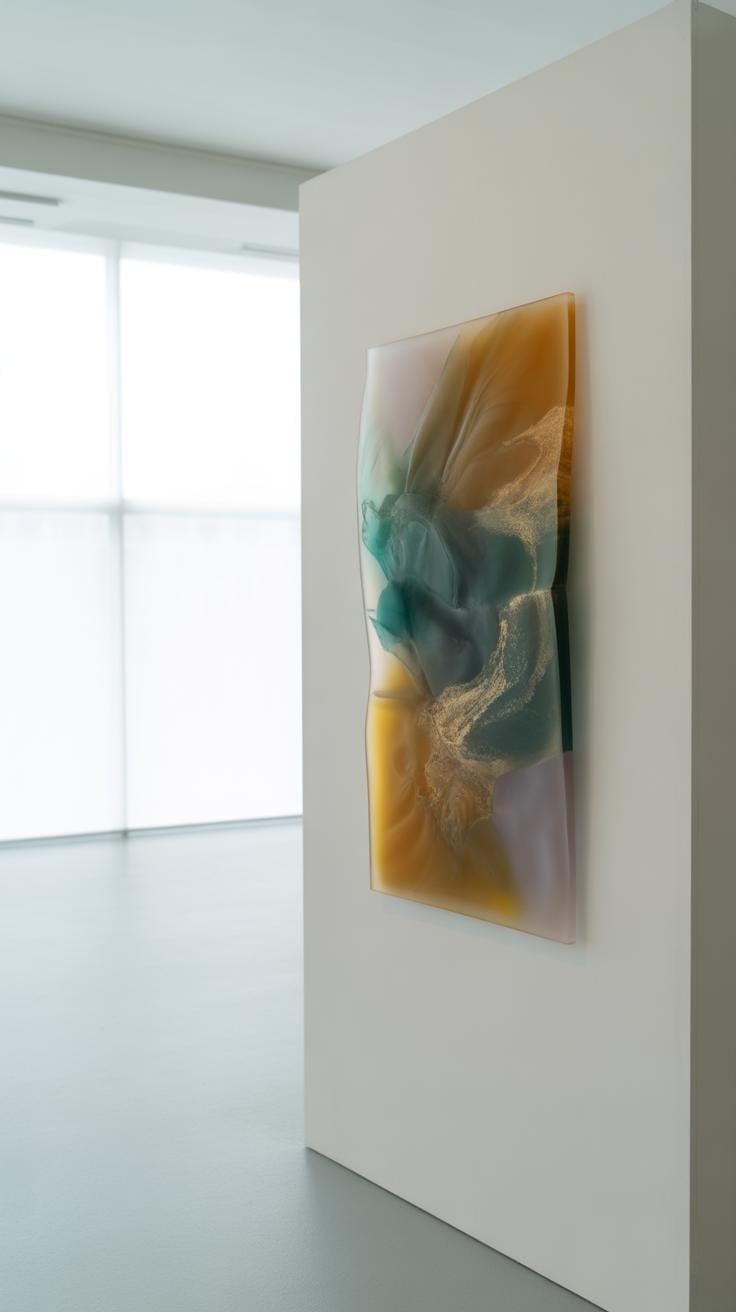
Using resin for large wall art or decorative panels opens a whole new range of creative possibilities. You can create abstract designs that play with fluid shapes or go for nature-inspired scenes with embedded elements like leaves, stones, or even sand. The key is to start with a sturdy base—wood or canvas works well—and pour layers of resin mixed with pigments, inks, or powders to build depth. Some find the process a bit unpredictable, which can be frustrating, but that surprise is also part of the charm.
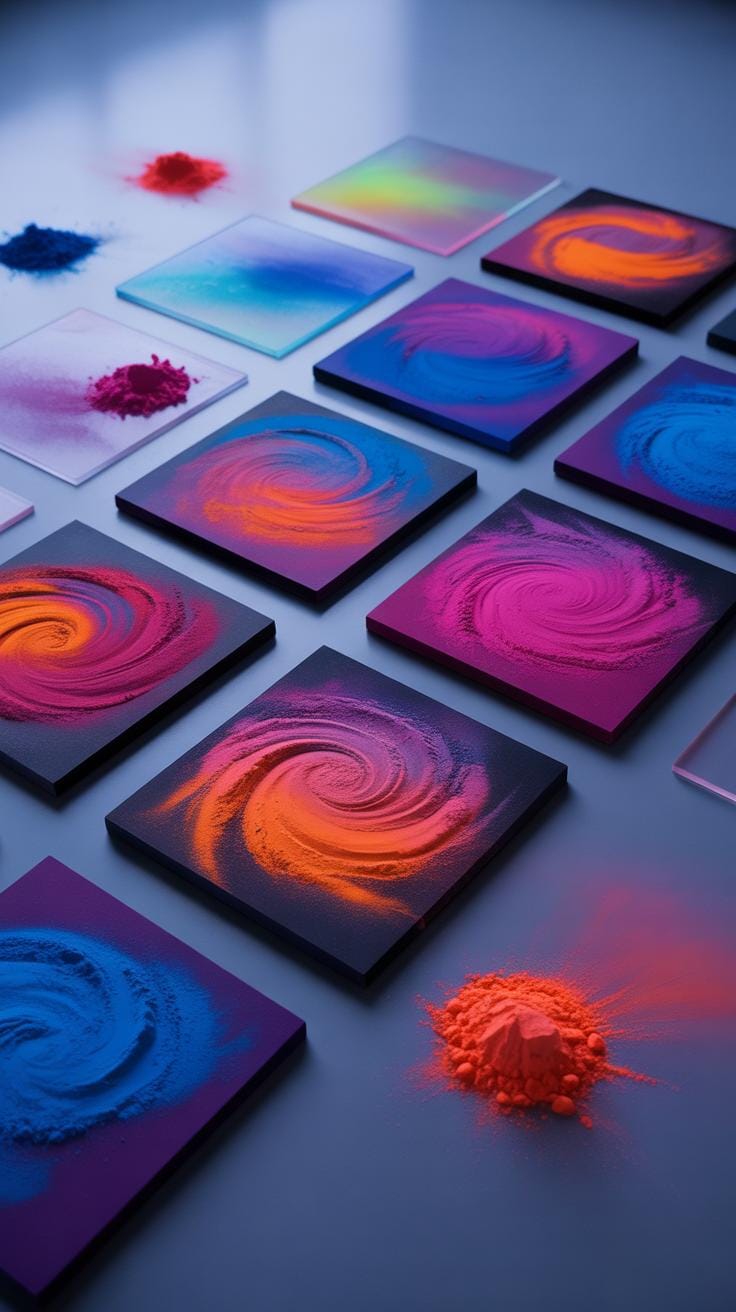
Techniques for Texture and Color Effects
To add texture and complexity, layering is essential. Pour a thin layer, let it partially cure, then add more resin mixed with different color additives. Using mica powders creates pearly sheens, while alcohol inks spread and blend unpredictably on the resin’s surface. You can also introduce bubbles intentionally by stirring in air or using heat guns to manipulate cells and textures. It requires a bit of patience—and messy hands sometimes—but these techniques keep every piece unique, filled with subtle movement and depth.
Mounting and Display Tips
Mounting resin panels safely matters, especially since they’re often heavy and fragile along the edges. For wall hanging, using strong cleat hangers or French cleats gives the best support and avoids warping. If your panel is thick enough, you might drill mounting holes and attach sturdy hooks. Remember to protect the back with felt pads or rubber feet to prevent scratches on walls and surfaces. Display-wise, lighting can change everything—positioning your art where natural or directional light hits helps reveal the layers and shimmering effects. Small details, yes, but they make quite an impact on how the piece comes alive in a room.
Incorporating Resin in Furniture Design
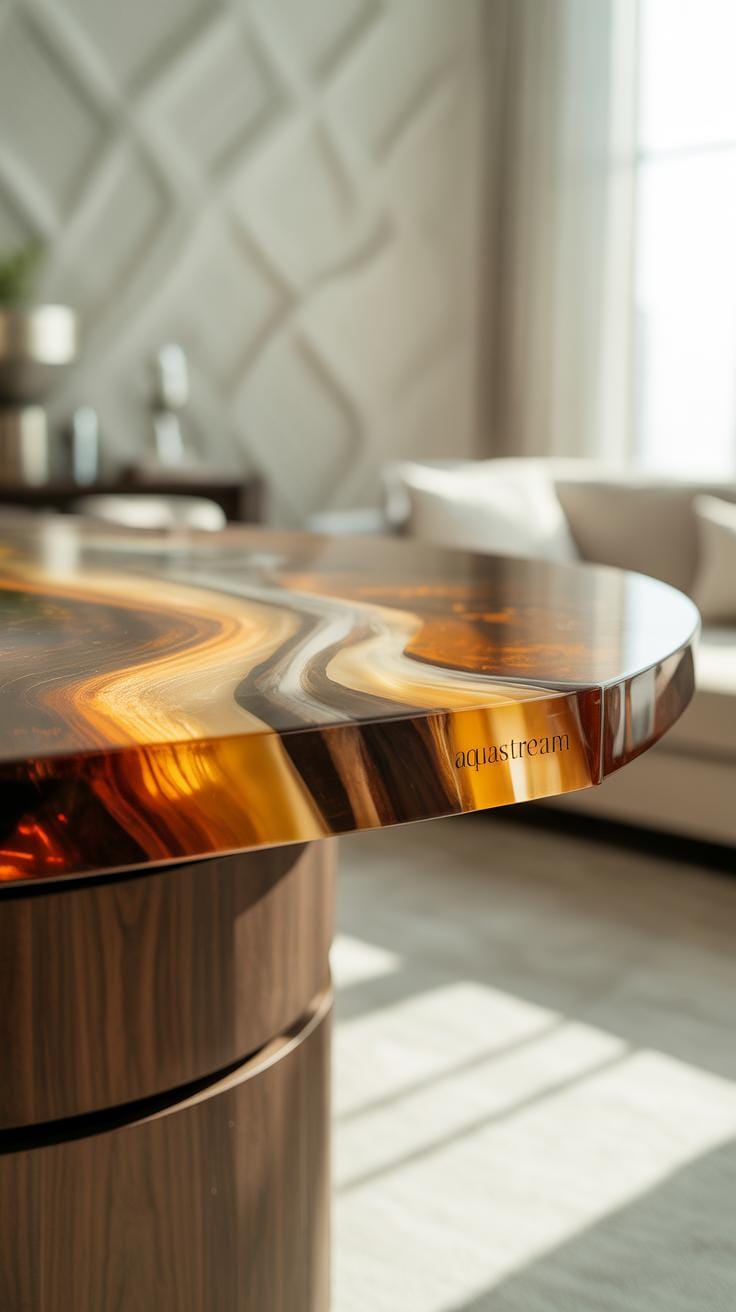
Resin River Tables and Inlays
Resin river tables have become a standout trend for those seeking a blend of natural wood and glossy resin. The idea is simple yet captivating: take two slabs of wood and fill the gap between them with colored or clear resin, mimicking a flowing river. It’s quite mesmerizing to watch the resin’s depth and color play with light as you move around the table.
Creating resin inlays works on a similar principle but allows more subtlety. You can carve or rout shallow channels into wood surfaces and pour resin to fill these designs—maybe abstract shapes, geometric patterns, or even motifs inspired by nature. The resin hardens into a glass-like finish that contrasts with the wood, adding personality to otherwise plain furniture.
If you try this, pay attention to the wood moisture content and sealing edges to avoid resin leaks. It’s a bit trial and error, I think, but the results can be striking if you’re patient.
Durability and Maintenance
Resin in furniture doesn’t just look good—it’s tough. It resists scratches and stains better than many traditional finishes, which explains its popularity. Still, no material is invincible. Daily wear, especially heavy use or heat exposure, can dull the surface over time.
Caring for resin furniture requires regular dusting and occasional cleaning with mild soap and water. Avoid harsh chemicals that can degrade the resin’s surface. You might notice small scratches after a while; a quick buff with fine polishing compound can restore much of the original shine. I once left a hot mug on a resin table, and though it left a slight cloud, lightly sanding and polishing brought it back.
Patience plays a role in maintenance—regular but gentle care can preserve that modern, glossy look for years. It feels like resin furniture asks a little respect in return for its striking appearance.
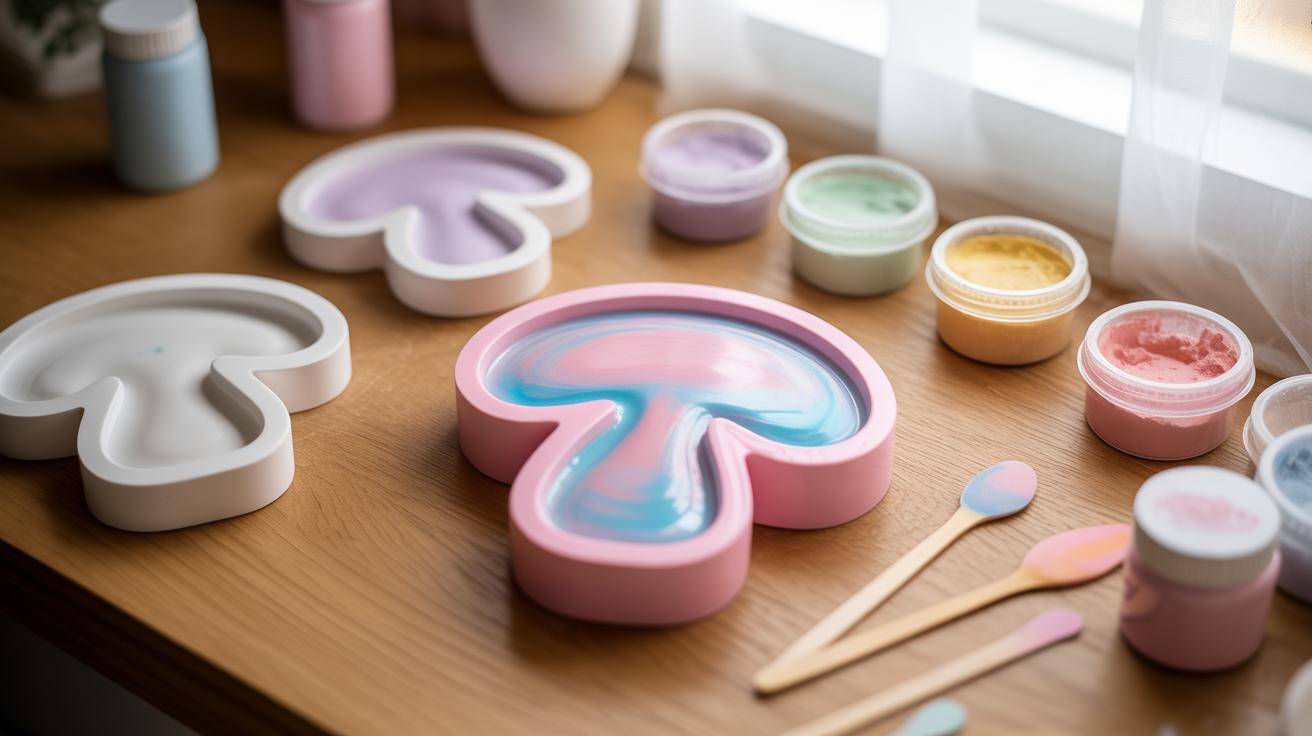
DIY Resin Casting with Unusual Molds
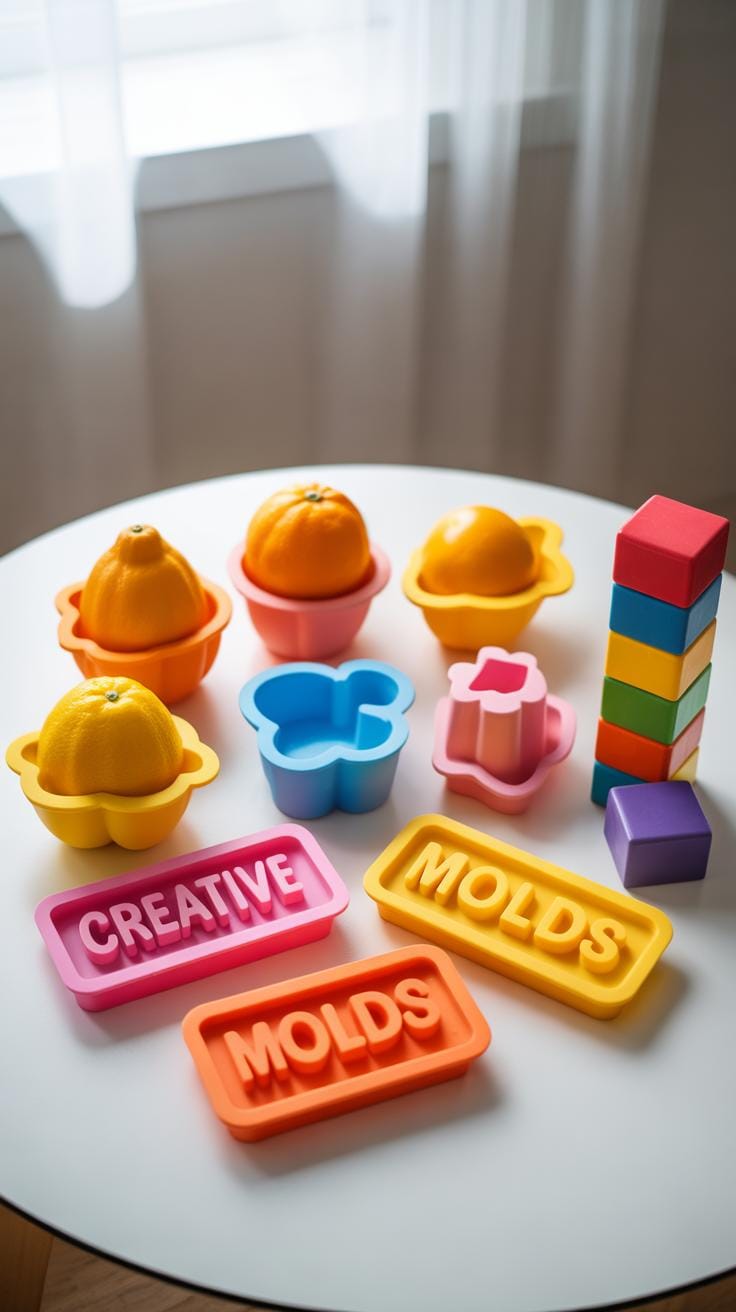
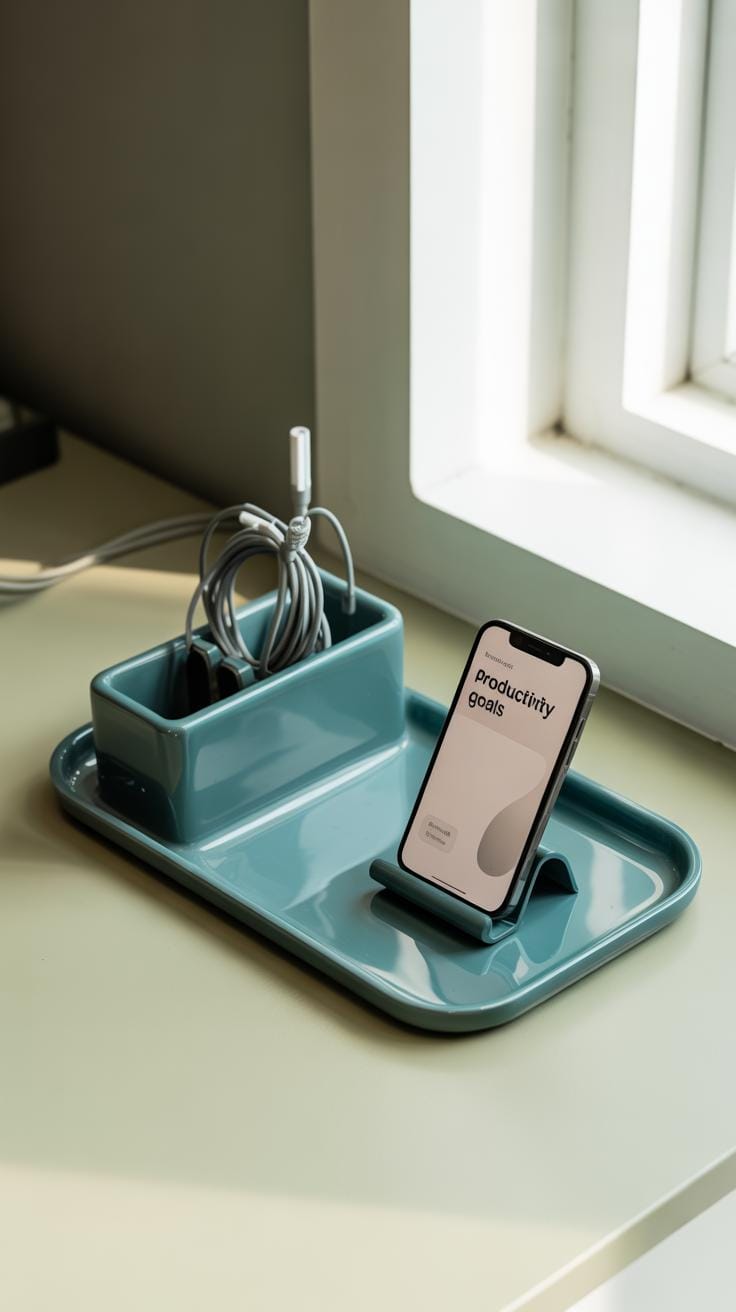
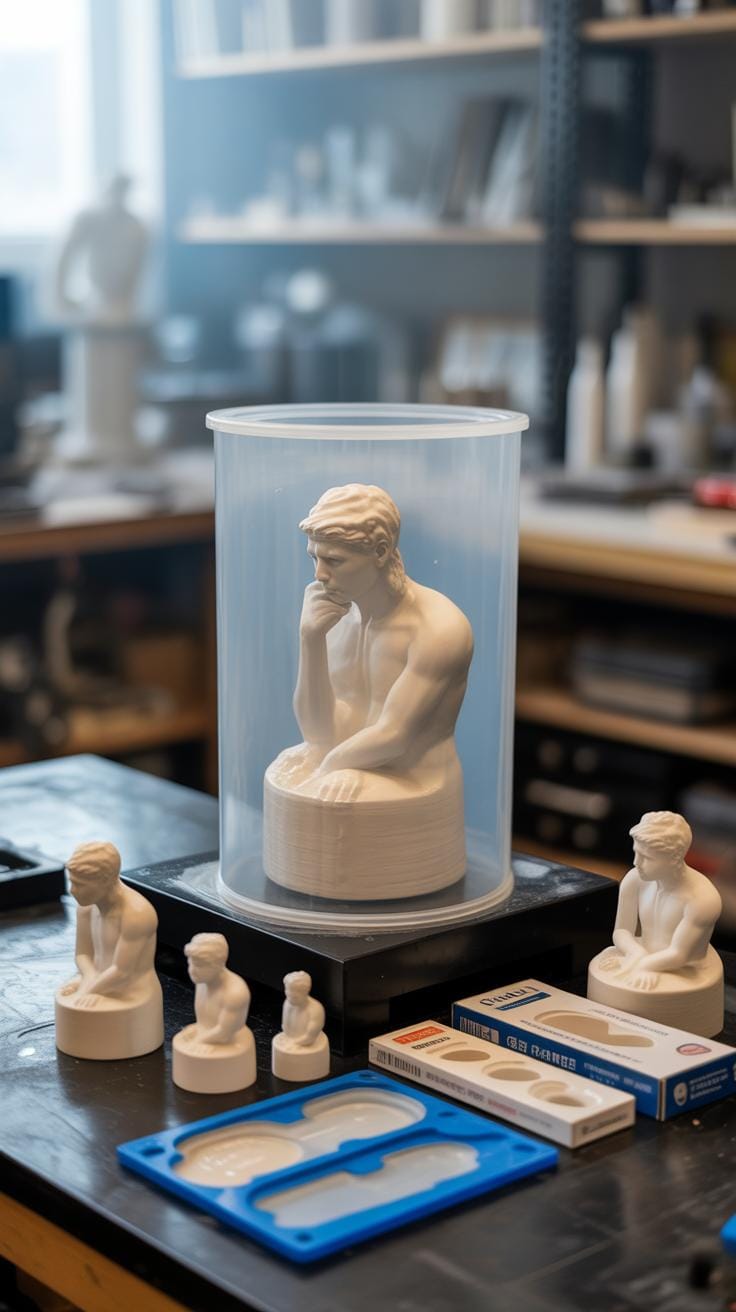
You might find yourself stuck using just the typical resin molds—rectangles, circles, or jewelry blanks. But casting resin in unexpected molds, like silicone kitchen molds or ones you create yourself, can open a door to fresh forms and styles. Imagine using a muffin tin to make little resin bowls or candy molds to create quirky drawer pulls. These everyday items are flexible, withstand resin’s cure, and often have shapes you wouldn’t find in craft stores.
Choosing the right mold is key. Look for silicone molds because they’re non-stick and flexible, making unmolding easier. You can also sculpt your own mold using clay or buy mold-making silicone to replicate unusual objects. Prepare molds by cleaning them well and, sometimes, applying a mold release spray to keep your resin pieces flawless. Preparing molds carefully helps avoid bubbles and rough edges that can ruin the final look.

Once you have your castings, think beyond just ornaments or jewelry. Small resin bowls can become artistic catch-alls for keys or jewelry. Resin shapes from candy molds can turn into buttons or charms. You could even glue several pieces together for sculptures or embed tiny objects inside before casting for a layered effect. It’s a playful process—you might find yourself experimenting a lot, unsure if the next piece will be a hit or just a fun mistake. Either way, it’s part of the charm.
Using Resin to Preserve Memorable Objects
Resin has this quiet way of freezing moments in time, almost like a portable memory shelf. When you embed keepsakes like old ticket stubs, dried flowers, or tiny memorabilia into resin, you’re not just making art—you’re protecting fragile items from wear and tear, moisture, and fading. There’s something a bit soothing about seeing something you love, perfectly encased and visible from every angle, almost untouched by time.
It’s not just about sealing an object away, though. Resin can enhance the colors or textures subtly, making things like wilted petals look fresh and vibrant again. Even a crumpled note or a small charm can take on new life, suspended mid-glow in the resin’s smooth surface. Personally, I’ve found that the simple act of preserving these little things invites you to revisit memories more often, in a way that photos alone don’t quite capture.
Embedding and Sealing Techniques
Embedding objects safely requires a bit of patience and care. You’ll want to make sure everything is completely dry before submerging it—moisture can cause bubbles or discoloration. Sometimes, sealing delicate items with a light coat of clear spray or brush-on varnish beforehand helps protect them from direct contact with resin, which can be a bit harsh.
Pour resin in layers, letting each one partially cure before adding your keepsake to prevent it from shifting or sinking. A thin top layer helps seal everything neatly without trapping dust or unwanted air bubbles. If you worry about the object moving, tiny pins or supports can hold it in place until the resin sets.
Displaying Resin Memorabilia
Once cured, display is where your preserved memories can really shine. Frames with resin panels create a modern shadowbox effect, while resin-coated coasters or paperweights serve as subtle daily reminders of memorized moments. Consider backlighting resin pieces to highlight depth, especially with translucent keepsakes. You might even design a small stand or mount so the object catches natural light from different angles.
Resin art with embedded items invites interaction—you can turn it, peer inside, or hold it close. So, think about where you’d want to see your memories often and how the resin piece works with that space. A little trial and error usually gets you to something unique that feels personal and, well, just right.
Experimenting with Resin Colors and Effects
Choosing Pigments and Additives
Picking the right pigments can change your resin piece entirely. Powdered pigments offer bold, concentrated color and generally stir in evenly, but they might thicken the mix more than liquid dyes. On the other hand, liquid resin dyes blend smoothly but sometimes result in softer, pastel shades. Then you have metallic powders—these add shimmer and reflect light in ways that regular dyes don’t. I found mica powders give a kind of shimmer that looks natural yet mysterious, but you have to make sure to mix them well or they clump.
Glow-in-the-dark pigments, though less common, bring another layer of interest. They don’t always glow as brightly as you expect, especially if mixed too heavily or buried too deep in resin layers. Experimenting with how much to add and where to position these pigments might feel like trial and error, but it can be fun to see what kind of ambient effects they create in low light.
Layering and Mixing Techniques
Layering colors in resin allows you to create depth that a single pour just can’t achieve. Think about pouring a translucent blue layer first, then adding flecks of white or gold on top after it sets slightly—this builds dimension and subtle shadows. Sometimes I’ve layered colors that don’t fully mix, which leaves soft gradients or even unexpected swirls. You might think that blending everything perfectly is the goal, but leaving some colors partially separate can mimic marble or smoke.
Mixing colors directly before pouring is different from layering. Creating a swirl of, say, two or three pigments in one batch can produce unpredictable but visually interesting results. The trick is not to overmix. You want some separation, a kind of natural chaos that feels almost painterly. You could experiment with pouring in stages, letting parts cure partially, then adding more color on top. This gives control but still leaves room for surprise—maybe a faint blurring or subtle bubbles caught between layers.
Making Resin Molds and Tools
Materials and Processes for Mold-Making
If you’ve ever wanted a shape tailor-made for your resin pieces, making your own molds is the way to go. Silicone is the most popular mold-making material, mostly because it’s flexible, captures details well, and releases resin easily. You can find silicone kits designed for mold-making at craft stores or online. Another option is using latex or polyurethane, though those come with more challenges in flexibility and safety.
The basic process involves choosing or sculpting a master model, mixing your silicone carefully (follow the ratio on the package), then pouring it over your model within a mold box. You let it cure, which can take anywhere from several hours to overnight. Once cured, you pop out your master and use the mold for casting resin. Simple, but the trick lies in prepping the model and making sure the mold box doesn’t leak.
Sometimes I get impatient with curing times, but better to wait and get clean edges than rush and mess the whole thing up. Don’t skip the mold release agents; even silicone molds can stick without them.
Custom Molds for Unique Designs
When you create your own molds, it opens doors you didn’t even realize were there. Think about embedding odd objects or crafting shapes that aren’t available in ready-made mold sets. I once made a mold from a twisted piece of driftwood and ended up with resin shapes that looked almost like tiny sculptures, not just simple jewelry parts. You can go beyond flat or usual geometric shapes; you can try organic, asymmetrical forms or multi-layered molds giving depth and complexity.
Also, making your own tools such as mixing sticks with unique ends, or shaping tools carved from wood or plastic, lets you tweak the resin while it’s curing in ways store-bought tools cannot. Custom molds let you design pieces that stand out because only you have the exact shape, giving a personal signature to your work. Ever thought about making a mold from a small leaf or fabric texture? It’s quite a neat effect.
So, instead of limiting yourself, think about what shapes or textures you want and then consider making a mold or tool for it. This approach can shift your resin work from the expected to something uniquely yours.
Caring for Resin Art
Cleaning Methods for Different Resin Items
Cleaning resin art varies a bit depending on the type of piece you have. For smaller objects like jewelry or coasters, a soft, damp cloth usually does the trick—just avoid abrasive materials that might scratch the surface. If there’s stubborn dirt, a mild soap solution can help, but be sure to rinse thoroughly to avoid residue.
Larger or more decorative pieces sometimes collect dust in nooks and crannies. Gently brushing with a soft brush, like a paintbrush, often removes buildup without damaging the finish. I once tried a stronger cleaner on a delicate resin sculpture—luckily, it didn’t actually harm the surface, but it made me wary of using harsh chemicals in the future.
For resin table tops or flat surfaces, some people recommend glass cleaner, but it can leave a streaky film. Instead, water with a drop or two of dish soap works better, followed by drying with a microfiber cloth. The goal is to keep the shine without unintentionally aging the resin.
Protecting Resin from Damage
Resin art responds well to a little care, yet I find sometimes even small scratches bother me more than they should. To prevent marks, avoid placing resin pieces where they’re likely to rub against hard objects. Using felt pads on the bottom of resin coasters or figurines can reduce wear over time.
UV exposure is a tricky one. Some resin resists yellowing better than others, but even then, too much sun will dull the look eventually. Display resin items away from direct sunlight or windows when possible. For outdoor resin projects, a UV-resistant spray or sealant can add a layer of defense, though reapplying might be necessary as time passes.
Finally, temperature fluctuations might cause resin to warp or crack, depending on the mix. Try to keep resin art in a stable environment—not too hot, not too cold. It’s a subtle point that surprised me once when a piece left in a car suffered slight deformation.
Do you find yourself wondering if your resin pieces can survive everyday use without losing their charm? The answer often lies in these small, consistent steps. Taking time to clean carefully and shield from common hazards makes a difference you may not notice right away but will surely appreciate later.
Conclusions
Resin offers numerous creative opportunities beyond its traditional uses. By trying unique resin ideas, you can add personal touches and originality to your projects. Combining resin with other materials like wood, metals, and natural elements can produce stunning effects.
Explore the ideas shared here and use them as a starting point for your resin projects. Your creativity can bring new and exciting resin art to life. This material’s adaptability makes it perfect for endless experimentation and personal expression.