Introduction
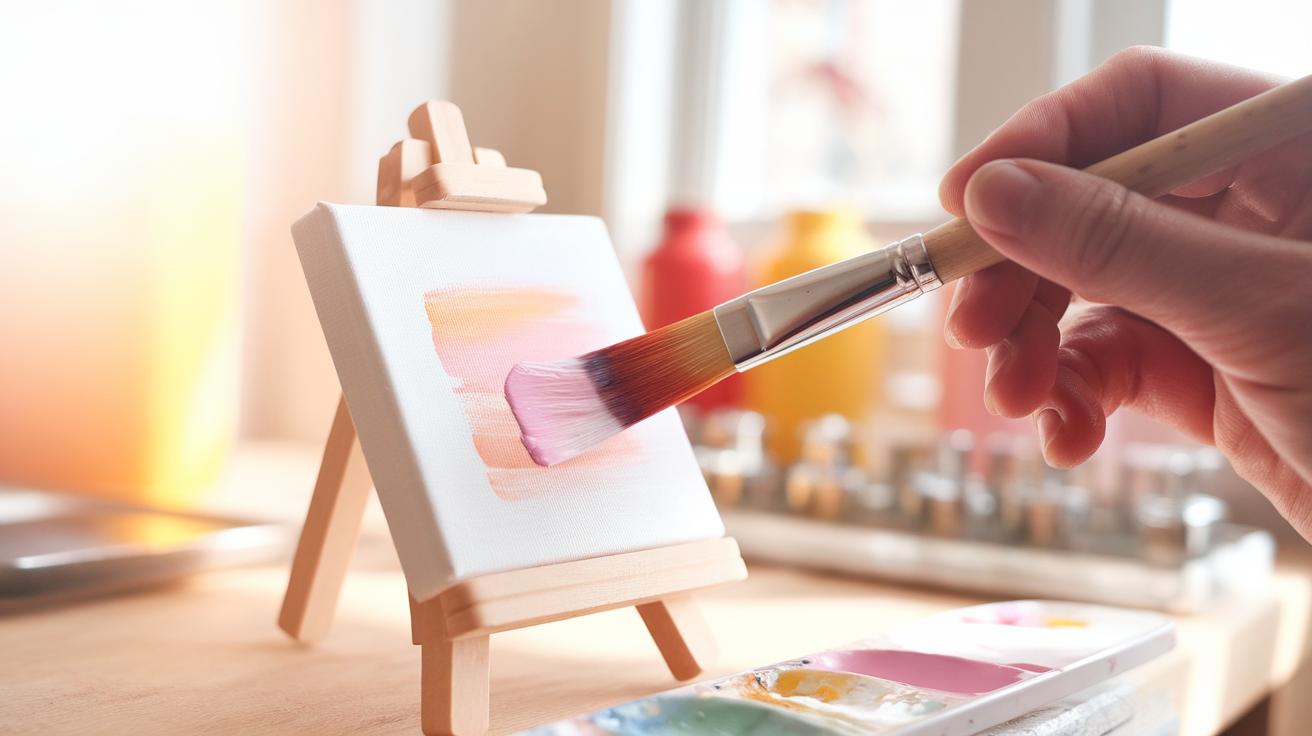
Simple canvas paintings offer a great way for anyone to explore their creativity. You can create attractive and expressive artwork without needing extensive skills or complex materials. Canvas is a popular base for painting because it holds paint well and lasts a long time. Alongside common paints, gouache is a paint type to consider. Gouache is different from watercolor and acrylic as it provides solid coverage and bright color with a smooth matte finish. Using gouache washes—a technique involving diluted paint applied in layers—you can produce beautiful, layered effects quickly and with ease.
This article will guide you through the basics of simple canvas painting, focusing on how to use gouache washes effectively. You will learn what you need, how to prepare your canvas, and step-by-step instructions for different painting styles. Whether you want to paint landscapes, abstracts, or simple designs, the tips shared here will help you create eye-catching artwork quickly. Understanding the properties of gouache and the wash technique opens up many possibilities for quick creative expression on canvas.
Understanding Canvas as Your Painting Surface
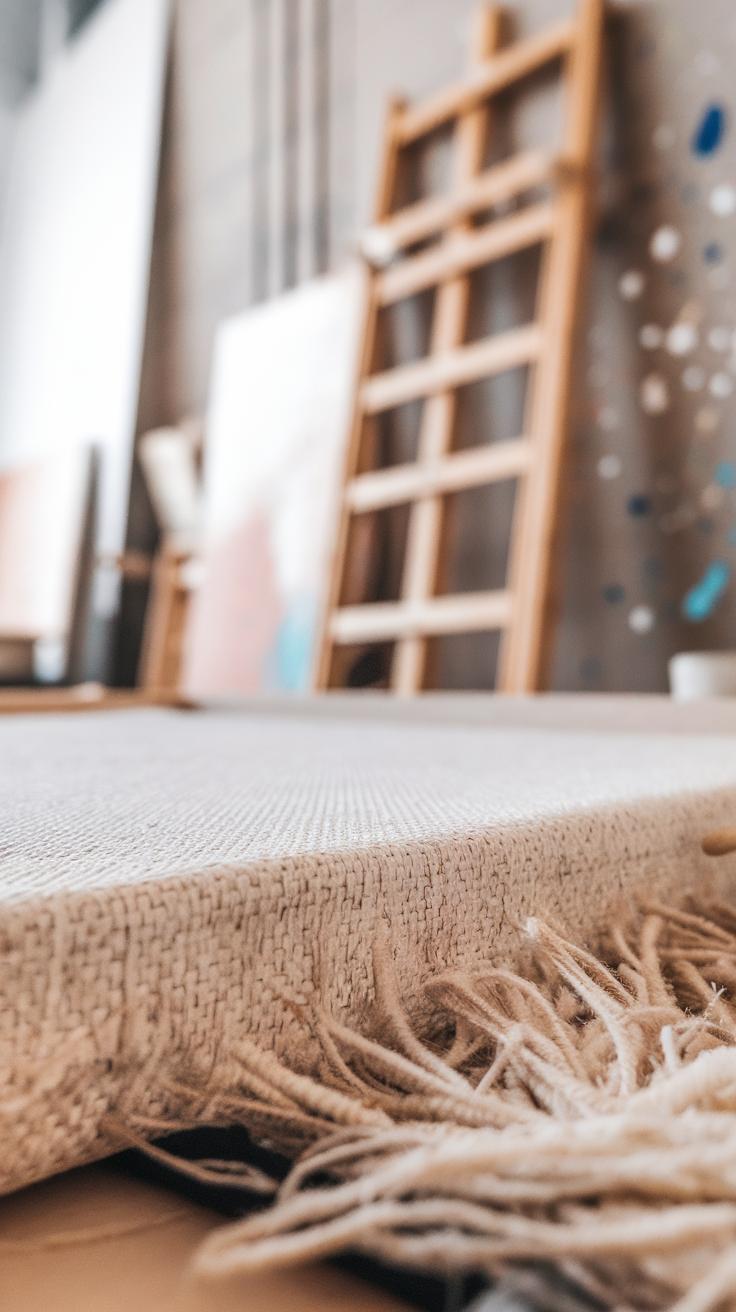
Canvas is a heavy fabric that artists often use for painting. It holds paint well and stands up to handling over time. This makes canvas a good choice whether you paint with oils, acrylics, or gouache. The rough texture of canvas helps paint stick, which is important for layers and details.
Canvas fabric comes mainly in cotton and linen. Both offer strength, but linen is stronger and lasts longer. Dirt and moisture can damage canvas, so artists prepare it before painting. Stretching pulls the fabric tight on a wooden frame, creating a firm surface that does not sag or wrinkle.
Priming the canvas adds another layer to protect the fabric and help the paint stay in place. A proper primer also blocks the paint from soaking into the fabric, allowing better control of your brushstrokes. These steps improve how your painting looks and how long it lasts.
Types of Canvas and Their Uses
Cotton canvas is the most common type and is affordable and easy to find. It has a softer feel and can work well for artists just starting out. Linen canvas costs more but offers a tighter and stronger weave, which holds detail better. Many professional painters prefer linen for its quality.
Canvas comes in different weaves that affect how the paint interacts with the surface. Plain weave has a uniform texture with threads crossing evenly, good for fine detail. Duck canvas is heavier and thicker with a tighter weave, which can handle bolder brushwork. Choosing the right weave depends on the look and feel you want in your painting.
Preparing Canvas for Gouache Painting
Gouache paint needs a smooth, sealed surface to work well on canvas. Priming fills in the fabric’s bumps and helps the paint stick without soaking in. Use an acrylic gesso primer made for canvas; it dries quickly and provides the best surface for gouache.
Apply primer in thin, even coats with a brush or roller. Let each coat dry fully before adding the next. Two to three coats usually work well. After priming, lightly sanding with fine sandpaper creates a smooth surface that lets your gouache washes spread evenly.
Proper priming also makes your painting last longer by preventing cracks and peeling. Taking time to prepare your canvas will make your quick and simple gouache paintings look sharper and more vibrant.
Basics of Gouache Paint
Gouache paint is a water-based medium made from pigment, water, and a binding agent like gum arabic. It shares similarities with watercolor but has a thicker texture and higher pigment concentration. Unlike watercolor, gouache offers solid, opaque coverage that hides surface colors beneath the paint layer. Its matte finish reduces glare, making details easy to see in different lighting.
You might wonder how gouache differs from acrylic. Acrylic dries fast and becomes waterproof, while gouache remains water-reactive and can be reworked with water even after drying. These traits allow you to layer and correct your work repeatedly without damaging the canvas.
The strong pigmentation in gouache means fewer layers are needed to create bold, vibrant colors. Its opacity makes simple canvas paintings stand out quickly and creates clean, sharp edges. This quality suits quick projects, where you want bright results without extensive drying times or complicated techniques.
What Makes Gouache Paint Unique
Gouache paint stands out because you can reactivate it with water after it dries. This lets you soften edges, blend colors, or fix mistakes easily. Most paints dry permanently, but gouache allows flexibility throughout your painting process.
The opacity of gouache lets you cover mistakes or previous layers completely. You can paint light over dark or change colors without them mixing into muddy shades. This is helpful when you want to work fast and keep your canvas looking fresh.
When applying gouache, the thick pigment creates bold blocks of color. You can thin it with water to get wash effects or use it pigmented for sharp details. This combination gives you a range of finishes with one paint type, perfect for simple canvas paintings that don’t demand many tools or steps.
Choosing Gouache Paints for Beginners
When selecting gouache paints for your canvas projects, consider sets with primary colors plus black and white. These basic colors allow you to mix a wide range of shades without buying a large collection.
Look for student-grade gouache if you want affordable paints that still offer good coverage and vibrancy. Brands like Winsor & Newton or Holbein offer beginner-friendly options that balance quality and price.
Try sets that come in tubes rather than pans since tubes provide more paint volume, suitable for painting on canvas. Smaller tubes help you explore colors without overwhelming your space or budget.
Ask yourself: What colors do I use most in my art? Start with those, then add more as you gain experience. This way, you build your collection around your own painting style and needs for quick, simple canvas paintings.
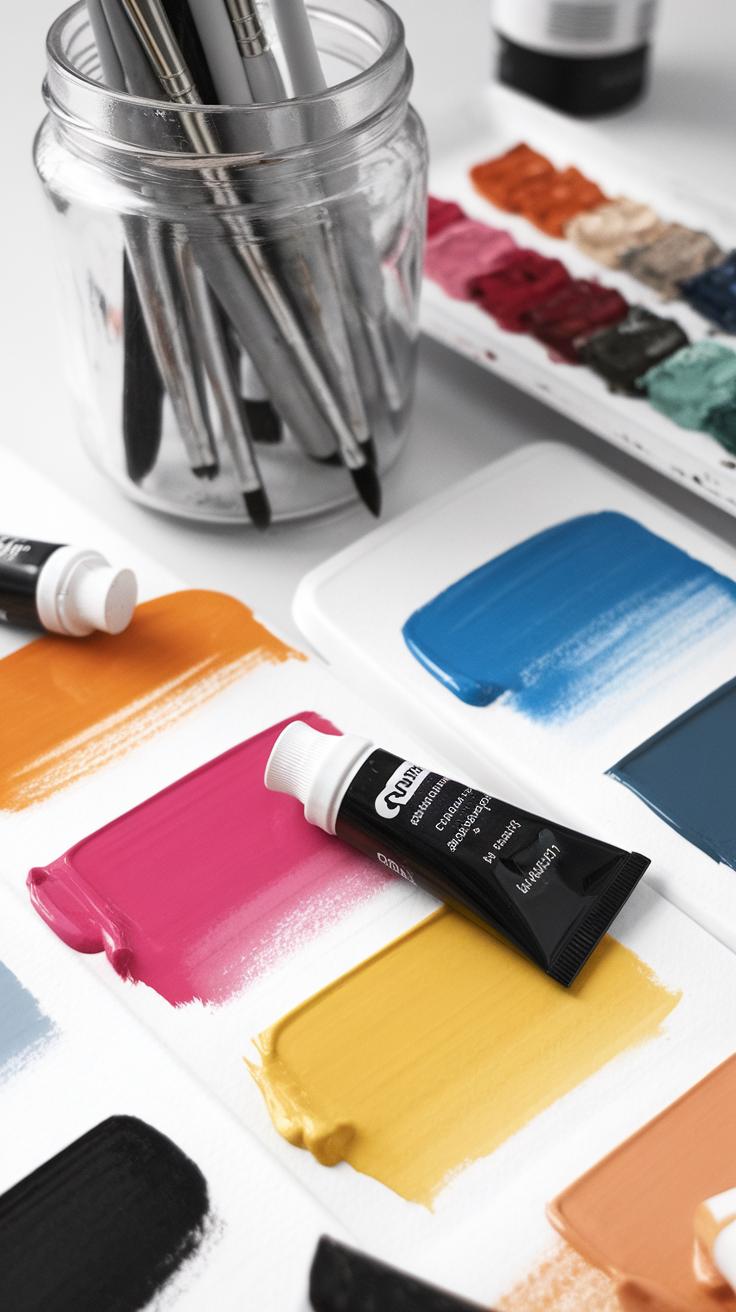
Getting Your Supplies Ready
Your painting experience depends heavily on having the right materials. For gouache on canvas, start with a basic stretched canvas or canvas boards that hold moisture well. Choose gouache paints made specifically for artists; their pigments stay vibrant and rich.
Select brushes designed for water-based paints. Keep water containers nearby for mixing and rinsing. Use a palette that gives you enough space to blend colors easily, whether a plastic mixing tray or ceramic plate works fine.
Cleaning cloths or paper towels are useful for wiping brushes and correcting mistakes quickly. Having each tool within reach keeps you focused and speeds up your workflow. How often does your session slow down because you need something you forgot?

Organize your supplies before you start to avoid breaking your concentration. Preparing well helps you stay relaxed and in the painting zone. The right equipment is not just about quality but about making your process smooth and enjoyable.
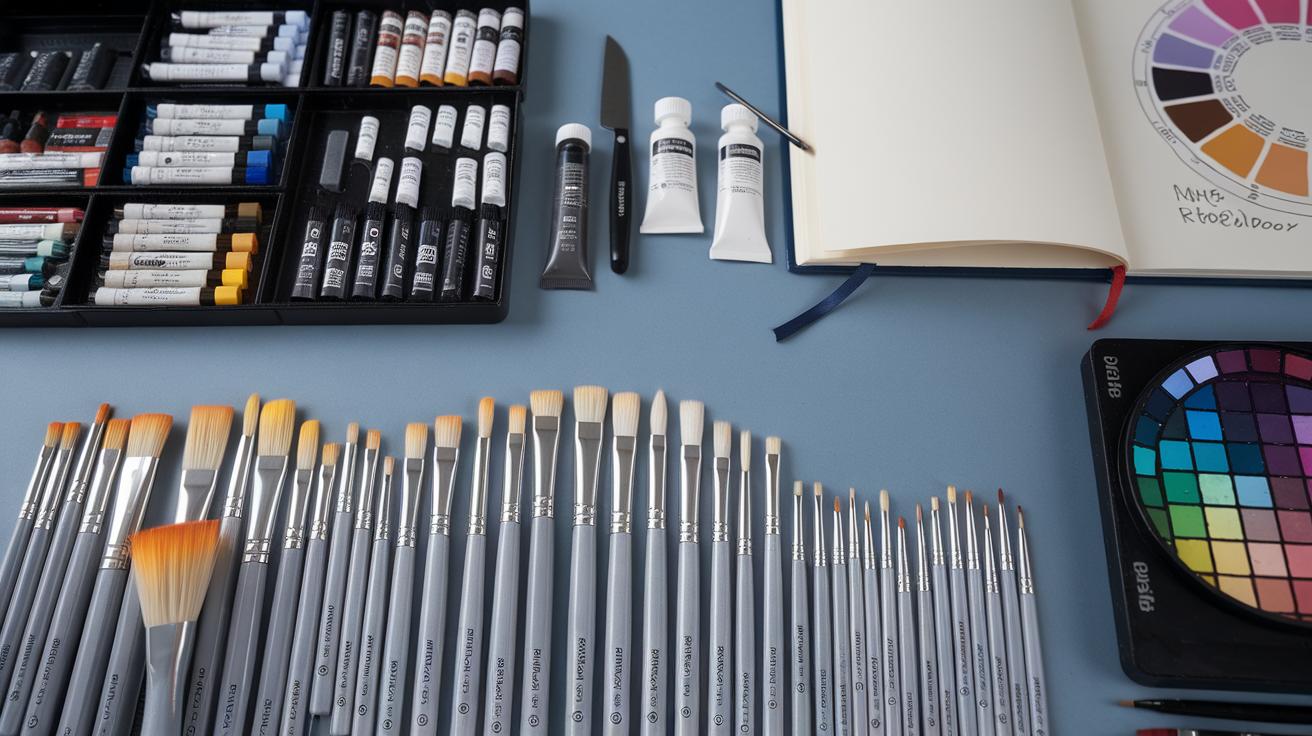
Types of Brushes for Gouache
You will want brushes that hold water well and maintain a fine edge. Flat brushes work great for broad washes and filling spaces fast. Round brushes suit detail work and creating soft edges.
Synthetic bristles often perform better with gouache because they stay firm and spring back after each stroke. Natural hair brushes can absorb too much water and lose shape quickly with gouache’s thicker texture.
Typical sizes range from 6 to 12 for washes and 0 to 4 for fine details. Using the right size brush saves your paint and time. Have you noticed how certain brushes make creating smooth gradients easier?
Setting Up Your Workspace
Your workspace should support concentration and creativity. Place your canvas at eye level to avoid neck strain. Keep your palette, water containers, and brushes within arm’s reach.
Arrange your cleaning cloths so they’re ready for quick use. Clear away any clutter that might distract you. Try to create a comfortable atmosphere with good light and ventilation. Natural light is best for seeing true colors.
A tidy, well-lit space helps maintain your flow and reduces interruptions. How often have you stopped mid-painting to look for a brush or mix colors again? Setting up thoughtfully prevents this and lets you focus fully on your art.
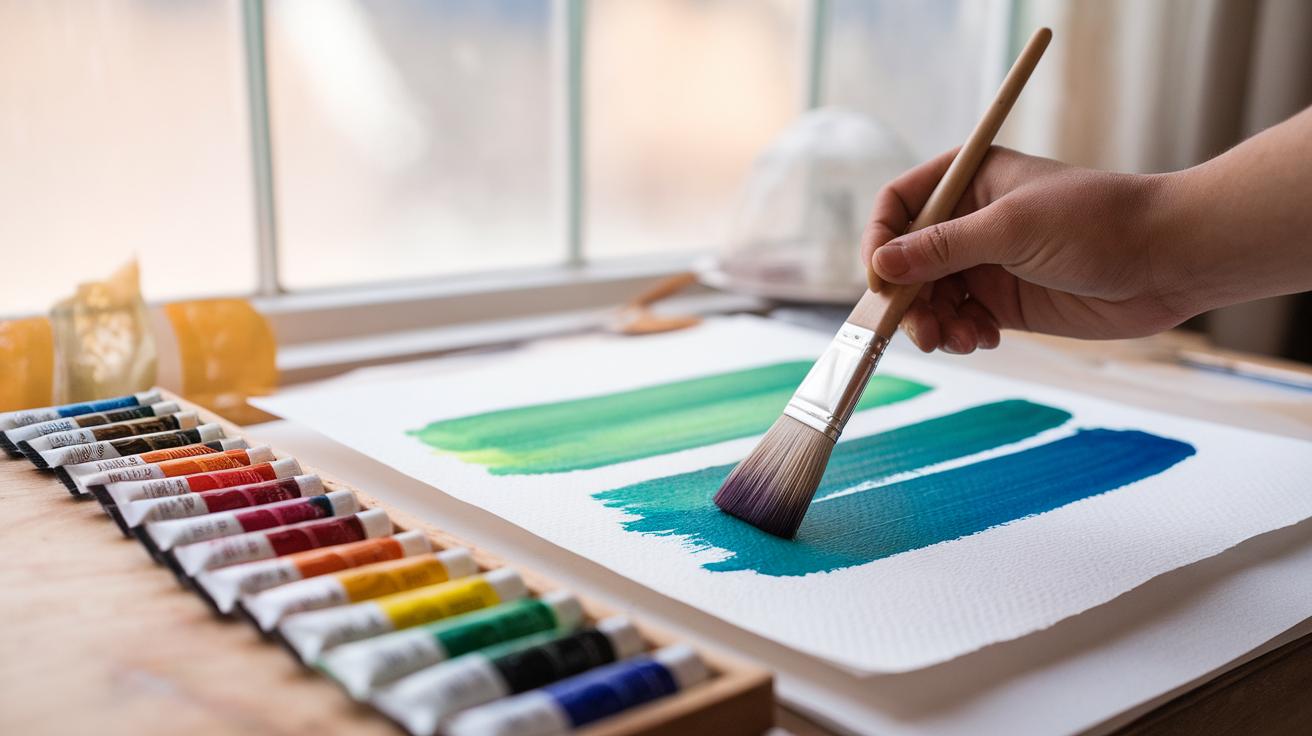
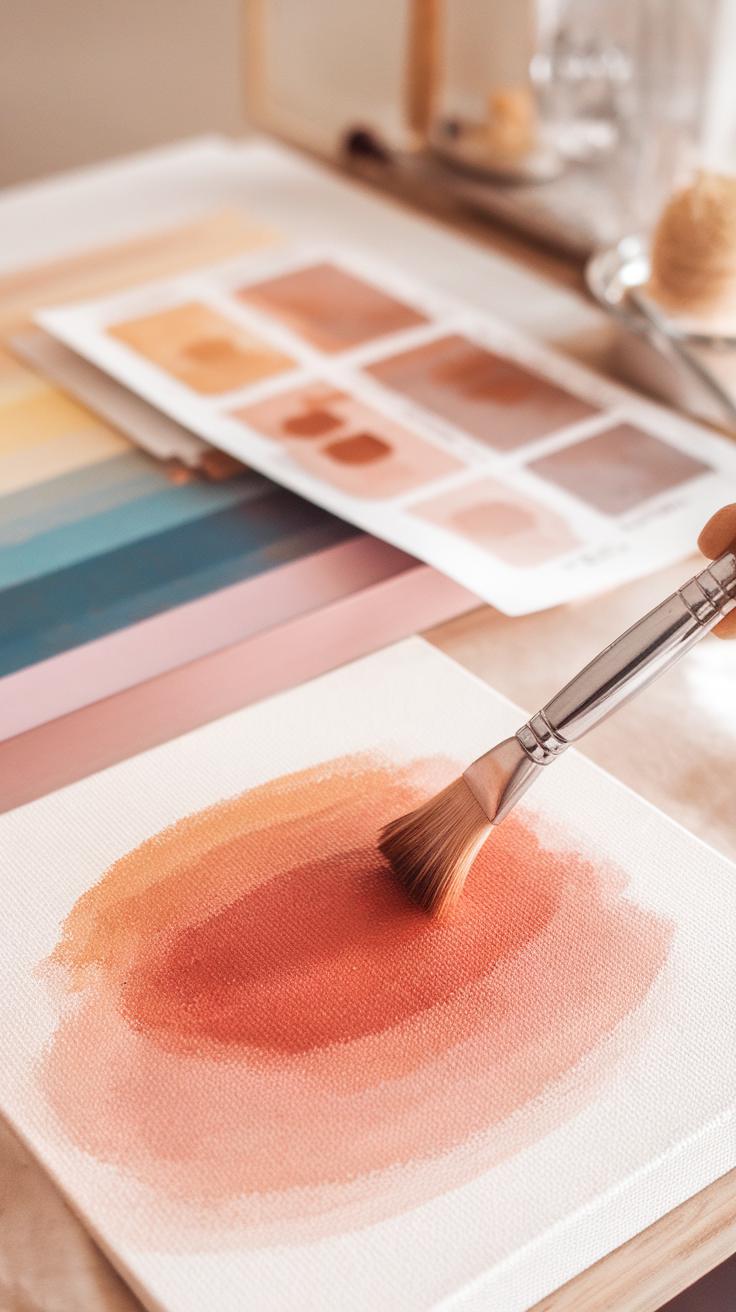
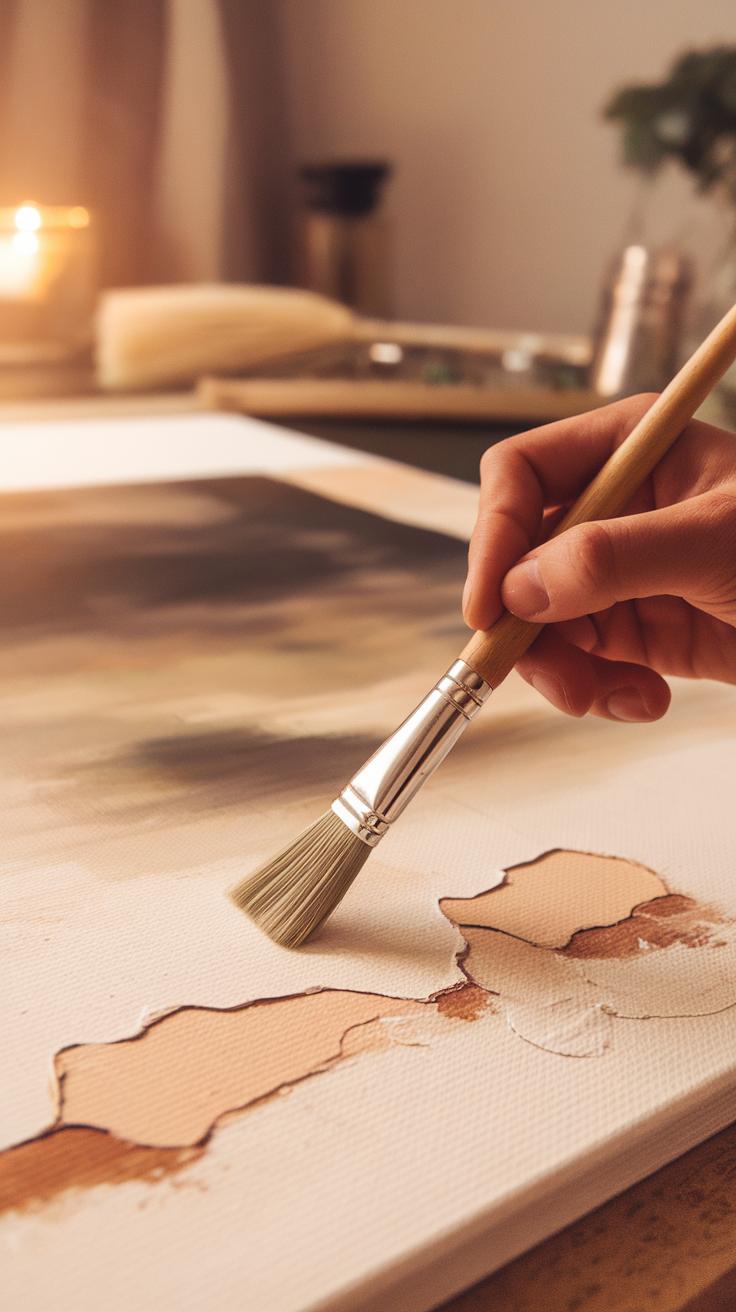
The Gouache Wash Technique
The gouache wash technique involves thinning gouache paint with water to create translucent layers that show the canvas beneath. This allows you to build soft color effects step by step. You can dilute the paint by mixing one part paint with two or three parts water until the color looks like a light watercolor. This thin consistency helps you layer colors without covering the whole surface at once.
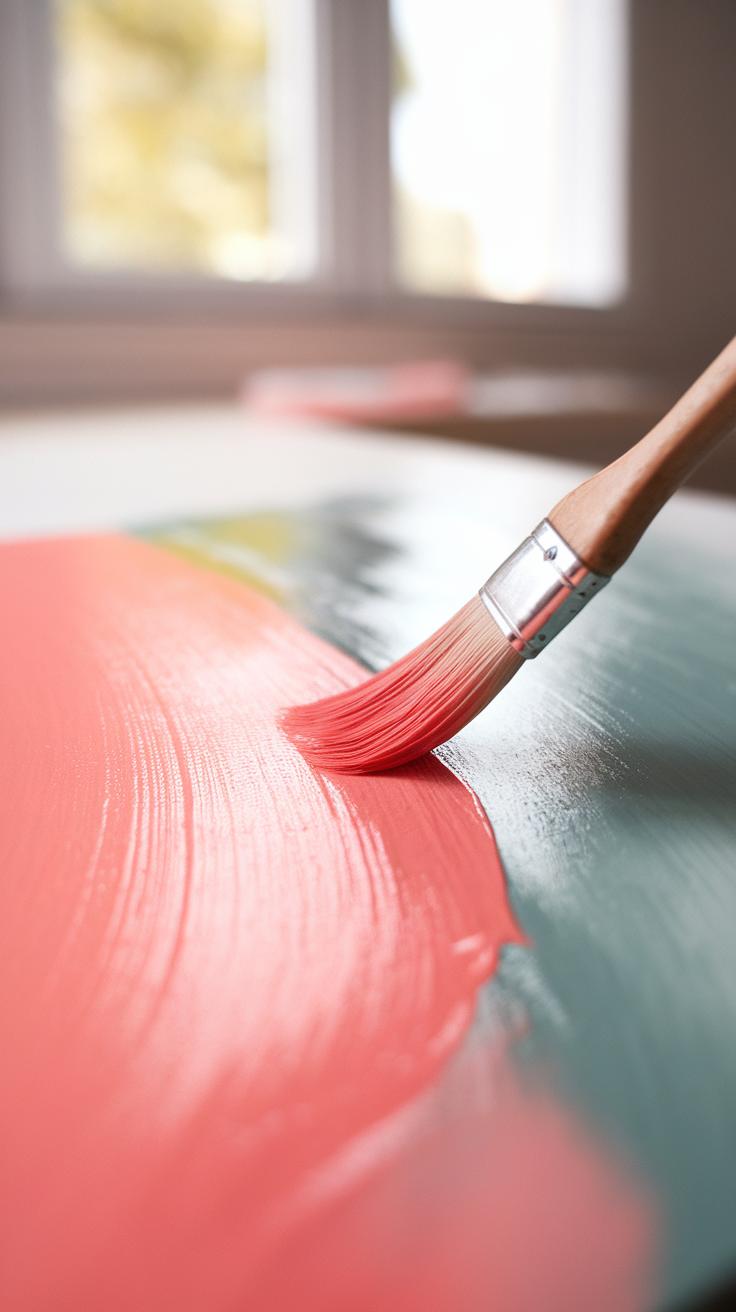
When applying a wash, hold your brush lightly and use broad, even strokes. Work quickly before the paint dries to avoid harsh lines. To create a smooth gradient, start with a denser color at one edge and gradually lighten the mixture with water as you paint across the canvas. Gently blend the wet edges to keep transitions seamless.
Control your brush pressure to avoid uneven paint deposits. Think about how much water your brush carries—too much can cause pooling, too little leads to patchy spots. Have you noticed how subtle layering changes the mood of your painting? Small washes can transform a simple shape into a vibrant artwork.
Step-by-Step Application of Gouache Washes
Mix your paint and water first. Use a small container or palette well for easy access. Start with a thicker mixture and add water gradually until the color looks light but not watery. Test the mix on a scrap piece to check transparency.
Load your brush evenly by dipping it fully in the wash and gently tapping off excess water on the container’s edge. Avoid dripping paint; your brush should feel wet but controlled. Begin painting at one side of your canvas with broad, horizontal or vertical strokes. Work steadily across the area you want to cover.
Overlap each stroke slightly while the paint is still wet to blend them seamlessly. If a section dries too fast, lightly dampen the brush and blend carefully. You can add more layers after each dries to deepen colors or adjust tones. Have you tried layering washes to build color depth without masking texture? It creates richer visual effects than a single thick layer.
Common Mistakes When Using Washes
Patchy coverage is a frequent problem. It usually happens when paint isn’t diluted enough or when strokes dry too quickly before blending. To fix this, make sure your wash is fluid and work fast but gently to maintain wet edges.
Brush marks also appear when you press too hard or drag the brush over drying paint. Keep your hand relaxed and use soft, flowing strokes. If you notice streaks, soften them immediately with a clean damp brush or a light mist of water.
Another mistake is loading the brush unevenly, causing blotchy spots. Dip your brush fully and wipe excess water carefully. Too little water causes thick paint deposits; too much creates drips. Ask yourself if your brush feels balanced before painting. Fixing these small issues makes your washes smoother and easier to control.
Simple Painting Ideas Using Washes
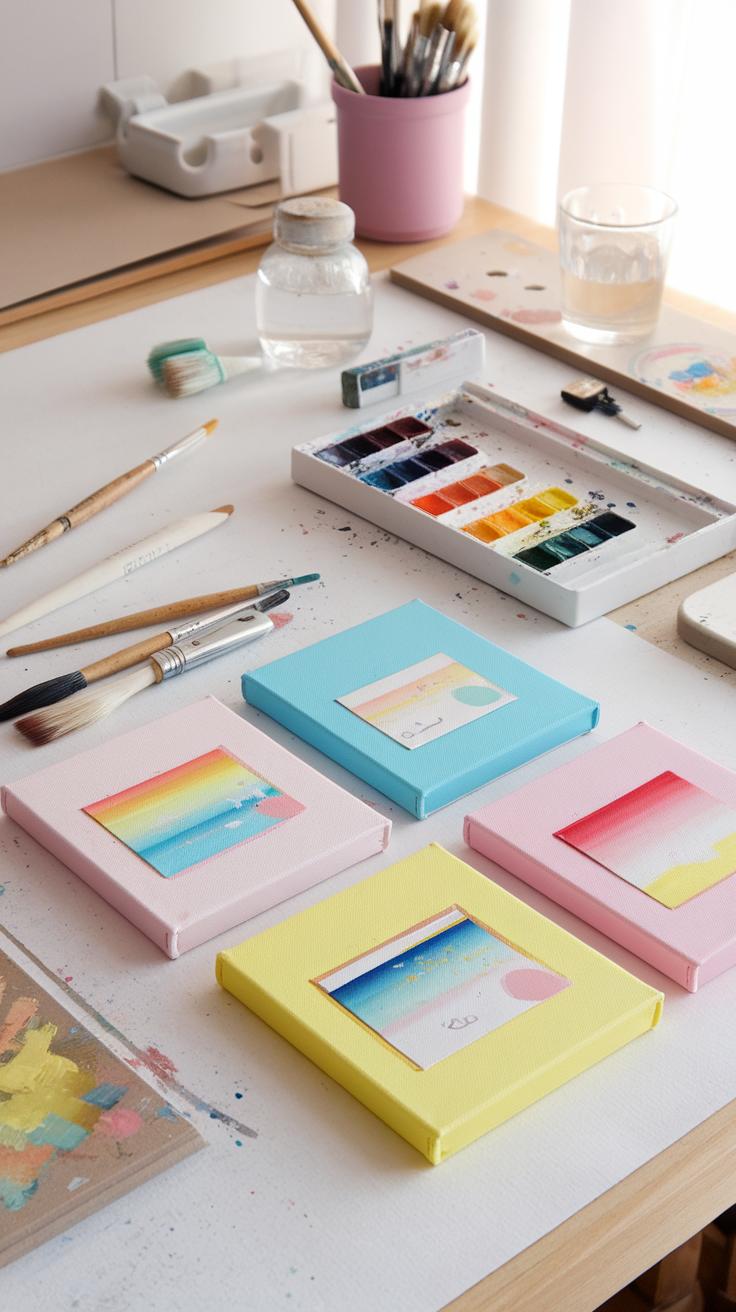
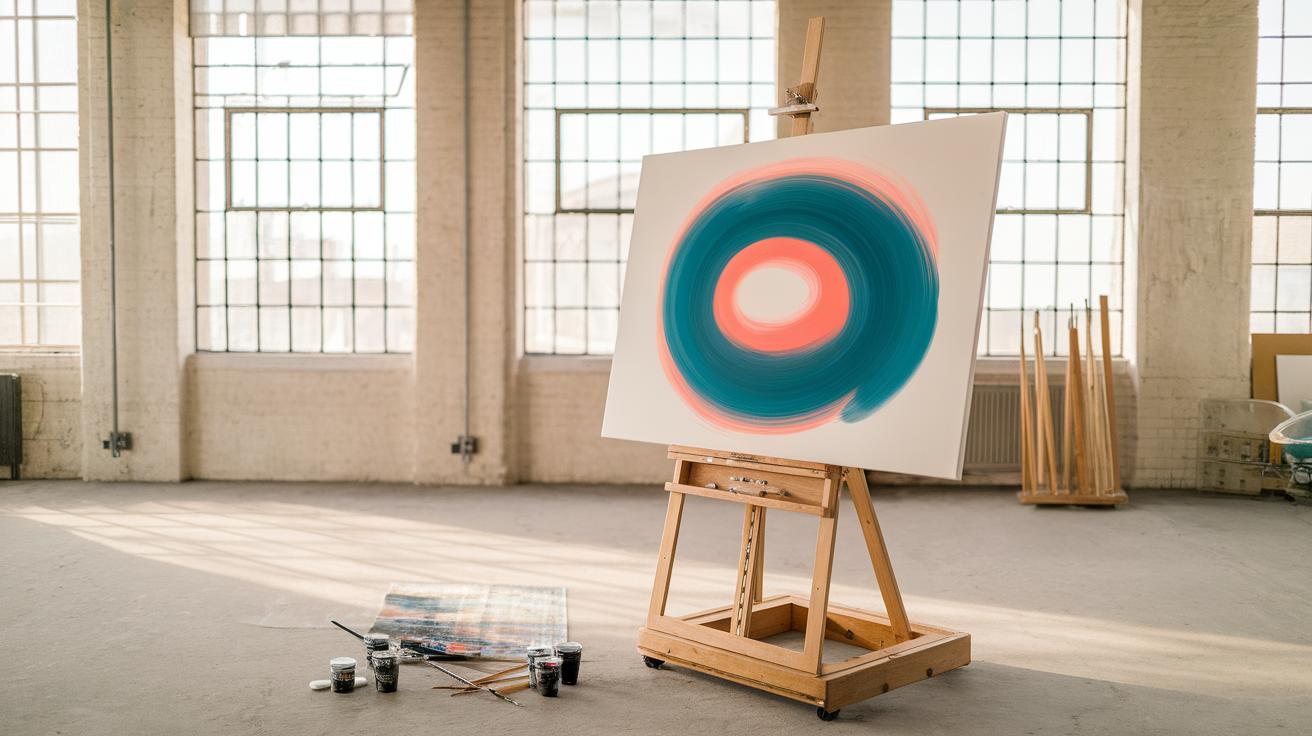
You can create quick canvas paintings using gouache washes by focusing on simple shapes and scenes. Try painting abstract shapes like overlapping circles or irregular polygons. Layering colors lightly builds a sense of depth without much detail. This approach keeps your work fresh and fast.
Minimalistic landscapes also suit gouache washes well. Start by laying down broad washes for sky and ground. Add a few simple lines or shapes to suggest trees or hills. The translucent layers help create natural light effects with little effort.
Easy floral patterns work nicely, too. Paint basic flower shapes using diluted gouache. Use a few color washes layered on top of each other to add dimension. These simple designs allow you to complete a painting in under an hour.
Have you thought about how layering just two or three colors could change your work? Which simple shapes would you like to explore next on your canvas?
Abstract Forms with Layered Washes
Building depth in abstract art requires layering washes with different colors. Begin by applying a light wash of one color over your canvas. Let it dry partially, then add another wash of a contrasting or complementary color.
Use varying brush sizes to create shapes that overlap gently. Each translucent layer adds new colors where they mix. This technique allows you to play with tone changes and transparency.
Try combining warm and cool hues to create visual interest. You don’t need precise shapes—focus on balance and flow. Layering washes keeps your painting dynamic and engaging while staying simple.
What color combinations will you try first? How will these layers change the feeling of your art?
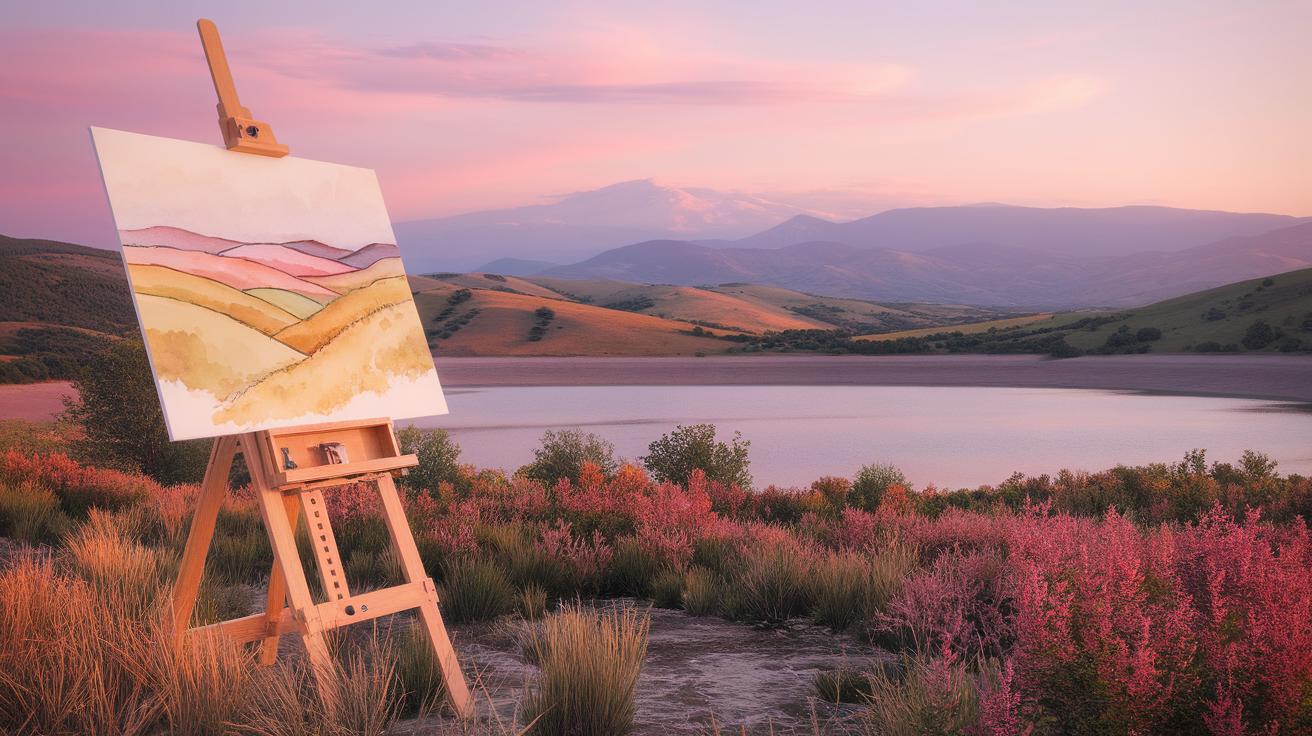
Basic Landscape Washes
Simple landscapes begin with two main washes: sky and ground. Wet your canvas lightly before applying gouache washes to help colors blend softly. Paint the sky with horizontal strokes using a diluted blue or pastel shade.
For the ground, use warmer tones like earth brown or green. Let the two washes meet naturally without hard edges to create a smooth horizon line. You can add a second layer after the first dries to deepen color or adjust tone.
A few quick brush strokes suggest trees or hills on top of the base washes. Keep details minimal to maintain simplicity and speed. This technique lets you capture mood quickly without complex shapes.
What kind of landscape do you want to paint first—mountains, fields, or a beach? How will adjusting your washes change the atmosphere?
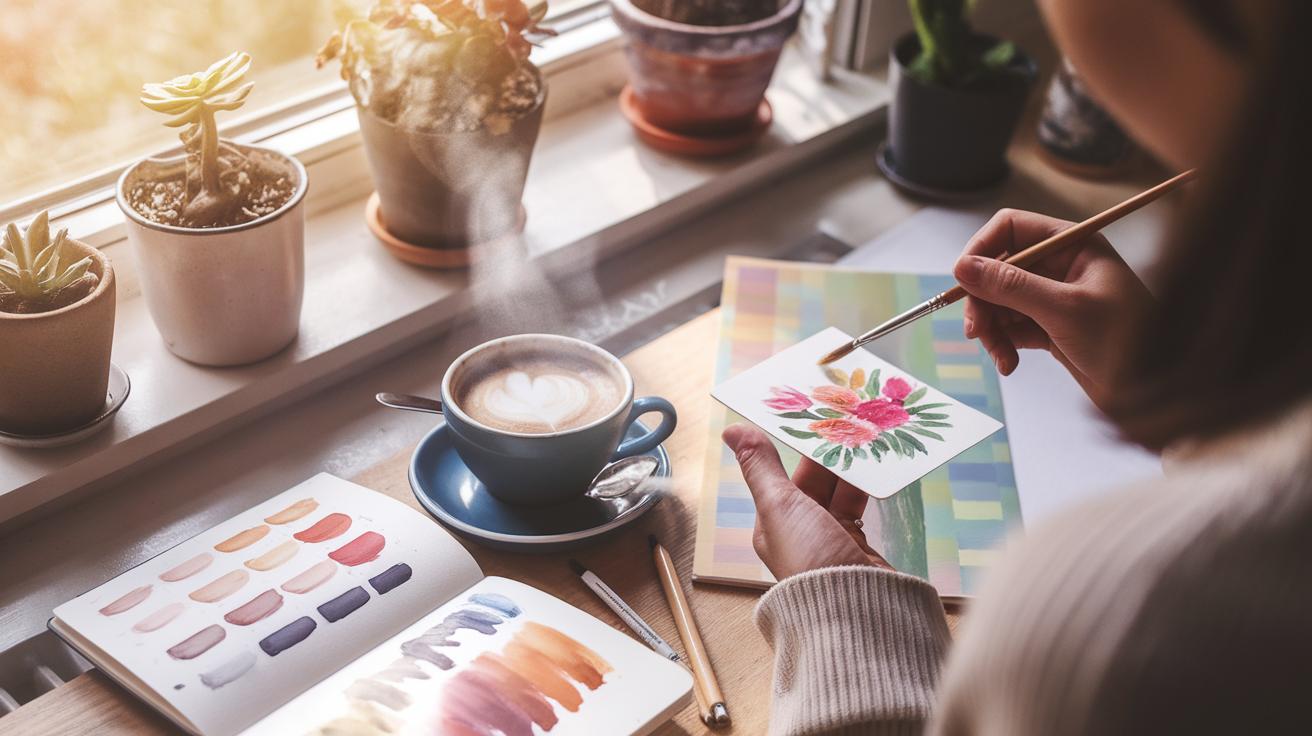
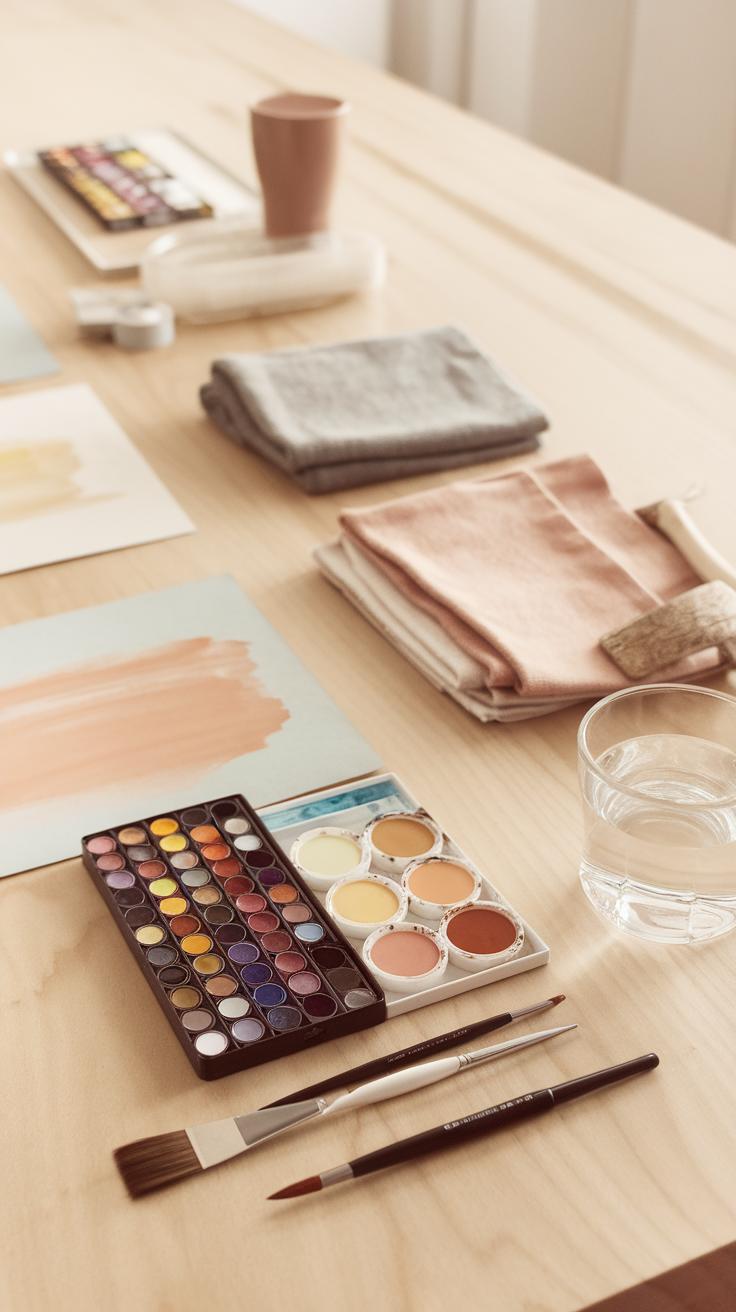
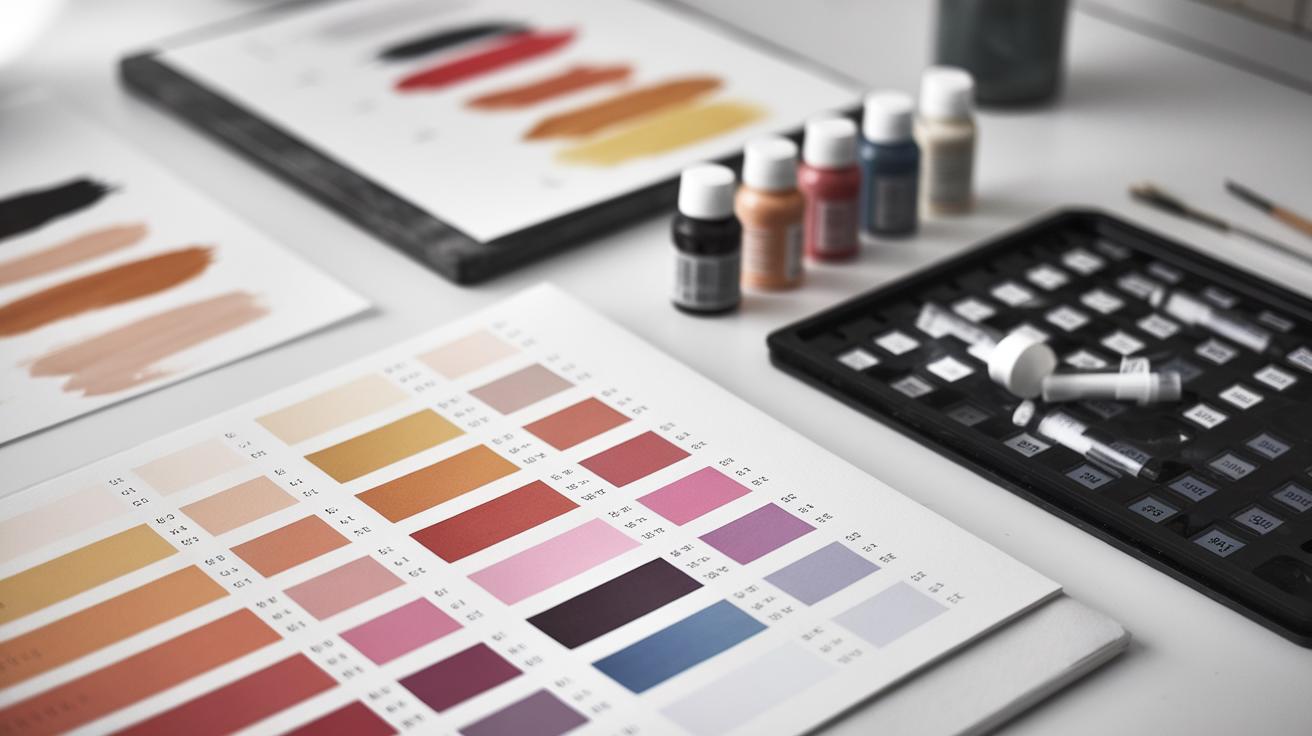
Color Mixing and Control
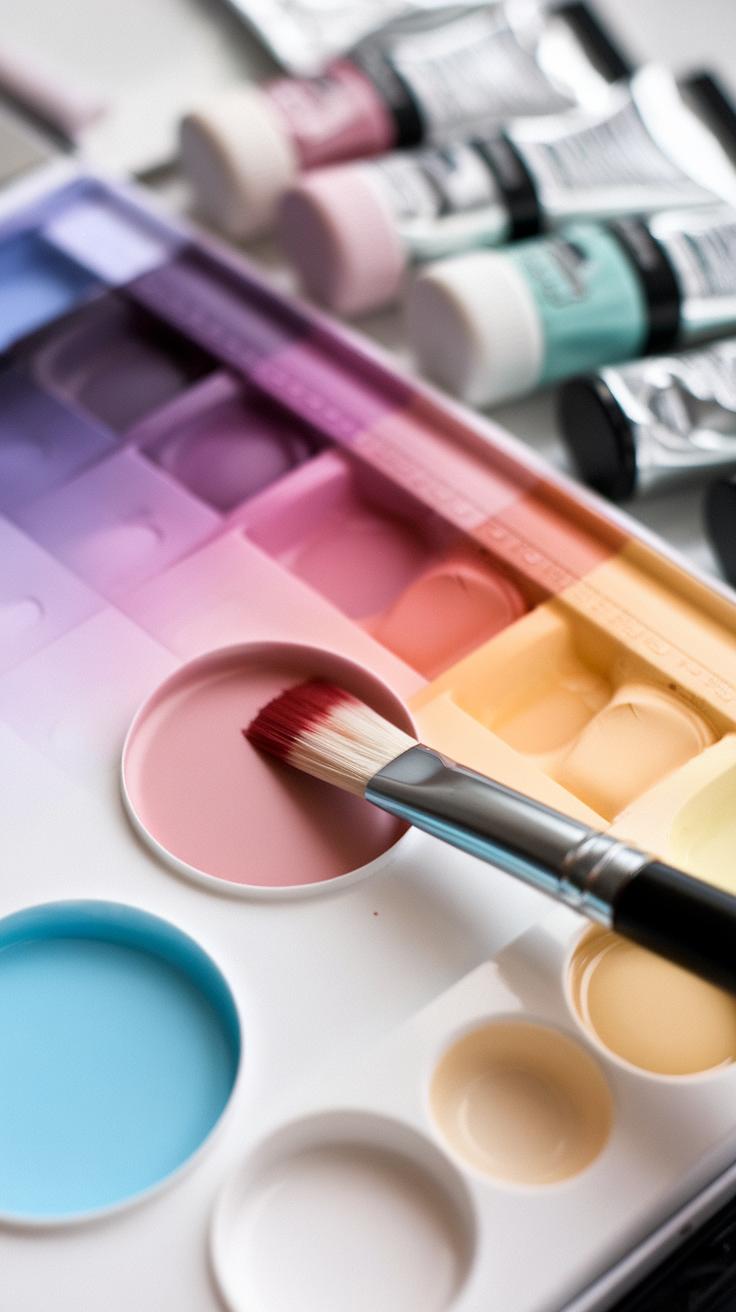
Understanding how to mix gouache colors helps you get the exact shade you want for your simple canvas paintings. Start by placing small amounts of your base colors on the palette. Blend them gently to avoid wasting paint. For example, mix blue and yellow to make green, then add a little white to lighten it. Mixing beforehand saves time and avoids muddy colors on your canvas.
The amount of water you add changes the color’s look. More water makes the gouache thinner and creates a transparent wash. This can give your painting a lighter, more luminous feel. Less water gives you richer, more solid colors. Try adjusting the water each time you mix to see how it changes brightness and coverage.
Have you tried experimenting with mixing your own colors before painting? This practice will improve your control and help you finish your artwork faster with fewer mistakes.
Creating New Shades Efficiently
Mix colors on your palette before applying washes to create consistent shades. Use small amounts of paint to test new blends without wasting materials. For example, adding a bit of red to orange can give your wash a warmer tone. Keep a scrap paper nearby to test the shade before painting it on your canvas.
Organize your palette so related colors sit next to each other. This setup makes blending faster and more precise. While mixing, ask yourself what mood or feeling you want to express. Adjust your colors accordingly until you achieve it.
Saving time with efficient blending means you paint with confidence, avoiding the need to correct colors later.
Adjusting Wash Intensity
Control the darkness or lightness of your washes by changing how much paint and water you use. To make a lighter wash, add more water to your paint. This makes the color more transparent and soft. For stronger, darker washes, use less water and more paint. Balance is key to keep your painting neat and controlled.
If you want to adjust a wash after applying it, let it dry slightly and layer a second, lighter wash over the first. This technique lets you control value without overworking your canvas. Be mindful of how drying affects the final color too.
How does changing wash intensity affect the mood of your painting? Try different intensities on practice sheets to find what fits your style best.
Layering Washes for Rich Effects
Building complex images with gouache washes involves applying several layers, one after the other, once each layer dries. Drying times vary depending on paint thickness and humidity but usually take about 10 to 20 minutes for thin washes on canvas. You’ll know a layer is ready when it feels dry to the touch and shows no tackiness. Starting a new layer too soon can cause unwanted mixing or lifting of the previous colors. Waiting allows you to control each layer’s color and maintain clarity.
Each wash adds depth, tone, and subtle shifts to your painting. Think about your image like stacking transparent sheets—each one contributes new shapes and details. Patience helps you avoid muddy colors and keeps the work crisp and vibrant. Can you notice the difference between a painting with clear layers and one where the colors bleed together?
Techniques to Layer Properly
When layering, use thin washes so colors stay transparent. Applying too much paint at once leads to dense, opaque spots that hide lower layers. Use a soft brush and gentle strokes to avoid disturbing dried paint. Let each layer dry fully before adding more paint on top to prevent colors from mixing into muddy browns or grays.
Choose complementary or analogous colors carefully. A bright yellow wash over a blue one turns green, which might not fit your vision. Test combinations on scrap paper before your canvas. Adjust water evenly to control transparency and avoid blotches. How can you make sure your new layer enhances rather than muddies the painting?
Creating Texture with Washes
Wash density changes texture visually and physically. Thin, watery layers appear smooth and light, while thicker ones create subtle ridges and variation. Vary brush pressure to add marks and strokes that catch light differently, giving your painting more life.
Try layering partially dried washes and then brushing dry areas with a nearly dry brush to create rough textures. Using different brushes, like flats or rounds, also changes the texture. You can add small dots or streaks with a thicker wash after earlier layers dry. How can you use textures to make a simple image feel more detailed?
Combining Gouache Washes with Other Techniques
Gouache washes provide a soft, matte background that invites creative additions. After the washes dry, using dry brush strokes can add texture. Drag a nearly dry brush lightly over the surface to lift small amounts of pigment and create fine detail or subtle highlights.
Applying acrylic paint over gouache washes offers bright, sharp highlights. Acrylics dry quickly and stay vibrant, making them perfect for crisp edges or bold shapes. Use a small brush to add dots, lines, or accents that stand out against the softer wash below.
Ink pens or markers are great for outlining and adding definition. Choosing waterproof ink ensures your lines won’t blur if you revisit the surface with paint. Ink can emphasize shapes or add fine patterns that bring life to simple compositions.
What could you create by blending smooth washes with sharp ink lines or textured dry brush effects? Try mixing these methods on a test canvas to see how each changes your painting’s mood and detail.
Adding Details Over Washes
After your gouache washes have fully dried, fine brushes or pens help you sharpen shapes and add detail. Use small, steady strokes to define edges, highlight features, or draw delicate patterns.
Thin brushes with stiff bristles work well for precise lines and controlled marks. Pens with fine tips give you consistent strokes and are easier to handle for intricate designs.
Start simple by outlining main objects or highlighting contours. Adding minimal details can guide the viewer’s eye and improve visual focus without cluttering the image.
Have you tried layering details gradually? Build up from light to darker marks for depth. Remember, patience while drying prevents unwanted smudging or bleeding.
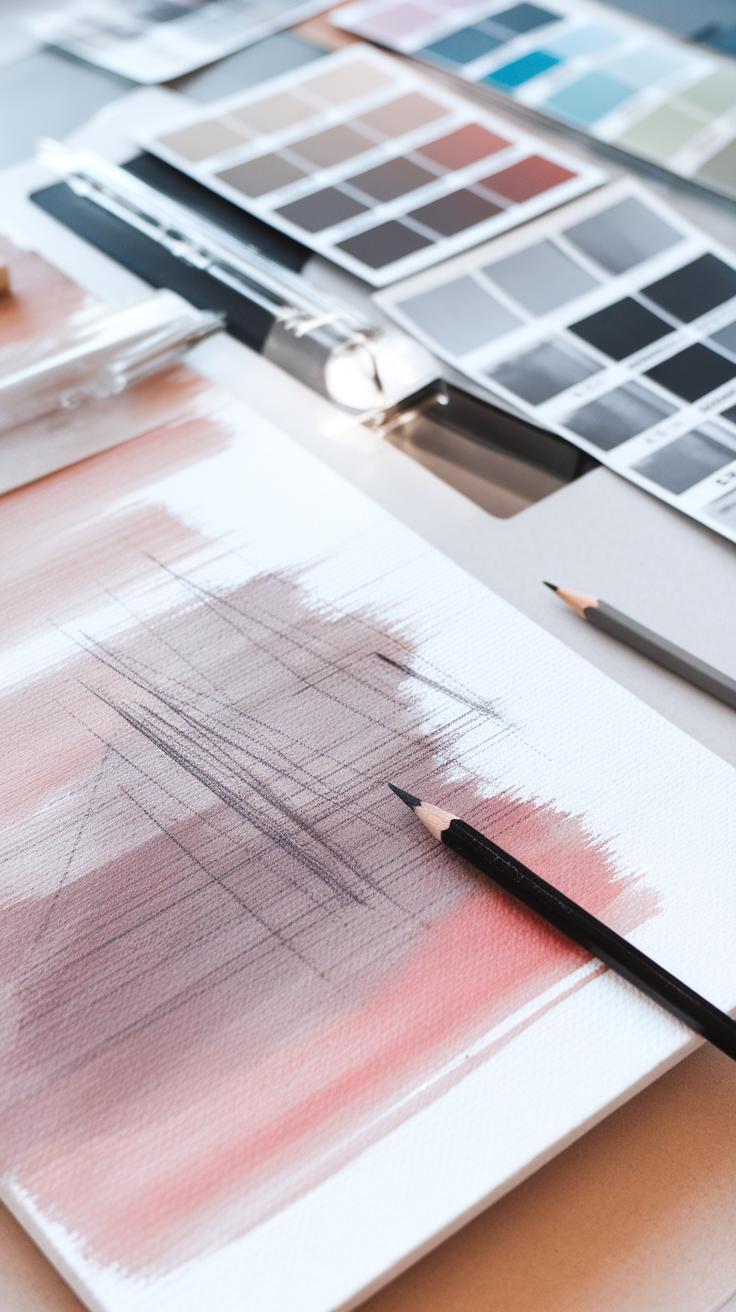
Mixed Media Approaches
Working with gouache on canvas lets you explore other media easily. You might add charcoal for bold shadows or pencil for sketchier textures. These tools can give your work a more dynamic feel than paint alone.
Collage elements such as paper cutouts or fabric scraps attach easily to dry gouache surfaces using acrylic medium or glue. This adds dimension and interest without needing complex skills.
Experimenting with wax crayons or oil pastels over dried gouache creates contrasting textures. The wax resists paint in unusual ways, encouraging creative textures and marks.
Which materials do you enjoy combining with gouache? Trying new media encourages fresh ideas and helps you develop a unique style that stands out on canvas.
Common Challenges and How to Solve Them
Dealing with Color Shifts
Gouache often appears vibrant and glossy when wet but dries to a flatter, sometimes lighter shade. This happens because water evaporates, and the paint’s surface changes from shiny to matte. If your colors look different after drying, you are not alone.
To anticipate this shift, test your colors on a scrap canvas or paper before painting your final piece. Allow the test swatch to dry fully and compare it to the wet paint. You can then adjust by choosing slightly darker or more intense colors when working wet.
Ask yourself: How will the paint look after it dries? You can also add a little white or a tint of the same color to keep tones consistent. Understanding this shift helps you control the final result and avoid surprises.
Preventing Wash Damage
Gouache washes can crack or lift if you are not careful with your brush and drying. Use soft, clean brushes designed for watercolors or gouache. Avoid overloading your brush with too much water or paint, which can break the paint’s surface.
Dry your washes gently by letting air flow naturally. Do not blow on the painting or use heat sources like hair dryers, as this speeds drying unevenly and may cause cracks.
Be patient and avoid touching or layering on damp areas. If you need to add more layers, wait until the base layer is fully dry. This approach keeps your paint surface smooth and lasting.
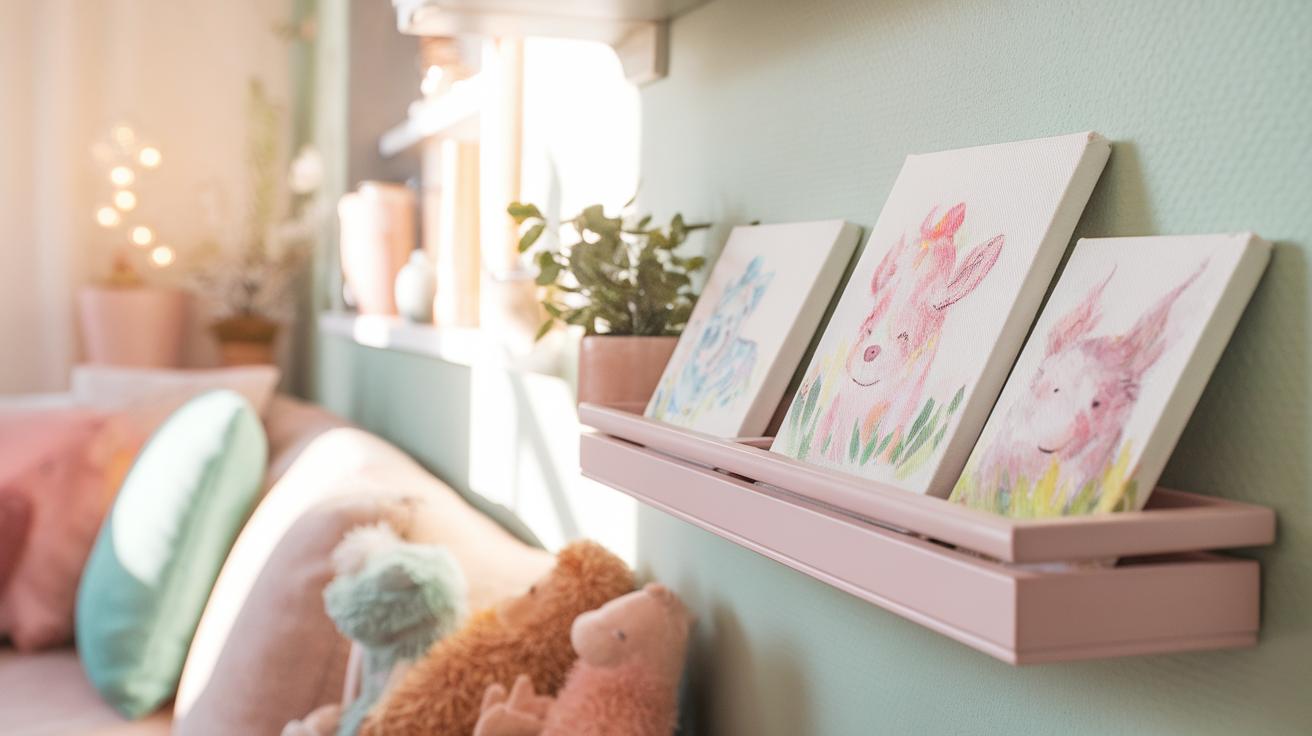
Displaying and Caring for Your Gouache Canvas Art
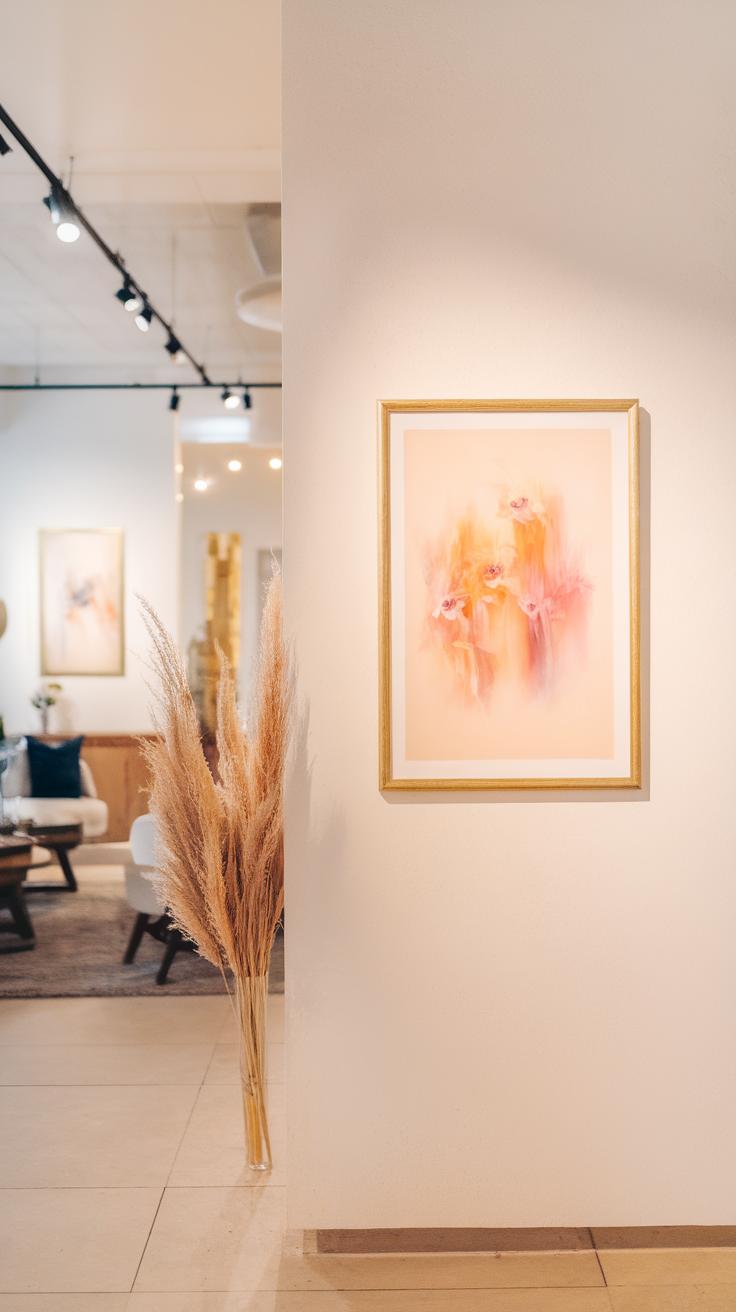
Your finished gouache painting deserves proper care to keep it looking its best. You should protect your work from dust, dirt, and accidental scratches. One effective way is to use a clear protective coating. This adds a barrier between your art and the environment. Choosing the right method can make a big difference in how long your painting lasts.
Framing your canvas properly helps safeguard it and makes it easier to display. Use a frame that supports the edges without pressing directly on the paint surface. Glass or plexiglass covers can protect from dust but avoid direct contact with the paint to prevent smudging or sticking.
When you store your artwork, keep it in a cool, dry place. Avoid stacking paintings on top of each other. Use acid-free paper or cloth to separate pieces. Ask yourself: is the spot where you display your painting free from direct sunlight and moisture? Choosing the right place extends the vibrancy and texture of your gouache canvas over time.
Protective Coatings for Gouache Paintings
Gouache paintings require special care when applying varnish or fixatives. Unlike oil or acrylic, gouache can react poorly to some coatings. Select a fixative made specifically for gouache or water-based paintings to avoid damaging the color or texture.
Apply fixatives only after the paint is fully dry. Spraying thin, even layers works best to prevent cloudiness or pooling. Test the spray on a small corner before covering the entire painting. You might want to apply several light coats rather than one heavy coat. This helps maintain the paint’s matte or satin finish without altering its appearance.
Remember that some artists choose not to apply any protective coating and instead rely on careful framing and storage. Would a fixative fit your style, or do you prefer to keep the raw texture of your gouache? Making this choice depends on how you want to display and preserve your work.
Preserving Your Work
Sunlight can fade colors quickly. When you display a gouache painting, pick locations that avoid direct sunlight. Even indirect light over time can dull the vibrancy of your colors. Consider using UV-filtering glass or acrylic in your frame to limit damage.
Humidity also affects gouache paint. High moisture can weaken the paint’s bond to the canvas and cause warping or mold. Keep your art in rooms with stable humidity levels, ideally between 40-60%. Use a dehumidifier if necessary.
Have you noticed strange texture changes in your gouache paintings after storage? Avoid hanging artwork in bathrooms or kitchens where steam and moisture are common. Instead, display it in controlled environments to keep your colors bright and your canvas smooth for years.
Conclusions
Simple canvas paintings created with gouache washes provide a fast, practical way to make beautiful art. You can build layers of color and interesting textures without long drying times or complicated steps. Using canvas as your base ensures your work will be durable and display well for a long time. With just a few supplies and practice, you can bring your ideas to life in minutes. This makes gouache washes suitable for beginners and experienced painters alike.
Embracing these painting techniques encourages you to focus on enjoying the process instead of worrying about perfection. You learn to control color and form in a simple, direct way. The skills gained from working with gouache washes on canvas can be a foundation for more advanced works later. For now, use what you learn to keep creating often and freely. Your art will grow stronger with each painting you complete.


