Introduction
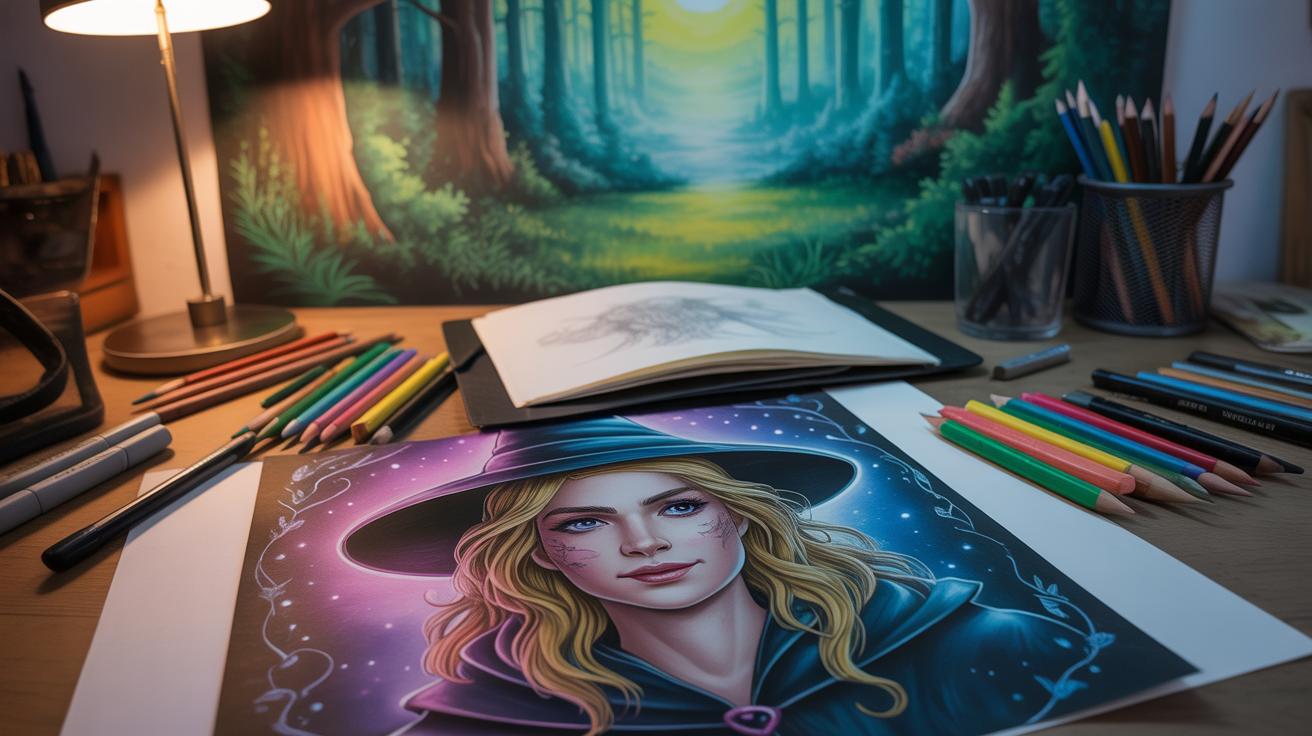
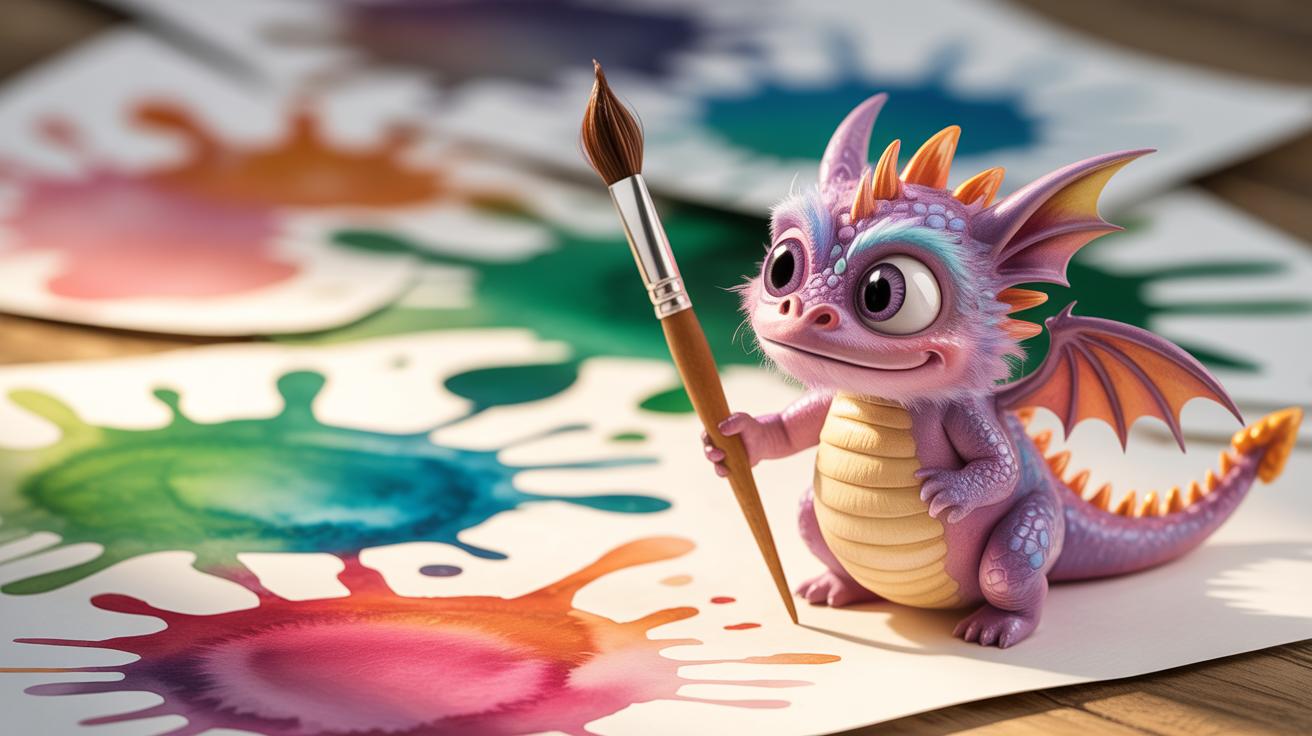
Designing a sea dragon using color pencils and markers can be a creative and fun project. Sea dragons, inspired by the mysterious creatures of the ocean, offer many details and shapes that you can explore with your art. Using color pencils and markers, you can experiment with textures and colors to bring this mythical creature to life on paper.
This article will guide you through the process step-by-step. From choosing the right materials, understanding the sea dragon’s look, to layering colors and finishing touches, we will cover everything you need. This practical guide aims to help you create a majestic sea dragon that stands out.
Understanding the Sea Dragons Features
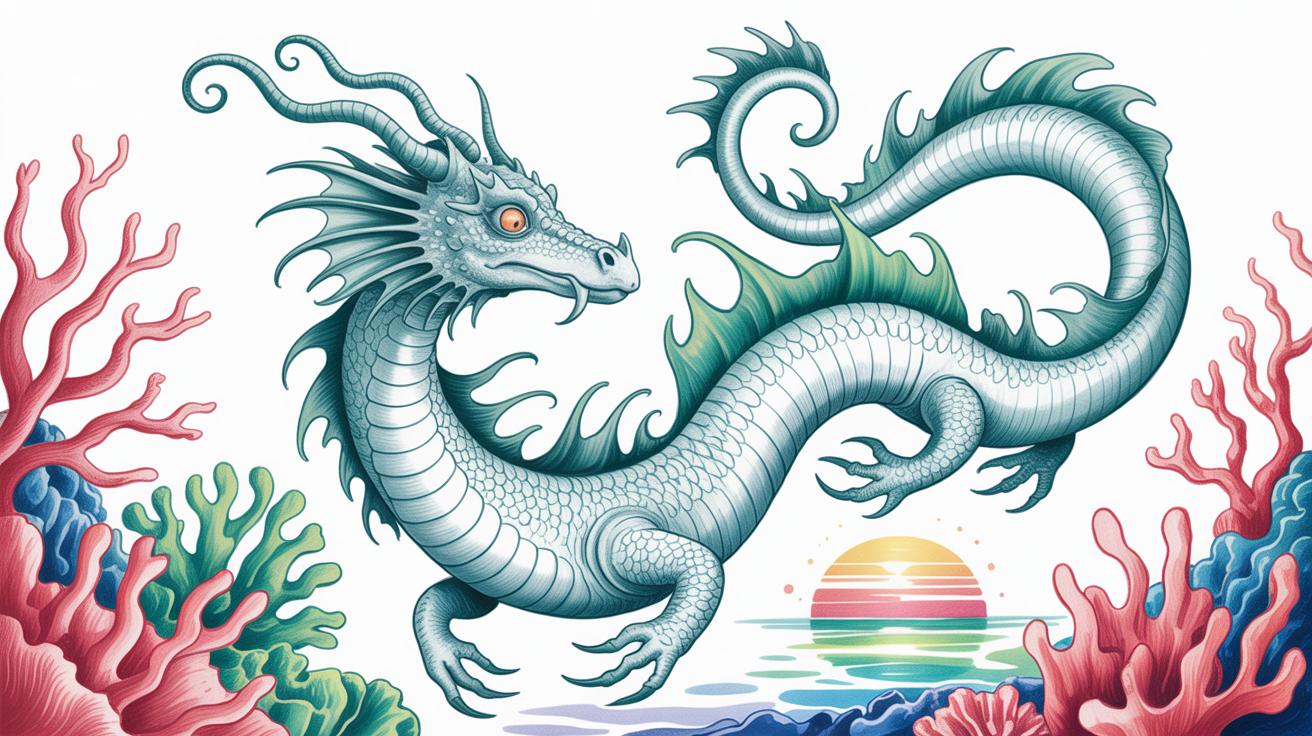
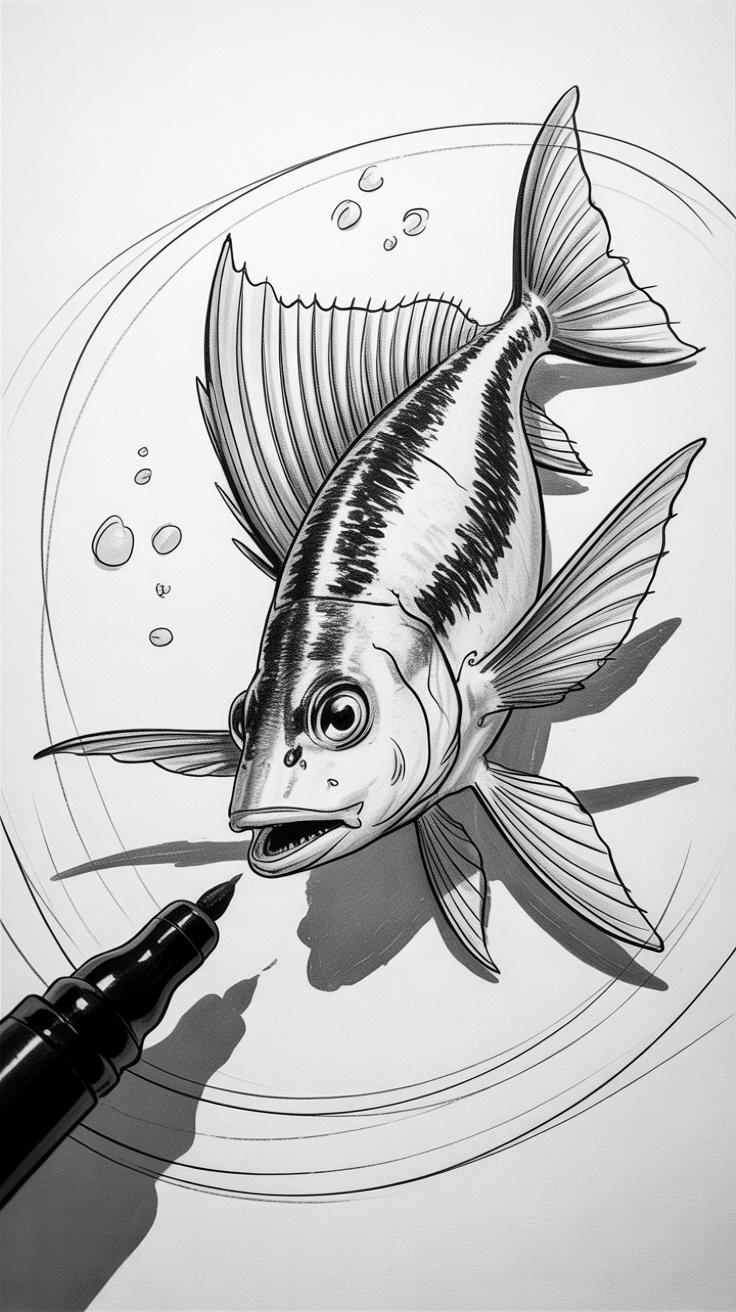
Sea dragons are unusual creatures that instantly catch your eye—maybe because they resemble something from another world. Their bodies are long and slender, often stretching about 18 inches or so, but they aren’t bulky like some fish. Instead, they look delicate, almost fragile, with leaf-like appendages flowing from their bodies. These fins don’t just help them swim; they camouflage the sea dragon among seaweed and kelp, which is pretty clever.
Real sea dragons, like the leafy and weedy sea dragons found off the coasts of Australia, are quite small but have complex details all over their bodies. The spiky, frilly shapes and the bright colors they sometimes display make them special. When you design an art piece, remembering these aspects helps you focus on the fine details and the shape rather than just making a generic fish. The unique shape and patterns make your drawing stand out and feel alive.
Examining the Shape and Texture
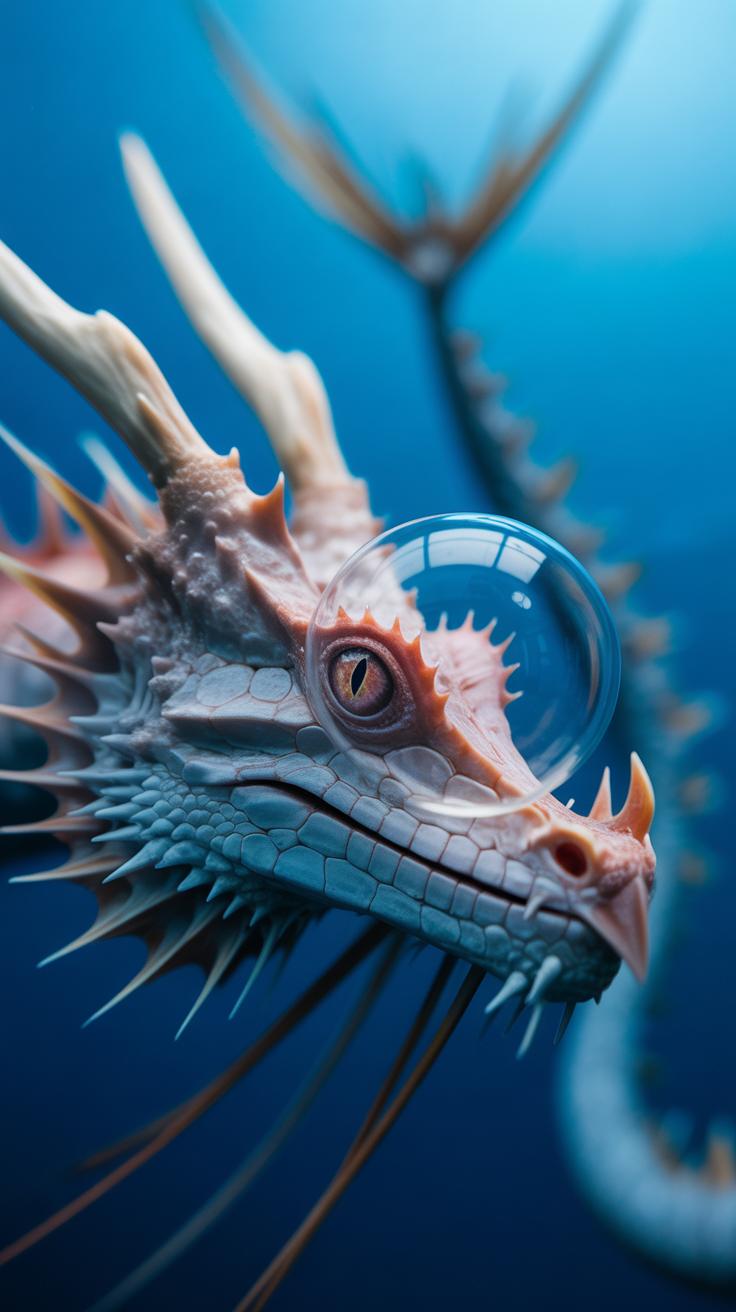
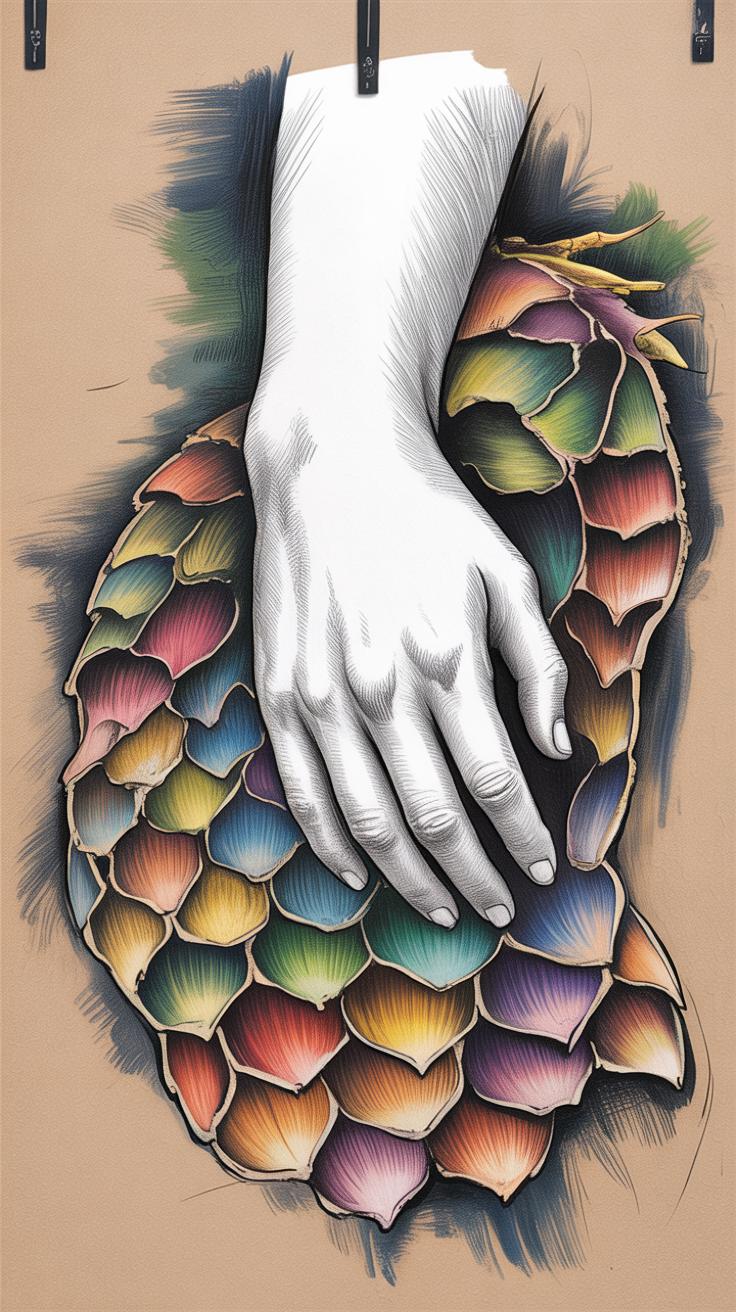
At its core, a sea dragon’s shape is kind of like a thin cylinder with some noticeable extensions that look like little leaves or branches sticking out. You can think of it as a pencil with tiny paper cutouts taped on—that’s sort of how the fins and protrusions look. The body’s texture isn’t smooth like a dolphin’s; it’s rough with little bumps or scales that catch light differently.
For kids, an easy way to imagine the texture is to think about a pinecone’s surface or the bark on a tree—rough, uneven, full of tiny ridges and grooves. You’ll want to use lines and small strokes to show this texture in your drawing. It makes the dragon seem real, like you could reach out and feel it.
Choosing Colors Based on Nature
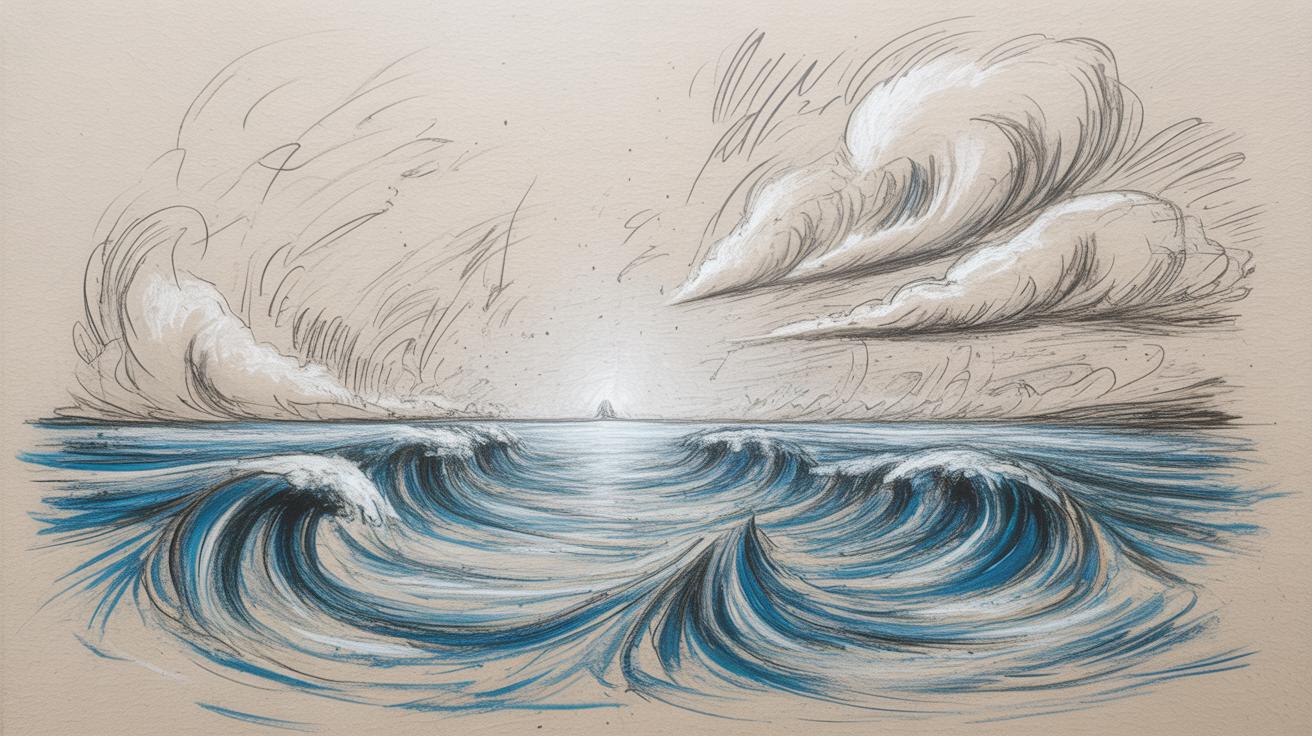
Colors matter a lot when drawing a sea dragon. Look at natural sea animals for ideas. Sea dragons often show tones of greens and browns, blending with underwater plants, but some have flashes of orange, yellows, or purples. These colors don’t scream “look at me,” but gently suggest the creature’s surroundings.
Choosing your colors based on nature helps keep your art believable. Using unnatural or bright colors might make the dragon pop, sure, but the natural hues help create a connection with the cool, quiet underwater world. You might start with lots of greens and soft browns, then carefully add a pop of yellow or orange to highlight parts like fins or the face. It’s about balance and subtlety, kind of like a quiet underwater rainbow. Does your sea dragon blend in or stand out? That’s a question you can explore as you work.
Gathering Your Art Supplies
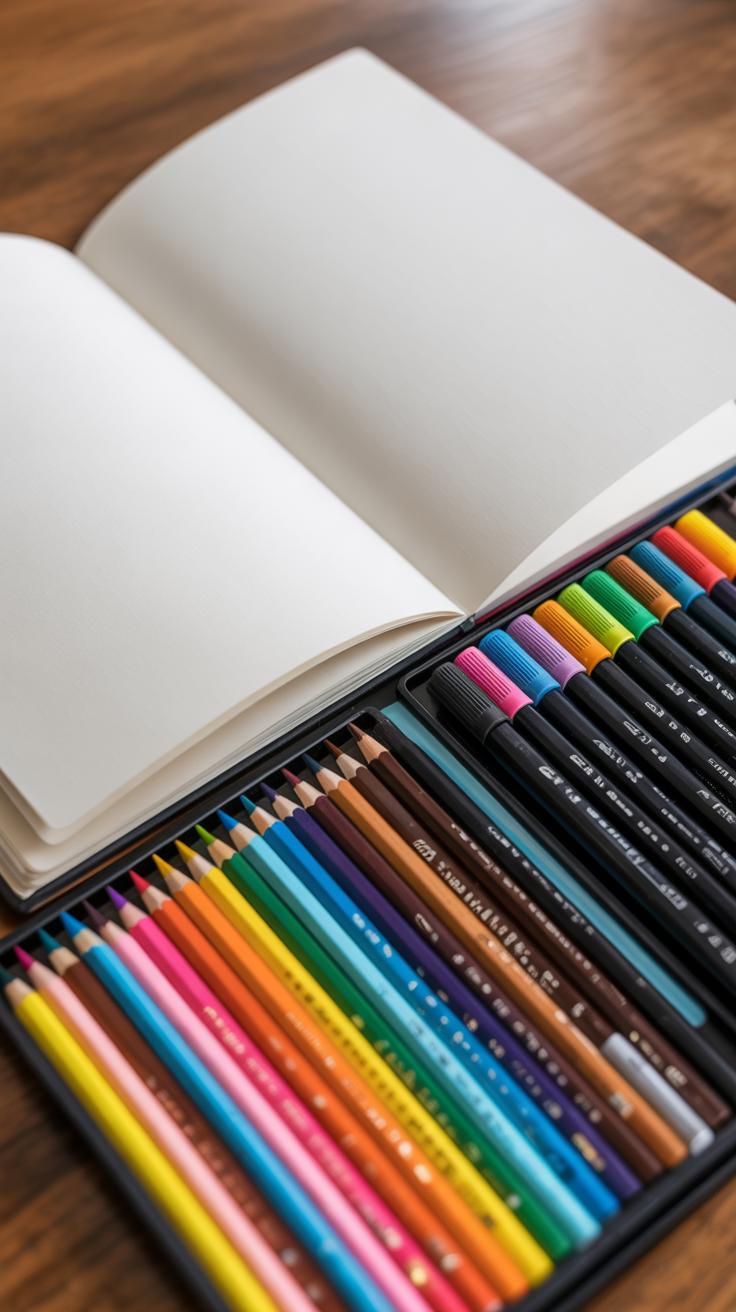
When it comes to bringing a sea dragon to life with color pencils and markers, the type of tools you choose can make a noticeable difference in the final look. Let’s start with color pencils. You’ll find two main categories: wax-based and oil-based. Wax-based pencils tend to be softer and blend easily, which can be handy for smooth shading over the dragon’s flowing fins or subtle color shifts along its body. On the downside, they might wax bloom—a sort of white film that appears over time, which isn’t ideal if you want your colors bright and clear for a long time.
Oil-based pencils are firmer and less prone to wax bloom. They produce sharper lines and retain their vibrancy longer. That said, they can be a bit tougher to layer or blend smoothly. For a sea dragon with intricate scales and fine details, some artists prefer oil-based, for clarity. But if you want that dreamy, watery blend, wax might suit you better.
Now, about markers: choosing between fine tip and broad tip really depends on the parts of the dragon you want to emphasize. Fine tip markers are great for detailing—think delicate textures on scales, facial features, or fin edges. Broad tip markers cover larger areas quickly and add bold, vivid color fields, perfect for the dragon’s body or dramatic shading. You might find yourself jumping back and forth, layering broad base colors with markers, then refining with pencils or fine marker touches.
Quality matters. Cheaper options often bleed or fade quickly, which can be frustrating—especially for a design as detailed as a sea dragon. Mid to high-grade pencils and markers hold pigment better and respond well to blending. Sometimes, I’ve switched pencils mid-project just because the color wasn’t “right,” which slowed me down. So, maybe test a few before starting. What tools will make your sea dragon emerge strongest? It’s a bit trial and error, but leaning towards quality usually pays off in the end.
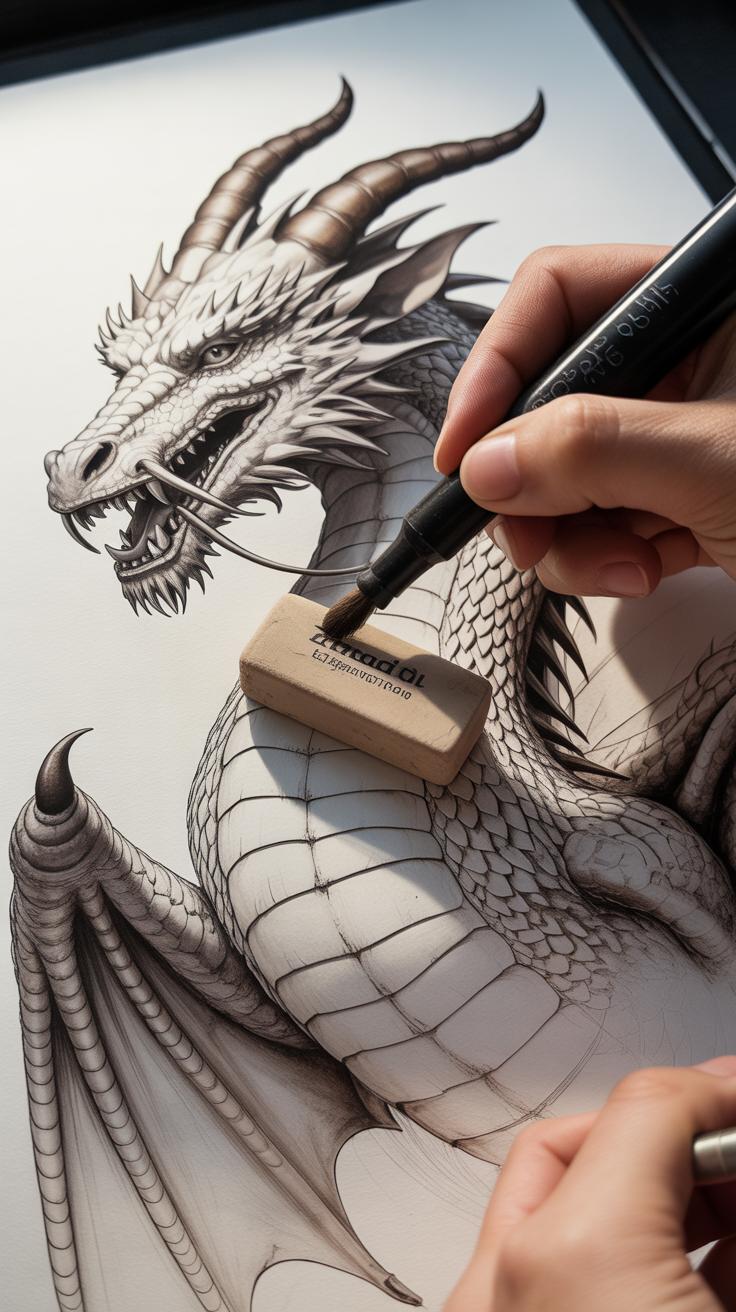
Sketching the Sea Dragon Outline

Start your sea dragon sketch by keeping your pencil strokes light. This gives you room to adjust as you go, without leaving heavy lines that are hard to erase later. Picture the overall shape before putting anything on paper—it helps with placement and balance. Don’t worry about details yet; focus on the big picture first.
Think about proportions. The head usually shouldn’t be too big compared to the serpentine body, but there’s no strict rule. Maybe your sea dragon has a longer tail or a squat body—experiment a little. You might place the dragon diagonally across the page to make it feel dynamic rather than just straight and stiff.
Basic Shapes for Sketching
Break the complex form down by using simple shapes:
- Start with a large oval or elongated circle for the torso.
- Add smaller circles or ovals where the joints or fins will go.
- Use gentle curved lines to connect these shapes, forming the neck and tail.
- Sketch a rounded triangle or diamond shape for the head, placing it slightly forward for a natural flow.
This approach keeps the shapes manageable and helps you erase or change the form without stress.
Correcting Mistakes on Sketch

If something looks off, don’t be afraid to redraw it. Maybe the tail is too thick or the fins are oddly placed—light lines mean you can erase these without a fuss. I often find myself redrawing parts several times before feeling satisfied. Sometimes, it helps to step back, look at your drawing from a distance, or even flip the paper upside down. This tricks the eye into seeing things differently.
Remember, the outline is just a foundation. It should feel loose and adjustable. The goal is to create a shape that feels right to you before locking it in with color.
Layering Colors with Color Pencils
When working with color pencils on your sea dragon, layering is key to adding depth and texture that make the creature feel alive. I usually start with gentle, light strokes, barely grazing the paper, to lay down the base hues. This light first layer serves as a soft foundation, letting you build up colors gradually without overwhelming the drawing right away.
Starting with light colors has a few benefits. It’s easier to correct mistakes or adjust tones early on. Plus, it prevents the surface from becoming too waxy or saturated too soon, which can be tricky to work over. Once the base is set, you can slowly add darker shades. This not only enhances the shadows but also builds volume around the dragon’s scales and body contours.
For blending and shading, there are a few simple tricks that I often use. Try layering one color over another using small circular motions to avoid harsh lines. Sometimes, I use a lighter color pencil or even a white one to gently smooth out areas where colors meet. If you want a softer gradient, pressing lightly and blending in stages works better than heavy pressure all at once. You might find your own rhythm experimenting with these techniques, so don’t hesitate to test out what feels right for your piece.
Adding Details with Fine Markers

Fine-tip markers are your secret weapon for turning a flat sea dragon drawing into something alive and tactile. Once you’ve laid down the color pencil layers, these markers help sharpen edges and tease out intricate details you might have missed or couldn’t do with pencils alone.
Outlining the Drawing
Careful outlining is more than just tracing; it’s about knowing where to push the eye. Use a fine marker to follow along important contours—the jawline, spines, fins—where the form shifts abruptly. Darker, deliberate lines draw attention to those areas, while lighter touches suggest a gentle transition. Sometimes, I find myself hesitating, wondering if I should outline everything or just the key shapes. Usually, less is more. Try outlining only parts that define the dragon’s structure rather than every visible edge. It helps keep the drawing from feeling too harsh.
Creating Texture with Marks
Texture with markers isn’t about shading; it’s about suggestion. Tiny dots can hint at scales or rough patches, while short, sharp lines might suggest wrinkles or ridges on the skin. Experiment by tapping or gently scratching with the tip to create these micro-patterns. Think of these marks as clues rather than complete descriptions—they make the dragon’s skin feel lived-in without overwhelming the smooth color layers beneath. I find that mixing dots and lines in small clusters really sells the illusion of a mineral-like scaly surface. Your hand may tremble a bit, but that natural imperfection adds character.
The key is subtlety. Overdoing these details might distract. But when done right, the fine markers give your sea dragon a quiet depth that pencils alone can’t achieve. What small details do you feel bring your mythical creature to life? Maybe tiny scars, rough pads, or delicate fin veins—all become possibilities with these tools.
Enhancing Colors with Bold Markers
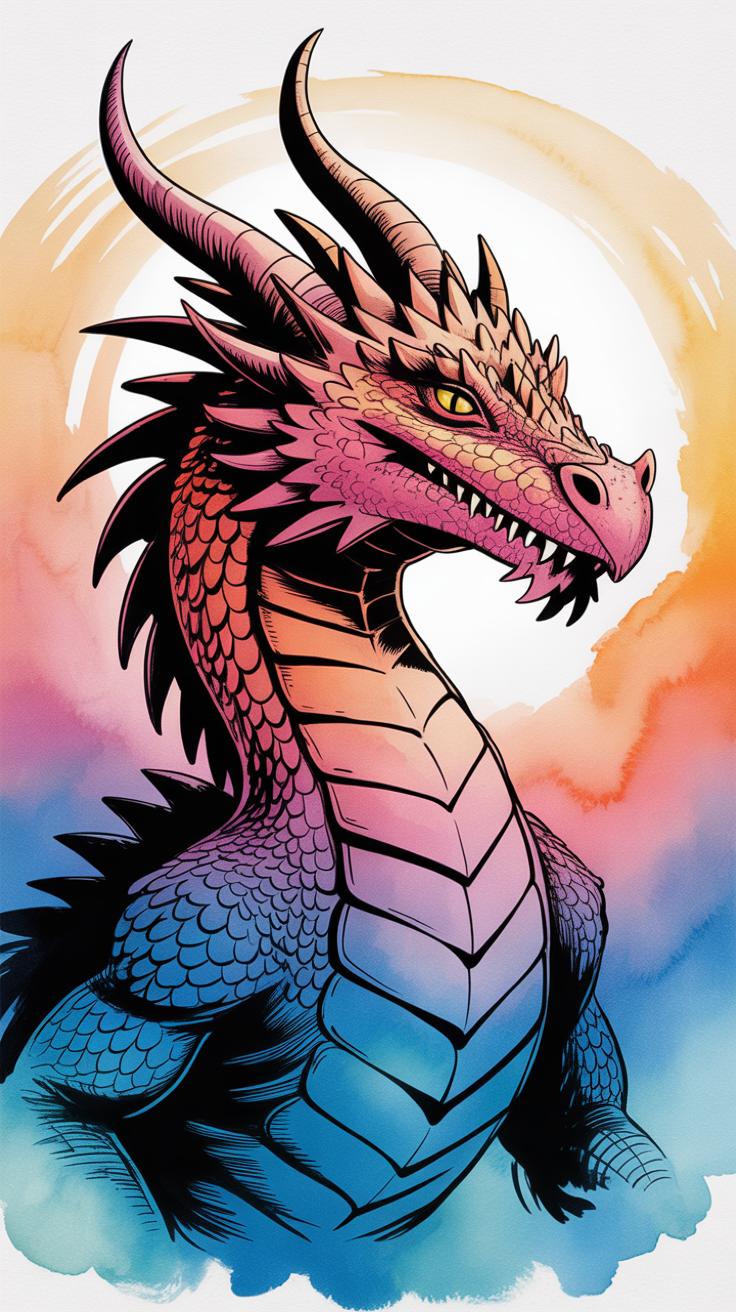
Using broad-tip markers can really shift your sea dragon artwork from flat to striking. These markers bring a kind of brightness and saturation that’s hard to achieve with color pencils alone. I often reach for broad markers when I want to lay down vibrant patches of color quickly, like the shimmering scales or the glowing fins of the dragon.
Choosing where to apply these bold colors is key. Think about areas where light might naturally hit the sea dragon—around the head, the crest, or along the edges of scales. Bright blues, fiery oranges, or vivid greens can add life without overwhelming the softer pencil tones underneath.
Balancing markers and pencils? That’s a bit tricky. Markers tend to be intense and unforgiving, while pencils offer subtlety and texture. What helped me was layering the pencils first, then using markers to highlight or deepen specific areas. Avoid coloring over large pencil sections with a marker, or your nuanced shading can disappear. Instead, apply markers in smaller strokes or patches to complement the pencils, letting both tools have their say without one drowning out the other.
Have you ever noticed how a too-bright spot can feel off, almost out of place? That’s why testing marker colors on a scrap piece before adding them to your sea dragon can save some headaches. Sometimes a slightly muted tone feels brighter next to pencil shading than a full-on neon color. It’s a balance, really—bright but not blinding.
Final Touches and Corrections
Once you feel your sea dragon is mostly complete, it’s time to take a step back and really look at it. Sometimes, when you stare too long, you miss little things that could bring your drawing to life even more. Ask yourself: are the scales defined enough? Is the shading consistent? Does any area look flat or unfinished? Often, the edges of fins or the curves of the dragon’s body might need sharper lines to make them stand out.

Focus on parts that feel dull or unclear. Maybe the tail needs a bit more color or the eye could use a darker outline for depth. Don’t shy away from going back with your markers or pencils to add subtle layers where needed. Small adjustments create balance without overwhelming your work.
Using an eraser can be surprisingly helpful. Lightly rubbing certain spots can soften overly dark colors or create gentle highlights. I’ve found this works well along the dragon’s spine or fins where light might naturally touch. White pens, then, add the final sparkle. Think about where light hits wet scales or reflective water and place tiny white marks — a few dots or thin lines — to simulate that gleam. Those little details often pull the whole piece together.
Be patient. Sometimes it’s tempting to rush these final tweaks, but a careful eye now saves frustration later. Don’t hesitate to set your drawing aside for a day and return with fresh eyes. You might notice subtle fixes you missed before. What do you think needs just one more touch?
Displaying and Caring for Your Art
Keeping Your Drawing Safe
Once your sea dragon drawing is finished, protecting it becomes key. Color pencils and markers can be delicate, especially if left exposed. Wearing clean, dry hands while handling your art helps avoid smudges. You might want to place a clean sheet of paper under your hand when you’re working, just to keep oils from your skin from messing with the colors.
Spraying a light fixative can also protect your sea dragon, but be cautious—some fixatives might change marker colors slightly. Testing on a scrap piece first can save a headache. Another simple tip: store your artwork flat and away from direct sunlight. Sunlight can fade colors over time, especially those bright markers you used for the dragon’s fiery scales. If you need to transport it, use a rigid folder or a portfolio case to prevent bending or creasing.
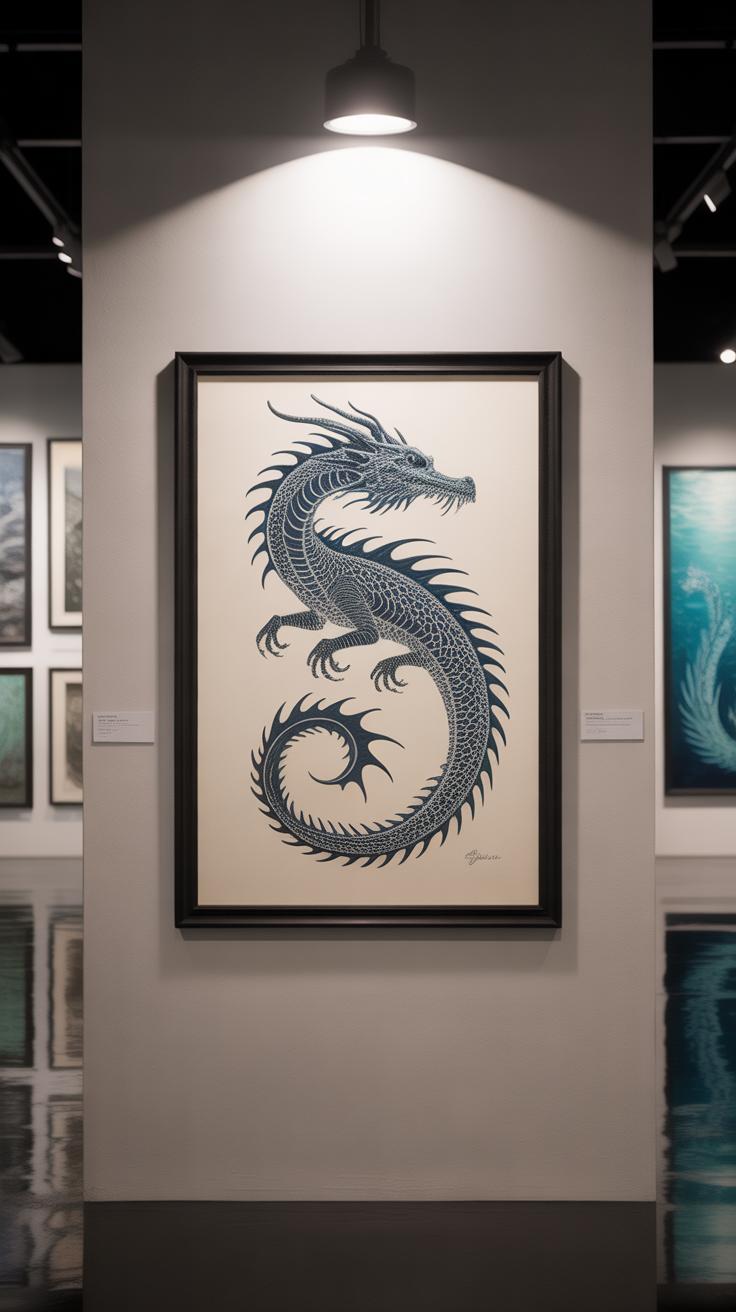
Framing and Showing Your Work
Framing your sea dragon can transform it from just a drawing into a real centerpiece. Consider frames with UV-protective glass to shield colors even further. You don’t need to splurge on fancy frames—simple wooden or metal frames work well and keep the focus on your art. Adding a white or light-colored mat around the drawing can help it stand out, giving your sea dragon some space to “breathe.”
Thinking about sharing your work? Present your drawing in a portfolio or even as a handmade card for family and friends. Sometimes, slipping it into a clear plastic sleeve and attaching it to a clipboard lets you swap out displays easily. What sort of reaction do you expect when others see your sea dragon? Maybe framing it is less about perfection and more about showing pride. Either way, little details in presentation matter more than you might think.
Conclusions
By working with color pencils and markers, you get a versatile range of colors and effects to design your sea dragon. These tools let you add fine details and bright highlights that can make your drawing look more real and interesting. With practice, your skills will improve, letting you express your imagination clearly.
Your sea dragon drawing is a unique project that shows how simple tools can create complex art. Keep experimenting with layers, shades, and colors to find your style. Use the tips in this article to build confidence and enjoy the process of turning your idea into a beautiful art piece.


