
Introduction
Resin work offers a versatile and rewarding craft that allows you to create beautiful, durable items. This article explores various resin work ideas aimed at helping you level up your skills. Whether you’re a beginner or have some experience, these ideas and techniques will inspire your next project and improve your craftsmanship.
You will learn about creative project ideas that incorporate resin and effective techniques to handle the material better. The article covers topics like choosing the right resin type, working safely, and how to add effects and details to your resin crafts. Dive in and discover how to make stunning resin projects that showcase your talent.
Understanding Resin Types and Their Uses
When you start working with resin, knowing what type you’re dealing with really shapes your project’s outcome. The three main resins in crafting are epoxy, polyester, and polyurethane. They each behave differently, so picking the right one depends on what you want to do.
Epoxy resin is often favored for its clarity and smooth finish. Imagine making a jewelry piece or a tabletops where a glossy, glass-like look is desired. Epoxy cures slower, giving you more time to work with it, but it might be sensitive to temperature while curing.
Polyester resin is cheaper and cures faster but can be trickier with fumes and often less clear. It’s usually used when hardness is key, like in fiberglass repairs or molds, but it’s more brittle and prone to yellowing over time.
Then there’s polyurethane resin. It’s versatile and tough but can react differently depending on the additives or hardeners involved. It’s useful for casting flexible or impact-resistant objects but sometimes requires precise mixing and conditions.
Choosing the right resin isn’t just about cost or appearance. It affects curing time, durability, flexibility, and even how easy it is to clean your tools afterward. Sometimes, what works for one project could be a nightmare for another. So, asking yourself what matters most—clarity, hardness, or flexibility—helps in making that decision.
Epoxy Resin Benefits and Challenges
Epoxy resin is popular among crafters because of its clear, glossy finish. I’ve tried it on coasters and small jewelry, and the results were satisfying—almost like glass. Its curing time usually ranges from a few hours to a day, giving you time to arrange inclusions or work with layers. This slower cure feels helpful if you’re a bit slow or unsure.
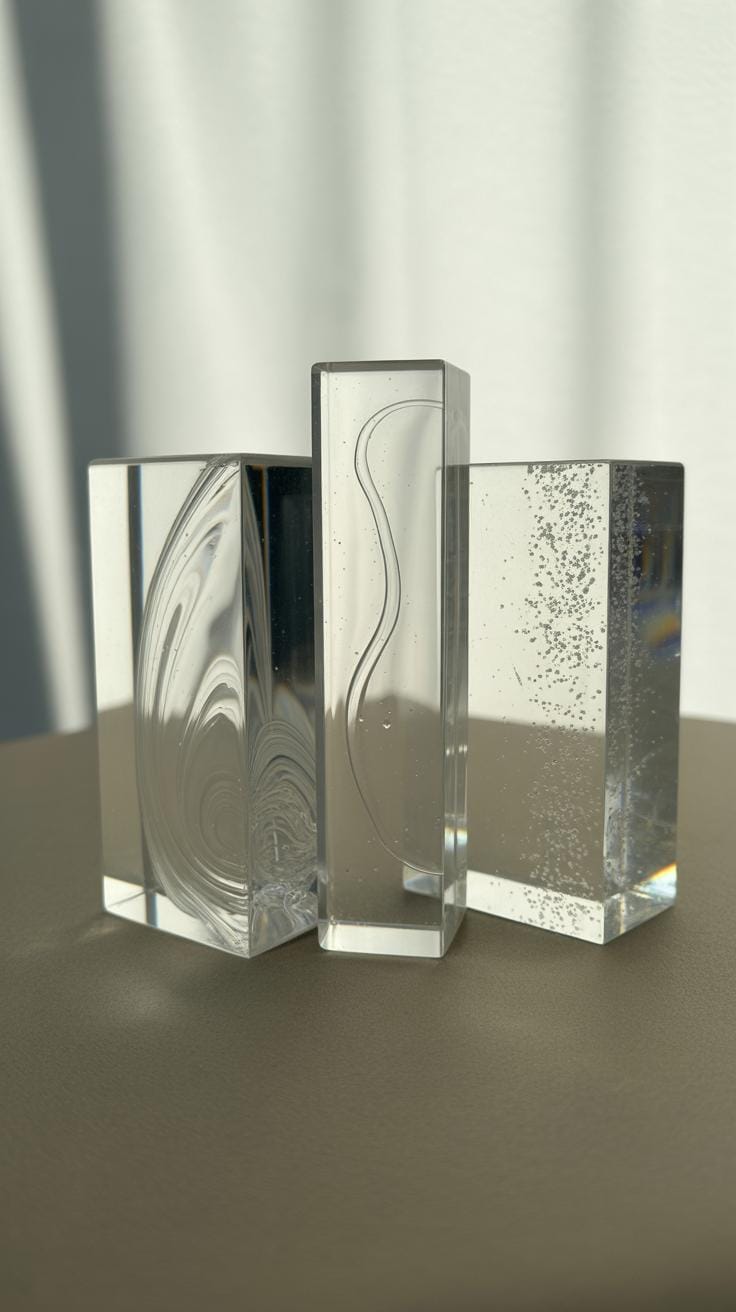
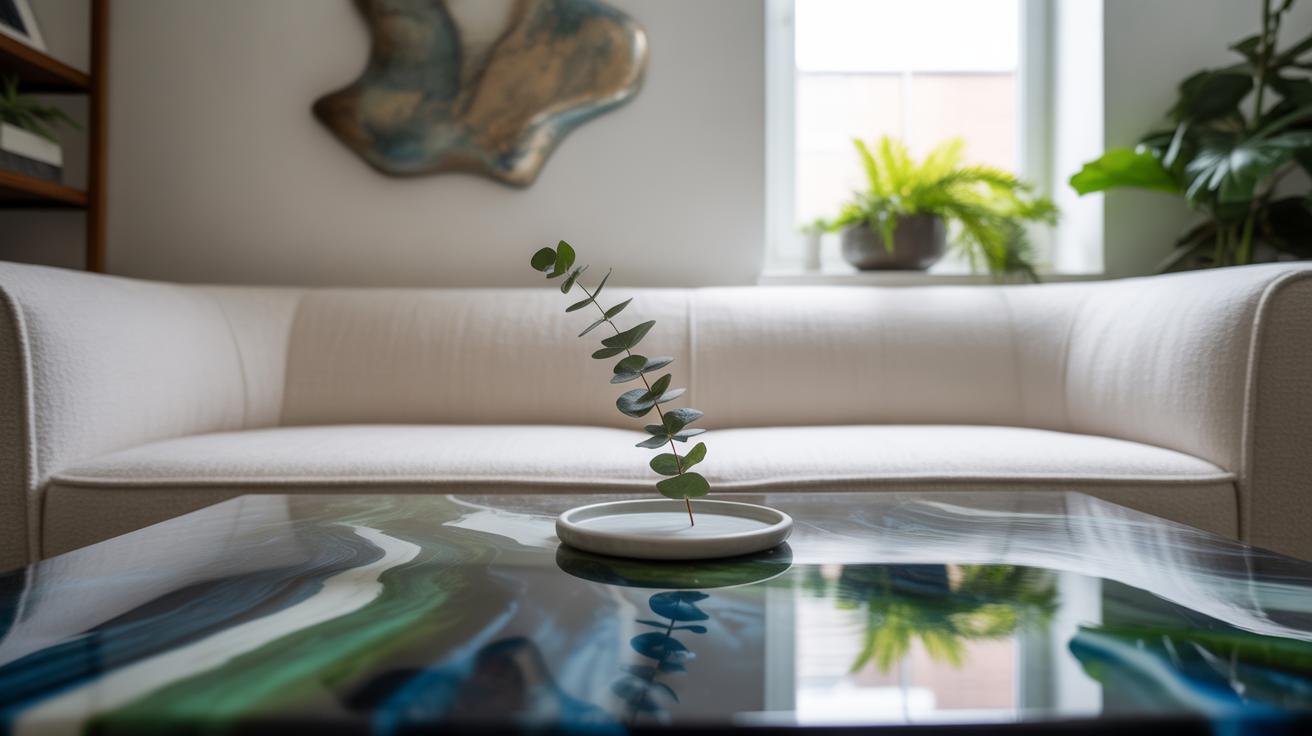
It also hardens to a strong, scratch-resistant surface. But it’s not without quirks; if the room is too cold or humid, you might get cloudiness or bubbles. Working faster or in the wrong conditions can ruin the finish. So, epoxy is ideal for projects where clarity and strength count, like tabletops, paperweights, or art pieces.
Polyester and Polyurethane Resins Overview

Polyester resin has been around longer, often seen in boat repair or fiberglass casting. It’s cheaper than epoxy and cures faster, but the fumes can be quite strong, so ventilation is key. Polyester often ends up a bit more brittle and less transparent, which suits tougher applications more than delicate crafts.
Polyurethane resin offers a middle ground in terms of flexibility and toughness. It can be softer or harder depending on the formulation. I once used it for making a flexible mold, which epoxy just wouldn’t handle. But its mixing ratios are usually strict, and it can be sensitive to moisture, so mistakes happen.
Both types require good airflow and protective gear—breathing in fumes is never a good idea. For beginners, starting with epoxy might feel safer and more forgiving. Yet, exploring polyester or polyurethane opens doors to different textures and effects, if you can manage the safety and technique.
Preparing Your Workspace for Resin Projects

Resin work demands more than just creativity—it needs a well-prepared space where safety and order come first. Ventilation is crucial. Resin fumes can build up quickly, and even if they don’t smell too strong at first, breathing them in repeatedly isn’t wise. Setting up near an open window or using a fan to move air helps a lot. You might even consider a small air purifier if your space is tight. The goal is constant airflow, so fumes don’t linger.

Surfaces should be tidy and smooth. Dust or crumbs end up trapped in your resin finish, and spills get tricky when your workspace is cluttered. A disposable table cover or silicone mat can keep things clean and save you hours of scrubbing. Temperature is another factor that many overlook. Resin behaves differently when it’s too cold or too hot—you might notice slower curing or bubbles forming. I usually keep a thermometer nearby to check the room stays around 70–75°F. That range seems most forgiving for most resins.
Safety Gear and Ventilation Tips
Gloves are non-negotiable. They protect your skin not only from sticky resin but also from chemicals that can cause irritation or worse with repeated exposure. Masks may feel inconvenient, but I found that a proper respirator with organic vapor cartridges makes a big difference. A simple dust mask won’t do the job with fumes. And don’t forget the eyes—goggles shield you from splashes and dust. Putting on your gear should be routine. It slows you down a bit but keeps surprises away.
Airflow pairs with gear to keep you safe. If you don’t have a specialized ventilated booth, think about timing your work to coincide with the best air movement—for example, when you can open windows on opposite sides of the room. Even a clip-on fan directed toward a window helps push fumes out.
Organizing Tools and Materials
Keeping tools and supplies neat changes everything. I’ve learned the hard way that mixing resin beside pigments and molds scattered everywhere spells trouble. Use bins or drawer organizers to separate pigments, molds, mixing sticks, and resin bottles. Label items if you can—it saves guesswork and panic.
Arrange the tools in the order you use them. Maybe keep molds on one side, resin and hardener on another, and your measuring cups right in the center. This way, your flow isn’t broken, and the risk of spills or mixing mistakes stays low.
That said, my space is never perfectly neat—it’s more about creating habits that keep things manageable. You’ll find what works with some experimentation. But a clean, ventilated, and organized workspace really makes resin projects less stressful and more enjoyable.
StepbyStep Guide to Basic Resin Casting
Starting a resin casting project often feels a bit intimidating, but it doesn’t have to be complicated. The most basic approach involves careful mixing, pouring, curing, and finally demolding. You’ll begin by combining your resin and hardener in the right proportions — usually, that’s a 1:1 or 2:1 ratio, depending on the type you have. Measuring precisely is crucial here; too much hardener or resin can lead to sticky or brittle results.
When mixing, stir slowly but thoroughly. You want to avoid rushing; vigorous mixing traps bubbles, and bubbles are… well, frustrating in a clear cast. I usually mix with a wooden stick, scraping sides and bottom gently to ensure everything blends. Sometimes even an extra 30 seconds of mixing can make a big difference.
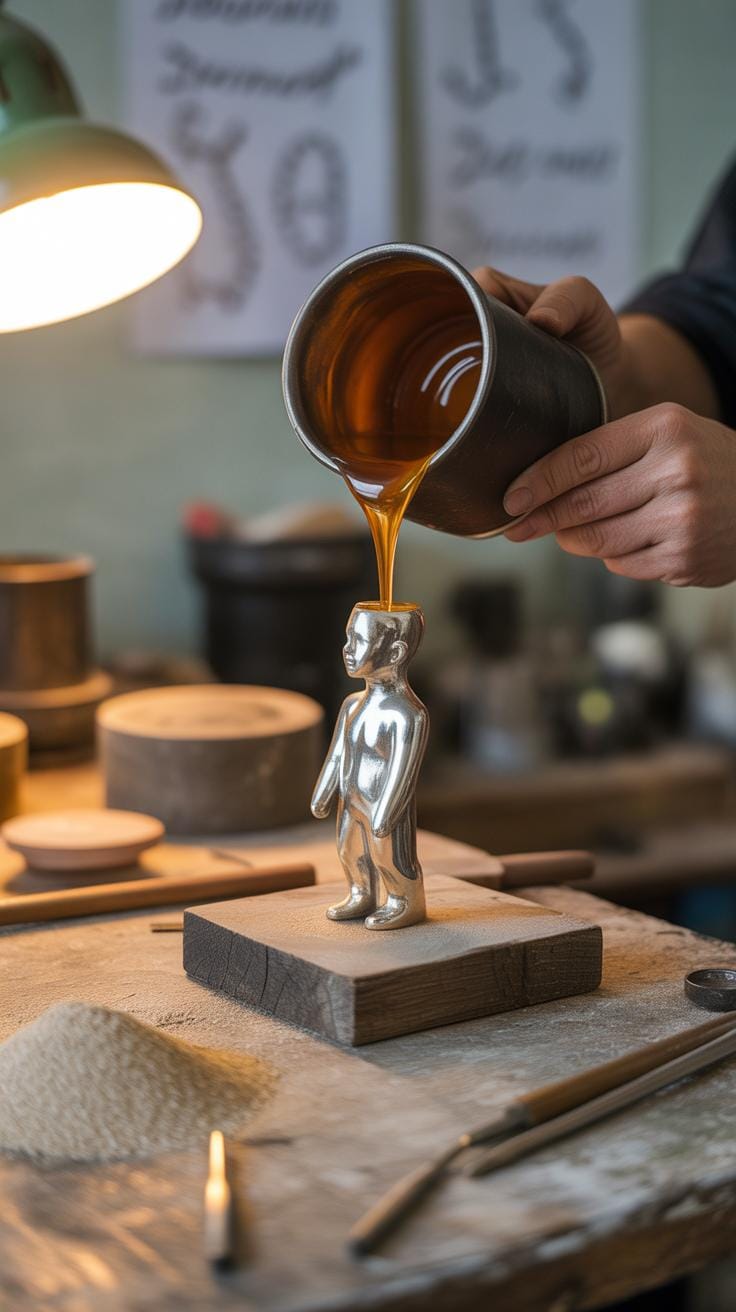
Pouring your resin requires a steady hand. Pour close to the mold surface to prevent splashing and reduce air bubbles. If bubbles do appear, a quick pass with a heat gun or even blowing gently with a straw can help. After pouring, let your mold sit somewhere stable, away from vibrations or drafts, because curing is a slow process and any movement can affect the surface finish.
Maintaining a consistent temperature aids curing. Around 70°F is often ideal. Too cold, and the resin cures unevenly; too warm, and it might cure too fast, causing imperfections. Curing can take from several hours to over a day, depending on your resin. Finally, when it feels firm but still a tiny bit soft underneath, that’s usually the best time to demold—wait too long or too short, and cracks or sticking might occur. You’ll get a feel for it after a couple tries, I promise.
Creative Embellishments to Enhance Resin Projects
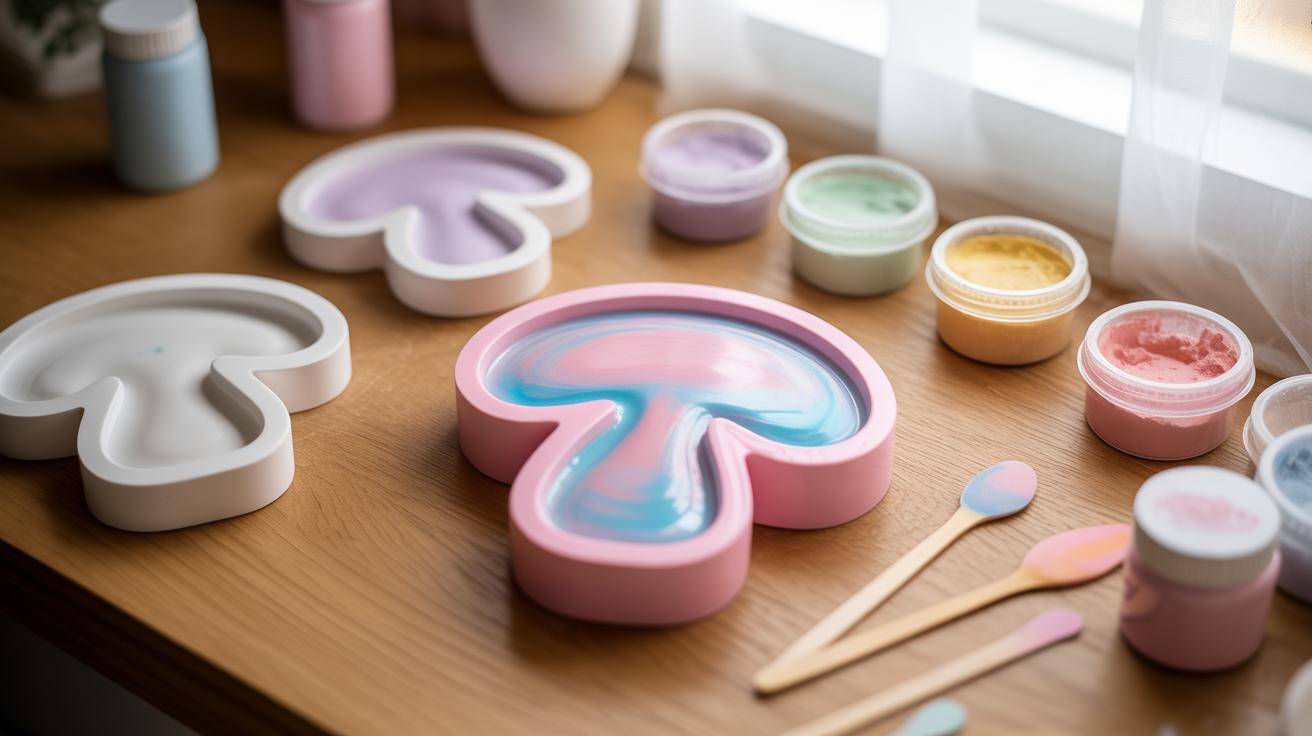
Adding color and texture to resin can really change how your pieces look, and it’s easier than you might think to experiment with different materials. Pigments, dyes, and paints each bring something unique to the table. For example, pigments like mica powders create a subtle shimmer and depth, while liquid dyes offer strong, transparent hues that can be layered for interesting effects.
Mixing these into resin isn’t always straightforward though. Sometimes a little too much pigment changes the resin’s curing time or causes cloudiness. I find that starting with small amounts and testing your mixture before pouring helps avoid surprises. Don’t be afraid to combine different coloring materials — a bit of pigment with a splash of dye can give unexpected results.
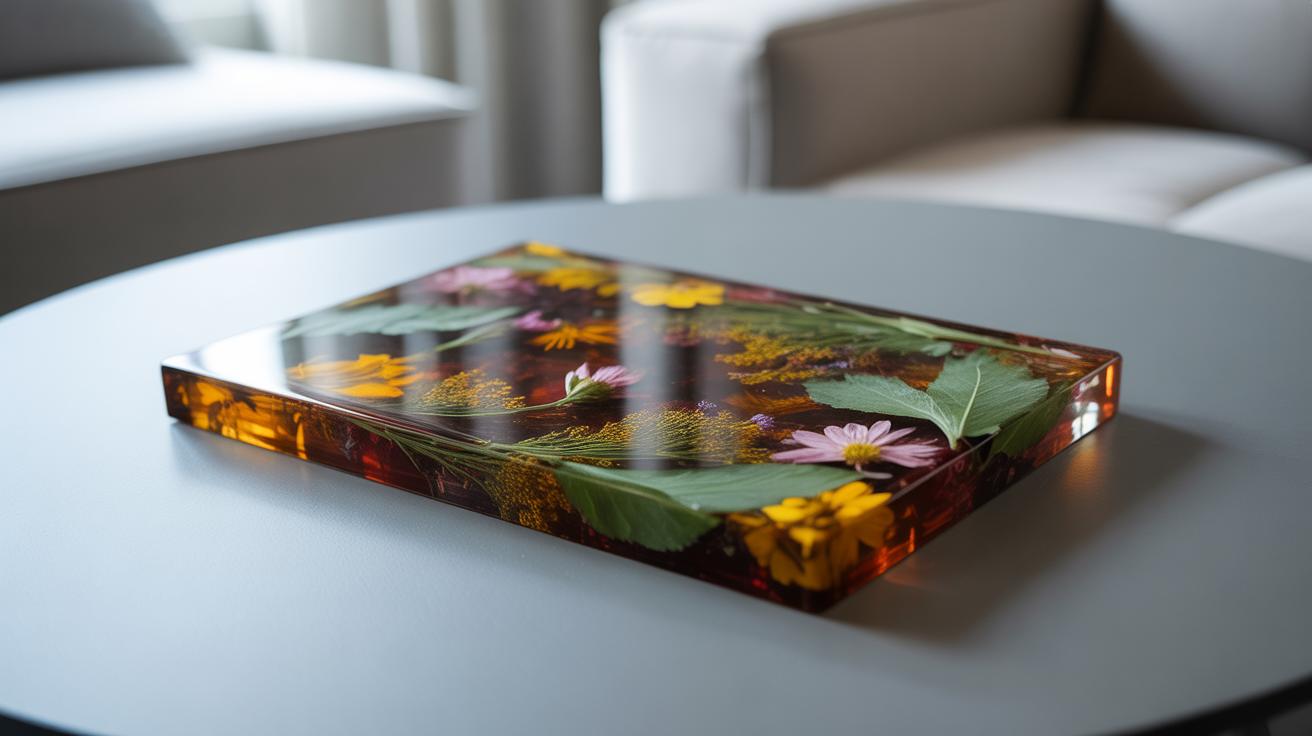
Embedding objects inside resin is another way to boost dimension and interest. Dried flowers, for example, preserve well and add natural beauty, but sometimes their colors fade or they trap moisture. Glitter or metallic flakes bring sparkle, but they can shift during curing if not secured in layers.
Some ideas you might try:
- Small trinkets like buttons or charms placed carefully to enhance the design
- Organic materials such as leaves or sand for texture
- Using layers to embed objects at different depths for a three-dimensional effect
One experiment I tried was putting tiny beads on a partially cured layer and then pouring resin over it to “lock” them in place. The result felt more dynamic than sinking everything in at once.
What objects do you think could add a personal touch to your resin work? Sometimes the simplest additions create the most discussion.
Advanced Techniques for Resin Art
Layering and Adding Depth
Pouring resin in layers can transform a simple piece into something more complex and intriguing. Instead of mixing everything at once, you work in stages—pour a thin layer, let it cure partially or fully, then add more layers with different colors, objects, or effects.
This method builds depth, literally and visually. For example, you might embed small flowers or glitter in one layer, then cover it with a clear resin layer, making those elements appear suspended in space. It feels a bit like painting but with a three-dimensional twist.

Patience is key here. You’ll want to avoid mixing layers too soon or too late because that could cause unwanted blending or bubbles. The timing depends on your resin’s cure time and temperature; it’s not always predictable, so some trial runs could help.
Do you want completely separate layers or soft transitions? Playing with different opacities can also add subtle effects that keep the viewer curious. It’s a technique that pushes you to think about how each stage interacts with the next.
Resin Jewelry Making Basics
Creating resin jewelry shifts your focus to smaller, more detailed work. Mold choice is the first critical step—silicone molds work best because they’re flexible and let you pop out cured pieces easily. They come in countless shapes, from simple circles to intricate leaf patterns.
When pouring resin into molds, keep in mind the curing process. It’s crucial to avoid overfilling; a little extra resin can spill over edges, ruining the look. Also, think about layering here too. A thin base layer at first can help keep everything stable before adding embellishments.
Finishing touches matter more than you might guess. After curing, many pieces need sanding to smooth out rough edges. Buffing can restore shine, especially if the resin clouds slightly during curing. Some people apply a clear gloss topcoat for that extra polish.

Have you tried mixing pigments or small inclusions in jewelry? It’s a neat way to personalize pieces. But, be aware—too many additives can affect curing times and the final hardness. Expect some trial and error to find the right balance for your style.
Troubleshooting Common Resin Issues
Bubbles and Surface Imperfections
Those tiny bubbles that pop up in your resin can be frustrating. They often come from trapped air—maybe swirling in while mixing or caught on the surface. Even small movements stir things up more than you might think. Temperature also plays a role. If your resin or workspace is too cold, bubbles may have trouble escaping.
Here are some ways to tackle this:
- Mix resin slowly to avoid whipping air in. Fast stirring actually invites more bubbles.
- After pouring, try passing a heat gun or torch over the surface briefly. That heat helps bubbles rise and pop. But don’t linger too long or the resin may get uneven.
- Pour your resin into molds or surfaces in thin layers. Thicker pours hold bubbles longer and make it trickier to get a clear finish.
- Let resin sit for a few minutes after mixing—sometimes, bubbles just need time to escape before pouring.
I’ve noticed that using a warm area to work, around 75 degrees Fahrenheit, also reduces bubbles. Cooler spaces seem to trap air pockets more stubbornly.
Sticky or Soft Resin Fixes
Sticky resin can really halt your project’s progress. The culprit often boils down to an incorrect resin-to-hardener ratio. Even a slight imbalance can leave a tacky surface. Plus, pouring in a humid environment sometimes interferes with the curing process, leaving the surface soft.
If your resin feels sticky after curing, here’s what you might try:
- Allow extra curing time. Sometimes resin cures fully if given more time, especially in cooler conditions.
- Mix your components very thoroughly. Incomplete mixing often feels like a sticky finish.
- If tackiness persists, you can gently wash the surface with isopropyl alcohol—this sometimes helps remove sticky residue.
- In stubborn cases, applying a thin topcoat of fresh resin and curing it might seal and harden the surface properly.
It’s tricky. Sometimes you think you nailed the ratios only to find stickiness anyway. I’ve had batches where I was sure everything was right, and humidity seemed the real problem. Maybe try tracking your environment next time and see if that changes results. There’s always a bit of trial in resin work, after all.
Caring for Finished Resin Projects
Cleaning Resin Surfaces
Resin surfaces can look stunning when freshly finished, but keeping them pristine takes some care. Avoid using abrasive cleaners or rough cloths—they can scratch or dull the smooth finish, even if it doesn’t seem obvious at first. Instead, a microfiber cloth paired with mild soap and warm water usually does the trick. Gently wipe rather than scrub. If you notice dust settling in tiny grooves or textures, you might try a soft-bristle brush to loosen it without harm.
Sometimes, oily fingerprints or smudges are tricky to remove. A little isopropyl alcohol on a soft cloth can help, but test a small area first. Too much rubbing or harsh chemicals can cloud the resin over time. Patience here pays off more than just force. You might wonder how often to clean resin pieces—well, it largely depends on their use and exposure. For example, jewelry worn daily may need more upkeep than décor sitting on a shelf.
Protecting Resin from Damage
Resin’s biggest enemy is exposure—especially UV light, which gradually causes yellowing. Storing resin crafts away from direct sunlight or bright indoor lighting extends their lifespan. Some types of resin offer better UV resistance, but even so, consider UV-protective sprays or keeping pieces covered or in cases when not in use.
Scratches and impacts are another concern. Resin can handle some knocks, but it’s not indestructible. When storing, try wrapping delicate items in soft cloth or using padded containers. Avoid stacking heavy objects on top of resin pieces; the weight can leave dents or cracks. When using resin tabletops or coasters, placing felt pads underneath can prevent surface damage.
Every so often, you might ask: is it better to display resin works openly or keep them protected? The answer isn’t clear-cut. Open display risks dust and UV exposure, but it lets your craft breathe and be enjoyed. Thoughtful placement, balancing protection with visibility, seems to work best. After all, resin is supposed to be seen, isn’t it?
Inspiring Resin Work Ideas to Try Next
Simple Projects for Beginners
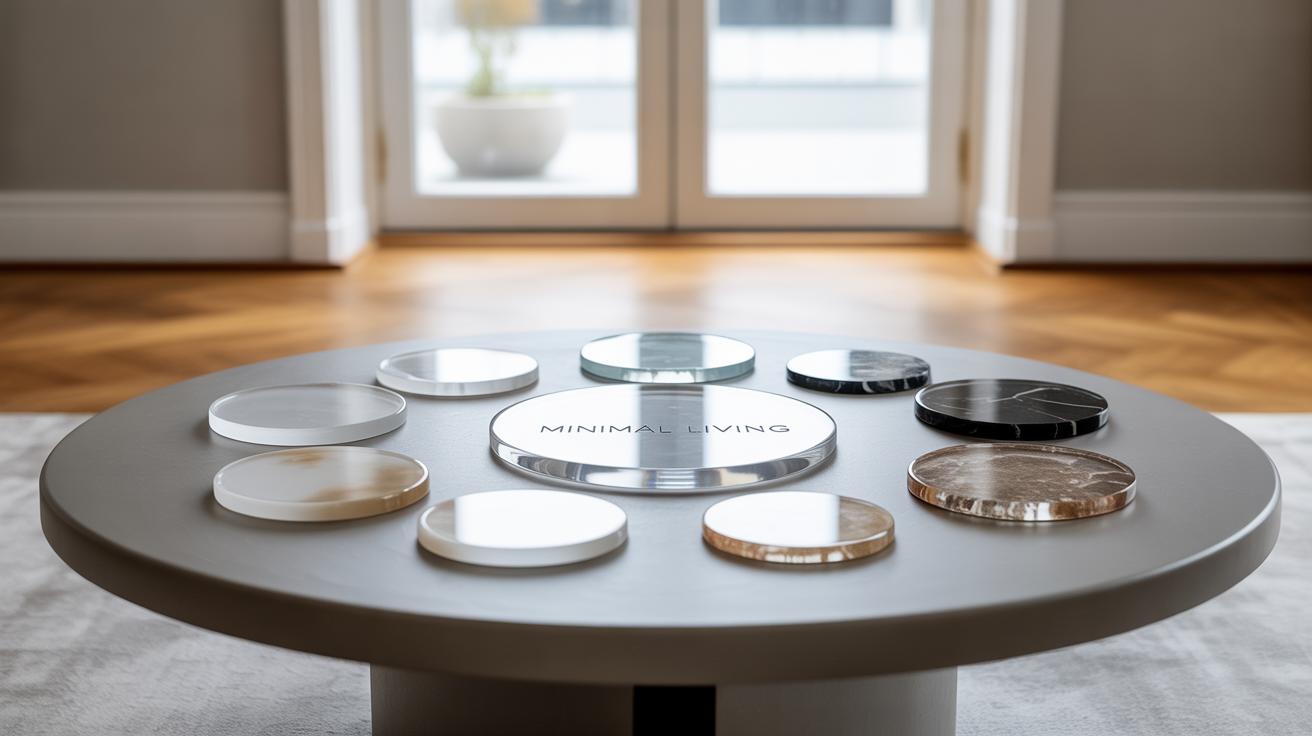
Starting with resin can feel a bit daunting, but certain projects make it easier to get your hands wet—literally. Coasters are a go-to choice because their small, manageable size helps limit waste and curing time. Plus, you can play around with embedding small objects like dried flowers or glitter without committing to a large piece.
Keychains are another beginner-friendly project. Their size encourages experimentation with colors and molds without requiring perfect finishes. You don’t need tons of resin, so mistakes don’t feel like disasters. These little projects let you see results fast, which can really boost your confidence early on.
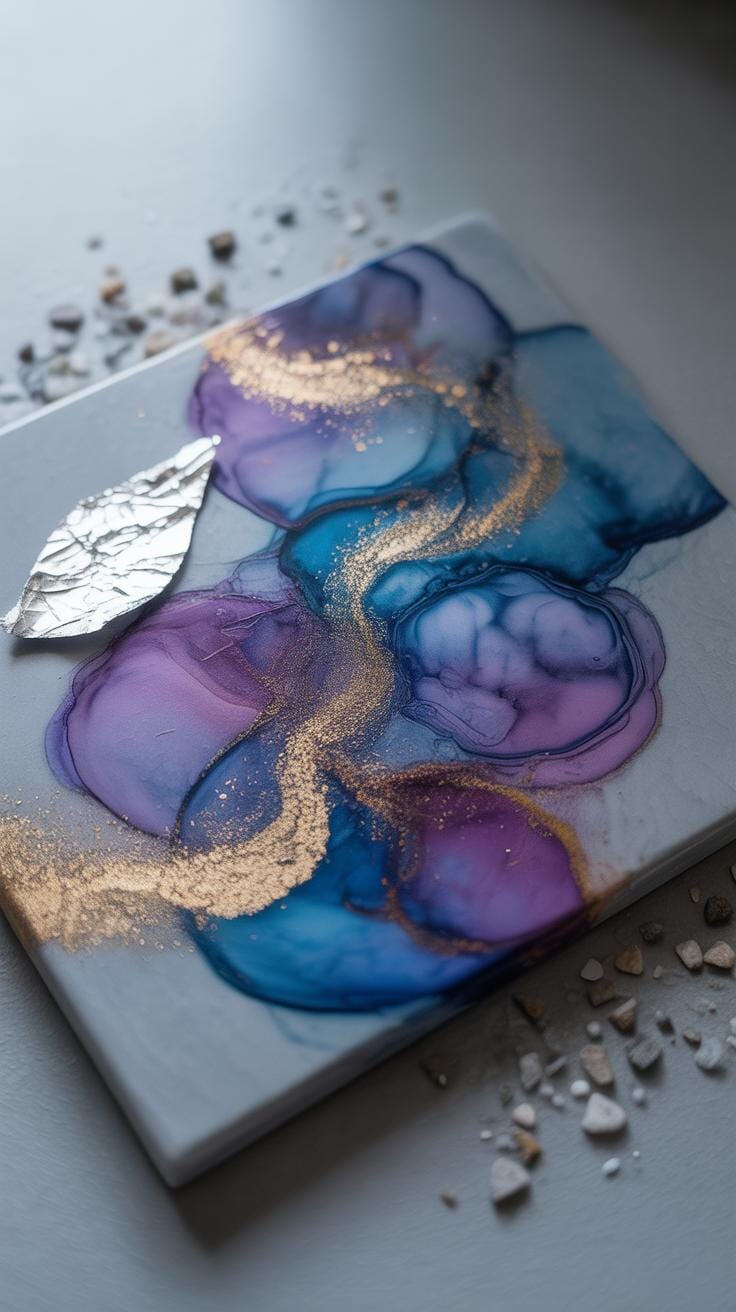
Even simple art panels, like small square plaques, work well for practicing color mixing and layering. You’re free to explore techniques like swirling or marbling, and they dry quickly enough to try multiple times. Maybe you’ll find one style that unexpectedly sticks with you.
Complex Projects for Skill Building
If you want to push your resin skills, tabletops are a good challenge. These require steady mixing, careful pouring, and a keen eye for bubbles and dust. You’ll need patience, especially with large surfaces where resin can cure unevenly. But if you nail it, the results really stand out.
Art panels with embedded objects or multiple resin layers can stretch your skill set too. You’ll learn to control curing times, avoid cloudiness, and experiment with dimensional effects. It’s almost like sculpting with resin, but you need to plan every step carefully, or you might end up redoing entire layers.
Some also try resin jewelry that combines resin with metal components. This requires precision and a delicate touch to avoid spills and bubbles in tiny spaces. You might think it’s harder than it seems, partly because mistakes show instantly on such a small scale.
At the end of the day, I think the best approach is to pick projects that gently stretch your limits without overwhelming you. Each success—and every mishap—adds something to your resin journey.
Conclusions
Resin work has many layers, literally and figuratively. By exploring new projects and applying practical techniques, you build your skills and confidence. You learn how to control the material, create different textures, and add colorful or natural elements. These skills open doors to many creative possibilities and more complex artistic expressions.
As you practice, you find your unique style and enjoy the satisfaction of making something lasting and captivating. Keep experimenting with resin work ideas, allow yourself to learn from mistakes, and share your creations. Your journey into resin crafts can be a fun and fulfilling adventure that continually grows with your skills.


