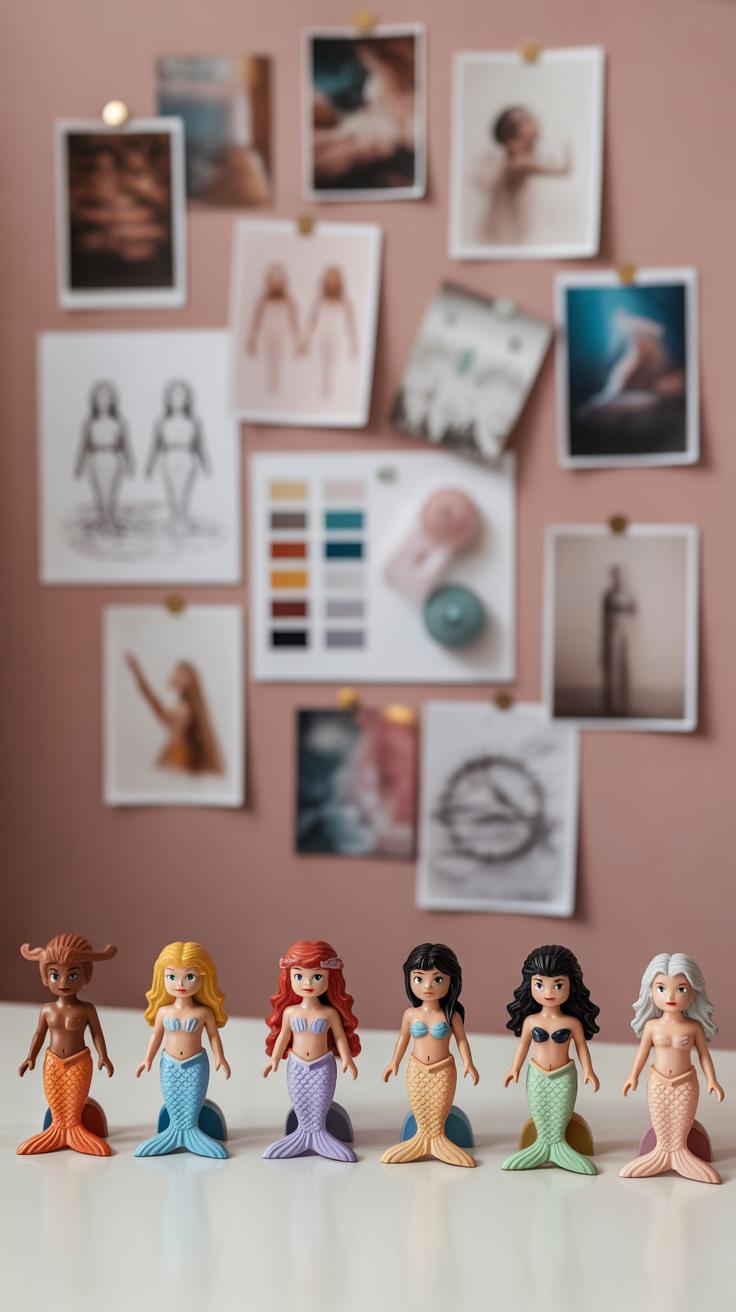
Introduction
Creating captivating illustrations of mermaids and mermen is a rewarding challenge. These mythical creatures combine human and aquatic features in enchanting ways. Understanding their origins and characteristics helps you design illustrations that stand out.
In this article, you will learn about the history and traits of mermaids and mermen. More importantly, you will discover practical drawing techniques. These will help you bring your own unique merfolk to life on paper or screen. Let’s dive into the world of mermaid and merman illustration!
Origins and Mythology of Mermaids and Mermen

Mermaids and mermen have swum through the waters of human imagination for centuries, popping up in stories from many cultures. Their origins are tangled with ancient seafaring and waterside communities who often looked to the ocean with both reverence and fear. Think of the sirens in Greek mythology—creatures who lured sailors to their doom with hypnotic songs. These figures blurred lines between mermaids and other sea beings, mixing allure and danger.
Across the globe, mermaids tend to share some traits: a human upper body melded with a fish tail below. But they don’t always mean the same thing. In some cultures, they’re protectors of the sea, benevolent and kind, while elsewhere they embody temptation or peril. Take Japan’s ningyo, described as a fish-like creature with a human face, rumored to bring misfortune if caught, contrasting with the Western charm of mermaids.
Mermen, the male counterparts, appear less often but have their own identities. Often depicted as strong, sometimes gruff figures with fish tails, they can represent the mystery or power of the ocean’s depths. Tales like those of the Celtic Suire or the Greek Triton, who was a sea god with a conch shell trumpet, show mermen acting as guardians or messengers. Their portrayals tend to be less seductive and more authoritative, yet still tied to human emotions and the sea’s unpredictability.
What’s curious is how mermaids often get more spotlight in stories, and sometimes they’re painted as either tragic or enchanting figures, while mermen can seem distant or even adversarial. Does this say something about how ancient storytellers viewed gender roles in relation to nature? Whether as symbols of beauty, danger, or the unknown, mermaids and mermen remain a compelling duality in myth—each reflecting different facets of human curiosity about the sea.
Key Features That Define Mermaids and Mermen
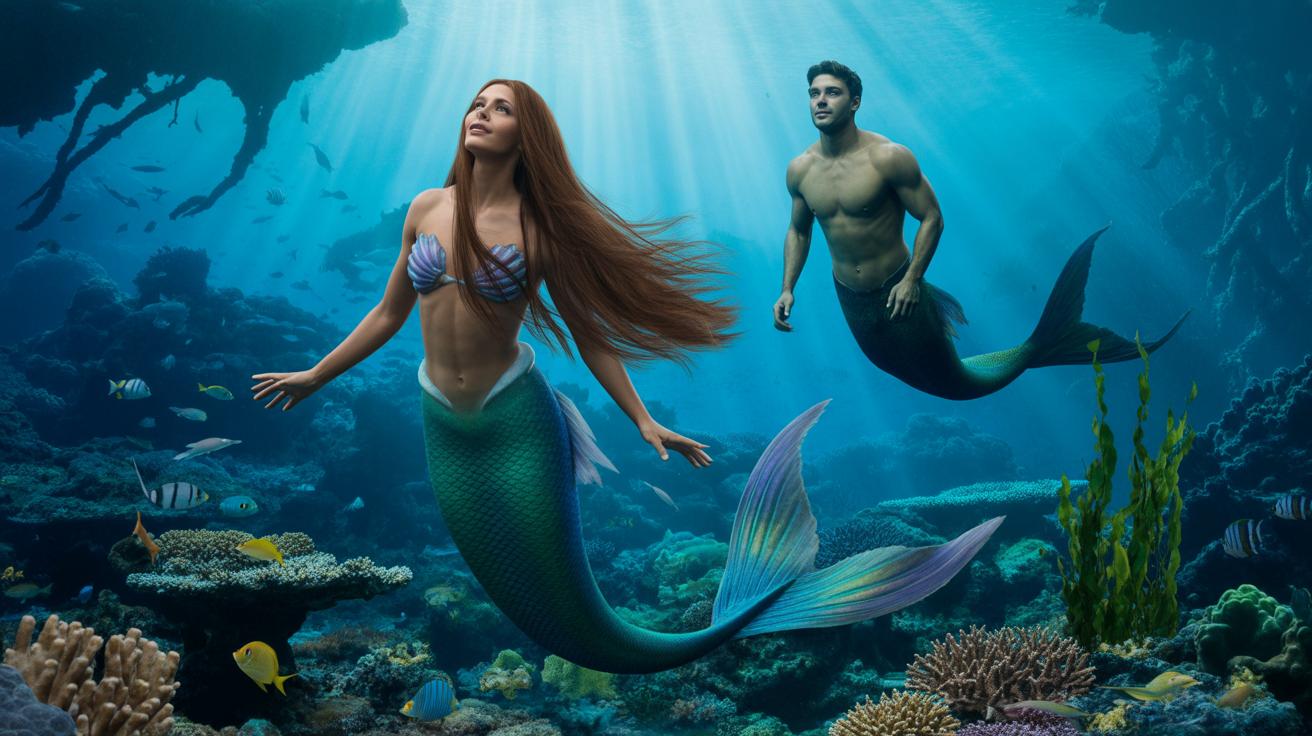
When illustrating mermaids and mermen, their most recognizable trait is the blend of human and aquatic parts. Usually, you’ll see a human upper body that transitions into a fish tail instead of legs. But here’s the thing: this combination varies widely. Sometimes the tail is sleek and slender, other times broad and finned, depending on the story or artistic style.
For the human features, the face is crucial—it needs to feel alive and expressive to connect with viewers. Don’t forget arms; they add motion and personality. Hair can float freely or cling to the skin, hinting at underwater currents or mood. These elements keep merfolk relatable, even in their fantastical form.
As for the fish side, scales are typical, but their size, shape, and color can differ a lot. Some tails have sharp fins that suggest speed or danger, while others appear soft and flowing. You might add details like gills or webbed hands, though those aren’t always present. Playing with these aquatic features lets you highlight either grace or strength—or a mix of both. Have you noticed how just tweaking a tail’s curves can make a mermaid feel more mysterious or playful?
Capturing Expressions and Personality
When you draw mermaids and mermen, it’s easy to get caught up in their fantastical features and overlook what really makes them come alive: their expressions and body language. The way you craft their faces and poses shapes how others perceive their stories — whether they’re mischievous, melancholic, or fierce. It’s not just about beauty or anatomy; it’s about the little details that hint at their mood or personality.
Face and Eyes
The eyes are the windows to your merfolk’s soul, or at least that’s how I see it. Designing eyes that show emotion can be tricky because you don’t want them to look flat or lifeless. Try altering the shape slightly — maybe rounder for innocence, narrower for suspicion or cunning. The eyebrows play a huge part, too. A subtle furrow or raised arch can totally change the vibe.
Expressions often don’t have to be dramatic. Sometimes a slight tilt of the head or a small smile reveals more than an overt grin. Think about the story behind your character’s gaze: are they staring longingly at the surface? Or maybe avoiding eye contact to hide a secret? Drawing the eyes in various lighting can also add depth and reinforce emotion.
Posture and Gesture
Body language speaks volumes, especially when words aren’t part of the picture. It’s worth spending time exploring how a simple gesture communicates a full narrative. A mermaid crossing her arms might seem defensive or thoughtful, while a merman reaching out with open palms might suggest openness or invitation.
Posture can set the whole tone. Slumped shoulders could imply weariness or sadness, while a straight, proud stance could radiate confidence or authority — maybe even a bit of arrogance. Hands are often overlooked but their positions make subtle statements. Fingers curling around a shell could suggest nervousness or possession.
Sometimes, mixing contradictory signals can make your character feel more genuine. For example, hopeful eyes paired with a tense posture might hint at an inner conflict or uncertainty. Don’t hesitate to test different combinations until you find what feels authentic and sparks curiosity in the viewer.
Choosing Color Palettes

Natural Color Choices
When working with mermaids and mermen, you might find it tempting to stick solely to familiar sea colors. Blues, greens, and pearly whites often work well—they are familiar, soothing, and suggest a certain realism or semi-realism that many artists appreciate. Imagine the subtle gradient of deep navy tails, blending into shimmering turquoise fins, or scales reflecting soft light like mother-of-pearl. These colors can give your characters a grounded feel, almost as if they could slip beneath the waves and exist in a coral reef or kelp forest.
Still, don’t feel limited to just these. Try shades of seaweed green or the muted browns you might see on ocean rocks. These offer texture and contrast, helping your illustration avoid flatness. Oddly, sometimes adding a splash of a dull coral or sandy beige can make blues and greens pop more. It’s about subtle balance, not perfection. Do you want your merman to be part of an ecosystem or stand apart from it? That question can help guide your choices here.
Creative and Fantasy Colors
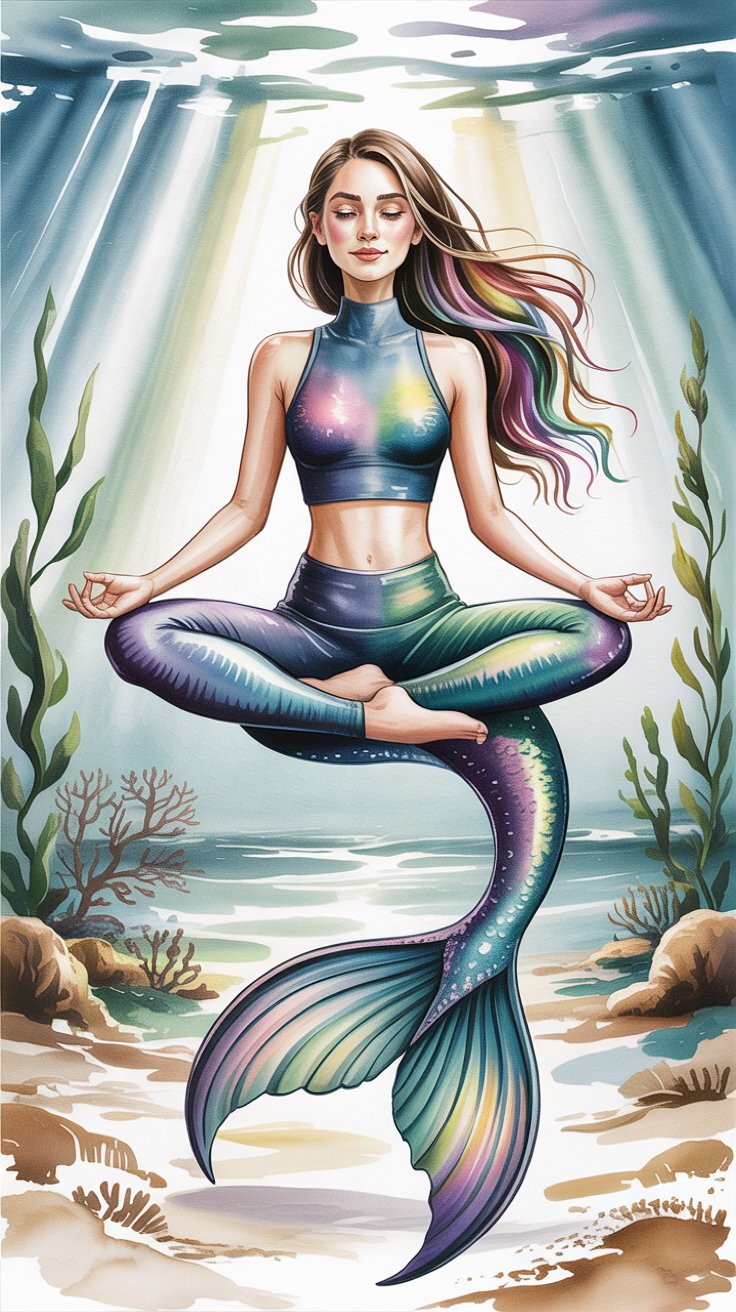
Of course, merfolk don’t have to be ‘realistic.’ They are myths, after all, and that opens the door to exploring beyond the natural palette. Vibrant purples, fiery reds, or even shimmering silvers and golds can transform your mermaid from a sea dweller into something otherworldly. Sometimes I find myself mixing unexpected colors—maybe a tail that glows faintly with ultraviolet tones, or skins that shift subtly between blues and purples, reflecting inner magic or a mood.
Try layering colors that don’t naturally sit together underwater—like bright pinks next to ice blues. The contrast can create tension or elegance, depending on how you apply it. Fantasy colors allow you to highlight personality traits too. Is your mermaid playful? Perhaps a palette of soft pastels works. Mysterious and brooding? Darker, jewel tones might suit better. These choices shape how viewers feel about your characters, adding an extra layer beyond shape or pose.
Do you sometimes find yourself stuck between using natural or fantasy colors? Which one feels more aligned with your vision? Experiment. Push boundaries a little. You might be surprised where your palette leads you.
Sketching Tips for Beginners
Starting your merfolk sketches can feel a bit daunting, but it helps to break things down. Begin with loose shapes rather than lines—think ovals and circles to map out the head, chest, and hips. Don’t worry too much about details at first; the goal is to capture general forms and posture. Try several quick sketches to find a pose that feels natural, even if it’s basic at this stage.
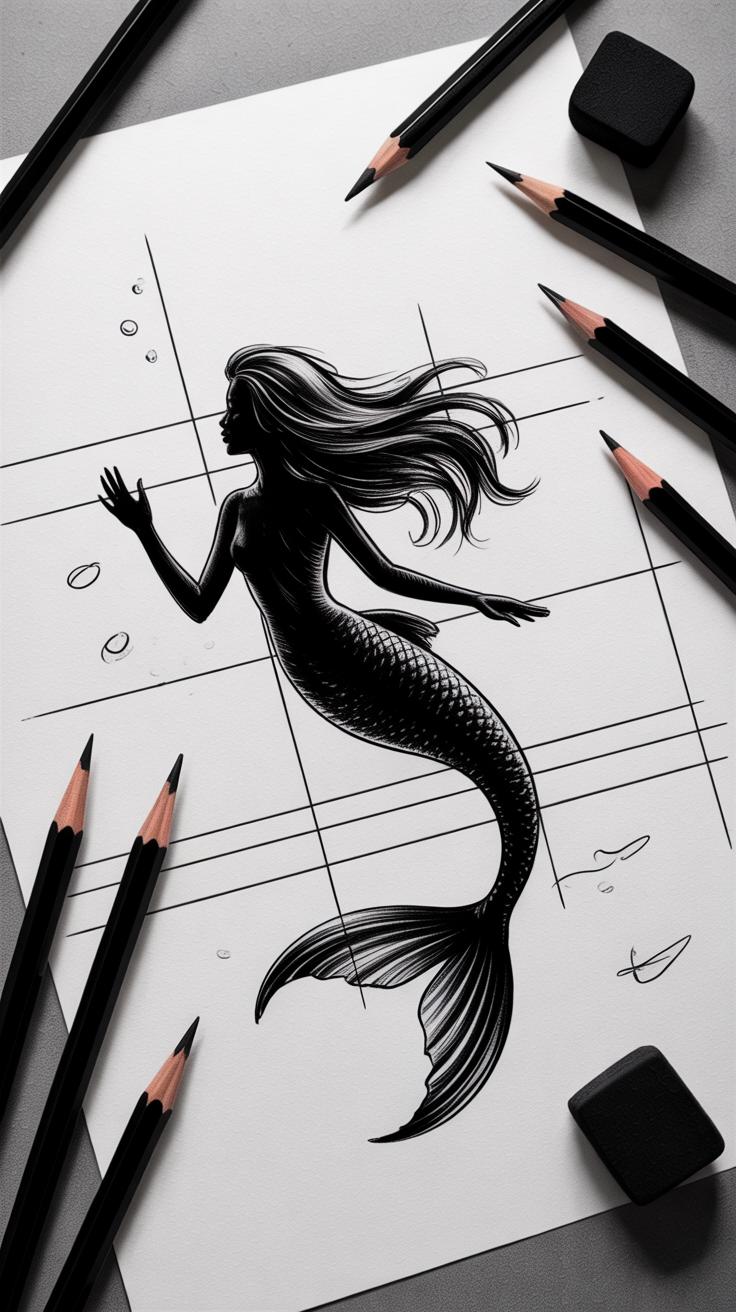
Drawing the Human Form
Focus on the upper body since mermaids and mermen blend human and aquatic elements. Sketch a simple neck and shoulder line before adding the torso. Pay close attention to proportions: the head usually fits about seven to eight times into the body length. Shoulders can be narrower or broader depending on your character’s gender or style, but keep the anatomy believable. Lightly mark the chest, collarbones, and ribcage contours to add structure without overcomplicating.
Sketching the Tail and Fins
Merfolk tails aren’t just fish tails glued to legs—they flow. When sketching tails, imagine a smooth transition from the waist into a tapering, flexible shape that ends in fins. Tails bend and twist, so suggest natural movement by curving lines rather than rigid shapes. For fins, start with simple triangles or fan shapes, then refine edges with gentle waves or points. Remember, tails should feel like extensions of the body, not separate add-ons.
Adding Details and Texture

When you start adding scales to your merfolk’s tail, think beyond just drawing repetitive shapes. Scales can define the character’s personality, so play with size and pattern. Maybe the scales near the waist are larger and more rigid, slowing down to smaller, finer ones near the fins. Sketching scales doesn’t require perfect uniformity; slight irregularities can make them look more natural. Try layering scales with light strokes first, then darken certain areas to suggest depth. Shading works best when you imagine how the scales catch light underwater—some edges shimmering, others fading.
As for hair, flow is key. Picture it swaying with invisible currents rather than hanging stiffly. Use loose, curving lines, and don’t be afraid to overlap strands. Adding texture with quick, light strokes can suggest volume without overcomplicating the detail. Hair accessories can be your chance to show personality: a twig of seaweed caught in the locks, or a few scattered shells tied into braids might hint at the mermaid or merman’s story. Small details, like barnacles or tiny crustaceans attached to accessories, can make a piece feel lived-in and real—just be mindful not to clutter the overall design.
Have you tried mixing different textures for fin and scale areas? Combining smooth, glassy sections with rougher, chipped ones may surprise you in how it brings the image closer to life. But remember, the textures don’t need to be flawless—sometimes, rough edges and uneven scales can suggest age or ruggedness, adding a unique dimension. This step lets your creativity speak, so experiment and see what fits your merfolk best.
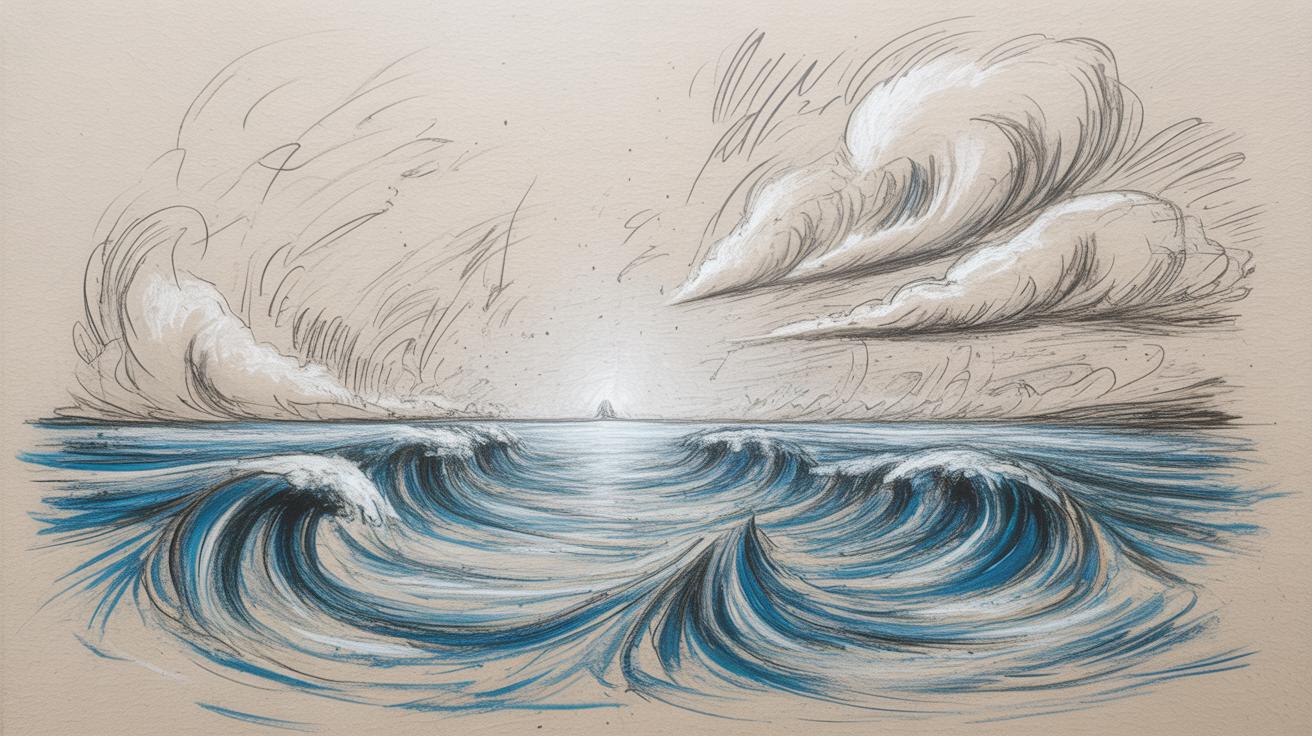
Lighting and Shading for Underwater Scenes
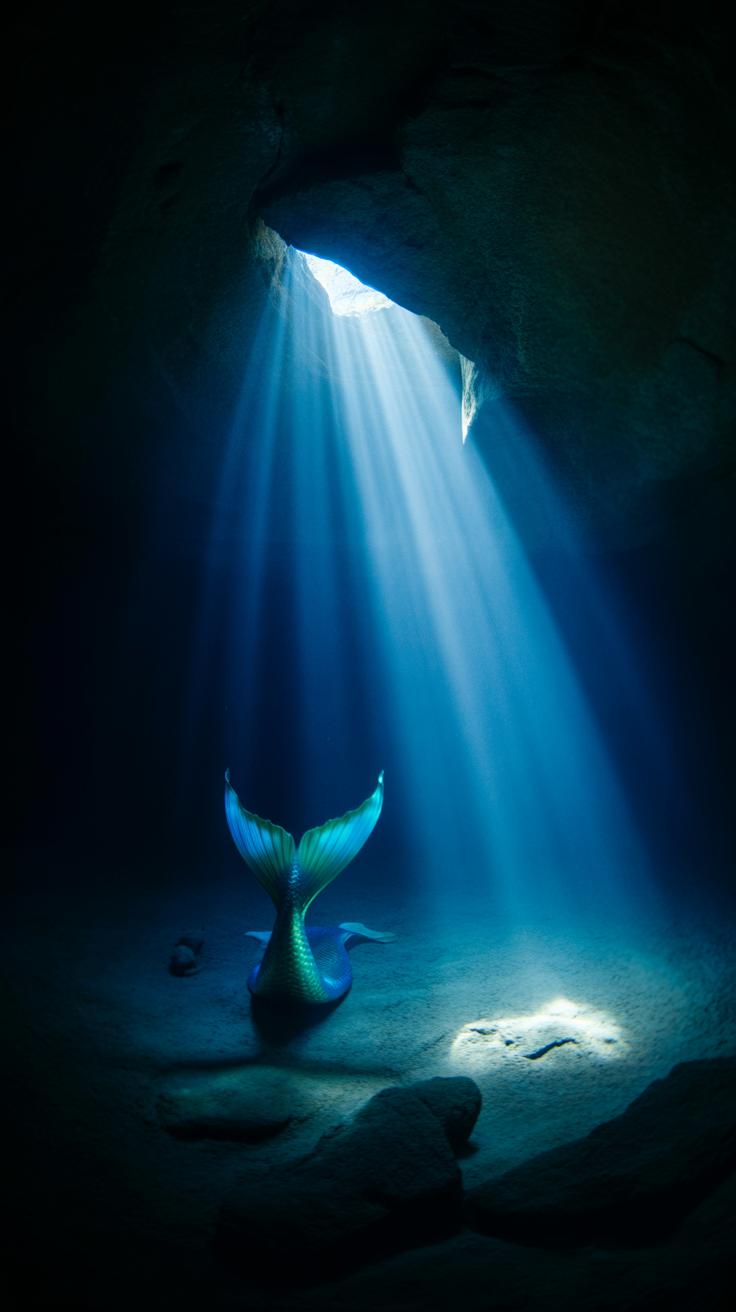
When picturing mermaids and mermen beneath the waves, careful lighting and shading can make or break the scene’s believability. Underwater light isn’t straightforward—it scatters, bends, and dims unpredictably. To hint at this, think about dappled rays filtering down from above, breaking softly as they pass through water. Drawing these light rays with gentle, semi-transparent strokes helps suggest depth and distance without overpowering the central figure.
Reflections and caustics—those shifting light patterns that dance over surfaces—are essential. They don’t have to be perfectly realistic. Instead, try sketching loose, irregular bands of light that ripple along the merfolk’s tail or shoulders. This adds a sense of movement and fluidity, even if it’s subtle. I often find myself adjusting these effects to avoid making them look like solid shapes. They should feel like glimpses of shifting water light, not static decorations.
To create volume on mermaid and merman forms, gradients and shadows play a key role. Moving away from harsh black shadows to softer, cooler tones can reinforce an underwater feel. Gradients that transition gently, merging colors from shadow to light, help your character feel three-dimensional. Experiment with layering semi-transparent shadows—this can mimic how water layers muting light and create complex shading that feels natural. Sometimes, less is more. A well-placed shadow on a bent knee or under a fin can ground your figure convincingly.
Consider where your light source is in the water. Above? To the side? This decision affects every shadow, highlight, and reflection. Don’t be afraid to play with inconsistent lighting if it adds mood or drama. After all, underwater environments are changeable, and your choices can evoke a specific emotion or tension in your merfolk illustration.
Using Digital Tools for Illustration

You might already have a favorite drawing program, but when it comes to crafting mermaids and mermen, some software just fits the bill better. Programs like Adobe Photoshop, Clip Studio Paint, and Procreate stand out. Each offers unique features that can really elevate your underwater scenes.
Photoshop, for example, lets you play with extensive brush libraries and layer styles, which help build depth and texture on scales or flowing hair. Clip Studio Paint has great vector tools and natural brush strokes, useful for smooth lines that mimic water movement. Procreate’s touch interface feels intuitive, making spontaneous sketches easier, which could be helpful when your ideas aren’t fully formed.
When working digitally, keep layering in mind. Separate your line art, colors, shadows, and effects. This not only keeps things manageable but also lets you adjust details without disturbing others. Experiment with soft brushes for underwater glows and harder textures for scales or coral around your merfolk. Also, consider overlay layers for subtle light refractions. They add a kind of shimmer you can’t quite get with regular coloring.
Ask yourself: Does this brush create the right feel for a tail or fins? Does a particular effect make the surroundings more believable? Don’t rush these choices—they shape how your mermaid or merman feels alive under the surface.
Inspiring Your Own Merfolk Creations
When designing mermaids and mermen, combining what you know about myths with your own imagination can really pay off. Think about the variety in folklore—from the sirens of Greek tales to the sea spirits of Scandinavian legend. Each source offers traits you can adapt or twist. Maybe your mermaid has the shimmer of a selkie’s seal skin or the fierce eyes of a water demon. Don’t be afraid to mix elements seemingly unrelated; that clash often brings fresh ideas to life.
Your grasp of anatomy also shapes your creations. Understanding how muscles and bones flow underwater helps you create believable poses—whether your merfolk are swimming swiftly or lounging on coral reefs. Play with proportions too. A longer tail or extra fins may feel odd at first, but it might suit the personality you want to express.
Practice plays a huge role here. Try sketching a new pose every day or reimagining a traditional mermaid with unusual colors and patterns. Maybe your merman wears seaweed armor, or their scales reflect light like stained glass. Testing different styles helps you see what resonates with your vision and what feels forced. How do these changes affect the mood? Can you feel the character’s story emerging?
Overall, the process isn’t exactly straightforward; you might find yourself circling back to old ideas or hitting dead ends. Yet, letting that tension stay can spark unexpected breakthroughs. What if your mermaid isn’t just a creature of the ocean, but a reflection of something else—fear, hope, or memory?
Conclusions
You now have a clear path to creating beautiful mermaid and merman illustrations. Start with a strong grasp of their legendary traits and cultural backgrounds. Use this knowledge to inspire your designs, ensuring they feel authentic and engaging.
Apply the drawing tips and strategies shared here. Sketch often, explore different poses and expressions, and experiment with color and texture. With practice, your merfolk illustrations will captivate anyone who sees them. Keep drawing and stay creative!


