Introduction
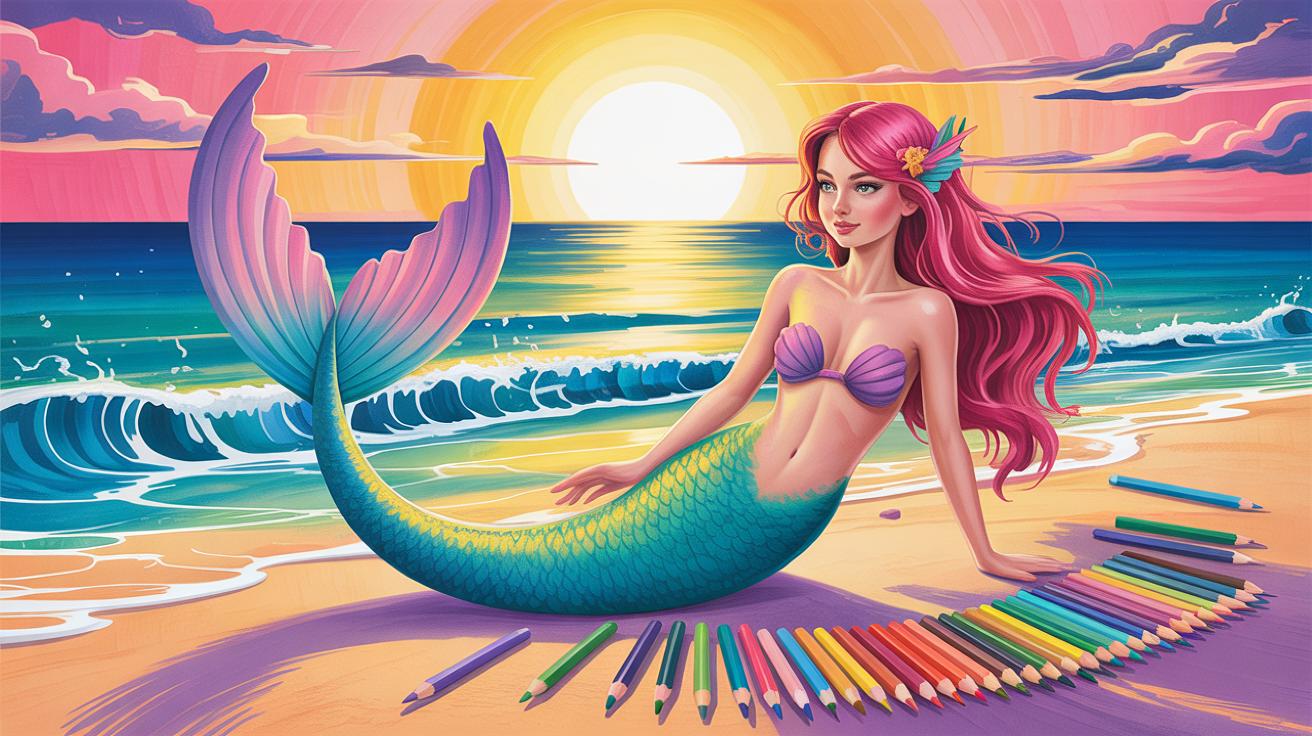
Mastering mermaid art with color pencil rendering techniques offers a creative way to bring mythical sea creatures to life. Mermaids have fascinated people for centuries, inspiring stories and artworks with their unique blend of human and aquatic features. This guide will introduce you to coloring mermaids using color pencils, focusing on simple steps anyone can follow.
You will learn how to choose the right materials, understand basic drawing shapes, and use shading to add depth to your artwork. By following the practical tips and techniques in this article, you will develop skills to create beautiful, lifelike mermaid illustrations that capture imagination and detail.
Understanding Mermaid Features and Shapes
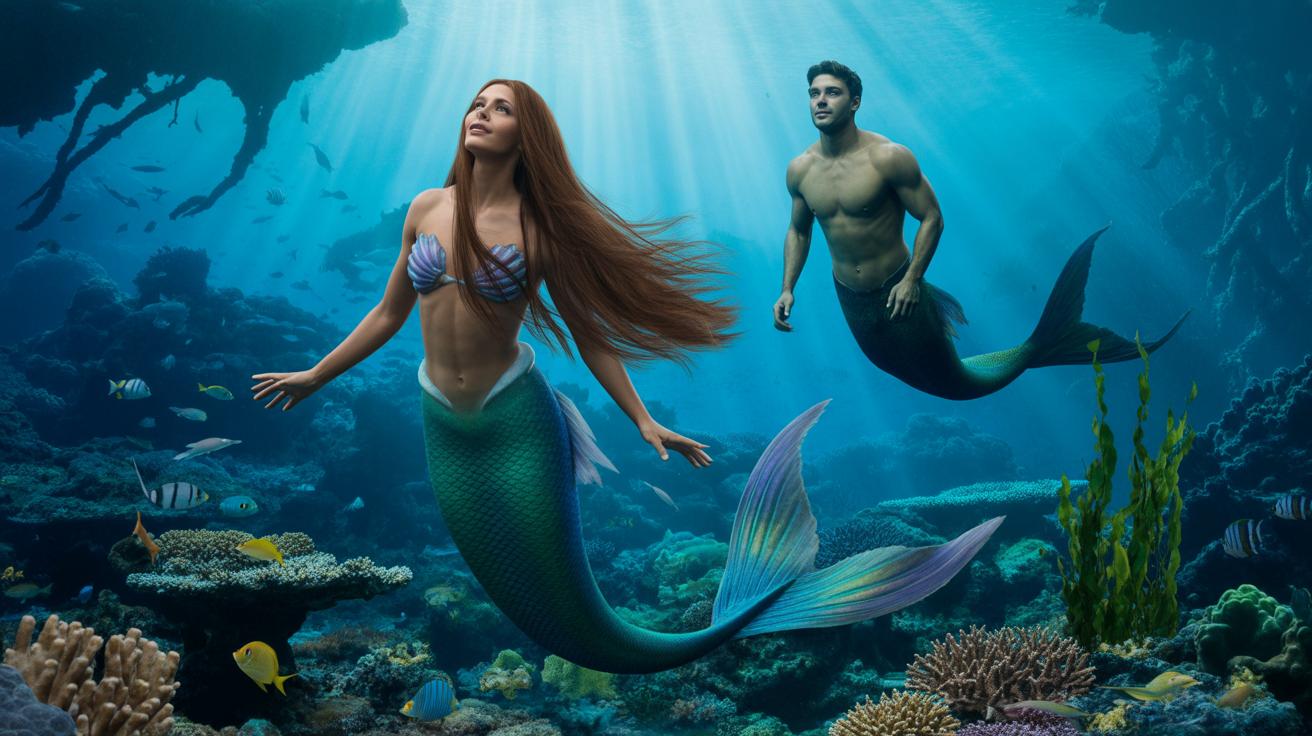
Mermaids combine human and fish characteristics in one intriguing figure, which can be tricky to capture if you don’t break down the anatomy first. Think of a mermaid as two parts joined at the waist—the upper body is mostly human, with familiar features like a head, torso, and arms. The lower half shifts into a fish tail that flows and curves differently from human legs. This mix calls for a careful balance when you draw.
To simplify, focus on these sections:
- Head: Usually a circle or oval to start, with simple guide lines for facial features.
- Torso: An elongated oval or a rectangle with softer edges, depending on the pose.
- Arms: Tubes or cylinders tapering toward the wrists—avoid drawing every detail at first.
- Tail: A large, tapering triangle or teardrop shape ending with fin-like structures.
When sketching, think of the head and upper torso as human-shaped—rounded, fairly proportioned, familiar. The tail is all about sleek movement and flow, very fish-like with fins and scales. The transition between these parts can be tricky. Placing the tail slightly narrower than the waist works well, but sometimes you might want to play with proportions for style or expression.
Breaking the figure down into simple shapes helps keep the drawing manageable. Circles and ovals build the head and body, while triangles or teardrops shape the tail and fins. This approach lets you adjust posture and proportions as you go. I often find that starting this way allows for better adjustments before adding details, especially when a graceful tail curve matters.
Try sketching a few quick mermaid poses using just these shapes. It feels a bit mechanical at first, but after a while, your mind starts seeing the figure as a whole instead of separate bits. Don’t worry if your shapes seem off—that’s part of learning how a mermaid’s form fits together.
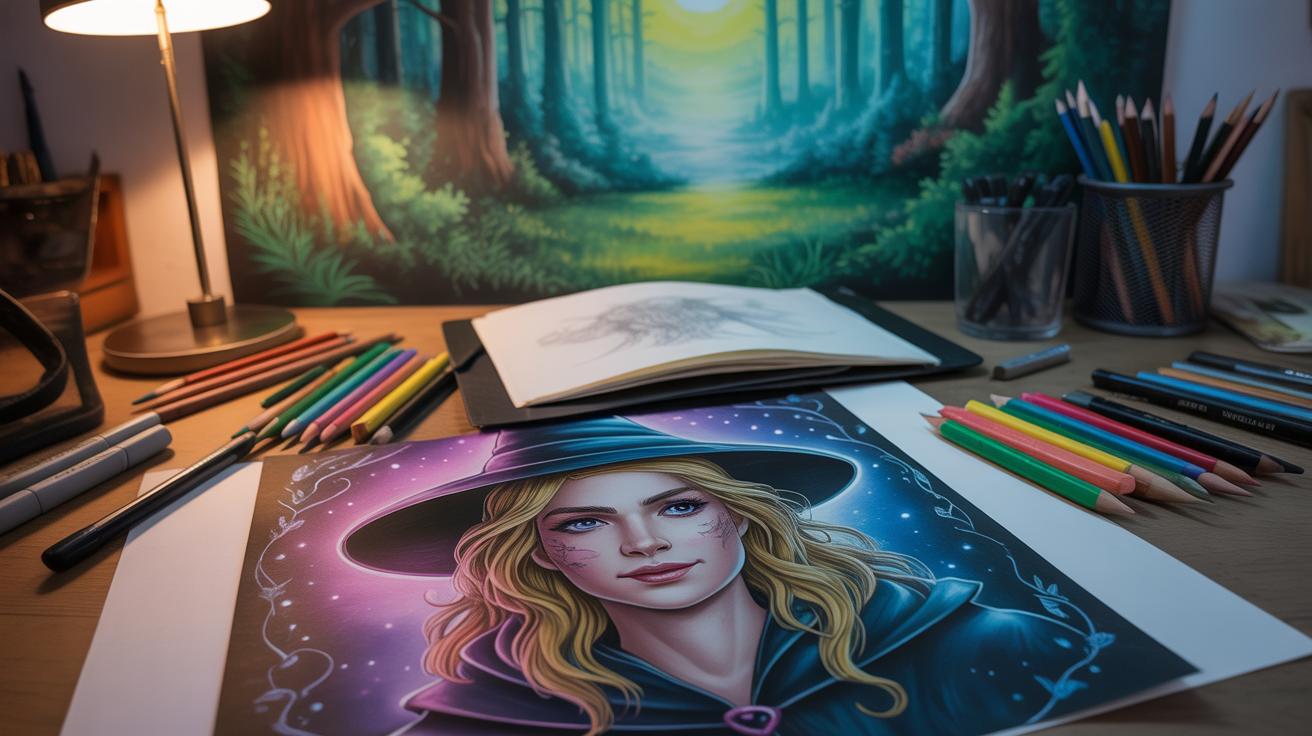
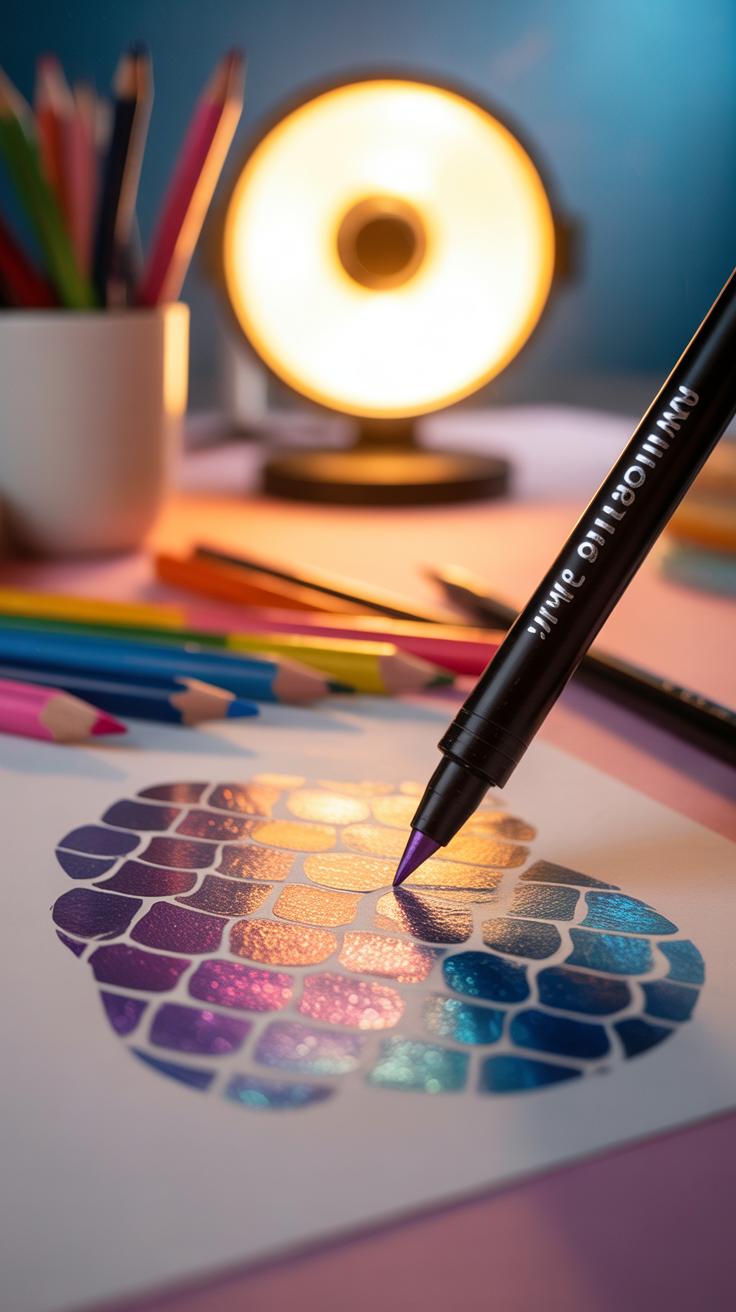
Choosing the Right Color Pencils
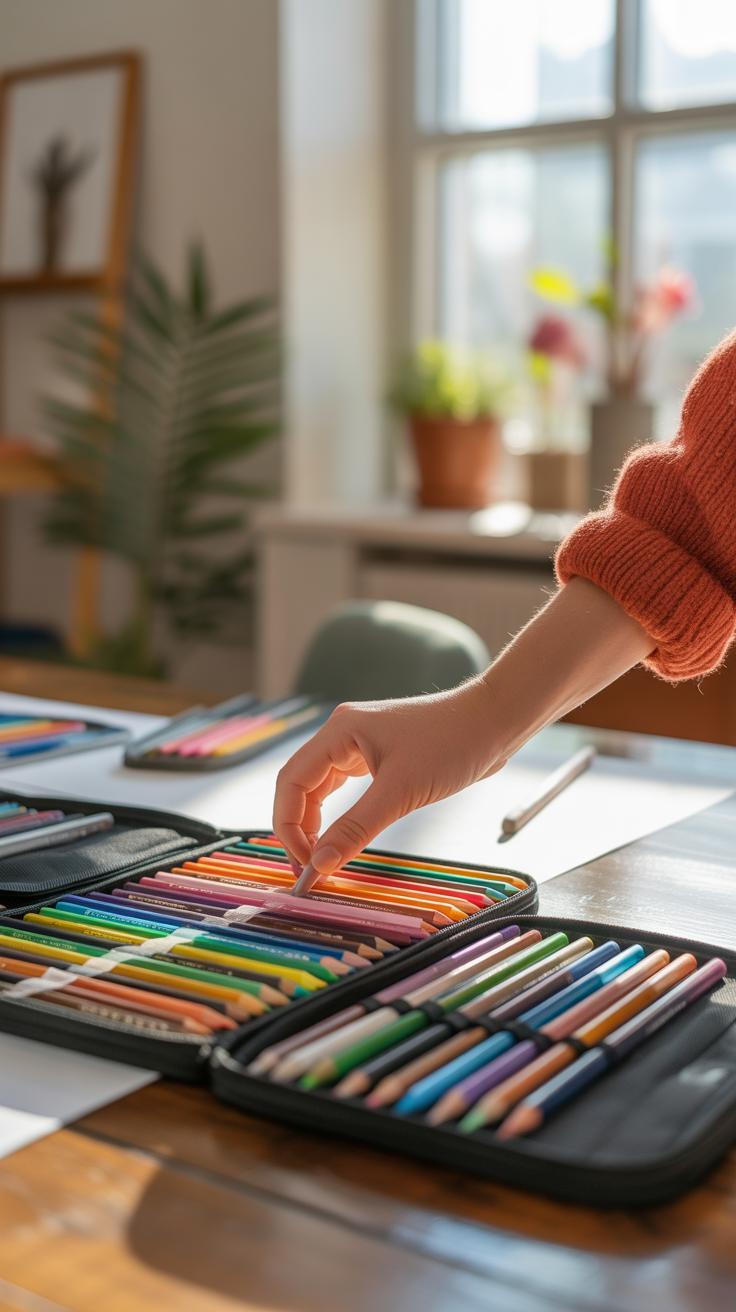
When it comes to mermaid art, the choice of color pencils can really shape your final piece. Not all pencils behave the same way, especially when you plan to layer and blend colors for smooth skin or shimmering tails. Investing in good quality pencils makes a big difference because cheaper ones often crumble or leave patchy coverage.
Look for pencils with soft cores that allow multiple layers without damaging the paper. This is crucial when you want to create depth in mermaid scales or subtle gradients on skin. I’ve found that pencils with vibrant pigments tend to keep their color even after many layers, which is quite useful when capturing the iridescence of tails or the natural blush of cheeks.
Wax-Based vs Oil-Based Pencils
Wax-based and oil-based pencils each have their quirks. Wax-based pencils are common and usually easier to find. They lay down smoothly but can get wax bloom, a sort of whitish haze after blending. For mermaid skin or tails, this can sometimes dull the vibrancy you worked hard to build.
Oil-based pencils are less common but offer smoother blending and better layering without that waxy finish. They tend to feel slicker and take more pressure to deposit color, which might slow you down a bit—but the smooth transitions you can achieve especially on soft skin tones or glossy scales are worth it. If you want seamless gradations or a more polished look, oil-based pencils might suit you better.
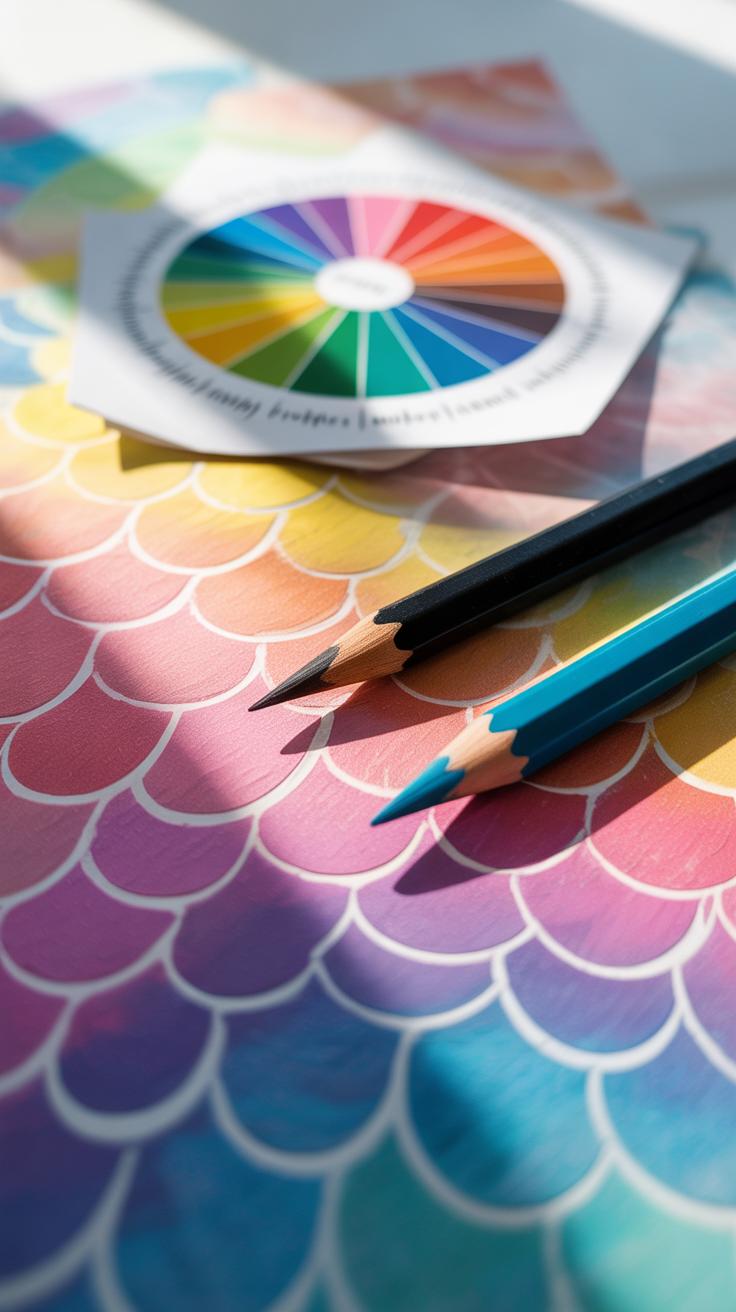
Selecting Colors for Mermaid Art
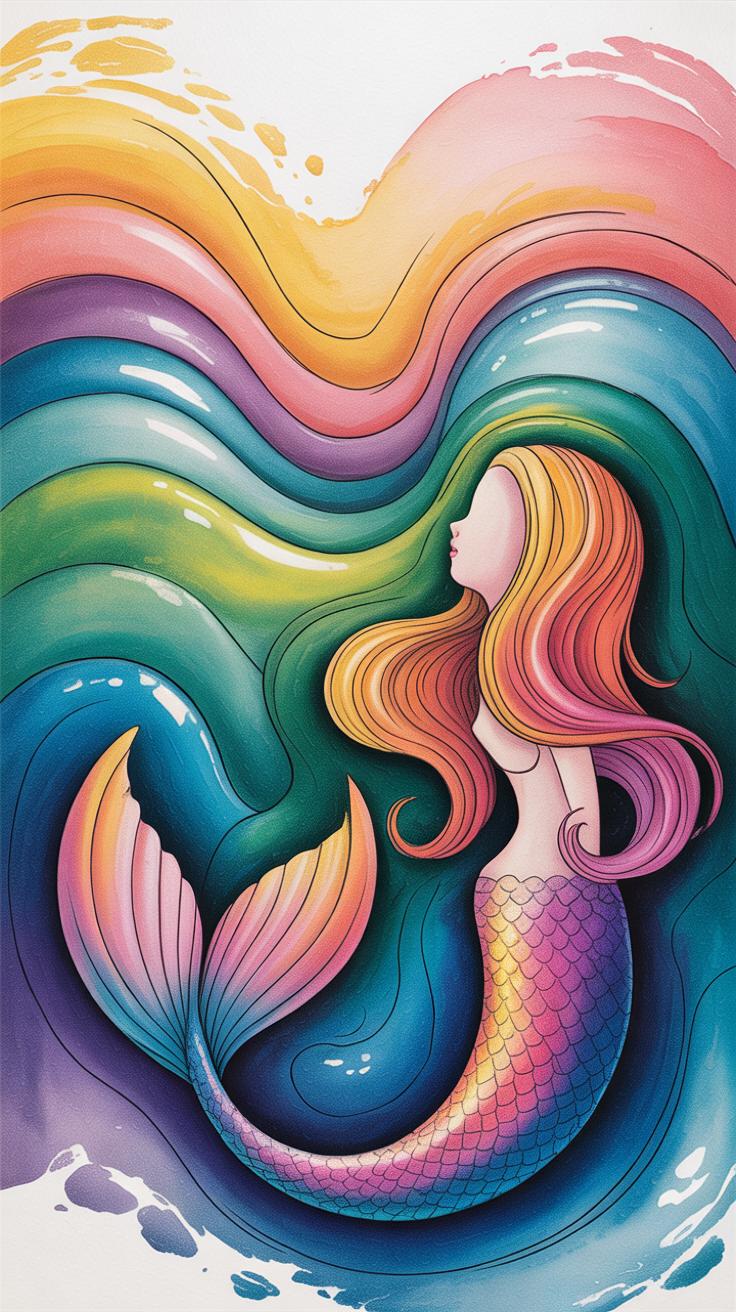
Choosing the right colors for mermaid art is almost like building a mood. Fishes in the ocean have a strange mix of intense and muted shades, and mermaids should feel just as complex. For the tail, consider blending greens, teals, light blues, and even purples to catch light as real scales might. Don’t be afraid of adding subtle metallic or pearly shades; some color pencils include that, and it can elevate your fishy textures.
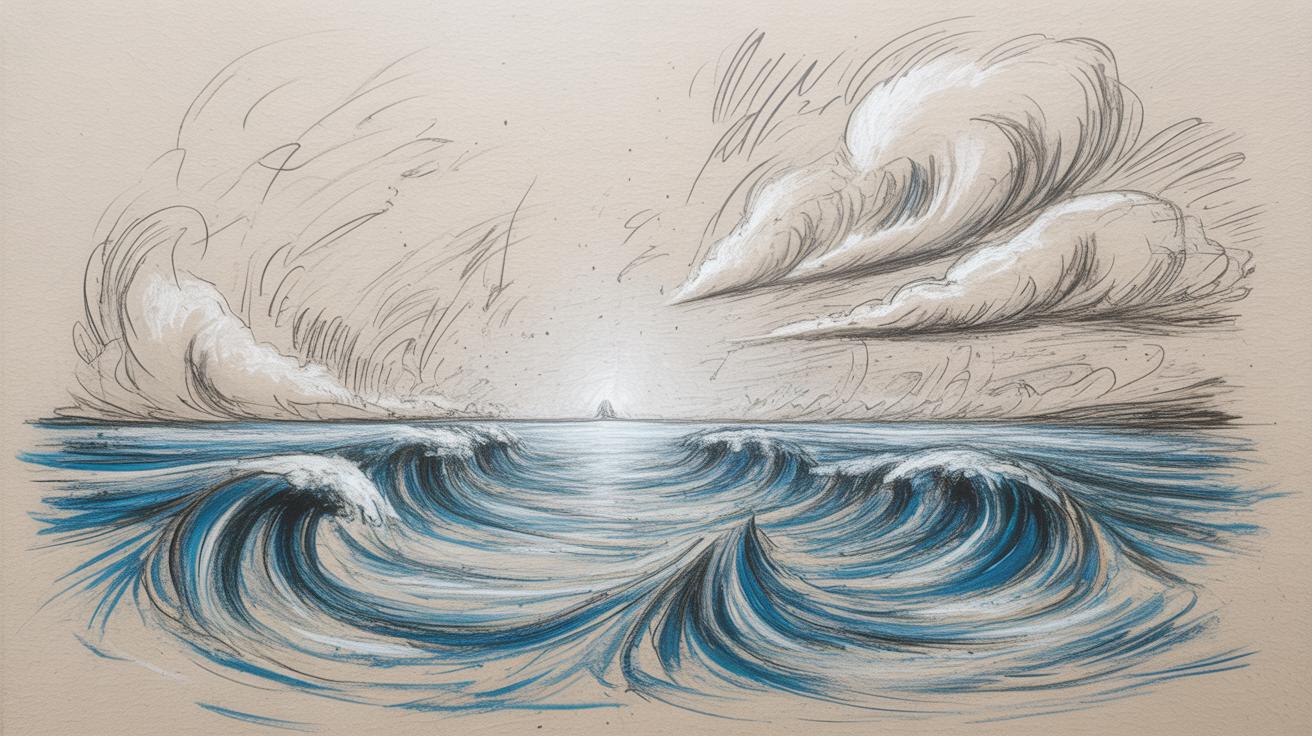
Skin colors can vary widely—some mermaids may have pale, almost translucent skin, while others are deeper or sun-kissed. Use soft peach tones mixed with gentle blues or pinks to suggest underwater reflections. Hair often calls for freedom—bright reds, blues, or even silvery strands lend personality. Background colors should be carefully chosen to frame your mermaid without overwhelming her, think muted sea greens or sandy beige that suggest an underwater scene without stealing attention.
Preparing Your Drawing Surface
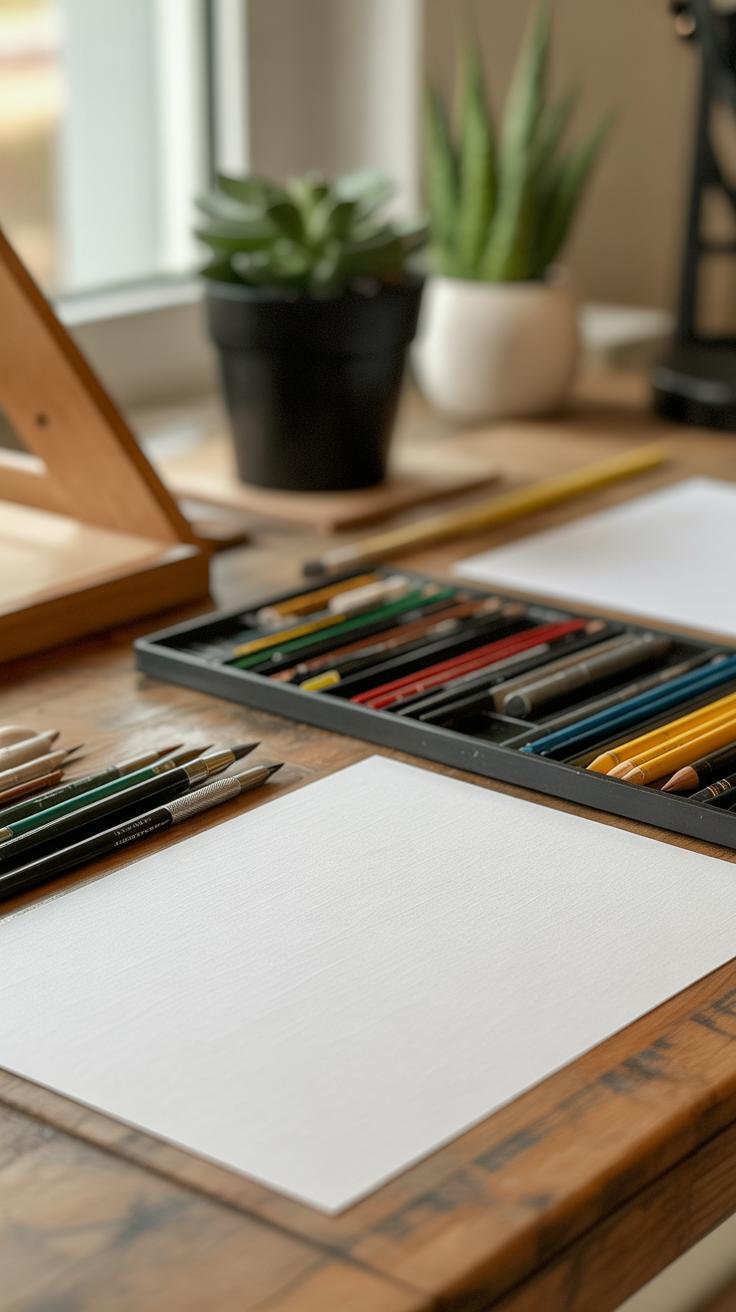
Choosing the right paper can feel a bit overwhelming, but it really changes how your colored pencils behave, especially with mermaid art where layers build up and colors blend. You want a surface tough enough to handle repeated strokes without tearing. I’ve found heavier paper often surprises me by lasting through multiple layers—something around 160 to 200 gsm usually does the trick.
Texture matters too. Too smooth, and your pencils might slide, making it hard to get depth or shading that subtle. Too rough, and your pencils wear down quickly, or you lose control over fine details. A medium texture, sometimes called vellum or smooth cold-pressed, often strikes the right balance, gripping the pigment but still smooth for blending.
Before starting, take a moment to prepare your paper beyond just picking it. Wiping the surface lightly can remove dust, and taping edges down helps keep the paper steady as you work. A quick, faint pencil sketch not only guides your drawing but also prevents you from pressing too hard later, which might cause indentations or smudging. It’s sort of like giving your paper a tiny head start before the real coloring begins. Have you noticed how even these small steps can make the coloring process feel smoother or more controlled?”
Sketching the Mermaid Outline

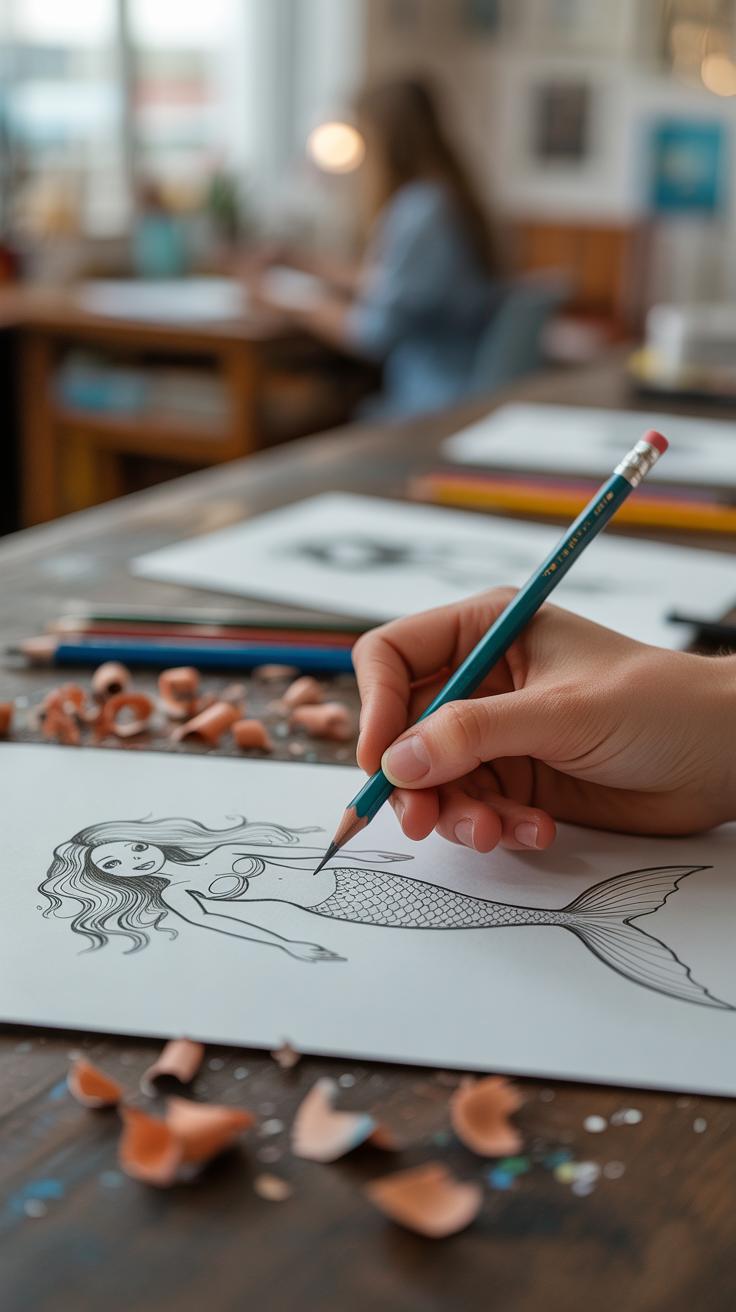
Using Light Pencil Strokes
When you begin sketching your mermaid, start with light pencil strokes. It might seem almost too faint to see, but that’s exactly the point. Light lines let you adjust proportions or poses without leaving heavy marks that are tough to erase later. I usually find myself erasing and redrawing parts several times, especially around the tail and torso, so staying light saves a lot of frustration.
To keep your lines clean, use a pencil with a softer lead, like a 2H or even an H, and hold it loosely rather than pressing down hard. This approach keeps the page fresh for your later coloring stages. Plus, it prevents the paper fibers from getting damaged too soon, which can happen if you press too hard early on.
Proportions and Pose Tips
Think about your mermaid’s pose before drawing. Do you want her to look relaxed, swimming, or maybe sitting on a rock? Poses that feel natural usually make your drawing more believable, no matter how fantastical your mermaid is. Try sketching simple stick figures or basic shapes first to lock in the movement and balance.
Keep in mind the mermaid’s unique anatomy—her human upper body and fish-like lower body. The transition between torso and tail needs to feel seamless, which means keeping your proportions consistent. I sometimes measure with my pencil to compare lengths in my sketch. For example, the length of the arms should roughly match the upper body, and the tail should flow naturally from the hips—not too short or exaggerated.
Remember, there’s no perfect formula for pose or proportion here. Experiment, make adjustments, get a bit messy if you must. Your best outlines usually come from those moments of trial and error.
Layering Colors for Depth
When you begin adding color to your mermaid illustration, starting light really matters. Applying a soft base layer sets the stage for everything that follows. Think of it as a gentle wash of color that covers the sketch without overwhelming it. For example, if your mermaid’s tail is a sea green, start with a pale green or even a muted blue-green applied with light pressure. Don’t rush to jump into the darker, richer tones right away—this first layer is about establishing a subtle groundwork.
Once the base is down, the process becomes more deliberate. Layer after layer, you slowly build richness and depth. Applying heavier pressure as you add mid-tones and shadows makes the colors pop. I find circular motions work best for these layers since they help avoid harsh lines and patchiness. It almost feels like you’re blending the colors directly as you lay them down, which is reassuring when dealing with so many overlapping hues.
Using a blending tool, like a colorless blender pencil or even a soft tissue, can smooth transitions beautifully. But it’s tricky—you don’t want to overblend or lose texture, especially in areas meant to feel scaly or rough. Sometimes I hesitate here, wondering if less blending might actually bring more life to the piece. So I usually blend selectively, focusing on skin or soft parts of the mermaid and leaving scales a bit more defined.
One question I wrestle with: when is a color layer “enough”? There’s no perfect answer. You keep layering until you feel the depth and richness look natural without getting muddy. Patience is key, but don’t be afraid to experiment. If you think your colors are too pale, add another light layer with a slightly different shade. Subtle shifts can make the whole tail shimmer in a way flat colors never will.
Rendering Mermaid Skin and Scales

Techniques for Smooth Skin
Smooth skin on mermaids needs a gentle touch. The key is layering soft, light strokes and blending carefully. Start with a light base color, then build up gentle shadows using slightly darker shades. You don’t want harsh lines here—skin should look seamless and soft. Using a blending tool or a lighter pencil to smooth out edges helps create that natural look.
Try pressing less as you work on the highlights so the skin retains some translucency. I often find that small circular motions while shading help avoid streaks, but sometimes just a few long, light strokes can work better depending on your pencil’s hardness. Don’t be afraid to use subtle hints of warm or cool colors to give life to the skin tone—it can feel a bit odd at first, but it makes all the difference.
Creating Shiny Scales
Scales, on the other hand, are about contrast and shine. They reflect light and have texture, which you can suggest through sharp highlights and small color shifts. Start by laying down your scale color with medium pressure, then add darker tones around the edges for depth.
Use a white or very light pencil to add tiny highlights at the center or one edge of each scale—this gives the illusion of shine. Sometimes, blending these highlights just a touch helps them look more natural, but keep them distinct enough to catch the eye.
Try experimenting with unexpected colors like soft blues, purples, or even metallic tones to mimic the way scales shimmer underwater. These subtle variations can turn flat scales into something almost mesmerizing. The process can be meticulous, but keeping your eyes on little details matters a lot here, even if it feels tedious at times.
Adding Details to Hair and Tail
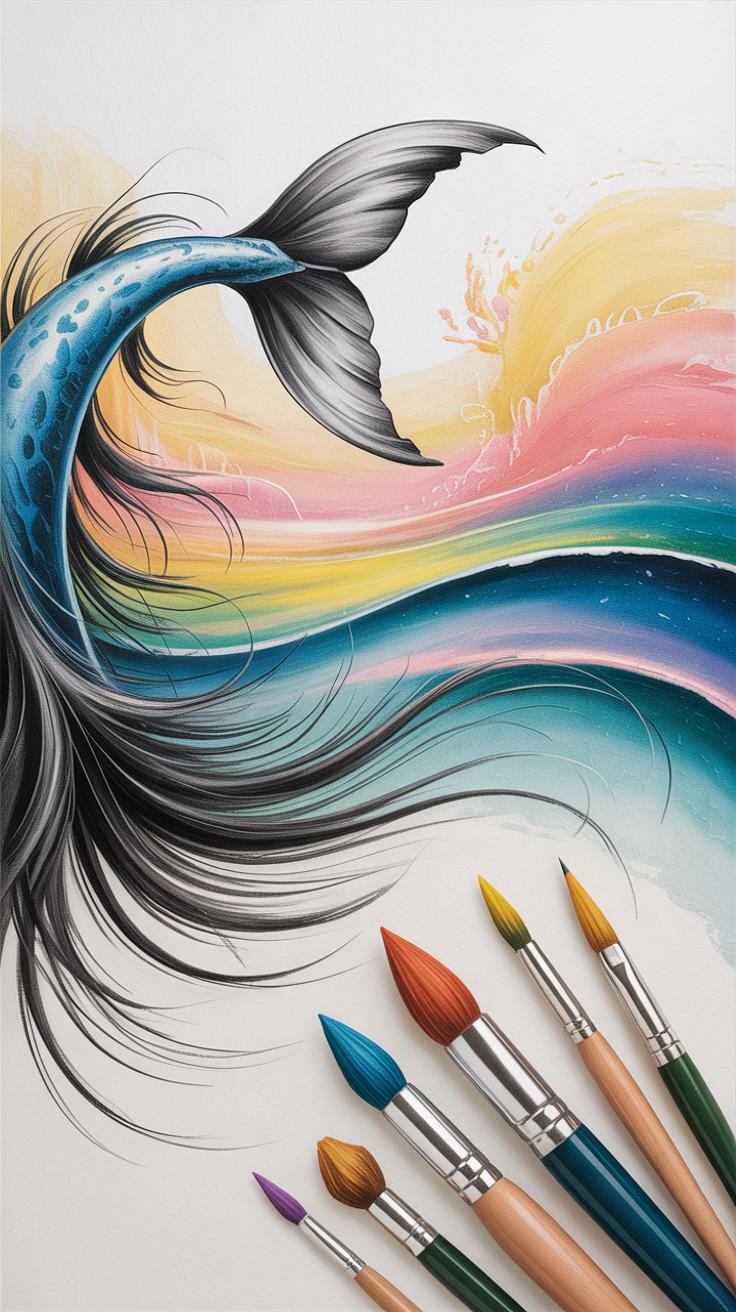
When it comes to capturing the essence of mermaid hair, it’s really about the flow and individual strands. Using fine, curved lines with your color pencils helps mimic the natural movement that hair has underwater. Think of how hair floats and twists; you want your strokes to follow that rhythm, not just the outline. I like to start with a light base color, then gradually build fine strands over it to create depth. Drawing quick flicks rather than dragging the pencil maintains softness.
Don’t shy away from layering different hues, even ones that might seem unusual for hair—subtle blues or greens can add that watery effect. You might find yourself wondering if too many layers will overwork the texture. Maybe it will, or maybe it won’t. That’s part of the process. Just keep those strokes delicate and varied in direction.
For tail fins, capturing their translucence is trickier. Begin by layering light tones in thin applications, then add detail with sharper, darker lines that follow the fin’s natural rays. Highlighting is key here: a small white or very pale pencil applied sparingly makes parts of the fin catch the light, suggesting semi-transparency. Be careful, though—too much contrast and it loses that gentle quality.
Another thing to try is slightly feathering the edges of the fins with a blunt pencil or a blending stump. It softens the boundaries and helps sell that fragile, delicate structure. Maybe you’ll surprise yourself when these subtle tweaks bring your fins to life more than heavy detail ever could.
Creating Backgrounds for Mermaid Art
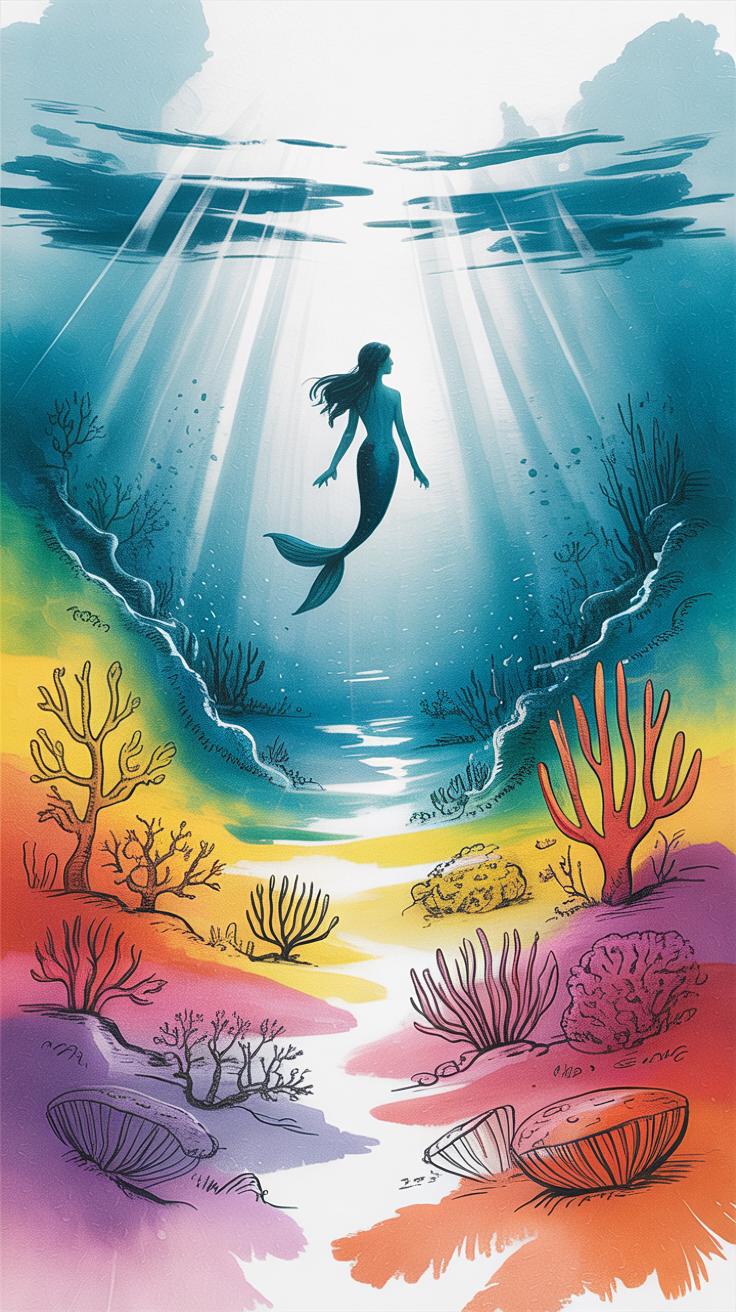
Choosing Background Colors
The choice of background colors can really set the mood for your mermaid drawing. Think about the subtle shifts you see underwater—blue and green tones mingle, but so do hints of coral pinks and sandy yellows. Sometimes, a soft turquoise or teal can feel just right, giving the piece a fresh, watery vibe without stealing focus. Other times, warm coral shades add a surprise splash that makes your mermaid pop. Don’t feel like you have to stick strictly to one palette. The light under water refracts oddly, so some areas might be cooler, others warmer.
Consider colors that suggest depth too. Darker blues or deep sea greens around the edges can pull the eye inward. You might want to add a faint glow near the mermaid, mimicking sunlight piercing the water’s surface—maybe a pale yellow or soft white gently blended in. I’ve often found that picking colors this way isn’t about precision but about balance: enough to suggest environment but not to distract.
Soft Blending for Backgrounds
Creating smooth gradients is key. Backgrounds underwater rarely have harsh lines. Start with a light base color and layer shades gradually. Use gentle pressure on your pencils, so the colors meld softly. Sometimes I switch between circular motions and long, sweeping strokes to avoid texture that feels too busy.
One method that works well is to begin with mid-tones, then add darker hues at the edges or corners, fading into lighter colors near the center or around your mermaid. This creates a gentle focus without shouting for attention. You might find that blending tools like a colorless blender or even a soft tissue help smooth transitions—but don’t overblend. Letting some pencil grain show adds a natural feel. You want your background to support, not overwhelm.
Have you noticed how light water creates unpredictable patches of brightness? Try layering faint circles or soft shapes in lighter shades to mimic that effect. It’s subtle, but it adds life. The trick is knowing when to step back; sometimes simpler backgrounds make your mermaid stand out more, even if they feel unfinished at first.
Finishing Touches and Highlights
Adding highlights and shadows can completely change your mermaid drawing. It’s like breathing life into the sketch—you start to see the form pop beyond just flat colors. I often find myself zooming in on small areas to create depth, especially around the curves of the tail and the face. Shadows don’t have to be dark or heavy; subtle shifts in tone can create a lot of mood.
White pencils and erasers become your secret weapons here. Using a white pencil on scaled areas or wet hair strands highlights where light naturally hits. But sometimes, just lifting pigment with a kneaded eraser softens spots that feel too dense or monotone. It’s a back-and-forth process—adding and subtracting until it feels right.
Don’t forget to add small details to make textures realistic. Tiny lines along the fins, delicate dots that suggest shimmer, or faint layering of colors on the tail can mimic scales without overdoing it. These little touches might appear minor at first but, honestly, they tend to be what viewers notice last, drawing their eye in.
What’s your approach: do you add these details gradually or save them until the very end? I’ve tried both, but mixing it up keeps the process fresh. Sometimes a tiny highlight sparkles best when it’s unexpected rather than planned. Experiment and trust your eye—it’s usually right about where to stop.
Caring for and Displaying Your Mermaid Art
Fixatives and Storage Tips
After all the detail work and shading, your mermaid drawing deserves care to keep it looking fresh. Fixative sprays create a thin protective layer over your color pencil art that helps prevent smudging and fading. You might want to test a couple of different sprays first—sometimes they can alter colors slightly or make the surface feel different. A light, even misting often works best; too much can saturate the paper and dull the texture.
For storage, flat is best. Keep your drawings away from sunlight and humidity because these can cause colors to fade or paper to warp. I’ve found using acid-free folders or portfolios makes a real difference over time. You want your mermaids safe but still ready to be pulled out and admired without worrying about damage.
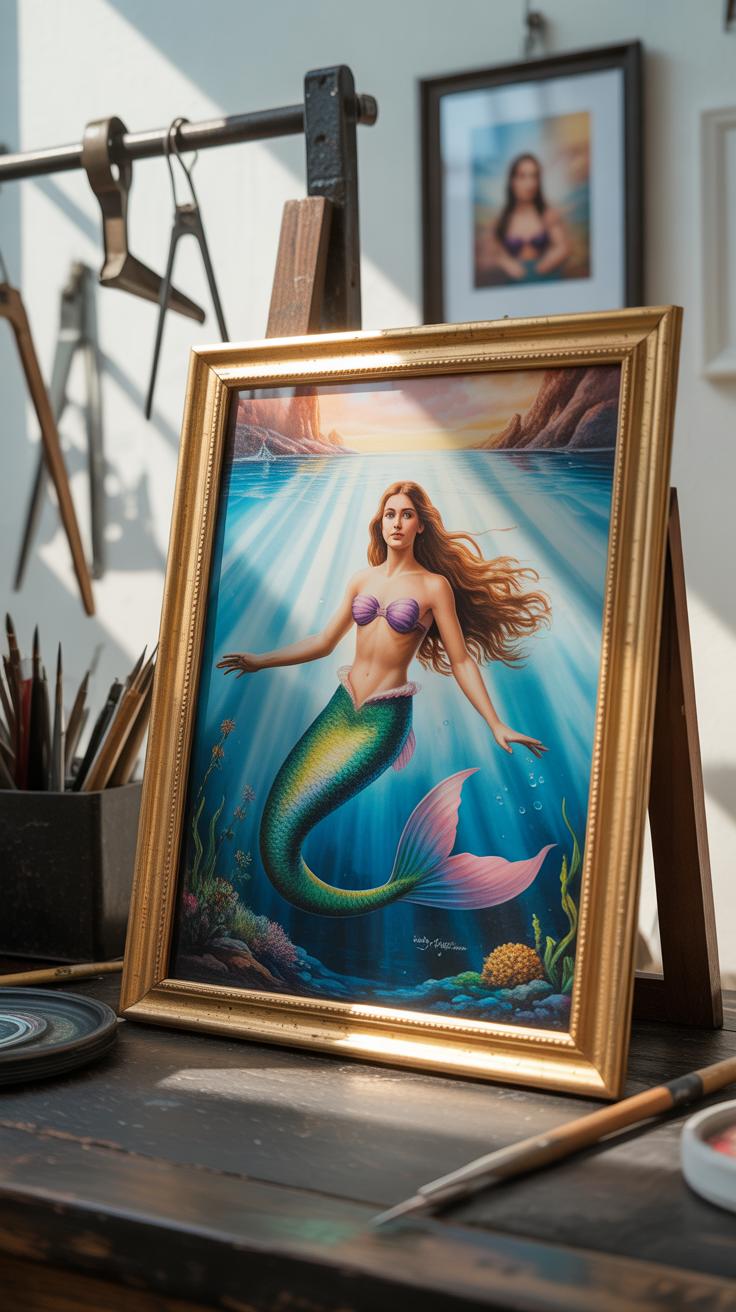
Framing and Presenting Art
Framing your piece can feel like a big step, but it’s worth it. Using a mat around your drawing not only gives the mermaid space to “breathe” but also keeps the paper off the glass, preventing smudges. Consider UV-protective glass if you want to display it in a sunny room, though it can get pricey.
When showing off your work to others, think about placement—eye level often works well for viewers to appreciate the subtle pencil strokes up close. Don’t be shy to talk about your process, even the moments that didn’t go perfectly. It makes the art more relatable, and people often connect more when they hear the story behind the colors and shapes.
Have you tried rotating your artwork every few months? It feels odd, but changing its spot can keep your enthusiasm alive and prevent long exposure to light damaging a single area.
Conclusions
Creating mermaid art with color pencils is both fun and rewarding. You now know the tools you need, how to start your drawing, and methods to add realistic colors and shading. Practice these techniques regularly to improve your ability to render smooth skin, shimmering tails, and flowing hair.
As you continue, trust your eye for color and texture. Experiment with blending and layering pencils to bring your mermaid to life. Your unique style will emerge, and each piece you create will grow in detail and charm. Remember, every artist starts with simple steps and builds skill over time.


