Introduction
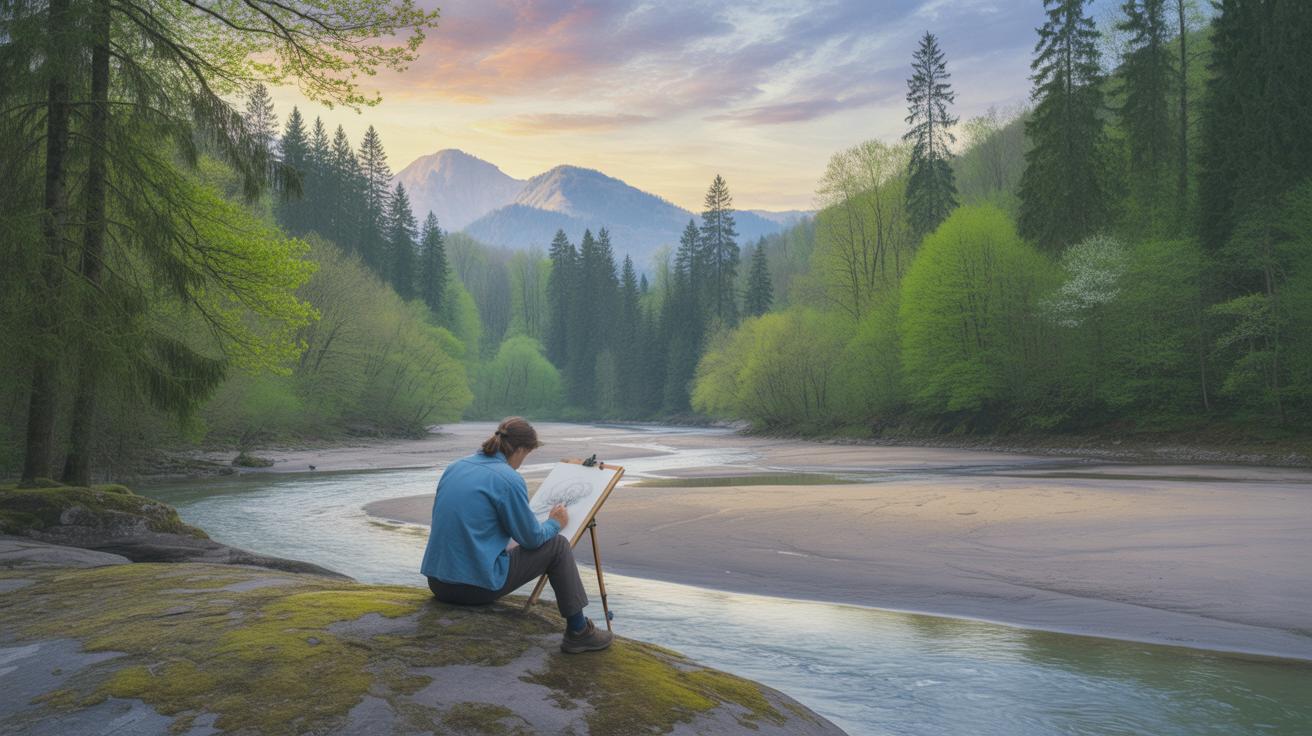
Landscape drawing lets you bring the beauty of the outdoors onto paper. It is an art that anyone can try. You don’t need fancy tools to start. Just observe the world around you and try to capture it. This art helps you see nature differently and express your feelings.
In this text, you will learn how to turn outdoor scenes into drawings that tell a story. Step by step, we will explore drawing tools, techniques, and tips. You will discover how to look closely and how to sketch with confidence. Let’s begin your drawing adventure!
Choosing Your Drawing Tools
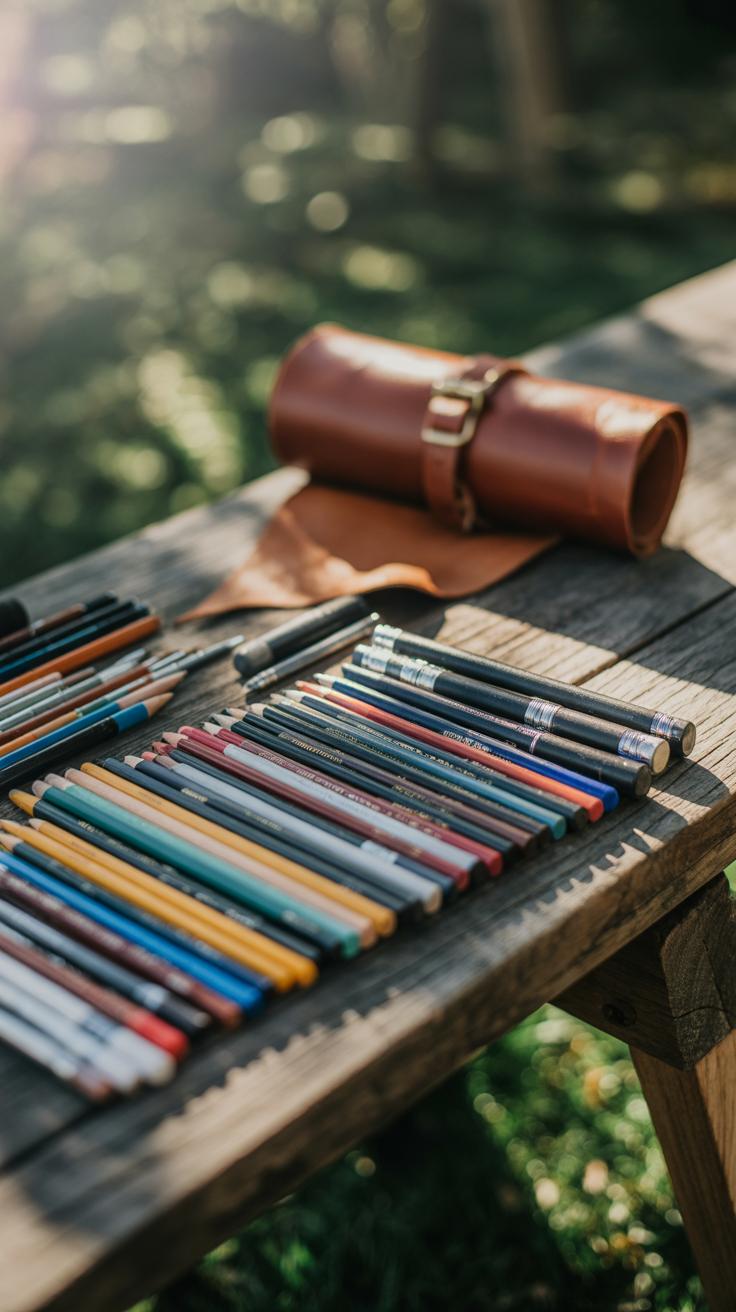
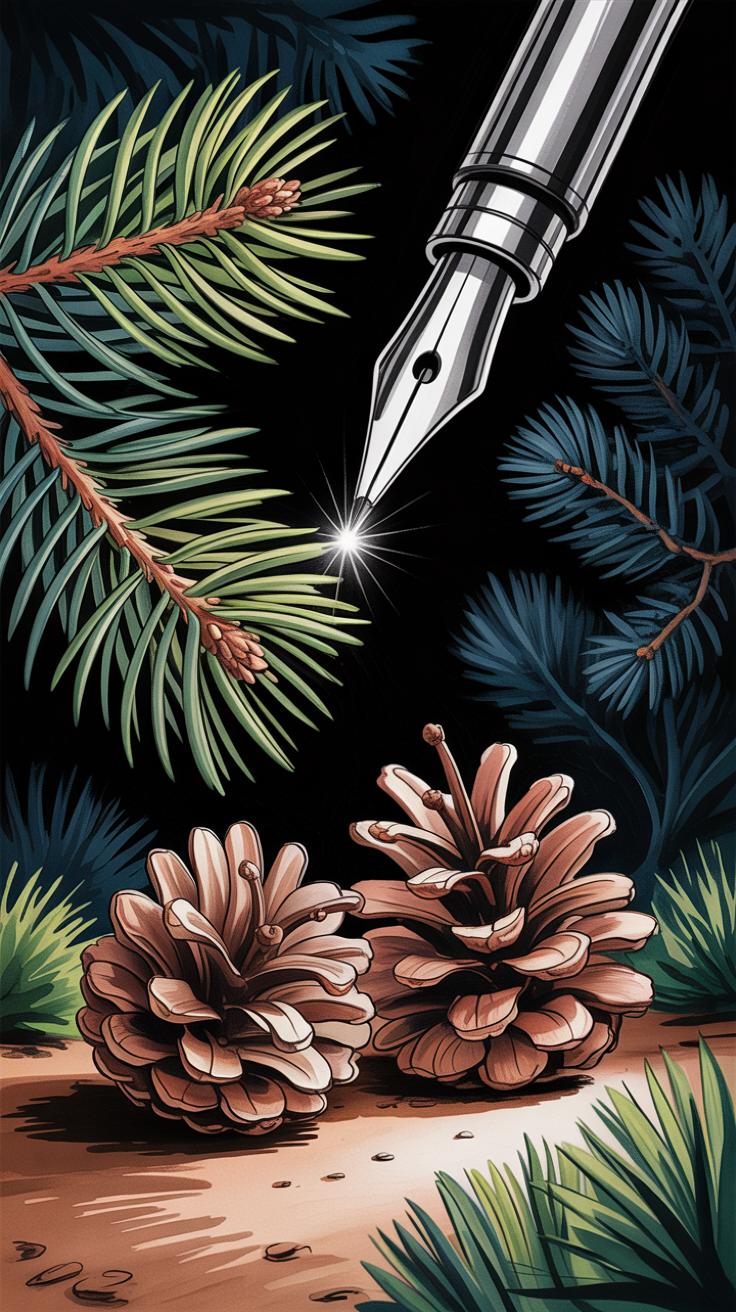
When starting to draw nature scenes, your choice of tools can feel overwhelming—but it doesn’t have to be complicated. Simple pencils and paper can do a lot more than you might expect. I’ve found that focusing on a few basic supplies often leads to clearer, more confident drawings.

Pencils come in a range of hardness levels, usually marked from 9H (very hard) to 9B (very soft). Hard pencils make light, precise lines, which is useful for outlines or fine details. Softer pencils, like 4B or 6B, produce rich, dark shading and allow for smoother transitions. I often switch between these as I work to add depth. Also, don’t just think of your eraser as a tool for fixing mistakes; it can actually be used to lift graphite and create highlights. I sometimes trace around shapes with an eraser to add subtle light areas—a technique that surprises some beginners.
Sketchbooks matter, too. The paper’s texture and weight influence how your pencil marks show up. Rougher paper holds more graphite, which helps when you want textured shading. Smoother paper works better for fine lines and details. You don’t need expensive sketchbooks, but I recommend choosing one that can handle repeated erasing and layering without tearing or smudging excessively. Sometimes, I like using mid-weight paper with a slight tooth—it feels just right under the pencil.
Optional tools like charcoal or colored pencils can add variety, but start with graphite first. Charcoal offers deep blacks and a softer look, but it’s harder to control and messier. Colored pencils let you explore mood and atmosphere, but they require a bit more patience. I’ve seen drawings where just a few soft pencil marks say more than a thousand colors might.
So, what do you really need? A few pencils of varying hardness, a good eraser (kneaded erasers are surprisingly versatile), and a reliable sketchbook. That’s a solid start. Try to get comfortable with those before adding more tools—your hands and eyes will thank you for it.
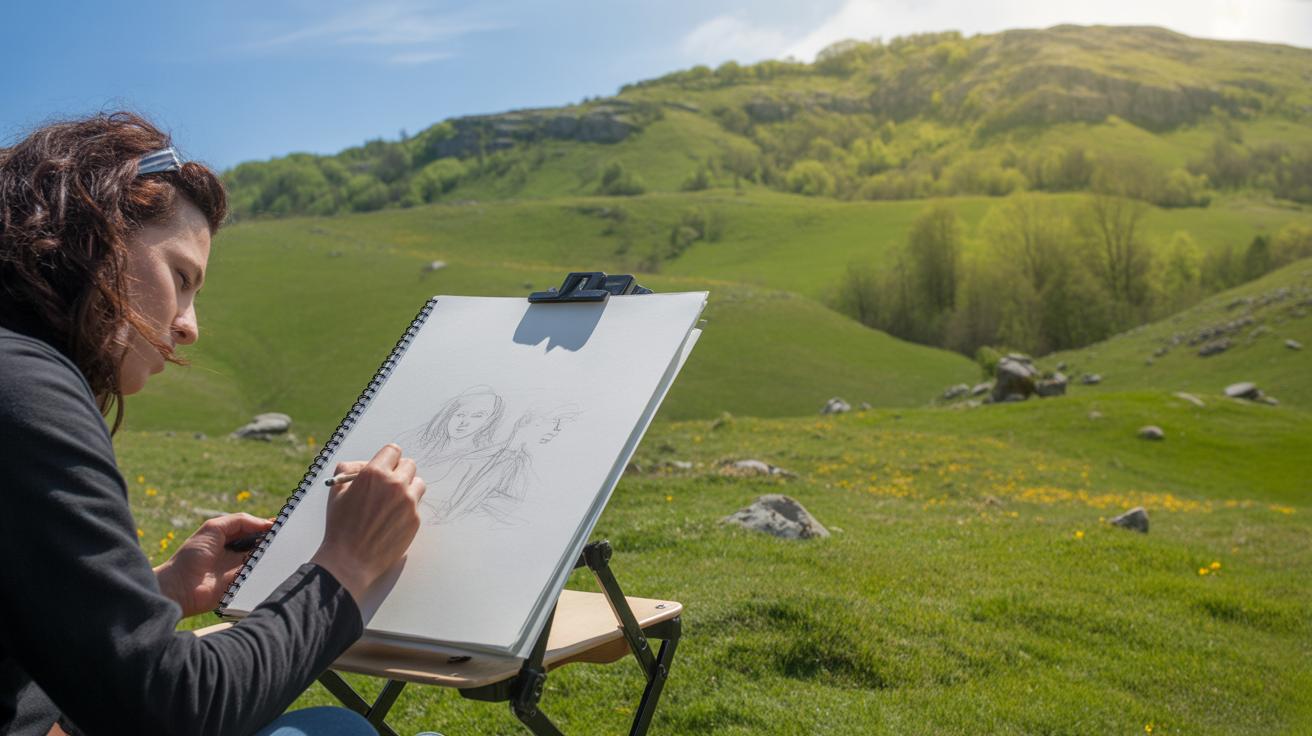
Observing Nature Closely
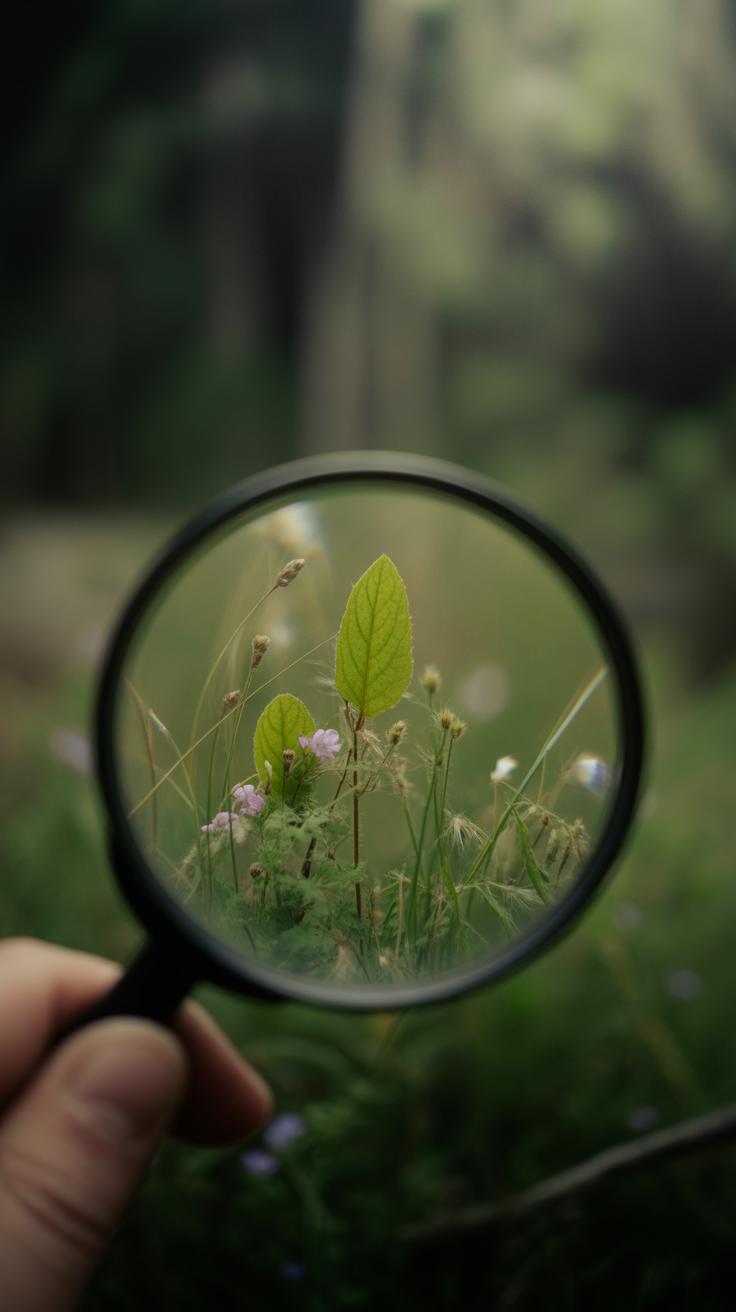
When you stand before a natural scene, it’s tempting to dive straight into drawing. But pause and really look first. What do you see beyond the obvious trees or hills? Try to catch the shapes that form the whole view—the curves of a hill, the jagged edges of rocks, the clusters where leaves bunch together. These are the building blocks you’ll use to sketch.
Notice how the light plays across the scene. Light changes everything. It transforms a flat field into a space filled with depth. Watch where the sunlight hits directly and where shadows stretch out long and dark. Maybe the shadows aren’t just black; they have color or softness, changing with the time of day or weather.
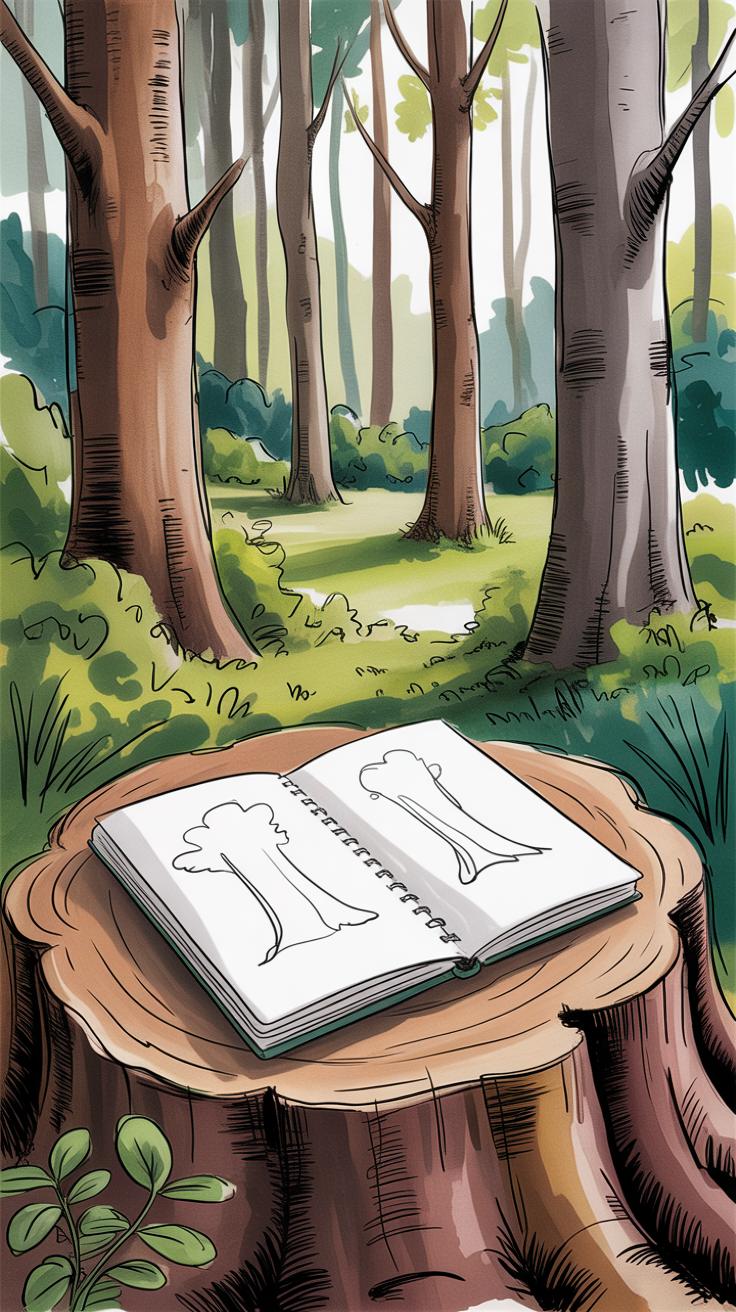
Seeing Shapes and Forms
Complex scenes can feel overwhelming. One trick is breaking what you see into simple shapes—circles, triangles, rectangles. A tree, for instance, might start as a tall oval with a twisting line for a trunk. Mountains could be rough triangles, clouds wide ellipses. This method stops you from getting stuck on details too soon and helps catch the general structure.
Once the simple forms are down, you can build up the drawing gradually. It’s like piecing together a puzzle but with shapes you recognize from everyday objects. This also helps if you glance away—the basic forms stay with you, making your sketch more confident.
Noticing Light and Shadow
Light and shadow aren’t just about dark and bright. They tell us where volume lives and how objects relate in space. When you spot an area shaded darker, ask yourself what blocks the light there. Is it a tree casting a shadow on the grass? How soft or hard is the edge of that shadow? Shadows with blurred edges hint at light diffused by clouds, while crisp edges mean clear, strong sunlight.
Think about light direction and intensity. Is the sun low, stretching shadows long? Or high, making shadows short and shapes appear flatter? Watching these changes helps your drawing feel alive instead of stiff. Sometimes, shadows might surprise you—revealing shapes you didn’t notice or patterns that shift the composition.
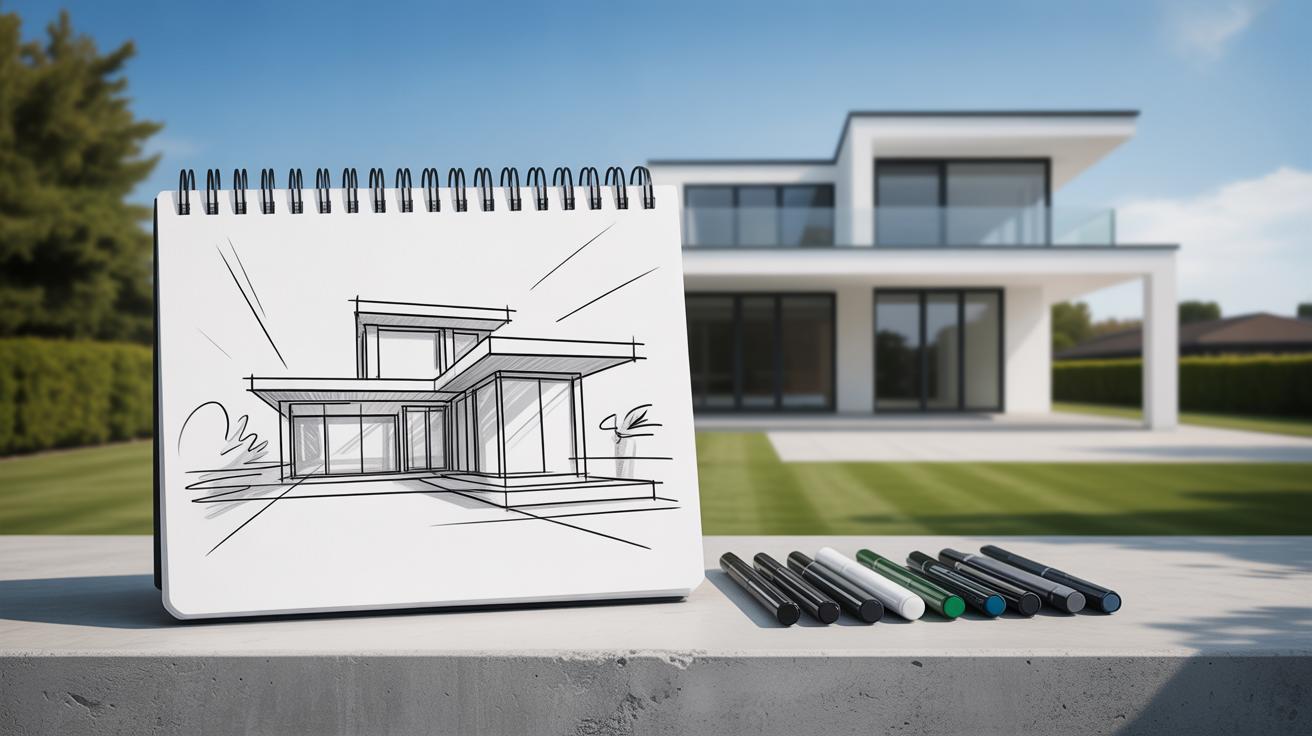
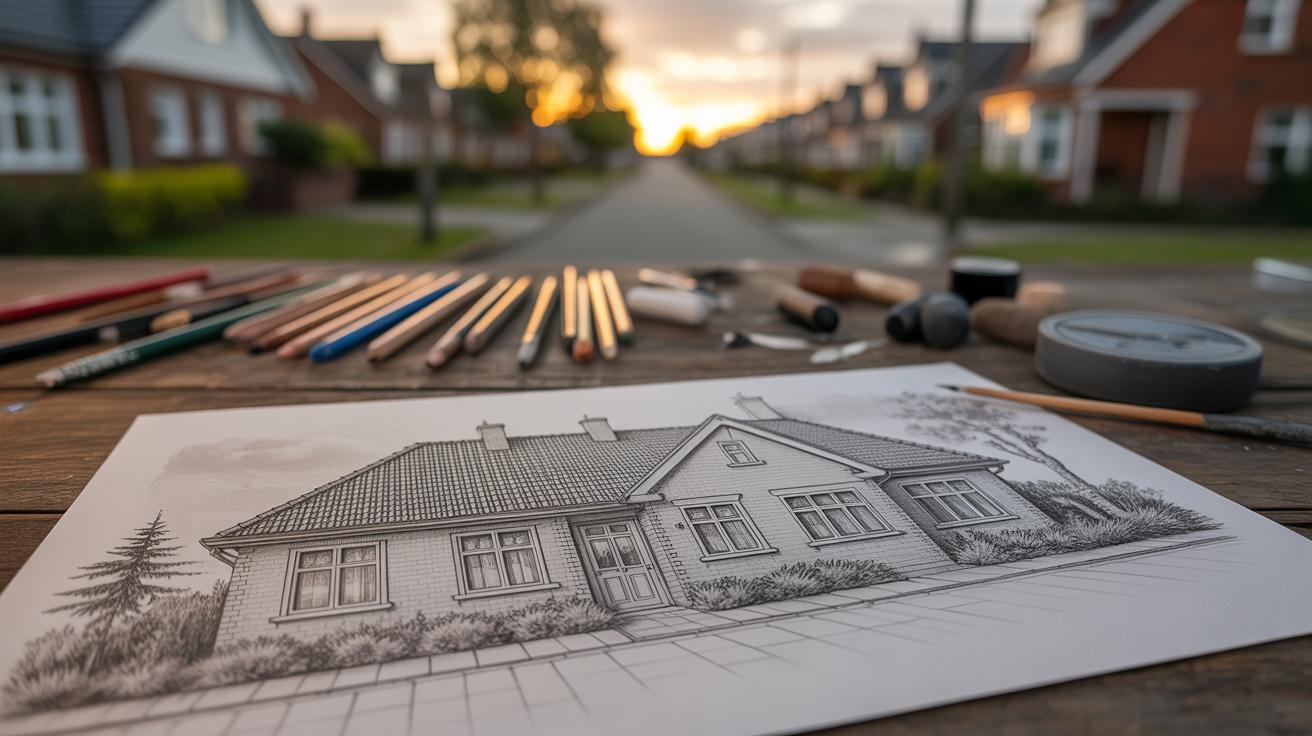
Basic Drawing Techniques for Outdoors
When you’re outside with your sketchbook, try to keep things simple. Start with line drawing—it’s the backbone of most nature sketches. Different lines can tell your viewer what’s what: sharper, darker lines hint at tree trunks or rocks; lighter, sketchier strokes suggest grass or distant hills. Don’t be afraid to experiment with the thickness and direction of your lines. It might feel awkward at first, but shifting from thin to thick lines can help separate objects and add a sense of distance.
Shading is where your drawing can gain a bit of life. By adding shadow areas, you show where light falls or where it doesn’t. Try pressing your pencil harder to get darker tones or using your finger or a blending stump to soften edges. This gives mass and depth to things like hillsides or water surfaces. Texture is trickier—you can capture rough bark or soft leaves by changing your pencil strokes. Cross-hatching or small dots often work well, but feel free to explore what fits your scene.
One thing I’ve noticed is that you don’t have to shade everything evenly. Some parts can stay lighter or more sketchy, which can actually make the drawing feel more natural and less forced. Do you find yourself overworking parts? Maybe try to step back and see if some areas could just hint at detail rather than spell everything out. It’s a bit like telling a story—some parts you emphasize, others you let the viewer fill in.
Composing Your Landscape Drawing
When you start arranging elements in your drawing, think about dividing the scene into three parts: foreground, middle ground, and background. The foreground usually contains objects closest to you—rocks, branches, grass—that frame the scene and invite the viewer in. The middle ground often holds the main subjects, like trees or a small hill. The background might feature distant mountains or sky, offering a sense of space. Don’t feel compelled to fill every space evenly; sometimes leaving areas sparse creates tension or focus.
Choosing what to draw and where isn’t always straightforward. Ask yourself, which parts caught your attention when you looked at the scene? You might want to emphasize a striking tree or a winding path. Place these elements where they naturally guide the eye, often slightly off-center. Don’t hesitate to crop—sometimes cutting off elements gives your composition energy instead of trying to capture it all.
To create depth, remember size, detail, and clarity matter a lot. Objects in the foreground appear larger and clearer with sharper lines, while those far away should be smaller, less detailed, and with softer lines. You might notice that the further away something is, the less distinct it becomes. Experiment with this contrast—it can add real space and weight to your drawing. It’s a bit like—and maybe a bit unlike—how your eyes naturally perceive distance. Try mixing sharpness and blur to see what feels right for your scene.
Adding Details and Highlights
When your drawing has a solid composition, adding fine details can make it feel more alive without turning it cluttered. Think about little things like the way leaves curl, the texture of bark, or individual blades of grass. These details don’t have to be exact copies but hints that suggest what’s there. You might try sketching quick, light strokes for grass, or tiny dots and short lines for leaves. It’s a balancing act—you want to suggest complexity without overwhelming the overall image.
One trick I’ve found helpful is to step back every now and then, squint, and check if those added details still support your main shapes or if they’re distracting. Sometimes less is really more, even when your instinct pushes you to fill every blank space. You can suggest texture just by varying your pencil pressure or direction instead of drawing every single leaf.
Highlights give your drawing contrast and depth. Leave small patches of white space or lighten your pencil strokes where light hits. A gentle touch with a kneaded eraser can lift graphite to create highlights on shiny leaves or water surfaces. Think about where the sun might catch on wet rocks or the edges of leaves—that’s where you want your brightest spots.
- Use light pencil strokes or small dabs to imply texture without fussing over every detail
- Choose key areas for details—don’t feel the need to cover everything equally
- Leave white spaces or use an eraser to create natural highlights
- Observe your scene for where light naturally falls, and reflect that in your drawing
- Check your work from a distance to avoid overworking the paper
Sometimes, I find that adding fewer highlights can actually make the drawing feel more natural. But other times, bold highlights bring energy. Which way will you try first?
Using Color to Enhance Your Drawings


Adding color to your drawings can really change how a scene feels. If you’ve only worked in pencil, picking up colored pencils or watercolors might seem a bit daunting at first. But the way you apply color doesn’t need to be complicated. Start gently—soft strokes with pencils or light washes of watercolor—then build up layers gradually. That layering gives you control and stops colors from looking flat or harsh.
When you’re coloring, think about the atmosphere you want to suggest. Is it a calm morning with soft blues and pale greens? Or maybe a fiery sunset with warm reds and oranges? Choosing your colors to reflect what you felt when observing helps the drawing speak more honestly. Oddly enough, sometimes colors that don’t match reality exactly can work better to convey mood—like adding a little purple in shadows to deepen them.
Blending is key. With colored pencils, you can layer several hues, then soften transitions by gently rubbing with a blending stump or even a finger. Watercolors let you work wet-on-wet for smooth gradients or wet-on-dry for sharper edges, depending on your goal. The trick is to avoid overdoing it. Too much blending can kill textures that make your work interesting. On the other hand, rough strokes left alone may feel unfinished. I often find myself experimenting on a scrap first, wondering if the color is too strong or if it just needs one more layer.
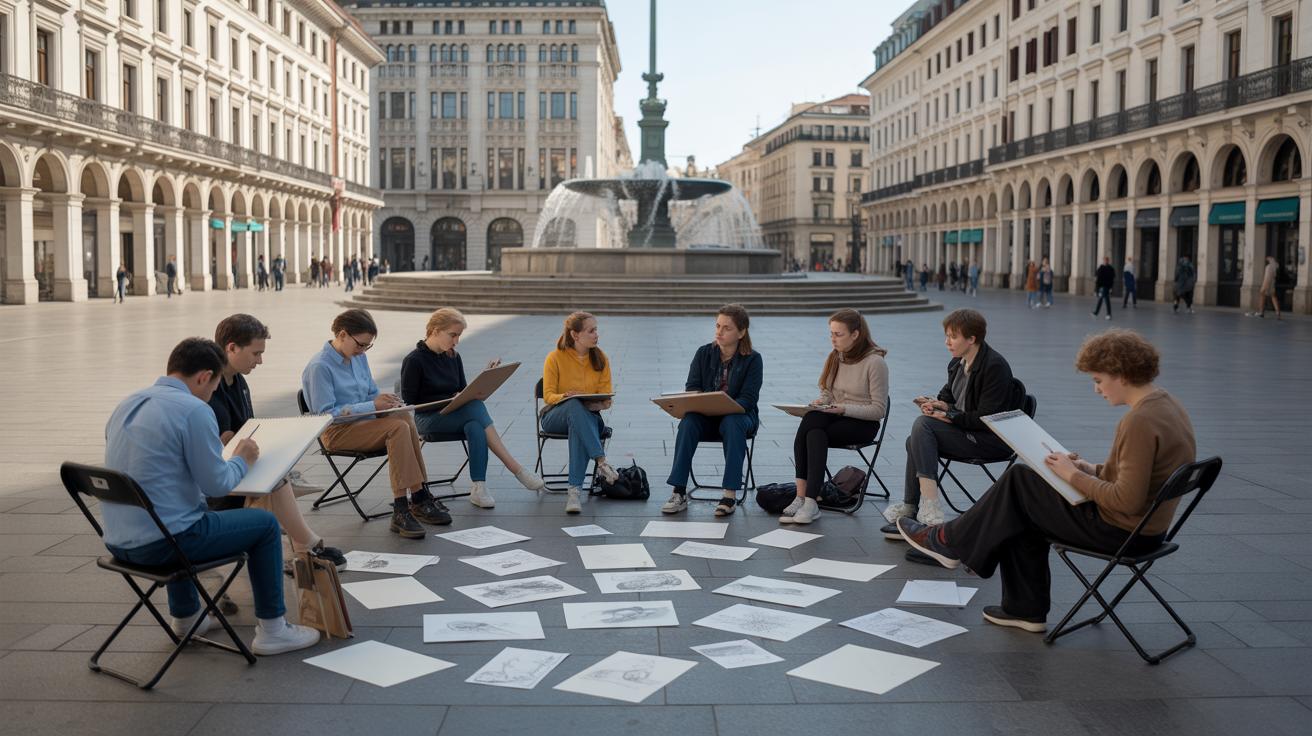
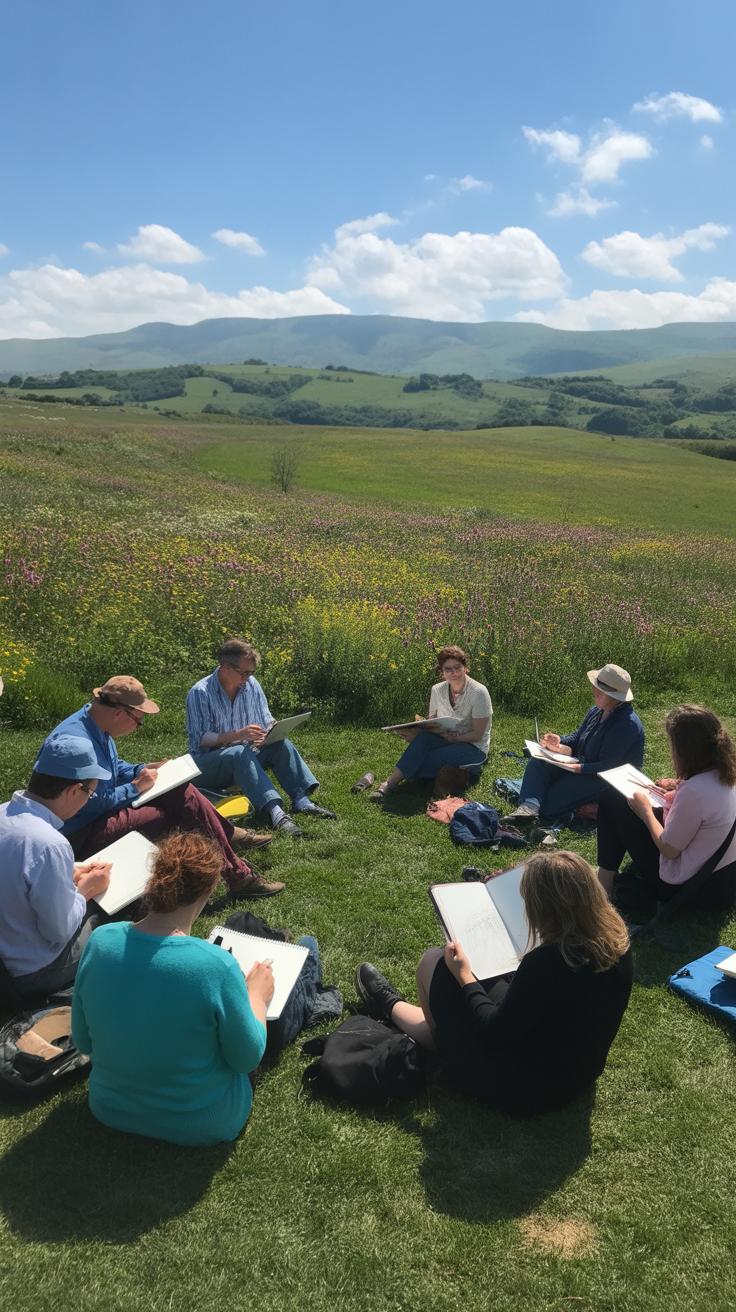
Practical Tips for Drawing Outdoors
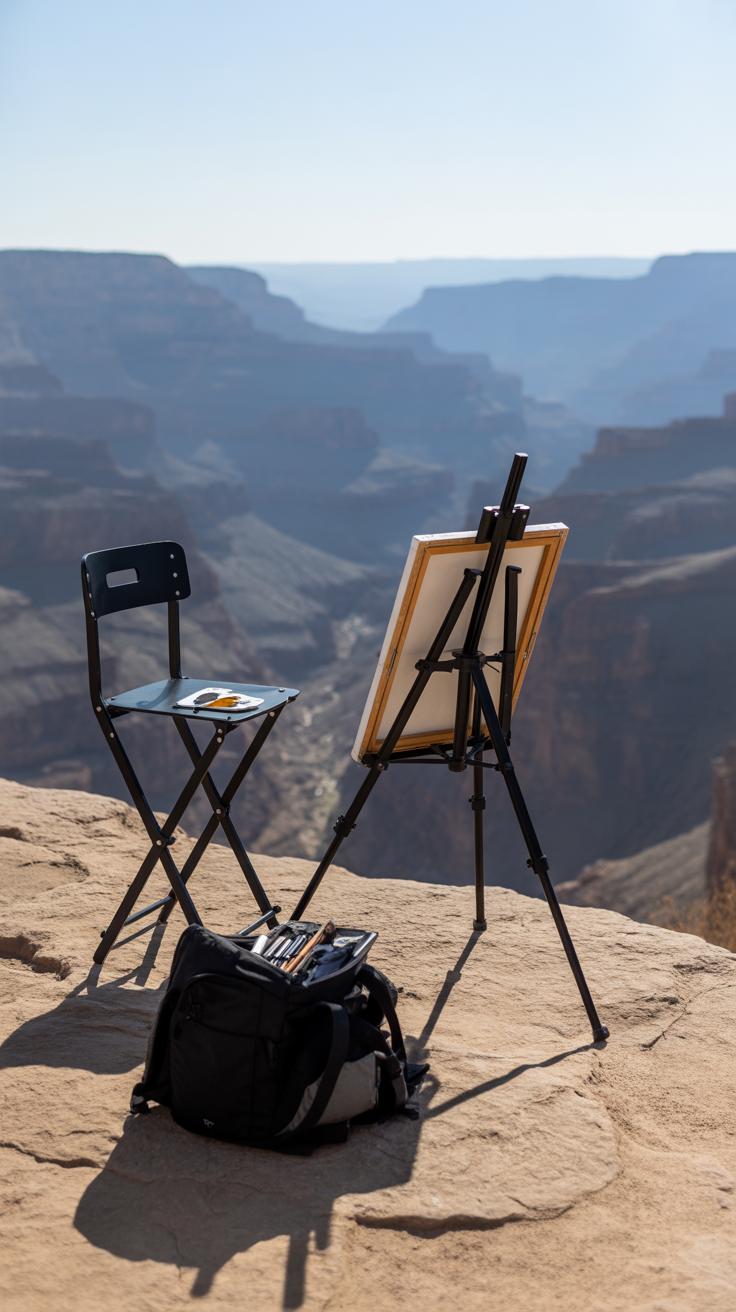
Setting Up Your Drawing Spot
Finding a place to draw outside should balance comfort and inspiration, though it’s not always easy. Look for a spot with enough natural light—you want to see your paper clearly without squinting. Sometimes, sitting near a tree helps; not just for shade but also because it can serve as a natural easel or a surface to lean on.

Think about your seating too. A foldable stool or a thick blanket can make a difference, especially if you’ll be sitting for a while. Don’t hesitate to move if the area feels cramped or noisy. Sometimes the best spot isn’t the obvious one right at the water’s edge or on a hilltop but a quiet corner where you can focus.
Managing Outdoor Challenges
Wind can seriously mess with your papers. Clipping your sketchbook or using some small weights—rocks work fine—will help keep pages from flying away. Changing light is trickier. Your drawing changes as shadows shift, and you might find scenes look different from one moment to the next. Try setting a time limit for your sketch or focus on capturing the essence quickly instead of chasing exact details.
Insects can be annoying. I’ve learned to bring a small tube of insect repellent and wear light-colored clothes. Sometimes, just acknowledging you’ll have to pause for a moment while swatting bugs can make outdoor drawing less frustrating. Preparing for these nuisances means less distraction, giving you more time to concentrate on your work.
Building Your Drawing Skills Over Time
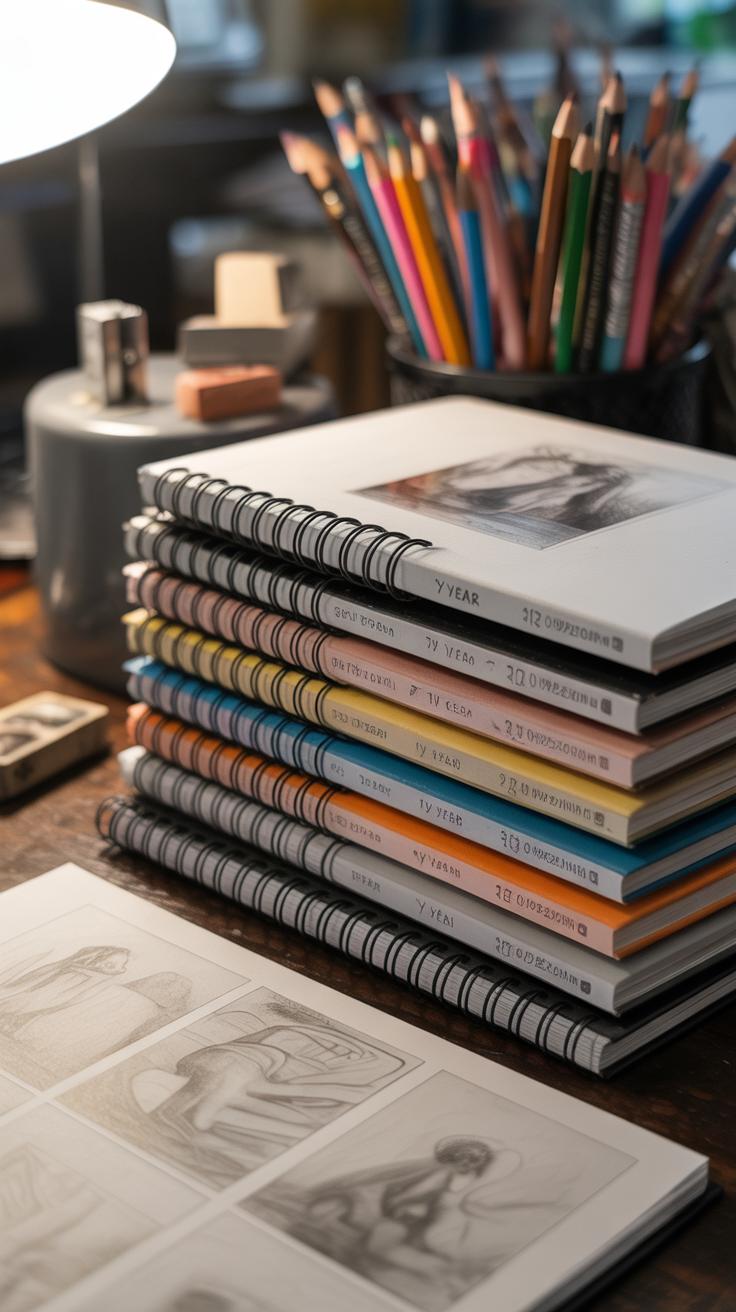
Drawing outdoors, or anywhere really, improves with practice, plain and simple. The more you sit down and sketch, the more you’ll notice tiny details you might have missed before. At first, you might feel unsure about your lines or shading, but over time, that uncertainty usually fades. You start to trust your hand more, and your confidence grows.
Try setting small, consistent goals—like a quick five-minute sketch each day or capturing the shape of a tree branch every morning. These quick exercises sharpen your observation and hand-eye coordination without feeling like a chore. Maybe you’ll make a routine out of it, or maybe you skip days—that’s fine, too.
After finishing each drawing, take a moment to really look at it. Ask yourself: What worked here? Which parts feel off? Maybe the shadows weren’t quite right, or the perspective felt flat. Don’t worry about mistakes; instead, use them as clues for what to focus on next time. Sometimes, it helps to keep a small notebook of these reflections to track your progress and spot patterns.
If you approach your practice with patience and a willingness to learn, your skills will improve—and you might even enjoy the process more than you expect.
Sharing and Growing as an Artist
Sharing your outdoor drawings with others can be a bit daunting, especially at first. But it opens doors—you start to hear perspectives beyond your own, and that can be surprisingly helpful. You don’t have to post every sketch online or join an art group overnight. Even showing your work to a friend or family member who notices small details can give you new insight.
Finding a community isn’t as tricky as it seems. Local art clubs, workshops at parks, or informal gatherings offer chances to swap ideas and even sketch together. Online spaces—like forums and social media groups—make it easier to meet people who understand your focus on nature drawings. You might find yourself inspired just by seeing what others are doing.
Feedback can feel harsh sometimes, so choosing what to take on board is key. What helps the most tends to be specific suggestions rather than vague praise or criticism. For example, if someone points out your shading could be softer in parts, you can test their idea in your next sketch. Listening to comments with an open but selective attitude gradually sharpens your skill and even influences your style.
Conclusions
Drawing outdoor scenes is a rewarding skill. It makes you patient and observant. By practicing, you get better at showing details and moods in your sketches. Every drawing you make improves your eye and hand coordination.
Keep drawing regularly and enjoy the process. Remember, your landscape drawings show your unique view of the world. Use the ideas here as a guide. Then, add your personal touch. Happy drawing!


