Introduction
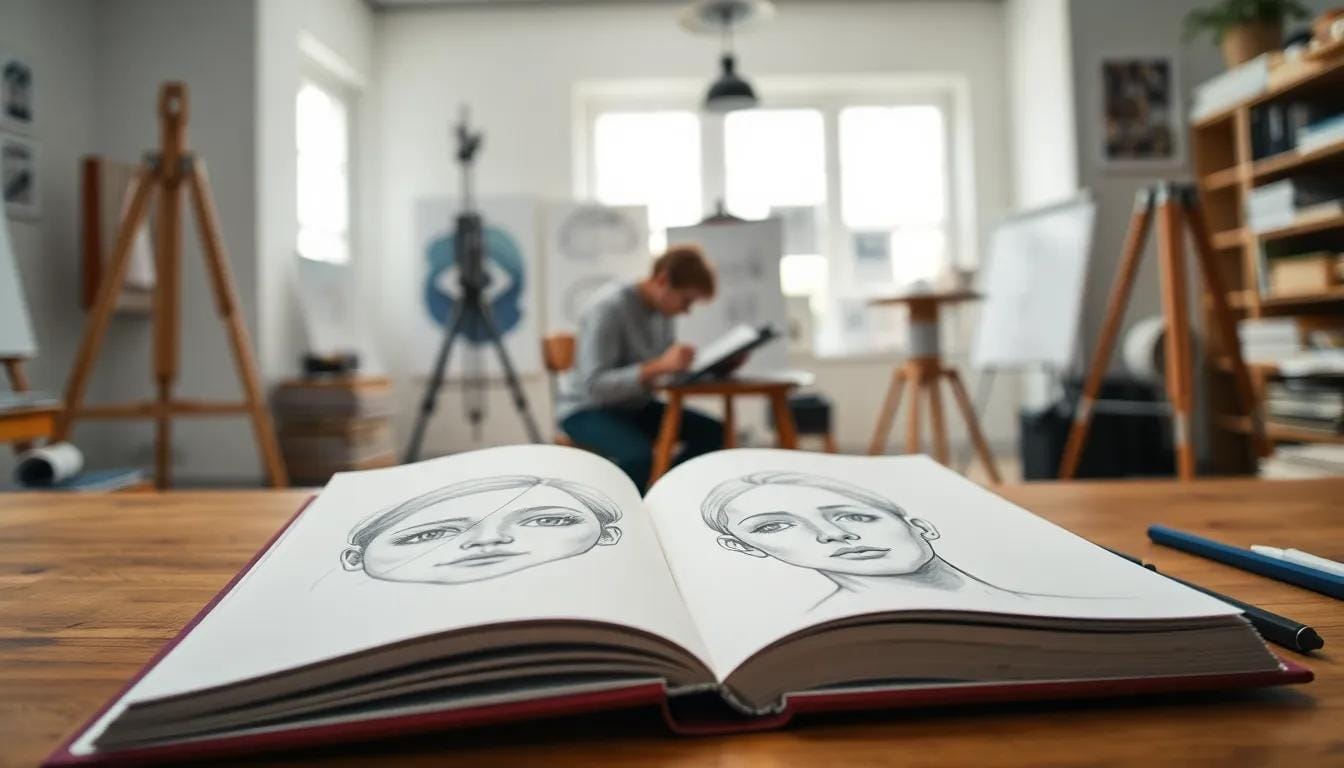
Learning how to draw a face is a vital skill for artists and enthusiasts alike. This comprehensive guide will take you through each essential step necessary to create a detailed and lifelike portrait. Understanding the basic terms and principles of facial structure is crucial, as these elements will serve as the foundation for rendering realistic features. Whether you’re a beginner or looking to refine your skills, this guide presents a clear path to improvement.
Throughout this article, we will explore techniques such as proportion, symmetry, and shading that are integral for successfully capturing the essence of a face. From basic outlines to intricate details, each chapter is designed to build upon the previous one. By the end, you’ll not only enhance your ability to draw faces but also appreciate the artistry involved in this timeless practice.
Understanding Facial Anatomy in Drawing
Exploring the Structure of the Face
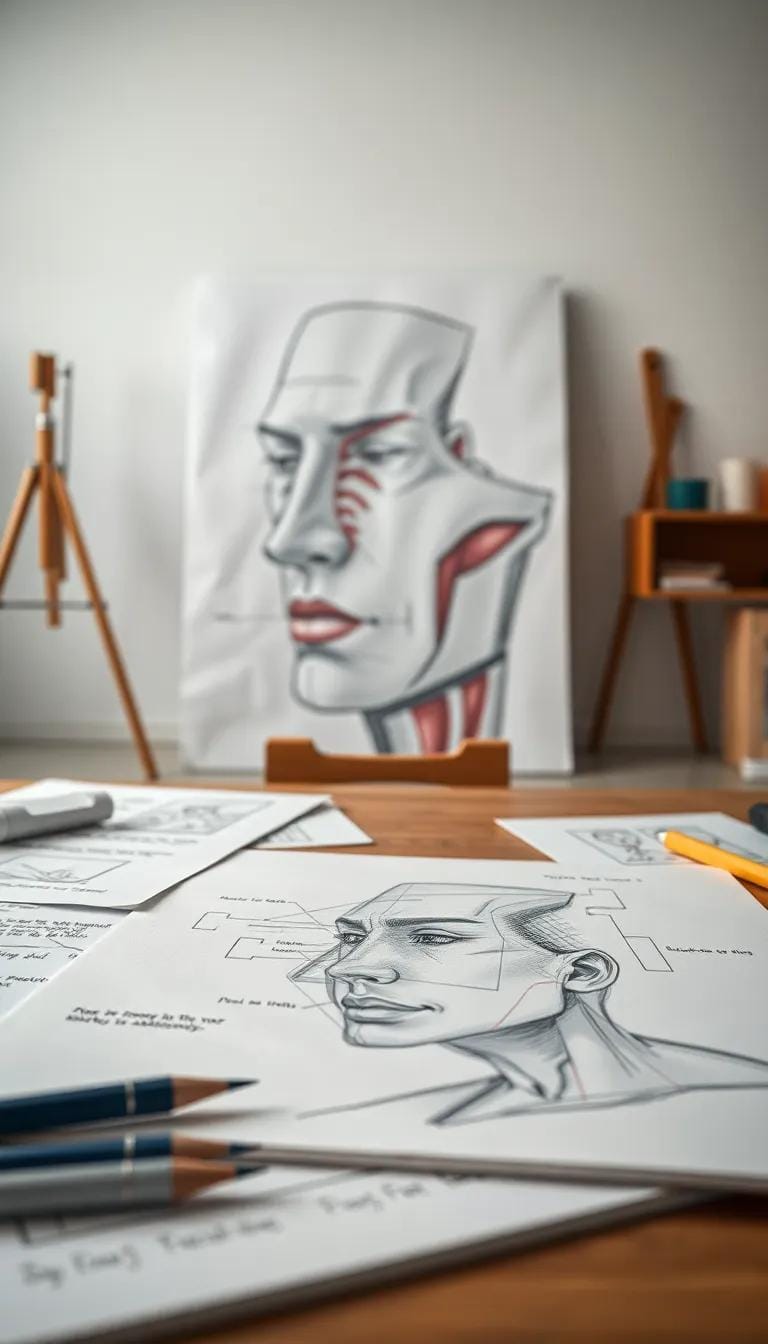
Understanding the facial anatomy is essential for artists who aim to create realistic portraits. The human face is a complex structure that combines various bones and muscles, each contributing to its unique shape and expression. At the core of this structure is the skull, which provides the framework for the face. The skull is comprised of several bones, including the frontal, zygomatic, nasal, and maxilla, which define the overall contour of the face. Knowing the position and relationship of these bones is crucial when sketching a face because they set the foundation for facial features.
The Role of Facial Muscles
Beyond the skeleton, facial muscles play a significant role in shaping the face. These muscles are responsible for various expressions, from smiling and frowning to raising eyebrows. Understanding how these muscles interact with one another helps in portraying not only the physical attributes but also the emotional aspects of a subject. For example, the orbicularis oculi around the eyes and the zygomaticus major near the cheeks contribute to a smile. Being aware of these muscles allows artists to create more dynamic and lifelike expressions in their drawings.

The muscle structure adds depth to the face and influences how light interacts with contours. This interplay of light and shadow is vital for creating a three-dimensional appearance on a two-dimensional surface. When you understand the underlying anatomy, you can better depict highlights and shadows, enhancing the realism of your artwork. Therefore, a solid grasp of facial anatomy not only aids in the accuracy of form but also enriches the emotional depth of a portrait.
Engaging with the study of both bones and muscles can significantly improve an artist’s ability to construct faces with precision. Many artists benefit from practicing with anatomical references, allowing them to appreciate how changes in muscle tension and skin tone can alter the overall likeness. Integrating this understanding into your artistic practice equips you with the tools necessary to master facial features and achieve portrait perfection.
Basic Shapes for Facial Proportions

Understanding Facial Geometry
To achieve precision in drawing a face, it is helpful to simplify complex contours into basic geometric shapes. The human face can be deconstructed into fundamental forms, including circles, ovals, rectangles, and triangles. This foundational approach not only promotes accuracy but also enhances your ability to capture likeness and expression.
The primary shape for the structure of the head is an oval or an egg-like form. The top of the head gently curves while the chin tapers down. Visualizing this shape aids in understanding the overall proportion of the face, serving as the canvas on which all other features will be positioned. When this basic shape is established, it becomes easier to plot the rest of the features accurately.
Establishing Proportions through Basic Shapes

Once you have your oval, it’s essential to divide it into sections to locate the facial features properly. Start by drawing a vertical line down the center of the oval, which will help to ensure both sides of the face remain symmetrical. Next, draw a horizontal line halfway down the oval; this line marks where the eyes will be positioned. Typically, the head is about five eyes wide. By marking these eye positions using smaller ovals, you can maintain proportion and alignment.
To place the nose, continue with a horizontal line midway between the eye line and the bottom of the chin. This will be the starting point for the base of the nose, which can be represented with simple shapes. The suggestion is to visualize the nose as a triangle or an elongated rectangle extending downwards from the eye line.
The mouth can then be positioned approximately one-third of the way down from the nose to the chin. Sketch this area by employing a simple line or a curve, allowing for the upper and lower lips to be defined later. Remember that the width of the mouth typically aligns with the inner corners of the eyes, fostering balance across the entire face.
The ears can be represented using curves or oval shapes starting from the eye line down to the nose line, which helps anchor them proportionally to the rest of the facial features. By continuously referencing these basic shapes, a more polished and proportional likeness will emerge, setting a solid groundwork for intricate details in the following stages of the drawing process.
Sketching the Face Framework

As you begin your journey in drawing faces, constructing a reliable framework is essential. This phase allows you to create a strong foundation for the rest of your portrait. Start by using the basic geometric shapes discussed previously, incorporating them to delineate facial proportions. The initial stage involves lightly sketching your shapes with a pencil, ensuring you can easily erase any lines that aren’t working.

Begin with a circle to represent the cranium. This can be slightly flattened at the bottom to mimic the human skull’s structure. From this circle, draw a downward vertical line that defines the face’s symmetry. This line will guide you in placing features later on, so ensure it extends below the circle enough to account for the chin and neck. Next, draw a horizontal line halfway down the vertical line. This line will serve as a guide for placing the eyes, which are generally situated at the midpoint of the face.
To add structure, outline the jawline beneath the circle. Depending on the desired facial shape, you can draw a soft or sharper angle. A rounded shape will suggest a softer face, while straighter lines can hint at a more angular, defined appearance. Once you have the basic head shape established, divide the lower half vertically into thirds. This division will act as a reference for the nose and mouth. The first third will indicate where the nose should sit, while the second third provides a guideline for the mouth.
With the divisions in place, sketch in the eye shape along the horizontal line. Keep in mind that the space between the eyes is generally the same width as one eye. This proportionate measure aids in achieving balance in your drawing. After establishing the eye region, you can outline the nose using the bottom third’s guidelines, taking care to maintain proportion relative to the size of the eyes and overall face.
Before detailing the hair and ears, lightly outline the boundaries for the jaw and chin, which will define the face’s overall structure. Throughout this framework process, maintain a gentle touch with your pencil, allowing for adjustments as needed. This framework will serve as the canvas upon which you will intricately build facial features in the subsequent stages, ensuring a cohesive and accurate representation.
Adding Facial Features


Once you have established the foundational sketch of the face, it is time to focus on the details that bring the portrait to life: the features. This step involves carefully adding the eyes, nose, mouth, and ears. Understanding their proportions and placements is crucial for achieving a realistic representation.
Proportions and Placement of the Eyes
The eyes are often considered the most expressive feature of the face. To begin, locate the midpoint of the face, which helps to define the placement of the eyes. The width of the face can generally fit five eye-widths across, with the distance between the eyes roughly equal to one eye’s width. Start by sketching the eye shape, following a guideline that captures the curve and the inner and outer corners. Pay attention to the proportional differences in eye size, which vary according to the person’s age and other unique traits.
The Structure of the Nose
The nose extends from the midpoint of the eyes down to the base of the nose, typically falling along a vertical line drawn from the inner corners of the eyes. When sketching, create a simple triangular shape for the nose bridge, leading into the nostrils. The width of the nose should align with the inner corners of the eyes. Adding details such as the nostrils and the nose tip requires careful observation of how these elements relate to the overall shape of the face.
Defining the Mouth
The mouth’s position is usually one-third of the way down from the nose to the chin. When drawing, start with a light outline that captures the shape of the lips; the upper lip is typically thinner than the lower lip. Consider the unique characteristics of the person’s smile or frown, and incorporate those subtle nuances into your rendering. Ensure that the proportions between the mouth and other facial features remain consistent to maintain harmony.
Incorporating the Ears
Ears often fall between the eyebrows and the base of the nose. Start sketching the general outline of the ears based on this placement, considering their height and width relative to the face. Pay attention to the contouring and lobes, as these features vary significantly among individuals. Ensure the ears align symmetrically on either side of the face, contributing to the overall balance.

With each feature added, constantly step back and assess the harmony and proportion of the facial components. Careful observation and practice will lead to portrait perfection, preparing you for the next crucial step of incorporating light and shadow, enhancing your artwork’s depth and realism.
Incorporating Lighting and Shadows

Understanding the Role of Light in Facial Representation
To convey depth and realism in your portrait, the use of light and shadow is paramount. Light interacts with the facial structure in ways that create shapes, contours, and textures, transforming a flat drawing into a vivid representation. Understanding how light behaves—the angle, intensity, and color—will be crucial in achieving a three-dimensional effect.
When selecting your light source, consider its direction. A frontal light tends to flatten the features, while a side light accentuates the contours of the face. Experiment with different positions to see how shadows fall and create depth. The effects of natural light can be particularly instructive, as they change dynamically throughout the day, providing insight into how light illuminates surfaces differently.
Creating Shadows and Highlights
Once you understand the light source, the next step involves applying shadows and highlights effectively. Start by identifying the areas of the face that will likely receive less light; these typically include the sides of the nose, underneath the chin, and the areas around the eyes. Use darker tones or hatching techniques to create those shadows, ensuring you keep in mind the overall shape of the face.

Conversely, highlights should be added where light strikes the face directly. The forehead, cheekbones, and the bridge of the nose are ideal areas to apply lighter, almost reflective tones. Use a blending tool or lighter pencil shades to achieve a smooth transition from light to dark, which will enhance realism.
Understanding the concept of core shadows, which are found on the planes of the face, can be incredibly beneficial. These shadows shape the features without overpowering them. For example, beneath the cheekbone, a soft gradient can delineate the transition from the cheek to the jawline, giving it form.
Experimentation is key. Over time, your understanding will improve as you practice applying these techniques. Strive to balance the contrast between light and shadow; too much shadow can lead to a harsh appearance, while too little can wash out the form of the face.
Incorporating these elements effectively will pave the way for more lifelike portraits, preparing you for the next step of adding essential textures and finishing touches that will complete your work.
Finishing Touches and Textures
Enhancing Facial Details for Portrait Precision

Once you have established the foundational elements of the face through lighting and shadowing, the next step in achieving a lifelike portrait is the application of finishing touches and textures. This stage focuses on adding the intricate details that breathe life into your drawing. Start with the skin. Use a range of pencils or blending tools to layer textures. Gently varying the pressure of your pencil will help to create a realistic skin texture. For example, using softer strokes can mimic the fine details such as pores and wrinkles while harder lines can indicate stronger contrasts and features.
To depict the natural variations of skin tone, incorporate subtle shifts in color. If you’re using colored pencils, blend hues like peach, rose, and light brown to reflect the warmer areas of the face, primarily the cheeks and forehead. Use cooler tones, such as bluish greens or grays, in shadowed regions to create depth. This technique will enhance the three-dimensional quality established through prior light manipulation.
Achieving Natural-Looking Hair and Additional Features
Focus on the hair, which plays a vital role in framing the face. The key to drawing realistic hair lies in understanding its flow and texture. Begin with light, sweeping strokes to outline the general shape before detailing individual strands. Employ various shading techniques—cross-hatching, stippling, or smooth blending—to create depth and dimension within the locks. Remember, hair is reflective and should possess a slight sheen, which can be enhanced with a white gel pen or an eraser to create highlights.
Don’t overlook smaller details such as eyelashes, eyebrows, and even the slight shimmer of the lips. When drawing eyelashes, use short, quick strokes to replicate the natural variety of lash lengths and thicknesses. For eyebrows, ensure to follow the natural direction of hair growth, adding texture by varying pressure and the angle of your strokes. Lips can be rendered with soft shading, blending colors together to illustrate the natural curvature and fullness.
Add finishing strokes around the edges of the face, ensuring they are soft and blended, which will create a seamless transition to the background. This will draw emphasis to your detailed work and elevate the overall quality of your portrait. With attention to these textures and details, your drawing will transform into a vibrant portrait, ready to convey emotion and personality.
Practicing Different Facial Expressions

Understanding Facial Dynamics

Mastering the art of drawing faces involves not only perfecting the basic structure but also understanding how various facial expressions alter that structure. Each expression communicates emotion and personality, giving life to the portrait. To start, familiarize yourself with the core features of the face: the eyes, nose, mouth, and the overall facial contour. From these basics, you can explore how they morph with each expression.
Start by observing yourself or others in front of a mirror. Note how the eyebrows shift, how the mouth curves, and how the eyes change their shape. For example, when a person smiles, the corners of the mouth rise, and the cheeks become fuller, often altering the perceived dimensions of the face. In contrast, a frown or scowl pulls the brow down, leading to a different interpretation of the face’s layout.
Step-by-Step Expression Practice
To effectively illustrate various expressions, consider following these steps:
- Choose an Expression: Select a facial expression you wish to practice—joy, sadness, anger, surprise, etc.
- Initial Sketch: Using light pencil strokes, sketch the basic outline of the face. Focus on proportionality, ensuring a solid foundation.
- Modify the Features: Adjust the key features based on the chosen expression. For example, if illustrating surprise, widen the eyes and lift the eyebrows, creating more space above the eyes.
- Detail the Mouth: The mouth conveys significant emotion. Shape it accordingly; for a smile, create an upward curve, while a frown requires a downward tilt.
- Adjust the Nose and Brows: The nose may become more pronounced during expressions like anger, while the eyebrows curve differently based on the emotion.
- Finalize with Shadows: Add depth by incorporating shadows under the chin and around the eyes and mouth, which enhances the expression’s realism.
It’s beneficial to practice these expressions repeatedly, as each time you apply the principles learned, you enhance your understanding of how emotions physically affect facial structures. Recognizing these changes allows for greater accuracy and depth in your portraits. Observe photographs or live subjects as references for more intricate details and variations, leading to richer, more dynamic drawings that resonate with viewers.
Conclusions
Mastering the art of drawing a face requires practice and a thorough understanding of the underlying principles. We have explored the fundamentals, from basic sketches to advanced techniques involving shading and texture. Each step builds upon the last, reinforcing your skills and confidence as an artist. Remember, the journey of developing your abilities is ongoing, and with each drawing, you become a little more adept.
Drawing a face is both a challenging and rewarding endeavor. With the methods outlined in this guide, you will be equipped to tackle various styles and expressions. Keep practicing, and soon enough, your portraits will reflect not just technical skill but also your unique artistic voice.


