Introduction
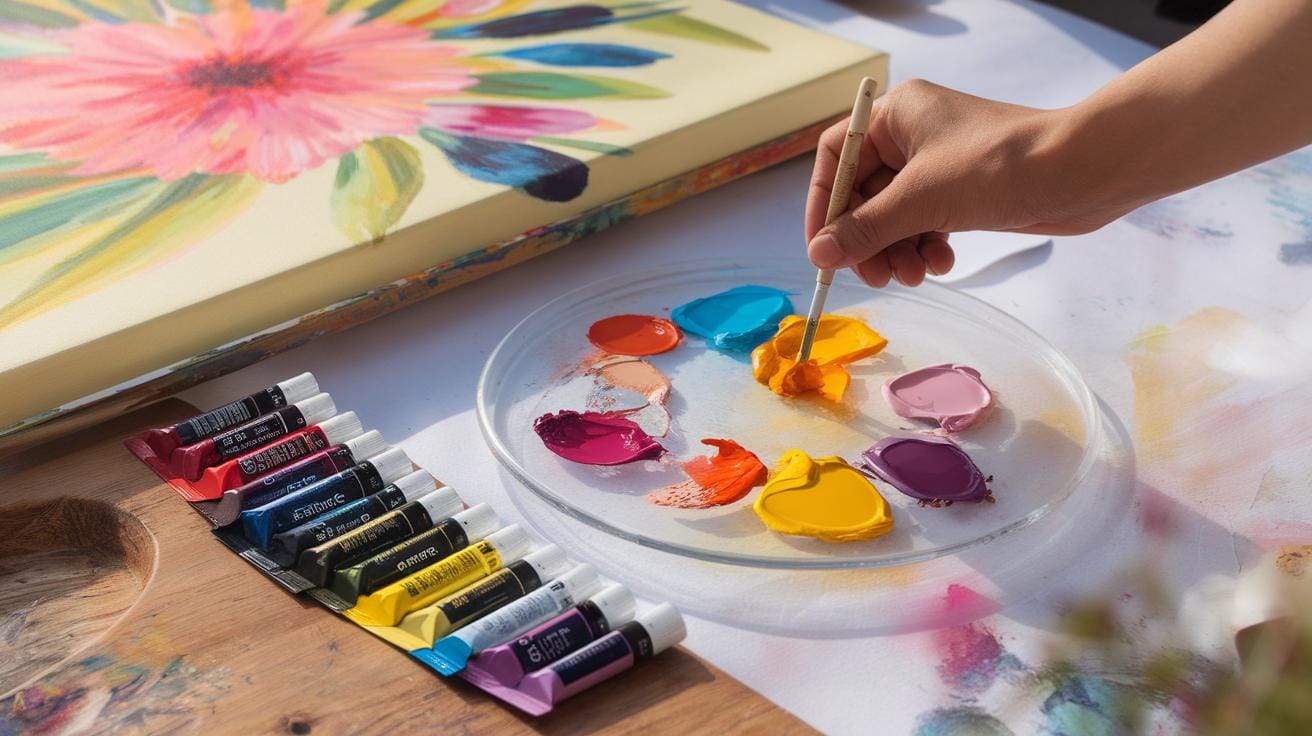
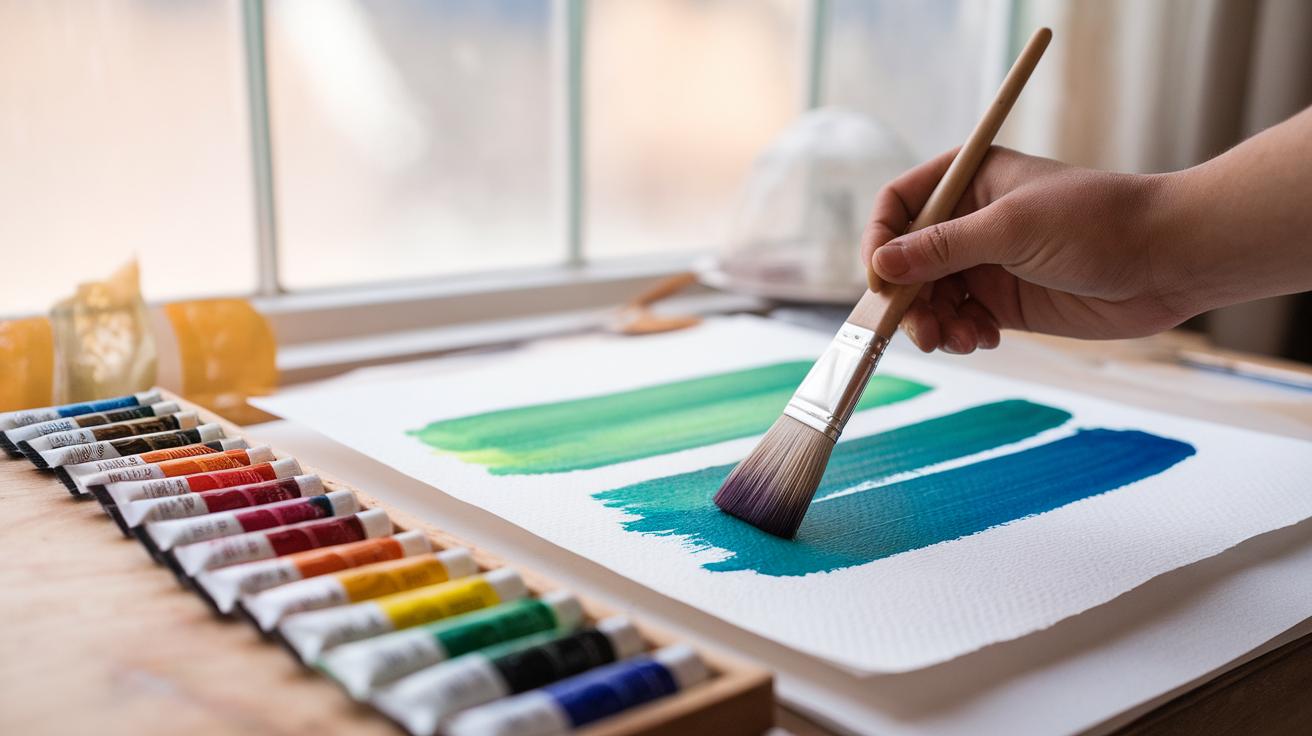
Gouache is a versatile water-based paint known for its opacity and vibrant colors. Unlike watercolor, gouache contains larger pigment particles and a white filler, which give it a heavier texture and a matte finish. Artists favor gouache for its quick coverage and ability to create rich, luminous color effects. You can use gouache in various styles, from detailed illustrations to expressive landscapes. Techniques range from basic layering to complex applications that manipulate opacity and texture.
Understanding gouache’s unique characteristics can improve your painting results notably. This article covers fundamental and advanced gouache techniques to help you achieve luminous color effects. You will learn how to apply layers properly, mix colors effectively, and use innovative methods like dry brushing and scumbling. The goal is to make your gouache paintings more vibrant and dynamic by mastering these techniques. Are you ready to enhance your gouache skills and create striking paintings?
Understanding Gouache Paint and Its Properties
Gouache is a water-based paint made from pigment, water, and a binder like gum arabic. It contains more pigment and a higher ratio of binder than watercolor. This makes gouache thicker and more opaque. Unlike acrylics, gouache remains re-wettable after drying, allowing you to make changes or blend colors even after the paint dries.
The paint offers a matte finish that reduces glare and reflects light softly. This helps create colors that feel solid and vivid on paper. The opacity lets you work in layers, covering mistakes or layering bright highlights over dark backgrounds. Your strokes can look smooth or textured depending on your brush and water amount.
Understanding how gouache differs from watercolor and acrylic can help you use it better. What types of effects do you want to achieve? Knowing gouache’s unique traits lets you control how your colors build, shine, or sit on your paper.
What Makes Gouache Unique
Gouache uses finely ground pigments mixed with gum arabic, making the paint thick and opaque. The pigment particles are larger than in watercolor, so they reflect more light. This size affects how the paint covers the surface and how intense your colors appear. The binder type helps keep the paint soft enough to re-wet but firm when dry.
Because gouache has a high pigment load, it blocks the surface underneath, unlike watercolor, which lets light pass through. This opacity lets you paint over darker colors with lighter ones. When comparing gouache to acrylic, remember acrylic dries permanently and won’t re-wet or lift once dry.
When you paint with gouache, you can build layers or make sharp corrections. Think about how this opacity could change your approach compared to transparent paints. How could opacity affect your brush techniques or color blending?
How Gouache Behaves When Drying
Gouache does not dry exactly the same color as when it’s wet. It usually dries darker and less shiny than it appears on the palette or freshly applied. This shift happens because water evaporates, changing how light passes through the paint and settles on the surface.
Knowing this behavior helps you match colors accurately across different painting sessions. If your paint looks too light when wet, expect it to darken as it dries. To avoid surprises, test colors on scrap paper and let them dry before final use.
A good question to ask yourself is how this drying change affects your layering. Should you adjust tones while the paint is wet, or wait for it to dry before adding details? Mastering the drying behavior will improve your color control and make your work more consistent during long projects.
Preparing Your Materials for Gouache Painting
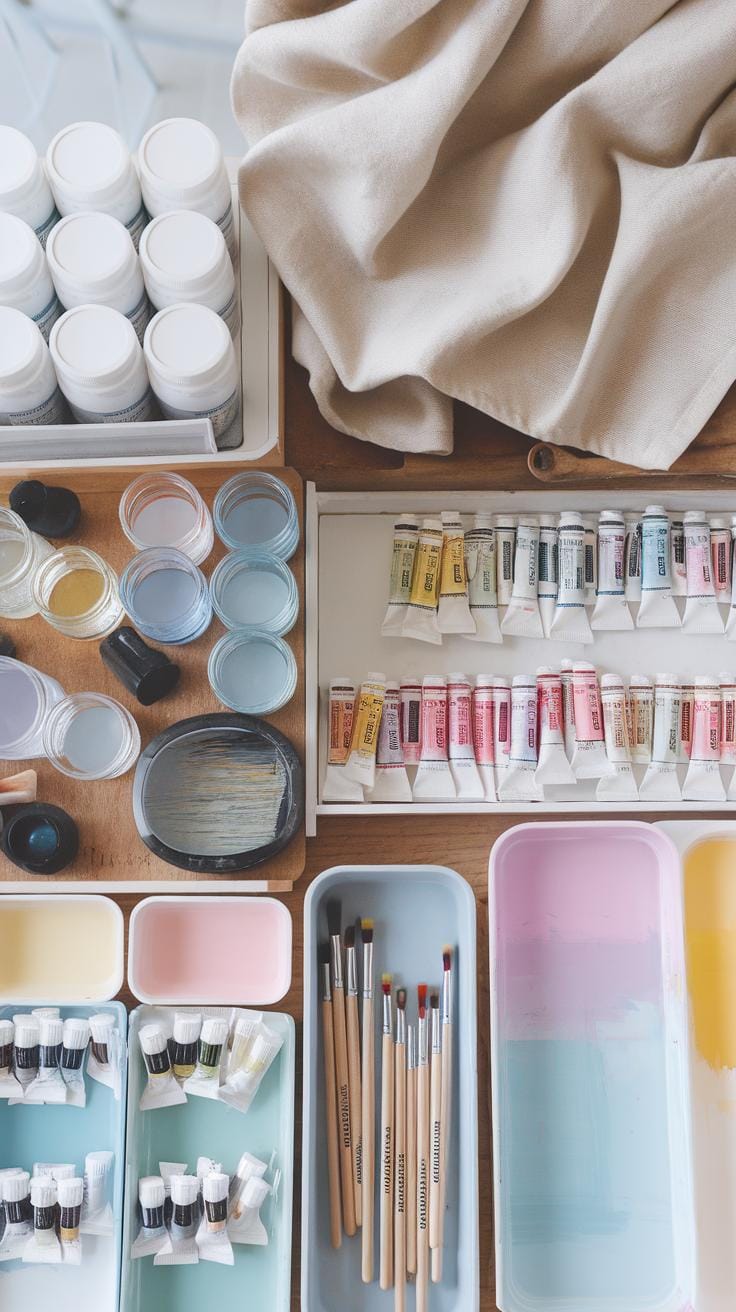
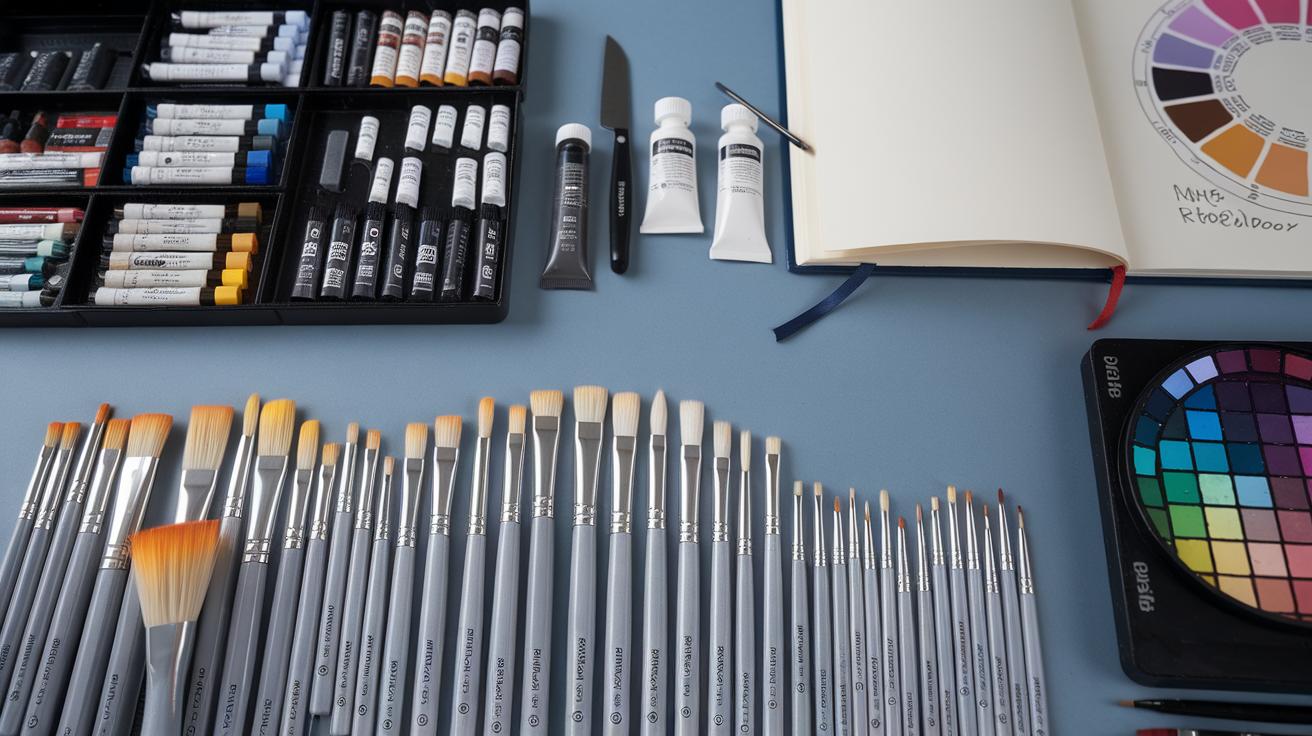
You need specific tools to get the best results with gouache. The paints require brushes that hold a good amount of water and shape the paint smoothly. Synthetic brushes with firm, springy bristles allow precise control and clean edges needed for gouache’s opacity. Round and flat shapes work best for different strokes.
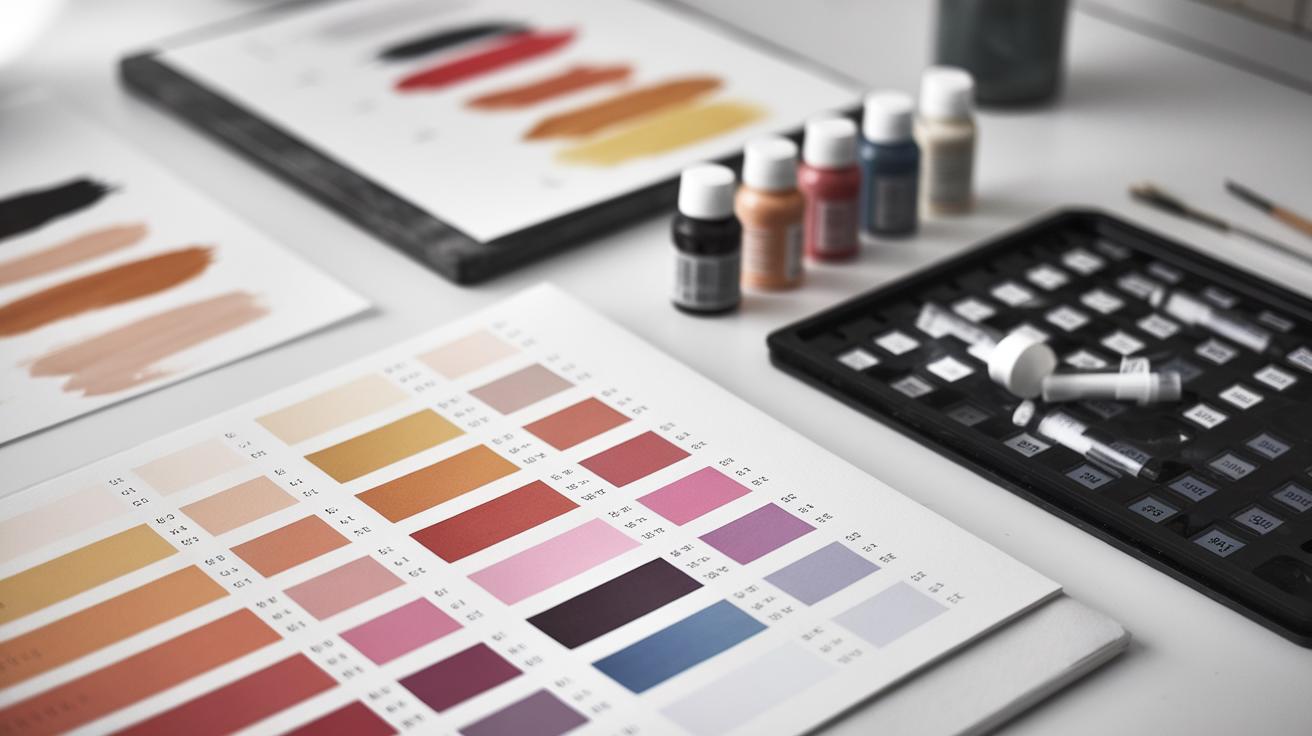
Your palette should provide enough space for mixing colors without muddying them. A ceramic or plastic palette with individual wells keeps colors separated. Avoid using paper palettes since gouache stays wet longer and may soak through.
Choosing the right surface changes how your paint behaves. Gouache needs slightly absorbent papers to grab the pigment but not soak it all away. Heavyweight watercolor paper (at least 140 lb) with a smooth or cold-pressed texture balances absorbency and texture. You might try illustration board or canvas treated for gouache as well.
Think about your painting style. Do you prefer smooth blends or textured strokes? Your paper choice supports those decisions. Experiment with different papers and brushes to find what helps you achieve your desired luminous color effects.
Selecting the Right Brushes and Palette
Your brush choice affects every stroke with gouache. Rounded brushes let you make soft edges and produce fine details. Flat brushes cover large areas evenly. Synthetic brushes perform well because natural hair gets damaged by frequent water use.
Keep several sizes handy. Small detail brushes allow you to add highlights or corrections after layers dry. Medium to large brushes help with washes and broad shapes.
Prepare your palette by squeezing out small dollops of paint. Gouache thickens quickly once air touches it, so only put out what you plan to use soon. Mix colors gently with a palette knife or brush to keep pigments clean. Use a moist palette or cover it with a damp cloth to keep paint workable longer.
Choosing Appropriate Painting Surfaces
The paper surface can make or break your gouache painting. Look for papers designed for water media since they handle moisture well without buckling.
Cold-pressed watercolor paper offers a medium texture that grips pigment nicely and supports layering. Hot-pressed paper has a smoother surface, ideal if you want crisp details and bright colors.
Heavier paper (140 lb or more) prevents warping when you add multiple layers of gouache. If you want vibrancy, avoid overly absorbent papers that pull color into fibers, dulling your paint.
Try heavyweight illustration boards for durability and a unique finish. Some artists apply a light gesso coat to canvas or wood panels to create a stable, absorbent surface suited for gouache.
Which surface feels right to you for your style? Test different options to see how each affects your paint’s look and feel before committing to a final choice.
Basic Gouache Techniques for Rich Color Application
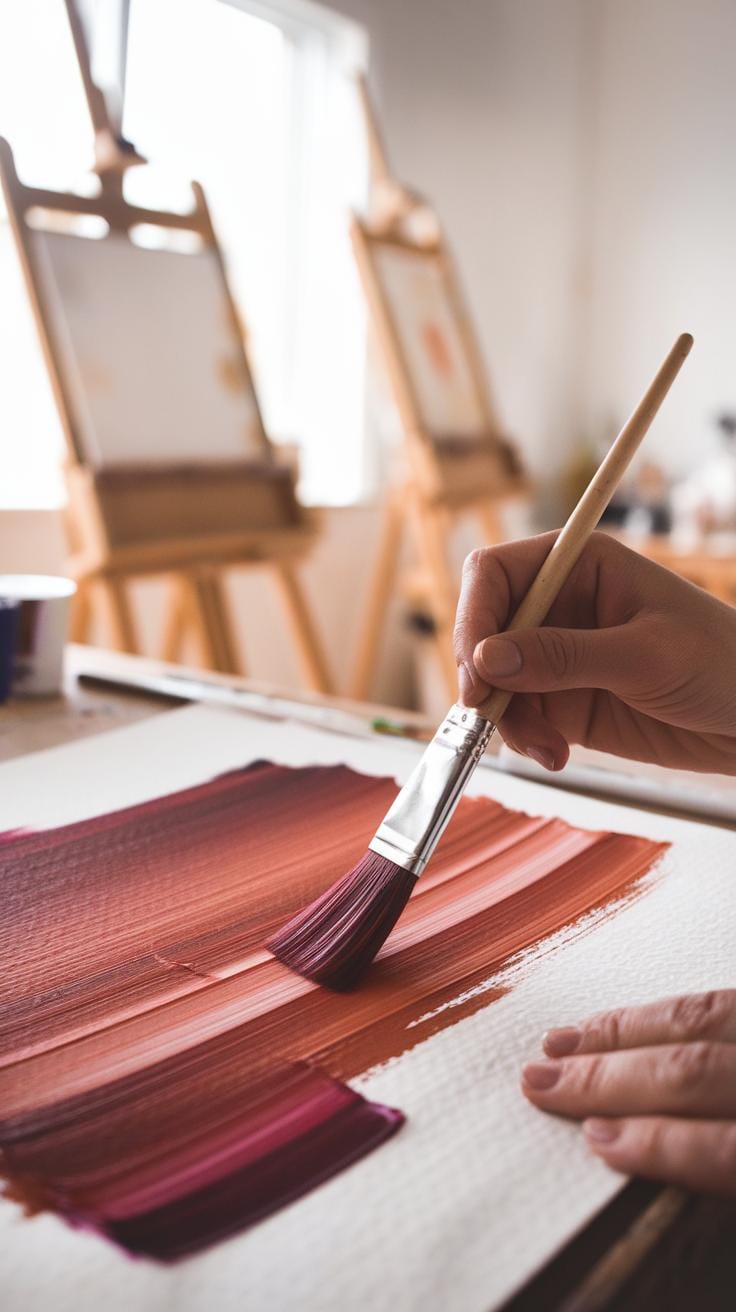
Applying Flat Washes for Even Coverage

Start with mixing your gouache paint with water until you reach a smooth, consistent mix. The right balance between water and pigment helps you achieve an even flat wash. Too much water makes the color too thin and streaky. Too little water causes uneven patches.
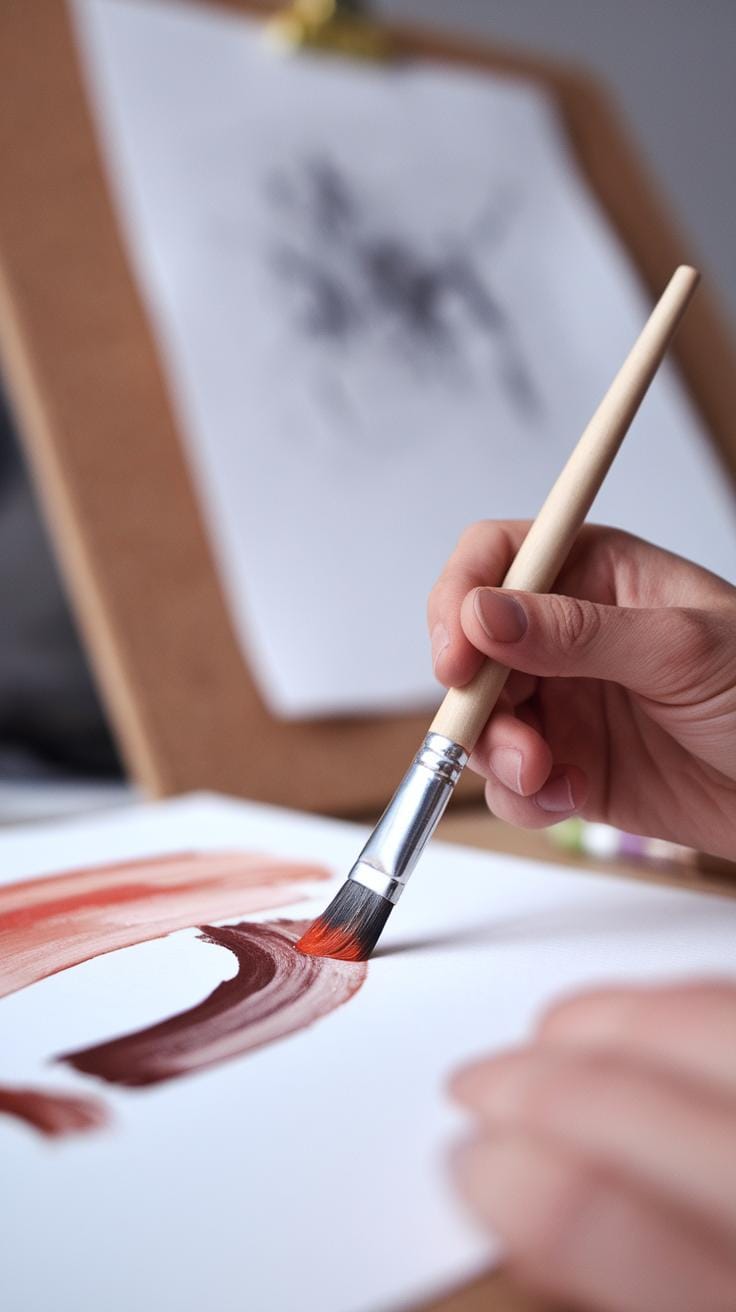
Use a large, soft brush that holds plenty of paint. Apply the paint in steady, smooth strokes. Work quickly before the paint dries to avoid visible brush marks. Painting in a single direction helps make the layer uniform. You can test your wash on a scrap paper before applying it to your artwork.
Ask yourself: How can I keep the edges clean while covering large areas? Keeping your brush well-loaded and maintaining a wet edge avoids hard lines. Flat washes create a solid color base that lets your colors glow when layered later.
Layering Colors to Build Depth
Once your first layer dries, apply new layers of gouache on top. Gouache’s opacity allows you to cover previous layers fully or partially, depending on your brush pressure and paint thickness. By layering colors, you can build richer hues and deeper shadows.
Try mixing slightly different tones and shapes in each layer. This method adds subtle complexity that brings life to your painting. For example, layering a transparent blue over a yellow wash turns green with a soft glow instead of a flat tone.
Experiment with drying times between layers. Waiting for each layer to dry maintains clarity, while working wet-on-dry prevents muddy colors. What effects can you create by blending and layering?
Layering transforms simple brushwork into a vibrant color story. Understanding how each layer interacts is key to making your gouache paintings stand out.
Advanced Techniques to Achieve Luminous Effects

Glazing transforms your gouache paintings by adding depth without overpowering the base colors. Applying thin, transparent layers lets you control color intensity and luminosity carefully. Use a diluted gouache mix and allow each layer to dry fully before adding the next. This builds richness gradually and keeps the light glowing beneath the surface. For example, layering a cool blue glaze over a warm yellow base can create a fresh green that still feels bright and clear. How might you experiment with glazing to give your colors more life and subtle shifts?
Dry brushing and scumbling bring new textures and soft light effects to your work. Dry brushing involves using a brush with minimal paint to create scratchy, broken strokes that catch the eye with texture. This works well to suggest rough surfaces or light catching on raised details. Scumbling pushes this further by applying a thin, broken layer of opaque paint over dry layers. It creates a hazy, diffused appearance that can mimic mist or soft focus. Try dry brushing for rough tree bark or scumbling to create a gentle glow on fabric. How could these texture methods make your paintings feel more tactile and alive?
Mixing Colors for Vibrancy and Balance
Understanding Gouache Color Mixing
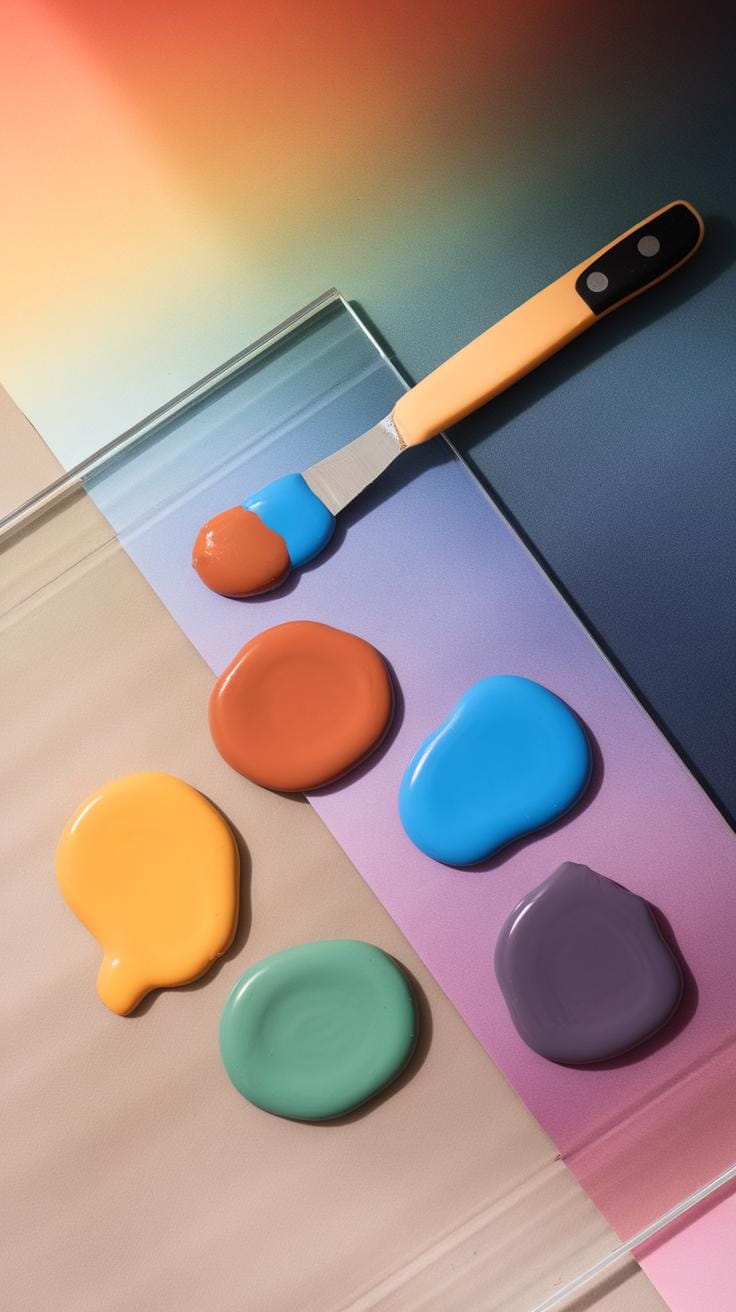
Gouache’s opacity sets it apart from other paints and changes how you mix colors. When you blend gouache, the colors sit on top of each other more than they merge. This means mixing two colors won’t always produce the same result as blending transparent paints. To keep colors vibrant, mix colors on your palette rather than directly on the paper. This helps you control how much one color covers another. Try mixing a small amount first to see how the colors interact before committing to larger amounts. Use white or a light color sparingly to protect the hue’s brightness. You can also layer thin washes to keep colors bright without muddying them. How does this change your usual mixing habits?
Compensating for Drying Color Changes
Gouache colors often dry darker or lighter than they look when wet. This drying shift can trick you into overworking or under-painting an area. To avoid surprises, test paint swatches on scrap paper and let them dry completely. Observe how much the color tone moves and adjust your mix accordingly. For example, if a red darkens on drying, start with a slightly lighter or brighter red. Adding a bit more white can help keep colors luminous after drying. If you need exact color matches, build layers gradually rather than applying thick paint all at once. How might your workflow improve if you predict these color shifts better?
Using Gouache with Other Media for Unique Effects
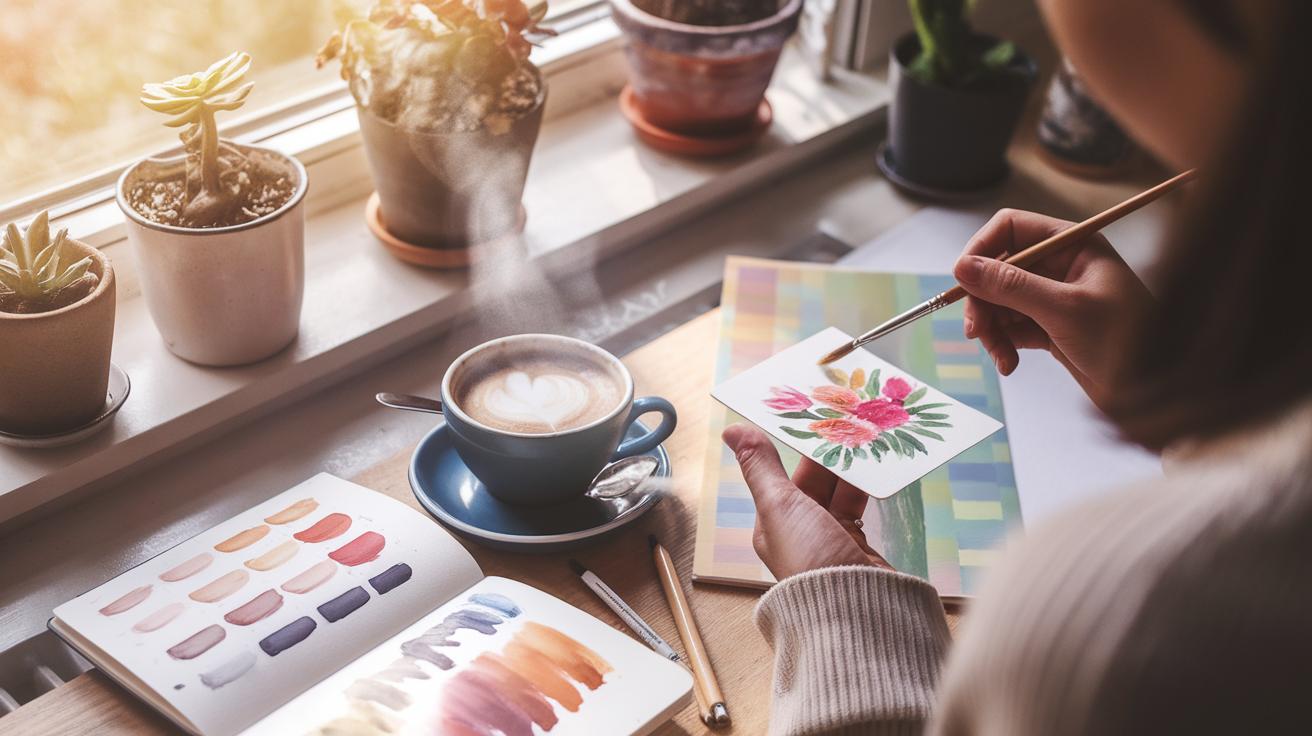
Combining gouache with other media can add fresh textures and depth to your artwork. After you paint a soft watercolor wash, layering gouache on top can create vibrant highlights and areas of strong opacity. This contrast draws the eye and brings life to your pieces.
Watercolor’s transparency helps gouache colors appear more luminous when layered thoughtfully. Try applying thin layers of gouache over dry watercolor to keep luminosity without losing detail. You can also use wet-on-wet techniques with watercolor, then add gouache once dry for sharper edges and highlights.
When you want to add sharp lines or intricate details, incorporating ink or acrylic on top of gouache works well. India ink or fine liners offer crisp contours that stand out against matte gouache. Acrylic paint brings texture and brightness, making certain elements pop.
Using these mixed media steps can expand your creative toolkit. How will you balance gouache’s opacity with watercolor’s fluidity or the precision of ink? Experiment with layering and combining materials to find fresh effects that enhance your paintings.
Blending Gouache and Watercolor
Start by wetting your paper and laying down a watercolor wash for soft, transparent colors. Once this layer dries, add gouache on top to build up solid shapes or highlights. The gouache will cover the watercolor underneath but allow the glow of the wash to come through edges where applied thinly.
Try applying gouache with a damp brush to blend gently into the watercolor. This technique smooths transitions and creates a natural glow. Alternating between dry and wet brush work can sharpen details or soften edges.
Layering gouache over watercolor also lets you fix mistakes without damaging the underpainting. Instead of repainting an area entirely, you can adjust tones by adding more opaque gouache. Consider how these layers interact before sealing your painting.
Will you use this approach to highlight focal points or explain volume? Let your hand respond to how gouache and watercolor mix on your paper.
Incorporating Ink or Acrylic Details
Ink adds precision when you want to define shapes or emphasize features. Use fine liners or brushes with waterproof ink over dried gouache layers to avoid smudging. The contrast between matte gouache and sharp ink lines can increase visual interest.
Acrylics bring strong colors and texture that stand out on top of gouache. You can add thick brush strokes or use a palette knife to create rough surfaces or raised details. Acrylic also dries quickly and adheres well over gouache, allowing fast layering.
Try outlining gouache shapes with black ink to create graphic effects or drawing delicate patterns with colored inks. Acrylic touches can emphasize highlights or create textured accents in your design.
What details in your work would gain strength from ink or acrylic? Consider how these media can refine your compositions and bring new life to your gouache pieces.
Correcting Mistakes and Refining Your Work
Lifting gouache paint gently starts with using clean water and a soft brush or sponge. Lightly dampen the area you want to correct, then softly dab or stroke to lift off unwanted pigment. Avoid scrubbing, which can damage the paper. Try using a round brush with clear water to target small spots, or a damp sponge for larger areas. Practice on a test sheet to find the right balance between wetness and pressure.
Fixing errors early helps maintain your painting’s brightness. If a lifted spot looks too light, wait for it to dry and apply a fresh, thin layer of paint. Pick colors slightly darker than your base to avoid flatness. You can restore texture by layering while the paint is still moist. Have you tried lifting paint when it’s dry? It requires care but can work with a clean, damp brush rubbed softly in circles.
Lifting Gouache without Damage
Removing unwanted gouache needs a delicate touch. First, moisten the paint lightly using a clean brush or sponge dipped in water. Wait a few seconds for the water to loosen the pigments before you gently lift them.
Use a soft brush with a gentle dabbing motion rather than dragging across the paper. A clean makeup sponge works well on larger swaths but avoid harsh pressure that might tear the surface. Lifting paint works best when the gouache is still damp or semi-dry.
If the paint has fully dried, rewet the area carefully and repeatedly until it softens. Then lift off the paint bit by bit. This method allows you to correct mistakes without adding harsh marks or rough patches.
Sharpening Edges and Highlights
Creating sharp details often depends on precise brushwork. Use small, pointed brushes to define edges and add fine highlights. Keep your brush moist but not overloaded with paint for better control.
Masking fluid helps protect areas you want to keep clean while working around them. Apply it before you start detailed layers, then remove it when the paint dries. This preserves crisp lines and prevents color bleed.
Refining edges after lifting paint enhances contrast. Paint a thin, bright stroke alongside a lifted edge to add luminosity. What small changes can you make now to improve clarity in your work? Try revisiting edges with a steady hand to keep your painting looking polished and fresh.
Exploring Creative Effects with Gouache Tools
You can expand your gouache techniques by using unconventional tools like palette knives, sponges, and airbrushes. These tools change how paint interacts with the surface and can help produce effects that brushes alone often cannot achieve. Using different tools encourages experimentation and pushes your work beyond the basics.
For example, palette knives apply gouache in thick layers or sharp lines, creating physical texture on the paper. Sponges offer softer, organic patterns that add visual interest and depth.
Have you considered how tools outside your usual kit might affect your style? Trying new instruments can break habits and bring unpredictable, exciting results.
Once you master these methods, your paintings gain extra dimension and brightness, enhancing the luminous quality gouache is known for.
Creating Texture with Palette Knives and Sponges
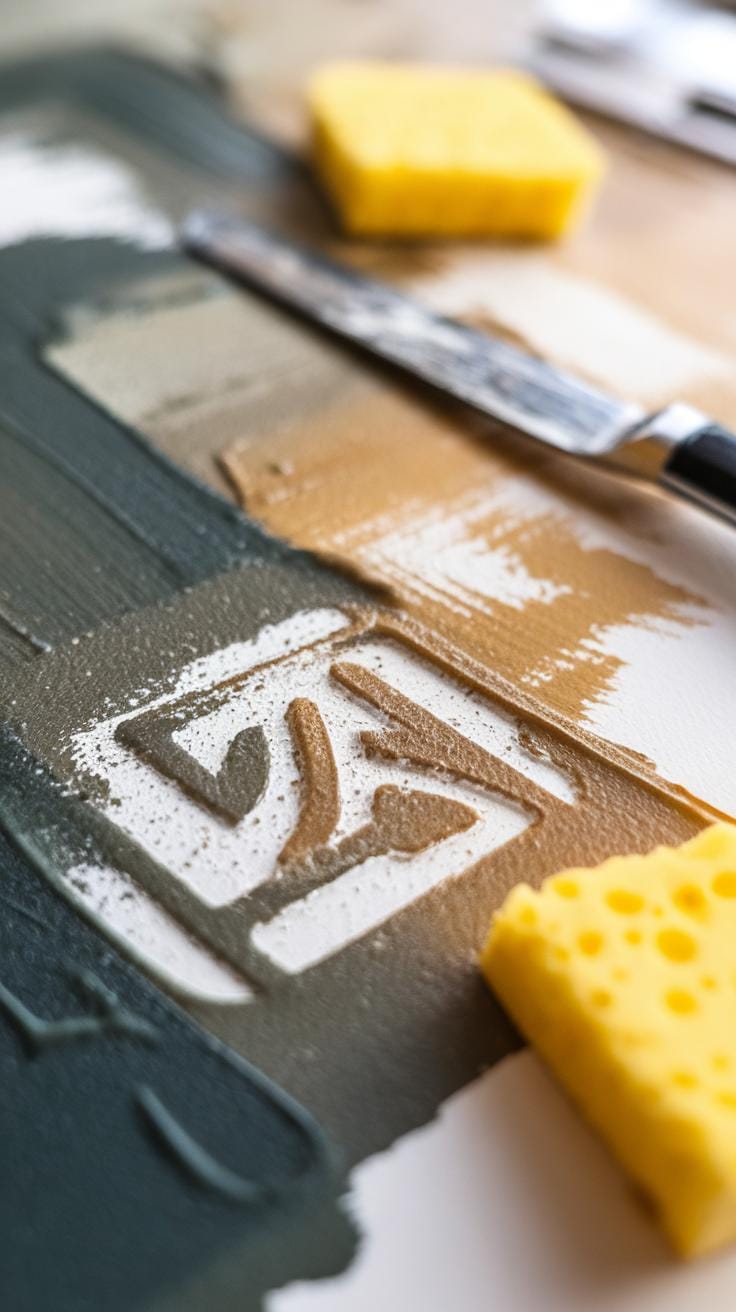
Palette knives allow you to spread gouache in broad, flat strokes or sharp, raised edges. You can layer paint thickly or scrape it away partially to reveal layers underneath. This technique adds physical texture that catches light differently, creating shine and shadow on your surface.
Sponges absorb paint and release it unevenly, leaving a mottled effect. Pressing a sponge gently onto wet gouache results in soft textures ideal for backgrounds or natural elements like clouds and foliage. Using rough or natural sponges adds unpredictable marks that keep the painting fresh.
How might changing the pressure or angle of these tools alter the texture? Testing these variations helps you control how much texture supports your overall design.
Using Airbrushes for Smooth Gradients
Airbrushing gouache sprays fine mist of paint, producing ultra-smooth transitions between colors. This equipment excels at creating gentle gradients that blend seamlessly without visible brush strokes. It is perfect for skies, skin tones, or subtle shading.
You can adjust air pressure to control paint flow and create delicate layers or bold washes. Airbrushing also reduces the chance of disturbing previous layers, unlike brushes that may reactivate underlying paint.
Do you want to add soft highlights or smooth color transitions that appear almost glowing? Using an airbrush can deliver these effects with precision and refine your artwork’s luminosity effectively.
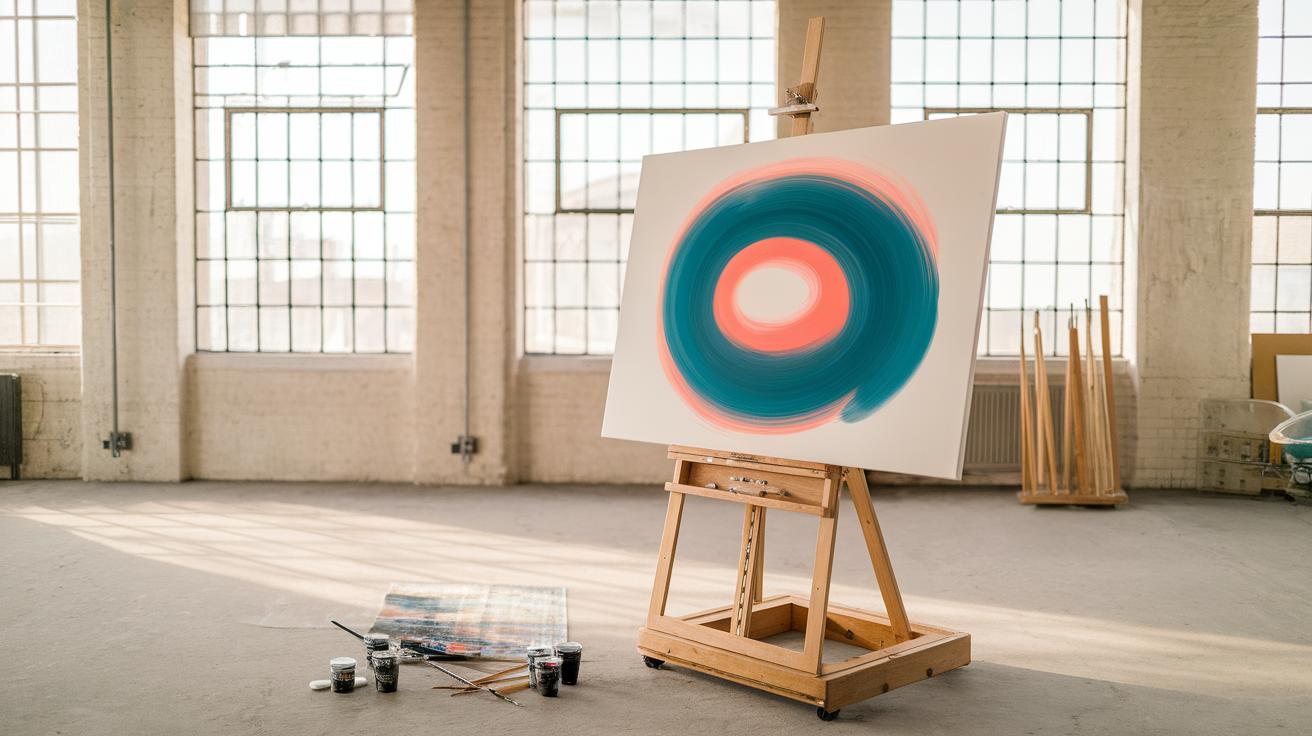
Planning and Composing Your Gouache Artwork
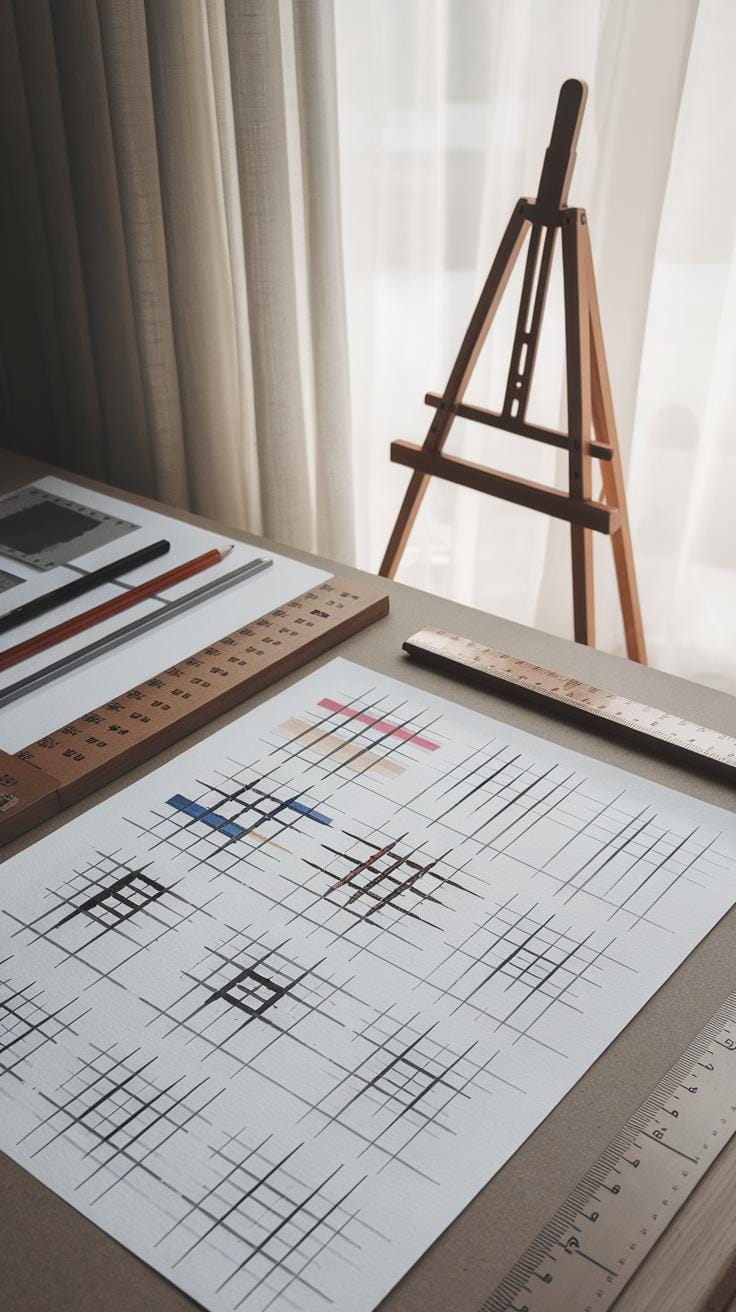
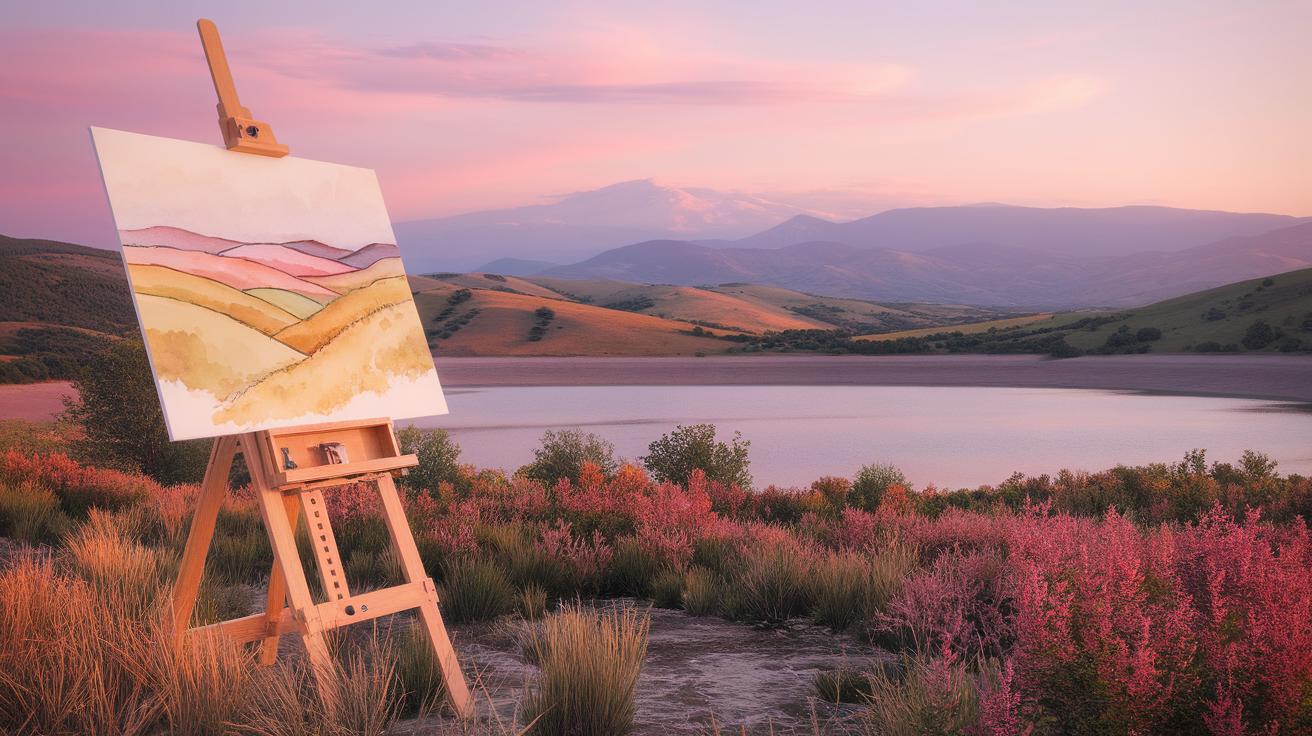
Careful planning sets up your gouache painting for success. Start by creating preliminary sketches to map out your ideas and shapes. These sketches help you focus on the structure of your composition before adding color. Use light pencil lines so that they don’t interfere with later paint layers. Consider the flow of your image and the placement of key elements to keep your viewer engaged.
Think about how your colors will interact as you move from sketching to painting. Plan a color scheme that balances warm and cool tones or contrasts light and dark. This planning keeps your painting vibrant and helps you achieve luminous color effects. Simple thumbnail sketches can help you test different compositions and color arrangements on paper without wasting paint.
Ask yourself what mood or story you want your artwork to tell. Choose your layout and colors based on how they support this message. Planning ahead reduces unnecessary changes during painting and keeps your layers clean and bright. Your preparatory work acts as a roadmap helping you master both basic and advanced gouache techniques.
Sketching to Guide Your Painting
Sketching forms the backbone of your gouache painting. A solid sketch defines the shapes and guides your brush strokes. Make your sketches clear but light to avoid muddying colors beneath. If your sketch is too dark, it can show through and reduce the glow of your paint layers.
Try using different pencils or fineliners to find a tool that doesn’t smear when you add wet gouache. Practice transferring your sketch onto the painting surface using grids or tracing paper if needed. This step helps maintain accuracy while working with delicate gouache layers.
Move from sketch to paint slowly. Build color gradually, allowing each layer to dry before adding the next. This approach prevents unwanted mixing and keeps your luminosity intact. Think of your sketch as a map; layer your colors on it step-by-step to maintain control and clarity throughout the painting process.
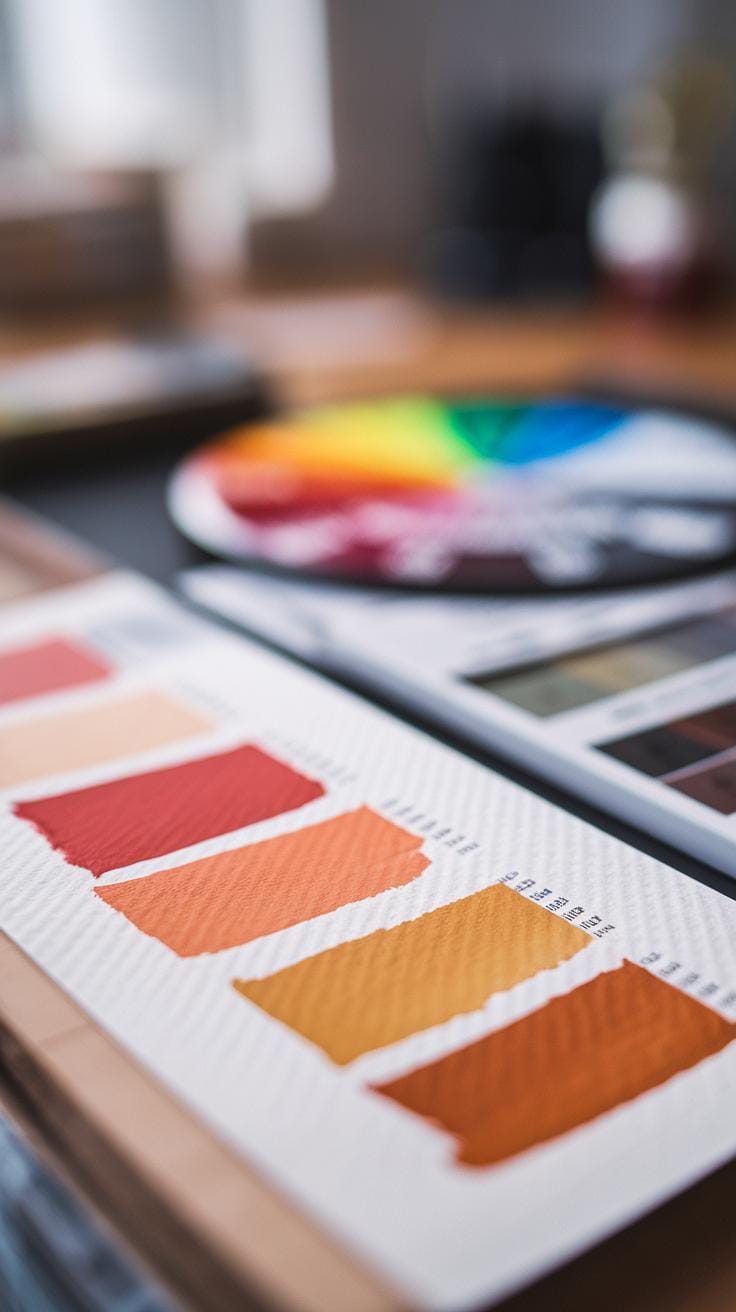
Choosing Colors and Layout
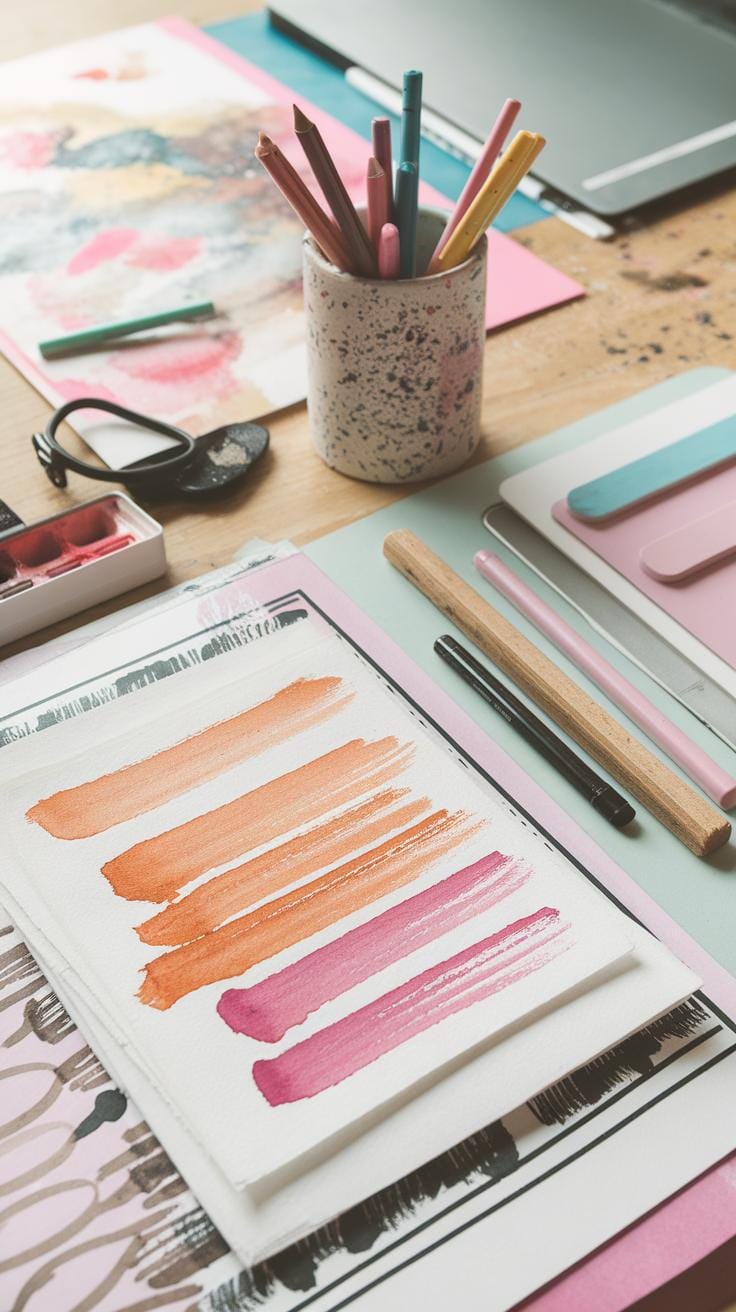
Choosing the right colors and layout is key for a glowing gouache painting. Plan a limited color palette to avoid clutter and keep your composition focused. Test colors on scrap paper to see how they look when dry, since gouache tends to dry darker and less shiny than it appears wet.
Balance your layout by placing points of interest along natural lines of sight, such as the rule of thirds. Leave breathing space in your composition to enhance the impact of your colors. Think about where light will hit your painting and plan your brightest colors there to create focal points.
Ask yourself which colors complement each other and how contrasts can create depth and vibrancy. Consider cool colors receding into the background while warm colors advance to the foreground. Your color and layout plans work together to make your painting visually striking and full of life.
Maintaining and Storing Gouache Paintings
Ensuring Proper Drying and Handling
After finishing your gouache artwork, allow it to dry completely before touching the surface. Depending on thickness and humidity, drying can take several hours to a full day. Thicker layers need more time to avoid smudging or cracking. Avoid stacking or leaning the painting against objects during drying to prevent dents or pressure marks.
Handle finished pieces with clean, dry hands or wear cotton gloves to protect the paint film. If you need to move the artwork, support it from underneath to avoid bending or warping. Keep your painting away from drafts and direct airflow, which can create uneven drying and cause the surface to flake later.
Have you ever noticed how a rushed handle can ruin an otherwise perfect piece? Taking your time in this stage preserves the paint’s smooth, matte finish and rich color that make gouache unique.
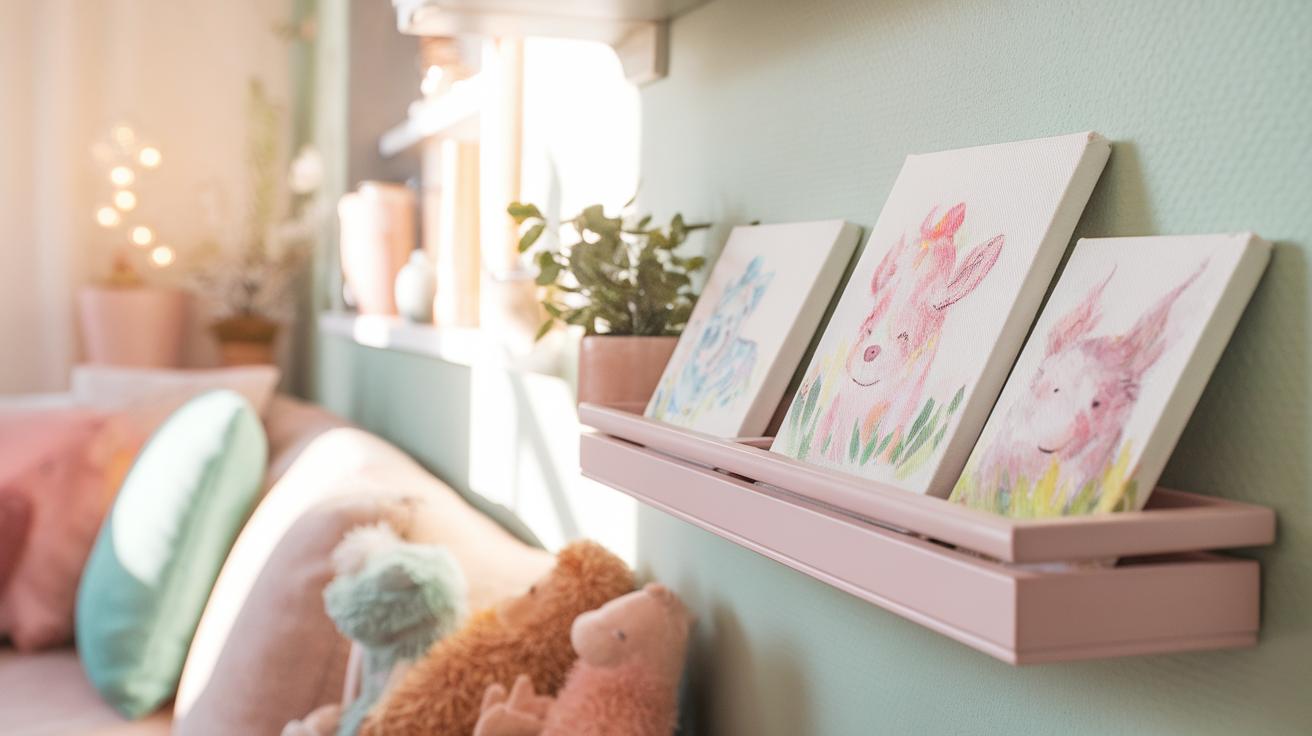
Long-Term Storage and Display
Choose archival-quality mats and UV-protective glass when framing your gouache paintings to guard against light damage and dust. The glass layer prevents dirt buildup and slows color fading caused by sunlight. Mount the artwork on acid-free backing materials to avoid discoloration or warping over time.
Store unframed pieces flat in a cool, dry place. Use acid-free folders or sleeves between paintings to avoid sticking or abrasion. Avoid attics, basements, or areas with high humidity, which can cause mold or paper distortion.
When displaying your work, place it away from direct sunlight and heat sources. Would you want to lose the brilliant hues of your gouache piece after just a few months? Proper framing and thoughtful placement extend your artwork’s vibrancy for years to come.
Conclusions
Mastering gouache painting techniques enhances your ability to produce vivid, luminous effects. Use layering to build depth and control opacity carefully. Experiment with methods like dry brushing and lifting paint to add texture and highlights. Combining gouache with other mediums opens up new creative possibilities. Your paintings will become more expressive by applying these strategies consistently.
Developing your technique requires practice and observation. Pay attention to how light interacts with colors in your artwork. Keep refining color mixing skills and surface preparation. By integrating these approaches, your gouache art gains a richer visual impact. You have the tools now to elevate your gouache paintings and express your ideas with clarity and brightness.


