Introduction
Flower murals are a beautiful way to bring nature inside your home. They add color, life, and a fresh garden feeling to any room. By painting or applying flower designs on your walls, you can enjoy a garden view all year round without stepping outside. Flower mural ideas vary widely, from simple blossoms to complex floral scenes. This article explores different ideas and methods to create flower murals that change your indoor space into a garden.
You’ll learn how to pick flower designs that suit your style and how to use various techniques to make your mural stand out. We also discuss materials, placement tips, and care advice to keep your flower mural looking great. Whether you want a small accent or a full wall garden, these flower mural ideas will inspire you to bring the outdoors inside.
Understanding Flower Murals and Their Impact

The Psychological Effects of Floral Art
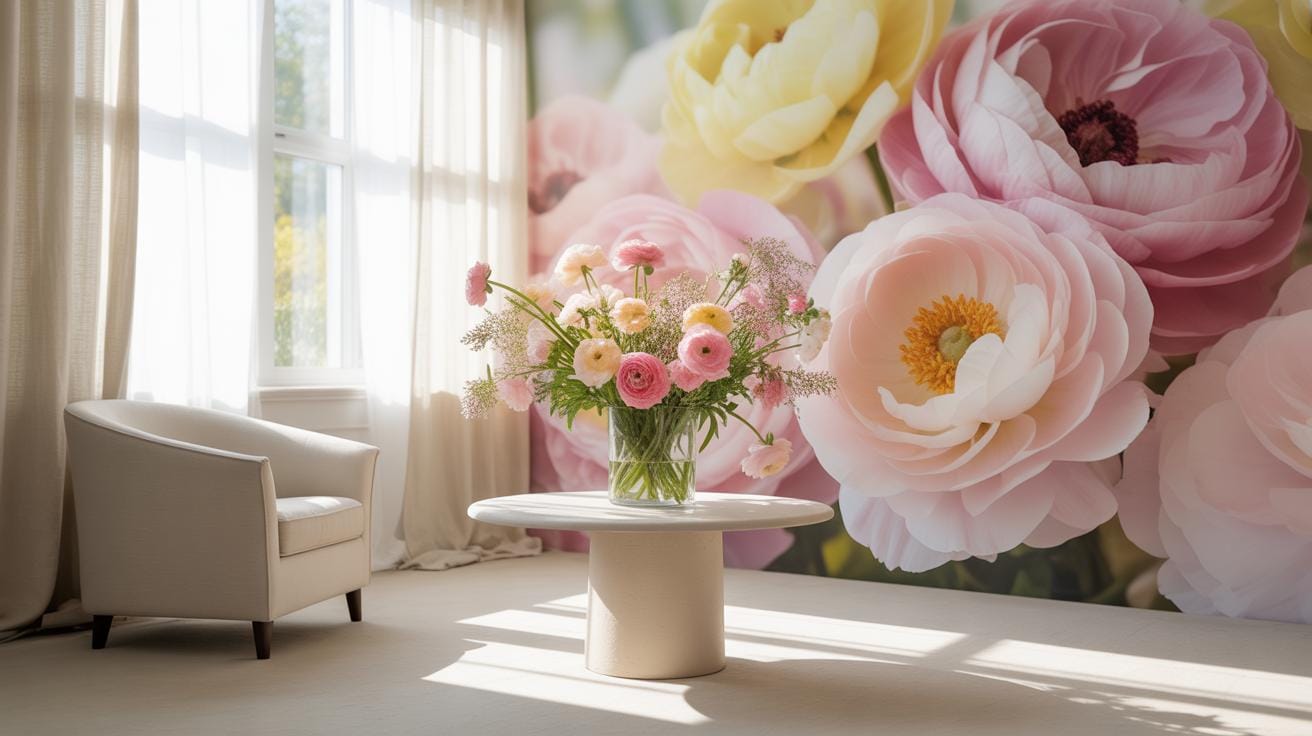
Flower murals are large-scale artworks that cover walls with detailed, colorful images of flowers. Unlike simple paintings or prints, they bring a sense of openness and nature right into your home. When you step into a room with a flower mural, it’s like stepping into a tiny garden. The colors and shapes can instantly lift the atmosphere.
What sets flower murals apart is not just their size, but the way they connect you with the outdoors. These murals mimic the complexity and beauty of real blossoms, offering an escape from plain walls or standard décor. Unlike frames or wallpaper patterns, murals feel more immersive — almost like a window to a blooming meadow or a quiet grove just inside your room.
The effects go beyond aesthetics. Studies suggest that seeing floral art can reduce stress and improve mood. I’ve noticed that after a long day, spending time in a space with floral murals makes me feel calmer, more refreshed. That soft feeling — you know, the one where your mind drifts away from worries — it happens more easily in these spaces. Flowers on walls seem to remind us of growth, life, and quiet beauty, which can bring small moments of happiness even in busy homes.
Choosing the Right Flowers for Your Mural
Picking flowers for your mural isn’t just about what looks pretty at first glance. You really need to think about your space—how big it is, how much natural light it gets, and what feeling you want the room to have. For a small room, large, bold flowers can feel overwhelming, so maybe go for delicate blooms like daisies or cherry blossoms. They don’t crowd the space but still add charm.
If your room gets low light, think about flowers that appear bright or have lighter tones, like white lilies or yellow sunflowers, to keep things lively. On the flip side, a bright room can handle deep reds or purples—roses, peonies, or dahlias will deepen the mood without dragging it down.
Flower meanings might seem a bit much, but they can guide your choice. For example:
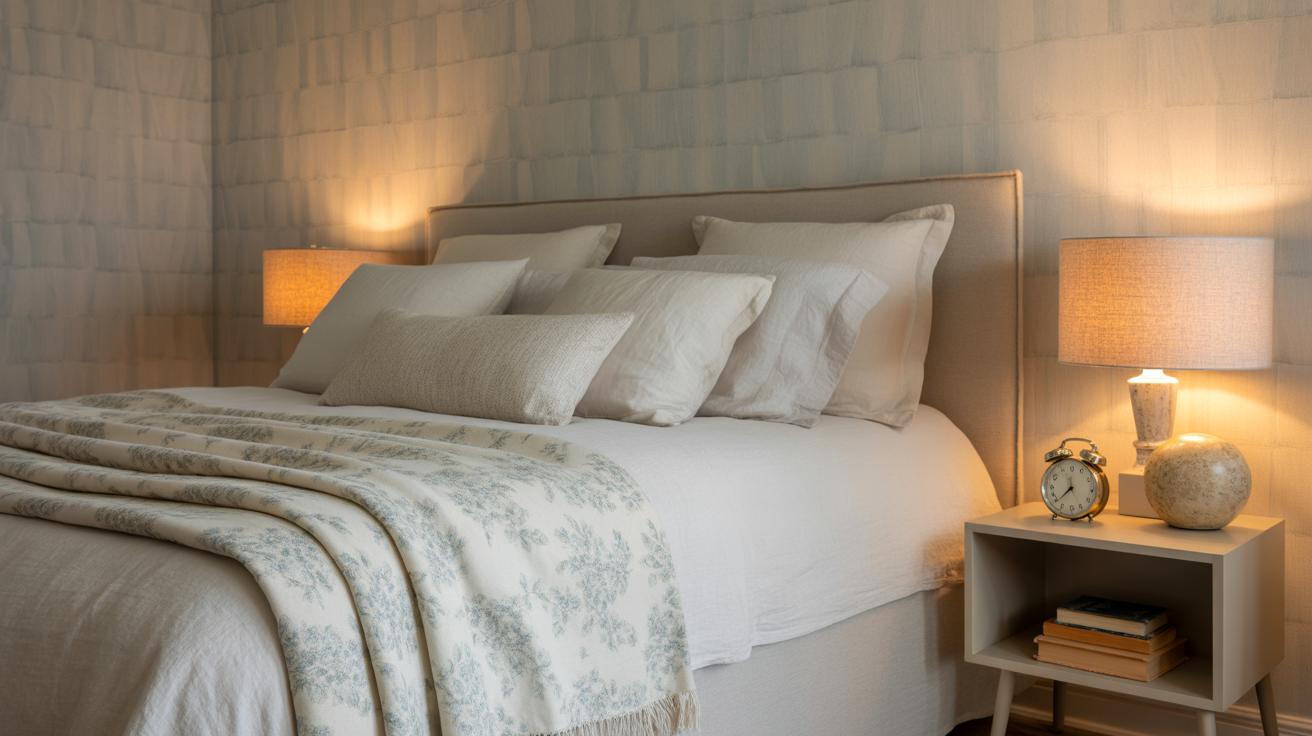
- Lavender symbolizes calm—nice for a bedroom.
- Sunflowers bring cheer and energy, great for kitchens or playrooms.
- Orchids feel elegant and mysterious, fitting for a study or formal living room.
I once picked wild poppies for my hallway mural, thinking they’d be playful, but they ended up feeling a bit too casual for the space. So matching flower style and meaning to the room’s vibe does matter.
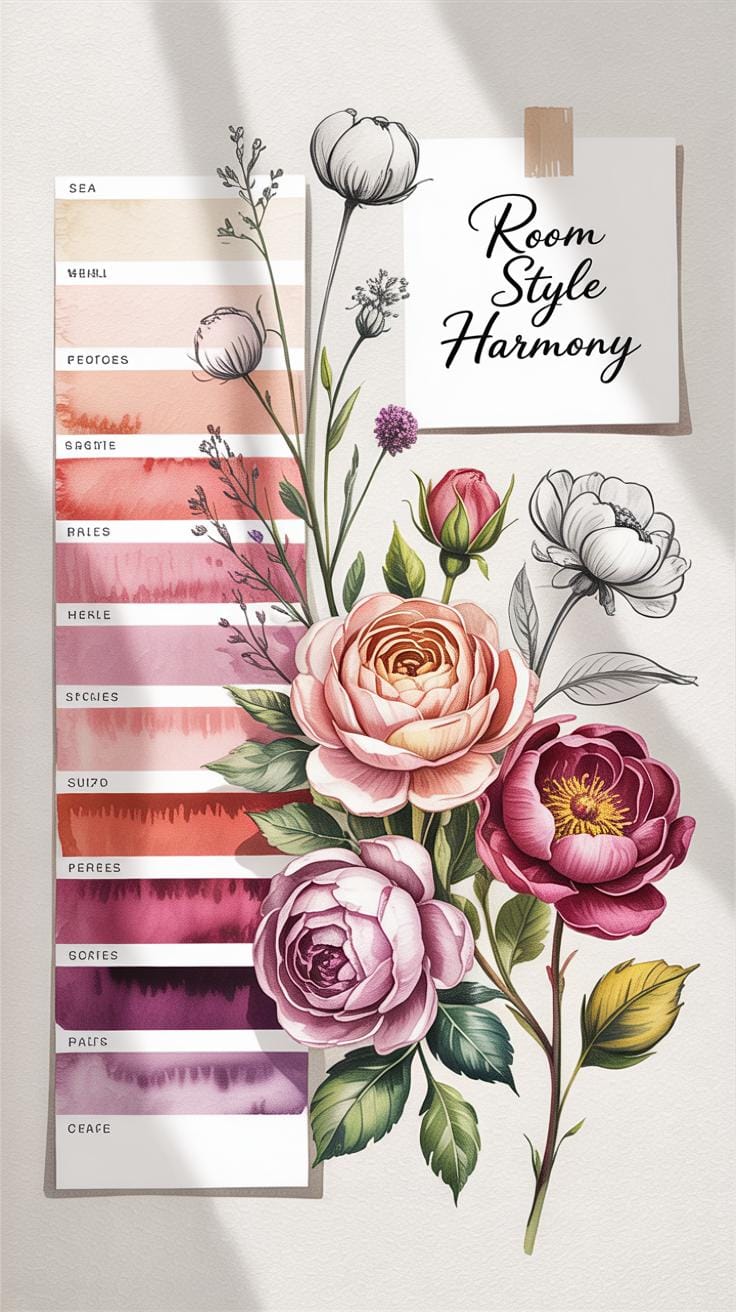
Matching Flowers to Room Style
Rooms usually have their own personality, right? Modern spaces often call for simple, uncluttered designs. Think about flowers like tulips or calla lilies—clean lines, not too fussy. Classic rooms might welcome roses or gardenias for that timeless feel. Playful rooms? Go wild with daisies, zinnias, or freesias—they keep things lighthearted and fun.
Sometimes the style feels mixed up. Like a contemporary room with vintage touches. In that case, you might blend structured flowers with softer wildflowers. It’s okay to break rules if it feels right for your space.
Color Choices and Their Effects
Color is tricky. Bright reds and oranges bring energy and warmth but can feel too intense for a bedroom or office. Blues and purples lean towards calm and focus but might seem cold in a living area meant for socializing. Yellows and greens often feel refreshing and hopeful.
One tip: use contrast but don’t overwhelm—mix a few bold colors with neutral backgrounds. If you’re unsure, try sketching small color swatches on paper first to see how they interact.
Remember, colors affect moods differently for everyone. What calms one person might bore another. So trust your instincts, and maybe test a small mural section before you dive in fully.
Planning Your Flower Mural Space
Choosing the right wall for your flower mural isn’t just about picking the biggest blank space. Think about how much attention you want the mural to draw. Maybe it’s a feature wall in your living room where guests gather. Or perhaps a quiet corner in a bedroom where the flowers can bring calm without overwhelming the space.
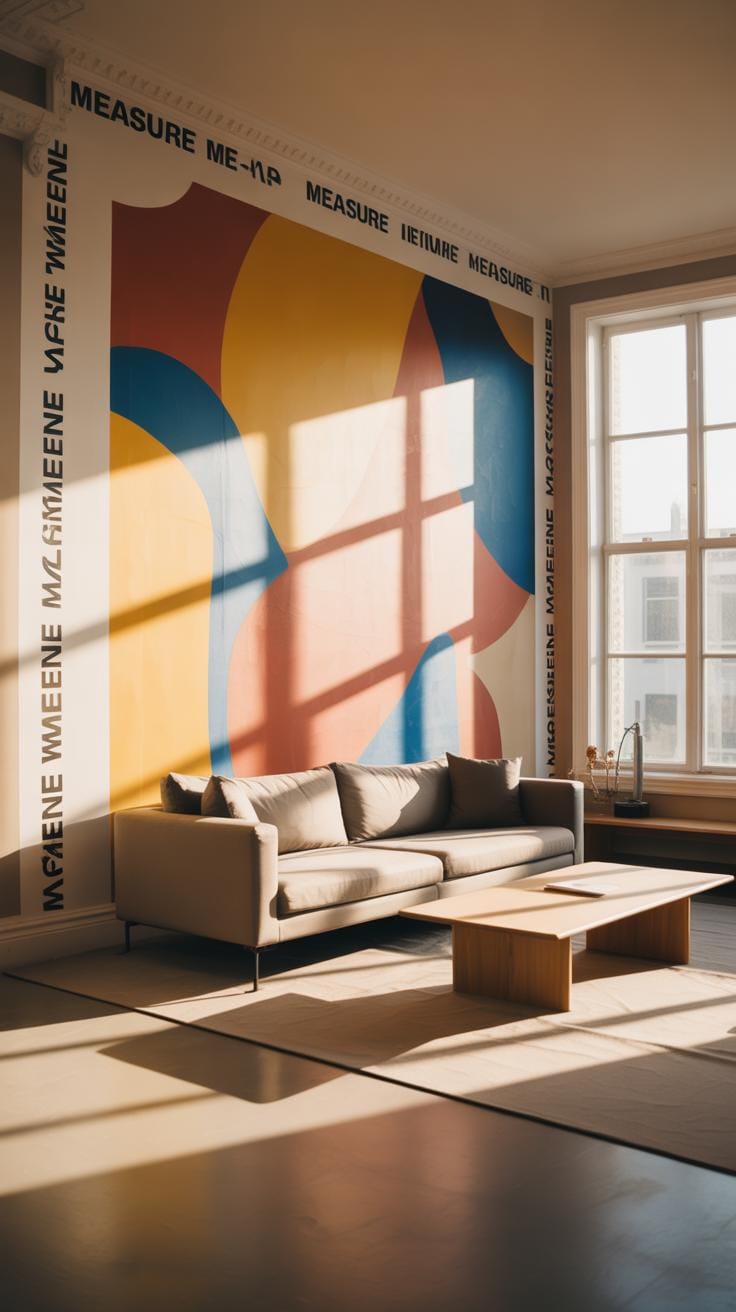
Measuring the wall carefully helps avoid surprises. Grab a tape measure, note height and width, and picture how the proportions fit with your furniture nearby. Don’t just rely on numbers—try to mentally place the mural there. Is the wall too small for a big, bold design? Or maybe it’s too large for a delicate, subtle one?
Some walls can be tricky. Textured surfaces or ones with doors and windows might interrupt your design. This can add character but also complicate painting. So, consider how these features affect continuity and visibility.
Best Walls for Flower Murals
Living rooms often work well because they’re social hubs, making a colorful mural a natural focal point. Bedrooms offer a cozy vibe; soft floral patterns can enhance relaxation. Hallways or stairwells—though narrow—can benefit from vertical designs, drawing the eye upward and making the space feel more open.
It’s not just about size. Lighting matters too. South-facing walls with plenty of natural light can enliven bright colors, but might fade some paints faster. Dimmer spots may call for lighter flower designs to keep things from feeling gloomy.
Using Mockups and Sketches
Before diving in, try some mockups to get a sense of how your mural will fit. You can print a scaled version of your design and tape it on the wall. Step back, squint a bit, and imagine living with it for months. Does it feel right, or a bit overwhelming?
If you’re more hands-on, sketching directly on paper or digitally helps too. Simple outlines can reveal balance issues or space constraints you hadn’t considered. Sometimes, a rough sketch on the wall with chalk or pencil lets you test shapes and placement.
Mockups aren’t just for you; showing them to others can bring fresh perspectives. Someone else might spot an awkward spot or suggest a better flow. And if you’re unsure about colors, mockups painted on poster boards can be moved around the room to see how light changes their look throughout the day.
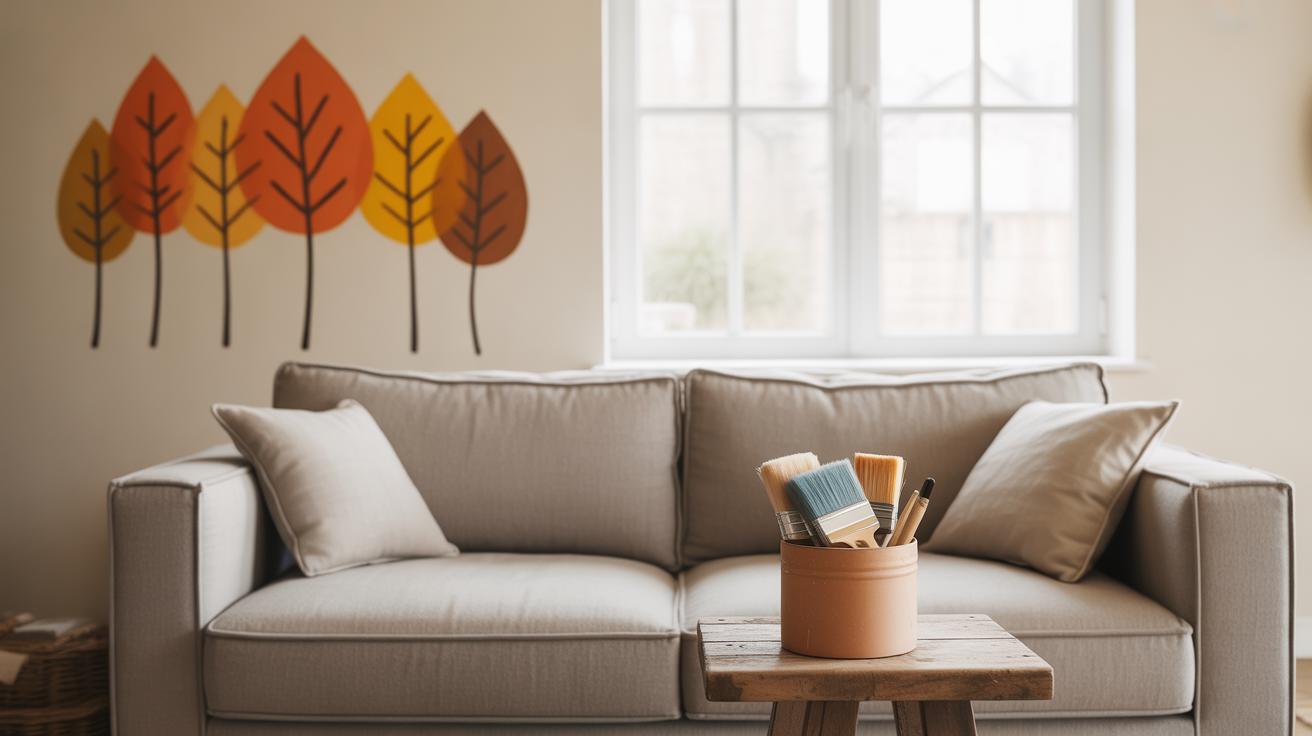
Materials Needed for Painting Flower Murals
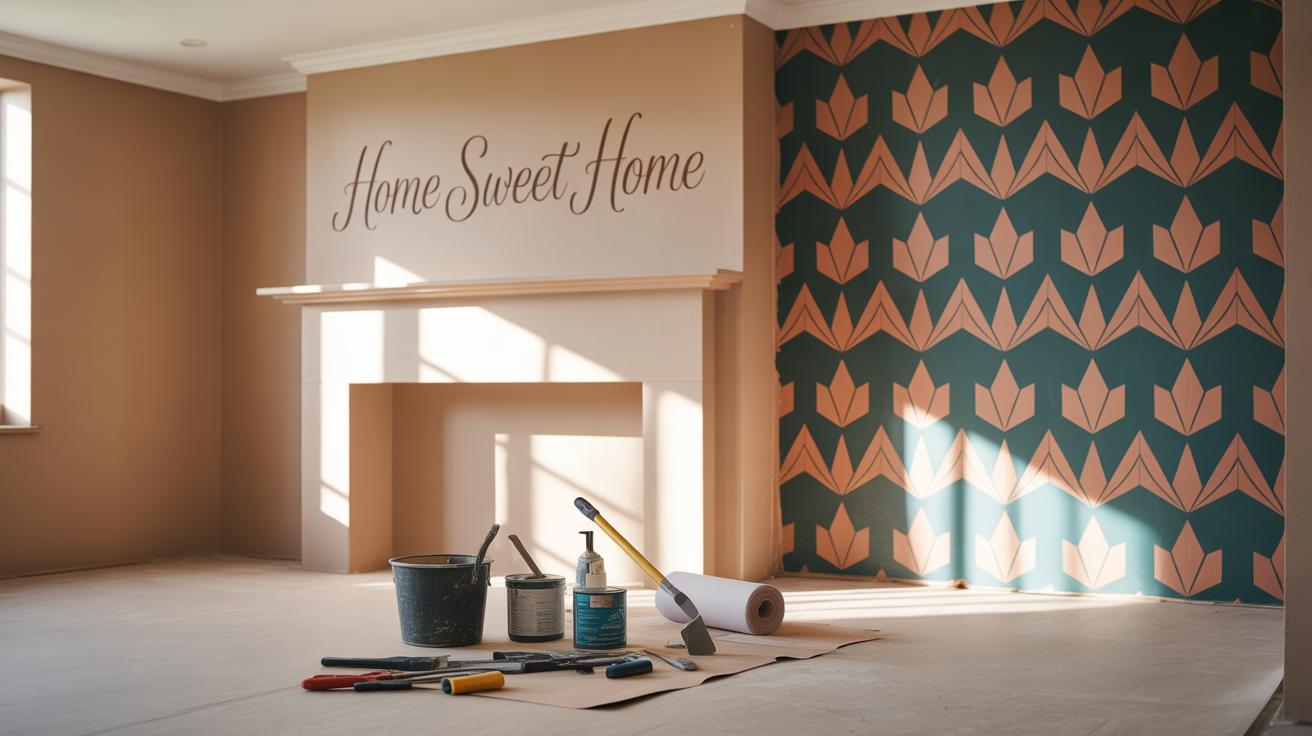
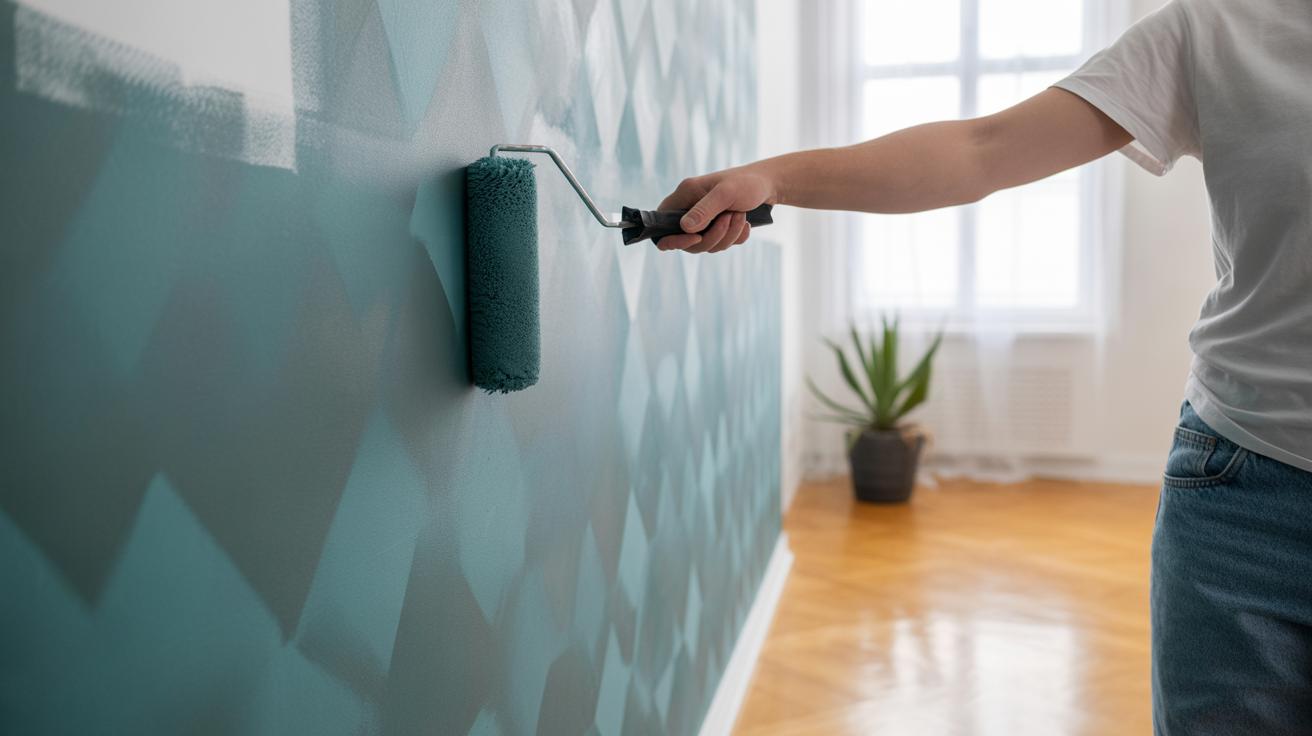
When you’re ready to start painting your flower mural indoors, having the right materials can make all the difference. First, the paint itself—you’ll want to choose between acrylic and latex paints. Acrylic paints dry quickly and offer strong color retention, which is helpful if you want vivid blooms that last. Latex paints, on the other hand, are water-based, easy to clean, and often come in flat or satin finishes that reduce glare on your walls. Both are fairly durable, but I find acrylic works better for layering details.
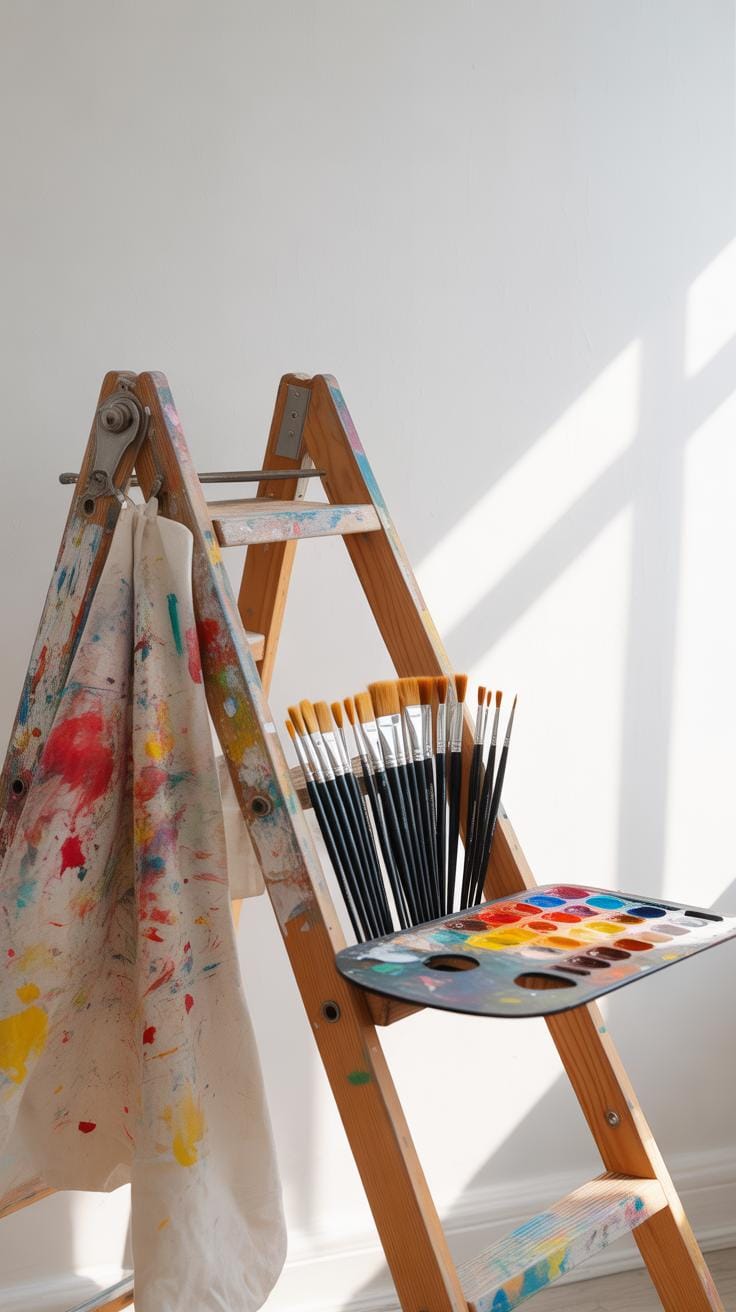
Brushes come next. For broad strokes, large flat or angled brushes do the heavy lifting. Yet, to get those tiny petals, veins, and textures just right, fine detail brushes like liner or round-tipped ones are crucial. You might also want sponges or stippling brushes to add texture subtly, like when painting the roughness of leaves or flower centers.
Sealants protect your mural from smudging or fading over time. A clear matte or satin varnish suited for indoor use will safeguard your work without making it too glossy. It’s tempting to skip this step, but I’ve learned it’s worth the effort, especially in busy rooms.
Finally, don’t forget safety and cleanliness. Drop cloths, painter’s tape, and gloves will keep your space tidy. A ventilation fan or open windows help too, since even indoor paints can carry mild odors or fumes. It’s a lot to gather, but having everything ready before you start avoids frustrating pauses later. Have you already begun picturing the tools in your hands?
Techniques for Painting Flower Murals
Starting with Base Layers
Begin by covering the wall with a background color that suits your vision—light, muted tones often work well to make flowers pop later. Don’t worry about perfection here; broad, loose strokes create texture beneath your design. Then, sketch the main flower shapes lightly with pencil or diluted paint. These basic forms guide you but should stay soft to avoid overwhelming later details.
Blocking in flower shapes with flat colors helps anchor the mural. You want clear layers, so wait for the base to dry before moving on—rushing can muddy the colors. It’s tempting to dive right into detail, but patience here pays off. The base sets the stage, giving your flowers a sense of place and balance.
Adding Details to Flowers
When you add veins and shadows, use a fine brush and thinner paint to create gentle lines and subtle shifts in tone. Notice how veins don’t all look the same—some fade into the petal, others stand out more. This variety adds realism. For petals, build up with layers, varying pressure to suggest folds and curves.
Shadows often land beneath petals or between layers, adding depth. Don’t be afraid to blend softly but keep some edges sharp where light hits directly. Highlights go last, using lighter colors or even tiny touches of white to catch the eye and enhance the three-dimensional feel.
It’s a slow process, really, juggling light, shadow, and color shifts. You might find yourself reworking areas, unsure if it looks ‘natural enough.’ That’s normal. Sometimes stepping away and returning helps you spot missing details or overdone parts. Painting flower murals requires this kind of patience and a bit of trial and error.
Alternatives to Painting Your Flower Mural

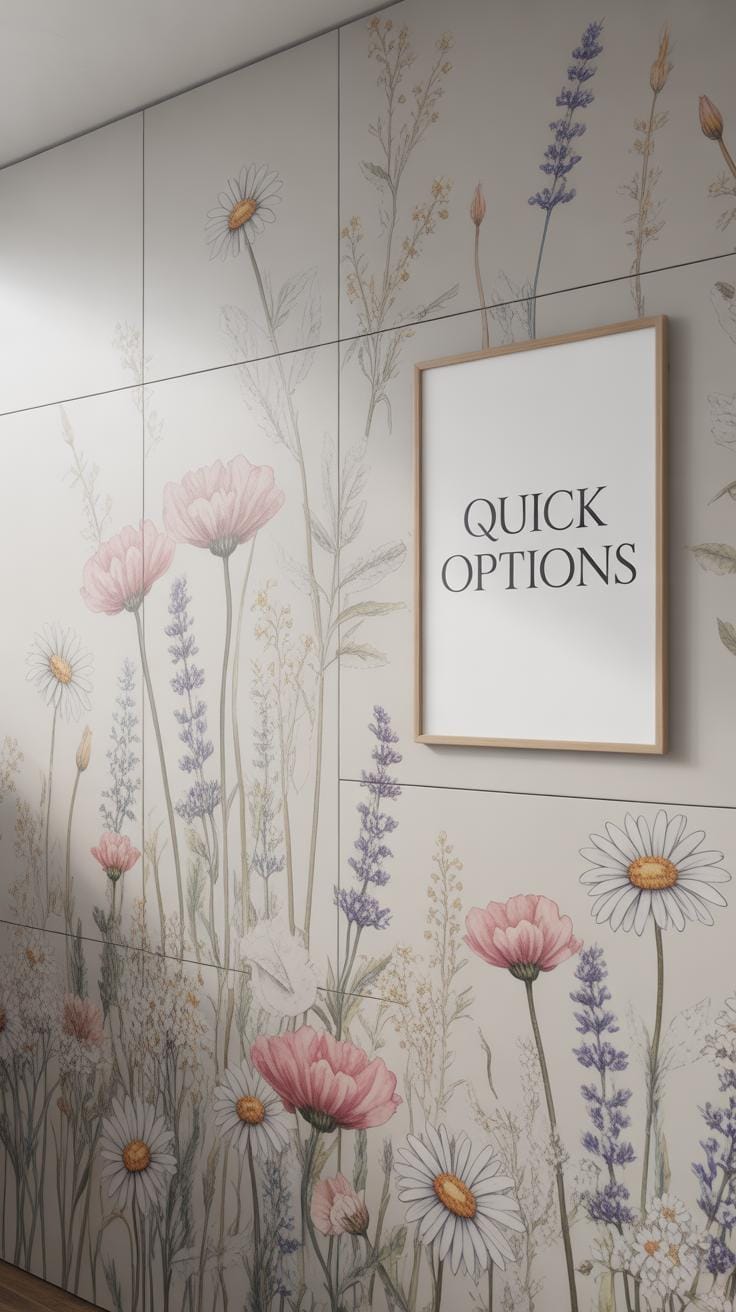
Not everyone is comfortable with a paintbrush or ready to commit to a permanent flower mural. If that sounds like you, there are other ways to bring floral charm to your walls without painting. Wallpaper and decals can create dramatic effects, and fabric panels offer a flexible, artistic vibe that might suit your style better.
Using Wallpaper and Decals
Choosing flower wallpaper gives you vast options in style and scale. You can find anything from large, bold blossoms to delicate, subtle patterns. It’s worth thinking about the size of your wall and room lighting when picking designs. A dark background might feel cozy, but a lighter one opens up the space.
Applying wallpaper takes some patience but not much skill. If you’re aiming for a mural look, look for peel-and-stick varieties—they’re easier to handle and less permanent if you decide to change things up later. Decals work similarly but come in smaller pieces, so you can place flowers exactly where you want them, which feels a bit more custom.
One thing I noticed when trying decals is that sometimes repeated patterns can feel a little stale if you’re not careful with spacing. It’s worth mixing sizes or designs to avoid that repetitive look.
Fabric and Canvas Panels
For a less traditional approach, fabric or canvas flower murals can be hung like art. You can buy printed panels or even have custom designs made. This method adds texture to your walls, which you don’t get with paint or wallpaper, making the flowers literally pop out.
These panels are easy to swap out or move around, which feels less risky if you’re indecisive or enjoy changing your room often. Plus, you can hang multiple panels to create a larger mural effect without needing a full wall covered.
Attaching fabric can be as simple as using curtain rods or tension rods, or even frame the panels for a cleaner edge. It’s a softer look, sometimes cozier, but maybe less integrated than painting or wallpaper. Still, I think it’s a great option if you want an artistic touch without the mess of paint or the commitment of wallpaper.
Caring for and Maintaining Your Flower Mural
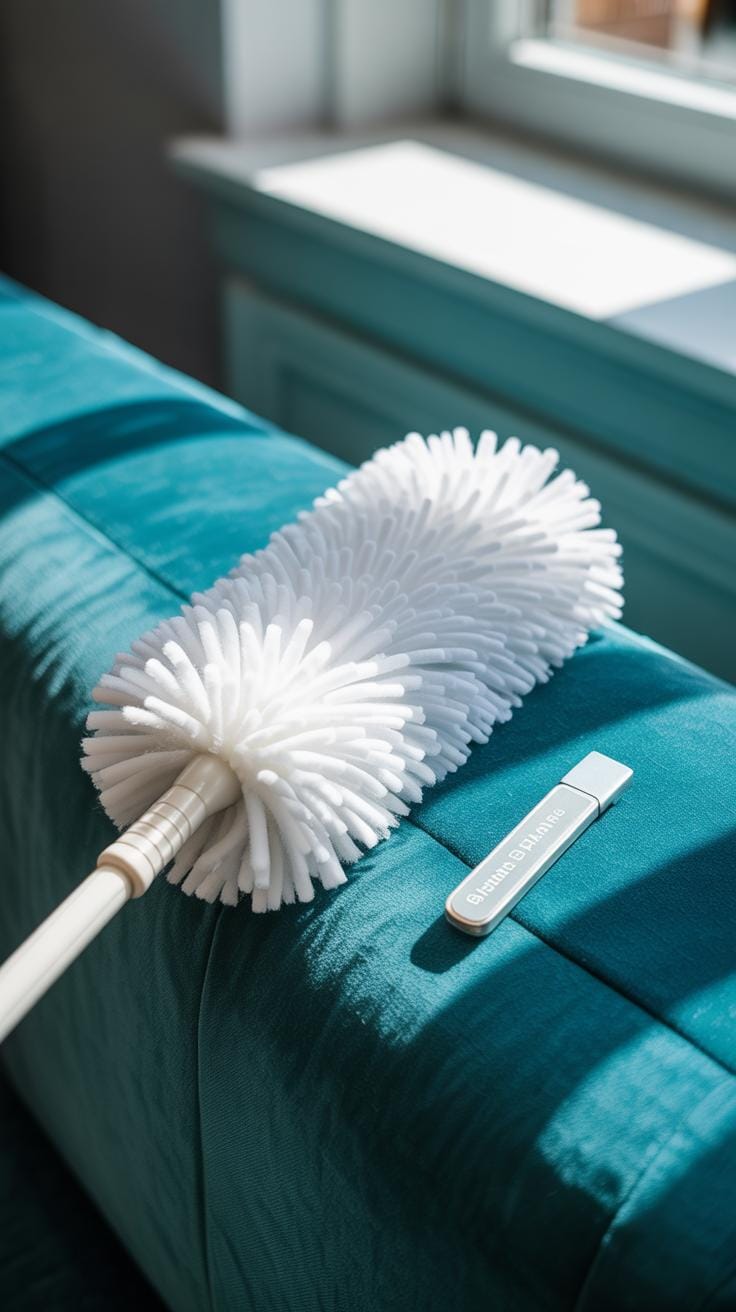
Keeping your flower mural looking fresh can feel a bit tricky at times. Dust settles quickly, and sometimes little smudges or marks appear unexpectedly. You might find yourself wondering how to clean it without damaging the delicate paintwork. The simplest approach is using a soft, dry cloth or a feather duster to gently remove dust. If you see stubborn dirt, try a barely damp cloth—just a touch of water, no soap. Too much moisture can cause the paint to lift, so it’s better to be cautious.
Cleaning Painted Murals
When cleaning, avoid abrasive materials or harsh chemicals. Sponges with rough textures are a no-go; they can scratch the surface. I once bumped my hand against a mural, and the spot got a little dull, which was disappointing. Soft microfiber cloths work better and reduce that risk. Light, careful strokes are key—you want to clean the surface but not rub off or fade the design.
Protective Sealants and Finishes
To protect your mural further, you might consider applying a clear sealant. Different sealants do different things—some guard against moisture, while others prevent scratches. For indoor murals, a water-based acrylic varnish is often used because it dries clear and doesn’t yellow over time. If your space is humid or prone to splashes, a moisture-resistant sealant could add extra protection, though it might slightly change the mural’s finish.
One tricky choice is between matte and glossy finishes. Matte keeps the mural looking natural but can be harder to wipe clean. Glossy offers easier cleaning but changes the mural’s appearance noticeably. Have you thought about how these will impact the mural’s look in your lighting? It might be worth testing a small hidden area first before committing.
Inspiring Flower Mural Styles to Explore
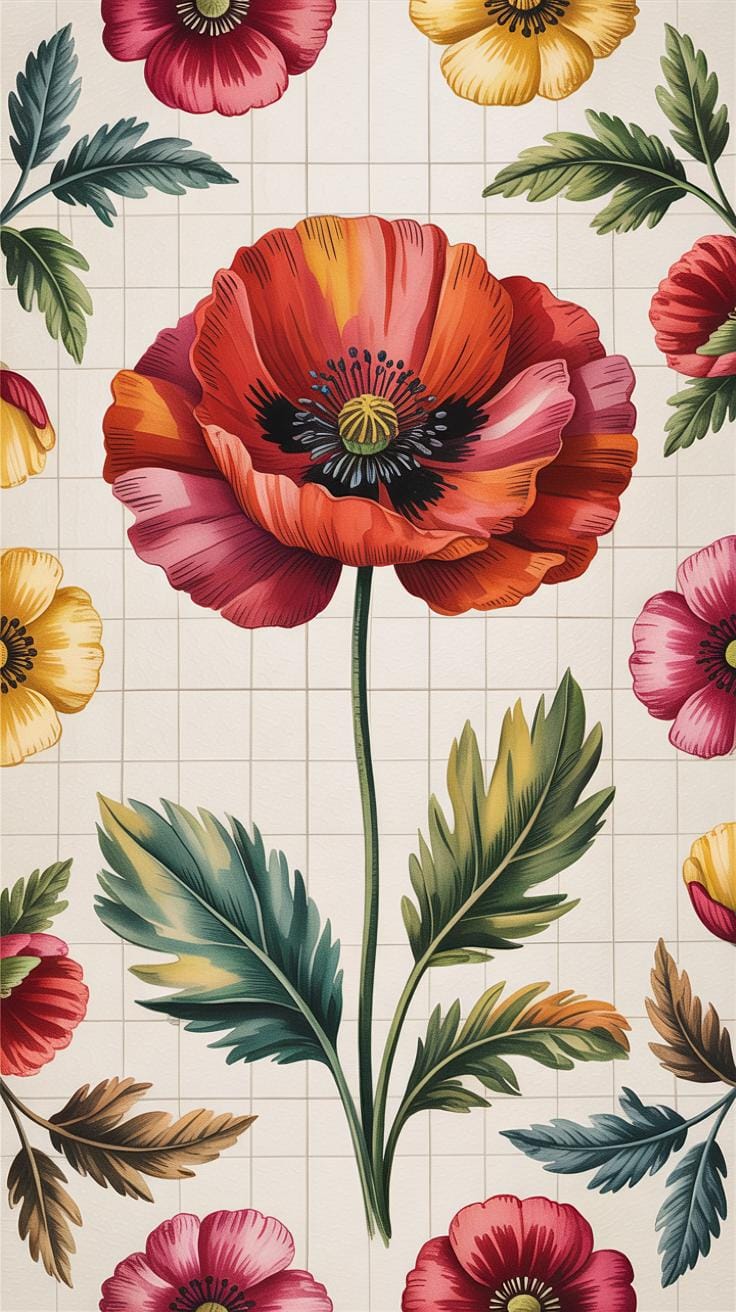
Realistic Floral Murals
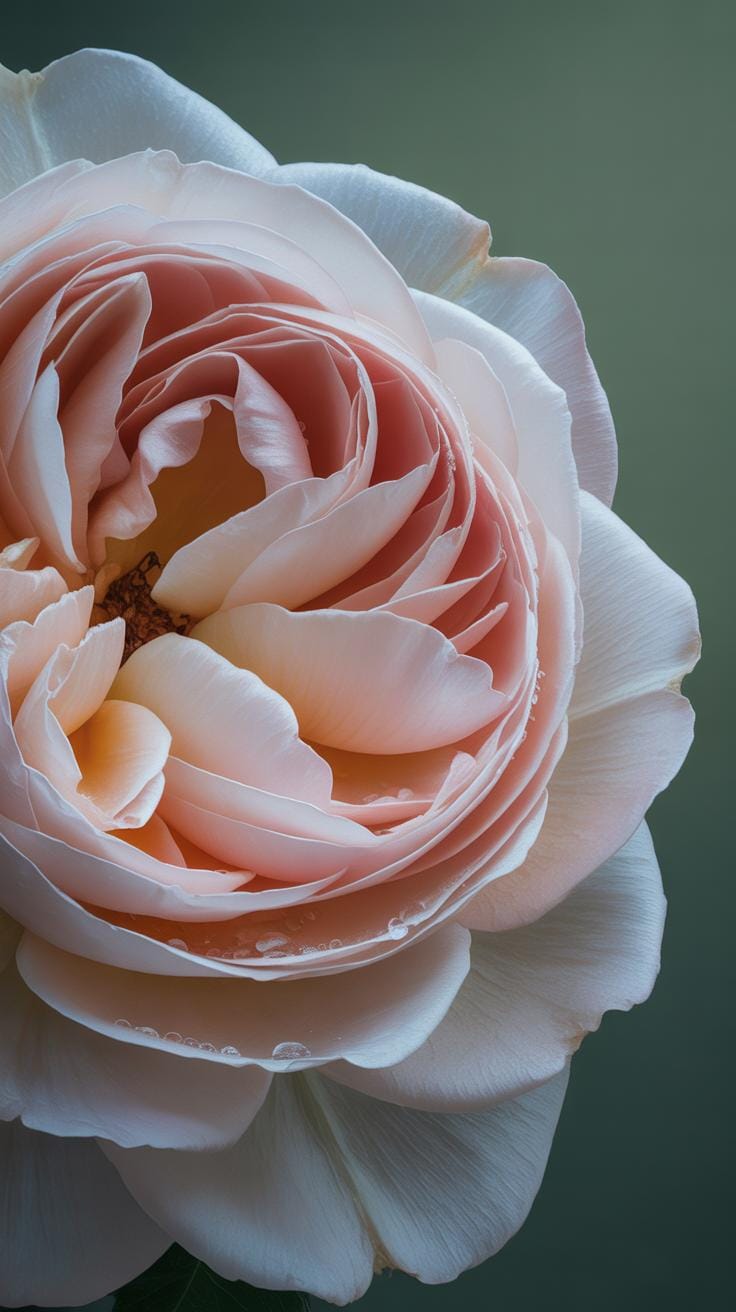
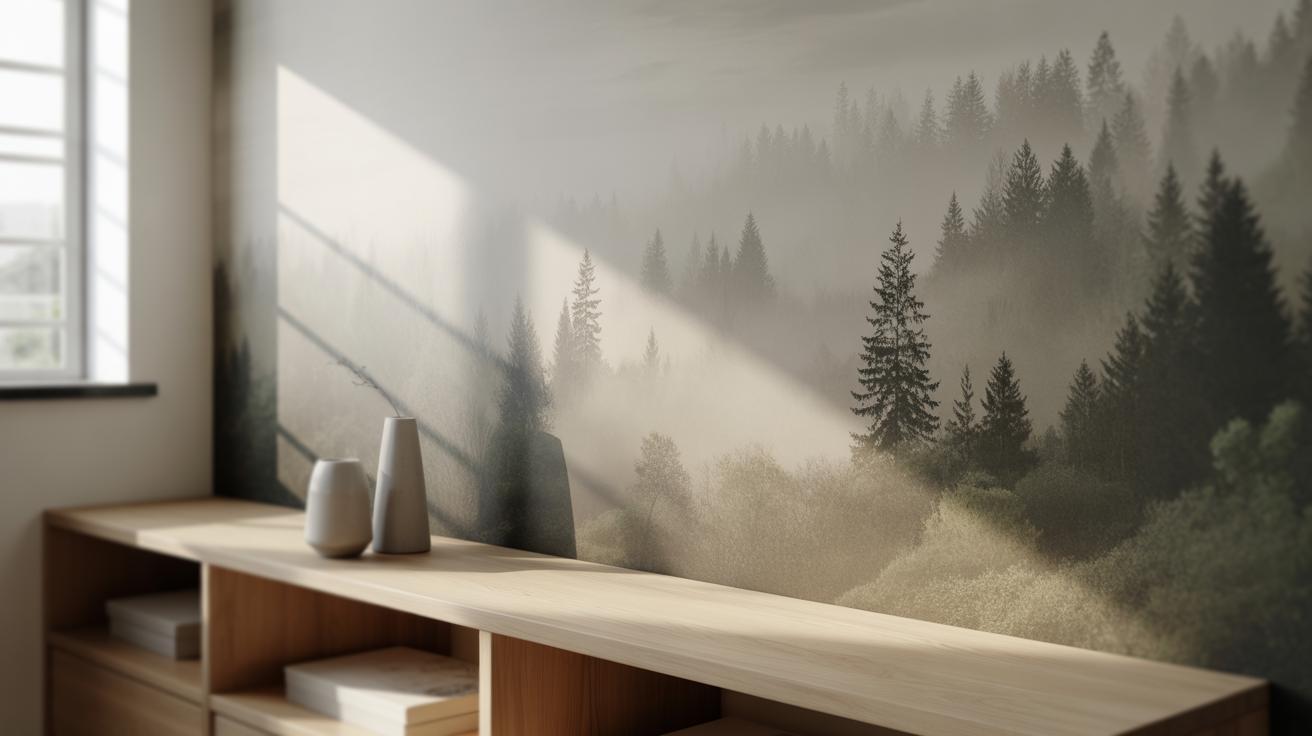
Realistic flower murals bring a garden indoors by capturing intricate details of petals, leaves, and stems. These murals often have depth and shading that make the flowers almost pop off the wall. Some artists focus on replicating specific flowers like roses or lilies, while others create full garden scenes teeming with life. If you enjoy a calm, natural vibe, this style can really make your space feel connected to nature. Yet, sometimes the painstaking detail might feel a bit overwhelming in a small room—or maybe too formal, depending on your taste. Still, there’s something soothing about walking into a room where the flowers look almost touchable. It can brighten dull spaces and give you a hint of spring every day.
Abstract and Creative Designs
Abstract flower murals take a different approach, using bold shapes, unusual colors, or fragmented forms instead of aiming for exact copies of real blooms. These designs are playful and often surprising, making them great for those who want a personal or modern touch with a bit of edge. You might find a mural composed of swirling petals or geometric patterns that suggest flower shapes without fully showing them. This style might not be everyone’s cup of tea—maybe it feels too scattered or hard to interpret at first—but it’s perfect if you want a bit more creativity or artistic freedom in your space. Plus, it’s easier to customize colors to match your décor.
Bringing Your Flower Mural Idea to Life

Getting started on a flower mural can feel a bit overwhelming, but it doesn’t need to be that way. Picking a small wall or even a corner to begin with can make the process less intimidating. Think simple shapes or a single type of flower instead of an entire garden at once. This way, you build confidence without rushing into something massive that might feel like too much.
You might find that planning out your mural in stages helps keep you focused. Maybe start with pencil sketches or paint just one section at a time. I once began with a tiny sunflower in the corner of a kitchen wall, and it grew naturally from there. It was rewarding to see progress without pressure.
Finding Inspiration and Support
Look around you—nature is full of subtle details worth trying to capture. Walking outside, snapping photos of flowers, even visiting a garden center can give you fresh ideas. Online platforms also offer endless tutorials and gallery images from mural enthusiasts, which can spark your creativity when you feel stuck.
Connecting with others who paint murals or share flower art can be really motivating. Forums, local art groups, or social media communities give you space to ask questions and share progress. Sometimes just knowing others face similar challenges keeps you going. So, where will you find your inspiration? Maybe closer than you think.
Conclusions
Flower murals provide a simple yet effective way to add nature’s beauty to your indoor spaces. You can choose from many flower designs and styles that fit your taste and the room’s mood. Using the right materials and techniques helps your mural stay vibrant and fresh for a long time. Taking time to plan the mural’s size and location will also maximize its effect in your home.
With these ideas and tips, you are ready to create your own indoor garden with a flower mural. It is a creative project that brightens your living space and brings a sense of calm and joy. Refresh your home by turning walls into blooming gardens that you can enjoy every day.