Introduction
Epoxy resin crafts offer a perfect way for you to create beautiful, practical, and personalized items during your weekend free time. This material is easy to work with and lets you produce shiny, durable pieces like jewelry, coasters, and art decorations. Whether you are a beginner or someone looking to try new craft methods, epoxy resin can be a fun and rewarding choice.
This article explores simple and enjoyable epoxy resin crafts that fit perfectly into your weekend schedule. You will learn about materials, safety, how to mix and use resin, plus creative ideas to get you started. By the end, you will have clear steps to make your own unique projects and enjoy crafting with epoxy resin.
Gathering Materials and Tools
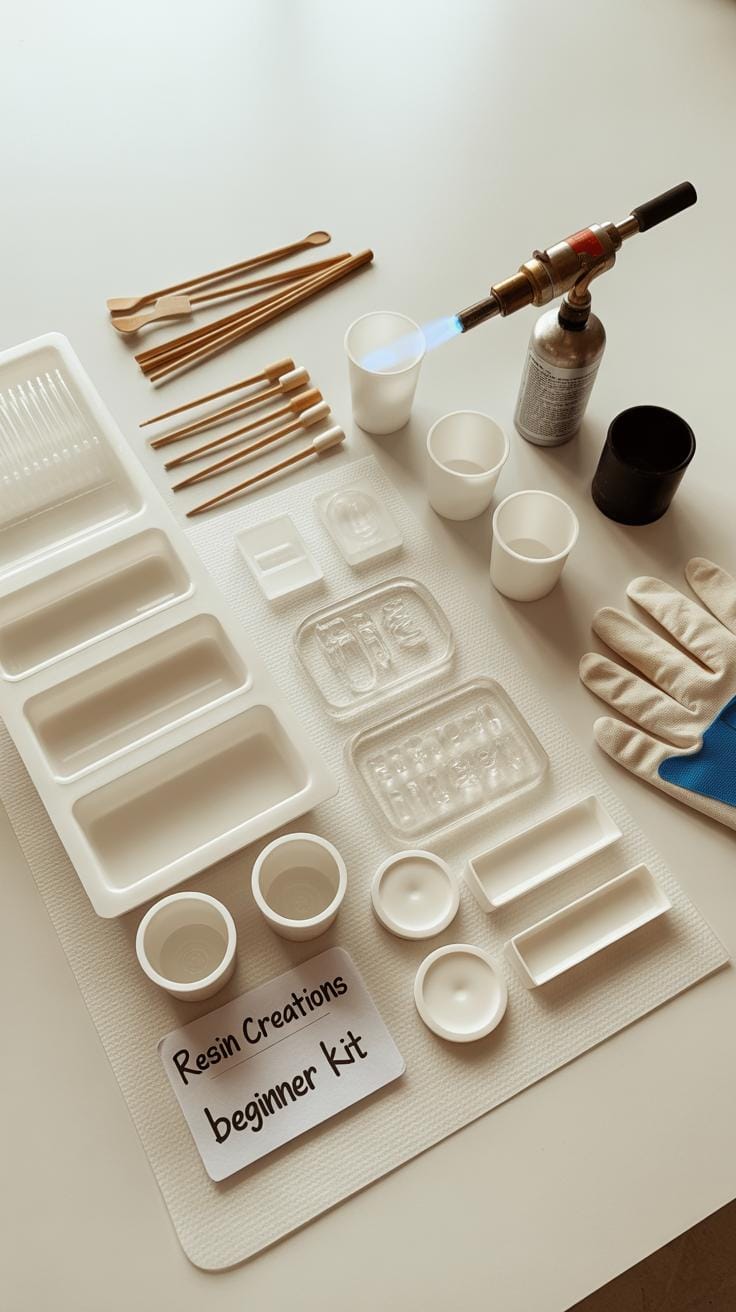
Getting started with epoxy resin crafts means collecting a few key materials and tools. You’ll need to decide on the type of resin first. Most beginners lean towards clear, two-part epoxy resin kits because they’re straightforward—you mix resin and hardener in equal parts, and it sets over several hours. There are fast-curing options too, but they require quick work, so pick what suits your pace.
For shaping your creations, molds are essential. Silicone molds are popular since they’re flexible and easy to demold without damage. They come in endless shapes—think coasters, jewelry bezels, even trays. Alternatively, you might use plastic or wood molds, but those often need a separate release agent.
Mixing tools are simple but critical—graduated cups for precise measuring and disposable stir sticks for thorough blending. Accuracy here avoids sticky resin or soft spots. And don’t skip safety gear. Gloves protect your skin, and a protective mask keeps resin fumes at bay, especially in smaller or less ventilated spaces. Even if you work quickly, something as simple as nitrile gloves can save you from an irritating rash.
To sum up the essentials:
- Two-part epoxy resin kit (clear or tinted)
- Silicone molds in various shapes
- Measuring cups and disposable stir sticks
- Nitrile gloves and protective masks
Basic Supplies to Buy
When buying epoxy resin kits, look for ones that include both resin and hardener with clear instructions. Some come with small measuring cups, which are handy. Gloves are non-negotiable—even if you think you’ll be careful, resin can stick stubbornly to skin.
Masks can be simple disposable respirators or more advanced ones if you venture into larger projects. Molds can be as inexpensive or elaborate as you want. I once picked up a silicone coaster mold set on a whim, and it made all the difference in how clean and easy the final pieces were to remove.
Many kits bundle these basics, but sometimes buying items separately means you can pick exactly what fits your style and budget.
Optional Tools to Enhance Your Crafts
Adding a heat gun or small butane torch to your kit can feel like a game changer. They help pop those pesky bubbles that form right after mixing resin. Without one, you might notice tiny craters or imperfections, which can be frustrating.
Pigment powders, mica powders, or liquid dyes unlock color customization. Even a little goes a long way, so start small. Stir sticks don’t have to be plain wooden ones; I’ve used small silicone spatulas that double as mixing tools and nearly perfect coatings.

All these extras aren’t necessary, but they can make the process smoother and let your creativity stretch a bit. You might start simple and add them as you figure out your preferred style and technique.
Preparing Your Workspace
Choosing a Safe Area
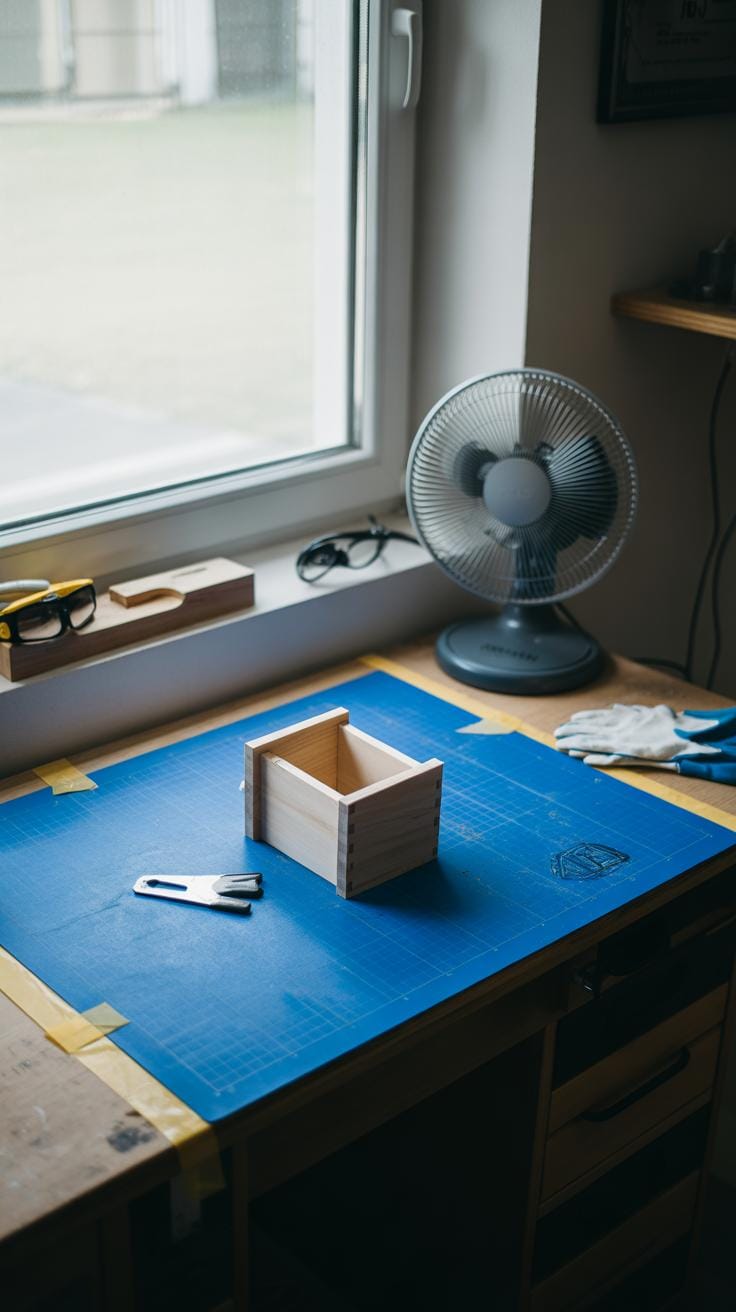
When you start working with epoxy resin, finding the right spot makes a big difference. You want a place with good air circulation—not just a window cracked open, but somewhere breezy enough to carry away fumes that resin sometimes gives off. Even if your resin claims to be low odor, I’d still lean on fresh air whenever possible. It’s about comfort and safety, really.
Also, the surface you work on should be flat and tidy. Uneven tables can cause your resin pieces—or molds—to sit awkwardly, leading to spills or uneven curing. A clean table helps too. Dust or crumbs stuck in the resin can mess up your design or stick to your project like unwanted texture. So, wipe down the area with some rubbing alcohol or just a damp cloth before you dive in.
Protecting Surfaces and Yourself
Covering surfaces isn’t just about spills. I usually spread some plastic sheeting or heavy-duty craft paper to catch stray drops that might stick stubbornly to the table. You could try an old silicone mat—it cleans up easier. Remember, once resin hardens on a surface, it’s a pain to remove.
Your hands need protection too. I always wear nitrile gloves because latex can sometimes tear or let chemicals through. And don’t skip a mask, especially if your workspace isn’t perfectly ventilated. A mask with organic vapor cartridges feels like extra peace of mind, even if it’s a bit bulky. The goal is to avoid skin contact and breathing anything unwanted, even on quick projects.
If you’ve ever skipped this part, you might notice itchy skin or headaches after a long day of crafting. That’s no fun, and maybe worth a better setup next time. Would you put comfort second for a quick job? Probably not.
Mixing and Using Epoxy Resin
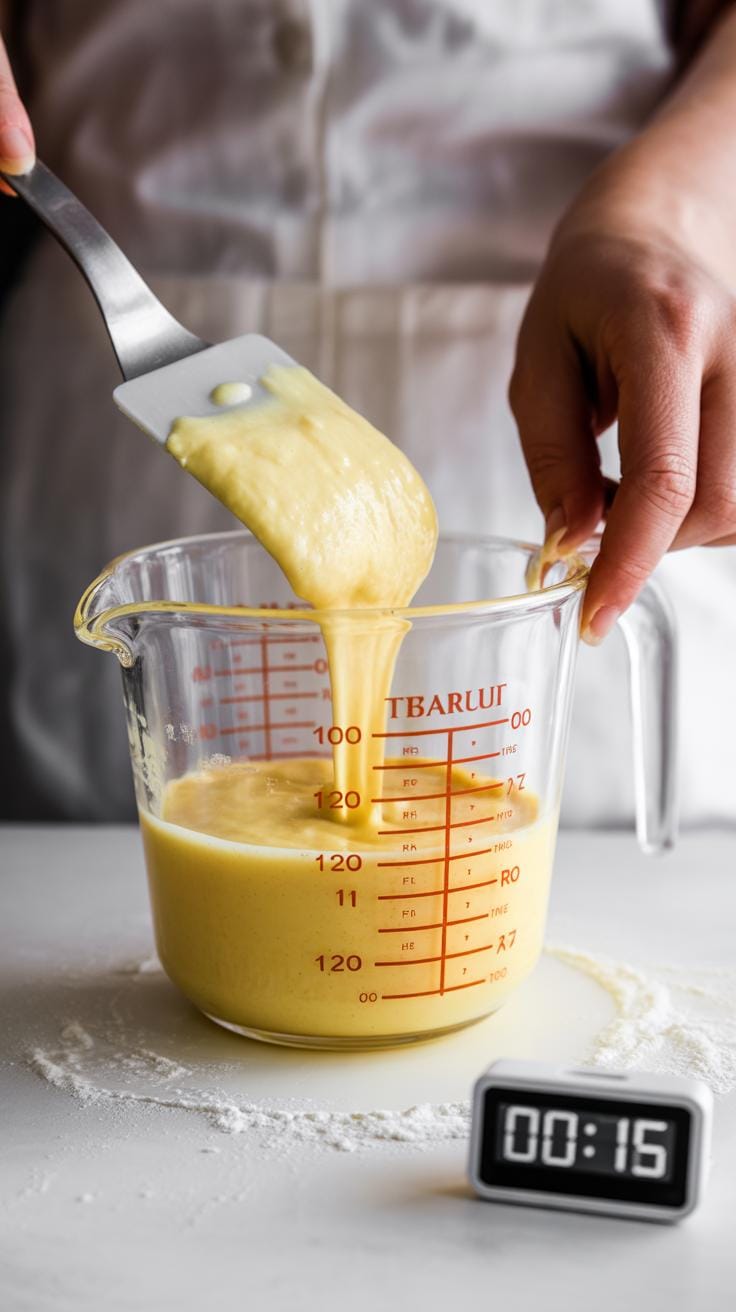
Measuring your resin and hardener accurately—usually equal parts by volume—is the first and most crucial step. Use a clean cup or a syringe for this. Guesswork can mess up the curing process, so take your time, even if it feels a bit fussy. Once measured, combine them in a mixing cup. Stir gently but thoroughly; you want the two parts to blend fully without whipping in too much air. I tend to stir in slow circles for about three minutes, scraping the sides and bottom as I go. It helps avoid stuck spots where the mix might stay uneven.
Keeping bubbles out? That’s a challenge. Pouring resin slowly into your mold or surface helps. You can also warm your resin just a little—like placing the sealed container in warm water before mixing—this thins it and lets bubbles rise faster. If bubbles still pop up, a quick pass with a heat gun or even a lighter flame over the surface usually fixes that, but be cautious here and don’t overdo it or burn the resin.
Timing matters too. Resin starts to thicken after mixing, so you need to work relatively fast but not rush. Pour carefully, avoid shaking your molds, and try not to disturb your project for at least 24 hours. Have you noticed resin sometimes feels sticky after the recommended time? That might be a sign of incorrect mixing or environmental factors, so take note of your workspace’s temperature and humidity.
Coloring and Decorating Your Resin Crafts
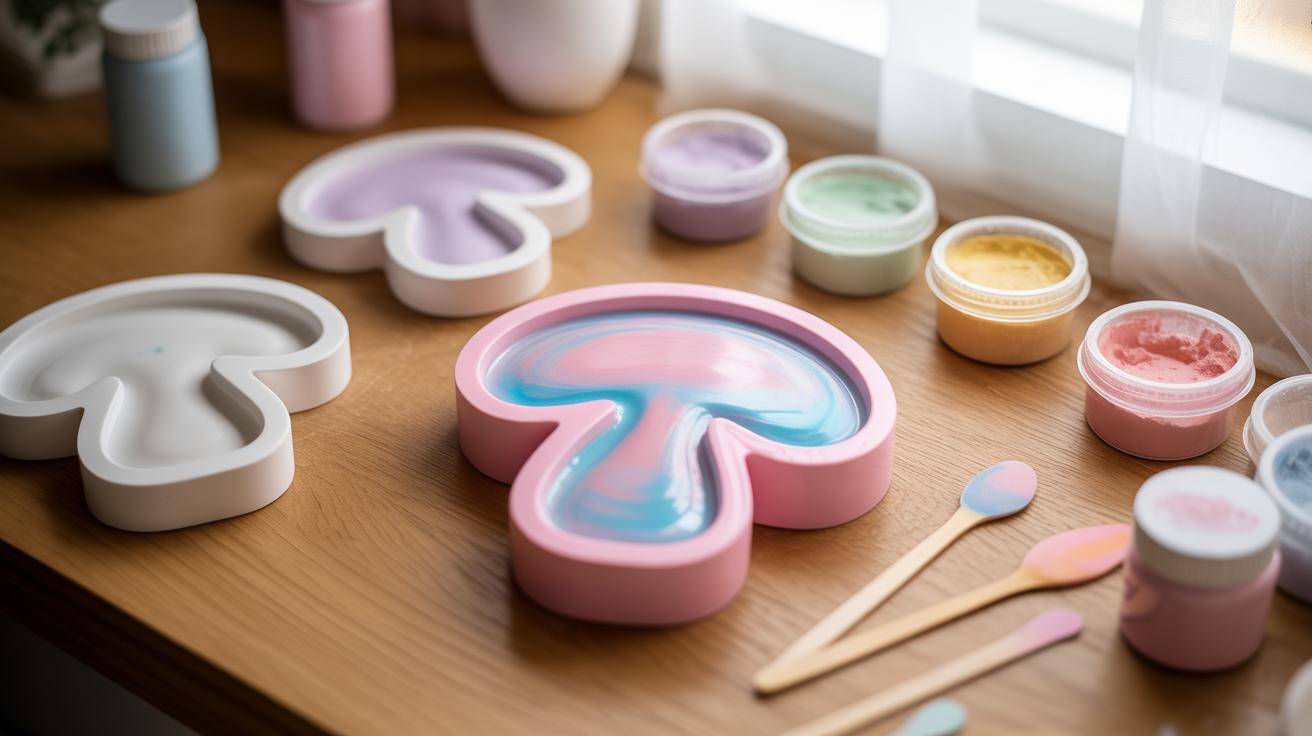
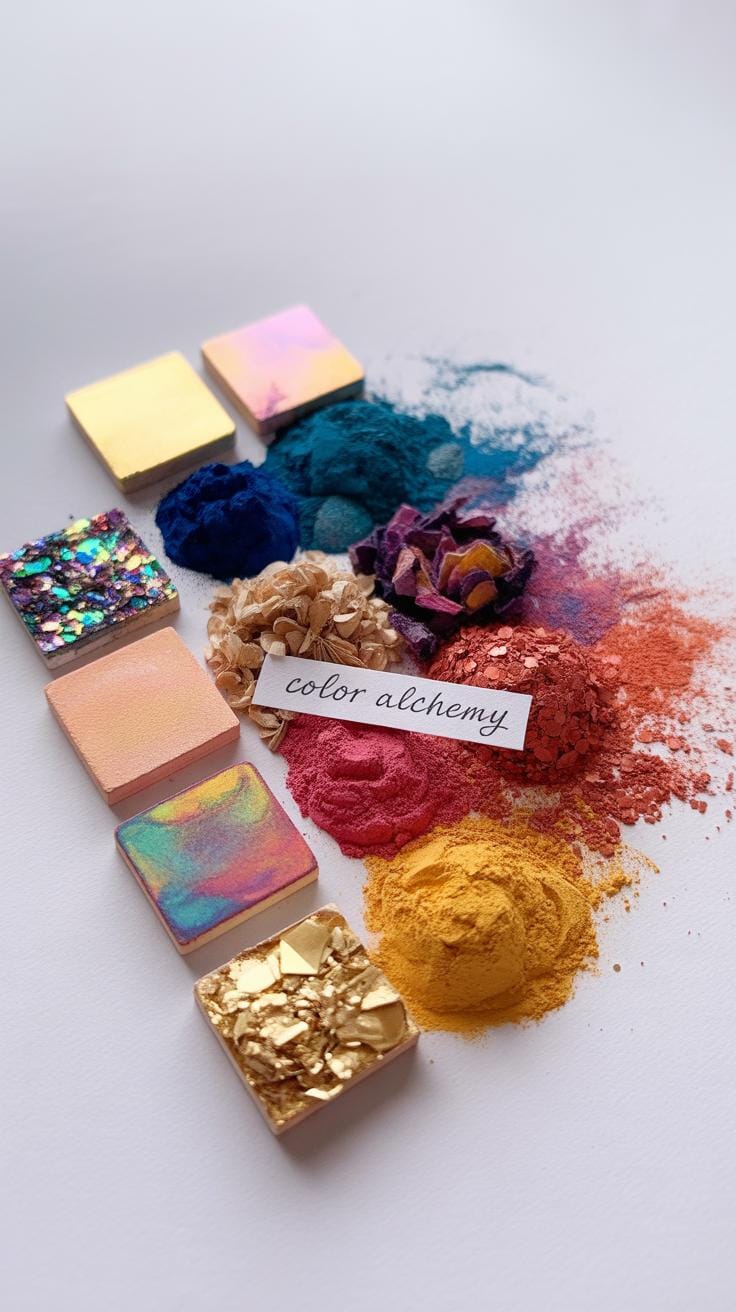
Adding color to your epoxy resin projects can completely change their look. You might want a soft pastel tint or something brighter—there are a few ways to do this. Pigments, dyes, and alcohol inks all work, but each behaves a little differently. Pigments usually give a more solid color, almost like paint, while dyes and alcohol inks can create more transparent or fluid effects.
For instance, I once mixed alcohol inks into resin and got these cool swirling patterns that seemed almost accidental—but in a good way. If you want something predictable, pigments might be better, but experimenting with alcohol inks is fun if you like surprises.
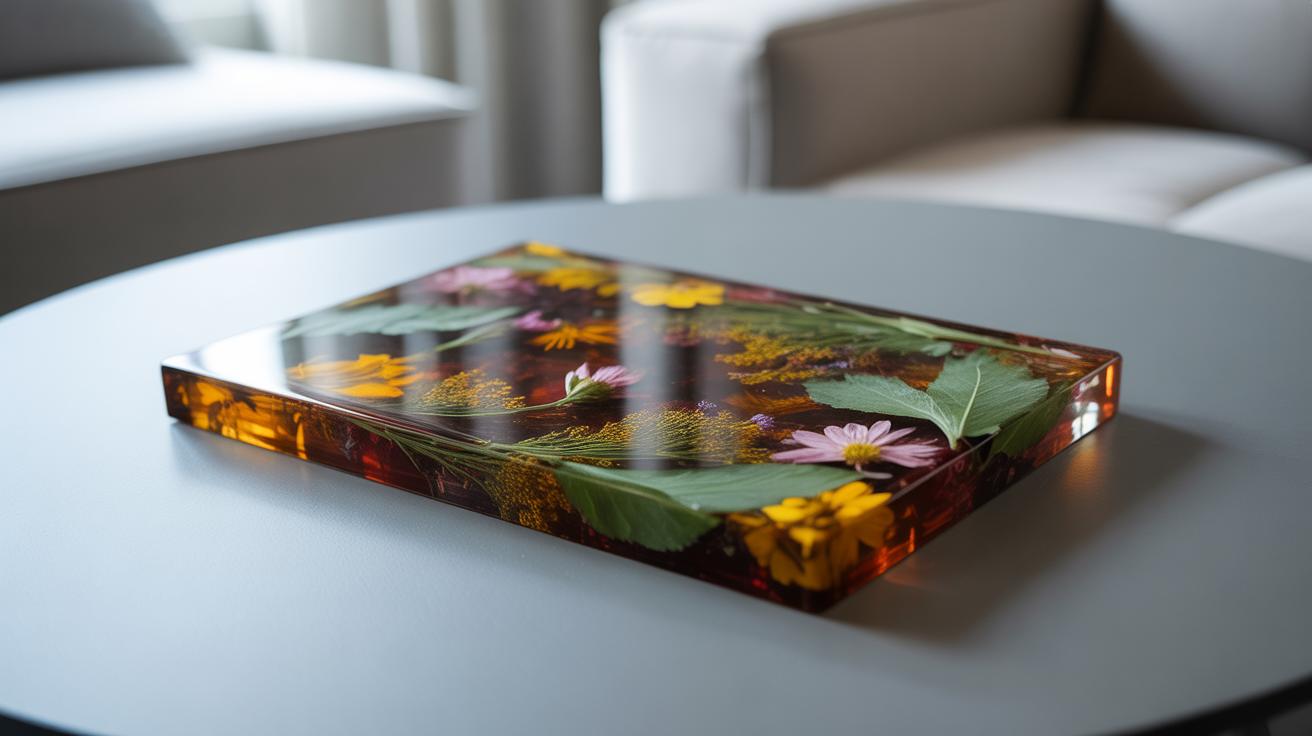
When it comes to decorations inside resin, embedding objects like dried flowers, glitter, or small charms can make your piece stand out. You simply place them carefully into a layer of resin before adding more on top, sealing everything in.
Little things matter here—if you’re using flowers, make sure they’re fully dry to avoid moisture issues. Glitter adds shimmer, but stir it in lightly; too much can make the resin thick or cloudy. I’ve found charms can sometimes shift during curing, so placing them gently without pushing too deep helps keep them in place.
What do you want to preserve in your resin? A splash of color? A keepsake? Crafting with resin lets you mix these choices. Try a bit of pigment, then add glitter. Or embed a tiny charm. Each mix is your call, and maybe, just maybe, that’s the best part.
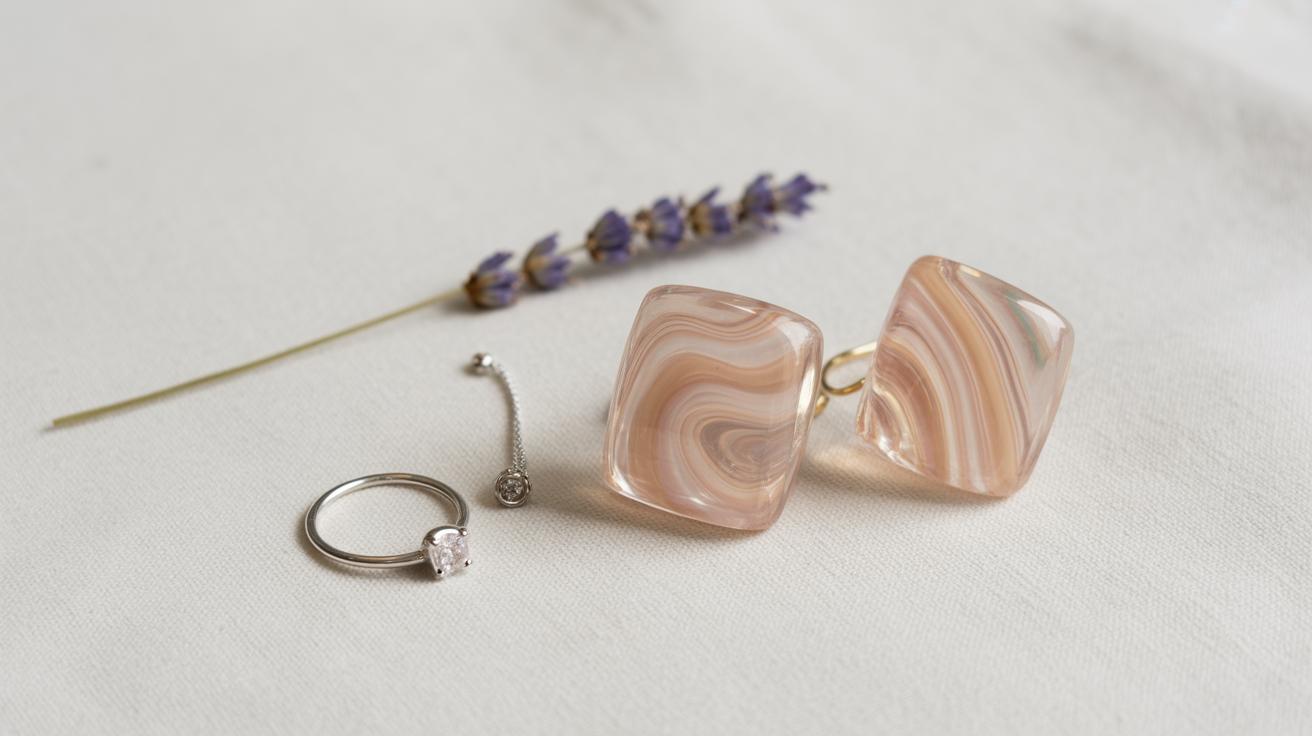
Creating Simple Jewelry Pieces
When making epoxy resin jewelry, picking the right molds can feel a bit tricky at first. You want shapes that aren’t too complicated—basic rounds, ovals, or teardrops work well for pendants and earrings. The size matters too. Smaller molds suit earrings, while pendants can be a bit larger but try not to go overboard or the piece might feel bulky. For rings or bracelets, flexible molds often make it easier to remove the resin without damage.
Once your resin cures, the edges usually need some attention. You’ll want to sand them down to avoid rough spots or sharp corners. Start with a coarse grit and move to finer grits to smooth the surface. Then, adding hooks, chains, or earring posts is straightforward if you have the right findings handy—it helps if you plan this step before pouring, so you can embed a loop or jump ring into the resin as it sets.
Polishing comes last and can really change things. A quick buff with a polishing compound or a microfiber cloth can brighten your piece and highlight the resin’s clarity. Don’t skip this—unpolished resin often looks dull, which is disappointing after all the work. Trust me, a little extra time here means your jewelry feels professional and ready to wear.
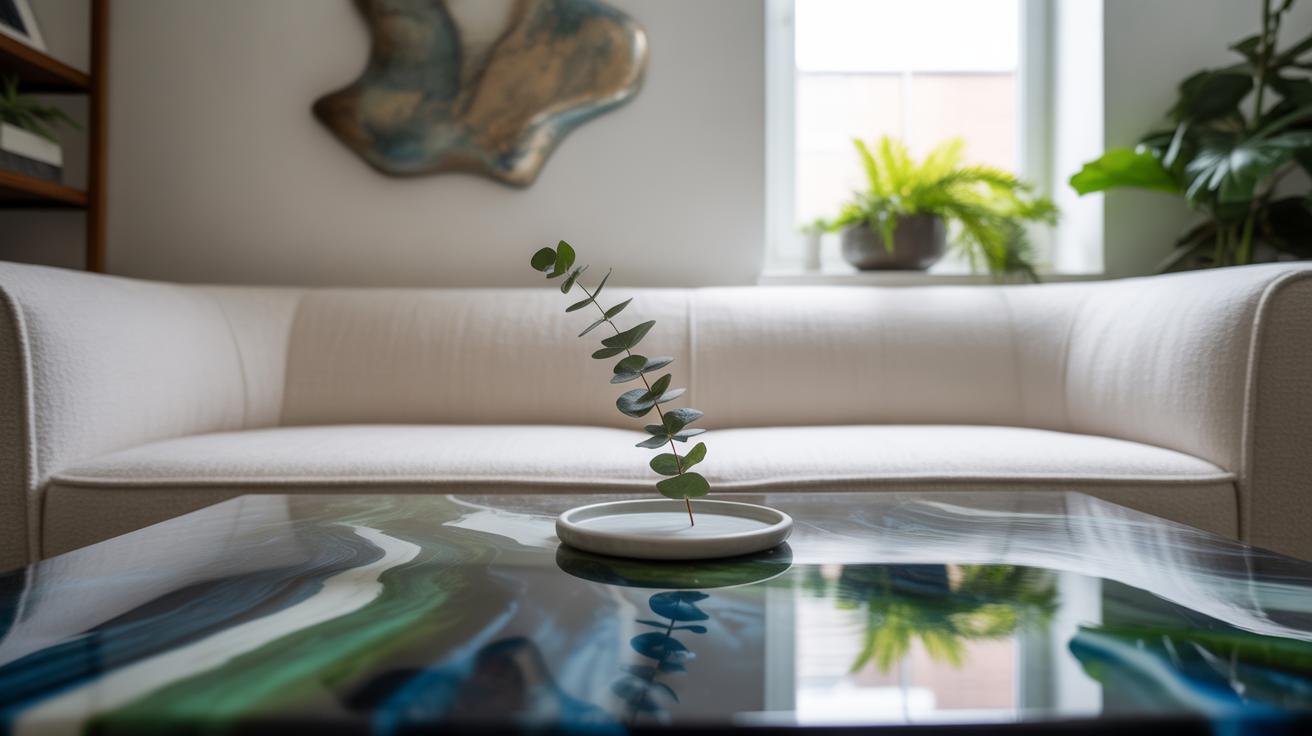
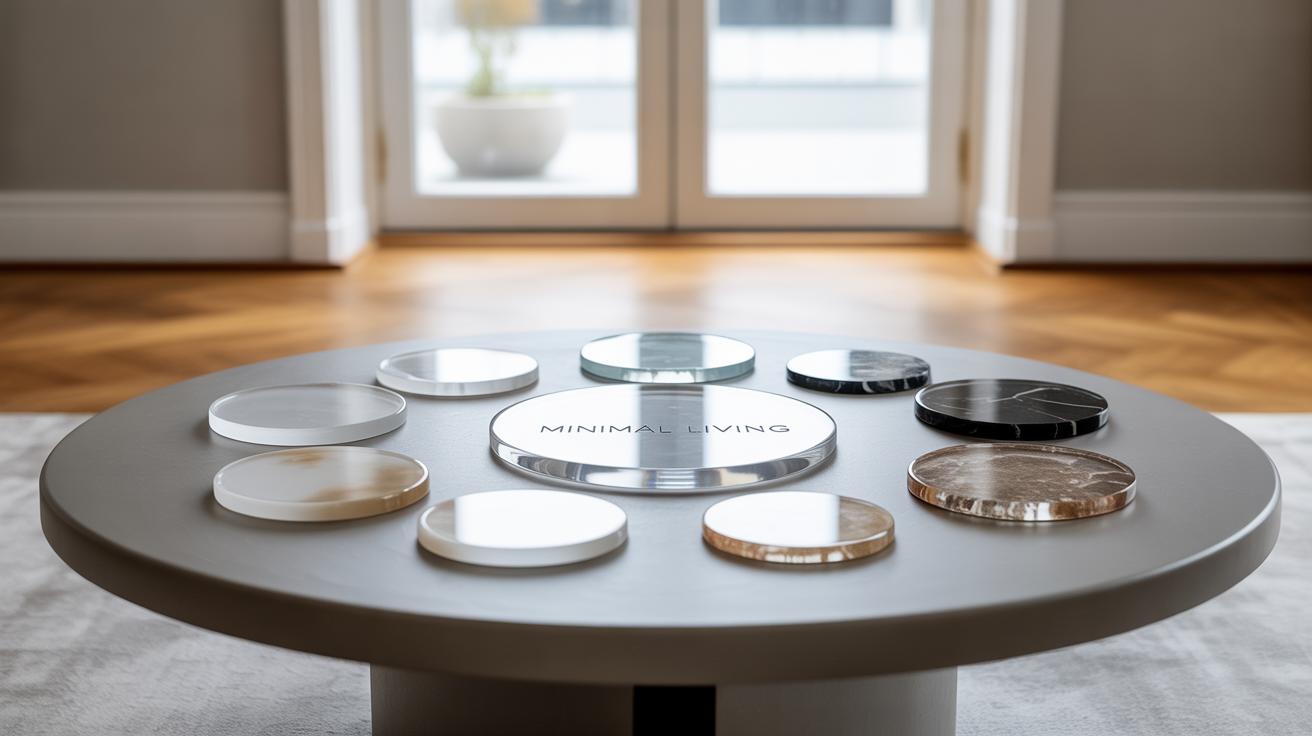
Making Home Decor Items
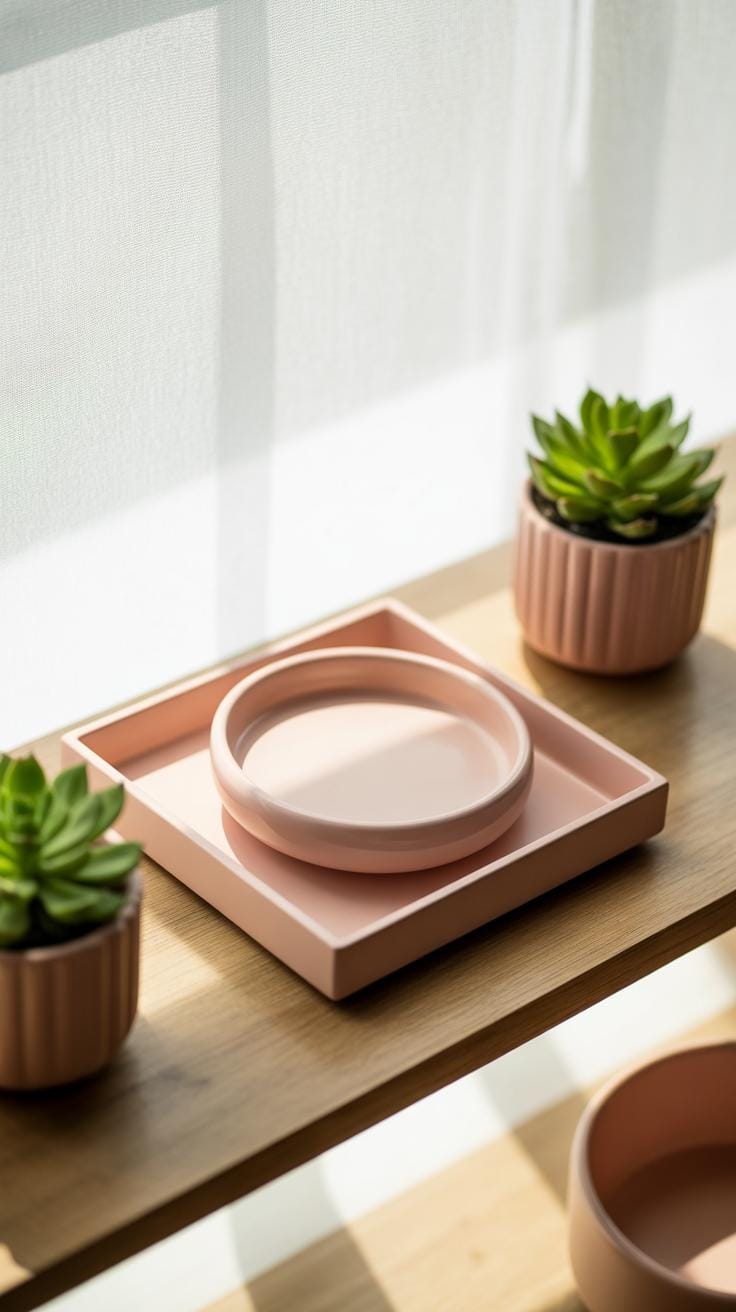
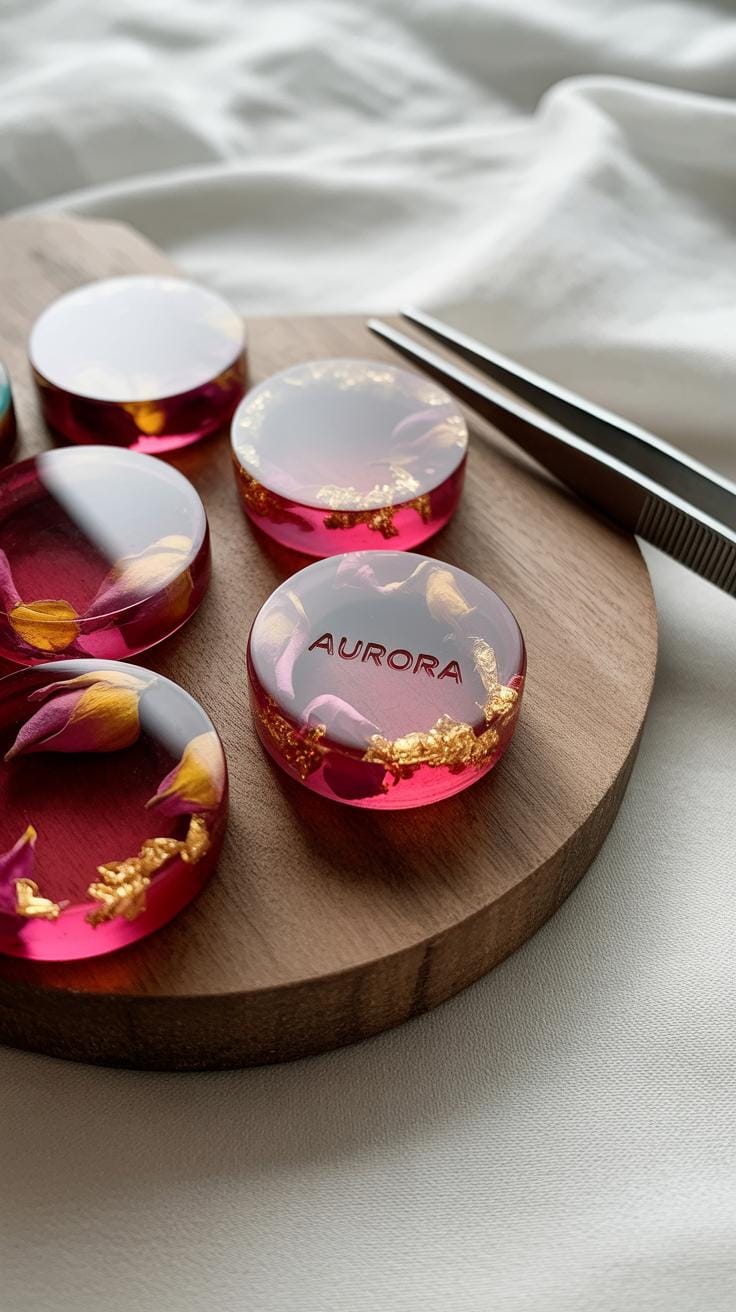
Epoxy resin offers a neat way to add a personal touch to your home decor without too much hassle. For starters, resin coasters are surprisingly easy to make and they brighten up any coffee table. You just need circular molds, some resin, and a few colors or inclusions—like dried flowers, glitter, or even small photos. Mixing and pouring the resin is straightforward, but adding those personal elements can turn plain coasters into something quite unique.
Here’s a quick rundown on crafting resin coasters:
- Gather circular silicone molds—the flexibility makes popping out finished pieces a breeze.
- Mix the resin carefully according to the instructions; I usually hesitate about the timing, so I set reminders.
- Add pigments, or use different layering techniques for patterns or depth.
- Embed tiny objects or decals before the resin sets to make the coasters truly yours.
- Let them cure fully—this usually takes about 24 hours, which might feel long, but patience pays off.
Moving beyond coasters, wooden trays and picture frames can get a whole new look with a resin coat. You simply pour the resin over the surface for a glossy finish. This seals the wood and adds a slight glassy shine that’s quite satisfying. If you like, you can mix in colorants or small decorative elements in the resin before pouring. The key is to work in a dust-free spot because any speck will show once the resin hardens.

When I first tried this, I was unsure how thick to pour the resin on a tray. Turns out, keeping it thin enough to avoid drips but thick enough for coverage makes all the difference. Plus, gently blowing on the resin helps pop any bubbles before it solidifies.
Caring for Your Epoxy Resin Crafts
Cleaning Resin Pieces
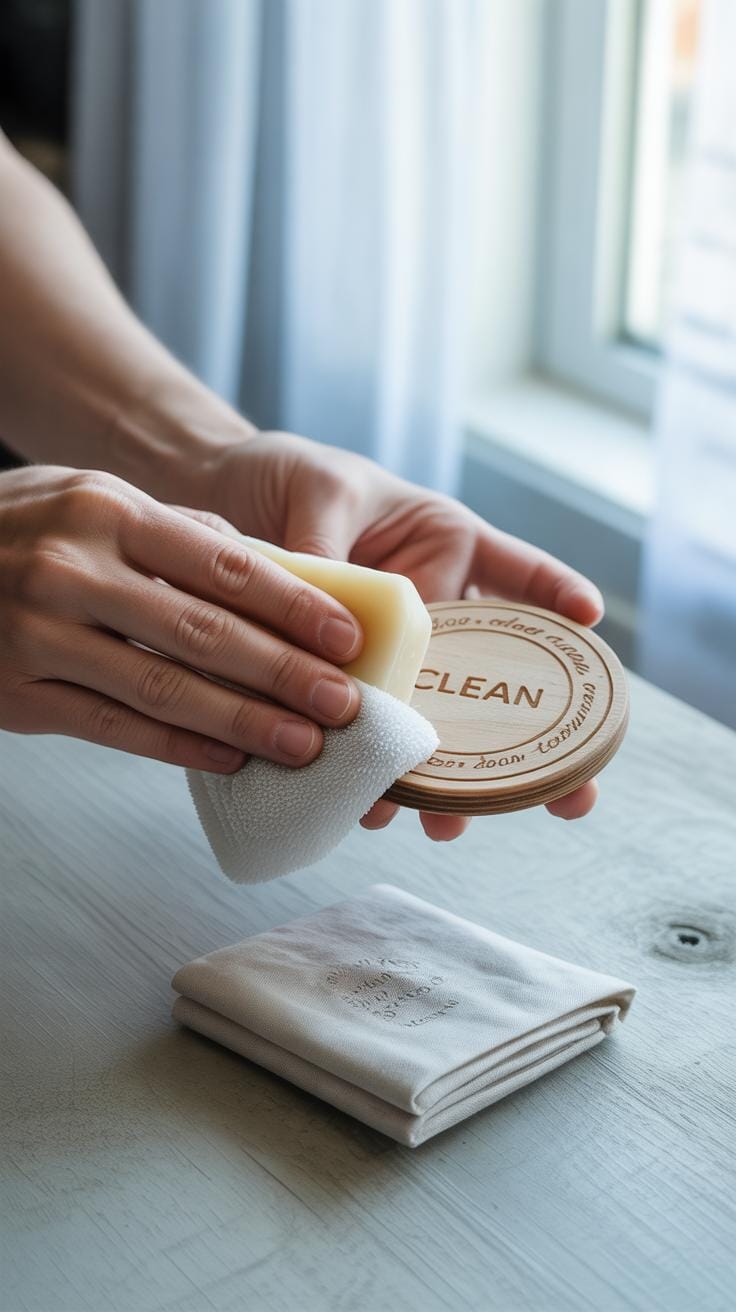
Keeping your epoxy resin crafts clean might seem straightforward, but there’s a bit more to it than just wiping them down. Using mild soap and water works well for most resin pieces. A gentle dish soap with lukewarm water and a soft cloth usually does the trick. Avoid harsh chemicals or abrasive cleaners; they can dull the surface or cause tiny scratches that you might not notice right away. Sometimes I’ve tried stronger cleaners when in a rush, and the finish looked a bit cloudy afterward—definitely not worth it.
When cleaning, be gentle. Scrubbing too hard can wear off shine or even damage delicate designs. If a spot is stubborn, soak the piece briefly instead of scrubbing aggressively. Also, drying resin crafts carefully matters. Leaving water spots can sometimes create marks that are tricky to remove.
Protecting Resin Craft Surfaces
Once clean, protecting the surface is key to keeping your resin projects looking fresh. Resin can scratch more easily than you might expect. Placing crafts on rough or hard surfaces without any padding makes scratches inevitable over time. Think about adding felt pads or soft mats under coasters or trays. It really helps.

Try to avoid stacking resin pieces or letting other items rest on top—they can leave marks, even if the surface feels smooth. If I had a dime for the number of times I set a frame down a bit carelessly only to find tiny scratches later, I’d be rich. So yes, being mindful about where you place your creations goes a long way.
One more thing: direct sunlight? It can affect resin over years, sometimes causing subtle yellowing or warping. Maybe some pieces will be fine, but others might change if you’re not careful. Experiment with placement and see what works best for your crafts. It’s a bit trial and error, really.
Troubleshooting Common Resin Problems

Dealing with Sticky or Soft Resin
When your resin stays sticky or soft after curing, it’s usually because the mix ratio was off or the resin didn’t get enough time or warmth to fully harden. Sometimes, even a tiny miscalculation in measuring the resin and hardener can throw everything off. It’s frustrating when a project looks promising but then remains tacky days later.
If you’re facing this, don’t toss it right away. Try letting it cure longer in a warm spot—like near a sunny window or on a radiator. Warmth encourages the chemical reaction to finish. If it stays sticky after days, sanding the surface lightly and applying a fresh, correct coat of resin might help seal and harden it.
Mixing too fast can trap air or cause uneven curing, so slow, steady stirring makes a difference. Also, double-check the temperature of your workspace; resin likes a steady 70–75°F (21–24°C). Cooler spaces can stall curing, while too hot might cause other issues.
Removing or Preventing Bubbles
Bubbles inside your resin can be annoying, and sometimes hiding in unexpected places. Slow mixing reduces trapped air, but sometimes it’s just unavoidable, especially when you’re still getting the hang of pouring techniques. I’ve found that pouring resin in thinner layers helps bubbles rise and pop before they get trapped.
Applying gentle heat to the resin surface usually makes a big difference. A handheld heat gun or even a kitchen torch, used carefully at a distance, encourages bubbles to pop. Be careful not to overheat or scorch the resin, though—it’s a fine line.
Another method is letting your mixed resin sit for several minutes before pouring. This pause can release some of the bubbles formed during stirring. If bubbles keep appearing, check your mixing tools and containers for any rough surfaces that might trap air.
Exploring Advanced Epoxy Resin Techniques

Once you’ve got the basics down, there’s a whole world of more complex resin crafts waiting. Maybe you want to try layering resin to create depth or embed larger items safely within your piece. These techniques can be tricky at first but can really elevate your work.
Working with Resin Layers
Pouring resin in layers lets you build a sense of dimension—not just a flat surface. The key is patience. Pour a thin layer, let it partly cure until it’s tacky, then add the next. This approach traps objects between layers without them floating to the top or sinking. You might try embedding leaves, small trinkets, or even photos. Just be mindful of bubbles that can get trapped, and gently pop them before the layer sets. Working like this changes how your piece feels and looks, making it more interesting to the eye.
Trying Larger and Unique Projects
Once you feel confident, larger projects become an option. Tables, countertops, or wall art can test your resin skills in new ways. These require more resin, a well-leveled surface, and good ventilation due to the volume. You might find that pouring a tabletop means watching for uneven curing over a bigger area or trying different pigments for a more dramatic effect. Such projects demand more time and care, but they can be seriously satisfying. Ever thought about a resin river table? It’s a practical way to combine woodworking and resin craft, pushing your skills further.
Conclusions
Creating epoxy resin crafts can be a great way to spend your weekends with hands-on fun. You have learned how to prepare, mix, and safely use epoxy resin, along with ideas for many craft projects. Working with resin lets you express your creativity while making useful and decorative objects.
With practice, your skills will improve, and you will enjoy exploring more complex designs. The techniques shared here give you a solid start on your crafting journey. Start your first project today and see how easy and satisfying epoxy resin crafting can be for you.