Introduction
Epoxy resin art offers a unique way to enhance your home’s look with glossy, colorful, and durable designs. You can create pieces that range from small coasters to large wall art that catch the eye and add personality to any room. This art form combines chemistry with creativity, producing stunning results that last.
In this article, you will learn about epoxy resin art ideas and how to use them for your home decor. We’ll explore different ways to work with epoxy resin, design tips, tools you need, and how to safely create beautiful pieces. By the end, you will have practical knowledge to start your own epoxy resin art projects and transform your space with handmade charm.
Understanding What Epoxy Resin Is
Epoxy resin is a kind of liquid plastic that hardens when mixed with a special chemical called a hardener. When these two parts combine, a chemical reaction happens, turning the liquid into a solid, clear, and tough surface. It might sound a bit complicated, but basically, it’s like a glue that becomes hard and shiny. Epoxy resin is used in many areas, from fixing boats and floors to making jewelry and art pieces.
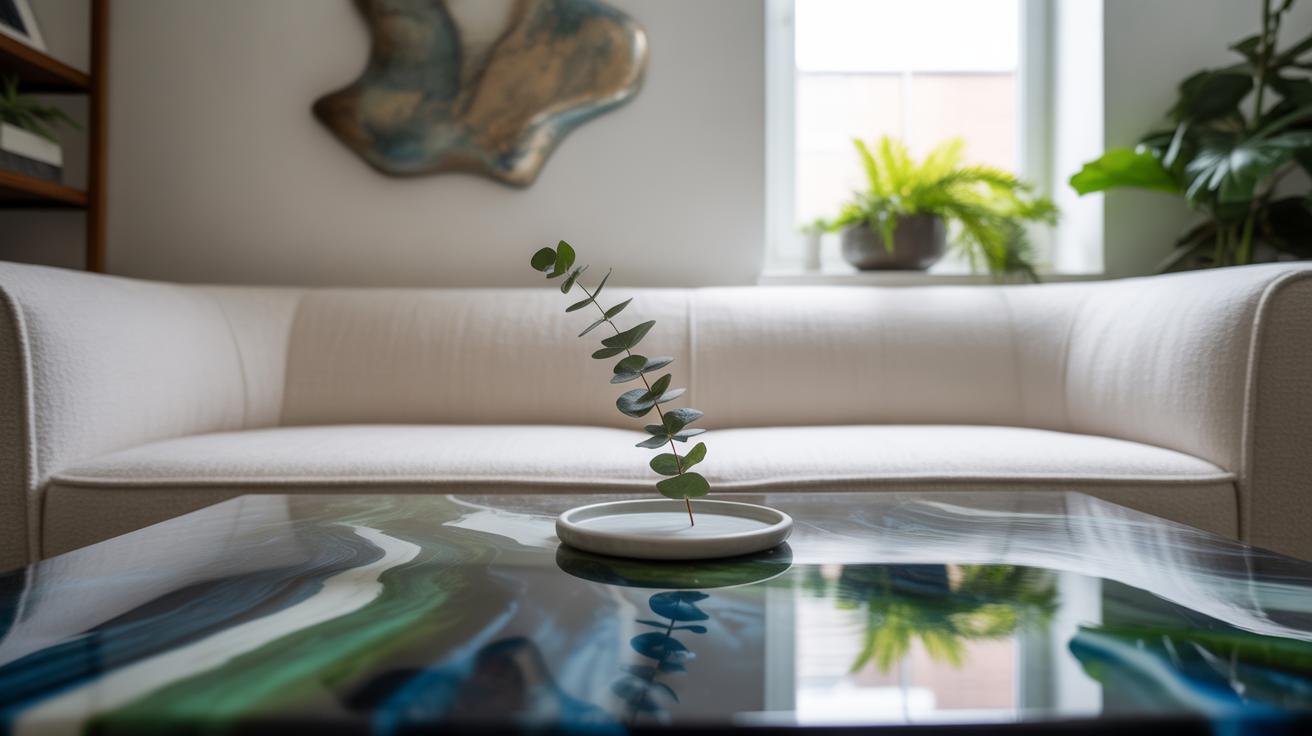
In art and home decor, epoxy resin works well because it can create a smooth, glass-like finish that protects colors and objects underneath it. Artists pour epoxy over surfaces like wood, canvas, or stones, creating layers and depth with colors or tiny decorations. This clear coating doesn’t just look nice—it also makes the artwork last longer. Maybe you’ve seen those tabletop river designs or coasters with flowers trapped inside? Those often use epoxy resin.
What Makes Epoxy Resin Special
Epoxy resin stands out for a few reasons. First, it’s very strong and durable, which means your art won’t chip or scratch easily. If you accidentally put a cup on a resin-coated table, it’s likely safe from damage.

Another thing people like is the way epoxy resin captures light—giving surfaces a shiny, almost wet look. It can really make colors pop or give clear depth to whatever you embed inside it. Plus, it sticks well to a lot of materials, which lets you experiment with different bases and decorations.
Its ability to hold pigments and dyes is pretty impressive too. You can mix in powders, inks, or paints, and the colors stay stable when curing. This is why many artists prefer epoxy resin when they want accuracy and vibrancy in their pieces.
Safety Tips When Working with Epoxy Resin
Working with epoxy resin is fun, but you do need to be careful. It contains chemicals that can irritate your skin or lungs if you’re not cautious. So, always use gloves to keep it off your hands. I’ve seen people forget this and end up washing their skin several times—that’s no fun.
Ventilation matters a lot. If you’re indoors, open windows and use a fan if you can. The fumes aren’t usually strong but could cause headaches or dizziness if you stay in the room with closed windows for too long.
Besides gloves and good airflow, avoid touching your face, especially eyes or mouth, until you’ve washed your hands well. Some people wear masks, but usually, just being in a well-ventilated space and using gloves is enough. It’s a bit of a hassle but worth it when you want to enjoy your art without health problems.
Gathering Materials and Tools for Starting Epoxy Resin Art


Choosing the Right Resin and Hardeners
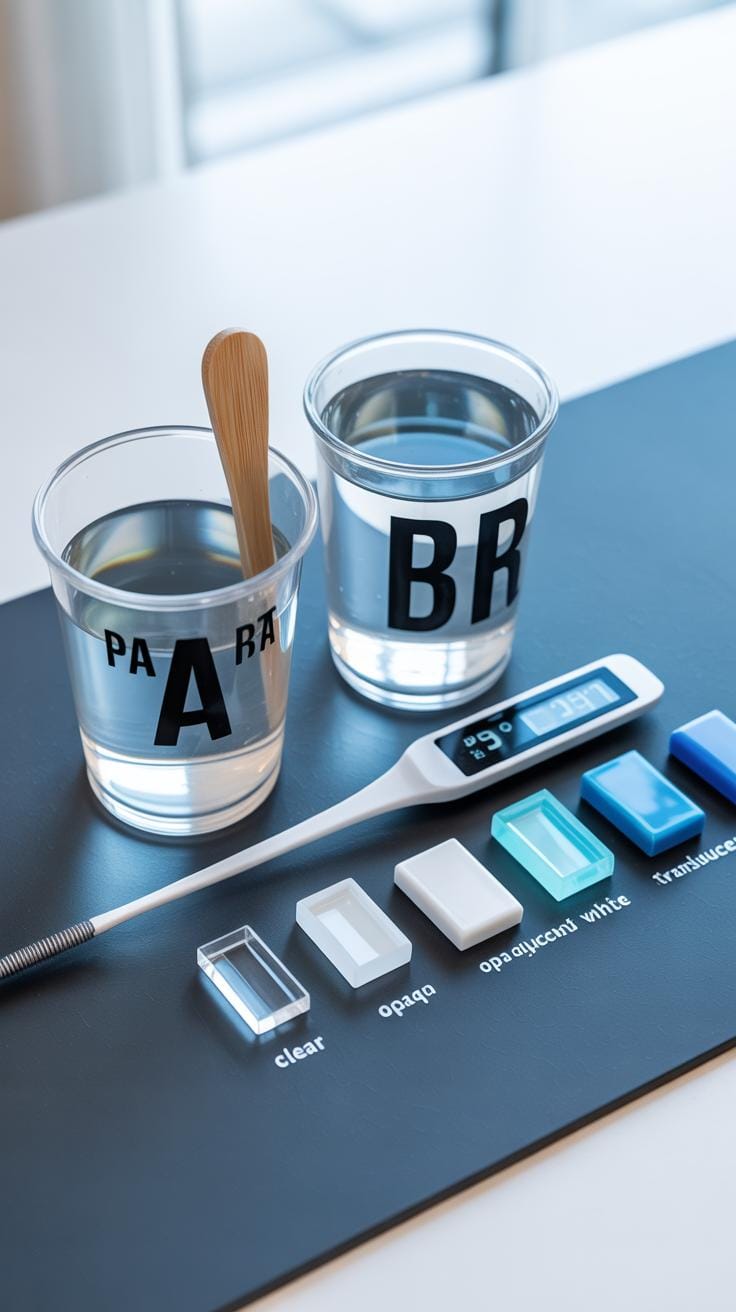
Picking the right epoxy resin and hardener can feel confusing at first, but it’s really about matching the type to your project’s needs. Most beginners use a clear, two-part epoxy resin—that means it comes in two separate bottles: resin and hardener. When mixed in the right ratio, they cure into a solid, glass-like finish.
You’ll find resins with different cure times. Some set quickly—good if you want fast results—but faster curing often means more bubbles and less working time. Slower curing resins let you play around more, but require patience. I’ve noticed that choosing a product labeled “artist grade” usually avoids yellowing over time, which can be an issue with cheaper versions.
Also, pay attention to the mixing ratio. Most common formulas are 1:1 or 2:1, and getting this wrong can mess up your project. Trying out a small sample first can save you from a lot of frustration down the road.
Must-Have Tools for Your First Project
Don’t go overboard on gear before you start. Keep it simple, especially if you’re just experimenting. Here’s what you really need:
- Mixing cups: Disposable plastic or silicone cups work well. Using clear ones helps you see if your resin and hardener are mixed thoroughly.
- Stir sticks: Wooden or plastic sticks do fine. They’re cheap and effective for mixing without introducing too many bubbles—well, mostly.
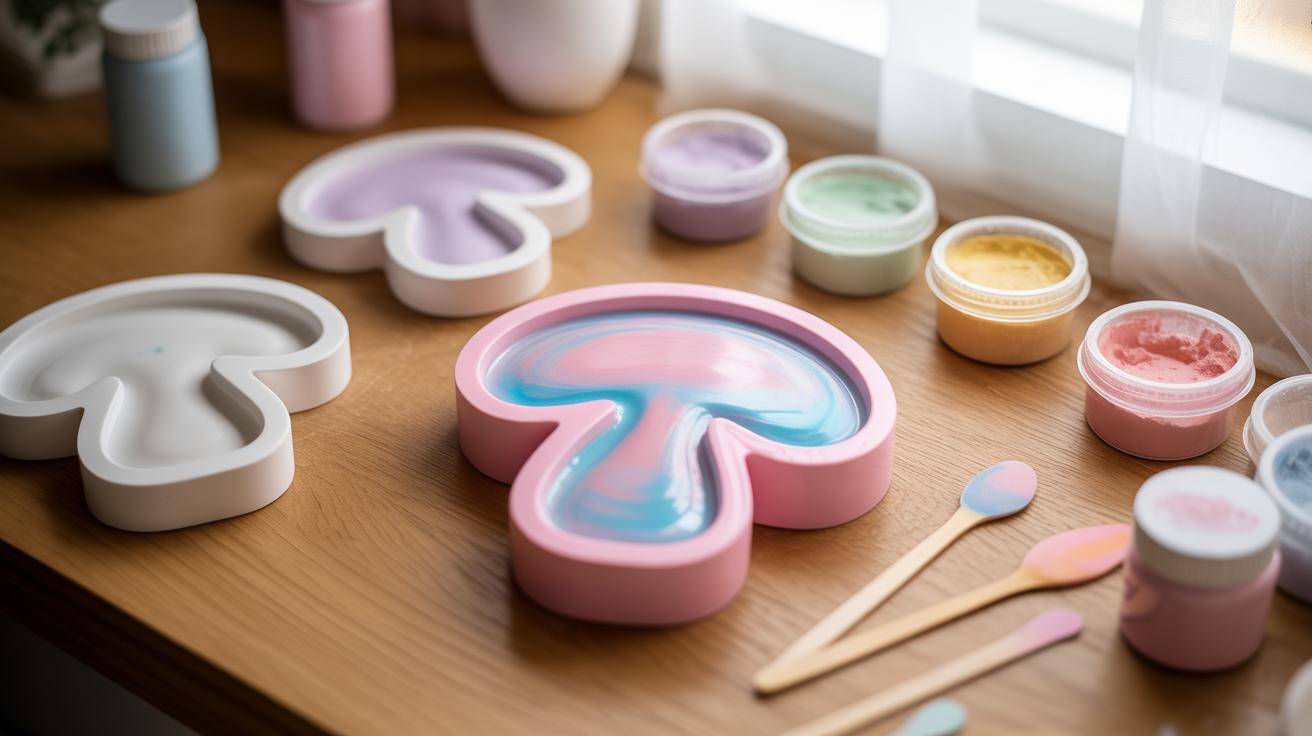
- Molds: Silicone molds are your friend. They come in all shapes and sizes, and make releasing your finished piece easier.
- Safety equipment: Gloves and a respirator mask if you’re sensitive to fumes. Even if some say epoxy is “safe,” better not to take chances.
It’s tempting to buy every tool under the sun, but starting with just these gets you far. Sometimes less is more, especially early on when you’re figuring things out bit by bit.
Planning Your Epoxy Resin Art Project
Selecting Designs That Fit Your Home Decor
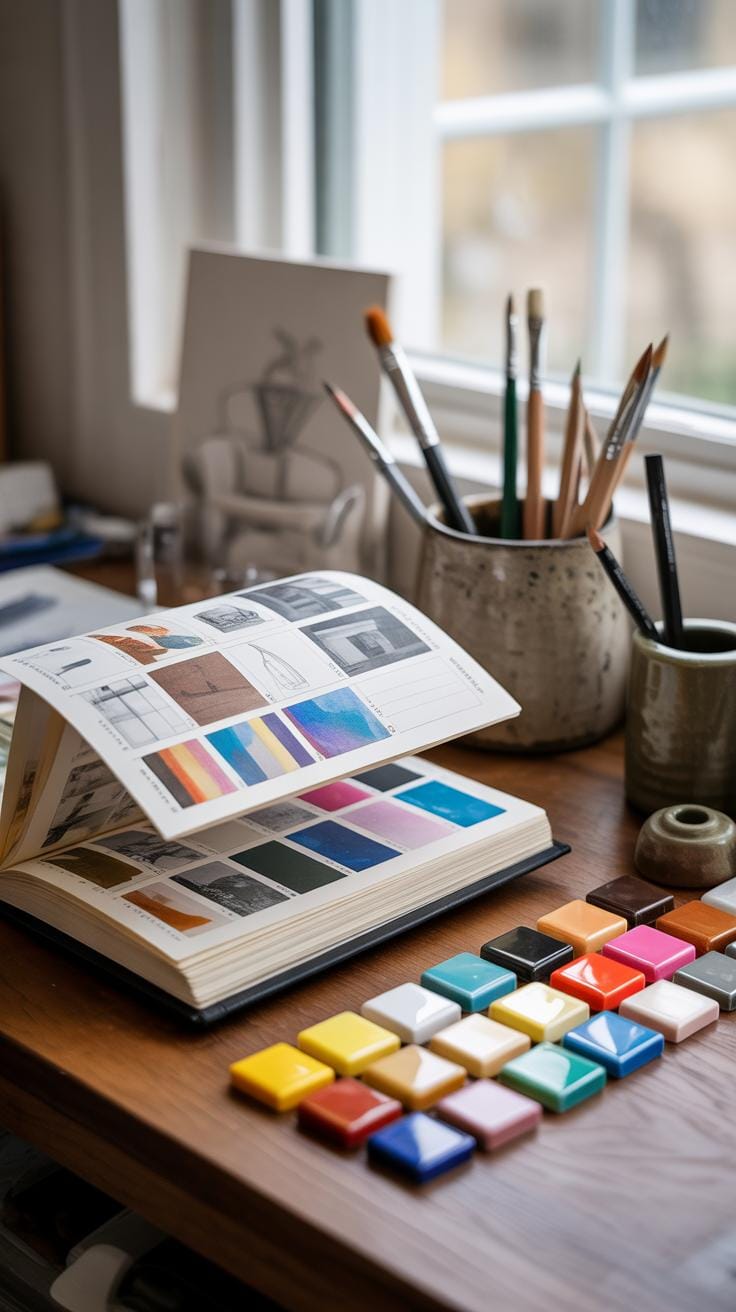
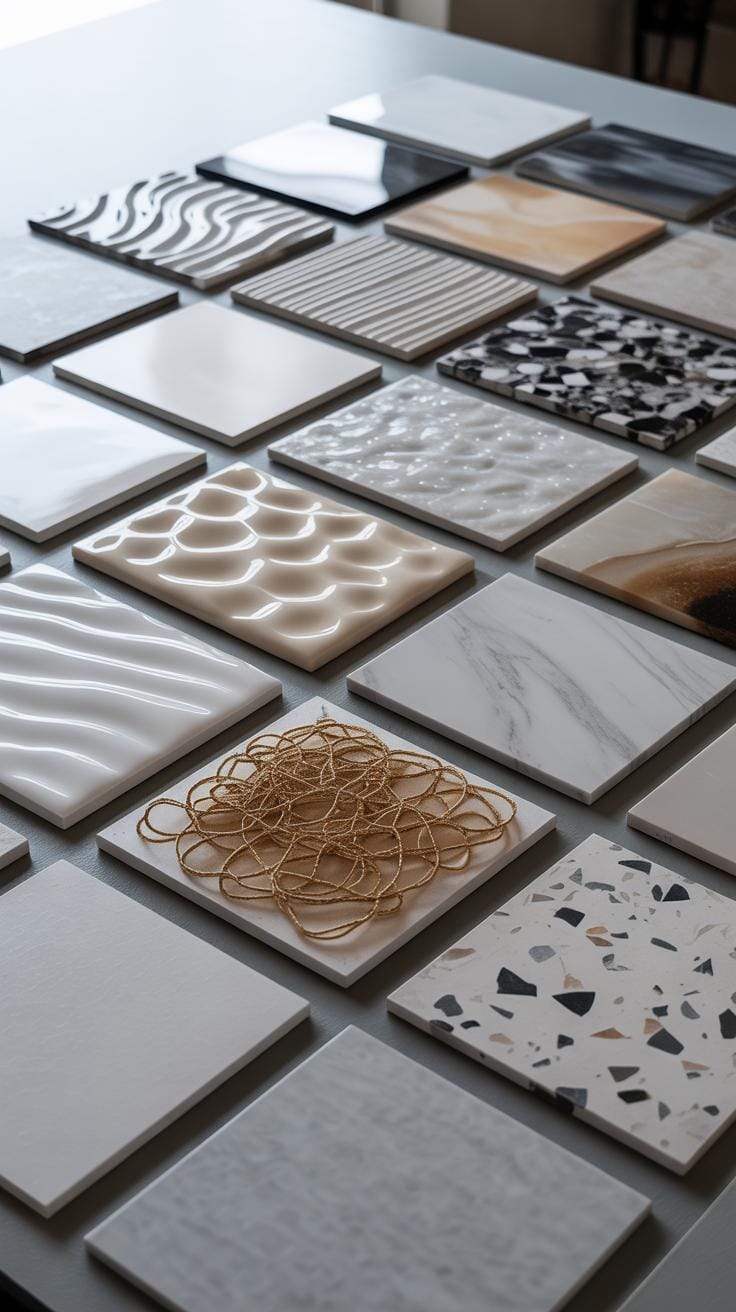
Thinking about designs, it’s actually more personal than you might expect. You want your epoxy resin project to feel like it belongs, right? So, start by looking around your space. Is it more modern, rustic, or maybe something in between? For modern rooms, abstract shapes or geometric patterns often work well. If your style leans toward farmhouse or cozy, perhaps natural motifs or subtle textures would suit better. Sometimes, you might find the perfect theme by just considering what emotions the room inspires—calming blues for a bedroom, vibrant bursts for a living area.
Don’t worry about making perfect sense. You could blend styles a little, as long as you keep key colors or shapes consistent. I once tried a sea-inspired resin piece in a minimalist room and, surprisingly, it fit because I kept the colors neutral and soft.
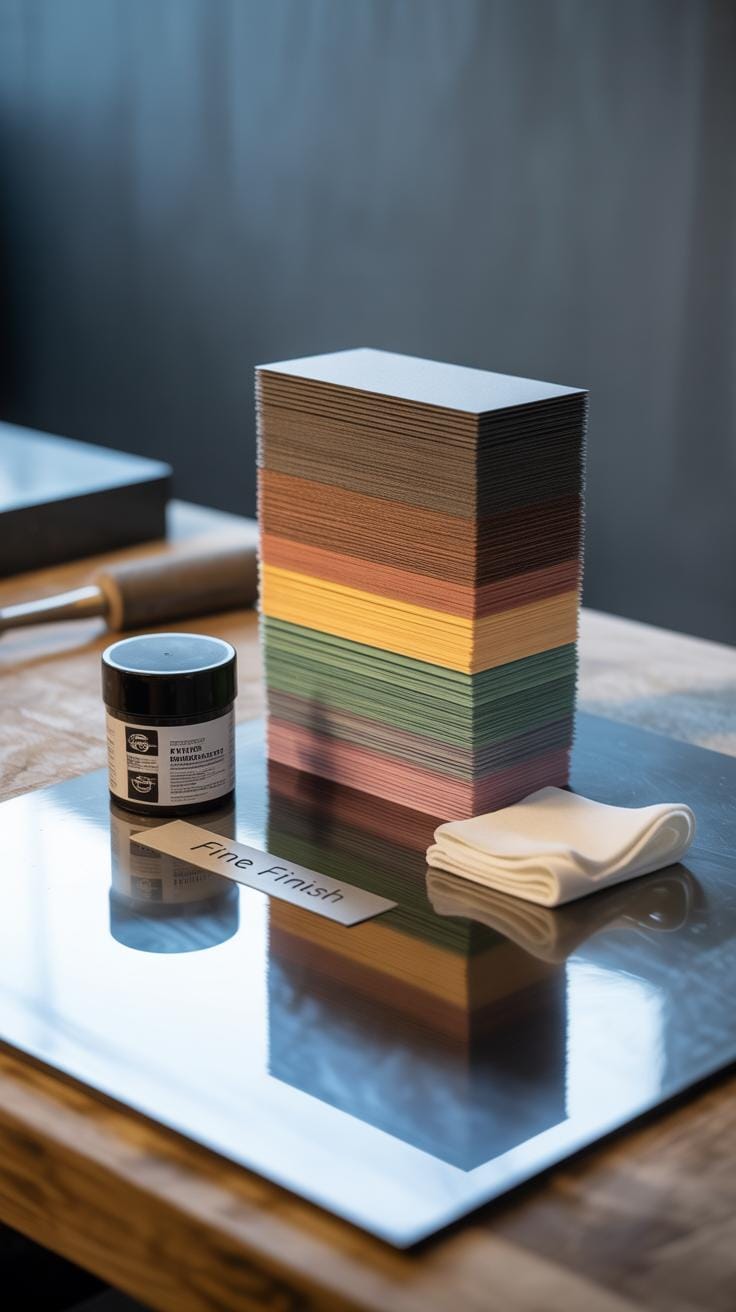
How to Pick Colors and Add-Ins
Colors speak louder than you think. The question is, how many colors should you use? Fewer often looks cleaner, but sometimes a few unexpected pops can make a piece feel alive. A good idea is to pick two to three complementary shades and maybe one contrast color. Those glittery pigments or metallic powders can add great depth and catch the light without overwhelming.
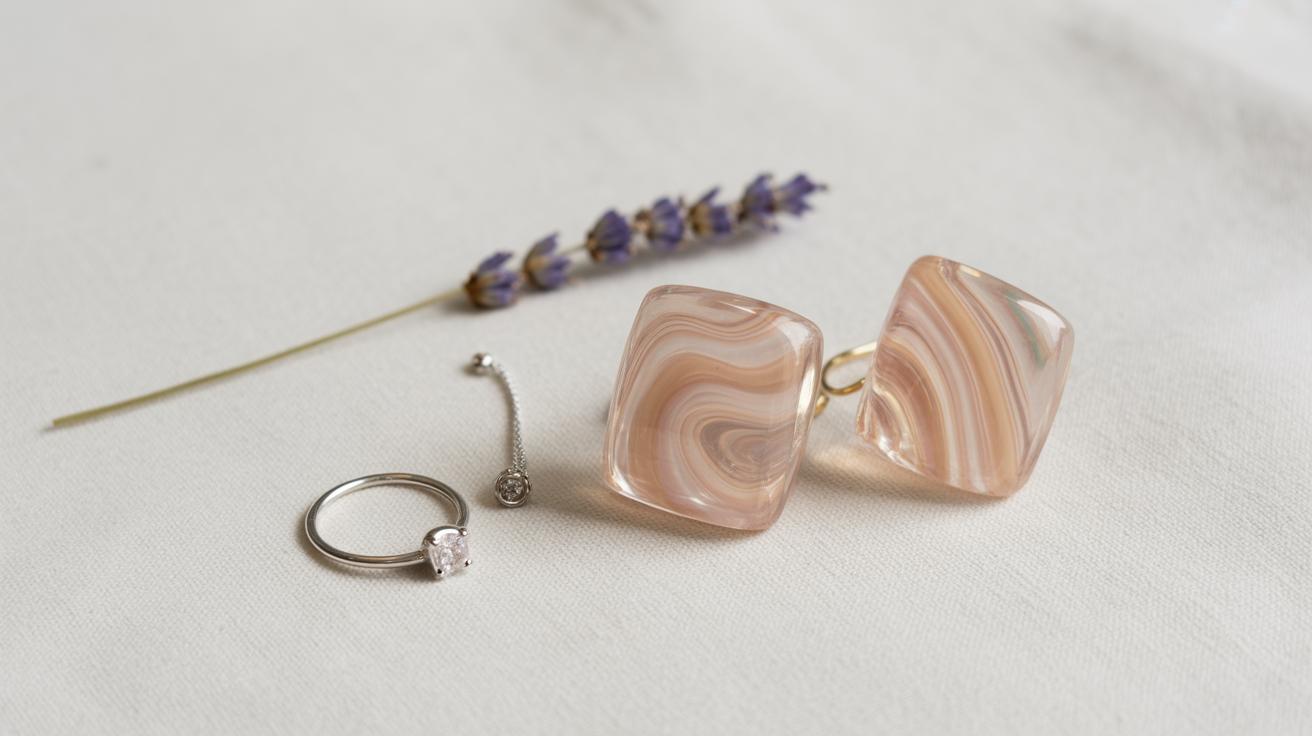
Consider what objects you want to embed. Pressed flowers bring a delicate feeling, while shells or small stones give texture and interest. But think about scale. Small items risk getting lost if the resin pour is thick. On the other hand, bulky objects might affect the curing or cause bubbles. I once put tiny dried lavender in a coaster set—turned out well, but next time, I’d arrange them more carefully to avoid clumping in one spot.
When all’s said and done, planning is less about rules and more about experimenting with what feels right for your space and your style.
Mixing and Pouring Epoxy Resin Correctly
Mixing epoxy resin isn’t something you want to rush. Getting the ratios just right matters—a lot. Most resins require an exact mix of resin to hardener, often a 1:1 or 2:1 ratio by volume. If you mess this up, the resin might stay sticky or cloud up. Measuring carefully, using clear, clean containers, helps keep things precise. I’ve learned that even a tiny imbalance can cause problems later, so patience here pays off.
When mixing, stir slowly but thoroughly. Quick stirring traps bubbles, yet insufficient mixing leaves parts unimproved. Try scraping the sides and the bottom of your container several times. It feels repetitive, but it’s necessary. If possible, use a wide, flat stir stick rather than a round one to blend more evenly.
Pouring resin smoothly is another skill. Pour in a thin, steady stream rather than dumping it in all at once. To create layers, pour the first one and let it partially cure before adding the next. That way, they stick without mixing into a messy blob. You might want to use a heat source like a small torch or heat gun to pop bubbles just after pouring. I sometimes hold my breath trying not to blow on the surface, which can add more bubbles instead.
Sometimes you may notice tiny craters or unevenness after pouring. Breaking your pour into stages rather than all at once helps control this. Patience is key here—the best results come from taking your time and working deliberately, not rushing to finish your piece.
Creative Epoxy Resin Techniques for Home Decor
If you’ve ever looked at a piece of epoxy resin art and wondered how those swirling colors or embedded treasures come to life, there’s a lot more to it than just mixing and pouring. Playing with pigments in resin opens up endless possibilities. For example, you can create stunning marble effects by dropping different colored pigments into resin and then stirring gently. The trick lies in controlling when and how much you stir—too much, and the colors just blend into a muddy mess. Sometimes, just a few slow, deliberate swirls make the pattern come alive.
Patterns don’t have to be symmetrical or perfect either. Some of the most interesting pieces I’ve seen look almost accidental, like nature just placed the colors there. You might try dragging a stick through the resin to pull colors into feathered designs or blowing lightly on tiny pools of color to coax unexpected shapes.
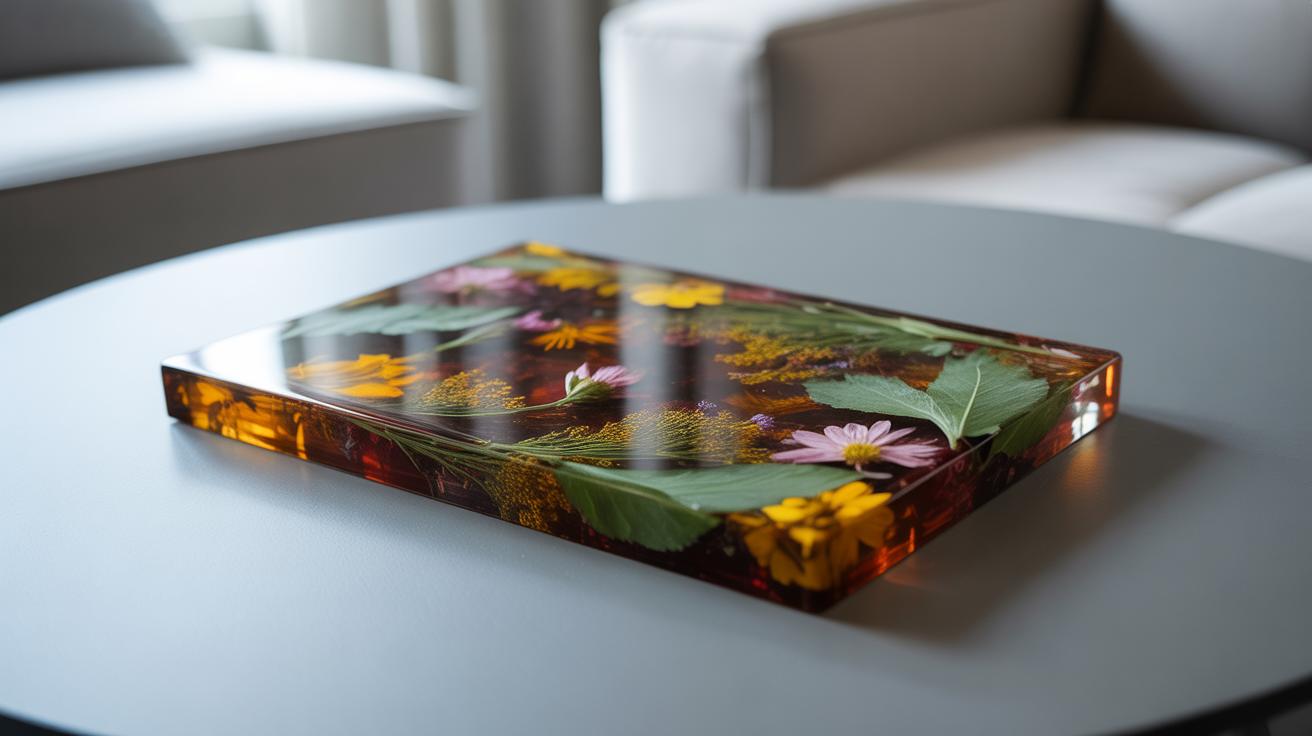
Embedding objects is another way to add personality to your resin projects. I’ve tucked dried flowers, tiny stones, even small photographs inside clear resin frames. The challenge is making sure the items sit just right—too deep, and they lose impact; too close to the surface, and they risk damage when finishing. To protect delicate items like flowers, sealing them with a thin coat of resin or clear glue beforehand helps keep moisture out and color vibrant. Think of the resin as a window into a tiny world you created.
You might wonder: how do you prevent bubbles from ruining the sparkle when embedding? I’ve found that a slow, steady pour over the object, combined with a gentle torch or heat gun to pop surface bubbles, usually does the trick. Also, consider layering the resin—pour a base layer, place your object once it’s tacky, then pour more resin over to encapsulate it fully and smoothly.
Finishing Your Epoxy Resin Art Piece

After your epoxy resin has cured, the work is far from over. The curing process might leave the surface a bit uneven or dull, so the finishing steps are crucial to bring out that glossy, smooth look. Many people underestimate how much difference sanding and polishing can make—it’s tempting to stop early, but patience here really pays off.
How to Smooth and Shine Your Work
Start with sanding your piece carefully. Use wet sanding for best results—it keeps the dust down and gives you more control. Begin with a coarser grit, like 220 or 320, especially if you have noticeable bumps or drips. Don’t rush. Move slowly and evenly, and keep the surface wet to avoid scratches.
Work your way up through finer grits—400, 600, 800—and maybe finish with 1200 or 1500 if you want a standout shine. Sometimes, I find even that isn’t enough, and switching to polishing compounds makes a big difference.
For polishing, use a soft cloth or an orbital buffer with a fine polishing paste. This step brings out the depth and clarity of the resin. Polishing can feel a bit tedious but seeing the surface transition from cloudy to clear is pretty rewarding. If you bypass these steps, your piece may look flat and lifeless rather than vibrant.
Adding Final Protective Coats
Once you have a smooth and shiny surface, consider a protective layer to keep it that way. Sometimes adding an extra thin coat of resin seals the artwork perfectly, especially if you notice tiny scratches or imperfections after polishing.
You don’t want to flood your piece with too much resin here. Just a thin, even layer will do, poured carefully to avoid bubbles. Let it cure fully in a dust-free space.
If you prefer, you might choose a clear sealant instead of resin. Some come with UV inhibitors, which can slow yellowing over time—a handy option if your art catches lots of sunlight.
Deciding between a resin coat and sealant depends on how much wear your piece will face. A kitchen countertop demands tougher protection than a decorative wall panel. Have you noticed how even slight scratches can bother you more than expected? These extra layers help make your art durable and lasting.
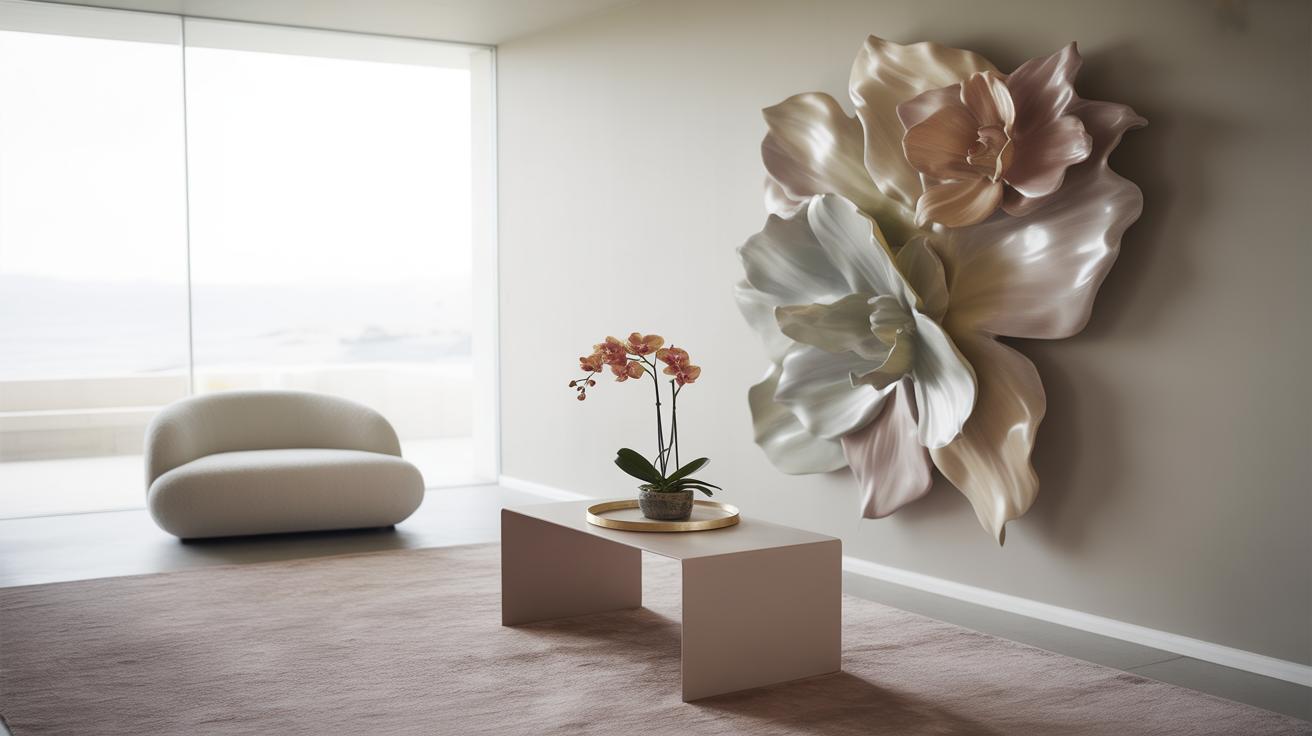
Using Epoxy Resin Art Around Your Home
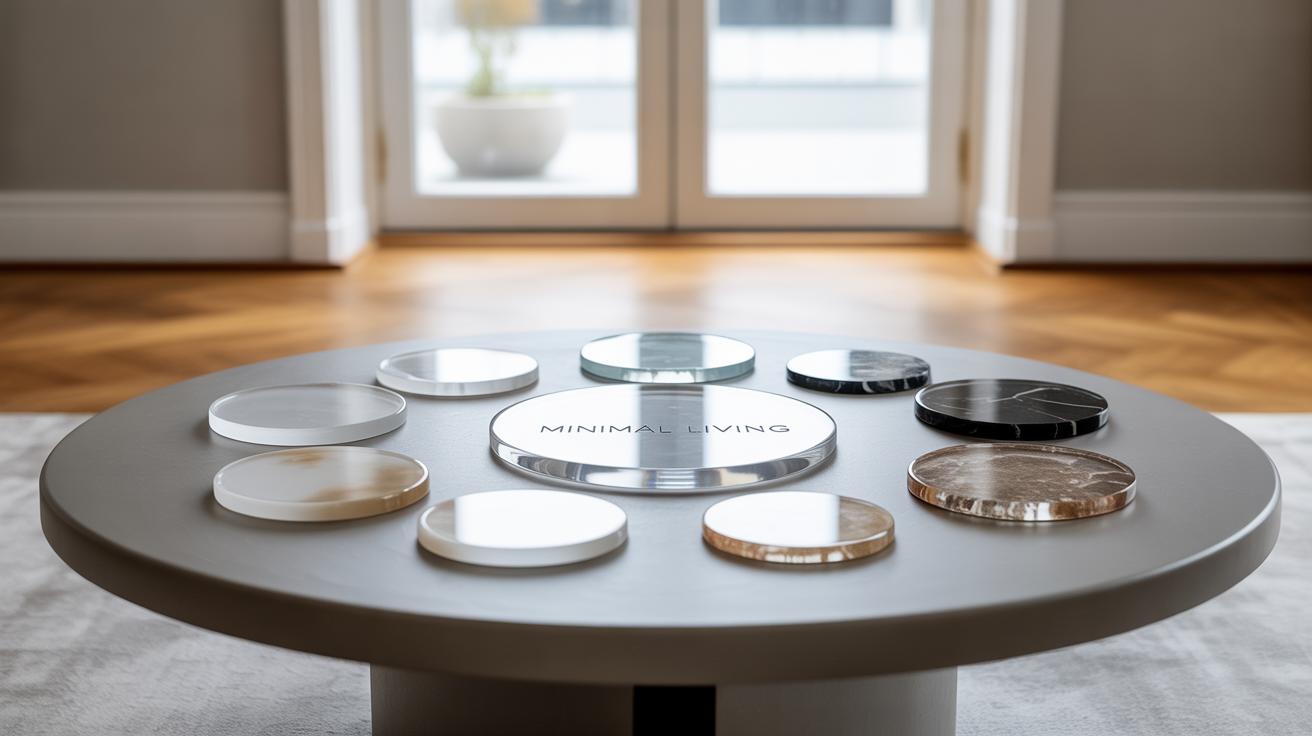
Epoxy resin art can fit into your home in ways you might not expect. It’s not just about making beautiful pieces but finding spots where they add style and function. In living rooms, for example, a resin coffee table with swirling colors can become a centerpiece. Or maybe some resin coasters with embedded leaves or stones add a tactile charm to your couch area. Bedrooms offer more subtle chances: think resin nightstand tops or wall panels that catch just enough light to feel cozy but not overwhelming.
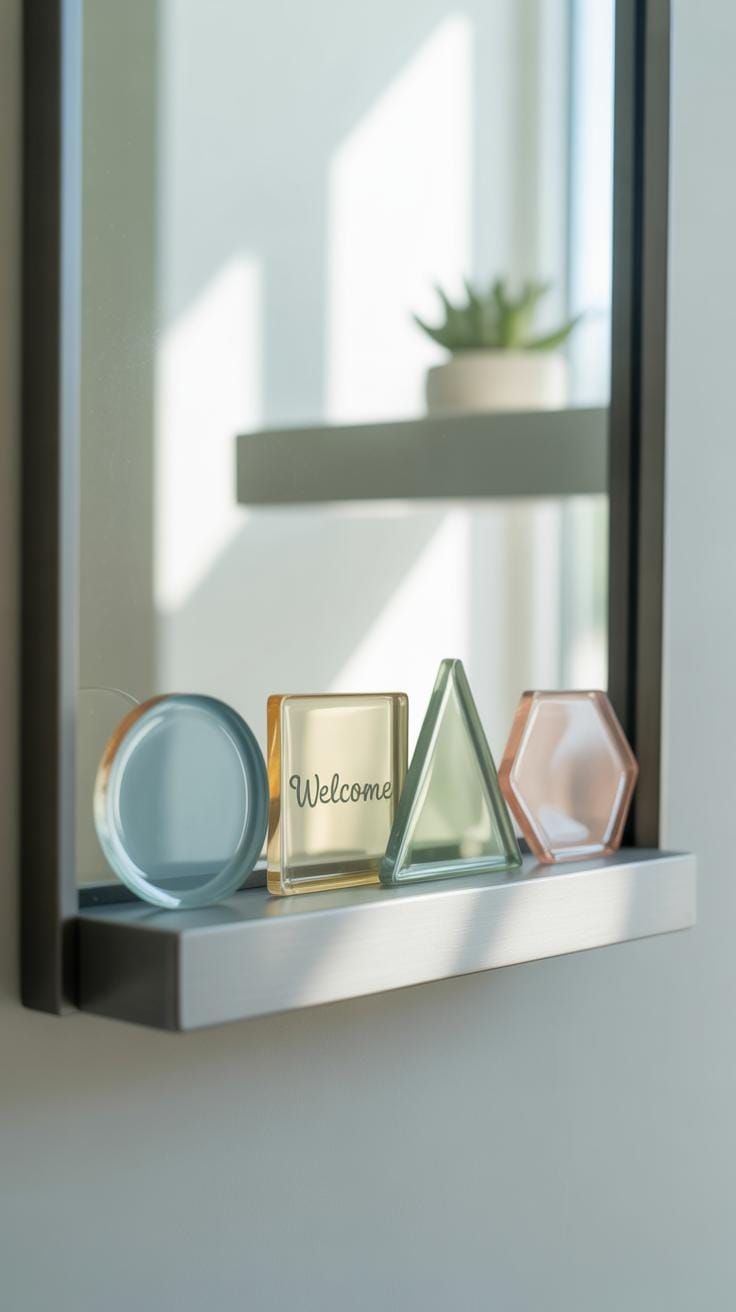
In kitchens and bathrooms, you might hesitate to add art because of moisture, right? But that’s where resin really shines. It creates sealed surfaces that resist water and stains. Try resin trays for holding spices or soaps. Even resin countertops or backsplashes with embedded objects—like sea glass or metallic flakes—can brighten those spaces without worry. Small resin-topped shelves or handles might seem unusual, but they hold up well and catch the eye surprisingly nicely.
Using resin pieces in practical ways invites you to mix art and everyday life. What about a resin-mounted key holder by the door or a resin-encased organizer for desk supplies? These ideas show resin’s flexibility beyond what you’d typically expect, blending art with purpose in every room.
Troubleshooting Common Issues in Epoxy Resin Art
How to Avoid and Remove Bubbles
Bubbles are probably the most frustrating surprise in epoxy resin projects. They tend to pop up when you least expect them, often right after pouring. One trick I’ve found helpful is to mix your resin and hardener slowly and steadily. Stirring too fast whips air into the mix, creating more bubbles than you want.
Warming the resin slightly before mixing can also help. It thins the resin just enough to let bubbles escape more easily. Some artists swear by using a heat gun or a small torch on the surface immediately after pouring to pop trapped bubbles—but be careful not to overheat or scorch the resin.
If bubbles appear stuck, try blowing gently over the surface or using a toothpick to coax them out. Sometimes bubbles hide under pigments or layers, so patience is key. It’s almost like a game: spotting where they’re trapped and carefully nudging them out without disturbing the overall design.
Fixing Dry Spots and Sticky Surfaces
Dry spots and sticky patches happen when the resin hasn’t cured perfectly, which can be baffling because you followed the instructions carefully. Usually, uneven mixing or incorrect ratios are to blame. One misstep during mixing can leave parts uncured, so double-check your measurements before you start.
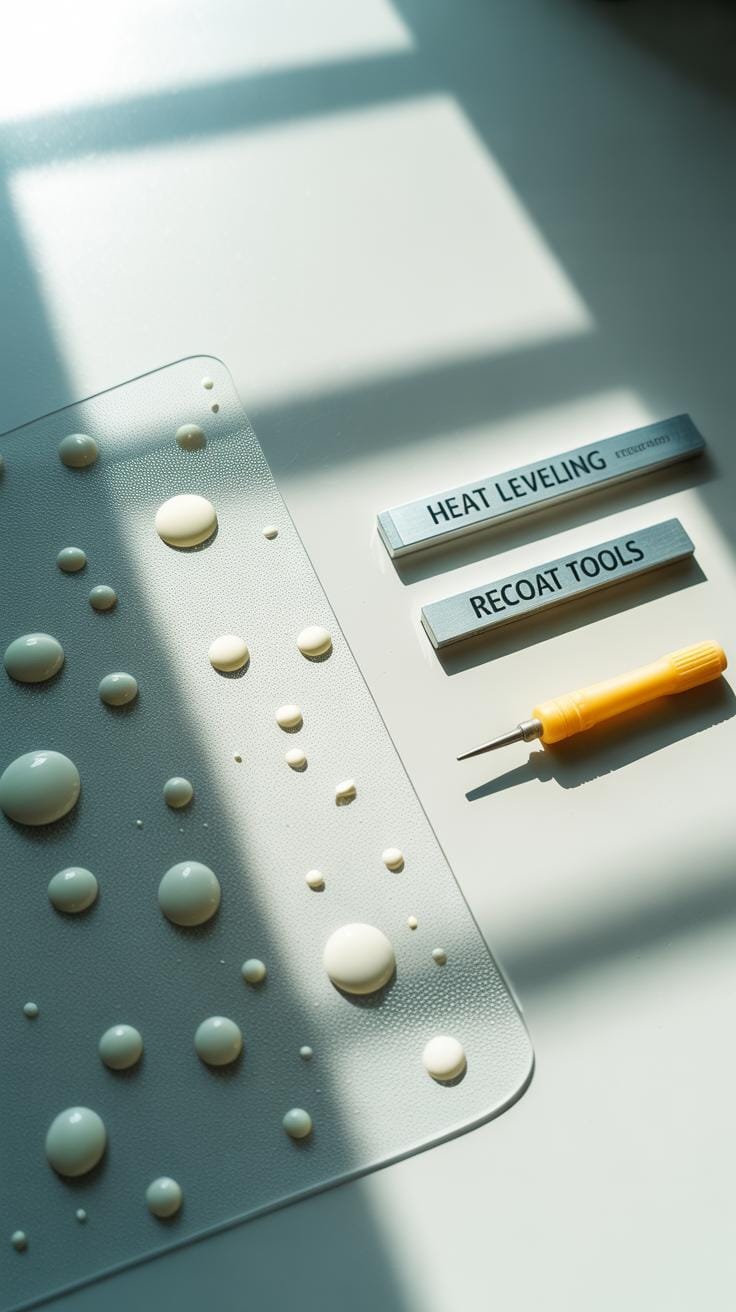
If you find sticky spots after curing, you might mistakenly be able to fix them by applying a thin new layer of properly mixed resin over the affected area. This sometimes seals and cures the sticky part, but it doesn’t work every time.
For stubborn dry spots, sanding the area lightly and applying a fresh coat helps. Just be sure to wear a mask when sanding and work in a well-ventilated space. Personally, I once had a piece stick to its mold; sanding and recoating saved the whole thing. You learn as you go. Problems like these can be frustrating, sure, but they’re also part of the craft.
Expanding Your Skills and Projects Over Time
Once you’ve got a handle on the basics of epoxy resin art, it’s natural to want to push further. You might find yourself wondering what comes next, or how to refine your technique. The truth is, there’s always more to explore. Maybe you start with simple coasters, but over time, you’ll want to tackle more complex designs—mixing colors with subtle gradients or layering effects. Trying something like 3D elements can open an entirely new dimension to your work.
Think about combining resin with other materials. Wood, fabric, or metal can add texture and interest. You could even experiment with large-scale pieces, like a statement tabletop or wall panel, which challenges your planning and patience differently. These projects demand new skills—measuring, mixing larger batches, or managing curing times across big surfaces.
Joining a community—whether online forums, social media groups, or local workshops—can really make a difference. Sharing your work and seeing what others create provides fresh ideas and helpful feedback. Sometimes, just knowing someone else is working through similar hurdles makes all the difference. Do you find yourself stuck or unsure? Talking with other artists often sparks solutions or inspires a new concept.
There’s no fixed path here. Your growth might be slow or jump forward suddenly. But building on your skills over time keeps your process interesting—and your home decor, well, distinctively you.
Conclusions
Epoxy resin art can be a fun and rewarding way to decorate your home. By using simple techniques and your imagination, you can make unique items that brighten your rooms and reflect your style. From mixing colors to adding objects into the resin, the possibilities are wide and exciting.
Remember to always work carefully with epoxy resin and follow safety guidelines to ensure your projects turn out well. With practice, you will build skills and confidence to create more complex pieces. Start small, keep learning, and watch how your home transforms with the beauty of epoxy resin art.