
Introduction
Perspective drawing is a key skill for artists who want their drawings to look real and three-dimensional. It shows how objects appear smaller as they get further away and how lines converge towards points in the distance. This helps create a sense of depth on a flat surface like paper.
This article covers how to use perspective drawing for better drawing practice. You will learn important concepts, common errors to watch out for, and practical steps to improve your skills. By the end, you will understand how perspective can change your drawings and make them look more lifelike.
Drawing Practice

When it comes to improving your drawing skills, practice is not just useful; it’s absolutely necessary. But practicing perspective drawing can sometimes feel… well, a bit dull. Repeating the same exercises over and over tends to make learning feel mechanical rather than creative. Yet, the real growth happens when you consistently sketch objects, scenes, or even quick studies that emphasize spatial relationships and depth.
Try breaking down your practice sessions into manageable chunks. For example:
- Spend 10 minutes sketching simple boxes or cubes from different angles using one-point perspective.
- Switch to quick outdoor sketches that focus on two-point perspective—buildings, roads, or trees lined up against the horizon.
- Experiment with three-point perspective by drawing taller objects like poles or skyscrapers, paying attention to how lines converge sharply.

Don’t stress perfection. Some drawings will look off, and others might feel awkwardly foreshortened—that’s part of the process. Over time, your eye will catch these mistakes sooner, and your hand will intuitively adjust. Also, using different tools like pencils, pens, or digital apps can keep the exercises fresh and sometimes reveal new insights about space and form.
So, ask yourself: can you commit to small, frequent sessions instead of rare marathon efforts? The secret lies in steady observation and repetition, mixed with a bit of patience. And while the principles of perspective can seem strict, your practice should remain flexible enough to capture the feel of the scene, not just the geometry.
Drawing Practice
When it comes to improving your drawing skills through perspective, practice is really where the rubber meets the road. You might understand the theory, but without hands-on drawing, it’s hard to internalize how perspective truly shapes a scene.
Try this: set up simple exercises where you draw boxes or buildings using one, two, or even three-point perspective. Draw the same object from different angles, and observe how the vanishing points change. Don’t stress if early attempts feel awkward or stiff; that’s part of learning.
Be patient with yourself. Some days your lines will align perfectly; others, objects might seem off or distorted. That’s normal. Practicing regularly, even a few minutes daily, helps you develop an intuitive sense for space. You’ll start to “see” the underlying geometry rather than just shapes.

Also, don’t forget to experiment beyond static subjects—try drawing street scenes or rooms to challenge yourself with multiple objects at varying distances. It’s tougher, yes, but it pushes your brain to organize space logically.
Occasionally, step back and compare your drawing to real life or photographs. Ask yourself: Do objects get smaller consistently with distance? Do lines converge where they should? If something looks flat or strange, that’s a clue your perspective could use refining.
In short, perspective drawing practice isn’t just about accuracy—it’s about training your eye and hand together to craft believable, engaging compositions. Keep at it, and you might find your drawings gaining depth and life, almost without realizing how it happened.
How To Practice Perspective Drawing
When starting with perspective drawing, don’t rush in with complicated scenes. Begin simply. Take a basic shape—say, a box. Draw it using one-point perspective. Place a vanishing point on your horizon line, then sketch lines from your box edges to that point. This grounding task builds the muscle for visualizing space. After some practice, try drawing a straight road leading into the distance—again, one vanishing point, but now with the feel of depth stretching far ahead. Rooms are next in line; they have a bit more challenge with multiple surfaces converging toward one or two vanishing points.

Step-by-step, you progress. Move on to two-point perspective where corners rather than faces face the viewer, creating a more dynamic sense of space. Later, explore three-point perspective for taller structures that lean dramatically. Don’t worry if early attempts aren’t perfect. It’s about training your eye and hand coordination, almost like a workout for your artistic senses.
Step By Step Drawing Exercises
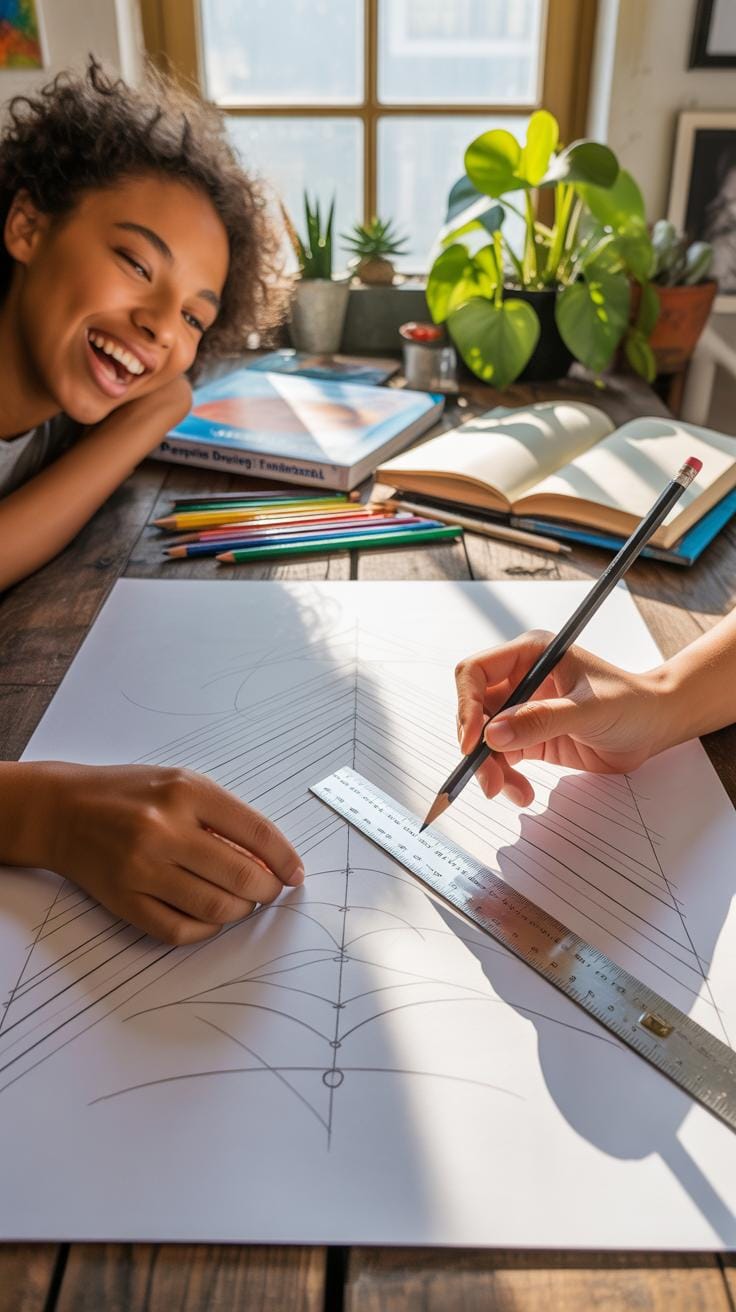
Practical exercises are key. Grab a ruler, a pencil, and some graph paper—it keeps your lines cleaner and measurements easier. Start with drawing a square. Then add the horizon and a single vanishing point. Use the ruler to draw straight lines connecting the square corners to that point. Erase extra construction lines once you’ve got the form. Repeat this several times, each time trying different box sizes.
Next, create a simple road scene: two lines for road edges narrowing into the distance, plus a few rectangles for roadside trees or lampposts, all respecting the vanishing point. Gradually add complexity: sidewalks, buildings, or parked cars. Key here is repetition; skill emerges not just from doing, but from doing repeatedly, gradually pushing yourself to handle more complex perspectives.
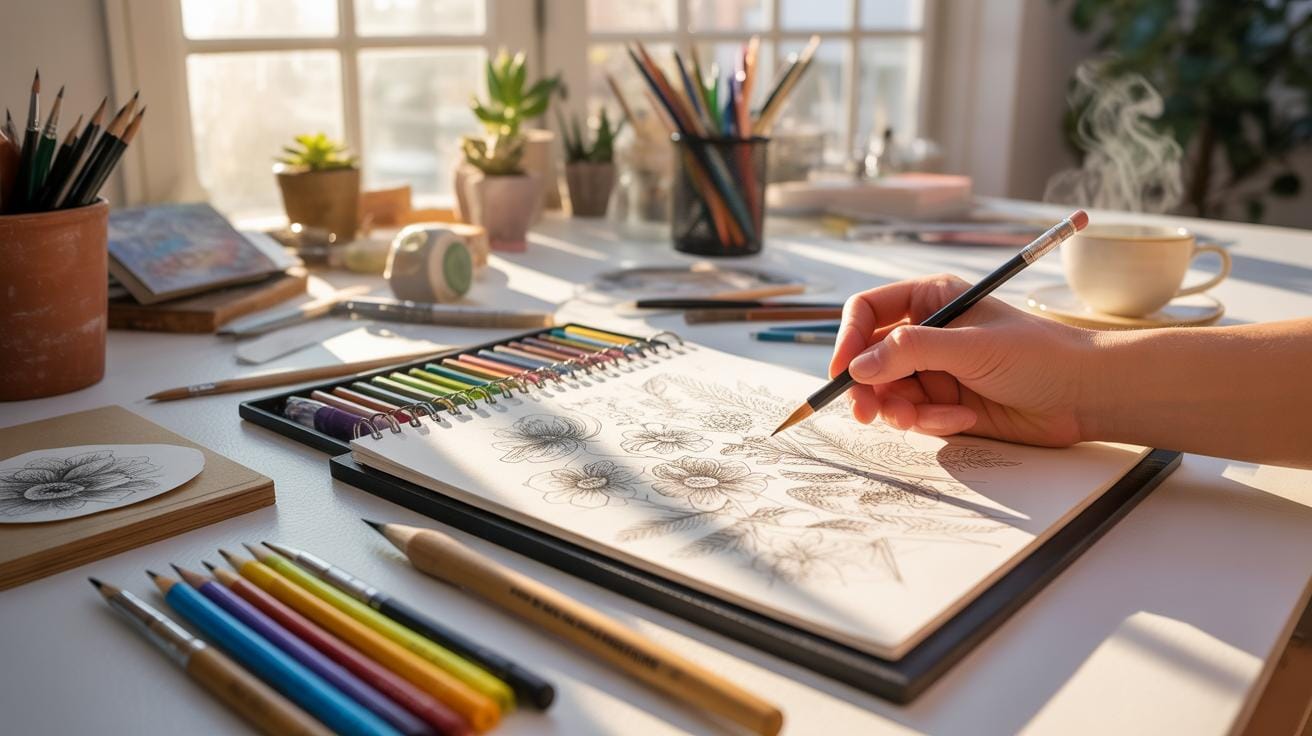
Using Everyday Objects To Learn
Look around your space. Pick up a book, a chair, or even your phone. Observe its shape and how it sits in your view. Where do the perspective lines go? Can you identify vanishing points? Try sketching these objects, focusing on capturing how perspective lines guide the form. Notice subtle angles you might miss at first glance.
This method connects real-world observation to your drawing practice. You become more aware of spatial relationships naturally. It turns familiar objects into training tools, making practice less abstract and more relevant. Plus, it makes you question—does the chair’s leg really converge right there? Sometimes what you think you see and what’s actually there aren’t exactly the same. That’s part of the learning curve.
Tools For Perspective Drawing Practice

When learning perspective drawing, having the right tools can make a big difference. Rulers, grids, drawing software, and viewfinders each support accuracy in different ways. Using a ruler helps you draw straight lines that vanish properly at the horizon. It’s a simple aid but crucial for keeping perspective believable.
Grid paper acts like a visual guide, spacing out planes evenly so proportions don’t slip. This is especially helpful if you’re working freehand and need a steady hand to maintain consistent scale across the drawing.
Then there are viewfinders—little tools that help you isolate portions of your subject to focus on composition or proportions. They train your eye to see perspective volumes more clearly, reducing guesswork.
Digital tools have changed the game too. Apps with built-in perspective guides allow quick adjustments without the mess of erasing. You can layer your sketches, turn grids on or off, and undo mistakes easily, which invites you to experiment more boldly.
Each tool targets a different aspect of perspective drawing. Some help steady your hand, some train your eye, and others keep you flexible. Picking a few that resonate with your style might just speed up the learning curve in unexpected ways.
Using Rulers And Grids
Rulers and grid paper are like the bread and butter of perspective drawing practice. The ruler ensures your perspective lines are straight—no wavering allowed if you want believable depth. Without it, lines might wander, breaking the illusion.
On grid paper, all those tiny squares give you reference points, making it easier to keep proportions consistent. When using grids, try to align your vanishing points with the grid intersections; it helps anchor your whole setup.
One tip for using rulers effectively: don’t just trust the tool blindly. Regularly step back and check if your lines converge naturally at the vanishing point. The ruler is a guide, but your eye still needs to lead.
Also, experiment with tilting your grid slightly when practicing different perspectives. It can simulate varied viewpoints and help understand foreshortening better. In short, rulers and grids aren’t just mechanical aids; they’re part of a learning process if you use them with awareness.
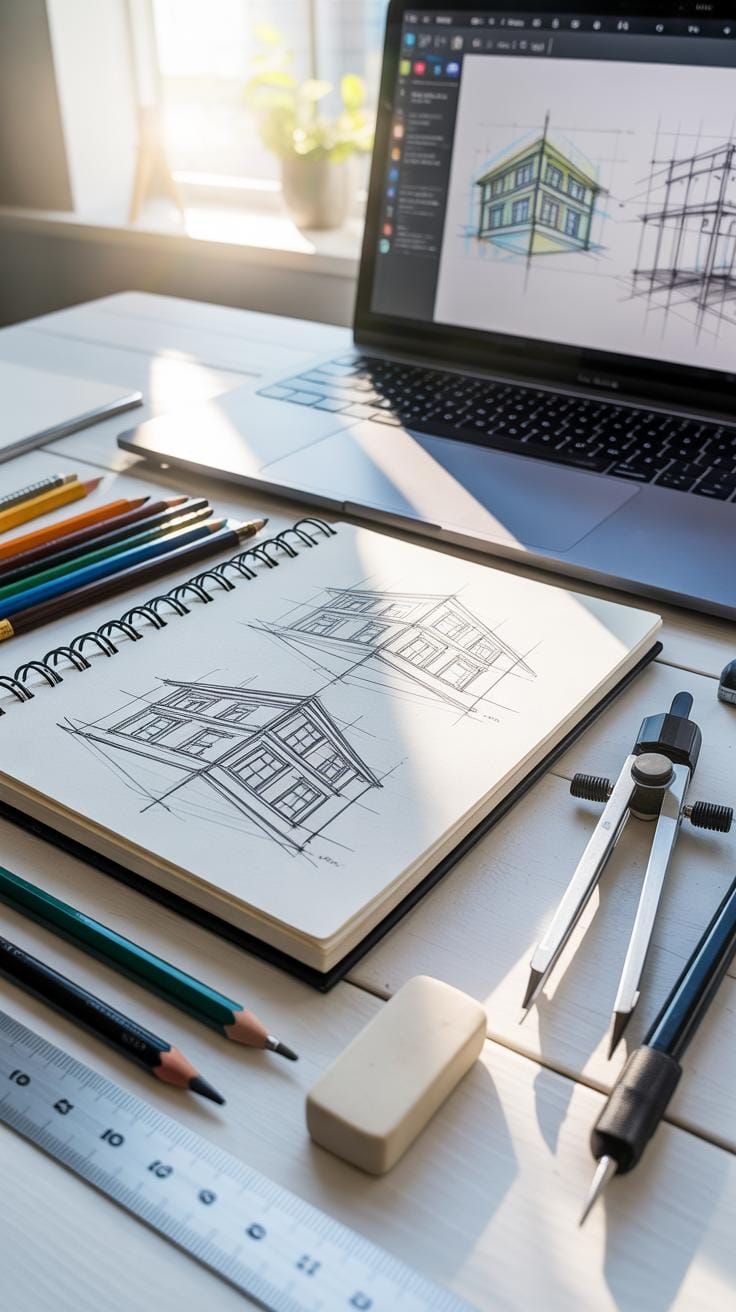
Digital Tools For Perspective
Digital drawing apps have myriad features for perspective practice. Many offer built-in grids aligned to one-point, two-point, or even three-point perspective. These guides can be toggled on and off, which lets you work both supported and freehand.

One big benefit of digital tools is how easy it is to correct mistakes. Misplaced lines can be erased or moved instantly, which reduces frustration and encourages trying complex perspectives. The layering feature allows you to build your drawing step-by-step, isolating parts if needed without committing to a final line straight away.
Additionally, digital software often allows customization of grids—changing spacing or perspective angles—offering a tailored experience depending on your skill level or project needs.
In practice, digital tools can feel less tactile than rulers or grids on paper, but they make up for it with flexibility and undo options. They invite a trial-and-error approach that can speed up your grasp of tricky perspective setups, especially once you get comfortable with the interface.
Mistakes To Avoid In Perspective Drawing
Many artists, maybe even you, stumble over common pitfalls in perspective drawing. One frequent error is the misplacement of vanishing points. When these points are set too close to the center or scattered unevenly, it can create a distorted or cramped space that feels off. Sometimes, artists throw in too many vanishing points, hoping to make the scene look realistic, but this often complicates the drawing unnecessarily, causing confusion rather than clarity.
Another tricky aspect is sizing and angling objects correctly. Often, objects end up too large or small relative to their position, which breaks the illusion of depth. Angles can be just as deceiving—if corners don’t line up with the vanishing points, the entire structure appears skewed.
To avoid these issues, try to:
- Plan your horizon line and vanishing points carefully before sketching.
- Use rulers or perspective grids to check angles and distances.
- Measure the relative size of objects based on how far they are from the viewer, remembering that things get smaller with distance.
- Practice with simple shapes first to build confidence before tackling complex scenes.
Fixing these mistakes demands patience and observation. Keep questioning: does this look right? Is the scale consistent? Your eyes will gradually learn to spot when perspective goes off, which is half the battle won.
Examples Of Perspective Drawing
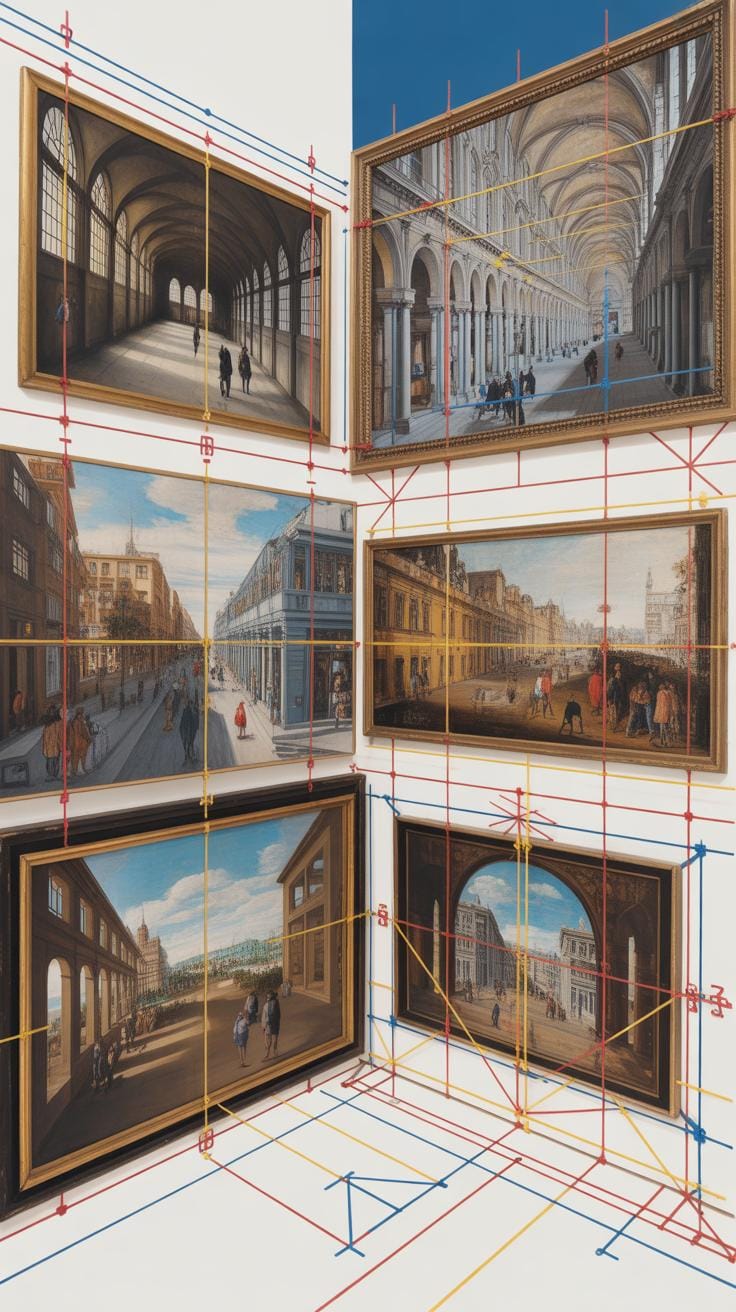
When you look at perspective drawings, some really stick out for their clear use of perspective rules. Take, for example, the works of Paolo Uccello, who played with linear perspective in the 15th century. His paintings show how lines converge on vanishing points, guiding your eye deep into the space. This creates a believable three-dimensional effect on a flat surface. It’s not just about following rules mechanically though; it’s about how these artists use perspective to create depth and focus.

What makes these examples work is their understanding of scale—objects get smaller as they go back—and the clever placement of vanishing points, sometimes using more than one, to capture complex scenes realistically. You’ll often see how architects and painters like Filippo Brunelleschi and Leon Battista Alberti helped formalize these techniques, which is why their drawings still teach us so much about creating space on paper.
Famous Art Using Perspective
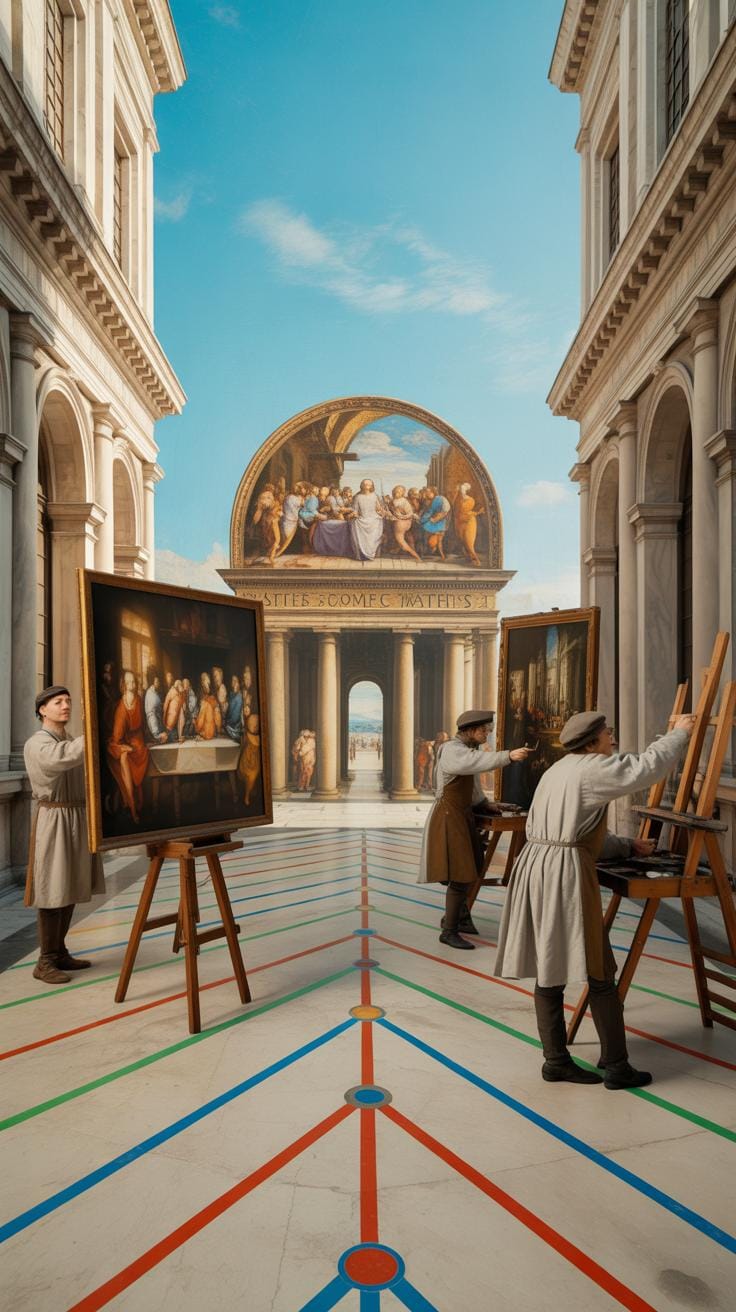
The Renaissance brought a huge leap in perspective use, thanks in large part to artists who embraced science and observation. For instance, Masaccio’s “The Holy Trinity” is often cited as one of the earliest paintings to use true linear perspective. You can spot the vanishing point right at the center below the cross, which anchors the entire composition.
Artists from this period didn’t just add depth—they made it a central part of the story. Leonardo da Vinci, in his sketches, explored multiple vanishing points to show different angles within a single image. And Piero della Francesca combined geometry with narrative, carefully constructing spaces that felt real without looking stiff. Using perspective, Renaissance artists shifted from symbolic scale to a system based on visual experience, which changed how we see art forever.
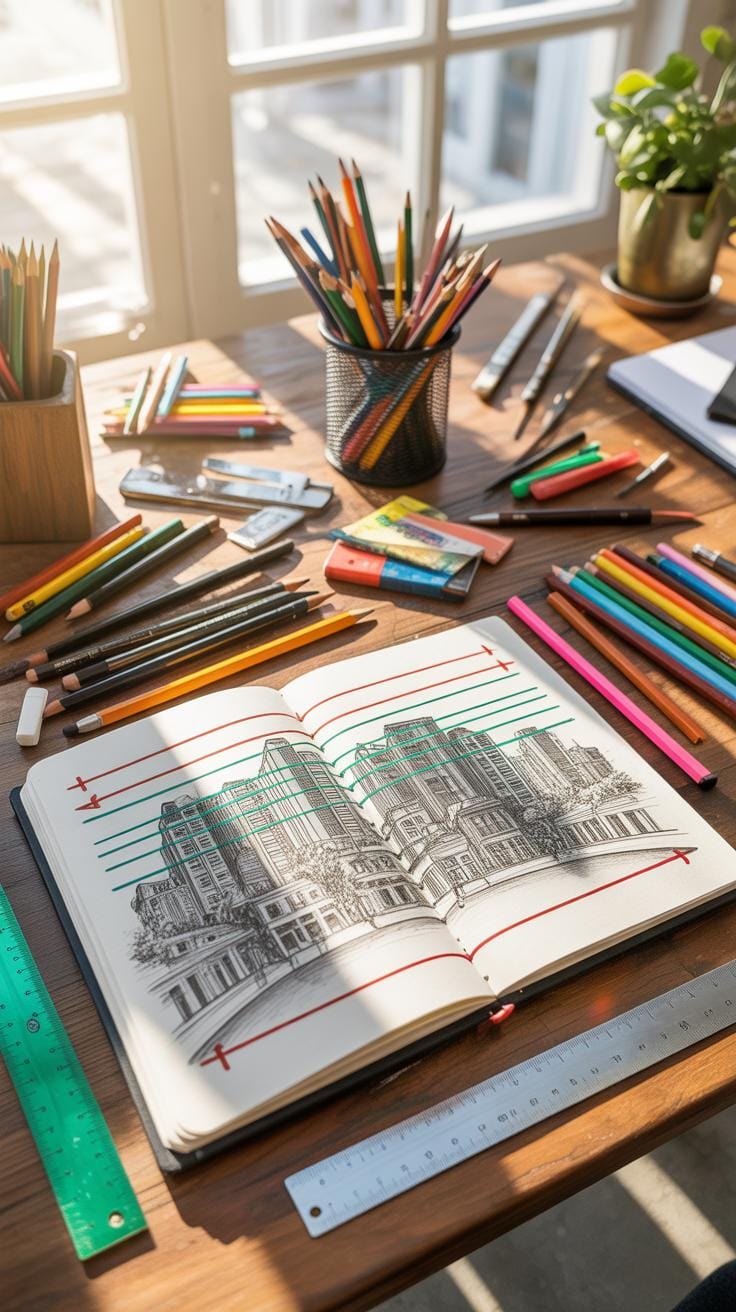
Simple Examples For Practice

For your drawing practice, start simple. Try sketching a straight city street, with buildings lining each side. Focus on how the edges of the sidewalk and the lines of the buildings seem to meet on a point way off in the distance—your vanishing point. Railway tracks are another great example—they run parallel but appear to converge, which really drives home the perspective principle.
To improve, don’t rush. Study photos or look outside and identify those vanishing points. Draw the outlines lightly, then block in shapes, checking their size as they move back. Experiment with one, two, or even three-point perspectives to see how changing the viewpoint alters the scene. This kind of steady, observational practice helps your brain get comfortable with spatial relationships, making your drawings feel more natural over time.
Checklist For Daily Drawing Practice

When you start your daily drawing practice, having a clear checklist can really keep you on track. First, pick a scene or subject that interests you. It could be a corner of your room or a passing street view. This choice helps keep things engaging and relevant.
Next, identify the vanishing points. Depending on your scene, you might have one, two, or even three points on your horizon line. Pinpointing these early on feels a bit like setting coordinates before a journey.
Then, sketch in basic shapes to block out your composition. Don’t aim for perfection immediately; think of it as setting a framework. This step makes the whole drawing manageable rather than overwhelming.
Finally, spend time reviewing your work. Look specifically for perspective errors. Ask yourself: are lines converging as they should? Is the scale believable? Be honest but kind to yourself here. Taking a moment to note areas for improvement turns each session into valuable progress.
Planning Your Practice Session
Preparing for a perspective drawing session is more than gathering your pencils and paper. Think about what subject will challenge you appropriately today—maybe a complex interior or a simple street corner.
Set up your materials where you have good light and space to move around if needed. Keep your tools organized but accessible to avoid interruptions. Also, define what you want to achieve before starting—be it nailing vanishing points or improving shading in perspective. This focus often makes practice feel purposeful rather than aimless.
Review And Adjust Your Drawing
Once your drawing is laid down, it’s time for a careful review. Stand back a bit or even flip your drawing upside down to spot issues that aren’t obvious up close. Look for perspective errors—like misplaced vanishing points or inconsistent angles—and don’t hesitate to redraw parts that feel off.
Use reference images as a guide. Comparing your work against real photos or studies can reveal subtle flaws. This is not about perfection but growth. Asking yourself what works and what doesn’t in your drawing is a valuable habit. Over time, this reflective practice sharpens your eye and skills simultaneously.
Comparison One Point And Two Point Perspective
When you’re drawing, choosing between one-point and two-point perspective can feel a bit tricky at times. Both methods help represent three-dimensional space on a flat surface, but they do it in somewhat different ways, creating distinct visual effects.
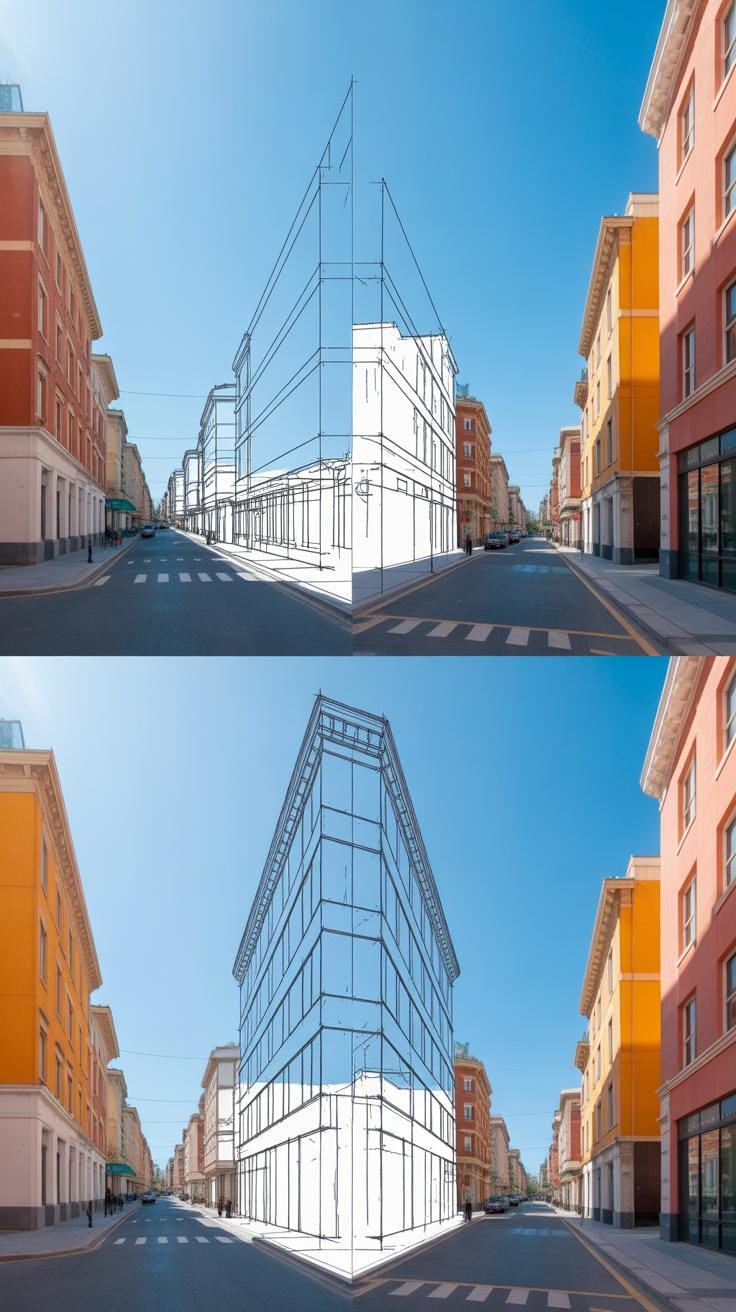
One-point perspective centers on a single vanishing point. Imagine looking straight down a long hallway or a straight road; parallel lines converge at that one point on the horizon. This approach tends to create a static and front-facing look, emphasizing symmetry and depth in a straightforward manner. It’s simpler and often feels more controlled.
Two-point perspective, in contrast, uses two vanishing points usually placed on the horizon line. This method is great for showing objects turned away from you at an angle. It adds complexity and a sense of motion or tension. Lines converge toward different points, which can make drawings appear more realistic and engaging — sometimes even a bit dramatic—depending on how you apply it.
Sometimes, you might wonder which to pick. One-point perspective works well when your subject is directly in front of you. Meanwhile, two-point perspective is perfect for corners of buildings or angled objects where depth and space feel more layered. Both have their uses, and it’s not uncommon to mix them depending on your scene.
When To Use One Point Perspective
It’s pretty straightforward to decide when to use one-point perspective. Think about cases like you’re looking at a flat wall, a railway track stretching into the distance, or a road disappearing into the horizon. In such situations, one-point perspective serves you well because it simplifies the scene without losing the spatial effect.
For example, sketching a room’s interior where one wall faces you directly often benefits from this method. The benefit? It keeps the drawing organized, and you can focus on details without juggling multiple angles. The viewer’s eye naturally follows the lines to the vanishing point, making depth easy to understand.
Of course, one limitation is that it might feel a bit too rigid or flat if overused. Sometimes, the image might lack a sense of natural movement or complexity, but it does provide clarity and focus that’s hard to beat, especially for beginners or simple compositions.
Advantages Of Two Point Perspective
Two-point perspective shines when you want to depict objects viewed from an angle, not straight on. Instead of just one vanishing point, having two spreads out the space, offering a more rounded and dynamic sense of depth.
Picture a city street corner or a box turned to show two sides—two-point perspective captures these scenes more naturally. This method gives your drawings a sense of realism and complexity that can pull viewers in. It’s like the difference between watching something head-on versus seeing it from the side.
Using two vanishing points means the drawing can feel more lively. Lines recede into space in different directions, which can be visually interesting. This is especially useful when illustrating architecture or products with multiple visible sides. Though it might be a bit harder to master, the payoff is worth it for richer spatial effects.
Common Questions About Drawing Practice

How Long To See Drawing Improvement
So, how long does it actually take to see progress in perspective drawing? Well, there’s no simple answer because it depends on several factors. Some start noticing small improvements within a few weeks if they practice regularly—say, around 20-30 minutes daily. Others might take a few months to feel comfortable with the basic concepts.
Many things influence the speed of your progress: your background in art, how focused your sessions are, and even how well you understand the theory behind perspective. It’s not just about clocking hours but about the quality of practice. Sometimes, you might feel stuck, and that’s normal. They say practice makes perfect, though perfection is not the goal here.
Also, skills in perspective often improve in bursts rather than a steady climb. One day, a concept just “clicks,” and your drawings suddenly feel more convincing. Don’t rush it, though. Drawing is a process—one that doesn’t always move forward in a straight line.
Ways To Stay Motivated Practicing
Keeping motivation high is probably the trickiest part. Getting into a routine helps, but you need more than just habit. Setting small, achievable goals is one of the best ways to keep the momentum. Like aiming to master one-point perspective before moving on.
Some artists swear by tracking their progress. Take photos or keep your sketches in a folder. Looking back weeks or months later can show you growth you didn’t notice day to day. That’s surprisingly encouraging.
Joining a drawing group, even online, can also keep things fresh. There’s something about sharing work and getting feedback that pushes you forward—sometimes gently, sometimes with a challenge. Plus, hearing from others about their struggles can remind you that you’re not alone in facing the tough parts of learning perspective.
And remember, it’s fine if motivation dips occasionally. Part of growing as an artist is riding those waves without giving up entirely. Keep your goals flexible, be patient with yourself, and try to enjoy the process, frustrations and all.
Conclusions
Perspective drawing is not just a technique, but a way to make your art more believable. Using the right perspective rules helps you place objects in space correctly and show depth. Practicing the steps and avoiding common mistakes will improve your drawings.
Keep working on your perspective skills regularly. Use simple exercises to train your eye and hand. This focus on perspective will make your drawing practice more effective and your art more impressive.


