Introduction
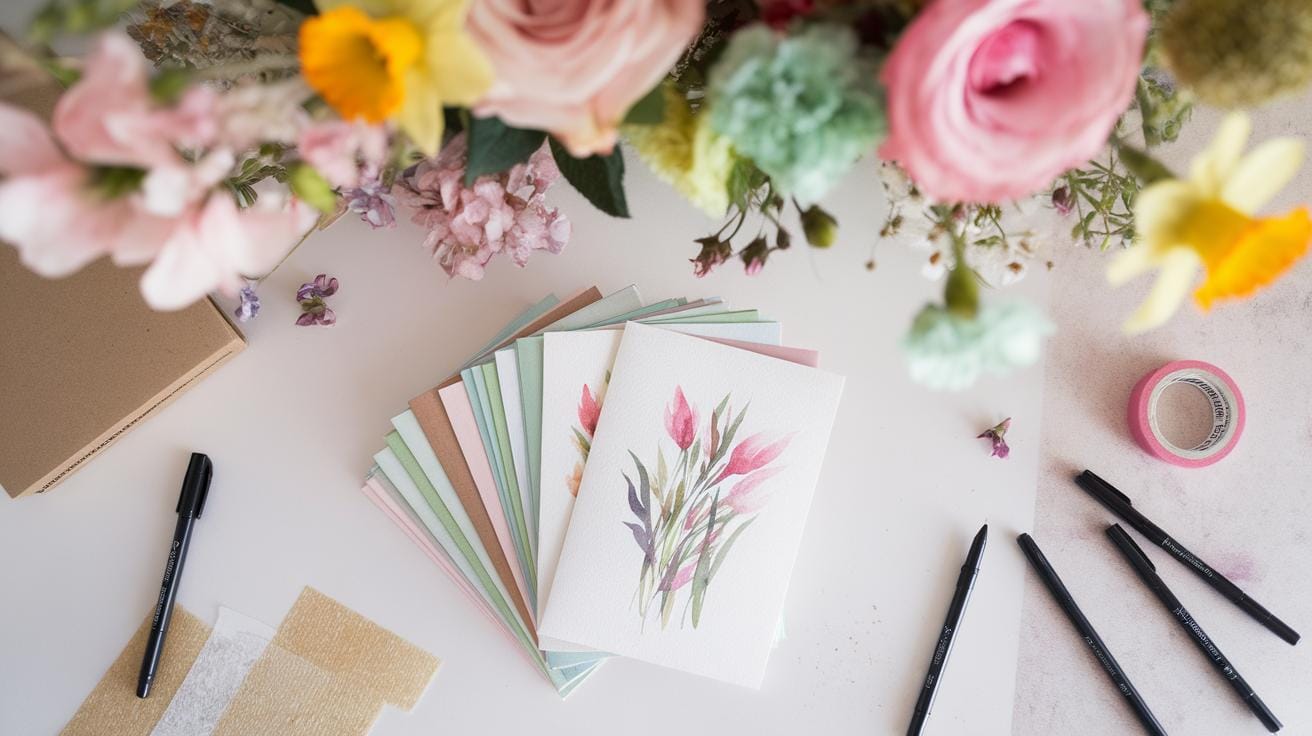
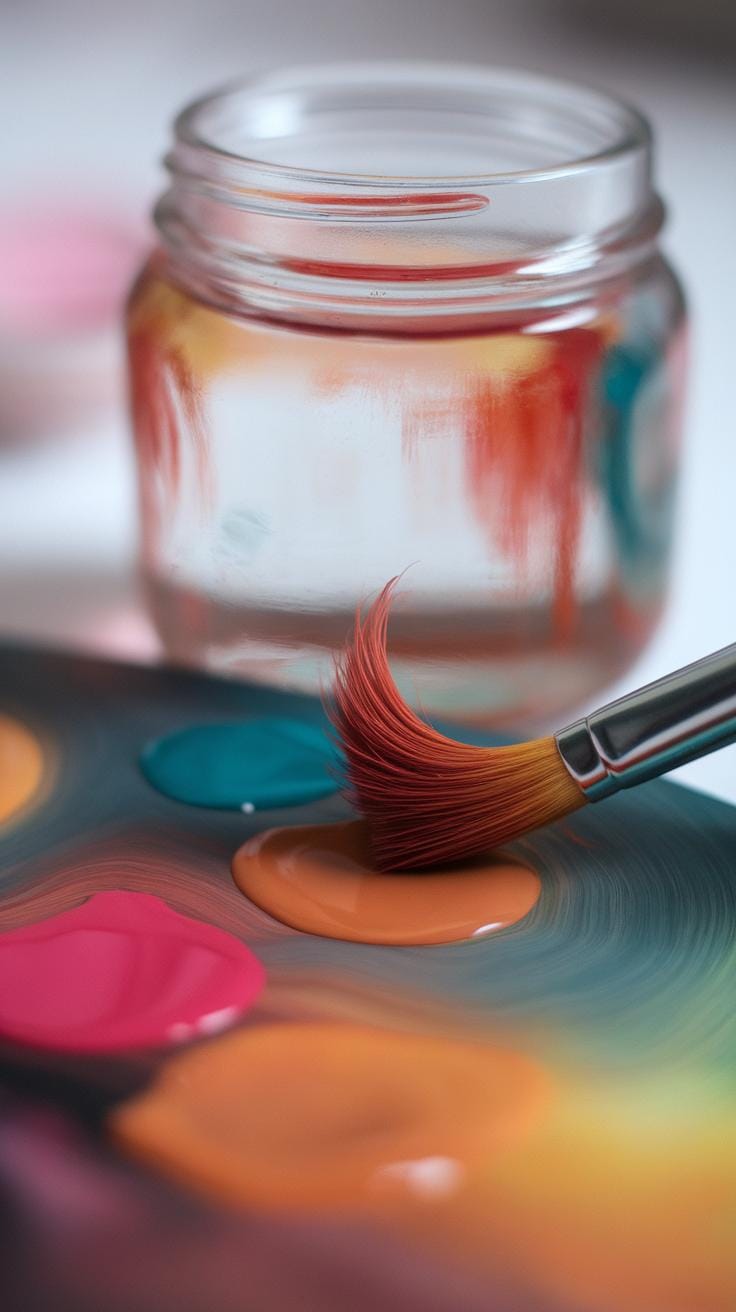
Watercolor painting is a unique art form that uses pigments suspended in a water-based solution. This medium offers a transparency and texture that can’t be achieved with other types of paint. Many artists appreciate the simplicity and potential of watercolor, whether for detailed botanical illustrations or expressive landscapes. If you want to try watercolor painting, it’s helpful to understand the materials, history, and basic techniques that shape the art.
Starting with the right watercolor paper and paints is important for your success. The painting method has deep roots and has been used worldwide for centuries. This article covers the essential techniques you need to begin, from creating washes and blending colors to managing your brushstrokes. You will gain insights that make watercolor painting approachable and enjoyable for your projects.
Introduction to Watercolor Painting
Watercolor painting uses pigments mixed with water to create images on paper. The pigments come suspended in a water-based solution, allowing the colors to flow and blend smoothly. This paint is known for its transparency, letting the white of the paper shine through the colors. This effect gives watercolor artwork a light and glowing quality, unlike thicker paints like oils or acrylics.
Artists typically work on cotton-based watercolor paper because it absorbs water evenly and supports the delicate paint layers. The texture and weight of this paper affect how the paint behaves, helping to control blending and brushstrokes. The paper’s durability is important when layering or correcting mistakes.

Watercolor has a long history across many cultures. Ancient Chinese and Egyptian artists used it for record-keeping and decoration. European painters developed it further during the Renaissance for sketches and portraits. Watercolor’s quick drying time made it popular for travel artists and botanical illustrators. What draws you to watercolor’s unique look and technique?
What is Watercolor Paint
Watercolor paint consists of finely ground pigments mixed with water and a binder called gum arabic. The gum arabic holds the pigment particles together and helps them stick to paper once dry. It also controls how the paint spreads when you add water. Some formulas add small amounts of preservatives or stabilizers to keep the paint fresh.
The pigments vary greatly, ranging from natural earth colors to synthetic, bright hues. The quality of pigments affects the paint’s color intensity and lightfastness—how well it resists fading over time. Each paint color behaves differently when diluted with water, giving you control over brightness and transparency.
When you add water to the paint, the pigment particles loosen and move freely. Once the water dries, the gum arabic binds the pigment to the paper’s surface. You can layer washes or manipulate dry paint with water to achieve different effects. How do you think your control over water will impact your final image?
History and Uses
Watercolor painting dates back thousands of years. Ancient Egyptians used red and black washes to decorate tombs. Chinese artists applied watercolors with delicate brushwork in scroll paintings. In Europe, watercolor became popular in the Middle Ages for illuminated manuscripts and later for landscapes and portraits during the 18th century.
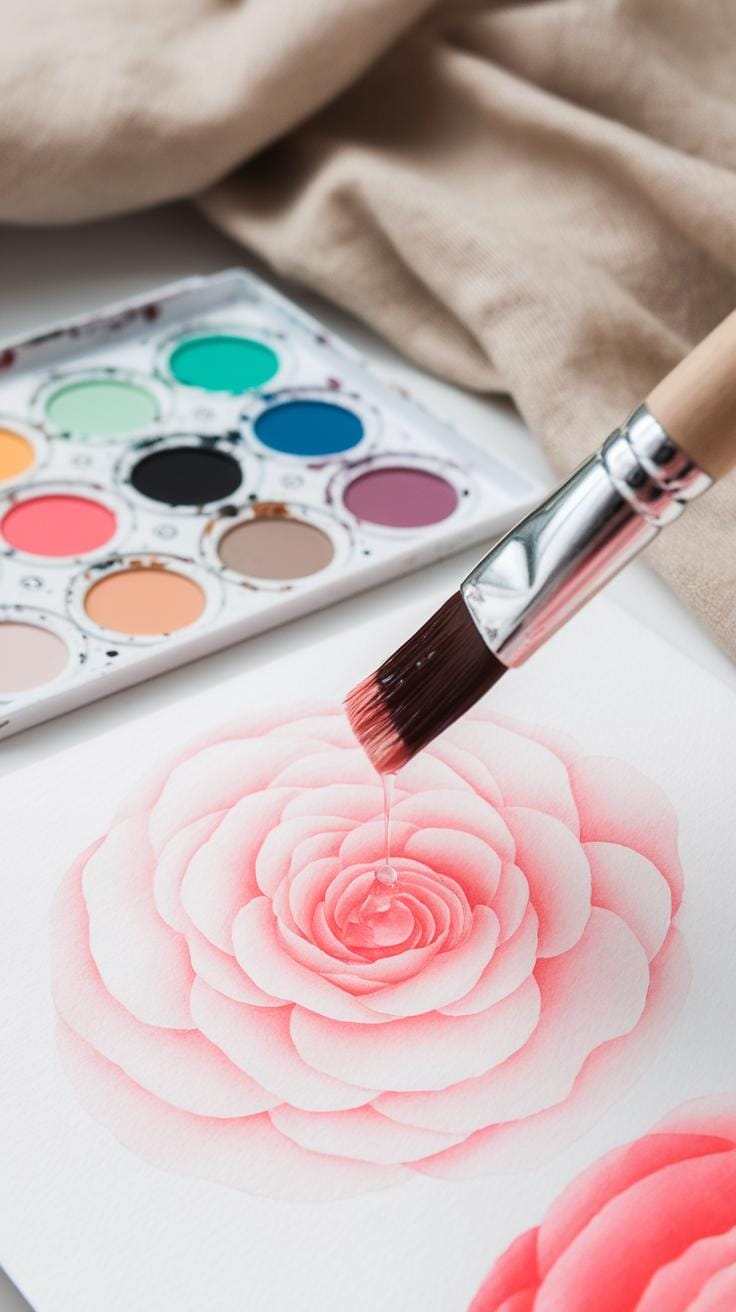
Botanical illustrators relied on watercolors for precise and vibrant plant images. The paint’s transparency allowed them to show fine details and subtle color changes. Early naturalists such as Maria Sibylla Merian helped map the natural world using watercolor illustrations.

Today, watercolor serves many roles from fine art to scientific illustration. Its ability to capture atmosphere, light, and texture appeals to artists new and experienced. What historical style would you like to try in your watercolor studies?
Choosing the Right Materials
Your choice of paper, brushes, and paints impacts how your watercolor art looks and feels. Not all watercolor papers behave the same. Cold-pressed paper offers a moderate texture that suits most painting styles. It holds water well and shows brushstrokes clearly. Hot-pressed paper feels smooth and flat. This surface works great when you want fine detail or minimal texture in your washes. Rough paper has a coarse surface that creates more texture in your work. Expect paint to pool unevenly here, which can add visual interest or challenge more control depending on your style.
Paper quality matters. Cotton-based papers absorb water better and stay stronger when wet. Cheaper wood-pulp papers may buckle or tear easily. Try a small sheet first to see what you like.
Brushes come in shapes like round, flat, and mop. Round brushes give control for detail and lines. Flat brushes cover large areas or make sharp edges. Mop brushes hold a lot of water for soft washes. Beginners benefit from a few essentials: a medium round brush and a flat brush should do.

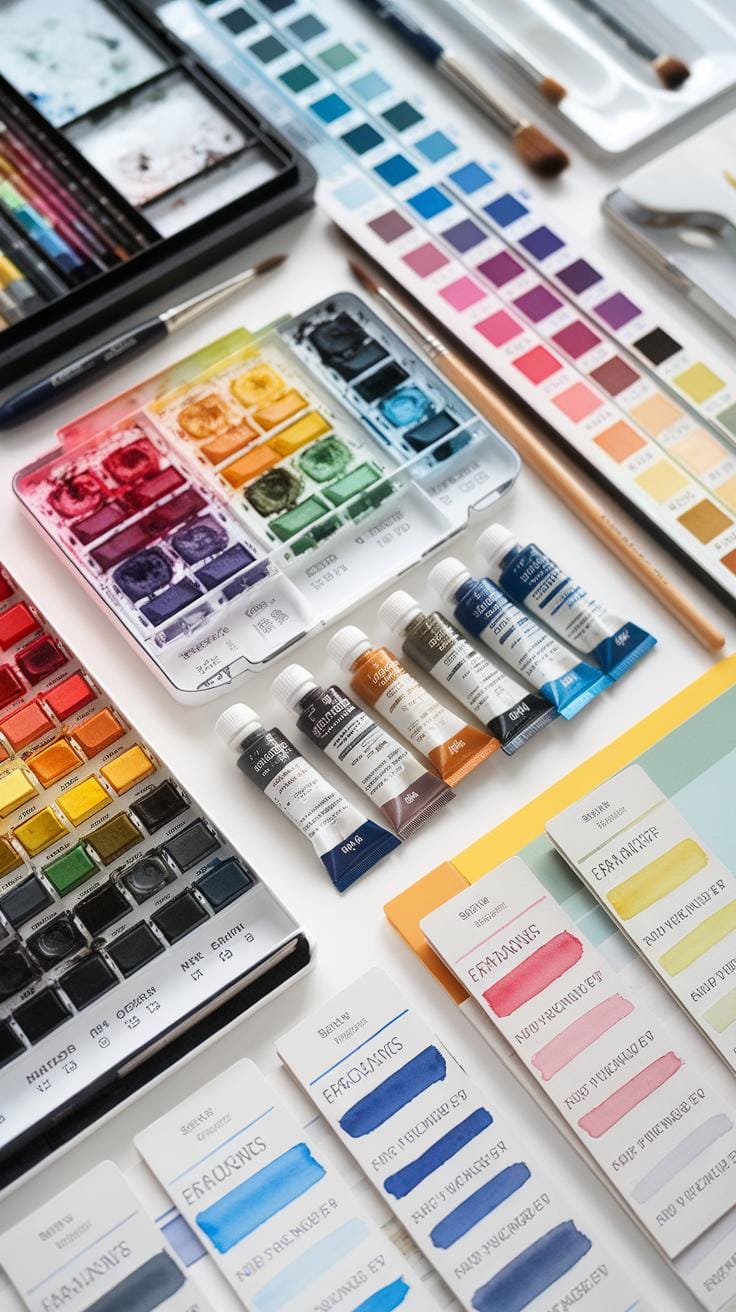
Paints vary in pigment concentration and lightfastness. Tubes often have more intense color than pans. High pigment means richer color with less paint. Ask yourself: do you prefer bright, strong colors or softer tones? Start with a basic palette of primary colors to mix many shades instead of buying every color.
Watercolor Paper Types
Cold-pressed paper feels slightly textured and absorbs water evenly. This makes your paint flow balanced and lets details stand out. Hot-pressed paper is smoother with almost no texture. Paint spreads thinner and dries faster here, good for crisp lines and smooth washes. Rough paper has a very bumpy texture. Your brush skips over high spots, leaving unique patterns in the paint. It can add character but requires patience.
The paper’s weight also matters. Heavier sheets, like 300gsm, lie flat better and prevent warping. Lighter paper curls or buckles more when wet.
Try different types for your projects. What textures help your style? How does paint behave on each surface? Testing leads to better choices as you paint.
Selecting Brushes and Paints
Watercolor brushes come in several common shapes: round, flat, and mop. Round brushes suit details and thin lines. Flat brushes cover broad areas and make sharp edges. Mop brushes hold lots of water and help create soft washes. You don’t need many at once; a medium round brush and a flat brush work well for beginners.

Paints arrive as pans or tubes. Tubes often contain more pigment, so colors appear stronger with smaller amounts. Pan sets are portable and tidy. Look for student-grade paints with good pigment concentration. Many brands show pigment information on tubes or pans. Higher pigment means better color intensity and lightfastness.
Focus on a limited palette first. Primary colors (red, blue, yellow) allow you to mix many shades. This approach teaches color mixing and helps you understand how different pigments behave.
Basic Watercolor Techniques
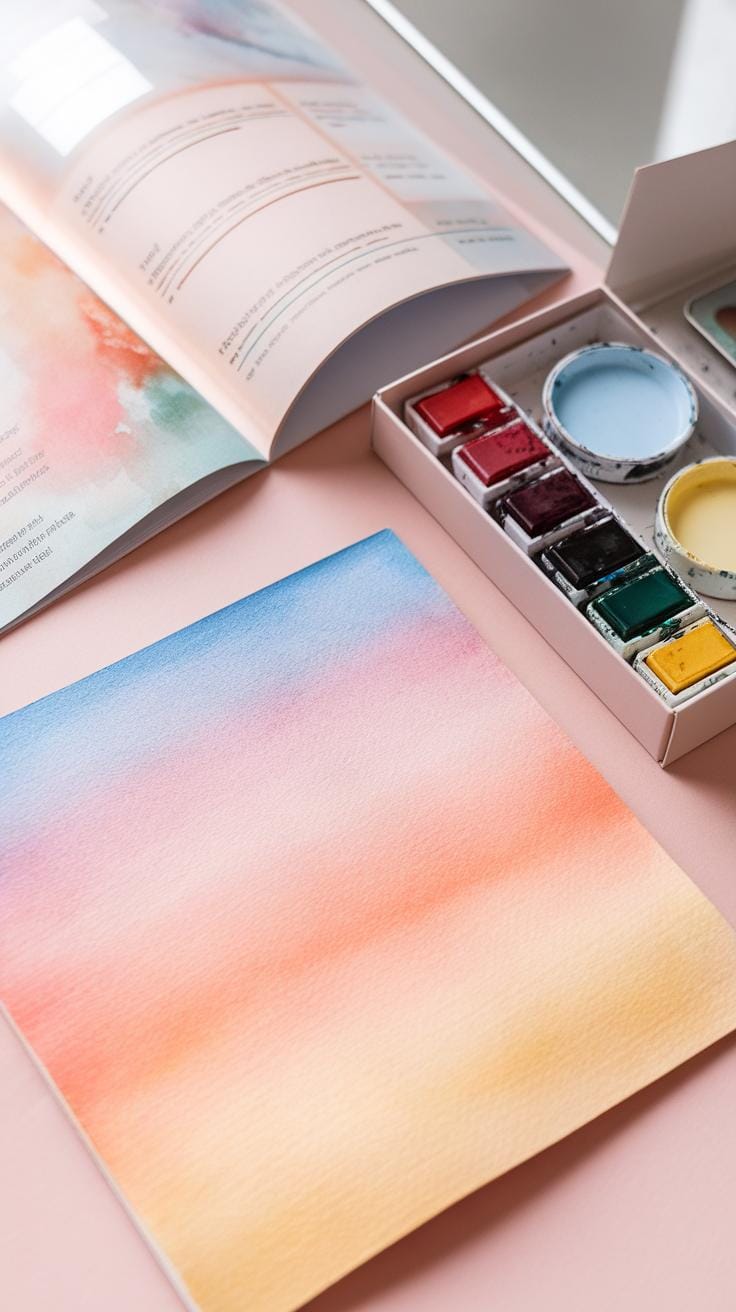
Watercolor painting begins with mastering key methods that control how paint behaves on paper. Flat wash and graded wash create large areas of smooth color; you use flat wash when color needs to be even and consistent. Graded wash lets the color fade from dark to light smoothly. You apply these by loading your brush with paint and moving it steadily across the paper. For a flat wash, keep the brush wet and work quickly to avoid streaks. In a graded wash, start with a loaded brush and add clear water as you paint to fade the color naturally.
Wet-on-wet and wet-on-dry techniques change how the paint reacts with the paper and water. Painting wet paint onto wet paper makes colors spread and blend softly. This method works well for skies or gentle backgrounds. Wet-on-dry means applying wet paint onto dry paper for sharper edges and defined shapes. Both approaches create different textures and moods in your work, so experiment with each to find what fits your style. How might your paintings change when flows and edges shift like this?
Creating Washes

To make a flat wash, soak your brush in paint mixed with water and start at one edge of the paper. Move your brush in long, even strokes side to side. Keep the paint wet to avoid lines or patches. If your brush dries, dips it in clean water to smooth out streaks before continuing. For graded washes, begin with full color on one side and dilute the paint gradually with water as you move across. This gradual fade can create depth and light effects. How can controlling water amount improve your color transitions?
Wet-on-Wet and Wet-on-Dry
When paper is wet, adding paint causes colors to spread softly and mix unpredictably. Use this for blurred backgrounds or soft textures. Dry paper holds paint firmly so you get crisp, sharp edges and clear shapes. You can combine techniques in one painting to add both softness and detail. Try applying paint to a wet area and then add drier brushstrokes around it. What happens when you balance both methods in your painting? Practice both to see how water influences your brushwork and color flow.
Mixing and Blending Colors
Learning how to mix watercolor paints well improves your control over color and tone. Start by thinking about the balance between pigment and water. More water makes the paint lighter and more transparent. Less water increases color strength and opacity. Experiment with small amounts until you find the shade you want. You can create softer or bolder effects just by altering this balance.
Blending colors smoothly is key to natural-looking transitions. When mixing on your palette, combine small amounts of each color, adding water to adjust brightness. Try mixing the three primary colors—red, blue, and yellow—to make a wide range of hues. Notice how different combinations create secondary and tertiary colors you can use in your painting.

Blending on paper requires quick work. Apply paint while the paper is still wet to avoid sharp lines between colors. The wet surface lets pigments flow into each other. You can tilt the paper slightly or use a clean, damp brush to soften edges between colors. Have you tried layering slightly different colors in this way to make a gradient? This skill helps you achieve smooth skies, shadows, and natural color shifts.
Color Mixing on Palette
Mixing colors begins with your three primaries: red, blue, and yellow. Choosing pure, vibrant shades helps your mixtures stay bright. To create secondary colors, mix two primaries. For example, combine red and yellow for orange, blue and yellow for green, and red and blue for purple. Adjust pigment amounts to change hue intensity and warmth.
Try mixing a little more blue into green for a cooler tone or add yellow to orange for warmth. Using a clean brush or stirring tool helps create smooth, even blends on your palette. When mixing, add water slowly. This controls color strength and gives you a better sense of how it will look on paper.
Have you noticed how small changes can shift a color dramatically? Keep small test swatches nearby to check your mixes before painting. This practice saves time and keeps your colors consistent throughout the piece.
Blending on Paper
Blending watercolor directly on paper takes practice to avoid harsh lines. First, apply a wet layer of paint. Before it dries, add a second color next to the first while the paper is still moist. The colors will merge softly, creating a smooth gradient.

You can use a clean, damp brush to gently pull color from one area into another. This helps soften edges and makes transitions more natural. If paints dry too fast, mist the paper lightly with water to keep it workable. Avoid painting over dry areas when you want soft blends because it creates clear boundaries.
Try blending cool blue into warm orange to see the transition effect. Do you feel comfortable controlling the moisture on your brush and paper? That balance controls how your colors mix on the spot. Practice this wet-on-wet approach after mastering the basic washes to create richer, smoother color flows in your work.
Layering and Glazing Techniques
Building depth in watercolor painting relies heavily on layering and glazing. Both methods involve applying several transparent washes over an area, which helps create richer colors and more complex tones. Layering means painting one color over another after the first one fully dries. This step-by-step approach preserves the transparency of each layer, letting light pass through and reflect off the paper beneath.
How thick or thin you apply each layer changes the final look. Thin layers keep colors bright, while thicker layers raise opacity. Layering also lets you fix mistakes and add details gradually. When done carefully, this technique can bring life and dimension to even the simplest subjects, making your paintings more engaging.
How to Layer Watercolors

Wait until each layer dries completely before adding the next. If you paint too soon, the colors can mix unintentionally, losing their crispness and clarity. Drying ensures layers stay separate, allowing you to control transparency more easily.
Dry layers appear lighter, as watercolors dry lighter than when wet. So prepare to adjust your tone as you add layers. Thin layers let light shine through, while heavy layers block light for deeper color. That’s why patience is key. Ask yourself how many layers your painting needs to create the depth or tone you want.
Using Glazing to Adjust Tones
Glazing means applying a transparent wash of color over a dried area to change its tone or hue without mixing paints directly. This technique lets you darken parts of your painting gradually instead of adding heavy paint all at once.
For example, to deepen shadows, use a cool blue glaze over warm browns. The colors keep their brightness but create richer contrast. Glazing also helps fix color balance by subtly warming or cooling areas. The key is to keep your glaze thin and transparent to avoid muddy colors. Think of glazing as fine-tuning your painting’s mood and depth without losing the original colors.
Controlling Water and Paint Balance
Managing the right amount of water and paint is key to shaping your watercolor’s look. The mix affects how bold or light your colors appear. Too much water can make pigments run or fade, while too little may produce harsh, uneven patches.
You can change the feel of your painting just by adjusting this balance. A wetter mix usually softens edges and creates smooth color blends. Using less water can sharpen edges and add texture with visible brushstrokes.
Think about how you want your painting to feel. Do you want gentle transitions or strong, clear lines? Experiment with your brush, paper, and paint mix to find the right balance. Notice how the paint reacts as you add more or less water. This control lets you shape everything from intense shadows to delicate washes.
Water to Paint Ratio
The blend of water and pigment influences your colors’ strength and flow. A higher ratio of water thins the paint, producing pale, translucent colors. This is perfect for washes or backgrounds where soft color layers matter.
Less water makes colors saturated and rich. This mix is useful for details, highlights, or bold shapes. It also limits paint’s spread, giving you more control over where color goes.
Try mixing paint with different amounts of water before applying it. Can you see how a full, vibrant red looks with little water versus the same color diluted? Keeping your palette wet but varied helps you switch quickly between soft and strong strokes.
Techniques to Control Edges
Edges shape your painting’s focus. You have two main options: hard edges and soft edges. Hard edges appear where paint meets dry paper quickly or a dry brush touches a wet stroke. These define objects sharply.
Soft edges happen when wet paint blends into wet paper or another wet paint area. This creates a smooth transition and a gentle change in color.
You can control edges by adjusting moisture. For soft edges, dampen the paper slightly before applying paint or drop wet paint into a wet wash. To get hard edges, make sure the paper or paint is dry where you want the line crisp. Hold your brush firmly to apply paint in a controlled way.
Try switching between these techniques in one painting. Ask yourself: where do I want the viewer’s eye to focus? Where is a gentle shift better? Practice noticing how edge control changes your work’s mood and detail.
Fixing Mistakes and Corrections
Mistakes happen when working with watercolor. The good news is you can fix many errors without ruining your painting. One common way is lifting paint while it is still wet. Use a clean, damp brush to gently scrub the area where you want to lighten or remove color. If the paint has dried, dampen the spot carefully with a wet brush before lifting. This softens the paint, making it easier to remove.
Blotting is another simple method. Use a tissue or clean cloth to press lightly on unwanted areas. This works best for wet or damp paint, absorbing color and reducing intensity. You can repeat blotting to create subtle layers and effects.
Hard edges can look too sharp sometimes. To soften them, add water with a clean brush along the border and lightly drag the edge of the paint inward. This smooths transitions between colors without damaging the paper. When repainting over dried sections, wait for the surface to dry completely. Then add fresh color, building layers to adjust tones or fix shapes.
Removing Excess Paint
Lightening an area is often needed to correct a mistake or create highlights. To lift paint, use a clean, damp brush and stroke over the section gently. The moisture dissolves the pigment, pulling it away from the paper. Avoid scrubbing hard, which can damage your paper’s surface.
If you want more control, a folded tissue works well. Dab the tissue on the wet paint to lift excess color softly. You can repeat this several times until you reach the desired lightness. Think about when you painted a dark patch too quickly—lifting paint allows you to regain control and balance your colors.
Repainting and Blotting
Softening edges or changing colors after drying takes careful repainting. Use a clean brush with water to rewet the area lightly before applying new paint. This helps blend old and new pigment smoothly without harsh lines.
Blotting over wet paint reduces color intensity and prevents mudding. For example, if a shadow feels too dark or uneven, you can blot with tissue to lift some pigment and create a softer effect. Repainting works best when your paper is sturdy and treated gently. Remember, patience helps you repair mistakes while preserving your painting’s integrity.
Creating Texture and Special Effects
Texture brings life to your watercolor paintings by adding depth and interest. You can create texture using simple materials and techniques that change the way paint sits on paper.
Mixing these methods into your practice offers new ways to express different surfaces like rough tree bark, sparkling water, or weathered stone. They enhance your work beyond flat washes and smooth blends.
Trying these techniques encourages you to experiment with how paint and water interact, making each painting unique. How might playing with texture change your approach to a landscape or still life?
Dry Brush and Salt Techniques
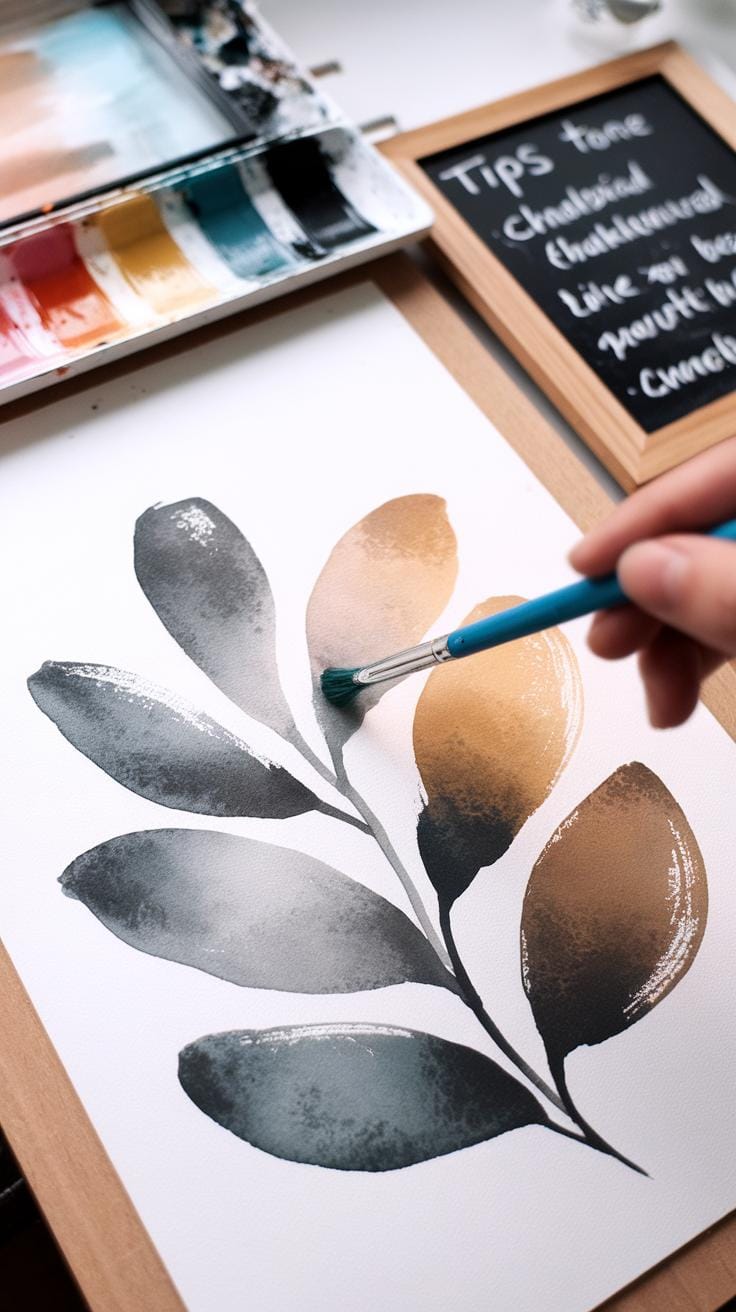
The dry brush technique uses a small amount of paint on a nearly dry brush. When you drag it across your paper, it creates scratchy, uneven marks that mimic rough surfaces like wood or grass. Try this on dry paper for best effect.
Sprinkling salt onto wet watercolor adds an exciting texture as the salt absorbs the pigment and water while drying. This creates small, crystal-like patterns that work well for skies, rocks, or any surface needing added interest.
Use coarse salt for bold effects or fine salt for subtle texture. Experiment with salt on damp washes and see how it changes the look. What surfaces in your painting might benefit from this sparkling detail?
Using Plastic Wrap and Spattering
Applying plastic wrap to wet paint creates random patterns as the paint dries. Place wrinkles or folds in the wrap before setting it on your paper. Remove it once the paint is dry to reveal organic textures that resemble cracked surfaces or leafy patterns.
Spattering involves flicking small drops of paint onto dry paper. You can do this by tapping a loaded brush or using a toothbrush to spray paint in fine droplets. This changes a flat area into a lively, dynamic space with spots reminiscent of rain, dirt, or flower petals.
Varying the amount and size of splatters helps you control the effect. Ask yourself how controlled or spontaneous you want your textures to appear when adding these layers.
Practicing and Developing Your Style
Regular practice helps you build confidence in watercolor painting. Focus on one technique at a time, like washes or layering. This keeps the learning process clear and manageable.
Try simple exercises daily. For example, paint gradients to control water flow or practice color mixing with limited palettes. These small tasks sharpen your control and understanding.
Experiment with different brushes, papers, and amounts of water. Notice how each choice changes the result. This observation guides your technique development.
Ask yourself what you enjoy most—bold colors, soft blends, or detailed lines. Testing these preferences leads you to your own artistic voice.
Working consistently helps turn skills into habits. How will your style emerge if you commit to painting even a few minutes every day?
Improving Skills Through Practice
Pick one technique and repeat it in various ways. For example, practice wet-on-wet by painting several simple shapes. This repetition makes you more comfortable with controlling water and pigment.
Set aside short practice sessions focused on specific challenges, like creating smooth gradients or sharp edges. This approach breaks progress into achievable steps.
Meet self-set goals, like mastering a wash without streaks. Celebrate small improvements to stay motivated.
Keeping a practice journal helps track what methods work best for you. How many exercises can you fit into your routine this week?
Exploring Personal Expression
Vary your subjects to find what excites you. Try landscapes, portraits, or abstract shapes. Experiment with bright or muted colors to see what feels natural.
Mix different styles, such as realistic and loose sketches. Notice how they affect your enjoyment and the mood of your paintings.
Push your comfort zone by using new palettes or tools. This helps you see your work from a fresh angle and sparks ideas.
Reflect on which experiments connect with your emotions or tell your story. What type of painting makes you want to create more?
Conclusions
Watercolor painting provides a chance to express your creativity with a medium that blends pigment and water. Understanding the qualities of watercolor paper, paint, and brushes influences your results. Basic techniques like washes, wet-on-wet blending, and layering help you control your artwork’s outcome. Practicing these methods builds your skills and confidence in the medium.
As you continue painting, you discover how to use water to modulate color intensity and produce interesting effects. The simplicity of materials hides the depth and versatility of watercolor art. By applying the techniques covered here and experimenting with your own style, you can develop your skills and enjoy creating watercolor pieces for years to come.


