Introduction
Diy resin crafts offer a fun and creative way to spend your weekend. Working with resin can seem tricky at first, but with the right tools and techniques, you can make beautiful and unique items. Whether you want to craft jewelry, decorations, or gifts, resin is a versatile material that can bring your ideas to life.
In this article, you will find easy-to-understand guidance and project ideas for diy resin crafts. You will learn what resin is, how to work safely with it, and practical steps to complete your projects. Let’s explore the world of resin crafting together and make your weekend creative and enjoyable.
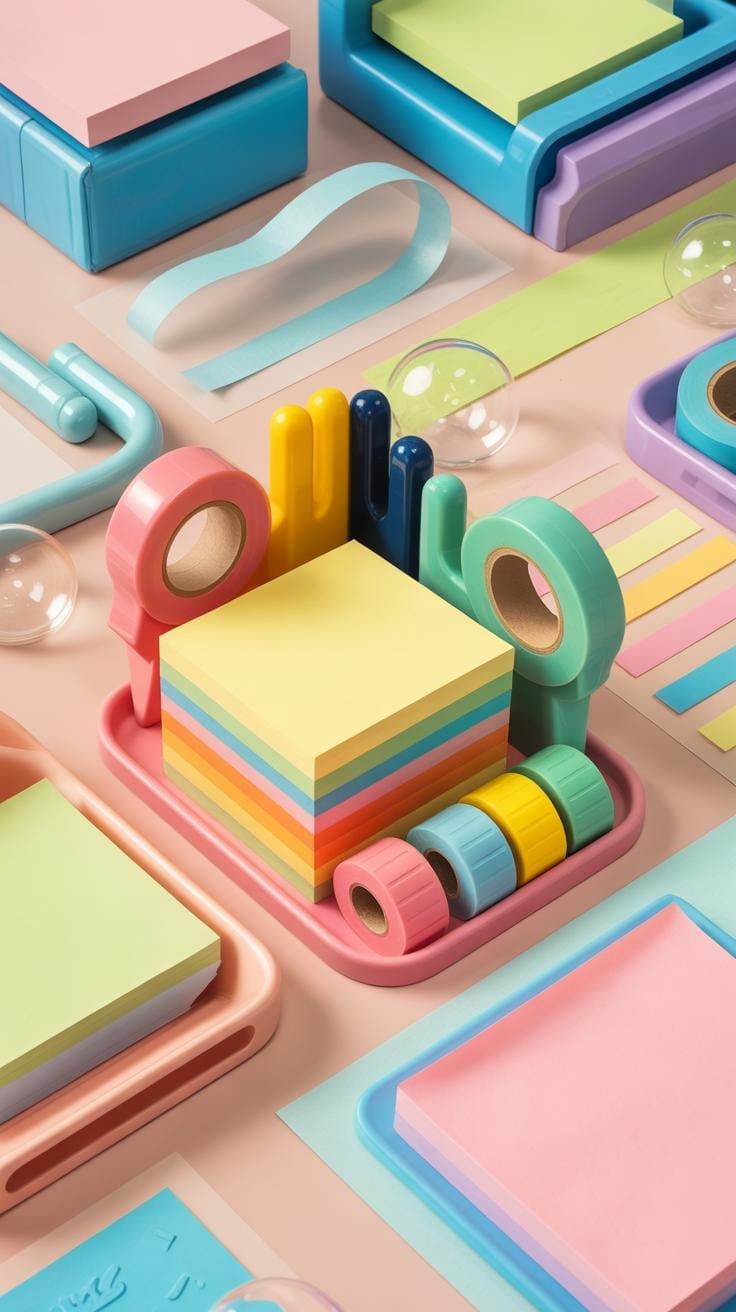
Essential Tools And Materials For Resin Crafts
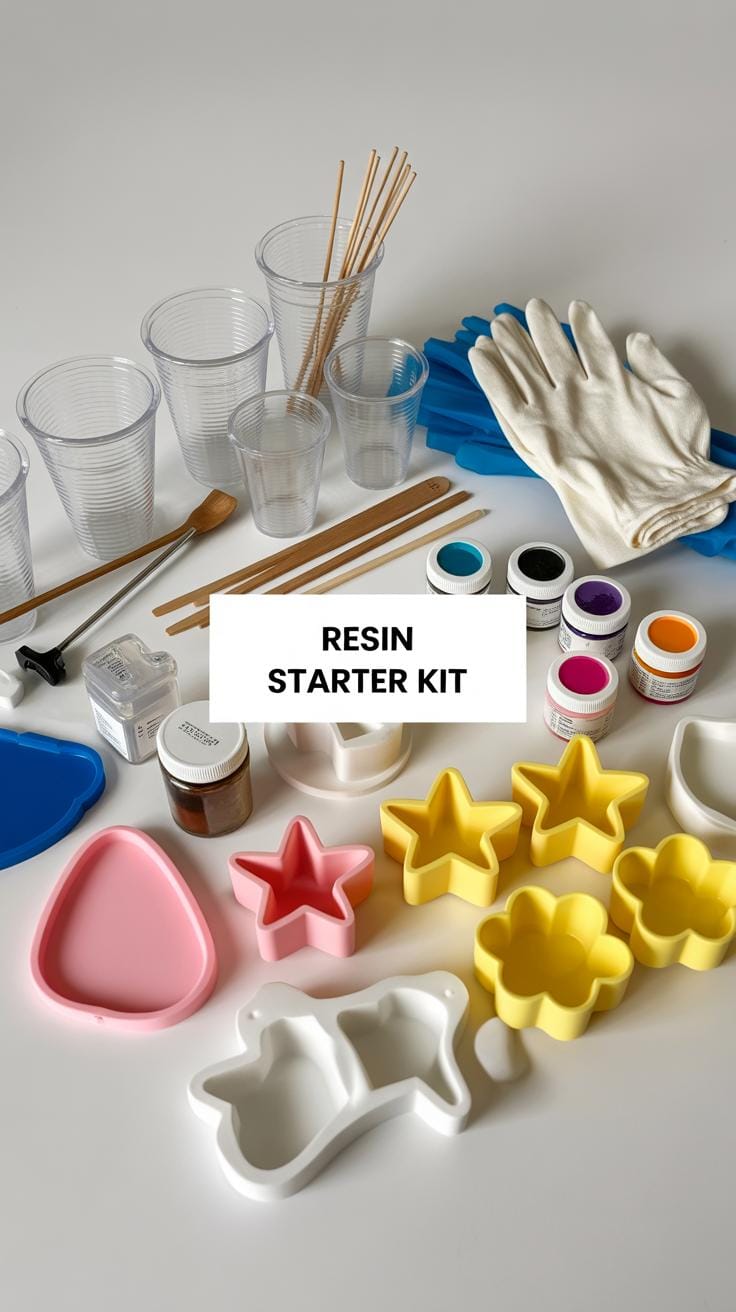
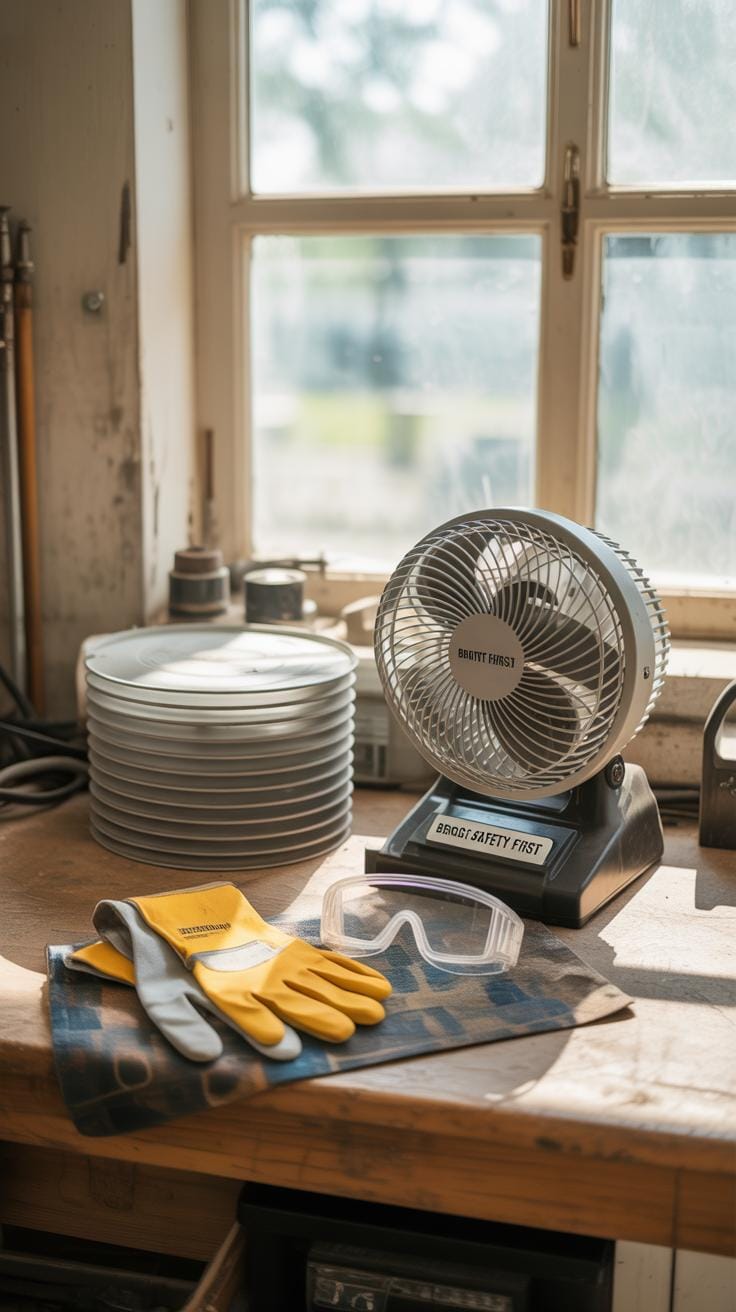
When diving into resin crafting, having the right tools and materials can make a big difference, though you don’t need a long list to get started. Safety gear like gloves and masks is essential—resin can irritate your skin and lungs, even if it seems harmless. I remember learning this the hard way during my first project, so wearing disposable gloves and a respirator mask isn’t optional if you want to avoid a rash or headaches.
For mixing, clear or disposable measuring cups work best. Precise measuring sticks—often just wooden sticks—help you mix resin and hardener properly. Getting the ratio right is crucial; one time I rushed it and got sticky, ruined resin halfway through.
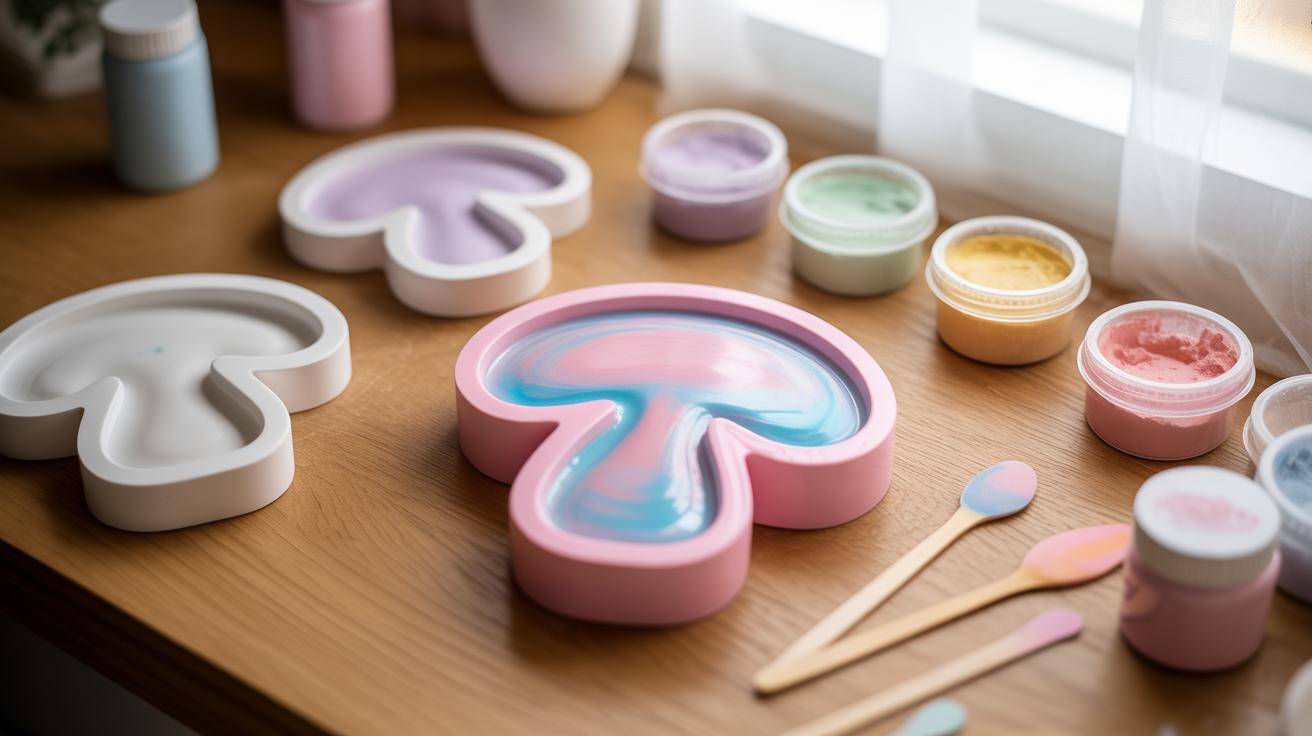
Molds come next—they shape your creations. Silicone molds are popular because resin peels off easily, but they come in all sorts of shapes and sizes. You can even use household objects like silicone cupcake liners if you’re on a tight budget.
Decorative items add character to your pieces. Think dried flowers, glitter, tiny charms, or colored pigments. They’re your chance to experiment, although sometimes the colors don’t behave as you expect, so a bit of trial is often necessary.
A few extra tools ease the process. A heat gun or even a hairdryer helps remove bubbles fast, though it takes some practice to avoid warping your resin. Protective mats keep your workspace clean and save you from sticky surfaces—a lifesaver, honestly. You might think about getting pipettes or syringes for detailed pours, but they’re not required at the start.
Have you considered which decorative items would reflect your style best? It’s pretty fun to gather those before mixing the resin itself. And would you prefer precision tools or more hands-on mixing? Either way works; it just depends on how patient you feel.
Preparing Your Workspace For Safe Resin Crafting
Choose A Good Workspace
Setting up your workspace properly can feel like a bit of a chore, but it really pays off in the end. Pick a spot with plenty of ventilation—think an open window or a room with a fan. Resin fumes aren’t strong-smelling all the time, but they can build up and cause headaches if the air doesn’t circulate. Good lighting matters too; it helps you see tiny bubbles, color shifts, or missed spots. Don’t just rely on overhead lights—try using a desk lamp or natural light if possible.
Cover your workspace with something that’s easy to clean or disposable, like wax paper, silicone mats, or even cardboard. Resin spills are tricky to remove once they cure. I once overlooked this and spent hours scraping off hardened drops—trust me, it’s not fun. An organized space also helps. Keep your tools, molds, and mixtures close but tidy to avoid accidental spills or clutter.
Safety Tips While Working With Resin

Wearing gloves feels obvious to many crafters, but some don’t realize how quickly resin can soak through cheap ones. Nitrile gloves are usually best because they resist chemicals better than vinyl or latex. You’ll want a well-fitting mask as well—at least a respirator rated for organic vapors if you can manage it. Even a basic dust mask is better than nothing, especially when mixing or sanding cured pieces.
Resin touching your skin can cause irritation, sometimes delayed, so avoid direct contact whenever possible. If resin does get on you, wash immediately with soap and water. Eyes are another concern; resin can sting or harm if it splashes in. Wearing safety glasses might feel excessive for small projects, but I found it helpful the one time a mix splattered unexpectedly. It’s a bit of hassle but worth it so you don’t risk it. You might ask yourself how careful is careful enough. Honestly, I think a bit of caution goes a long way when working with resin—and it’s worth setting up your space and habits right from the start.
Mixing Resin Correctly For Best Results
Measuring Resin And Hardener
Getting the right balance between resin and hardener is crucial, but it can be tricky if you’re not careful. Usually, the instructions will specify a ratio—often 1:1 or 2:1 by volume—but these numbers aren’t just suggestions. I’ve learned the hard way that even a small deviation can affect curing time and surface texture.
Measure slowly, using clear, calibrated cups. Eye-balling doesn’t cut it. Sometimes I set a timer in my head for measuring, like “okay, pour for 15 seconds,” to keep it consistent when exact tools aren’t handy. It’s a bit obsessive, maybe, but better safe than stuck with a sticky mess.
Mixing Technique And Timing

Once measured, mixing calls for patience. Stir gently but thoroughly. Rushing here tends to trap bubbles, which can ruin your finish. A slow, steady motion, scraping the sides and bottom, helps blend everything evenly.
Mixing too fast is tempting—you want to see it combine quickly—but that usually means bubbles. If you want a clearer result, pause once or twice, then stir again. Some say a minute or two is enough, but sometimes I think a little extra mixing time makes a difference, even if the instructions say otherwise.
Have you noticed how bubbles tend to appear even with careful mixing? Try tilting your cup or using a toothpick to coax bubbles to the surface. This step feels fiddly but really pays off in smooth finishes.
Adding Colors And Decorations To Resin

Once you have your resin mixed correctly, adding colors and decorations can really bring your project to life. You might wonder which coloring method works best—resin dyes, pigments, or alcohol inks all behave a bit differently. Resin dyes dissolve into the resin, giving you vibrant, transparent colors that don’t obscure details. Pigments, on the other hand, are more opaque and can add a creamy or solid effect. Alcohol inks spread unpredictably, creating unique patterns but sometimes fading or blending unexpectedly.
Working with these color types is a bit of trial and error. I remember the first time I used alcohol ink—what started as a simple swirl suddenly turned muddled when I added more resin. Not ideal, but a good learning moment.
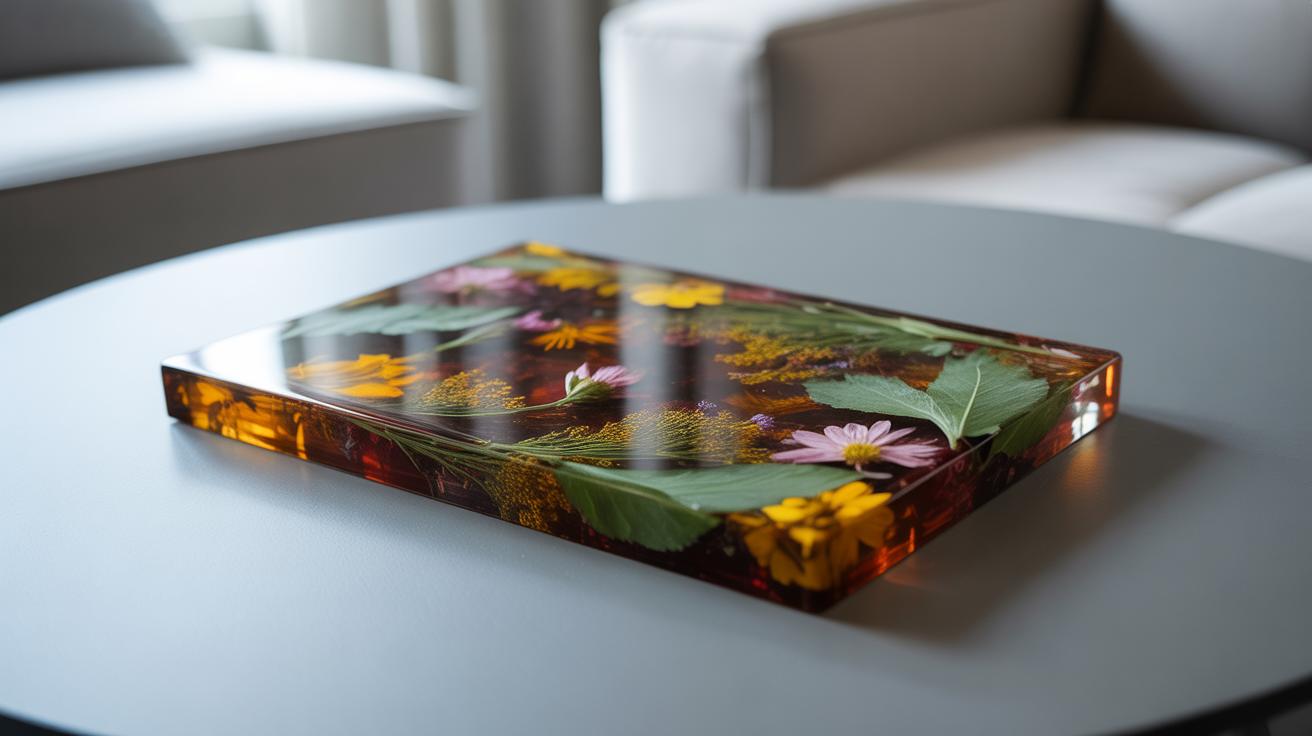
To personalize your piece, you can also mix glitter or small objects into the resin. Think about dried flowers, beads, or tiny charms. It’s best to layer these items carefully so they don’t all sink to the bottom or clump up. Adding them too early can cause unwanted bubbles or uneven positioning. Adding glitter near the end gives that extra sparkle without overwhelming the piece, while dried flowers give a delicate, natural touch.
Have you tried encapsulating anything unique? Sometimes even thin leaves or tiny shells can make a project feel special. Just make sure they’re dry and sealed, or they might cause cloudiness or bubbles in your resin. It’s a bit like decorating, but with patience—you want everything placed just right before it sets. What kind of decorations would you experiment with in your next resin project?
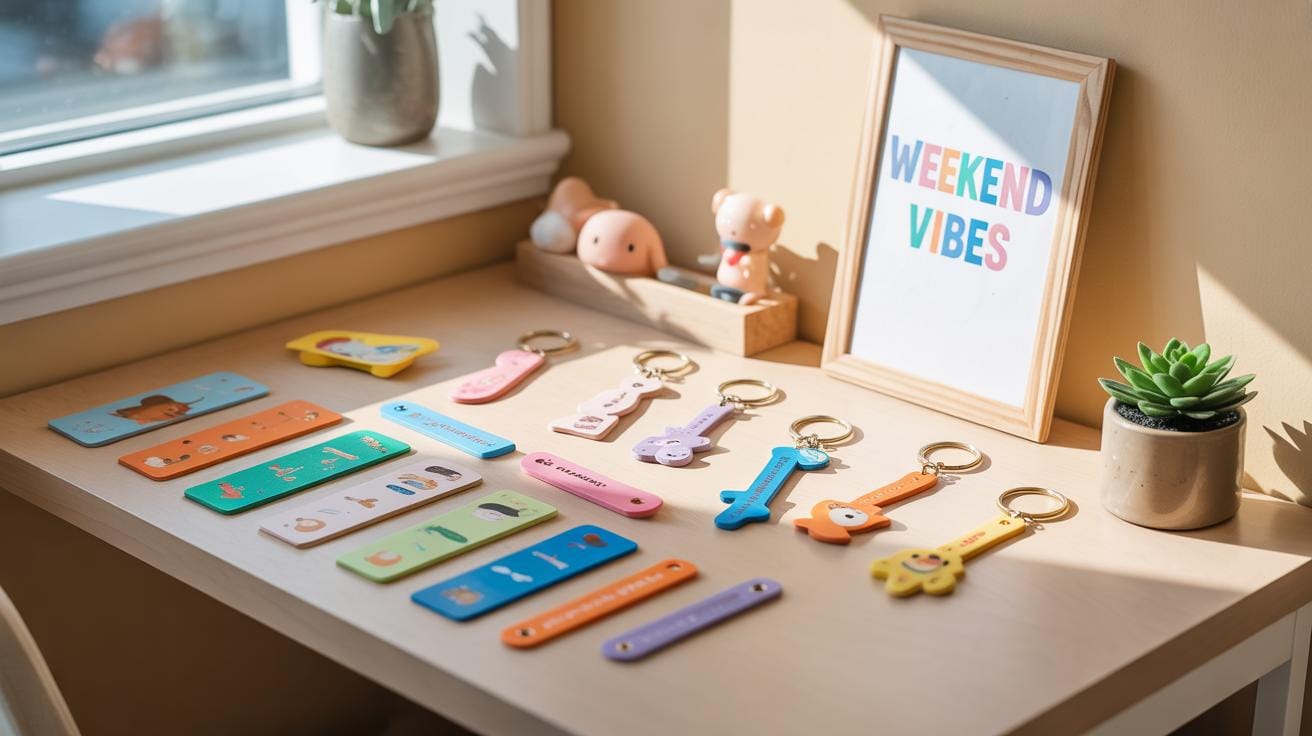
Simple Resin Jewelry Projects

Making resin jewelry can feel both approachable and a bit tricky at the same time. Let’s start with pendants, since they tend to be a bit more forgiving. You’ll need a silicone mold designed for pendants, some mixed resin, and whatever little decorations you want to include. Begin by mixing your resin carefully—stirring slowly to avoid bubbles—and then pour a thin layer into the mold. Pause. Maybe wait a few minutes to let any bubbles rise and pop. Now, here comes the fun part: add small decorations like dried flowers, glitters, or tiny charms. Pour another resin layer gently on top, completely covering your decorations.
Allow the resin to cure undisturbed, which might take a day or two depending on the product. Don’t rush removing it from the mold—resin can be fragile at first. If you notice any sharp edges after demolding, a bit of gentle sanding smooths things out nicely.
Creating Resin Earrings And Rings
Small molds for earrings and rings bring their own challenges. Their size means you must be precise with your resin pour since it’s easy to overfill or underfill. I found using a dropper or syringe really helps control the amount. Like with pendants, start with a thin base layer of resin and place your small embellishments carefully. Because of their scale, you might want to keep decorations minimal—tiny glitter, microbeads, or flakes work well here.
One tip probably worth sharing: after pouring the resin, let the molds sit in a warm, draft-free spot to avoid curing issues like fogginess or uneven surfaces. These pieces dry faster than larger ones but also show imperfections more clearly. If you’re making rings, be mindful of the band size and sometimes build layers in stages to get the thickness just right. Earrings? A quick way to add hooks is attaching small metal loops into the resin before it hardens completely—you can push them gently into the piece.
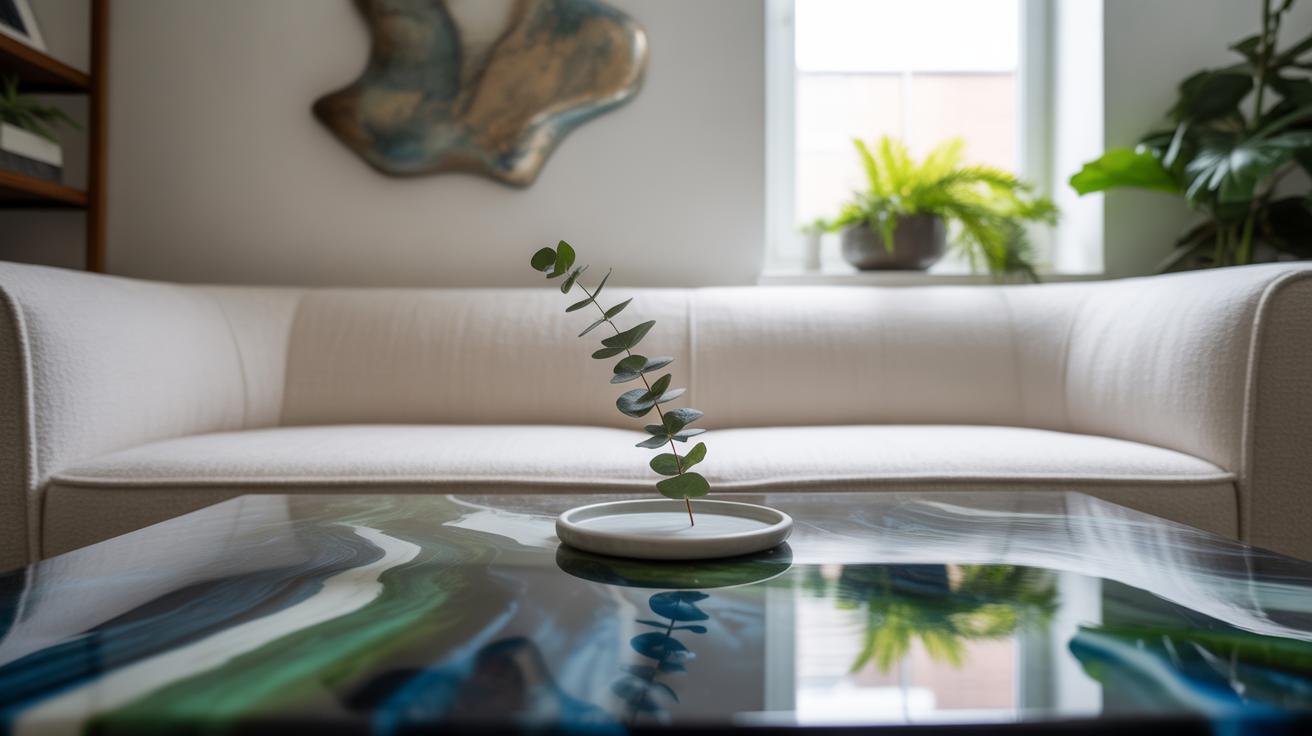
Creating Resin Home Dcor Pieces
Working with resin opens doors to crafting practical and attractive home décor items like coasters and trays, perfect for weekend projects that leave a lasting impression. These pieces are not only functional but let you experiment with colors, textures, and embedded objects—maybe small shells or dried flowers you’ve been saving without realizing their potential.
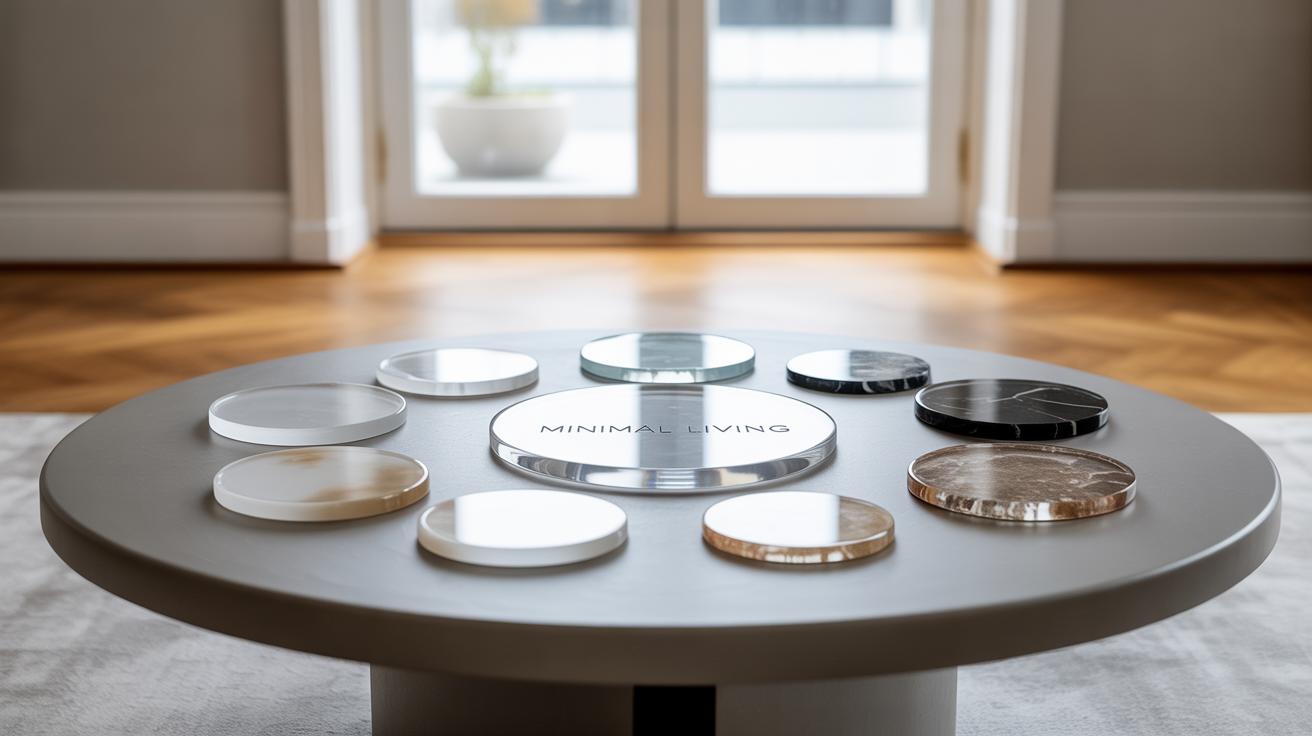
Take coasters, for example. You’ll need silicone molds that shape your resin into sturdy discs. What I like about coasters is that they’re forgiving; slight imperfections won’t ruin the whole piece. The key is mixing your resin properly and pouring slowly to avoid bubbles. After pouring, adding pigments, glitters, or even a splash of mica powder can transform something plain into something uniquely yours.
Trays are a bit larger and invite more creativity. You can start with a flat tray mold or build your own frame using tape and a flat base. Pour the resin in layers if you want to create depth, or embed decorative accents that sit midway in the layers. You might find yourself wondering if pouring all at once is better, but layering gives more control over the finished look.
Both coasters and trays can be topped with a protective gloss or left matte, depending on your style. These projects are doable even if you’re new to resin crafting, and the results often surprise people. Maybe you’ll enjoy the process so much you tackle a few at once and end up giving away some as gifts.
Making Coasters With Resin
Start with clear resin and quality silicone molds that hold heat well. Mix resin and hardener according to package instructions; taking your time here makes a difference. Pour slowly into your molds—this slows down bubbles forming, but if they appear, a quick pass with a heat gun or torch can clear them.
Bring some fun by dropping in color pigments or small items like beads or leaf petals. Stir gently to keep bubbles low and to distribute color evenly. Cure times vary, usually 24 to 48 hours, so try not to move the molds while the resin sets. Post-curing, you can sand edges or apply a glossy finish, making these coasters both sturdy and eye-catching.
Crafting Decorative Trays
Resin trays start with choosing or creating your mold—flat silicone molds are great, but you can also frame shapes using tape on a non-stick base. Plan your design: are you embedding patterns, layering colors, or leaving it transparent? Pour resin slowly and carefully to avoid bubbles.
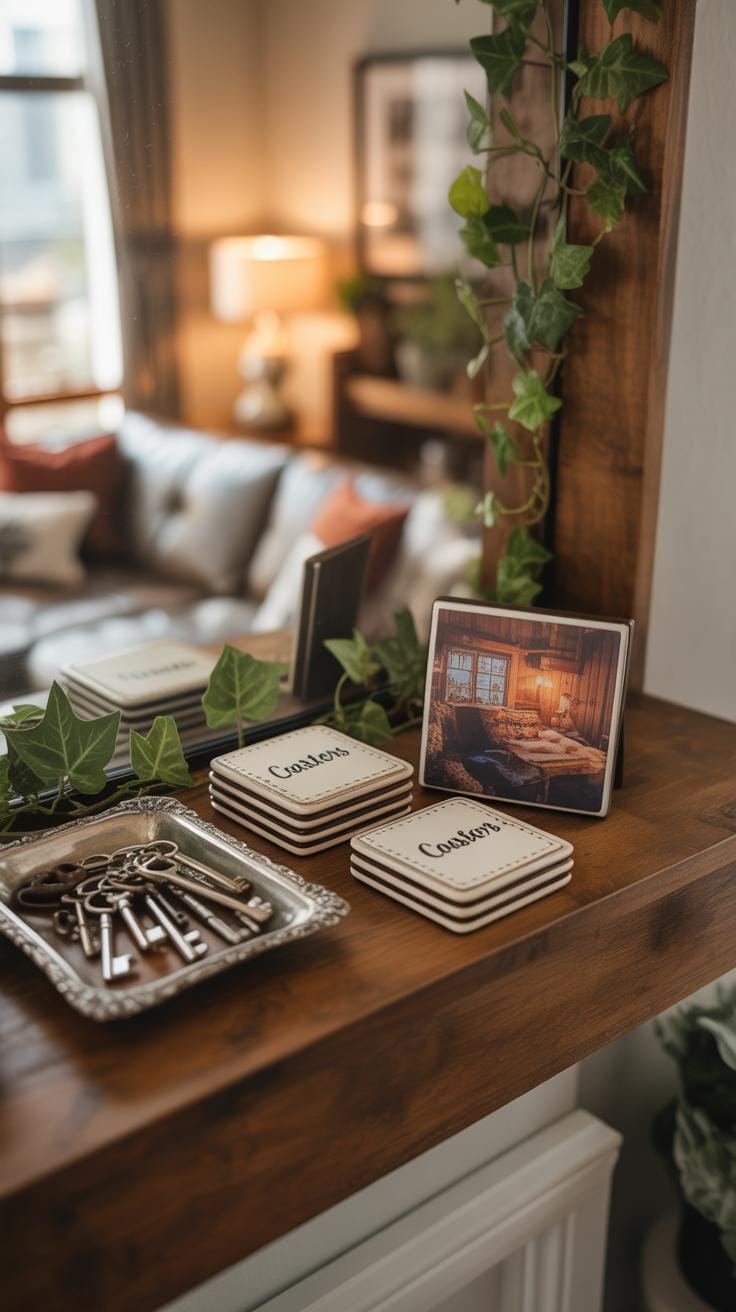
If layering, wait for each layer to be tacky before adding the next. This technique lets you encapsulate small decorative objects or create depth with pigment gradients. Once fully cured, trimming and light sanding around the edges perfect the finish. Decorative trays made this way are great for holding keys, jewelry, or even as a centerpiece—practical and personalized at the same time.
Troubleshooting Common Resin Craft Problems
Dealing With Bubbles And Sticky Resin
Bubbles can be a real nuisance in resin projects. They often appear when you mix too quickly or stir too vigorously. To reduce bubbles, try stirring slowly and steadily. Some people even let the resin sit for a few minutes after mixing, allowing most air bubbles to rise and pop on their own. Using a heat gun or even a small kitchen torch briefly over the surface can help too. Just be cautious not to overheat and warp your piece.

Sticky resin is trickier. Sometimes, it means you didn’t mix the two parts thoroughly or the ratios were off. Make sure to measure precisely. If your resin remains tacky after curing, you can try leaving it in a warmer, less humid environment for extra time. I’ve found that sometimes just waiting longer fixes stickiness. But if the bottom is still soft, you might want to apply a thin layer of fresh resin or carefully sand before sealing.
Avoiding Common Resin Mistakes
Beginners often rush the mixing step or guess the measurements. This almost always backfires. Use a digital scale if possible—that little extra accuracy prevents many problems. Another slip-up is pouring resin in a cold or damp room. Temperature and humidity actually affect curing speed and texture.
Also, watch the curing times closely. Sometimes impatience leads to peeling or dents when you touch the resin too soon. It’s tempting to check early, but resisting that urge helps.
Lastly, avoid contaminating your resin with water, dust, or fingerprints. These can show up as cloudiness or trapped particles. Working in a clean, dust-free space really makes a difference, even if cleaning isn’t always perfect.
Finishing Touches And Caring For Resin Crafts
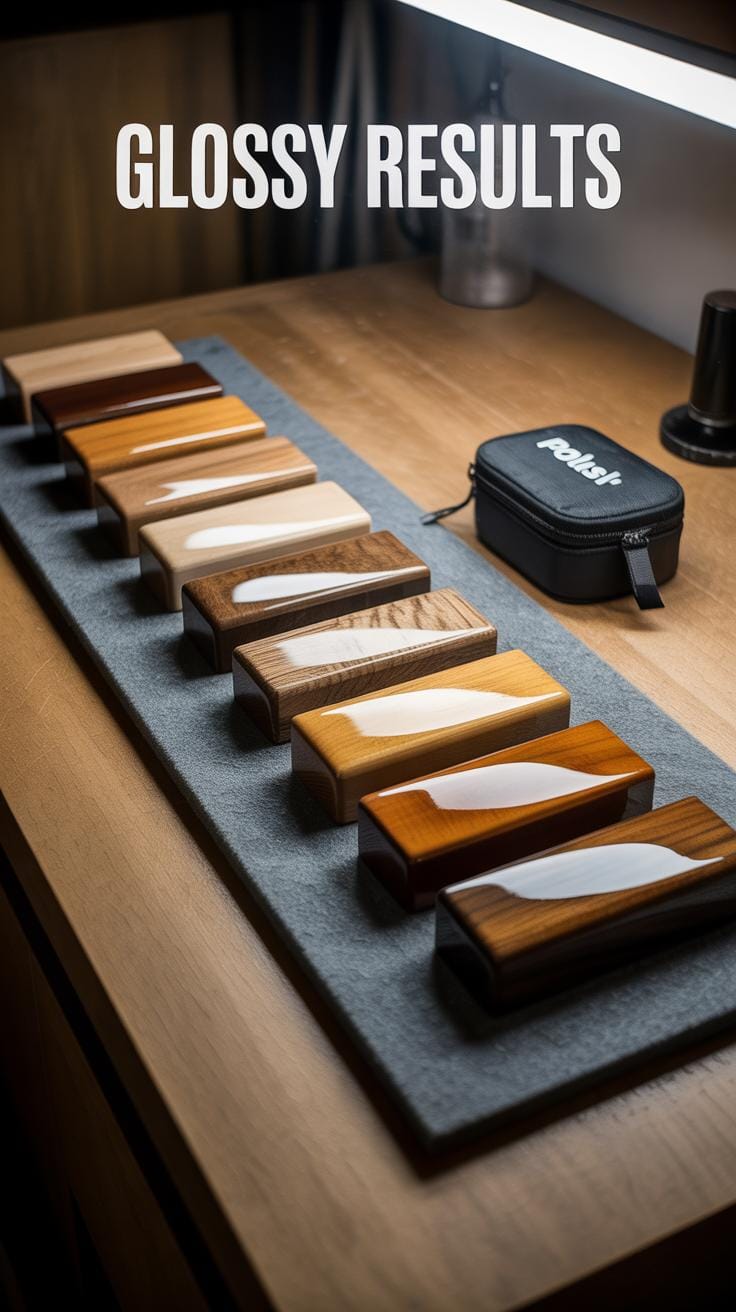
Sanding And Polishing Resin
Once your resin piece is fully cured, the edges or surface might feel a bit rough or uneven. Sanding is the step that really can make your project look polished—literally. Start with a coarser grit sandpaper, like 220 or 320, to knock down any sharp edges or bumps. Then, move up through finer grits—400, 800, even 1000 or 1500—until the surface feels smooth to the touch. One thing I noticed after trying this: patience pays off. Rushing the sanding can just create more scratches instead of smoothing things out.

After sanding, polishing comes next to bring out that shine resin is known for. You can use a plastic polish or a rubbing compound, applying it gently with a soft cloth. A rotary tool with a buffing wheel works well if you want a faster or more even polish. Polishing isn’t just about looks, either; it also seals the surface slightly, making it less prone to micro-scratches. Honestly, I never expected polishing to make that much difference until I saw the before-and-after side by side.
Cleaning And Storing Resin Projects
Cleaning resin crafts might sound easy—wipe with a cloth and you’re done—but there are some things to keep in mind. Use mild soap and lukewarm water. Avoid harsh chemicals or abrasive materials, which can dull the shine or even damage the surface. I sometimes just use a microfiber cloth dampened with water; it’s gentle but effective. Just be sure to dry your piece thoroughly to avoid water spots or streaks.
When it comes to storage, resin isn’t super fragile, but it can get scratched or warped if not cared for properly. Keep your creations out of direct sunlight for long periods, as UV exposure can yellow resin over time. Store pieces in a dust-free, dry place—maybe inside a box lined with soft fabric or wrapped in tissue paper. I’ve found that storing resin projects flat usually helps avoid warping, especially with thinner pieces. Do you notice any changes in your resin crafts after time? Sometimes they surprise me, for better or worse.
Conclusions
Diy resin crafts open up an exciting way to express your creativity. You can make many different projects with resin, from small trinkets to home décor. Starting with simple crafts helps you build skills and confidence. Remember that practice is key to mastering resin techniques.
Have fun experimenting with colors, shapes, and materials to make your resin creations unique. Your weekend resin crafts can become meaningful gifts or personal keepsakes. Keep exploring and enjoy the satisfaction of making something with your own hands.


