Introduction
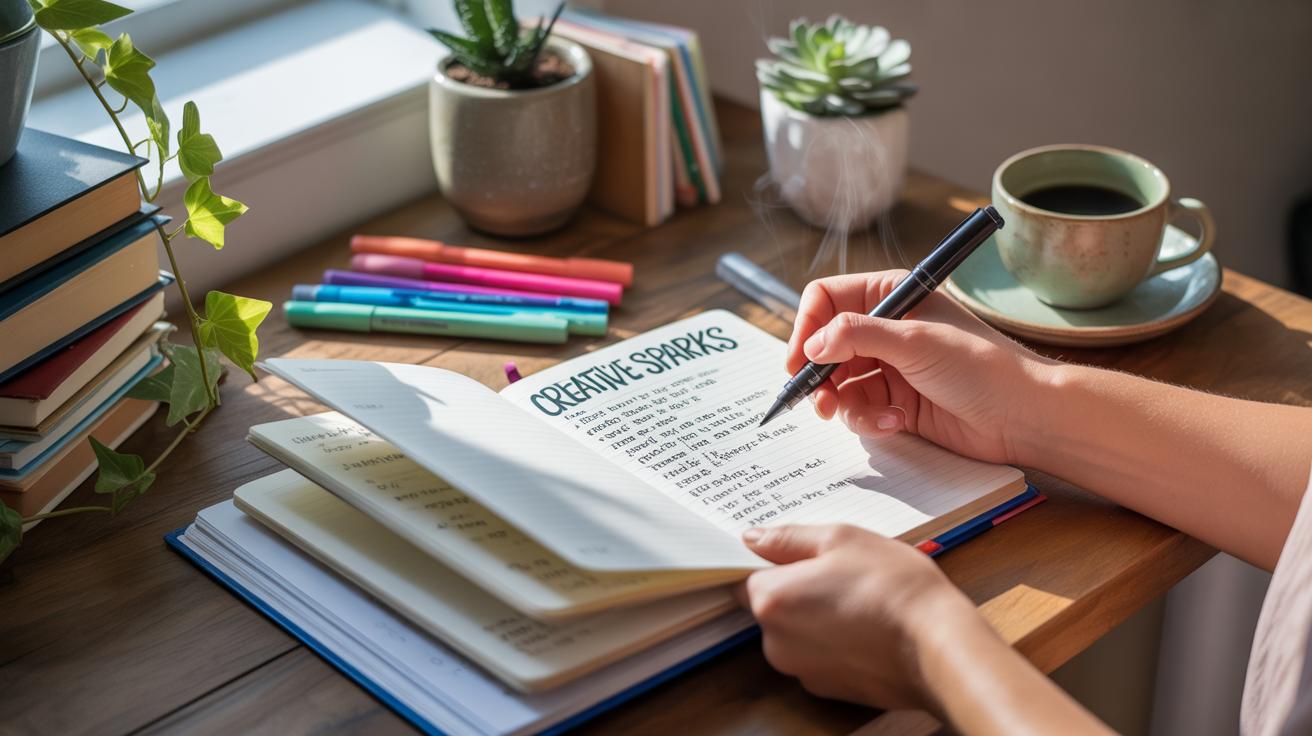
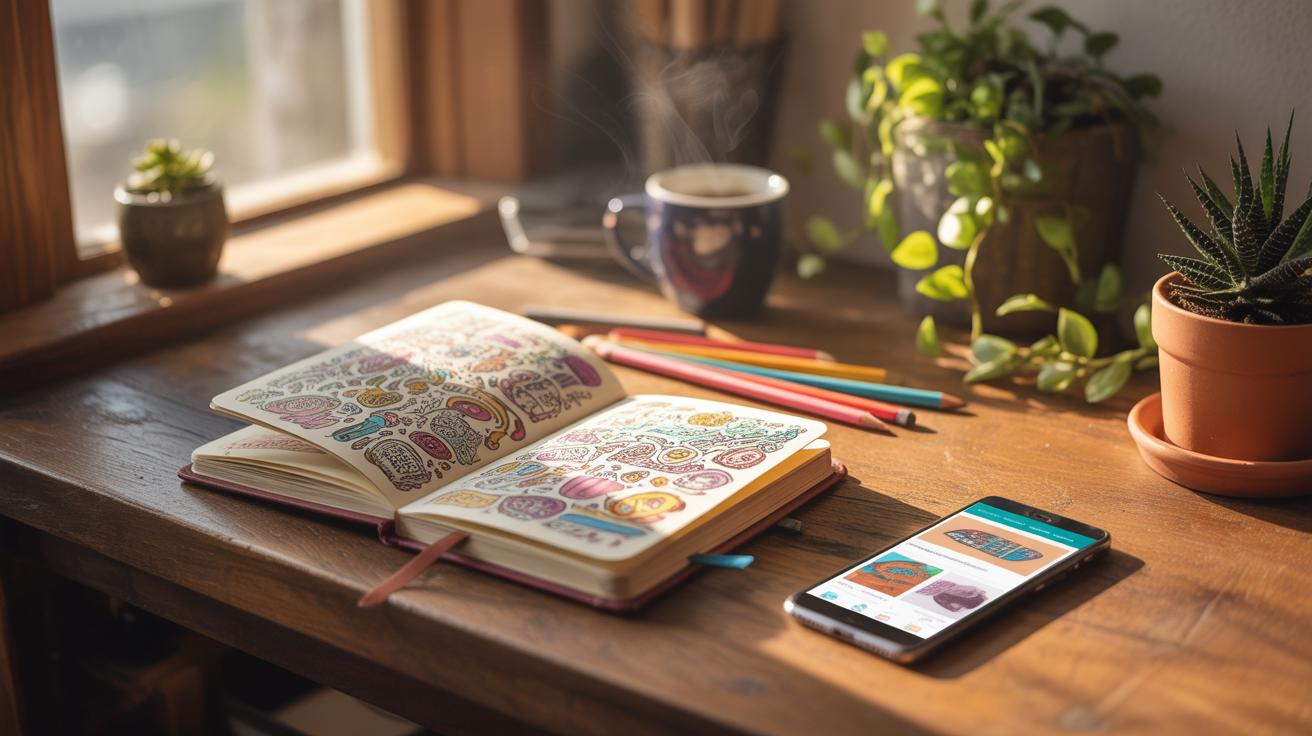
Diy journal books offer a creative and simple way to make writing more enjoyable and personal. They allow you to design a space where your thoughts, stories, and ideas come to life. Unlike regular notebooks, diy journal books are crafted by you, giving you control over every detail and making the writing process more engaging.
In this article, you will learn how creating your own journal book can improve your creative writing skills. We will explore the steps to start your journal, the tools you need, and tips to keep writing fun and easy. This hands-on approach can help you express yourself better and keep your writing organized.
Understanding DIY Journal Books

What is a DIY Journal
A DIY journal book is more than just a simple notebook. It’s a blank canvas you design yourself, where each page and detail reflects your own style and needs. Unlike regular notebooks, which come pre-formatted and ready to use, DIY journals give you the chance to shape your writing space exactly how you want it. That could mean choosing paper types, adding pockets, or even decorating the cover. You’re not limited to lined pages or a specific size. This freedom makes each journal uniquely yours.

In a way, a DIY journal feels like a personal project. You decide what goes in, how it looks, and what purpose it serves for you. Some people use them daily for quick notes, others build elaborate setups to capture ideas over weeks or months. It’s a flexible tool meant to support your creative process without boxing you in.
Why Use DIY Journals
Using a DIY journal can make writing more engaging. When you create the space yourself, there’s a subtle boost in motivation—you’re more likely to open a journal you’ve put effort into. It becomes inviting rather than just another notebook sitting untouched. There’s also this personal connection that grows as you customize pages to fit your mood or style.
Many find that DIY journals encourage self-expression better than standard notebooks. You can include prompts, drawings, colors, or anything that sparks your creativity. It’s not just about putting words down; it’s about crafting a place where ideas come alive. Would you find it easier to write if your journal felt more like an extension of yourself? For some, that’s exactly what a DIY journal offers.
Gathering Your Materials

You don’t need fancy supplies to start a DIY journal book. In fact, some of the most effective materials are likely sitting around your home, waiting to be repurposed. The basics are pretty straightforward:
- Paper: This can be anything from plain printer paper to recycled scrap paper, or even old notebooks you don’t want. Thicker paper works better if you plan to use markers or glue, but thinner sheets will keep your journal lighter and easier to handle.
- Binding tools: Think simple: staples, hole punches with string or yarn, binder clips, or even rubber bands. These are all accessible and won’t require special skills or expensive hardware.
- Decorative items: Stickers, washi tape, scraps of fabric, magazine cutouts, or even pressed leaves add personality. They don’t have to be costly; sometimes a simple doodle or handwritten label makes a big impact.

When it comes to tools, choose what feels manageable. For cutting, a pair of scissors works fine if you don’t have a paper cutter. A glue stick avoids mess, compared to liquid glue. Pens and markers in various colors not only help to write but also spice up your pages visually.
Picking tools can be a little personal. Some people like precision, others prefer quick and casual. So, I’d recommend starting with what’s immediately available and adding new things as you figure out your style. Maybe you try a stapler one day and decide you’d rather tie the pages together with ribbon the next.
Planning Your Journal Layout

When setting up your DIY journal, thinking about the layout before you start can save a lot of frustration later on. You might want the pages to feel inviting, but also practical enough so you don’t get stuck staring at a blank page wondering what to do next. It helps to balance structure with some freedom—too rigid, and the journal might feel like a chore; too loose, and it could be a mess that’s hard to follow.
Start by imagining how you’ll use the journal day to day. Are you jotting down quick thoughts, or diving into long story drafts? What if you want a mix of both? Planning pages in a way that supports your habits can keep you engaged. For example, a section for daily entries might sit at the front, where it’s easy to flip to, while inspiration boards or idea prompts could come later.
Designing Your Pages
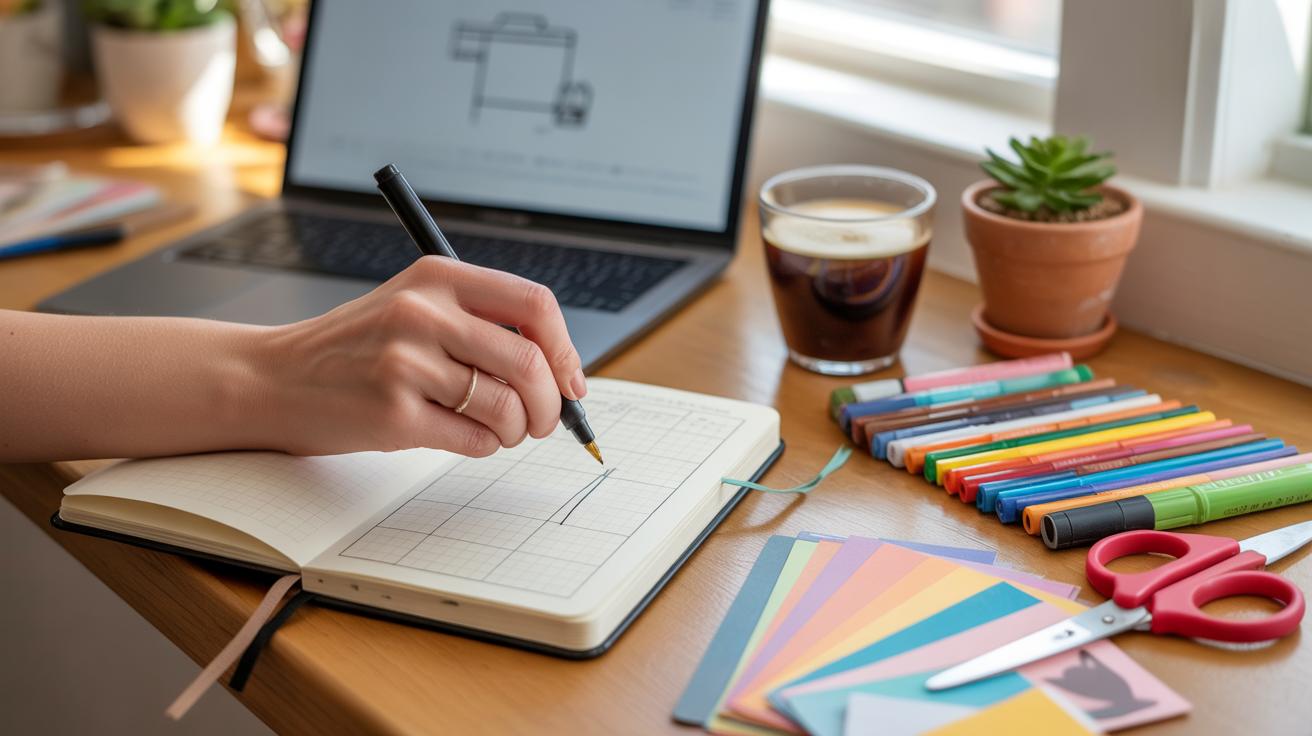
Deciding the types of pages and their order depends on what sparks your creativity. You might begin with a title or cover page, to set the mood. Then, maybe some blank or dotted pages aimed at loose writing or sketching character ideas. After that, sections for more focused work, like plot outlines or vocabulary lists, could follow.
You don’t have to fill every page before starting. Sometimes leaving gaps feels odd, but it’s actually a chance to add things later as your writing evolves. And don’t shy from mixing page types—some lined, some blank, some even graph style if you want to map out stories visually. Would you want to revisit your first drafts easily? Then maybe keep them together.
Section Ideas
Here are a few sections you might consider including:
- Daily Journal Entries: Space for free writing or reflections, helping you build consistency.
- Story Ideas: A dedicated area to capture fleeting thoughts or detailed concepts.
- Goal Tracking: Pages to define your writing goals and monitor progress, though you may not use these every day.
- Character Profiles: Pages where you flesh out personalities and backgrounds.
- Prompts and Exercises: Keep a stash of prompts to stimulate creativity when you feel stuck.
Not every section has to be equally large or used consistently—sometimes your focus shifts, and that’s fine. What matters is having a space that encourages you to write, without overwhelming you with too many categories. You can always add or remove sections as you go along, making the journal truly yours.
Creating Your First Pages

Starting with a Cover
Begin your journal by crafting a cover that feels like yours. Don’t worry about perfection here—sometimes the simplest materials make the strongest statements. Take a piece of cardboard or thick cardstock and wrap it with fabric, scrapbook paper, or even a printed photo. You might want to glue on small items like pressed leaves, stickers, or handwritten titles to give it a personal touch.
Try writing your name, a favorite quote, or even a mysterious symbol on the front. Think about what you want your journal to represent. It doesn’t have to be neat—sometimes jagged lines or smudges add character. Experiment with pens, paint, or markers until it feels right. This cover is your first creative act; it sets the tone, so take a moment here, but don’t get stuck.
First Entries
The first pages are your chance to warm up. Use simple prompts to ease into writing without pressure. Here are some ideas that might get you going:
- Describe your current mood in three words and why you feel that way.
- List five things that recently caught your attention—small or big.
- Write a letter to your future self, maybe five years from now. What would you say?
- Recall a place where you feel comfortable. What makes it special?
Don’t worry about style or grammar here. These prompts are just sparks—feel free to stray or digress. Sometimes your best ideas come out when you stop trying too hard. If none of these feel right, make your own prompt. After all, this journal is your space, not someone else’s rules.
Writing Techniques for the Journal

Keeping your journal writing fresh can feel tricky at times. One way to keep things moving is to lean on simple creative writing methods that fit well with journal entries. For instance, you might start by writing short snapshots of your day, mixing in feelings or observations. This approach grounds you, yet leaves plenty of room for imagination. You don’t have to plan out elaborate stories; instead, let your thoughts drift — but with a bit of structure.
Writing prompts can be a real lifesaver when you hit a block. They might sound a bit rigid, but the right prompt can spark ideas you didn’t expect. Try a prompt like “Describe a sound that comforts you” or “Write about a place you want to visit.” Suddenly, you might find yourself exploring forgotten memories or imagining new scenes. Even a one-line prompt can push you to write in directions you hadn’t considered.
Freewriting is another useful method. You simply write nonstop for a set time — maybe five to ten minutes — without worrying about spelling, grammar, or making sense. At first, you might think it’s just random words, but often you uncover deeper thoughts or feelings you didn’t realize were there. It’s not about perfect writing; it’s more like a conversation with yourself. Don’t judge what comes out. If it feels messy, that’s okay. Sometimes the mess is where the real insight hides.
Decorating Your Journal

When you pick up your journal, the way it looks can actually shape how you feel about writing in it. Making your journal visually appealing isn’t just about looks—it helps create a personal space where your thoughts and creativity can flow more freely. You might want to think about what style suits you best, whether that’s minimalistic, colorful, or even a bit chaotic. And don’t worry if your ideas change, your journal can grow with you.
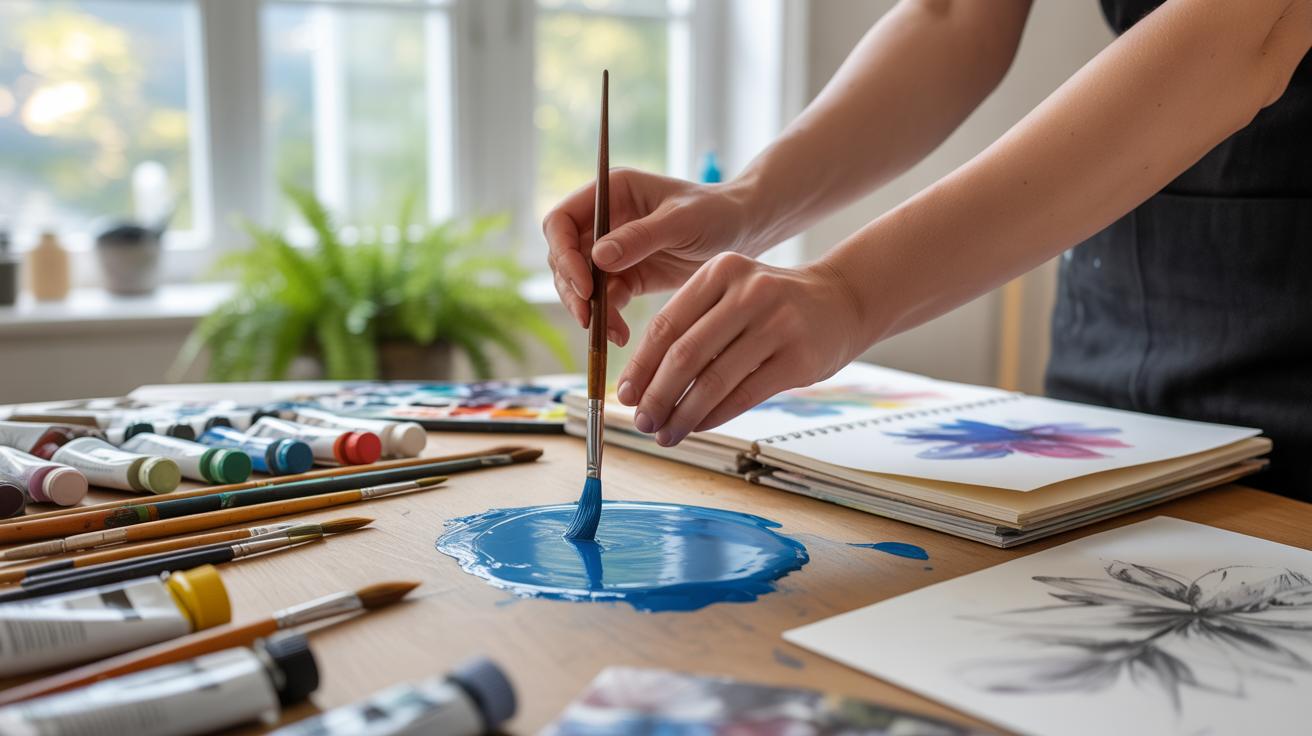
Adding Color and Art
Adding color is easier than you might think. Simple tools like colored pens, markers, or watercolors can transform your pages. You can brighten up margins with doodles, or highlight key words. Stickers are a quick way to add personality—sometimes a single small sticker says more than a whole paragraph. If you enjoy drawing, even basic sketches or abstract shapes can make your pages feel alive. Maybe use a strip of washi tape to separate entries or mark important thoughts.
Using Themes
Themes give a subtle direction, both in decoration and writing. You could choose a season, like autumn with warm tones and nature motifs, or go with a mood, such as calm blue hues and flowing lines. Themes don’t need to limit you but serve as gentle guides. If one week feels busier than the last, the theme might shift naturally. Themes can even be abstract—think empowerment, curiosity, or nostalgia. They help you tune into what you want to explore in both art and words, without boxing you in.
Keeping Motivation Strong

Staying motivated to write regularly in your DIY journal can sometimes feel tricky. You might start strong, then suddenly stall without a clear reason. One strategy that really helps is setting small, manageable goals. Instead of aiming to fill pages daily, try writing just one sentence or a few lines. It feels easier and somehow less intimidating, making it easier to pick up your pen tomorrow, too.
Try to be specific with your goals. For example, decide to jot down a quick thought about your day or create a mini poem. This breaks down the process and nudges you toward regular practice. I’ve noticed that when I give myself permission to write mini entries, I feel less pressure and more freedom.
Tracking your progress adds another layer of motivation. It doesn’t have to be complicated; a simple checkbox or a marked calendar can work wonders. Seeing a streak of days when you wrote—even if just a little—builds a quiet momentum. Celebrate small wins like completing a week’s worth of entries. It’s surprising how much that matters for your confidence.
Sometimes, you might skip a day or feel uninspired. That’s okay. The goal isn’t perfection; it’s persistence. So, how will you keep your journal time appealing enough to stick with it? Experiment with tracking methods and goal sizes until you find what really clicks for your rhythm. That’s where the real progress hides.
Journals for Different Writing Styles

DIY journals offer a flexible way to support various styles of writing. Whether you’re sketching out a fictional world or capturing a fleeting thought, your journal can adapt. Sometimes, I find that having a separate notebook for different purposes helps me focus better. But other times, mixing styles in one book sparks surprising ideas. It’s really up to what feels right to you.
For instance, when working on stories, you might want to dedicate a journal to character sketches, plot ideas, or scenes. Writing poems in another journal can keep your verses tidy and accessible. Or maybe you prefer one journal where you blend everything—reflective notes, story fragments, and poetry. Each approach has its merits.
The key is creating a space that invites you to write, no matter the kind. Your journal becomes less of a task and more of a playground for your thoughts.
Storytelling Journals

Using a DIY journal to develop fictional stories can be surprisingly freeing. Unlike a typed document, the tactile feel of pen on paper encourages me to slow down and think about the characters’ emotions or plot twists more deeply. Try these ideas:
- Create character profiles with details like quirks, backgrounds, and motives.
- Jot down setting descriptions or maps to visualize your story’s world.
- Write dialogue snippets that might fit in different scenes, even if they seem out of place at first.
- Sketch timelines or flowcharts to track your story’s progression.
It’s okay if the pages look messy or incomplete—that’s part of the process. Sometimes, the rough notes lead to the most unexpected revelations. Have you ever discovered something new about your character just by doodling or writing a random scene in your journal? That’s the kind of discovery a storytelling journal aims to support.
Reflective Journals
Reflective journals serve a different but equally important role. Here, writing often feels more personal—like talking to yourself out loud. You might not be telling a story with a plot, but you’re exploring your thoughts, emotions, or daily experiences. The casual, diary-style format gives you freedom to be honest without pressure.
Try approaching your reflective journal with small prompts or questions, such as:
- What stood out to you today?
- How are you feeling right now, and why?
- What challenges or surprises did you encounter?
Or you might simply write whatever comes to mind without trying to organize it. I’ve noticed that when I skip trying to “make sense,” my reflections become more revealing. This sort of journal can help you understand yourself better—even if your entries sometimes jump around or seem contradictory.
Sharing Your Journal Work

Sharing parts of your DIY journal with others can feel a bit tricky at times. You might wonder which entries are okay to show or if people will understand your style. That’s normal. Not every page needs to be shared—and honestly, some might be best left private. Think about which pieces you’d feel comfortable reading out loud or sending along for thoughts. Maybe a poem you’re unsure about or a story fragment that needs more punch. Those are good candidates for feedback.
When you decide to share, try to pick entries that invite conversation or solve a problem you’re stuck on. If something feels too raw or personal, it’s okay to hold back for now. You don’t have to share everything to get value.
Choosing What to Share
It’s a bit of trial and error sometimes. You might start with a short piece—perhaps a haiku or a brief reflection—that you don’t mind revising based on suggestions. Or maybe something you think has potential but isn’t finished. That way, feedback can actually help shape your writing instead of making you feel exposed.
Also, think about what kind of feedback you want. Are you looking for grammar fixes, emotional impact, or help developing characters? Choosing entries purposefully can save you from vague or unhelpful comments.
Finding Writing Communities
Connecting with other writers makes sharing less intimidating. You don’t have to look far. Local libraries or bookstores often host groups, sometimes on a casual drop-in basis. If you don’t have those nearby, plenty of online communities welcome all levels. Places like writing forums, social media groups, or websites dedicated to writers can be a good start.
Look for spaces where members share similar interests or goals. Some groups focus on poetry, others on fiction, and some on journaling itself. Try joining a couple just to see which one feels right. Remember, it’s okay to leave if the tone or feedback style doesn’t suit you.
Sharing your work might feel awkward at first, but it can open doors to seeing your writing in new ways and growing in ways you hadn’t expected.
Maintaining Your Journal Habit

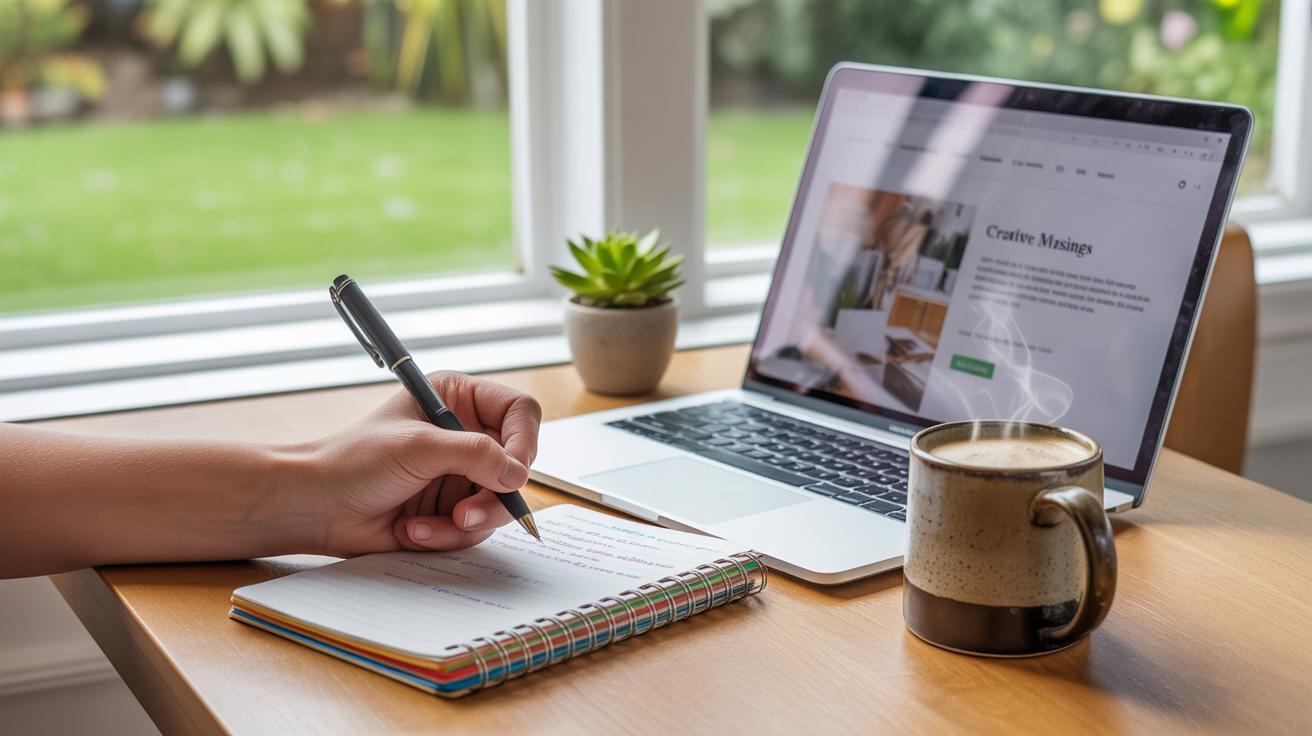
Keeping up with your DIY journal can feel a bit tricky at times, especially when life gets busy or motivation dips. What helps me—and maybe you’ll find this useful—is setting small, manageable goals rather than aiming for big, daily achievements. For example:
- Write just one sentence each morning or night. It doesn’t have to be profound, just a starting point.
- Pick a specific time that makes sense for you—like right after breakfast or before bed—and treat it almost like a mini appointment.
- Keep your journal where you’ll see it often, maybe on your desk or nightstand, so it’s a gentle reminder to pick it up.
You might find that some days you’re bursting with ideas, and others you’re not sure what to write at all. Both moments are okay. Maintaining the habit means embracing those ups and downs, not forcing perfection.
Daily Writing Tips
Some simple rituals can nudge you toward regular writing without feeling like a chore:
- Start with a prompt or question if you’re stuck. Something like “What’s one thing I noticed today?”
- Use a timer—five to ten minutes is a manageable stretch for many—and stop when it buzzes.
- Mix up your tools now and then: try pens in different colors, or add sketches or doodles to keep it fresh.
- Allow your journal to be messy. Scribbles, crossed-out words, or unfinished thoughts show real progress.
When I do this, it often feels less like work and more like a small break.
Adapting Your Journal Over Time
Your journal isn’t fixed. It can shift as your interests and style change. You might start with a focus on daily experiences but later decide to add sections for poetry, story ideas, or even mind maps. Maybe the handwriting evolves, from neat print to loose cursive, or you swap ruled pages for blank ones.
Creating new headers or tabs can help organize changing content. Or you might integrate stickers, washi tape, or printed photos. Sometimes, you’ll notice old pages feel less relevant—consider creating a “favorites” section and moving on from what doesn’t feel useful anymore.
Have you thought about how your journal could reflect who you are now, or who you want to become? Adjusting it keeps the process personal and alive, inviting new kinds of writing rather than trapping you in old patterns.
Conclusions
By making your own diy journal book, you take charge of your creative writing journey. It serves as a personal space tailored to your style and needs, making writing less of a chore and more of a joy. The process itself boosts your creativity as you think about how to organize and decorate your journal.
Using diy journals encourages regular writing, which sharpens your skills over time. You will find it easier to share your thoughts and explore new ideas. Whether you write stories, poems, or daily reflections, a diy journal book supports your passion for writing by making it accessible and fun.


