Introduction
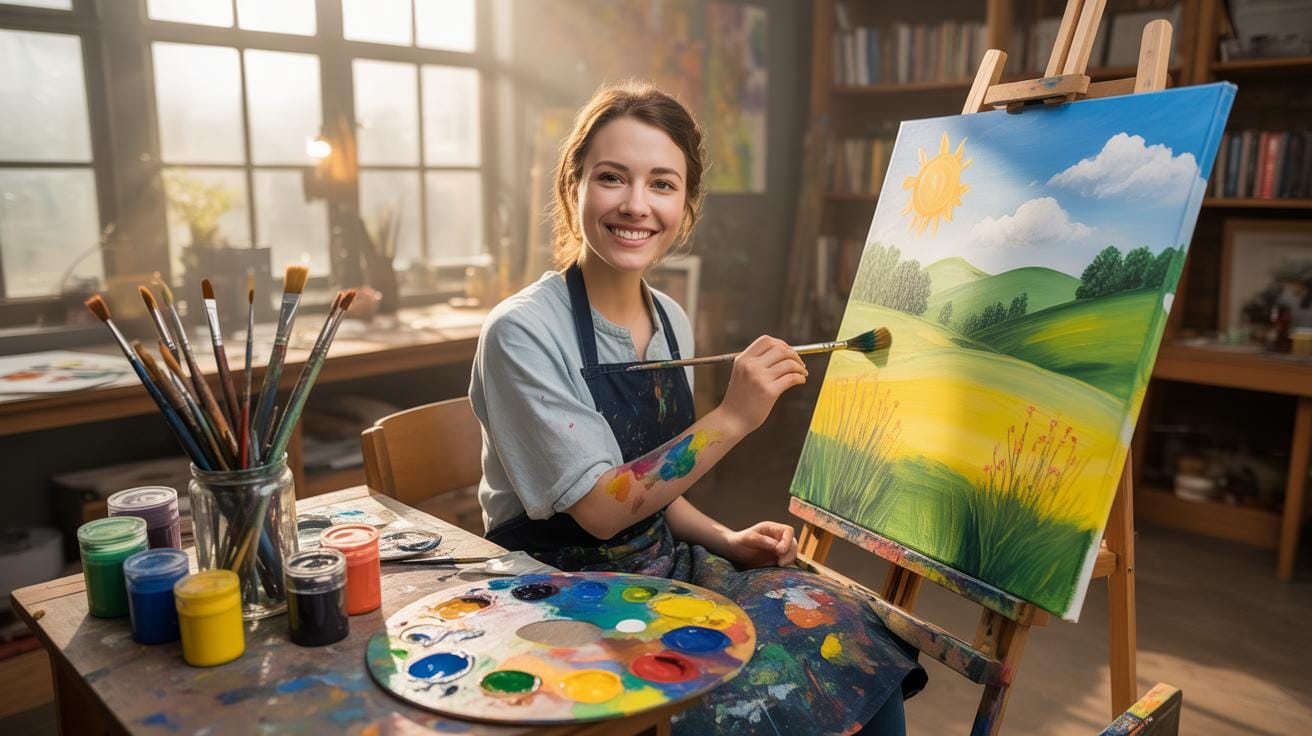
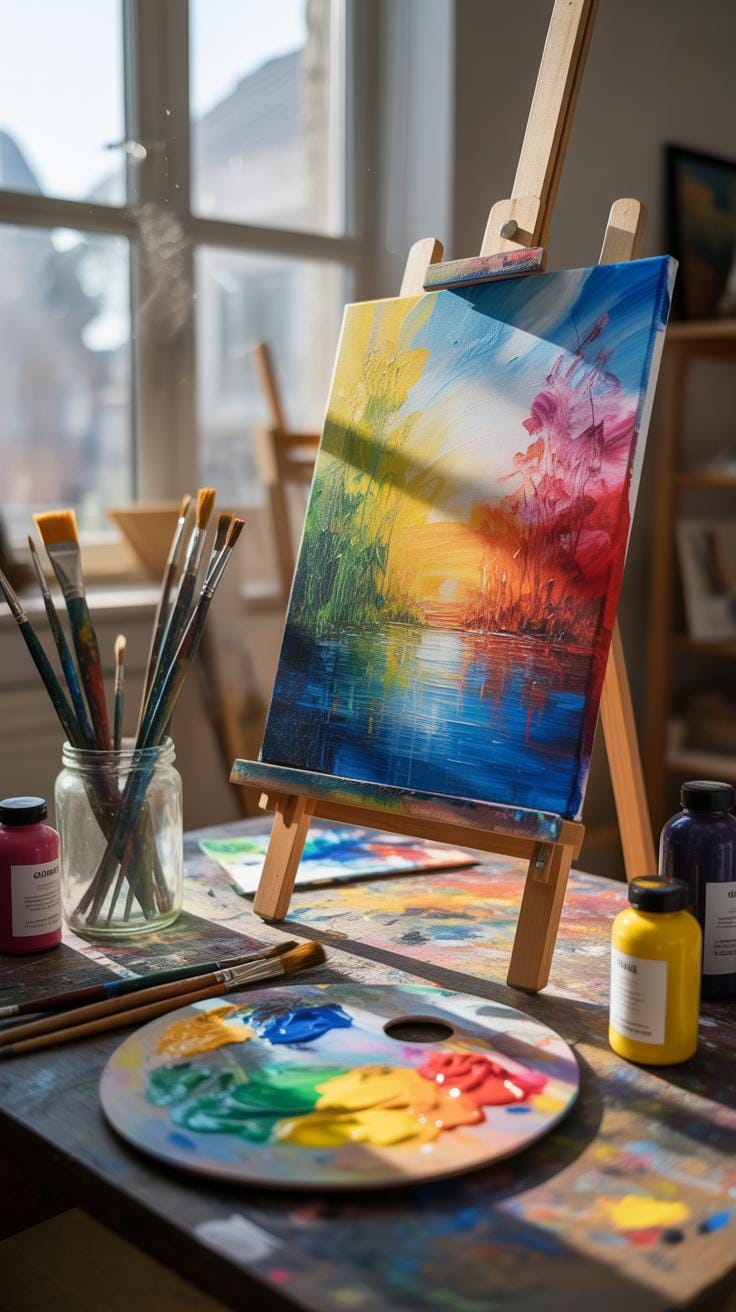
Diy art painting with canvas painting tutorials for beginners is a creative way for you to create personalized artwork. Starting with a blank canvas, you can express yourself and improve your painting skills at your own pace. Using canvas as the painting surface is common because it holds paint well and provides a great texture for different painting styles.
This article guides you through the basics of diy art painting, including choosing supplies, learning simple techniques, and practical steps to complete your first painting project. You will gain clear instructions and tips that fit beginners and help you gain confidence in your painting journey.
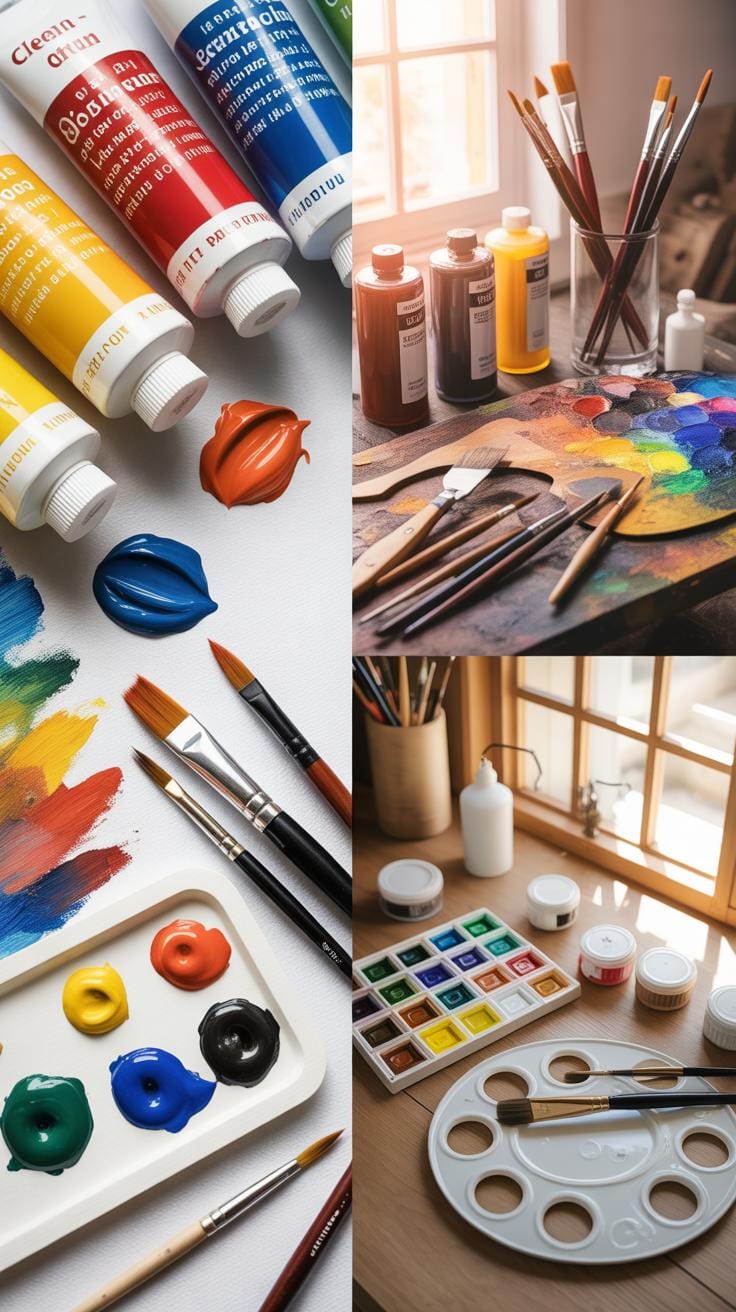
Choosing Canvas And Paint Supplies
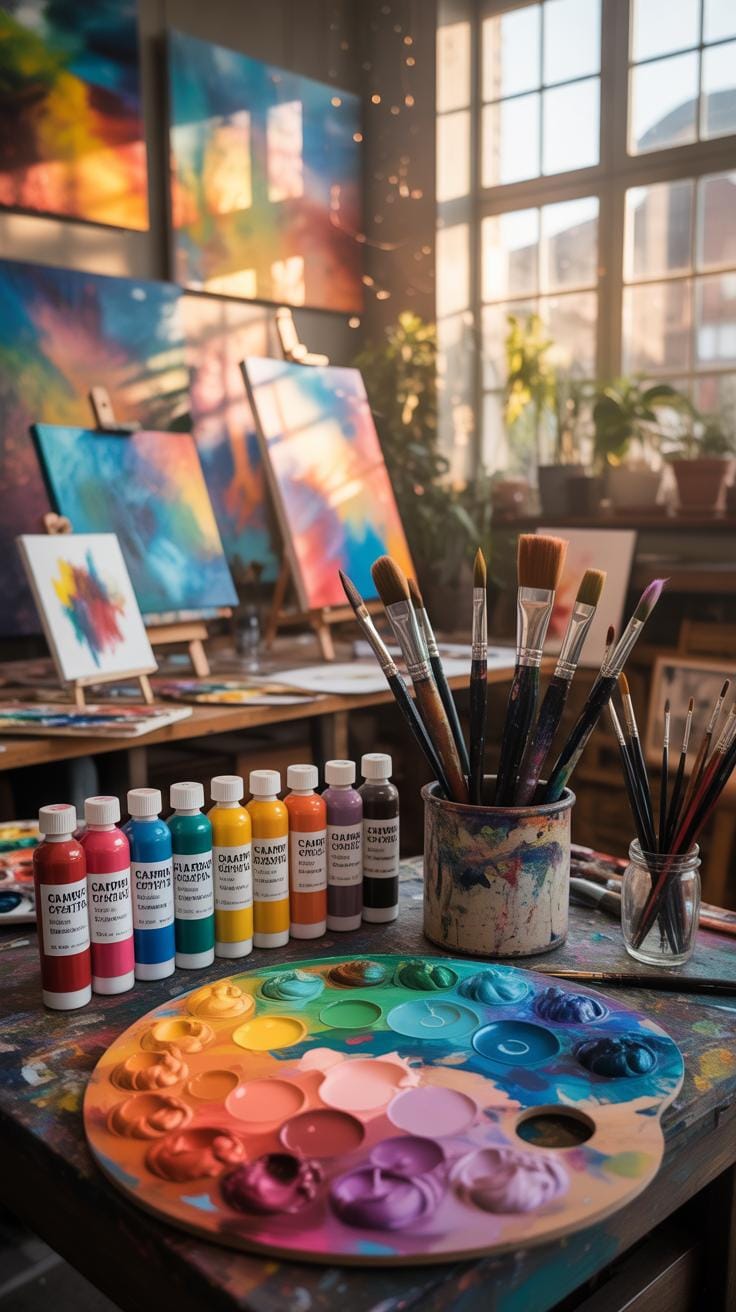
When picking a canvas size as a beginner, think about your space and patience. Smaller canvases, like 8×10 inches, are easier to manage and less intimidating. Larger canvases can be more fun but might feel overwhelming at first. For canvas materials, cotton is common and affordable, while linen is pricier and lasts longer, but maybe more suited if you plan on painting often or seriously.
Paint types vary quite a bit. Acrylics dry fast, are water-based, and are easy to clean—good for beginners. Oils offer rich colors and blend well but take ages to dry and need solvents. Watercolor is less common on canvas but can be used if you prime the canvas properly. Each paint has its quirks, like oils needing patience, acrylics sometimes drying too quickly.
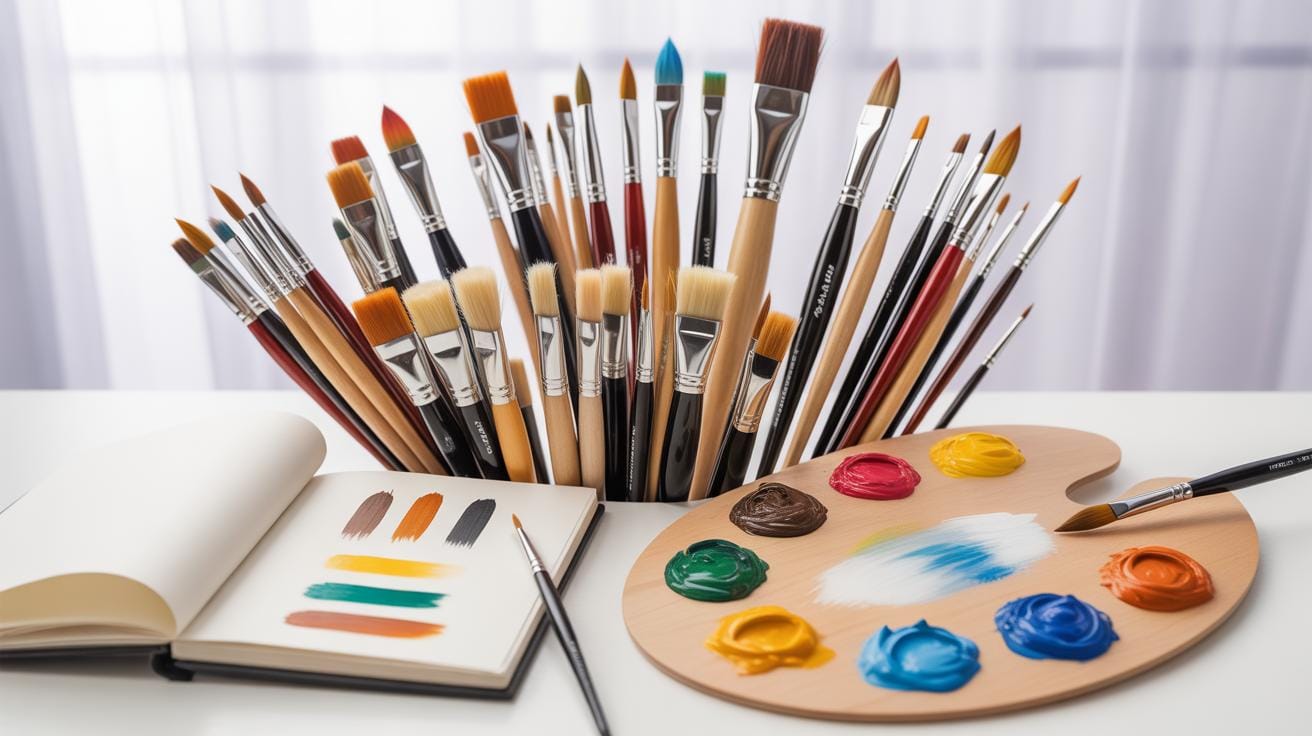
Brushes matter too. Synthetic brushes work nicely with acrylics, while natural hair brushes are better for the slick feel of oils. Get a variety of shapes—flats, rounds, filberts—so you can experiment with different strokes. Besides brushes, you might want palette knives for texture and a palette for mixing. Don’t forget some rags or paper towels for cleanup and blotting. It might feel like a lot, but starting simple helps you find what works.
Basic Diy Art Painting Techniques
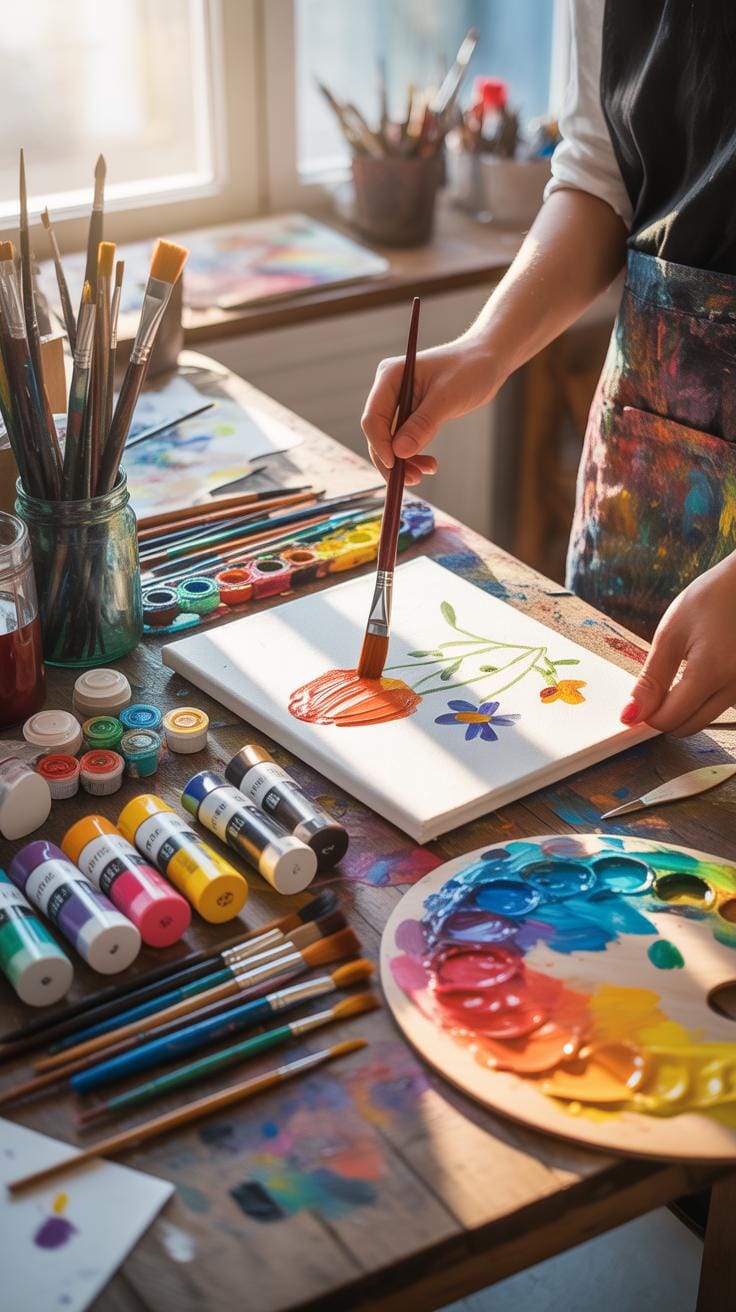
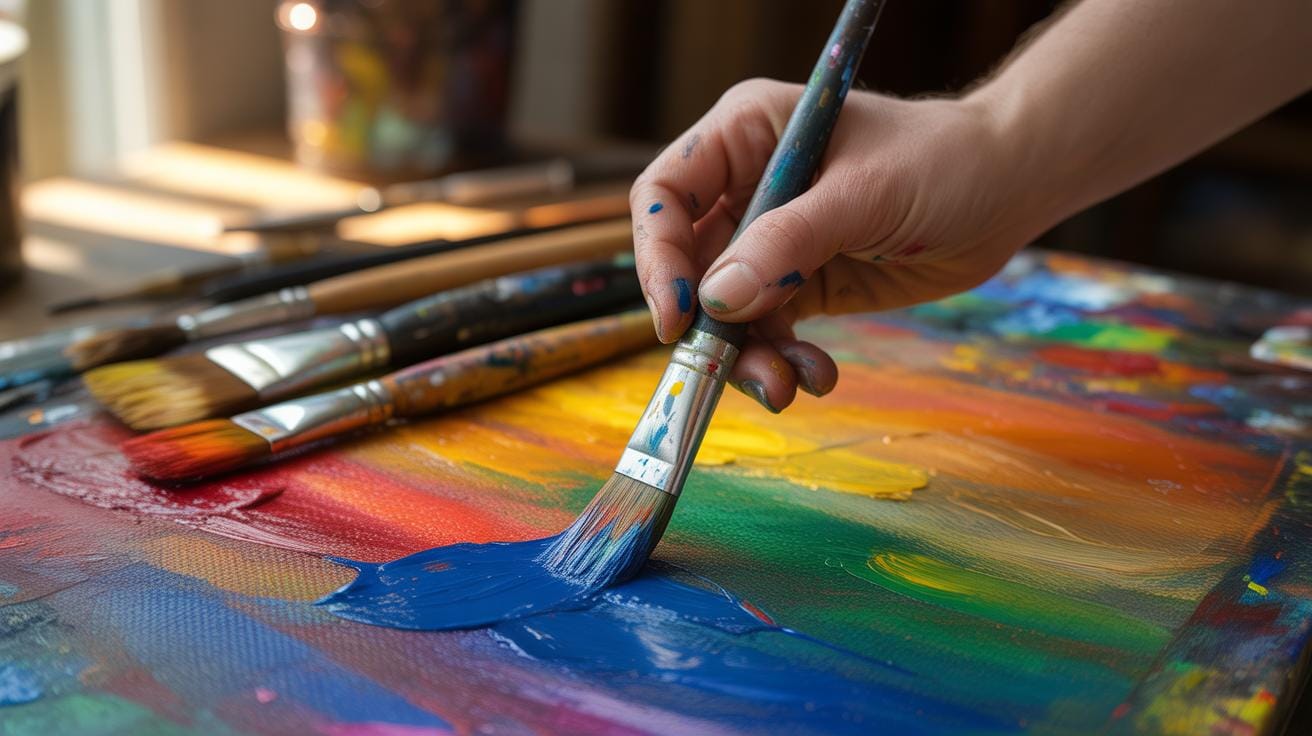
This section dives into some simple painting techniques perfect for beginners eager to practice on canvas. Let’s start with brush handling. Holding your brush like a pencil, close to the ferrule (the metal part holding the bristles) gives you control for detailed work. But, holding it further back creates looser, more expressive strokes. Try both—you’ll see the difference immediately. Moving the brush steadily in one direction creates smooth strokes, while short, quick taps can add texture.
Layering paint lets you add depth to your work. Begin with a thin base layer, let it dry, then add details or highlights on top. This builds richness without muddiness. Thanks to acrylic paint’s quick drying time, you won’t need long pauses for drying.
Mixing colors is a skill that unlocks variety in your palette. Start with primary colors: red, blue, and yellow. Combine these to get secondary colors—green from blue and yellow, orange from red and yellow, purple from red and blue. Experiment mixing small amounts first; adding white tonic can make shades lighter, black for darker tones. Playing around with these mixtures can be surprisingly fun, though sometimes unpredictable.
How To Use Brushes
Brushes come in many shapes: flat, round, filbert, fan, and more. Each one serves a different purpose. For example, flat brushes cover large areas smoothly, whereas round brushes are great for precision and detail. When holding your brush, fingers should be relaxed, not tense, allowing fluid movement. Moving your wrist creates broader strokes, while finger-only motion creates tiny, precise marks. Don’t hesitate to change grip as your painting evolves—it’s part of the process.
Simple Color Mixing Tips
When mixing colors, a little goes a long way. Primary colors are your base. For secondary colors, keep these points in mind:
- Mix equal parts for true secondary colors.
- Add a touch of white to soften intense colors.
- Introduce small amounts of black cautiously—it can quickly overpower.
Try to anticipate how colors will change when dry—some acrylics darken slightly. Don’t hesitate to test mixes on scrap paper or canvas scraps before committing to your masterpiece. It’s a little extra effort that pays off with better color harmony.
Setting Up Your Painting Workspace
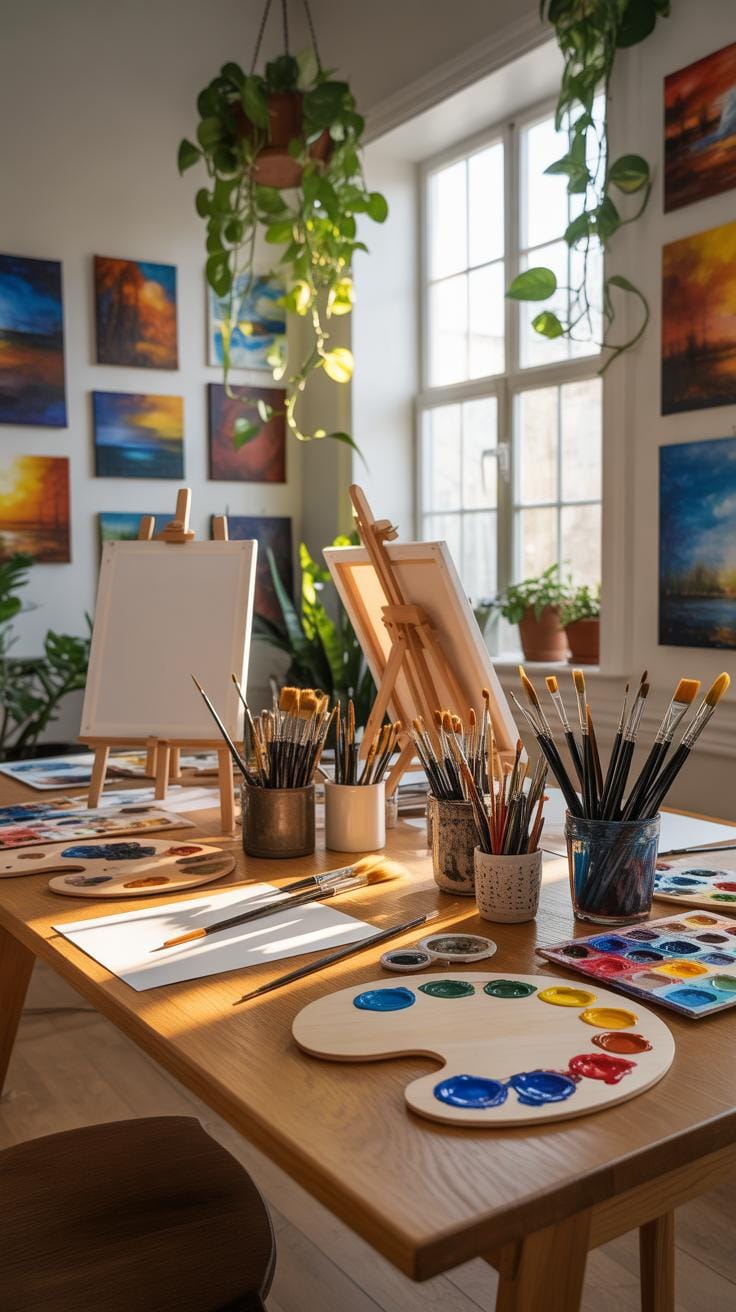
Setting up a space for DIY art painting takes a bit more thought than just throwing a canvas on any table you find. Lighting plays a crucial role—natural light is best, but if that’s tricky, opt for a daylight bulb lamp placed to reduce shadows. You don’t want to strain your eyes or keep adjusting your position.
Ventilation might seem less obvious but it’s important, especially if you use paints with strong fumes. A room with a window you can open, or a small fan to circulate air, will keep the area fresh and safer to work in. You might overlook this, but poor air can dull your senses and make painting less enjoyable.
Furniture should be both practical and comfortable. A sturdy, flat surface to work on is a must, plus a chair that supports good posture. You’ll want your supplies within reach—maybe a small cart or shelf nearby—but not so cluttered it feels overwhelming. It’s a balance between accessible and spacious.
Lastly, protect your surfaces. Old newspapers, plastic sheets, or dedicated drop cloths help when spills inevitably happen. It may seem tedious, but investing time in covering tables and floors saves headaches later. You want to focus on your art, not the cleanup.
Creating A Comfortable Area
Comfort comes from more than just furniture—it includes how your space feels overall. Is there enough room to move without knocking things over? Can you easily reach your palette, brushes, and paints without getting up constantly? These little things add up to keeping your concentration steady.
Some artists find playing soft background music or having a quiet zone helps, but it’s very individual. What keeps you in the zone might shift each time. Try different setups—you might find your painting flow improves when your space suits your current mood and style.
Safety And Cleanliness
Cleanliness isn’t glamorous, but it keeps your space safe and inviting. Wipe brushes properly to avoid hardened paint, and store solvents away from heat or children. Keep a dedicated trash bin handy for wiping rags or used paper towels. Small spills should be cleaned immediately to prevent stains or accidents.
Think about wearing an apron or old clothes because paint can get messy—gradually, you’ll learn what you can risk and what’s worth protecting. It’s also wise to have proper containers for water or solvents and never leave them open where they might spill or evaporate unattended.
Taking these steps might feel overcautious at first, but it really pays off. A tidy, well-organized space feels good to work in and keeps your art practice sustainable. Would you rather spend time looking for supplies or painting? Setting up right nudges you toward the latter.
Step By Step Canvas Painting Process
Starting a painting on canvas might feel overwhelming, but breaking it down helps. First, you want to prepare the canvas so it’s ready to accept paint. That includes making sure the surface is clean, stretched tight if it’s loose, and primed well—usually with gesso. This layer isn’t just ritual; it creates a texture and barrier that stops paint from soaking in too much, which can dull colors.
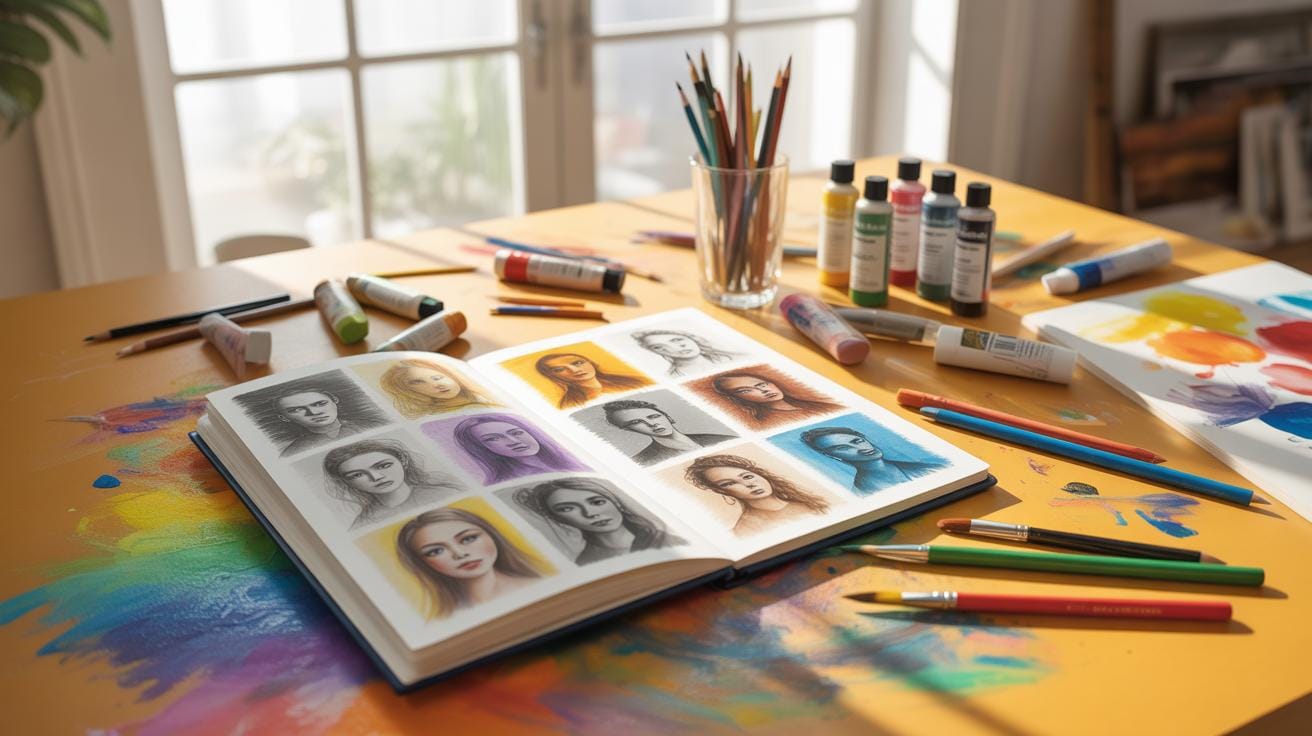
Once prepared, sketching your idea comes next. You could do a rough pencil outline or use charcoal if you want easier corrections. Don’t worry about perfection here; think of it as your map.
Painting in layers helps build depth. Start with broad, thin washes to block in main colors and shapes. Then gradually add thicker, more detailed layers, step by step. This method lets you adjust tones and add highlights without losing the earlier work underneath.
Finally, as you near completing the painting, evaluate whether you want sharp lines or soft blends. Add those last touches carefully. Maybe a few strokes to brighten or shadows to define forms.
Here’s a quick checklist you might keep handy:
- Stretch and secure canvas firmly
- Apply 2-3 coats of gesso with sanding in between for smoothness
- Lightly sketch your design
- Block in colors with thin first layers
- Build up paint thickness gradually
- Refine details slowly over several sessions
- Add highlights and shadows at the end
- Let dry completely before varnishing or framing
Following steps like these can make the whole process feel more manageable, even enjoyable. Do you find layering challenging or part of the fun? Either way, patience matters here.
Common Painting Mistakes To Avoid
Overworking The Canvas
You might think that working more on your canvas will improve the painting, but it can actually cause issues. Adding too much paint or brushing repeatedly over an area may damage the surface texture or muddy your colors. It’s like stressing the canvas; it starts losing its balance. When you find yourself scrubbing at a spot with no improvement, stop. Take a step back and let things settle. Light layers build character better than heavy, rough applications. Try to apply the paint more deliberately and don’t feel you have to fix everything right away. Sometimes less is more.
Ignoring Paint Drying Times
This one is common—eager to add another layer, you rush, but skipping drying time can harm the results. Paint needs time to set between layers to avoid blending unintentionally or disrupting the texture. Drying times depend on the type of paint you use. Oil paints, for example, require longer wait periods than acrylics. Rushing through can cause smudges or uneven surfaces that might annoy you later on. Give your painting space and patience, like letting a good story unfold. Waiting might feel tedious, but the improvement in depth and clarity is worth it.
Comparing Paint Types For Canvas Art
Acrylic Vs Oil Paints
Acrylic paints dry quickly, often within minutes or a few hours, making them quite convenient for beginners who want to see results fast. They’re water-based, so cleaning up just means soap and water – no harsh solvents needed. The colors tend to stay vibrant, even after drying, which is a plus for bright, bold artworks.
Oil paints, on the other hand, take much longer to dry—sometimes days or even weeks, depending on thickness. This slow drying allows for blending and subtle color shifts but might frustrate someone just starting out. Oils typically require turpentine or mineral spirits for cleanup, which adds a layer of complexity and caution. Many find oil paints rich and luscious in color, but I wonder if the trade-off in maintenance might deter beginners.
Watercolor On Canvas
Watercolor is less common on canvas, as it’s mostly used on paper. However, specially prepared canvases that are sized or primed to prevent excessive absorption can support watercolors. The effect here is more delicate and translucent, unlike the bold opacity of acrylic or oil.
This translucency can be quite beautiful but also challenging. The watery pigments don’t layer as heavily and can be unpredictable on canvas texture. If you’re curious about trying watercolor on canvas, expect lighter washes and subtle shifts rather than intense, solid areas of color. Cleanup is simple—water alone—but controlling the paint takes a bit more practice.
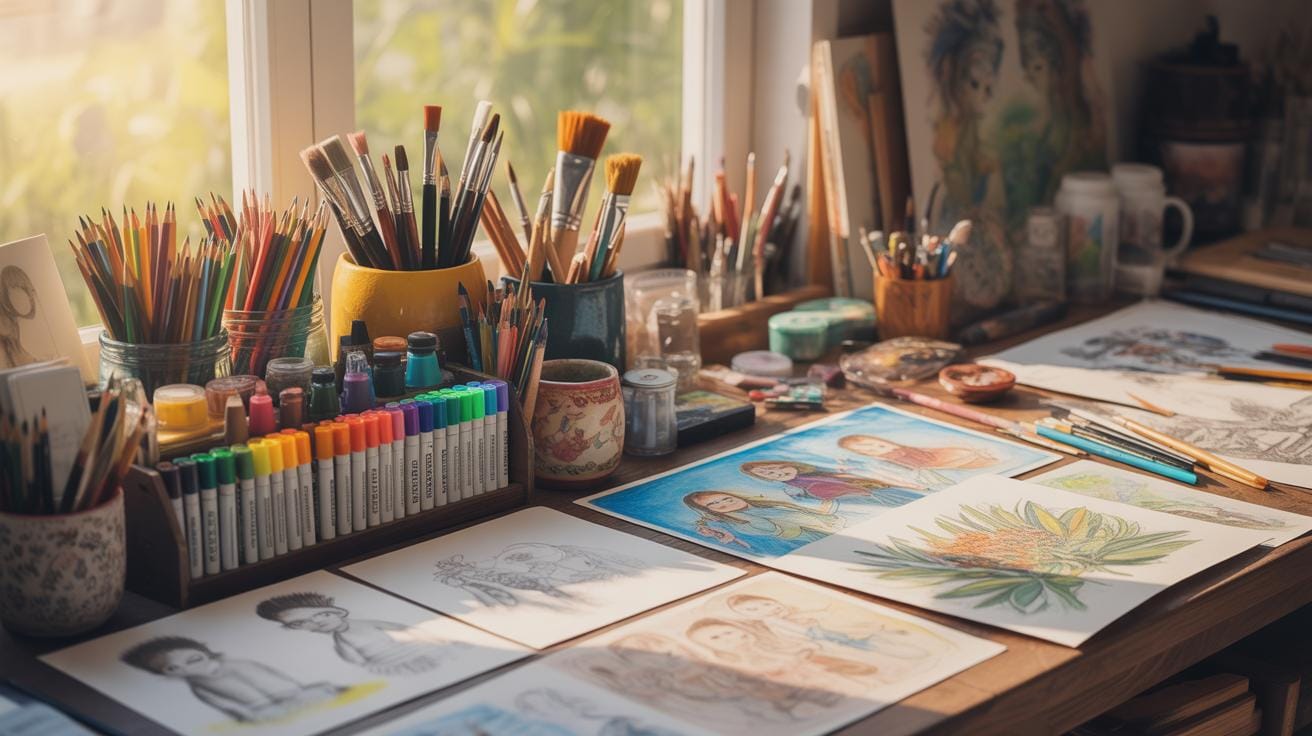
Tools And Materials Checklist For Beginners
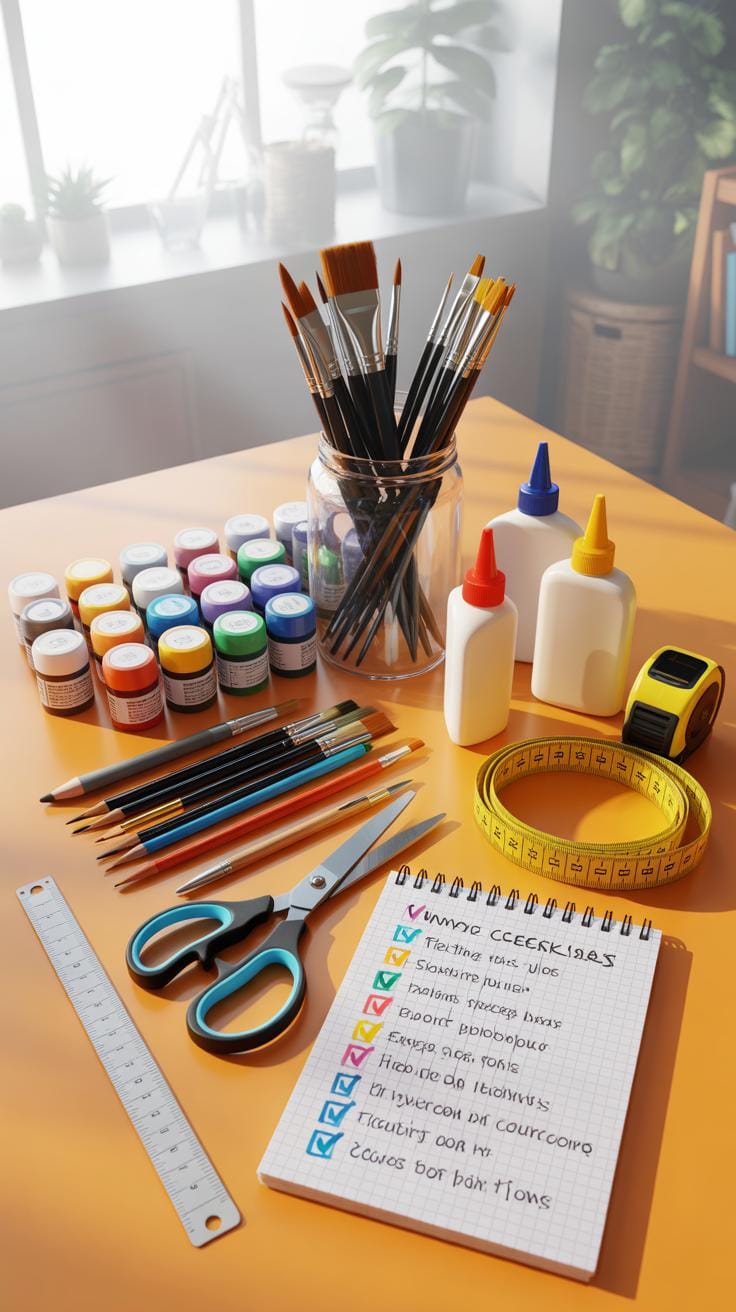
When you start diy art painting on canvas, having the right tools can make a big difference. You don’t need a huge collection, but getting the essentials helps avoid frustration. I remember buying too many fancy brushes at first, only to realize I rarely used half of them. So, here’s a practical list:
- Brushes: A set of synthetic brushes is good for beginners. Include different shapes—flat for broad strokes, round for details, and filbert for blending.
- Canvas: Pre-stretched canvases are easy to work with. Sizes depend on your space and patience—start small if you want quick finishes.
- Paints: Acrylics are forgiving and dry fast, which helped me avoid waiting days to start over. You might get some basic colors and mix from there.
- Cleaning Supplies: Besides water for acrylics, keep mild soap handy. Brushes especially benefit from gentle washing to prevent damage.
Buying these doesn’t have to be overwhelming. Look for quality over quantity. Some brands last longer and deliver smoother application. Don’t shy away from secondhand stores or sales—it’s possible to find decent supplies without splurging.
Maintaining Your Supplies
Once you’ve invested in brushes and paints, take care of them. Clean brushes promptly after each painting session; dried paint can ruin the bristles. Use lukewarm water and gentle soap, then reshape the brush tip before letting it dry horizontally or bristle-down to prevent damage. Storing brushes upright with spacing helps avoid deformation; avoid tossing them in jars piled up.
Canvases are easier. Store them in a dry area away from direct sunlight to avoid warping. Paint tubes benefit from a quick wipe and tight caps. When your tools last longer, you save money and frustration.
Example Diy Painting Projects To Try
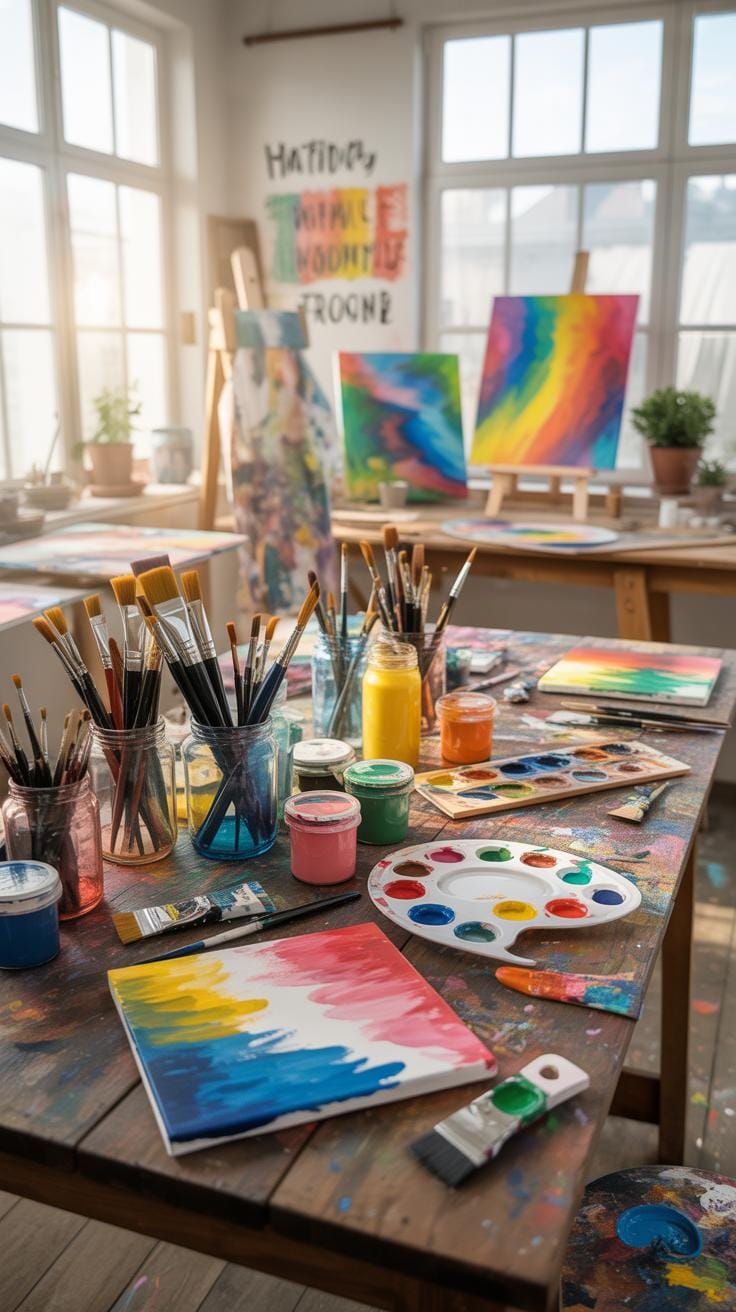
Starting with simple projects can really clarify the basics of painting on canvas. You don’t need to jump into complicated techniques right away. Sometimes, the most straightforward approach helps you understand brush control and color mixing better than anything else.
Easy Landscape Painting
Try this classic first: a basic scene with a sky, a line of hills, and perhaps a body of water like a lake or river. Pick a few colors—blue for the sky, green for the hills, and some darker shades for shadows. Start with broad brushstrokes to fill in these areas, layering colors as you go. Don’t worry if it looks rough—the idea is to get used to blending and layering.
Focus on horizontal strokes for the sky and hills, and maybe some vertical strokes for trees or grass. The key is to keep your brush strokes loose and simple. This lets you get comfortable with shapes and colors without getting lost in detail. You’ll probably find the blending of colors between the sky and hills intriguing—it’s subtle but powerful once you see it happen.
Abstract Art Basics
Abstract painting is open-ended and a little unpredictable. Begin with a blank canvas and select two or three colors that appeal to you. Start by painting simple shapes—circles, rectangles, or irregular blobs. Don’t overthink placement; let your hand move naturally. Layer the shapes over each other, changing colors as you go.
This project lets you play with composition and color contrasts without needing technical skill. You might hesitate at first, wondering if what you’re doing counts as art. But the beauty here is in the freedom. It’s less about the final image and more about exploring your reactions to shapes and colors. You may catch yourself wanting to redraw or tweak—go ahead, it’s part of discovering your style.
Conclusions
Diy art painting on canvas is accessible and rewarding. You can create unique artworks with the right materials and clear steps. This article has covered choosing canvas and paints, basic methods, and how to approach your first paintings carefully.
Try the tutorials with your choice of colors and tools. Take your time experimenting with brush strokes and styles. The key is consistent practice and enjoying the process of turning your ideas into colorful art on canvas.


