Introduction
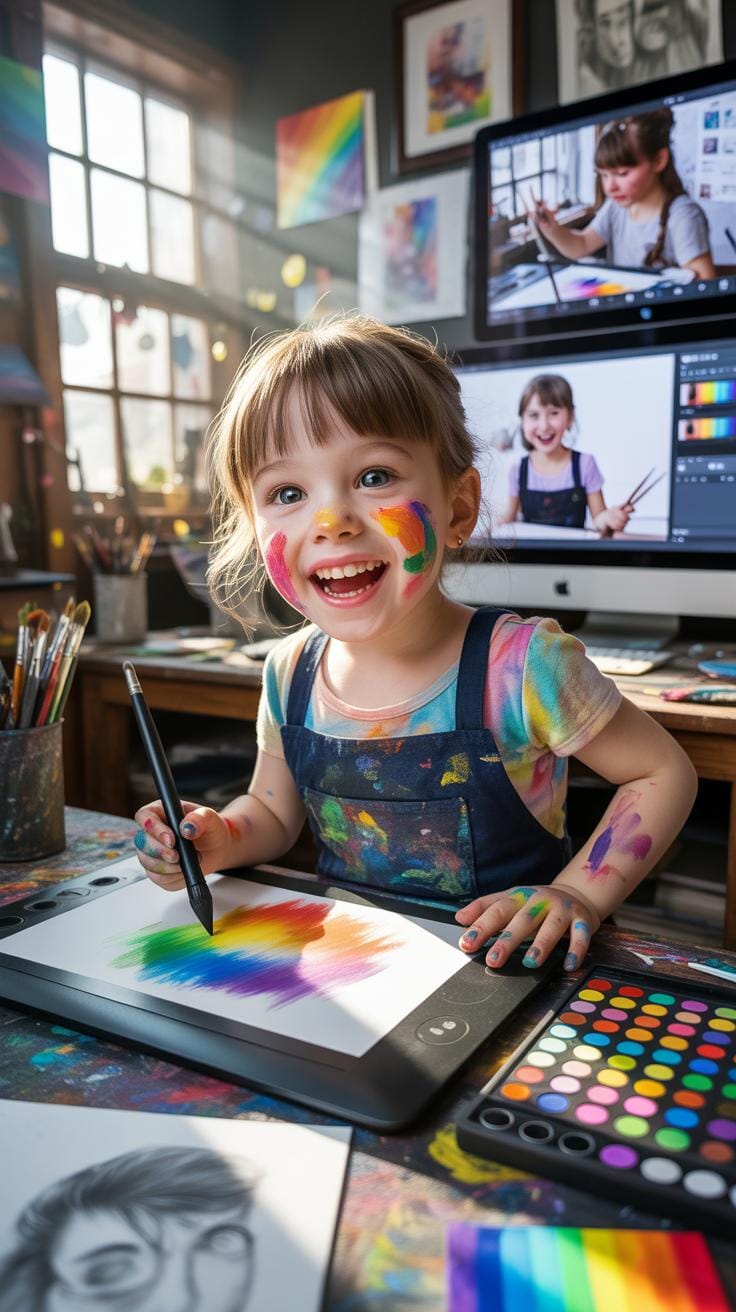
Digital art is a type of art made using digital technology. For beginners, starting with digital art can feel confusing but also exciting. This article on Digital Art Beginner Tips For Effective Digital Painting Tutorials will guide you through the essential steps to begin your digital art journey. You will learn what digital art involves and the best ways to start creating your artworks digitally.
This guide covers key information such as choosing the right tools, understanding basic painting techniques, and following tutorials that will help you improve your skills. Whether you want to make simple drawings or detailed digital paintings, these tips will help you get comfortable creating art on a computer or tablet.
Choosing The Right Digital Tools

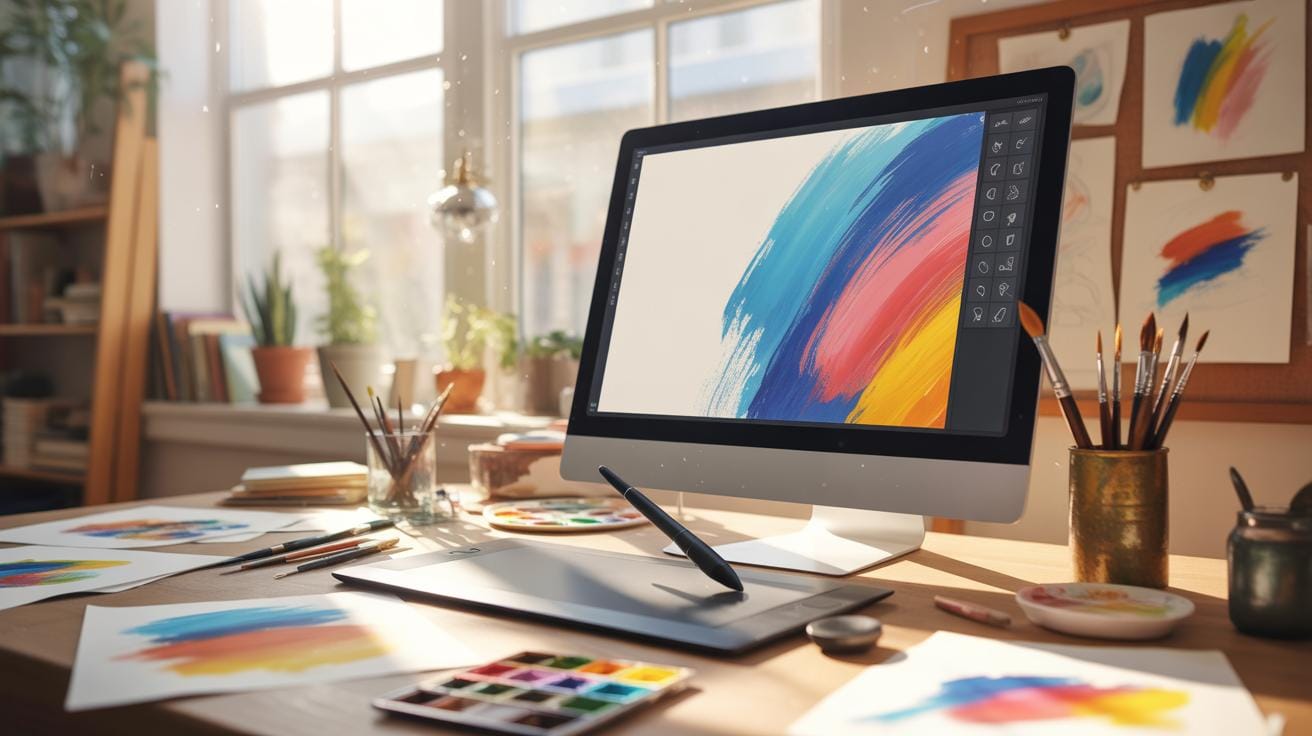
When you’re starting digital art, picking your tools can feel overwhelming. There’s a lot to think about: hardware, software, and how they work together. Let’s start with the devices. Tablets are popular—they let you draw naturally with a stylus, like a pen on paper. Some tablets come with screens, so you see your work right under your hand, which many find helpful. Others connect to your computer, showing the drawing separately. Tablets without screens are usually cheaper, but they take some getting used to.
Touchscreen computers combine display and drawing surface in one. This convenience is nice, but they can be pricier. Pen displays, where you draw directly on the screen with a stylus, often offer the best experience for beginners who want immediate feedback. Yet, these also tend to cost more.
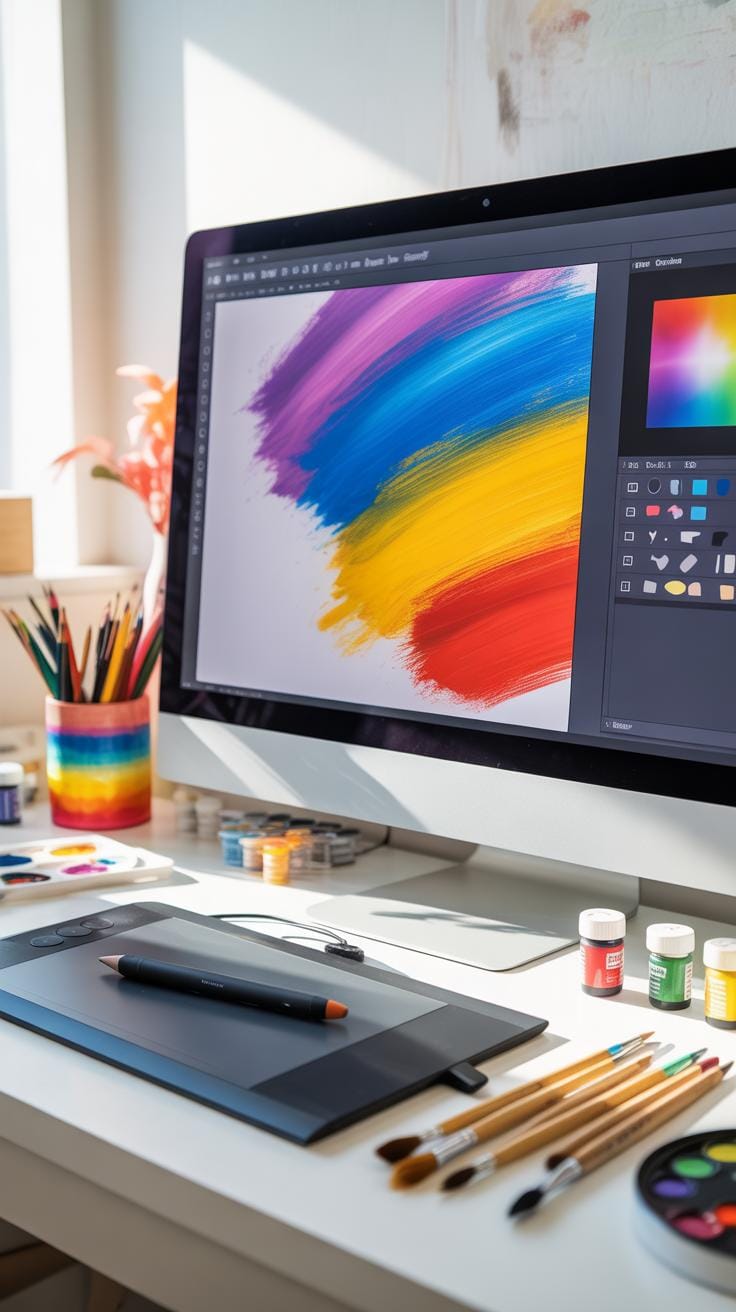
On the software side, Photoshop is well-known and powerful, but it might feel overwhelming at first. Krita is a free alternative that’s surprisingly user-friendly and has tons of features made for painting. Other options include Clip Studio Paint and Procreate, but those may require additional investment or specific devices. When choosing software, consider how simple the interface is and whether tutorials are available — these greatly affect how quickly you learn.
Deciding on your setup depends on your budget, how you prefer to draw, and the type of art you want to create. Would you rather invest in a good pen display or start simple with a tablet and free software? Either way, experimenting helps find what really fits your style.
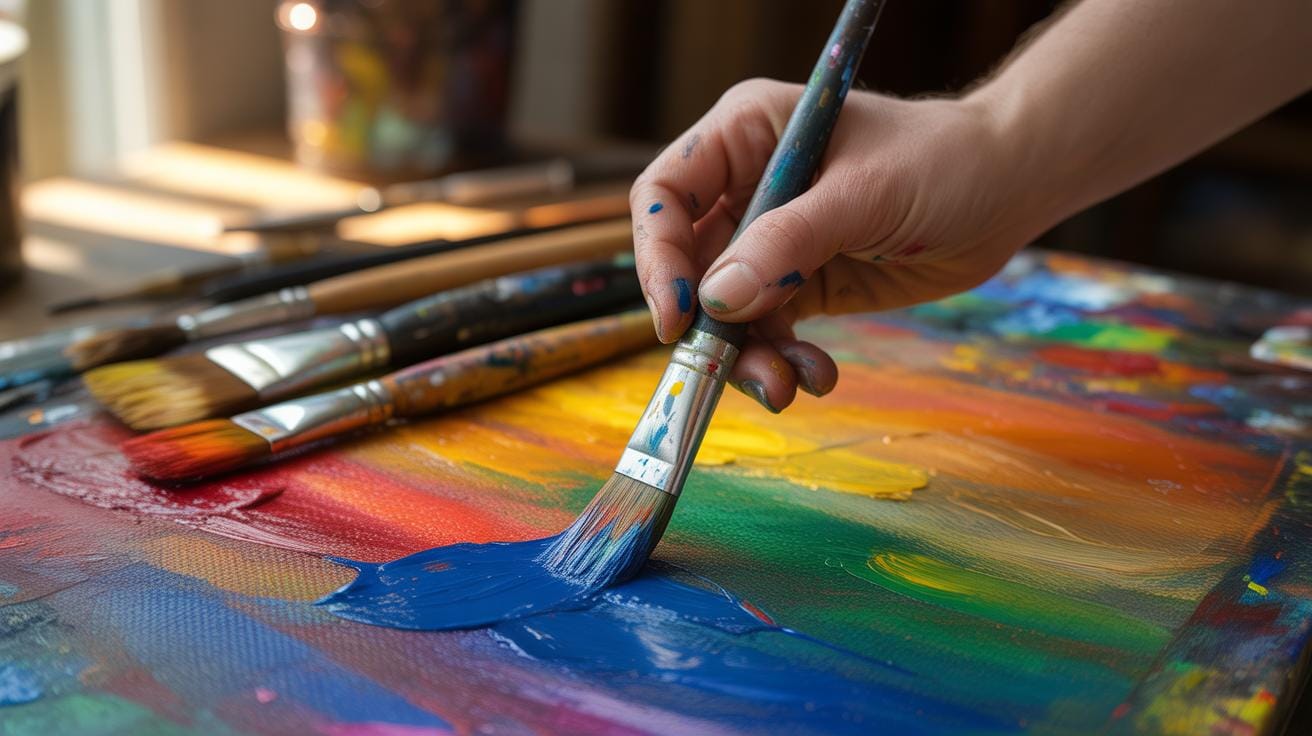
Starting Basic Digital Painting Techniques
Getting the hang of digital painting is less about mastering every tool at once and more about asking the right questions. Which brushes feel right to you? How do layers change your workflow? These are good starting points.
First, brush selection can feel daunting because of the vast options available in most software. Try beginning with basic brushes—round, soft, and hard textured. Each one behaves differently and serves distinct purposes. Don’t rush picking; experimenting helps reveal what fits your style.
Layering is another core concept. Think of layers as transparent sheets stacked on top of each other. You can separate elements like background, characters, or shadows on different layers, which means you can make adjustments without ruining other parts. You might save multiple versions of layers or adjust their opacity for subtle effects.
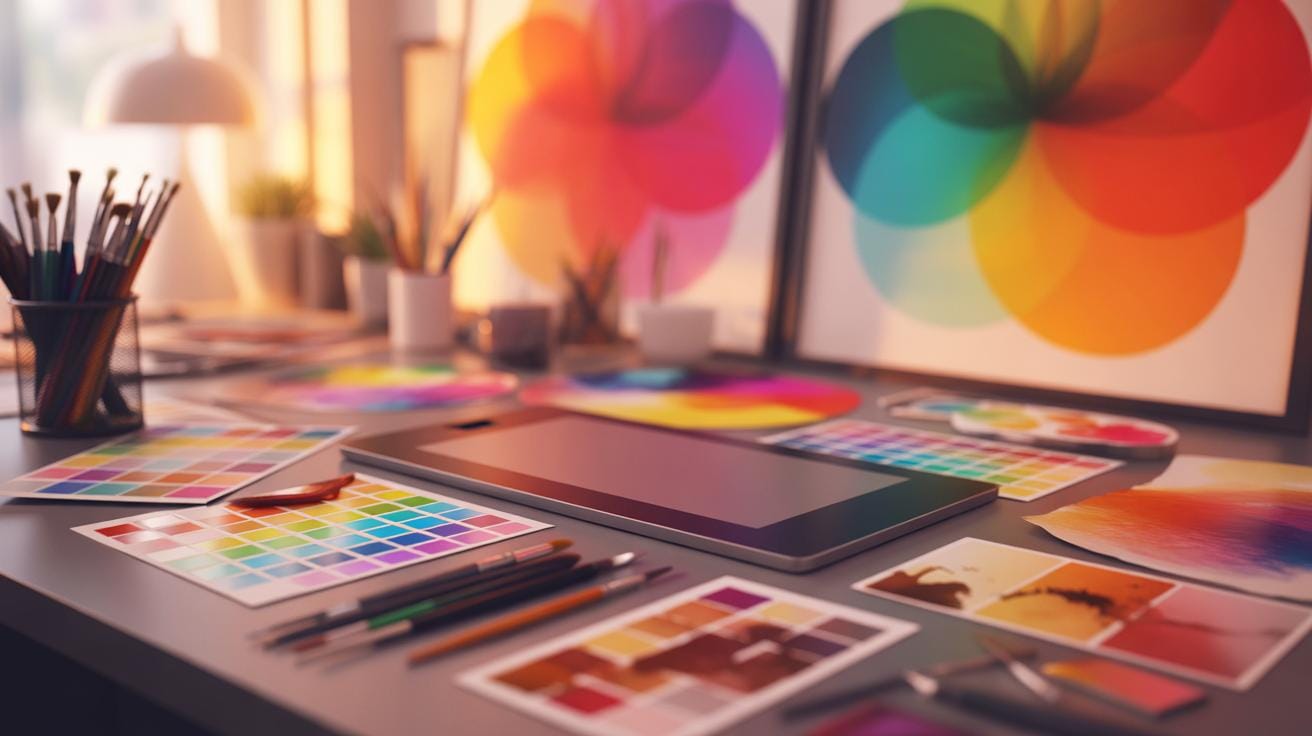
Color choice often trips beginners up. Start simple. Pick a main palette, then add highlights and shadows using slightly varied hues. This avoids overwhelming the image. You don’t need a full rainbow to make art look good—stick with a few related colors at first.
Lastly, drawing basic shapes can unlock complex images. Circles, squares, and triangles are the backbone of many forms. If you practice making these shapes confidently, you’ll soon notice how they compose everything from faces to landscapes.
Each of these steps feels narrow yet broad at the same time, doesn’t it? But mastering these basics lays a foundation you’ll build on naturally, not forcefully.
Following Clear Digital Art Tutorials Why It Matters and Where to Start
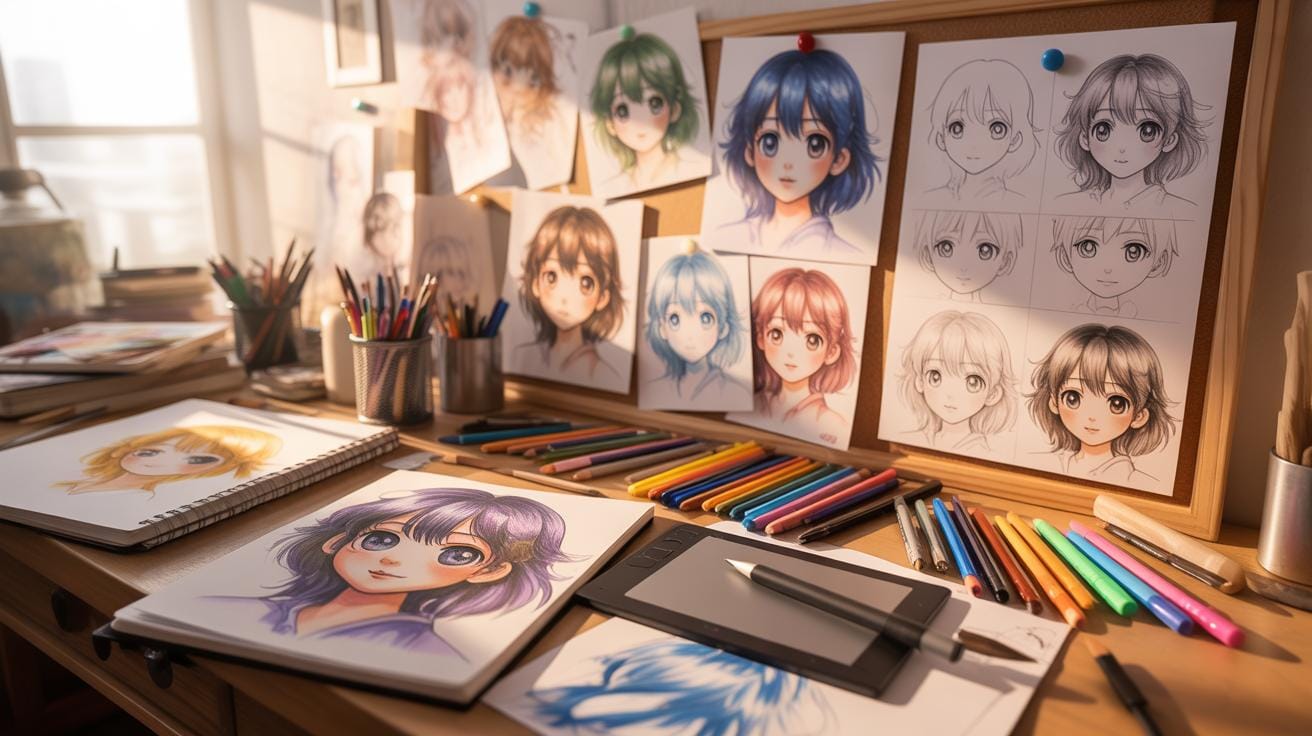
When you’re just getting into digital art, following structured tutorials can really help you make sense of all the tools and techniques out there. It’s easy to feel overwhelmed by digital painting software and features. Tutorials provide a roadmap—step-by-step instructions that break things down into doable parts. You get to see how a professional approaches a piece, which is quite different from learning randomly or by trial and error.
Good tutorial formats often include videos since watching someone work can clarify motions and settings that are hard to grasp from just text. Step-by-step written guides are also helpful, especially when you want to move at your own pace or revisit tricky parts. Practice projects embedded in tutorials push you to apply what you’ve learned rather than just passively watching.
Finding Beginner-Friendly Tutorials
Finding tutorials that don’t assume too much prior knowledge is key to not getting frustrated early on. Places I often turn to include websites like Proko, Ctrl+Paint, and the beginner sections of platforms like DeviantArt. YouTube channels such as Aaron Blaise, Art with Flo, and Draw with Jazza offer beginner tutorials that are easy to follow and engaging. Joining forums or communities, for instance on Reddit’s r/learnart or various Facebook groups, can also lead you to helpful recommendations and feedback as you learn.
Practicing With Simple Art Projects
Just absorbing tutorials isn’t quite enough; you need to practice actively. Start with small projects that feel manageable so you don’t lose momentum. For example, try drawing basic shapes and shading them digitally, or sketch a simple object from life or photos and color it digitally. Another idea is to create a minimalist landscape or a cartoon character using limited colors and layers. These projects focus on individual skills like brush control, layering, or color matching—skills that build a foundation for more complicated work later.
Have you considered keeping a daily digital sketch journal? It’s a way to consistently apply what you pick up from tutorials, even on busy days. The key is balancing learning with doing. Without trying things yourself, tutorials might quickly become passive watching instead of growth.
Setting Up Your Digital Workspace

Getting your digital workspace right can shape your whole digital art experience. It’s not just about opening your software and starting to draw. How you arrange your desk, your screen, and your tools matters—perhaps more than you might expect at first.
When setting up, think about comfort and focus. Position your monitor so it doesn’t glare or strain your eyes. Your drawing tablet or screen should be at an angle that feels natural to your hand and wrist—awkward setups quickly lead to fatigue.
In the software itself, initial settings can save you headaches later. Customize your interface to keep frequently used tools close. Adjust brush sensitivity to suit your style. And it’s easy to overlook how vital autosave or backup features are—set these up early to avoid losing work unexpectedly, which has happened to me more than once.
How about saving your work? Don’t just rely on one format or location. Save progressively, use multiple formats (.psd for editing, .png for quality viewing), and consider cloud backups. It’s a bit of fiddling that pays off when technology doesn’t cooperate.
Organizing Your Canvas And Tools
Before you dive into painting, arrange your digital canvas correctly. Choosing the right resolution is important—it influences detail and file size, which in turn affects your system performance. For most beginners, starting with 300 dpi for print-quality or 72 dpi for web is a practical rule.
Set your canvas size according to your project needs. Bigger isn’t always better if your computer slows down.
Managing toolbars and palettes is another small habit with big impact. Position them where you can reach naturally without cluttering the canvas. Some artists like to minimize tools and only bring them up when needed, but others keep everything visible to stay in flow. Experiment to find what suits your working rhythm.
Saving And Exporting Digital Art
Choosing the right file format depends on what you plan to do with your artwork. PSD or TIFF files hold layers, great for continued editing. JPEGs are compressed and perfect for quick sharing but lose quality with each save. PNG preserves quality and transparency, useful for layered compositions without flattening.
Always save your original file before exporting different versions. When exporting, check resolution and color profiles to match your intended display, whether screen or print.
File management might seem tedious, but tag and organize your files in folders that make sense—date, project type, or client. It’ll save you time hunting for that artwork you swore you saved somewhere.
Common Beginner Mistakes To Avoid

When starting out in digital art, it’s easy to fall into some common traps that can slow your progress or make your work feel cluttered. One frequent issue I see is the overuse of effects and brushes. Beginners often get excited by all the flashy brushes and special effects their software offers. But relying too much on these can actually hold you back from learning fundamental skills. You might end up covering weaknesses rather than developing your ability to draw and paint effectively.
It’s understandable to want to make your art look impressive quickly, but think about whether those effects truly serve your vision. Instead, try to master basic brush techniques first before diving into complex tools.
Another pitfall is ignoring layer management. At first, managing layers might feel unnecessary or even confusing. Yet, as your painting grows more complex, a lack of organization can cause real headaches when you want to edit or fix parts of your art. You might find yourself stuck undoing everything to fix a minor detail.
Organizing layers with clear names and groups might seem tedious, but it pays off quickly. You’ll save time and frustration during revisions and also understand your workflow better.
Lastly, and this one’s perhaps the toughest—neglecting regular practice. It sounds obvious, but without consistent effort, improvement will stall. Practice isn’t glamorous, and sometimes it feels like you’re just repeating the same mistakes. Yet, these repeated trials slowly build your muscle memory and artistic intuition. So set reachable goals, even if it means sketching daily for just ten minutes.
Have you noticed any of these habits creeping into your own work? Reflecting on them could be a helpful step toward growing your digital art skills.
Comparing Digital Painting Vs Traditional Art

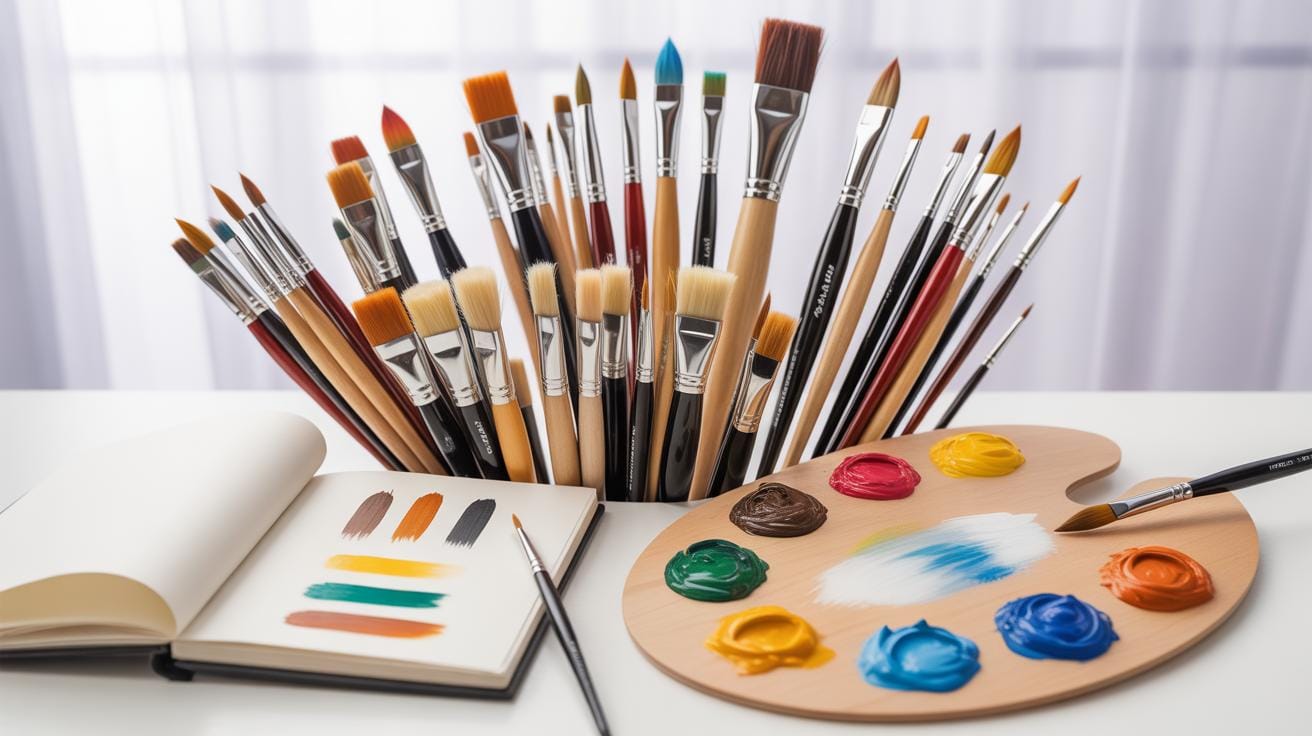
Digital painting and traditional art differ in several key ways you might not expect. Digital artists work with tools like graphic tablets, styluses, and software. Traditional art, on the other hand, involves physical materials — brushes, paints, canvas, paper. When it comes to corrections, digital painting lets you undo mistakes instantly. Traditional art demands more patience and careful planning since errors are harder to fix. Also, digital workflow benefits from layering, allowing artists to isolate parts of their work, which isn’t possible with traditional media.
Materials needed for traditional art can pile up—you might require dozens of types of brushes, paints, and canvases. Digital painters only need a computer or tablet and software, though the learning curve for that software can be steep.
Advantages Of Digital Painting
Digging into the perks of digital painting, one thing that stands out is the undo option. You can experiment freely without worrying about ruining anything. Layering helps separate elements, making editing easier later. Digital tools also offer variety—brushes that mimic oils, watercolors, or charcoal with just a click. This variety can encourage creativity and exploration, something that’s harder to achieve quickly with physical paints.
This ease doesn’t always mean it’s simpler, though. Some digital tools can overwhelm beginners with too many options.
Challenges In Digital Art
Digital art is not without its hurdles. Screen fatigue is a real problem—you might find your eyes tired after hours staring at a monitor. Additionally, software can be tricky to learn; you often need tutorials, patience, and trial and error to master it. Sometimes, you might miss the tactile feel of brushes on canvas—digital doesn’t completely replicate that experience.
And then there’s the issue of technology itself—software bugs, updates, or hardware malfunctions can disrupt your workflow unexpectedly. It’s a different set of challenges compared to traditional painting, which can feel more straightforward in comparison.
Step By Step Digital Art Creation Process
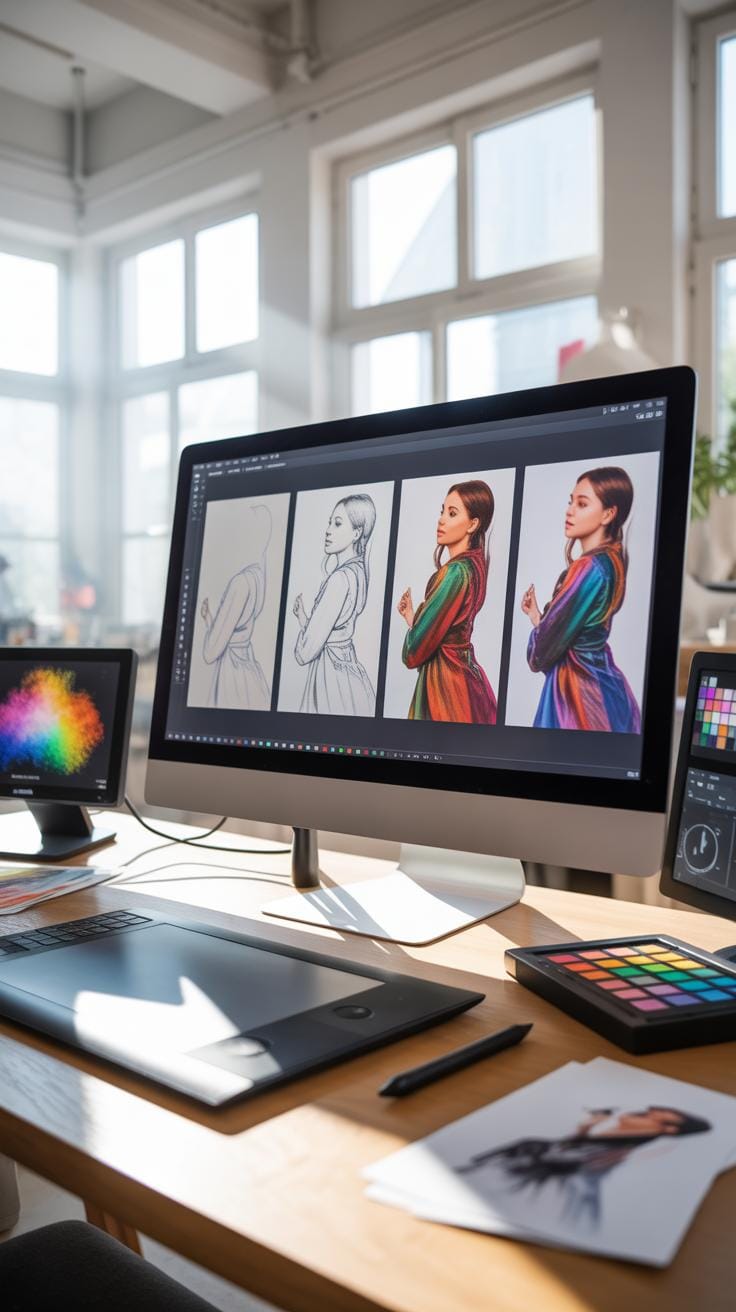
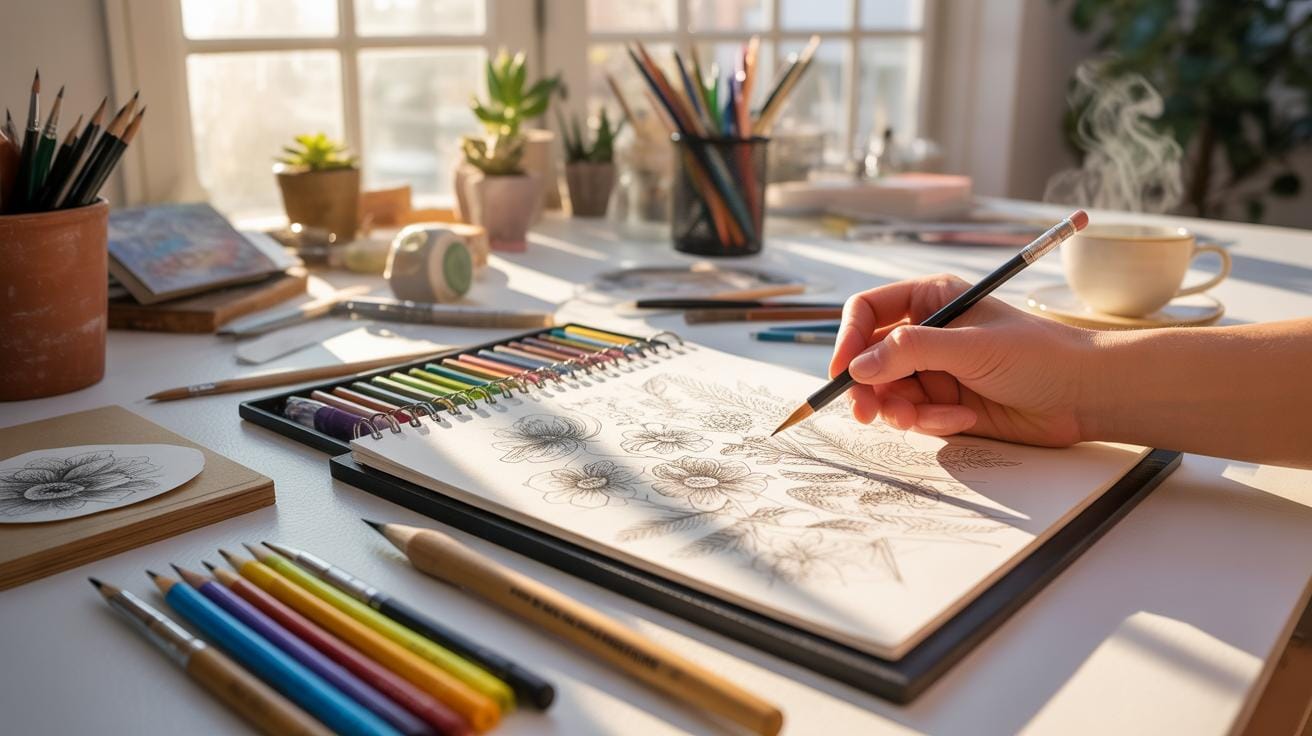
Starting a digital painting can feel a bit overwhelming, but breaking it down into manageable steps helps. First, you want to get your ideas down as sketches. These rough sketches act as the blueprint. They don’t need to be perfect — just enough to capture your vision.
Next is planning your composition. Think about the layout of your artwork on the digital canvas. What elements do you want to emphasize? Where does the viewer’s eye need to go first? You might experiment with different arrangements before settling on one.
Once the composition feels right, begin blocking in the basic shapes and colors. Don’t worry too much about details yet. This step is about establishing your art’s foundation.
Now, you can move on to refining. Adding finer details brings your painting to life. Pay attention to light and shadow; highlights can create depth and dimension. Adjust colors and textures to match your vision closer. This stage might take time, as small tweaks can make a big difference.
Throughout the process, save versions often. Sometimes stepping away and viewing with fresh eyes reveals areas that need improvement. Don’t rush; digital art allows for trial and error. Use that freedom to explore and learn what works best for you.
Digital Art Beginner Learning Checklist
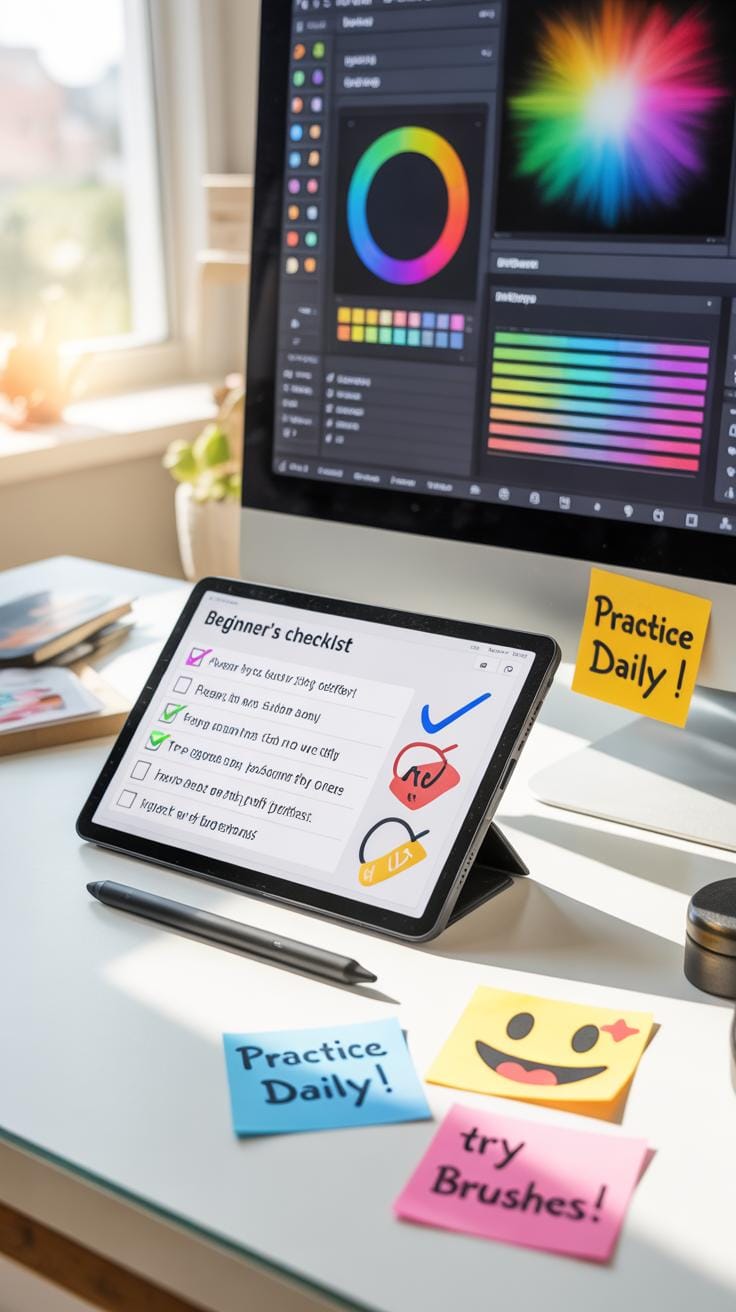
Starting digital painting can feel overwhelming, right? So, having a checklist to guide your learning helps keep things on track. It’s not about rushing or ticking boxes but about noticing small improvements over time.
Here’s a simple checklist to keep handy:
- Understanding your software tools: brushes, layers, and blending modes.
- Practicing basic drawing shapes and forms digitally.
- Experimenting with color mixing and shading techniques on a tablet or screen.
- Repeating simple subjects like still life or quick sketches regularly.
- Trying out different brush settings to see their effects.
- Learning to use shortcuts to speed up your workflow.
Each point is a step forward. Don’t stress if one takes longer. Stay curious about what you’re improving next.
Skills To Practice Regularly
Repetition trains your hand and eye coordination. Try focusing on a few skills and revisiting them often:
- Line control: drawing clean, intentional lines.
- Layer management: organizing your layers and grouping related elements.
- Color harmony: mixing and selecting colors that work well together.
- Lighting basics: understanding how light shapes forms.
- Brush pressure sensitivity: controlling opacity and stroke width.
You might find some skills harder than others. That’s normal and part of what makes practice useful. Keep it varied so you avoid boredom.
Monitoring Your Improvement Progress
How do you know you’re getting better? Comparisons and feedback are key.
Keep old sketches and digital paintings. Look back after a few weeks or months. Spot what feels easier now or looks more polished. It can be surprising how noticeable your growth is when you step back.
Also, sharing your work with others can invite constructive comments. Sometimes fresh eyes catch things you missed or confirm your progress.
Try to be open to critique but don’t let it discourage you. Focus on small wins highlighted through feedback, and consider setting mini goals based on input.
Conclusions
You have now learned the fundamental steps to start digital art as a beginner. Choosing the right tools and learning basic techniques are crucial first steps. Following clear tutorials will help you practice and grow your skills. Remember, digital art is about patience and practice, so keep creating regularly.
By using these tips and staying consistent, you will improve your digital painting abilities. Digital art offers many possibilities, and with these beginner tips, you can enjoy making creative artworks using technology. Keep exploring new methods and digital tools to find what works best for you.


