Introduction
Designing adorable cute fantasy creatures with mixed media offers a fun way to combine imagination and creativity. These creatures can be anything from small, fluffy animals to enchanting mythical beings. Using mixed media lets you explore different textures, colors, and shapes, making each creation unique and special. It also helps you build skills in both fantasy design and art techniques.
In this article, you will discover how to select materials and methods to design your own cute fantasy creatures. We will guide you through understanding what makes a creature cute, planning your designs, experimenting with materials, and adding finishing touches. Whether you enjoy drawing, sculpting, or crafting, you’ll find practical tips to make your fantasy creatures charming and full of personality.
Understanding What Makes Fantasy Creatures Cute

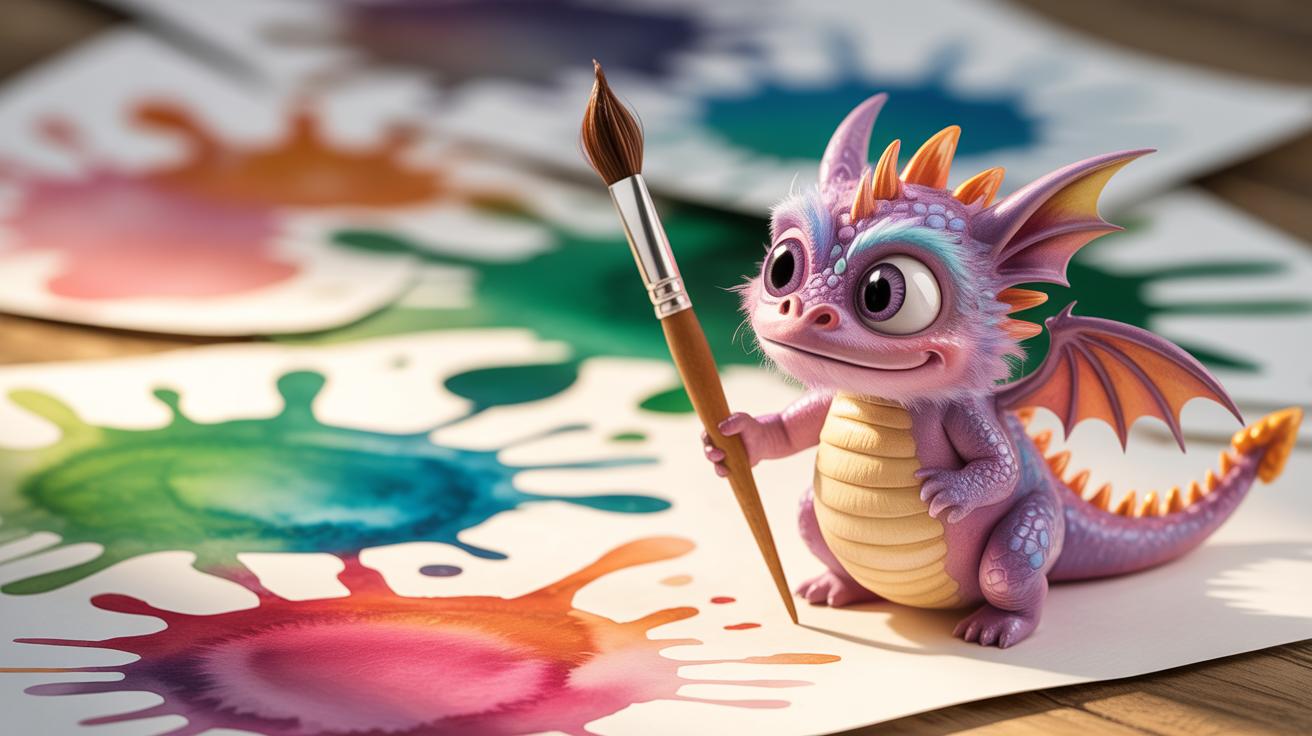
What exactly makes a fantasy creature cute? It’s often the same things that make baby animals endearing: certain juvenile traits that trigger a kind of instinctual, protective response. Think big, round eyes that seem to soak up attention. Small noses and mouths, almost like they haven’t quite grown into their features yet. And then there are soft, rounded shapes—no sharp edges or intimidating angles.
These traits connect deeply with us on a biological level. We’re wired to notice and care for beings that look vulnerable or young. It’s not just a surface reaction; it’s linked to our emotions and even hormones. When you see those oversized eyes or pudgy cheeks on a creature, your brain nudges you to protect or nurture it.
But there’s also a subtle emotional pull. Cute fantasy creatures invite curiosity and empathy. This is exactly what you want when bringing a creature to life in art—something that captures hearts and holds attention without demanding fear or aggression.
Juvenile Features That Make Creatures Adorable
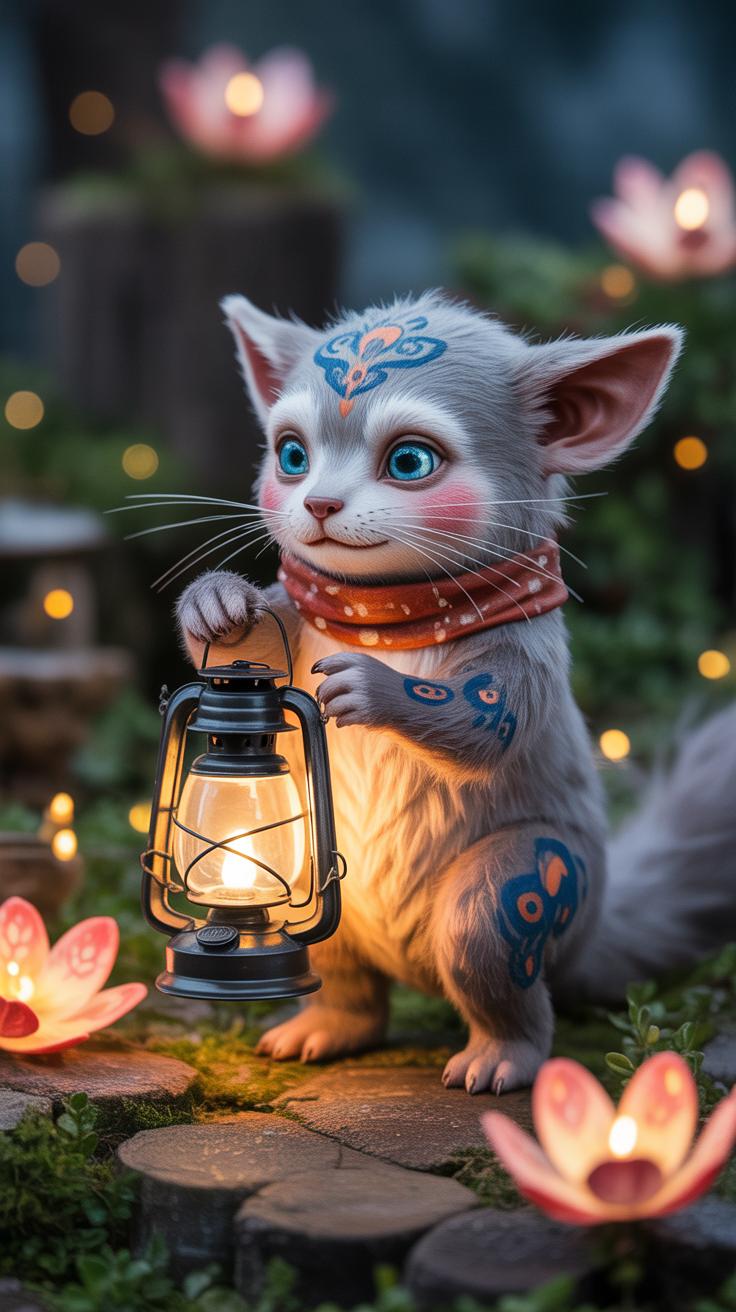
Some juvenile traits keep popping up whenever you find something universally “cute.” Large eyes top the list—they take up much of the face, making whatever creature you design seem more innocent or naive. Think of how kittens or baby owls look at you, wide-eyed and vulnerable.
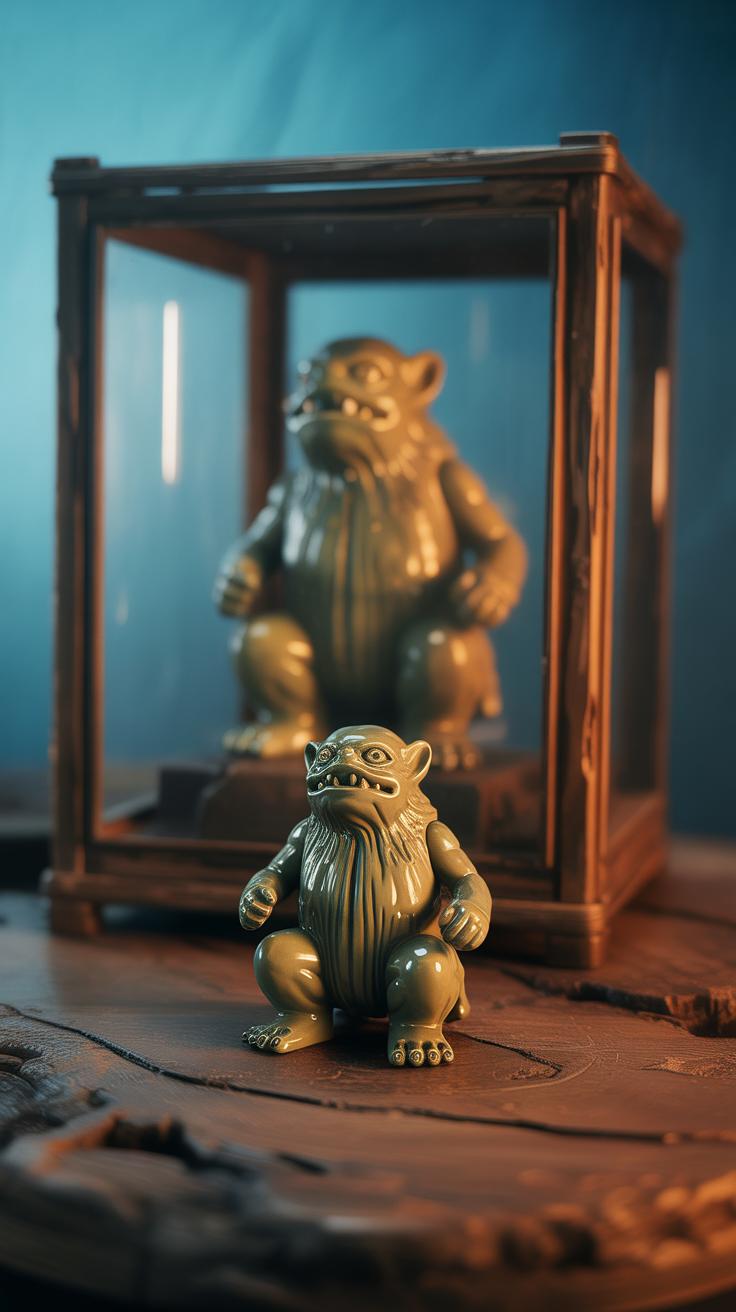
Then rounding the face or body adds softness. Imagine a chubby dragon with a circular face rather than angular scales. It immediately feels less threatening. Small snouts or noses go hand-in-hand here, too. Tiny, simple noses keep the creature feeling young and unthreatening, rather than adding complexity or harshness.
Try sketching a creature with exaggerated versions of these traits. The difference feels almost playful; it pulls you in. Even if your creature is imaginary, these basic elements make it relatable and touching.
How Cuteness Affects the Way We See Fantasy Creatures
Humans react positively to cute creatures because they spark memories or feelings tied to care and safety. When you design a fantasy creature with cuteness in mind, you’re tapping into a natural emotional response—one that often bypasses critical thinking and goes straight to the heart.
This can be a powerful tool. Imagine presenting a small, round, big-eyed fairy or sprite in your artwork—it’s easier for people to connect with that character on an emotional level. They’re more likely to pay attention, remember, or even want to follow your fantasy world.
Yet, there’s a subtle tension here. Sometimes too much cuteness can make a creature feel one-dimensional or less credible. It’s worth experimenting with balancing cute features while keeping your creature believable within its fantasy setting. This makes your work feel authentic, even if it tugs at the heartstring.
Choosing the Right Materials for Mixed Media Creations
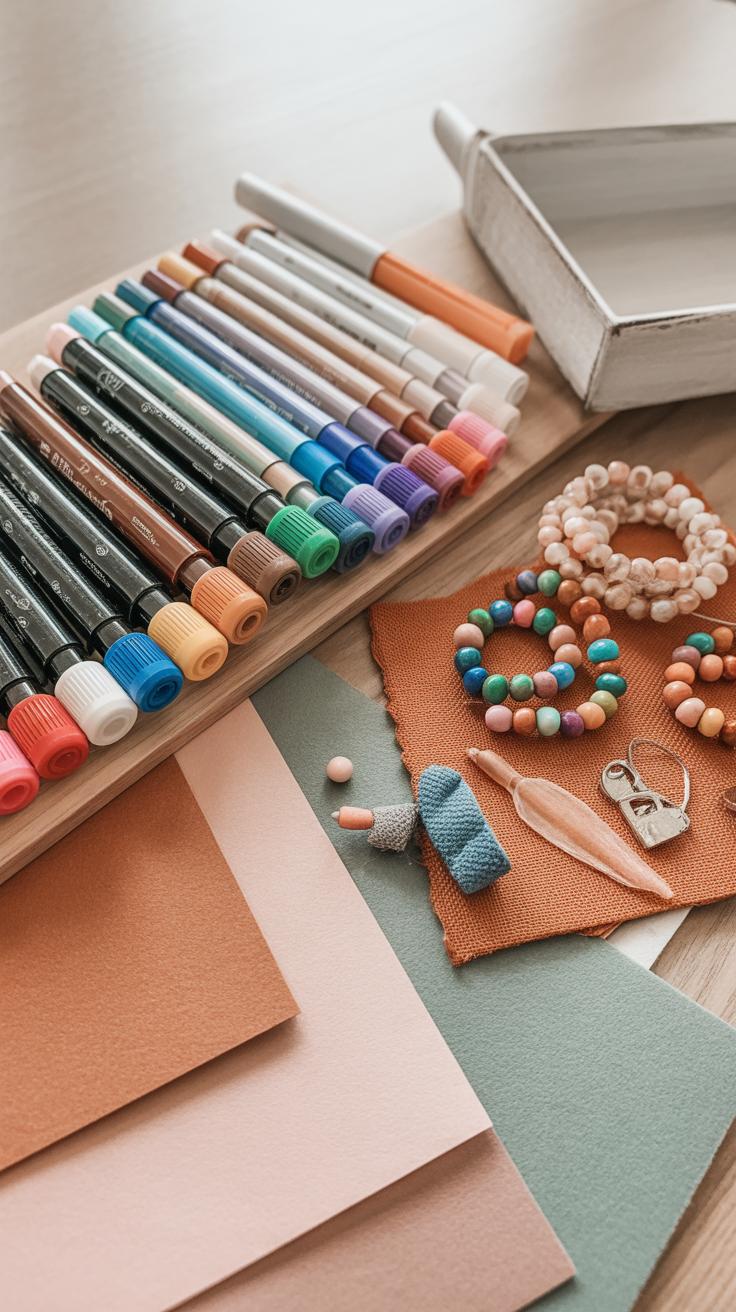
Picking the right materials for your fantasy creature can be surprisingly tricky. You want something that not only looks good but also feels right for the creature’s vibe. For example, soft fabrics, like felt or fleece, work well when you’re designing a fluffy or cuddly critter. They give that sense of softness you can almost reach out to. On the other hand, shiny or iridescent papers bring out a magical, otherworldly feel—perfect for creatures with sparkles or mystical elements.
Paints offer a wide range of expression. Acrylics dry fast and layer nicely, giving you freedom to build texture or add highlights. Watercolors, though trickier to control, can add delicate, almost translucent effects that feel ethereal. If you want even more dimension, clay lets you form parts of the creature’s body, giving a tactile and 3D quality you can’t get from flat surfaces. Found objects—think buttons, bits of metal, or natural materials like leaves—add surprise texture and depth, giving your creature a unique, handcrafted feel that feels a bit unpredictable.
Truth be told, sometimes the materials you choose will push your design in unexpected directions, which is part of the fun. Maybe a scruffy piece of fabric inspires extra fur tufts, or a shiny foil scrap becomes a mystical scale. How do you decide, then? Look closely at your creature’s personality: Is it gentle and soft, or mysterious and glimmering? That’s your best guide to what will feel right in your hands—and in the end, what will capture hearts.
Common Materials for Mixed Media Art
You’ll often see these materials in mixed media design, each bringing something different to the table:
- Paints: Acrylics, watercolors, and inks. Acrylics build up texture; watercolors blend softly.
- Papers: Textured cardstock, tissue paper, even handmade options. They can add subtle layers or flashy patterns.
- Cloth and Fabrics: Felt, velvet, cotton—all create softness or visual interest. Textures range from fuzzy to sleek.
- Clay: Air-dry or polymer clay. Great for sculpting small parts—ears, noses, or even tiny wings.
- Found Objects: Buttons, beads, natural elements like twigs. Add unexpected shapes and tactile details.
Each material invites your fingers to explore different sensations, making your creature feel alive. Plus, mixing firm clay with soft fabric can create exciting contrasts that pull viewers in.
Matching Materials to Your Fantasy Creature’s Style
Think about the story your creature tells. If it’s a shy, plush woodland friend, soft fabrics and warm paints might be your go-tos. This will help the creature’s character come through, almost whispering “cuddle me.” But if your fantasy being is luminous or ethereal, shiny or translucent papers, metallic paints, and delicate clays can capture that flicker of magic.

Sometimes the choice feels obvious, but sometimes it’s not. Should a creature with big, glossy eyes be made from smooth paper or a shiny fabric? You might try both—and see how each changes the expression or feel.
At times, the materials almost surprise you by shifting your design’s mood. Pay attention when that happens. The medium and the subject inform each other in a loop, pushing your creation forward. At the end of the day, the best materials are those that speak to your creature’s personality just as loudly as the sketch or colors.
Planning Your Fantasy Creature Design
Brainstorming Ideas and Features
Starting your creature design often means juggling different ideas in your head. One approach is to pick a few animals you like and mix their traits. Maybe combine the fluffy ears of a rabbit with the graceful tail of a fish. Adding fantasy elements, such as tiny wings or glowing scales, can push your creature into an imaginative space. Sketching random features or jotting down quirky ideas helps keep creativity flowing.
You might wonder which traits work best together. Sometimes unrelated parts create the cutest mix, like adding oversized eyes to an armored turtle shape. Don’t be afraid to test odd combos. It’s less about what “should” fit and more about what sparks your interest, even if it feels unfinished at first.
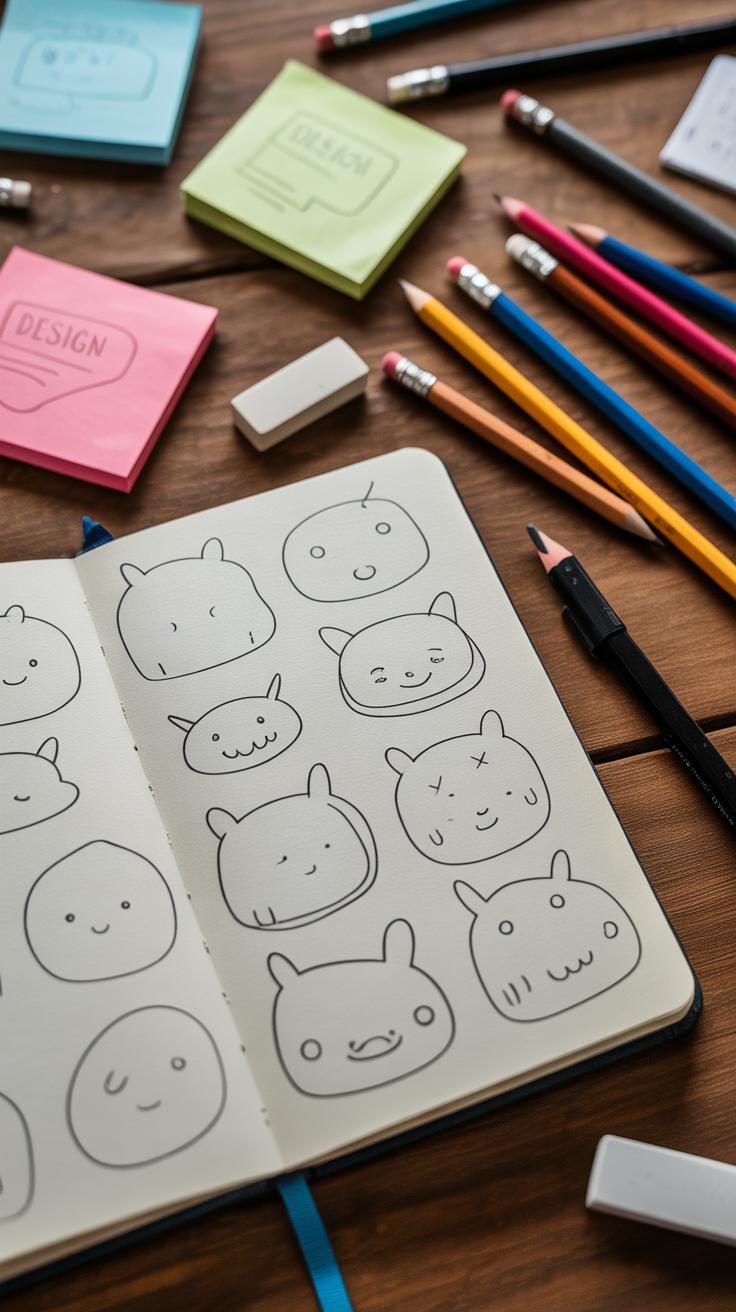
Sketching and Color Planning
Once you have a concept, try quick, simple sketches to explore body shapes and poses. Keep the lines loose—don’t fuss over details just yet. Experiment with proportions: should the head be big and round, or the legs short and stubby? These choices guide the overall charm.
Colors play a big role in making your creature appealing. You could pick soft pastels for a gentle vibe or bright contrasting shades for a lively feel. Sometimes, limiting your palette to just two or three colors makes the design stronger. Try coloring small sections of your sketches to see what works best. Accessories, like a tiny scarf or flower crown, add personality and give you another chance to play with color.
Have you noticed how a splash of bright color can bring a sketch to life? Try focusing on one feature—a tail tip or ears—to highlight and instantly boost the cuteness factor. Planning this way saves time later and helps you stay connected to the original idea as you begin layering mixed materials.
Techniques for Combining Different Media

Blending paint, paper, markers, and fabric into one artwork can feel a bit like juggling. Each material behaves differently, and it’s tempting to want them to all get along perfectly. But sometimes, the quirks bring charm. Think about layering torn paper shapes under painted washes to add unexpected texture, or using markers over fabric scraps for crisp lines. You don’t need everything to melt into one flat surface.
Cutting and gluing become your daily tools here. When layering, start with heavier materials at the bottom—fabric or thick paper—then work toward lighter ones on top. It helps prevent warping or buckling as glue dries. I’ve found that clear-drying tacky glue strikes a good balance; it holds well without soaking or staining thin papers. Avoid gluing painted surfaces too soon, or the paint might peel.
Painting over layered materials also demands some care. Use thinner paints initially so you don’t drown delicate layers. Sometimes, marks from a marker running into wet paint can be frustrating, but it can also create those little accidents that feel alive. You might wonder if mixing so many materials risks losing control, but that uncertainty can be part of the creative process.
Here’s what tends to work:
- Glue heavier scraps first, then add lighter bits carefully to maintain dimension.
- Wait for paint layers to dry before adding new ones or applying glue to avoid lifting.
- Test your adhesives and paints on small scraps before applying them to the main piece.
- Layer different textures deliberately—rough with smooth, soft with stiff—to keep things visually interesting.
Does your creature’s fluff need some actual softness? Try fabric patches glued in, then painted lightly to unify the look. These mix-and-match techniques open up possibilities you might not expect when working with just one material.
Adding Personality with Details and Accessories
Small details make a big difference when designing cute fantasy creatures. Things like eyes, fur patterns, wings, or tiny accessories can turn a simple sketch into something memorable. For example, a subtle swirl in fur or a delicate spot pattern can hint at the creature’s personality, even before you consider its expression. Sometimes, a tiny bell or a scarf can suggest a story or mood, making the creature feel lived-in and unique.
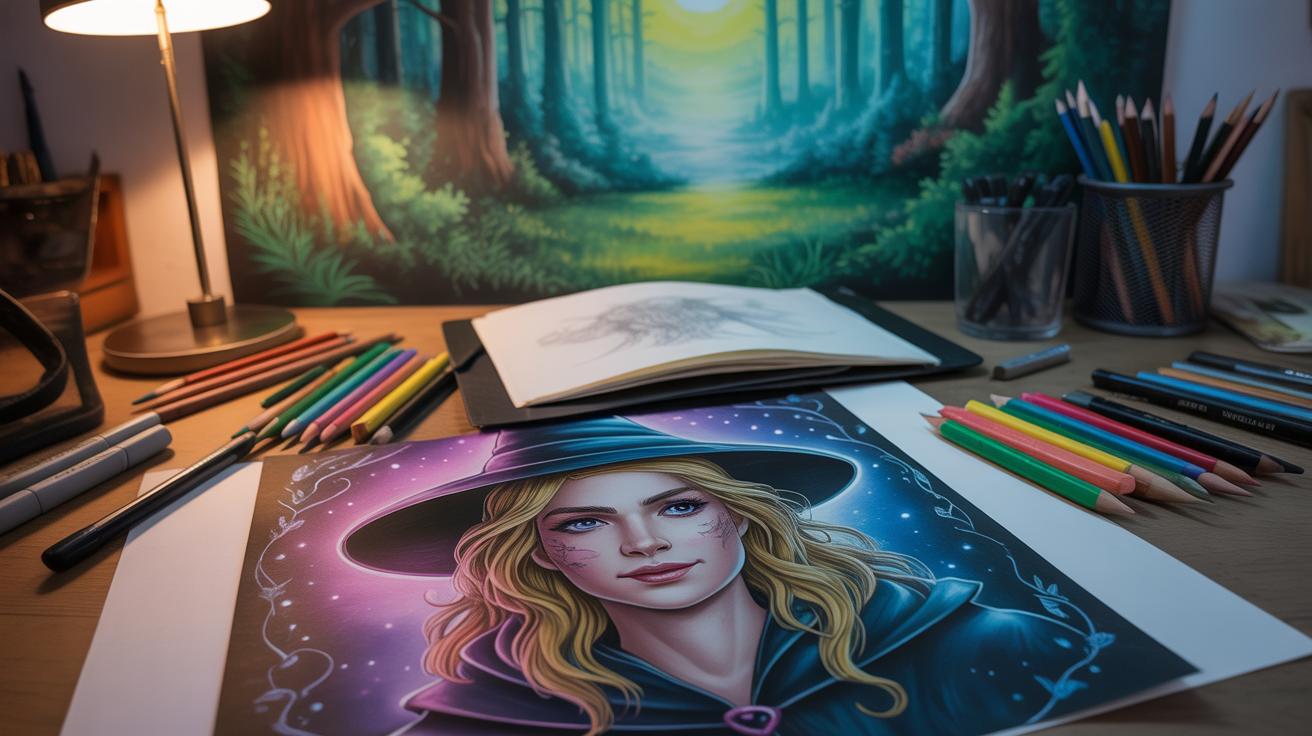
Designing Expressive Faces and Eyes
The eyes truly hold the soul in any creature design. Giving your creature eyes that express curiosity, shyness, or joy can instantly create a connection with viewers. Think about the size, shape, and shine of the eyes: a rounded, wide eye might suggest innocence, while a narrower shape could hint at mischievousness. Don’t shy away from experimenting with pupils and highlights—they can dramatically change how relatable your creature feels. Faces don’t always need smiles to be expressive; sometimes, a tilted brow or a dropped eyelid tells a more compelling story.
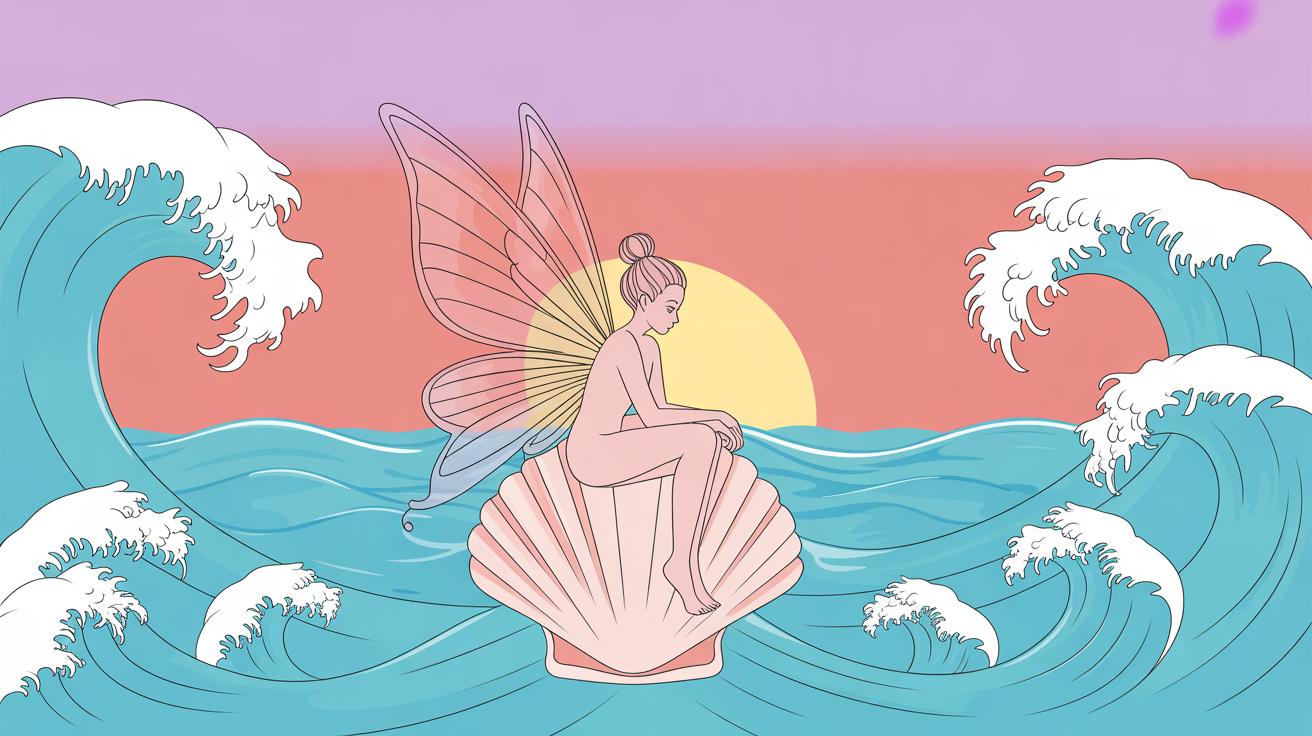
Incorporating Wings, Horns, and Other Features
Fantasy elements like wings or horns offer chances to break away from usual animal designs. Wings can hint at lightness or freedom, but—here’s the tricky part—they can also feel overwhelming if too large or complex. Balancing size and detail is key. Horns add edge or softness depending on their curve and texture. Don’t hesitate to mix features: maybe tiny fairy-like wings combined with a gentle horn. These extras define character beyond the basics, giving your creature that spark of originality people remember.
Working with Color to Enhance Cuteness

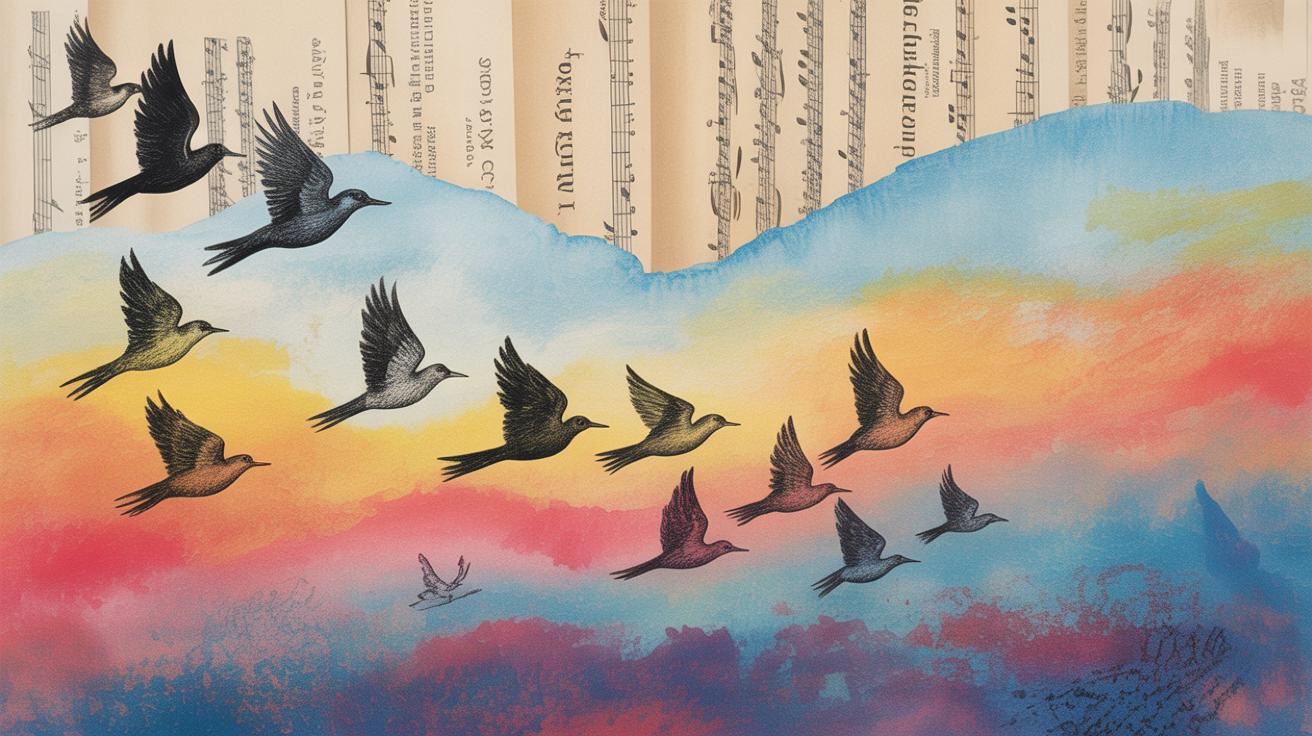
When you think about what makes a fantasy creature adorable, color plays a surprisingly big role. Soft, gentle hues often give that welcoming, harmless vibe that draws people in. Pastels—those light pinks, blues, mint greens—are classic for a reason. They soften edges and reduce any threat the creature might otherwise feel like it poses. It’s almost as if these colors make your creature more approachable, inviting a kind of quiet affection.
Bright colors can work too, but it’s a bit trickier. A creature painted in bold reds or electric blues might seem too intense, yet if balanced carefully, those hues can add a playful charm, as long as there’s restraint keeping them from overwhelming your art. Sometimes, mixing bright spots with more muted tones creates a juicy contrast that keeps the eye interested without making the creature look aggressive.
Color harmony is where things get interesting. Using complementary colors—for example, soft lavender with soft yellow—can highlight certain areas, like a creature’s cheeks or ears, without breaking the gentle mood. But if you rely too much on perfect harmonies, your palette risks feeling flat or predictable. Slight dissonance in color choice might add just the right spark—like a tiny, unexpected pop that makes the fantasy creature more memorable.
On the subject of contrasts, think about eyes and accessories. A pair of bright, clear eyes against a pale face almost always pulls focus. Even subtle contrast, such as a darker shade outlining the eyes or a lively color for a scarf or pendant, can elevate the cuteness factor by making certain features stand out. It’s this balance between soft base colors and strategic contrasts that really helps yours grab attention.
Have you ever noticed how some creatures just seem ‘more lovable’ because their colors feel tender, but not washed out? That’s the sweet spot to aim for when choosing your palette, and it’s worth experimenting with various combinations until you find one that feels just right for your own creature’s personality.
Creating Fantasy Creatures in Three Dimensions
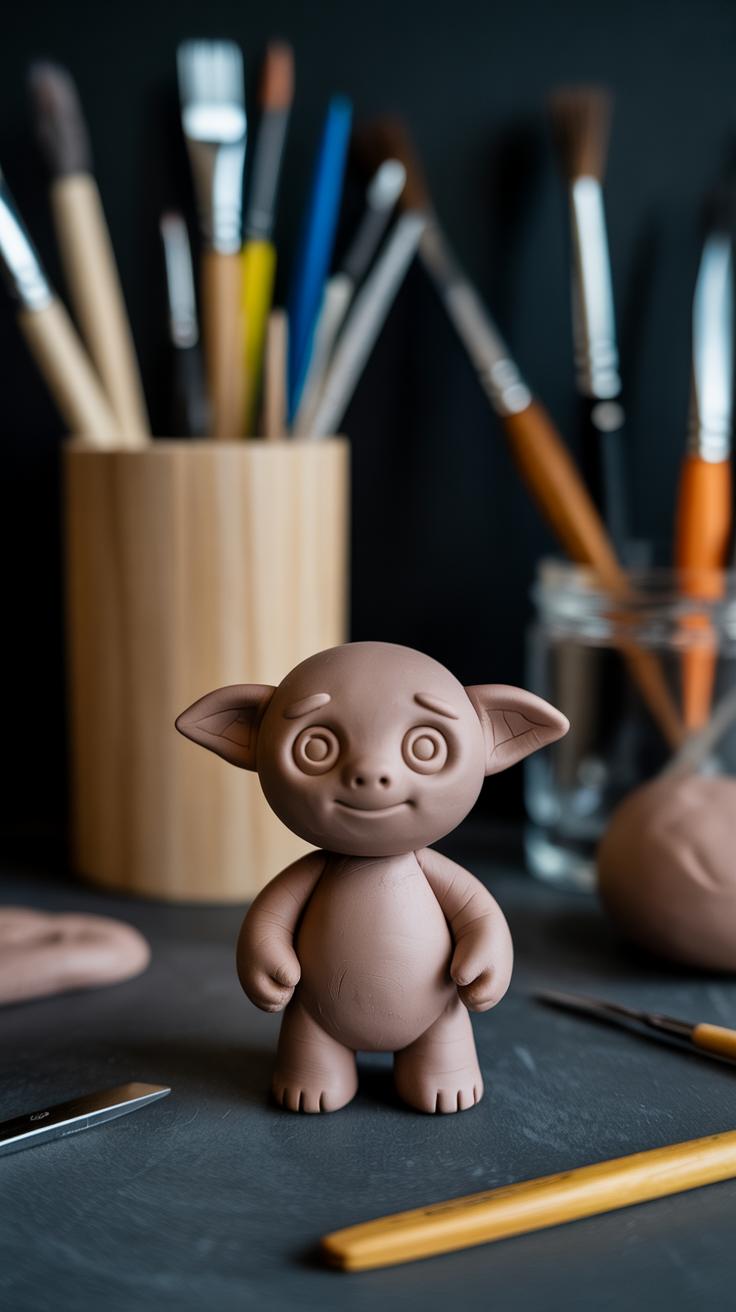
Working in three dimensions opens a whole new world for your cute fantasy creatures. When shaping forms with clay or paper mache, start simple. I often begin with rounded shapes—soft spheres, gentle ovals—that feel approachable and inviting. Push and pinch the material gently; you don’t need perfect symmetry. Sometimes a slightly lopsided ear or an uneven tail can add charm and personality. Paper mache can be layered over loose wire armatures, giving you a flexible base without fuss.
When you move beyond the base shape, textiles and found objects add delightful texture and depth. Think about using scraps of fabric for tiny garments or fuzzy patches for fur. Buttons or beads work well for eyes or nose details, and feathers can create whimsical wings or accents. Combining these materials breaks the monotony of flat surfaces and makes your creature more tactile—something you’d want to reach out and touch.
Try mixing textures: smooth clay skin paired with soft felt ears or rough burlap patches. The contrast encourages the viewer’s eye to explore and discover little surprises. Don’t hesitate to experiment—sometimes the oddest combination can become the most endearing.
Finishing Touches and Protecting Your Artwork
Adding Highlights and Shadows
Once your fantasy creature starts taking shape, adding highlights and shadows can really bring it to life. You might think subtle changes in light won’t matter much, but they can make a surprising difference. Use a fine brush or sharpened colored pencils to apply lighter tones where light naturally hits—like the tops of noses, tips of ears, or glossy eyes.
Shadows, on the other hand, add depth. Think about where your light source is and gently blend darker tones into creases, under limbs, or around the base of shapes. If you’re working on three-dimensional pieces, shadows aren’t just painted—they can be carved or built up with texture too.
Don’t rush—take time to study your creature from different angles. Sometimes adding a tiny glint on an eye or a soft shadow under a wing can turn your work from flat to almost tangible.
Sealing and Caring for Mixed Media Art
With mixed media, protecting your work feels crucial. You want to keep all those layers safe—the paint, fabric, maybe even delicate parts glued on. A protective sealant does that, but choosing one depends on your materials. Spray varnishes are popular since they cover evenly and dry fast without smudging.
Before sealing, make sure everything is dry and untouched for a day or two. I’ve learned the hard way that sealing too soon can trap moisture or cause colors to bleed. Also, test your sealant on a small scrap piece first to avoid surprises.
Once sealed, simple care like avoiding direct sunlight and moisture keeps your piece lasting longer. If dusty, a gentle soft brush sweep works better than wiping. Think of your fantasy creature not just as art, but something almost alive that needs a little attention now and then.
Sharing and Displaying Your Cute Fantasy Creatures
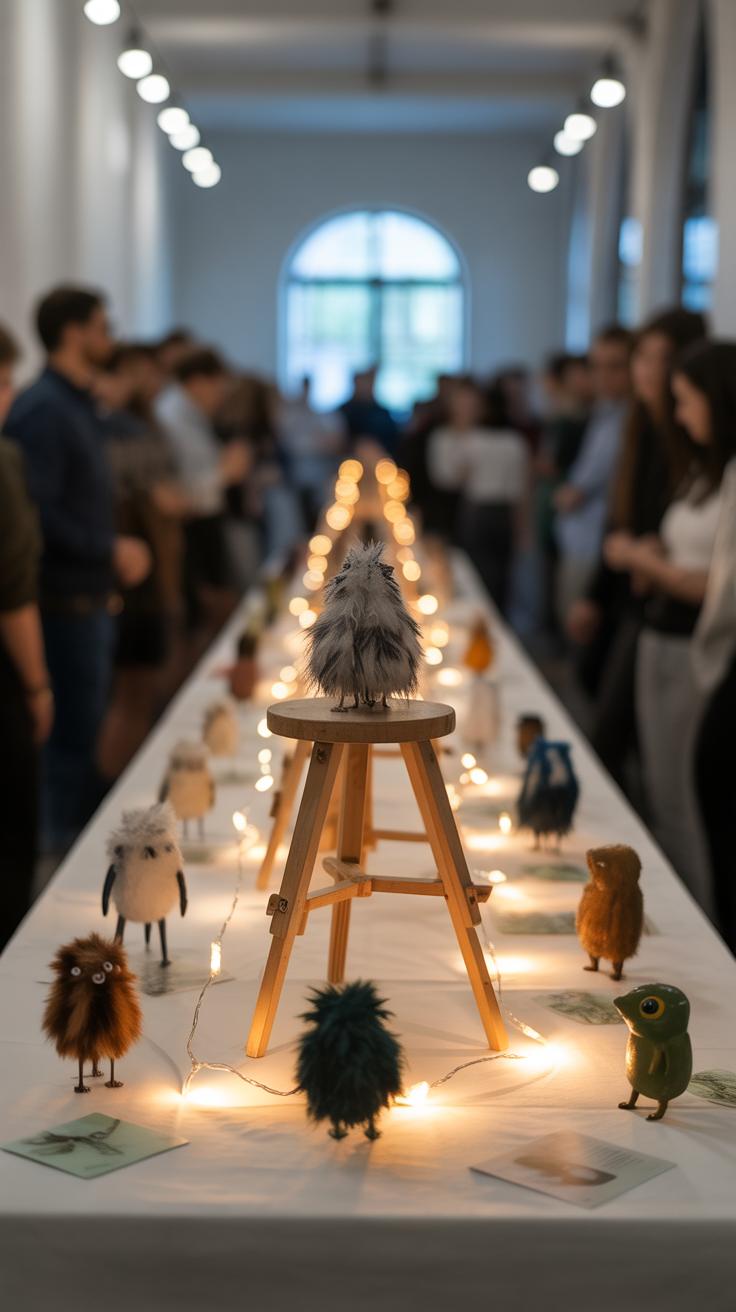
Taking Great Photos to Share Online
Capturing your mixed media creatures well can really make a difference when you share them online. Natural light often works best—you want soft, indirect sunlight to bring out colors and textures without harsh shadows. Position your creature near a window or shoot outdoors on a cloudy day. If that’s tricky, try using a simple lightbox or a desk lamp with a diffuser. It can feel a bit tricky to get the right angle, but shooting from slightly above or eye level usually helps show off details effectively.
Background also matters—keep it simple so your creature stands out. Plain walls or neutral fabric work nicely. Avoid clutter because it distracts viewers from your art. Experiment with different distances too; some shots close up, others showing the whole creature in context. Sometimes, capturing little hands holding the creature adds scale and a personal touch, but that can go either way depending on what you want to emphasize.
Creative Ways to Display Your Art
When it comes to displaying, you don’t have to stick to just frames. Shadow boxes are fantastic for mixed media pieces, especially if your creature has three-dimensional elements. They protect your work while adding depth. Stands and small pedestals also do well, especially for sculptures or creatures with varied textures. They invite viewers to look closer, maybe even from different angles.
Framing works best when the artwork is mostly flat, but consider custom mats or floating frames to create space around your creature and highlight it better. You could also try grouping several creatures in a single display—arranging them by theme or color. That’s something I’ve found quite fun, though sometimes it feels a bit overwhelming, depending on how many you have. In galleries, think about lighting to point attention right where you want it. At home, a well-lit shelf or corner can become a little fantasy nook where your creatures really come alive.
Conclusions
You now know that designing cute fantasy creatures with mixed media is about blending imagination with various art supplies. Making your creatures adorable comes from choosing the right features like big eyes and rounded shapes. It’s also about selecting materials that work well together to create textures and colors that bring your ideas to life. Don’t be afraid to try new things and combine different media to find your own style.
Remember that practice helps you improve. Take your time to plan your designs, experiment with materials, and enjoy the process of creating fantasy creatures that make people smile. Use these tips to inspire your next artwork and share your cute fantasy creatures with friends and family. Your creativity can make a magical world right at your fingertips.


