Introduction
Color markers offer artists a vibrant way to express creativity in illustrations. These tools stand out due to their ease of use and wide range of colors. Many artists prefer color markers for quick sketches or detailed artwork due to their versatility. Understanding the different types of markers, techniques, and applications can significantly enhance the artistic process.
The article explores color markers in detail, starting with basic terms and moving into advanced techniques. This journey aims to uncover various ways to utilize color markers effectively. By analyzing different styles and methods, readers can learn how to create captivating illustrations that pop with color and life. Each section builds on the previous one to provide a comprehensive understanding of color markers in art.
Understanding Color Markers
Types of Color Markers
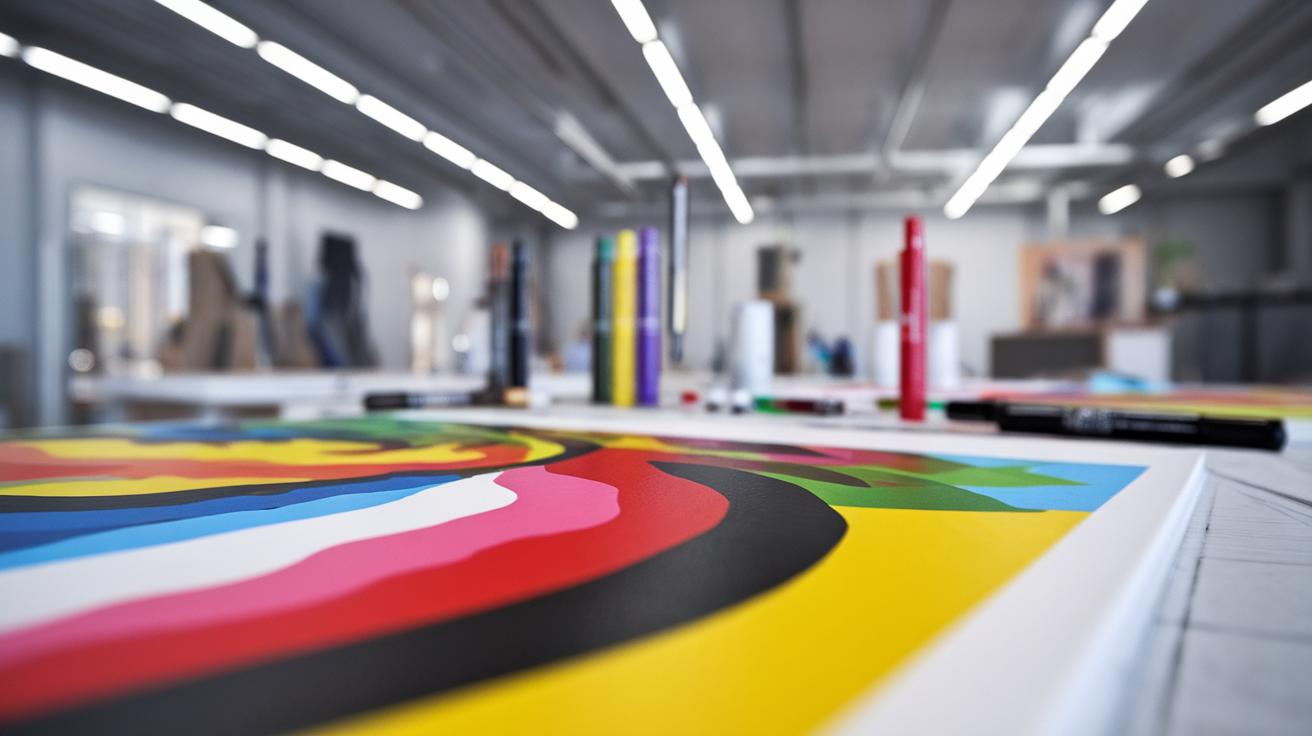
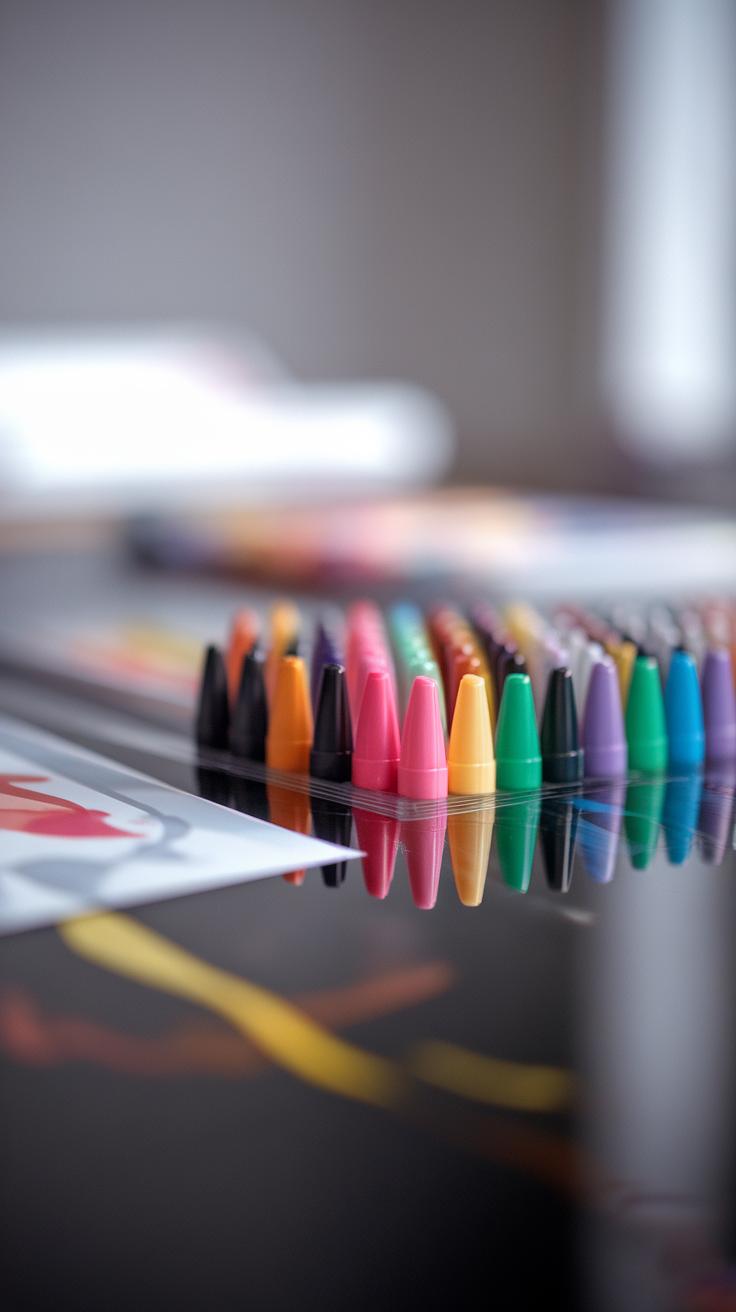
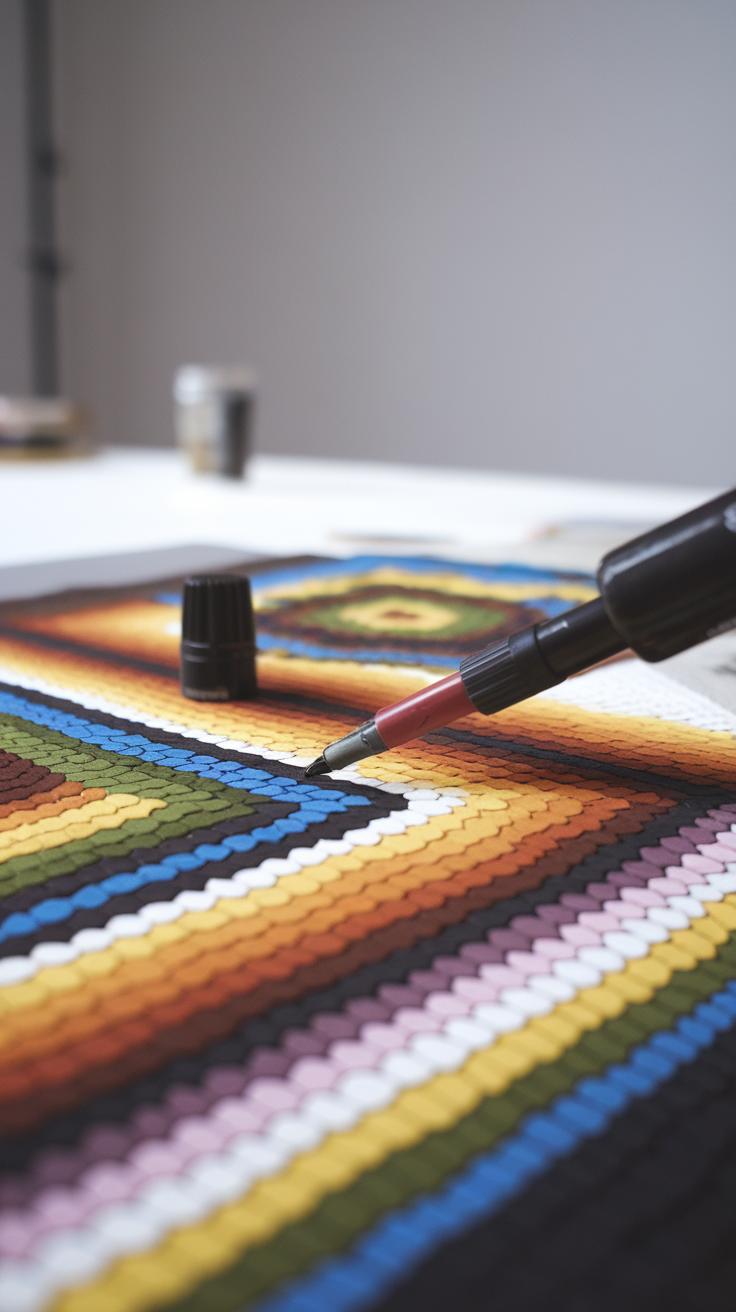
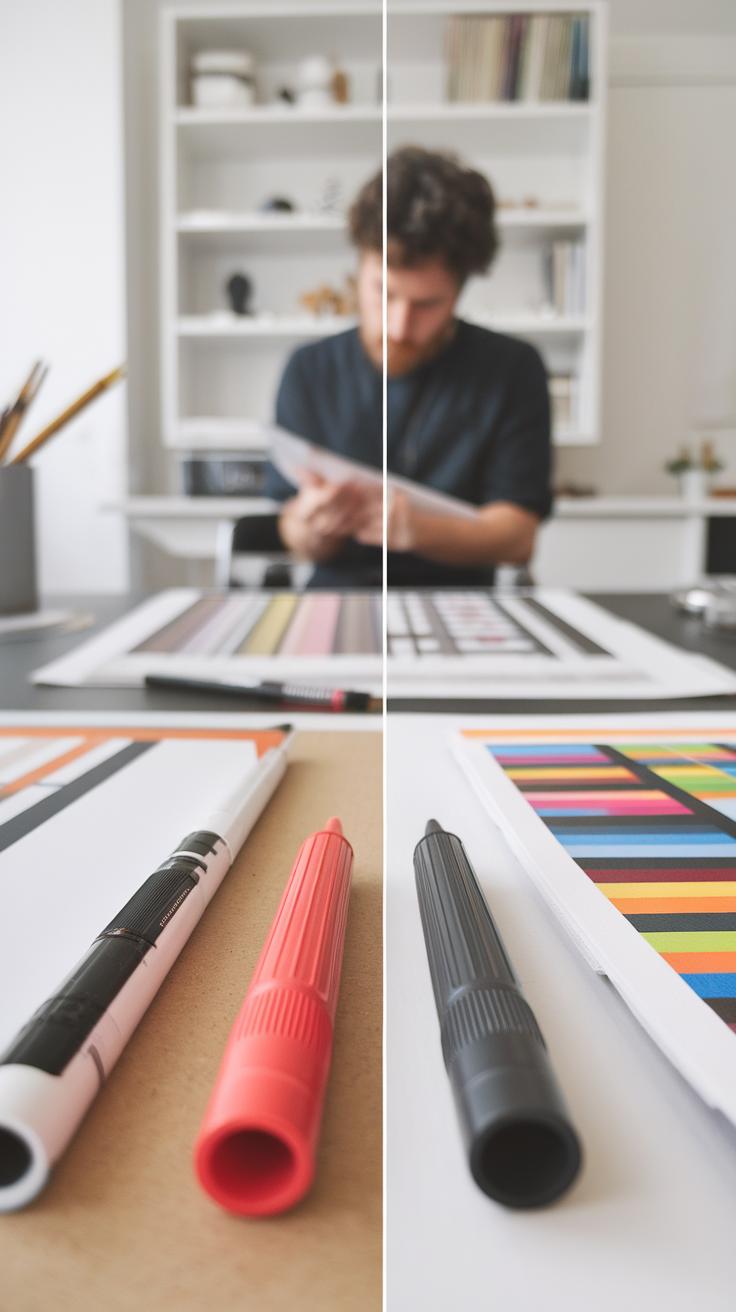
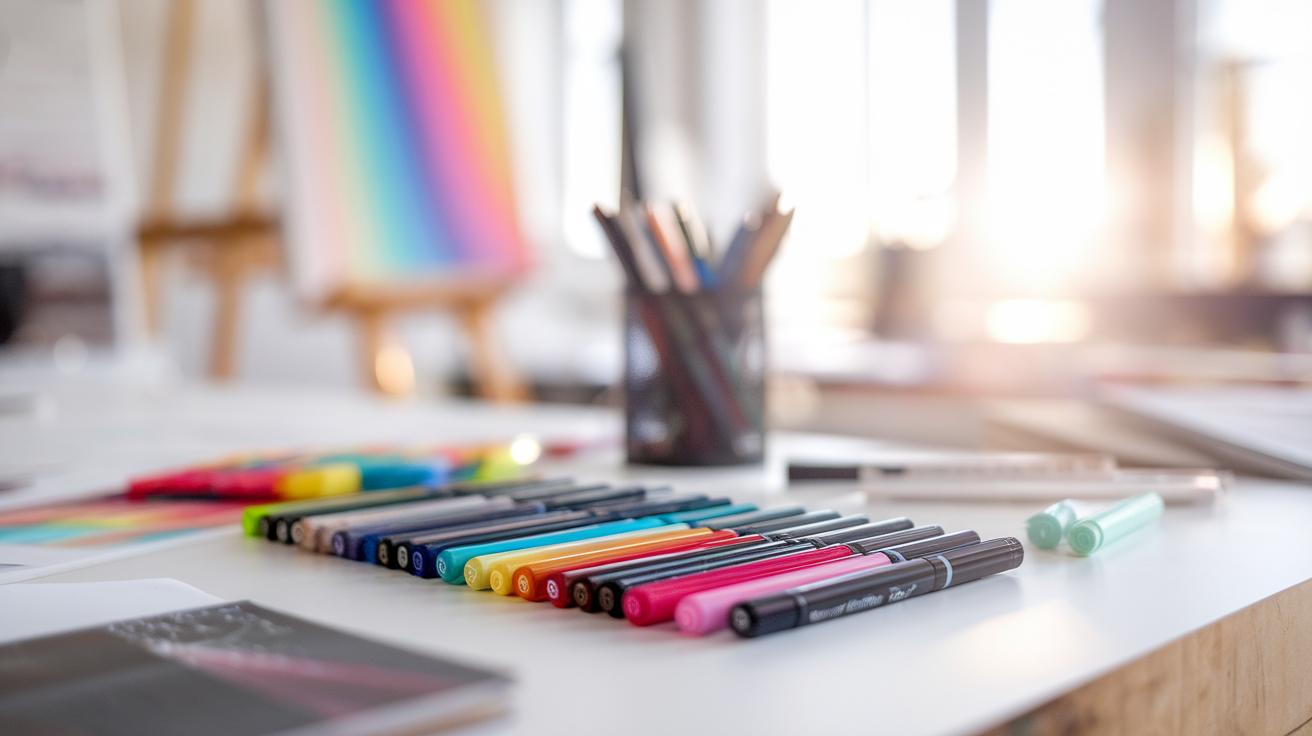
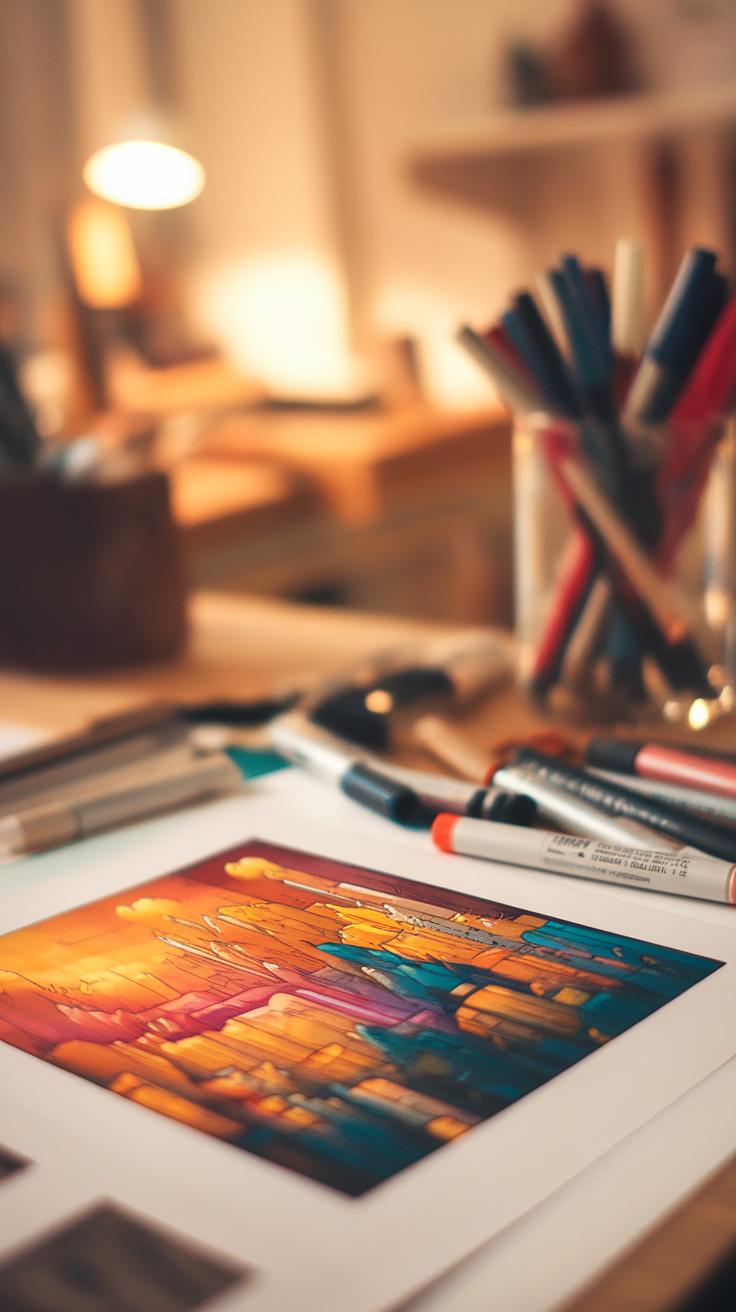
Color markers come in various types, each serving a unique purpose in art. Alcohol-based markers deliver vibrant colors and create smooth, even strokes. Artists use these markers for illustrations, comic art, and designs, as they blend well and dry quickly. Water-based markers are great for beginners and kids, offering easy cleanup and less odor. They work well on paper and produce lighter colors, making them ideal for casual art projects or watercolor effects. Specialty markers include metallic, pastel, and dual-tipped options, each offering distinct effects. Metallic markers add shine, while pastel markers create soft colors. Artists choose markers based on their project needs, color vibrancy, and blending capabilities, enhancing their creative expression.
Techniques for Using Color Markers
Layering and Blending Techniques
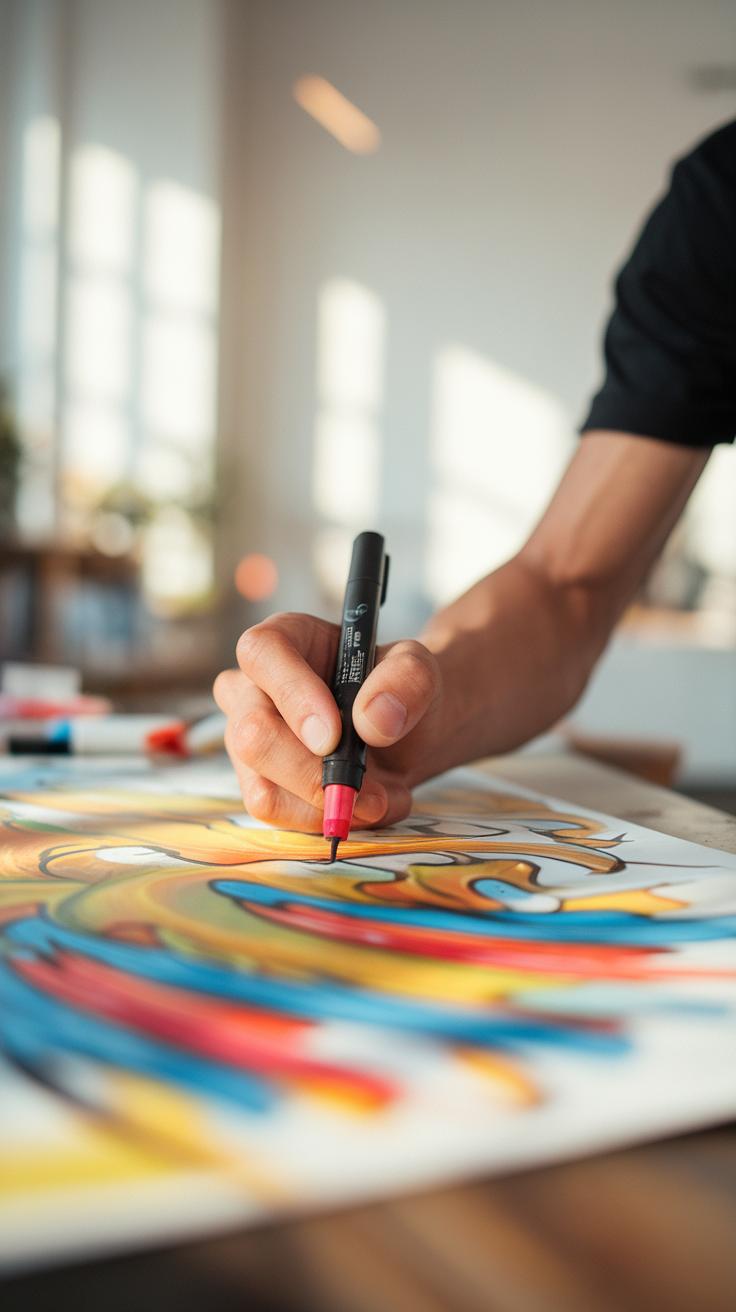
Color markers offer various techniques to enhance vibrancy, with layering and blending standing out. Start by applying a base color evenly over the area. Once the base dries, add another layer of a darker shade to create depth. This process allows you to build rich colors while maintaining control over the saturation. For blending, use lighter and darker shades of the same color next to each other. Work quickly with a blending marker or a lighter color to soften the edges. This technique creates smooth transitions that bring illustrations to life.
Stippling for Texture and Detail
Stippling introduces texture into your artwork. Use the tip of a marker to create small dots or dashes instead of solid lines. Begin with a light color as a base and gradually layer darker shades using this technique. The more dots you apply, the darker and more vibrant the area becomes. Experiment with different sizes and spacing between the dots to develop unique textures. Applying stippling in shaded areas can also add depth, making your illustrations visually richer.
Selecting Paper for Color Markers
The Importance of Choosing the Right Paper
Choosing the right paper for color markers significantly impacts your artwork. Different types of paper can either enhance or hinder your creative expression. For instance, smooth papers allow for precise lines, while textured papers can create interesting effects. The smoother the paper, the easier it is to achieve those vibrant colors. Smooth surfaces help markers glide, making blending and layering easier.
How Different Papers Affect Vibrancy and Blending
When you use heavy paper, it can absorb more ink, leading to richer colors. Lightweight papers may warp or bleed, resulting in duller images. Certain papers are designed specifically for markers, providing a balance between absorbency and vibrancy. Experimenting with various types allows you to see firsthand how they affect blending and brightness. Ultimately, selecting the right paper helps transform your illustrations from basic sketches into stunning pieces of art.
Creating Textures with Color Markers
Using Color Markers to Enhance Visual Appeal
Artists can achieve unique textures in their illustrations using color markers. Techniques like cross-hatching and stippling can transform flat colors into dynamic visuals. Cross-hatching involves drawing parallel lines close together, then adding another set of lines at an angle. This overlapping creates depth and shadow, bringing objects to life. Artists can adjust the spacing between lines to control the darkness of the area. On the other hand, stippling utilizes tiny dots to form shapes and shades. By varying the density of the dots, you can create gradients and texture effects that amplify the vibrancy of colors. Combining these techniques helps achieve intricate details and an engaging aesthetic in your artwork, making your illustrations stand out.
Combining Color Markers with Other Mediums
Unique Effects with Layering Techniques
Color markers shine as a versatile tool in the artist’s toolkit. When combined with other mediums like watercolor or colored pencils, they can create vibrant and unique effects in illustrations. For instance, using color markers as a base layer followed by watercolor can produce striking results. The markers provide bold lines and defined shapes, while the watercolor adds depth and fluidity, making the artwork come alive.
Experimenting with colored pencils over color markers opens a new world of texture and detail. Artists can use pencils to enhance shadows or highlights, adding complexity to the illustration. This combination allows for meticulous control over specific areas, resulting in stunning visual contrasts. By blending various mediums, artists push their creative boundaries, leading to richer, more dynamic artwork that captures attention.
Mixing Techniques for Added Depth
Incorporating techniques such as wet-on-wet or layering to mix mediums amplifies the visual impact of illustrations. After applying color markers, artists can use a wet brush with watercolor. This method softens the edges and creates seamless color transitions, enhancing the overall vibrancy of the piece. Alternatively, dry brushing colored pencils over the markers can bring forth intricate details, enriching the texture of the art.
The interplay between color markers and other mediums encourages experimentation. Artists can try different combinations to discover what works best for their style, ultimately improving their creative expression. This blend of techniques not only elevates the aesthetics of the artwork but also enhances the artist’s enjoyment and engagement with the creative process.
Common Mistakes and How to Avoid Them
Identifying Common Mistakes
Artists often make mistakes when using color markers that can dull their illustrations. One major error is applying too much pressure on the markers. This habit can lead to uneven lines and causes the ink to bleed. A gentle touch allows for smoother application and cleaner outlines. Another common issue involves poor color choices. Some artists pick colors that clash or blend poorly, resulting in muddled artwork. To improve, take time to plan color palettes in advance. Also, using color theory can help artists select colors that complement each other.
Solutions to Enhance Drawings
Overusing dark colors can also reduce vibrancy. Artists should mix light and dark shades to create balance and maintain energy in their work. Proper layering techniques can further enhance vibrancy. Instead of coloring large areas with a single marker, build up color gradually. This approach boosts depth without overwhelming the viewer. Lastly, many artists neglect the importance of letting layers dry before applying additional colors. Drying time prevents smudging and maintains clarity. By focusing on these solutions, artists can effectively enhance their illustrations and maintain the vibrancy color markers can bring.
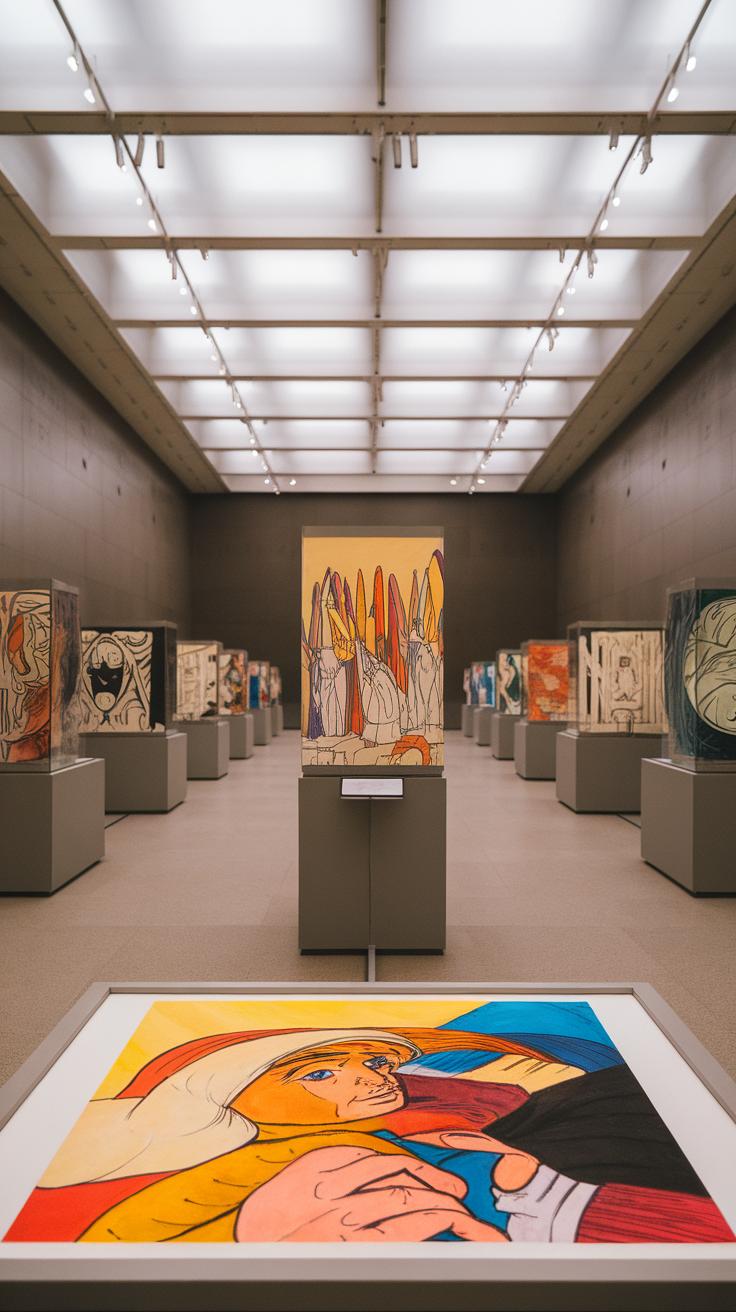
Showcasing Your Color Marker Art

Presenting Your Art Effectively
Artists have several ways to showcase their color marker artworks. Framing pieces in vibrant, complementary colors can enhance the artwork’s visual appeal. Choose frames that match the style of your illustration, ensuring that they do not overshadow the bright colors of the markers. Displaying your work in well-lit areas boosts visibility, allowing viewers to appreciate the detail and vibrancy of your markers.
Online platforms provide additional opportunities for showcasing art. Creating a dedicated social media account allows artists to share their creations with a larger audience. High-quality images highlight the vibrancy of color markers, making them stand out. Consider joining art communities and forums to connect with fellow artists and gain feedback. Participating in local art exhibits grants artists a chance to display work physically, reach out to your community, and share the joy of color marker art.
Diversifying Your Display Options
Artists also benefit from experimenting with different formats when showcasing their color marker art. Creating prints or reproductions lets you reach more fans without losing original artwork. Posters, cards, and merchandise featuring your designs can spread your name and create a broader audience. Make sure to use quality printing methods to maintain the integrity of your original colors.
Collaborating with galleries or local businesses opens more doors for public exposure. Galleries often host exhibitions focusing on vibrant art styles. This keeps viewers engaged while providing a supportive environment for artists. Engaging in art events, such as fairs and pop-up shops, allows you to network while showcasing the vibrancy that color markers bring to every illustration.
Inspiration from Famous Artists
Influences from Iconic Creators
Many famous artists have embraced color markers, using them to create vivid, dynamic works. One notable figure is Keith Haring, whose bold lines and bright colors brought energy and excitement to urban art. Haring’s playful style inspires many contemporary artists to use color markers in new ways. They experiment with vivid hues, blending and layering to achieve striking visuals.
Modern Artists Following Their Footsteps
Artists like Takashi Murakami continue this tradition, incorporating color markers into intricate designs and patterns. Murakami’s blend of traditional Japanese art with pop culture captures attention and inspires young creators to experiment with color and texture. By studying these artists, today’s young creators can learn to express their unique visions through color markers, pushing their illustrations to new levels of vibrancy.
Your Journey With Color Markers
Starting Your Color Marker Adventure
Every artist’s path begins with a single mark. Grab a set of color markers, an inexpensive sketchbook, and let your creativity flow. Start by practicing basic shapes to familiarize yourself with the markers’ vibrancy. Draw circles, squares, or triangles, and explore how layering colors can create depth. Choose a limited color palette to prevent overwhelming choices and focus on blending.
Expressing Yourself Through Color
As you gain confidence, try illustrating simple scenes or characters. Think about what colors represent your feelings or ideas. Experiment with different techniques like cross-hatching or stippling to enhance texture. Share your artwork with friends or online communities to receive feedback. Remember, dedication shapes your skills and imagination, so keep creating and rediscover your style with each stroke of your marker.
Conclusions
Artists use color markers as essential tools to boost brightness in their drawings. Learning the various marker types and methods to use them well gives artists a strong way to bring ideas to life. This article shows a clear route to master color markers and sparks artistic adventure.
Color markers help artists thrive. These tools bring bright hues and drive them to try fresh ideas and display personal style in every picture. The tips shared guide artists to boost their work and put a strong, unique creative stamp on every piece.


