Introduction
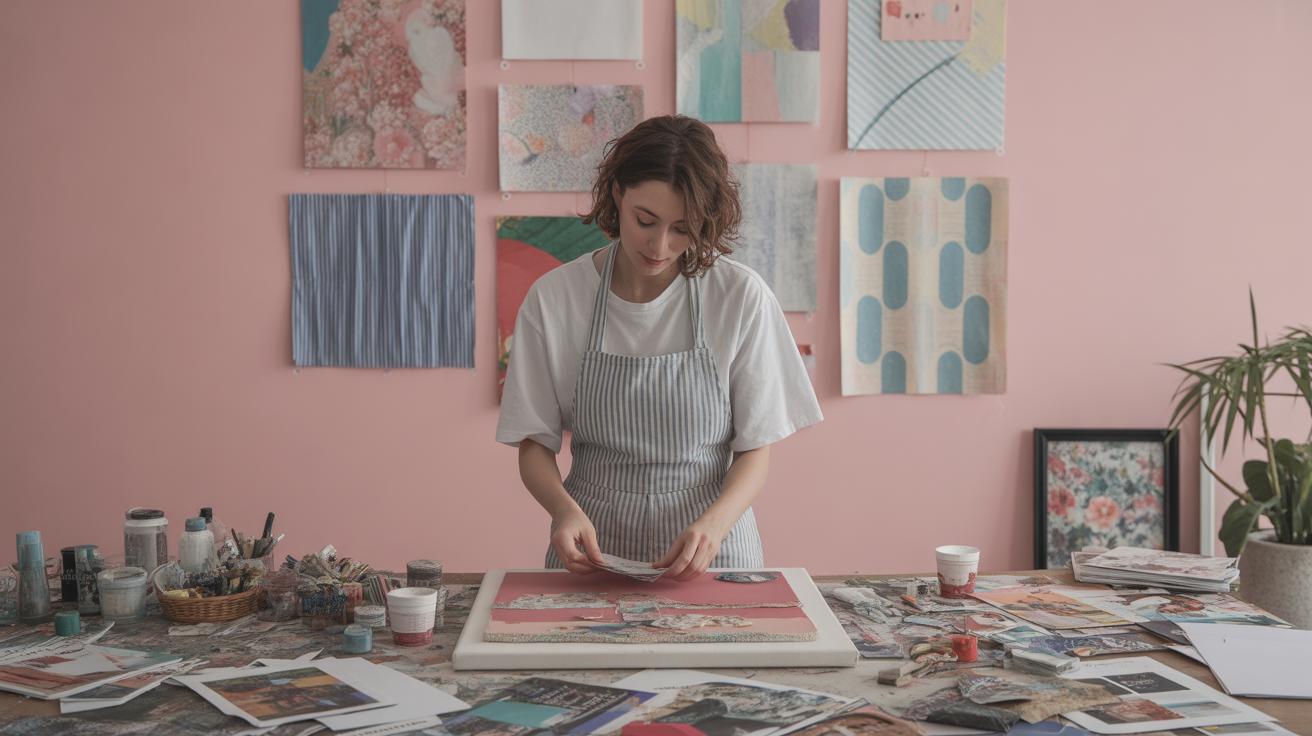
Collage artwork combines various materials to create new artistic expressions. This art form invites you to merge different textures, images, and objects to tell a story or express emotions. Collage has a rich history, rising notably during the early 20th century with artists like Picasso and Braque leading the way.
This article explores practical tips and creative strategies for making your collage artwork stand out. From material choices to striking techniques, you will learn how to make bold statements and ignite your imagination with every piece.
The History And Origins Of Collage Art
Early Uses Of Collage In History
Collage, as an artistic practice, stretches back further than many realize. Some of its earliest forms emerged in ancient China. There, paper – a relatively new invention at the time – was used not only for writing but also as a material to assemble images and texts. This idea—that paper could be layered and rearranged—felt quite novel and experimental, even if it wasn’t called “collage” then.

In Japan, something similar happened with calligraphy and decorative arts. Artists incorporated fragments of paper, often with varying textures and ink intensities, into their designs. It wasn’t collage in the modern sense, but these layering methods set the groundwork.
Medieval Europe took this further. Religious manuscripts sometimes included pasted images or ornamental elements combined with painted scenes – essentially a form of collage. These pieces often served devotional purposes, mixing text, gold leaf, and illustrations in a tactile way. I find it fascinating how these early pieces weren’t just decorative but carried deep meaning, weaving the visual and the spiritual together.
Modern Collage Foundations
Fast-forward to the early 20th century, and collage really comes into its own as an artistic technique. Pablo Picasso and Georges Braque were central figures here. Around 1912, they began pasting bits of newspaper, wallpaper, and even pieces of wood into their paintings. This wasn’t just about decoration. They were questioning what art could be, blurring lines between reality and representation.
Their approach allowed viewers to piece together meaning actively, rather than passively observing. It challenged the idea of “pure” painting by adding objects from everyday life directly onto the canvas. These collages weren’t mere experiments; they helped define Cubism and pushed modern art into new territory. At the time, I imagine it must have felt quite disruptive – something raw and unexpected.
In a way, Picasso and Braque made collage a language of mix and match, encouraging artists to think beyond traditional boundaries. What you include, how you place it, suddenly mattered as much as your skill with paint or pencil. Their work opened the door for countless artists to explore collage as a tool for creativity and bold statements.
Choosing Materials For Your Collage Artwork
Types Of Collage Materials
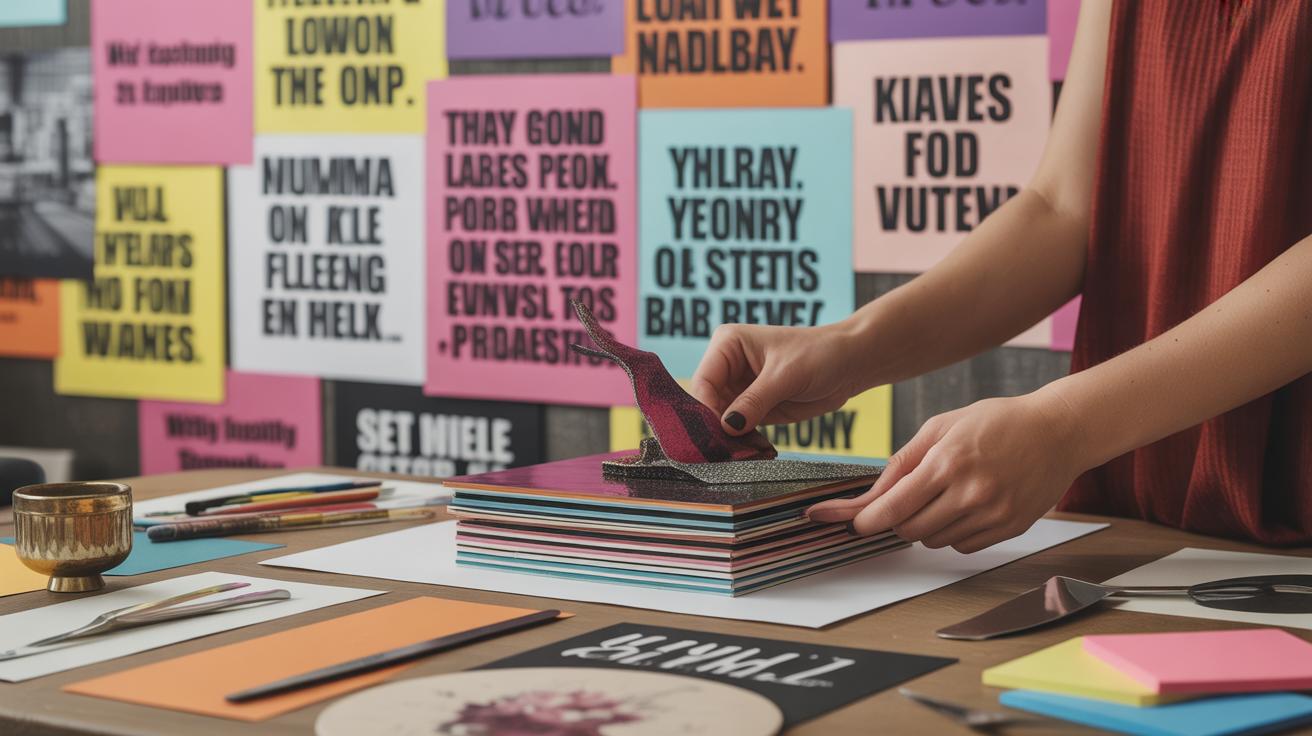
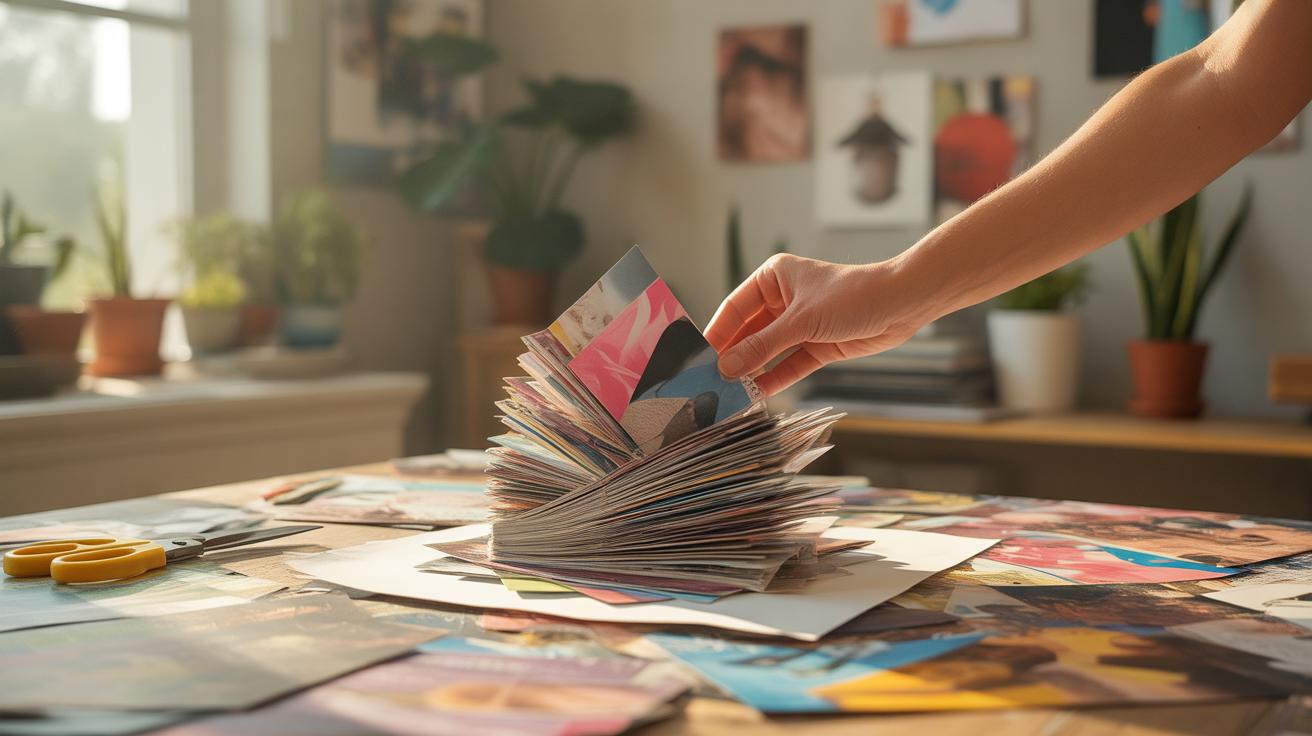
You’ll find collage materials come in all sorts. Paper is the obvious starting point: magazine clippings, old books, newspapers. Each brings something different—glossy magazine pages catch light, while vintage book pages feel fragile and textured.
Fabric can change everything. Scraps of lace, pieces of denim, or even ribbon add depth and a tactile element no paper can match. They can catch the eye or fade into the background, depending on how you use them.
Photos, whether old family prints or cutouts from catalogs, bring narrative or mystery. Found objects like ticket stubs, buttons, or bits of string can make your collage feel more personal or surreal. Even paint, applied in patches or strokes, can glue everything together visually—or disrupt it just right.
Each material tells its own story. You might wonder if one will overpower another—sometimes it does, but that tension can make your work more interesting. Experimenting here is half the fun.
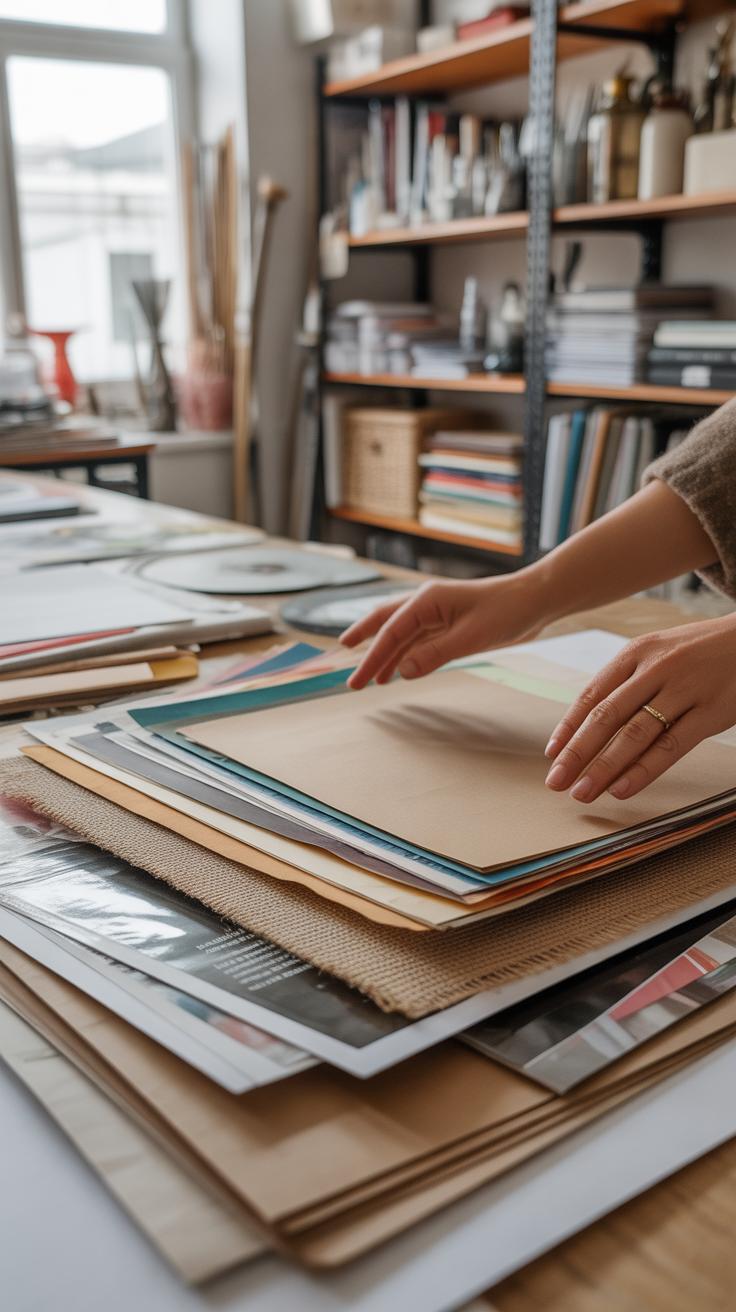
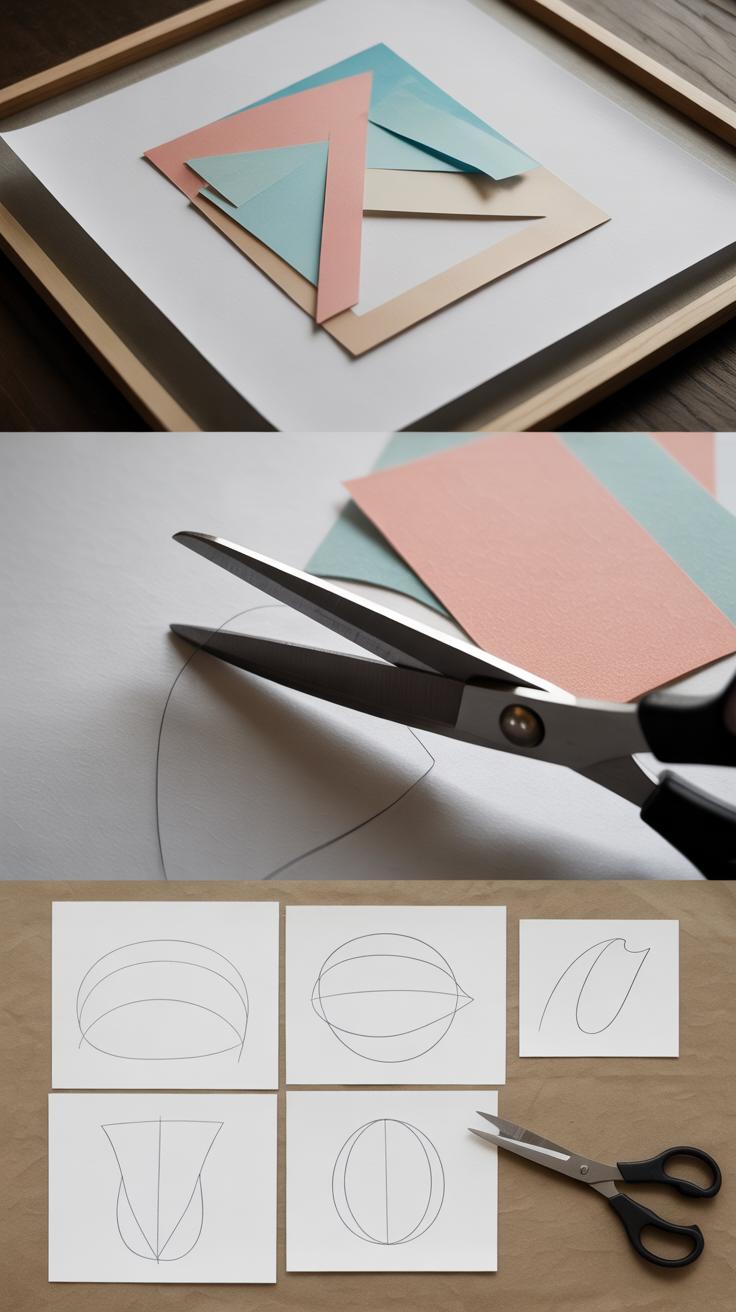
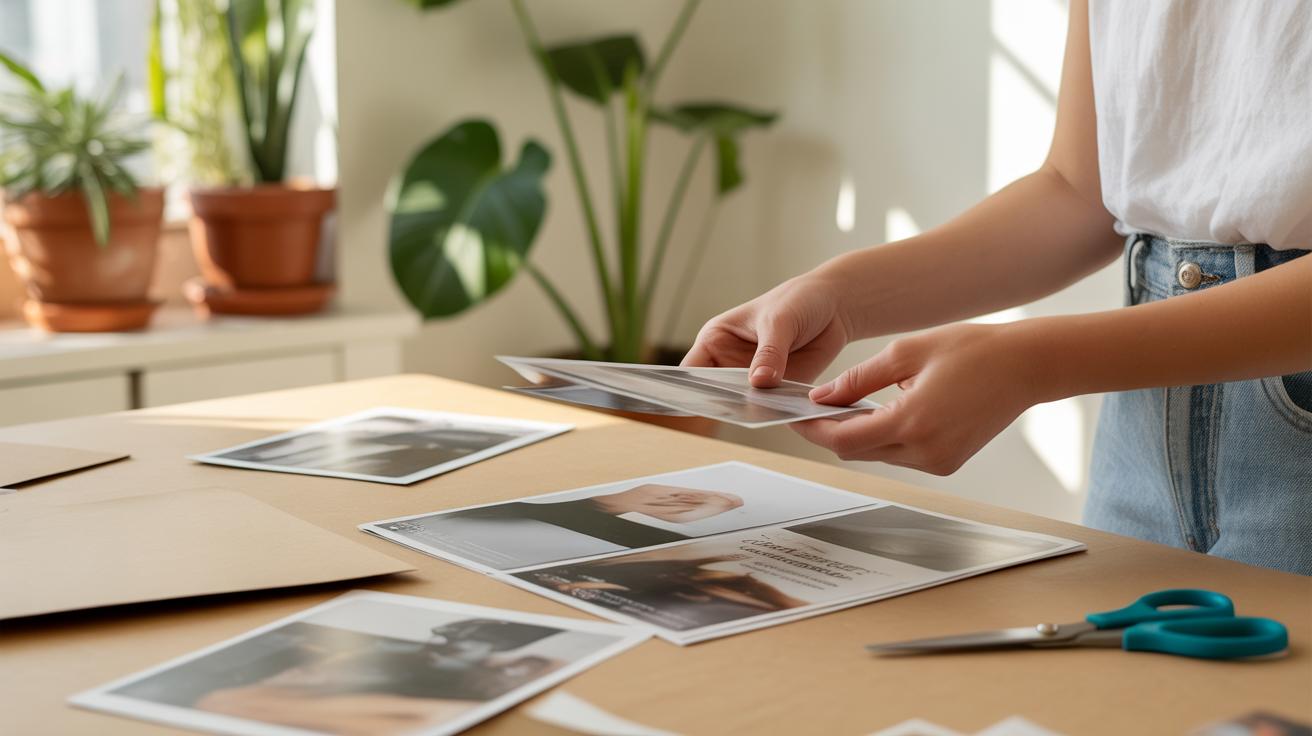
Preparing Materials Effectively
Cutting your materials neatly can be a bit tedious, but worth it. Sharp scissors or a craft knife give control, while tearing offers rough edges that add character—don’t be afraid to mix both approaches.
Sorting materials by color, texture, or size helps you work faster later. I tend to use little trays or envelopes—sometimes I forget what I have until I dig through, and that can spark new ideas.
Preserving your paper clippings means keeping them flat and free from dust. A weight or clipboard works well when you want to avoid curling. For fabric, a quick ironing (without too much heat) smooths wrinkles that could disturb your layout.
Prepare your materials thoughtfully but don’t get stuck perfecting them. Some imperfections—slightly bent edges or faded colors—add character and history. Would you want everything pristine anyway? Probably not.
Basic Techniques To Start Your Collage
Starting a collage can feel overwhelming if you don’t have some basic techniques in place. But really, it comes down to a few straightforward actions: layering, gluing, tearing, and arranging your pieces. These steps create the foundation for whatever image or message you want to convey. Don’t rush the process of arranging—try moving parts around before you glue. Sometimes, what seems right at first might feel off once you see the whole picture.
Layering And Composition Basics
Layering is more than just stacking pieces; it’s about building depth and guiding the eye. When you layer, try to think about which elements should stand out and which should recede. A thin, translucent paper can add a whisper of texture behind a bold photo. Balance isn’t always symmetrical—sometimes uneven layering can create tension that pulls viewers in. Play with scale too. Large shapes layered over smaller ones can anchor your piece, but mixing sizes keeps it from feeling too uniform.
Adhesion Tips For Lasting Art
Choosing the right adhesive can make or break your collage’s durability. For lightweight papers, a glue stick often works fine, but it can lose grip over time or wrinkle delicate materials. Liquid glue, like PVA, offers stronger hold but watch out for excess—it can cause bubbling or mess. If you’re using heavier items like fabric or small objects, consider gel mediums or double-sided tapes made for art. Sometimes, pressing a glued piece under a book while it dries stops it curling up later. It’s worth testing adhesives on scrap materials first, just to see how they behave.
Using Color And Texture In Collage Art
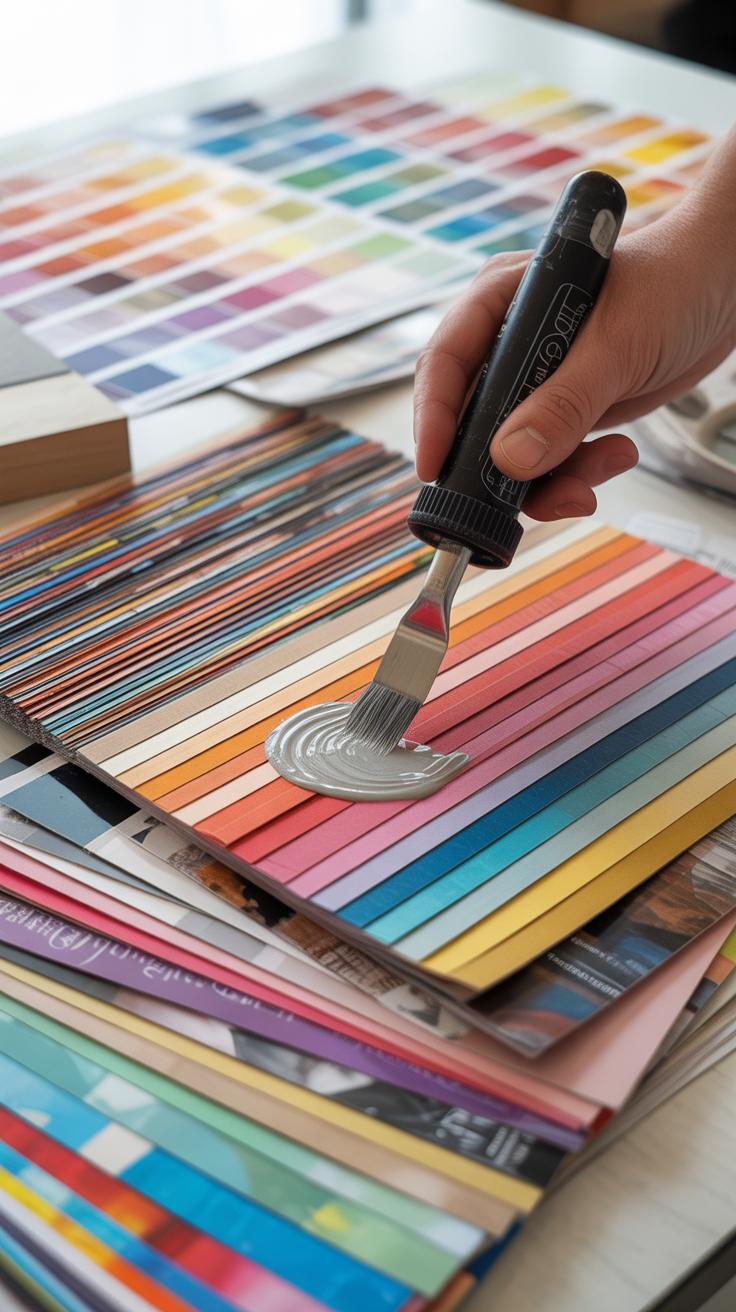
Selecting Colors To Communicate Mood
When you choose colors for your collage, think about the mood you want to set. Colors affect emotions in ways that sometimes surprise us. For example, blues can feel calm but also distant — they might soothe or isolate, depending on how you use them. Reds bring energy but can also signal warning or passion. It’s rarely so straightforward. Sometimes mixing calming greens with a splash of bright yellow creates a feeling that’s both hopeful and restless.
Try limiting yourself to a few hues if you want a clear emotional message. Or throw in clashing colors to create tension, which gets people thinking. Ask yourself: What reaction do I want to spark? Should someone feel comforted or unsettled? Your color choices guide their response more than you might expect.
Incorporating Texture For Tactile Appeal
Texture adds a physical layer to your collages that invites closer inspection. Paper isn’t the only option. Look beyond flat surfaces — rough fabric scraps, crinkled tissue paper, or glossy magazine clippings all speak differently. You can glue down layers unevenly to create ridges, or tear edges for roughness, breaking up smoothness and adding variety.
Even things like sand or thread can create unexpected sensations. This tactile variation can pull viewers in, making the piece feel more alive. Sometimes I’ve found rough textures clash with delicate colors in interesting ways, making parts of the collage jump out more than if everything was smooth and uniform. Texture reminds us that collages are physical objects, not just images.
Creative Layout Ideas For Dynamic Collages
Balancing Chaos And Order
The mix of randomness and control lets your collage breathe, but knowing how much order to use can be tricky. Sometimes, placing elements seemingly at random creates energy and surprise—like a burst of scattered notes in a song. Yet, too much mess might lose the viewer’s attention or feel aimless. I’ve found a middle ground works best: intentional placement that looks spontaneous. For example, grouping similar textures or colors in clusters while leaving some space around can guide the eye without feeling rigid. It’s less about perfect alignment and more about a playful push and pull between structure and freedom.
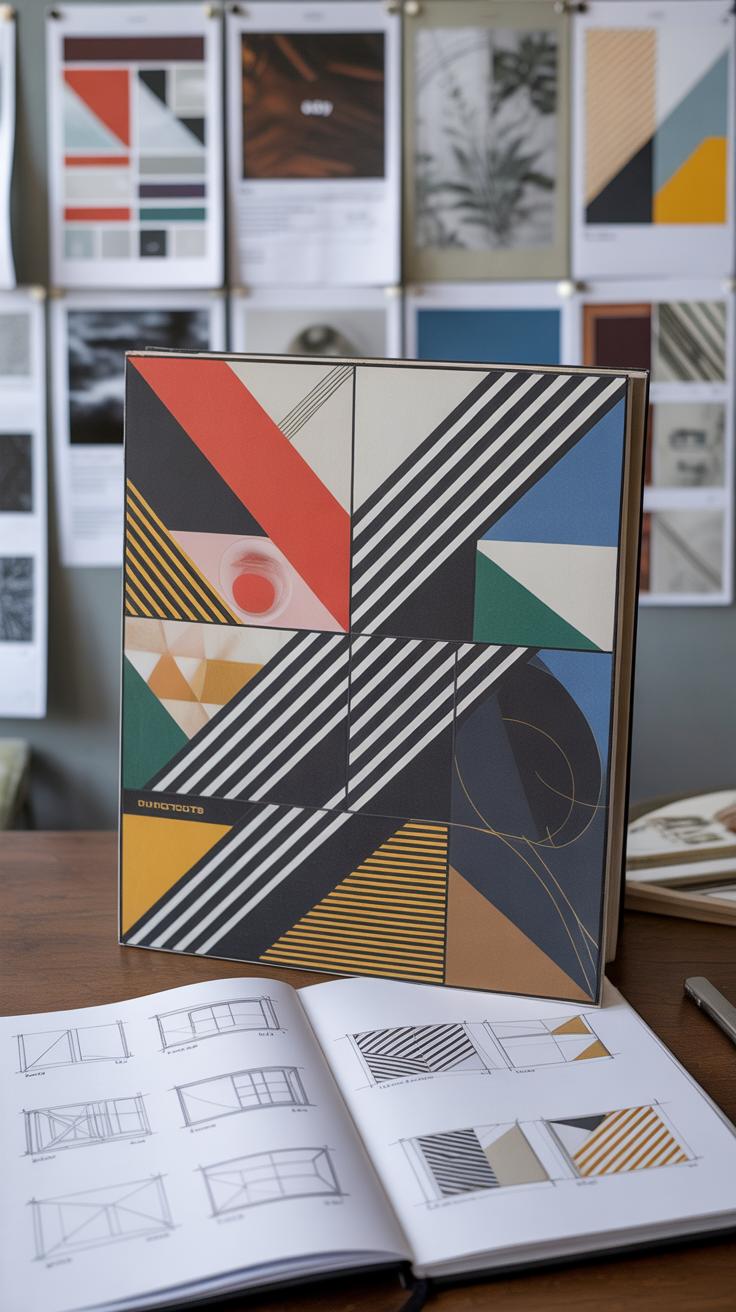
Using Grids And Freeform Designs
Grids offer a clear path through your collage—think neat rows or columns that give a sense of balance and order. This works well if you want to highlight each element equally or tell a clear story. I once tried a strict grid layout with magazine clippings, and it helped emphasize differences between images without overwhelming the viewer. On the other hand, freeform is looser and lets you layer, overlap, or scatter pieces organically. It suits emotional or chaotic themes where neatness might kill the feeling. You might start with a grid and then break some rules, letting parts drift outside boundaries. Both methods have their place; it depends on the mood you want to set.
Creative Ideas To Organize Elements
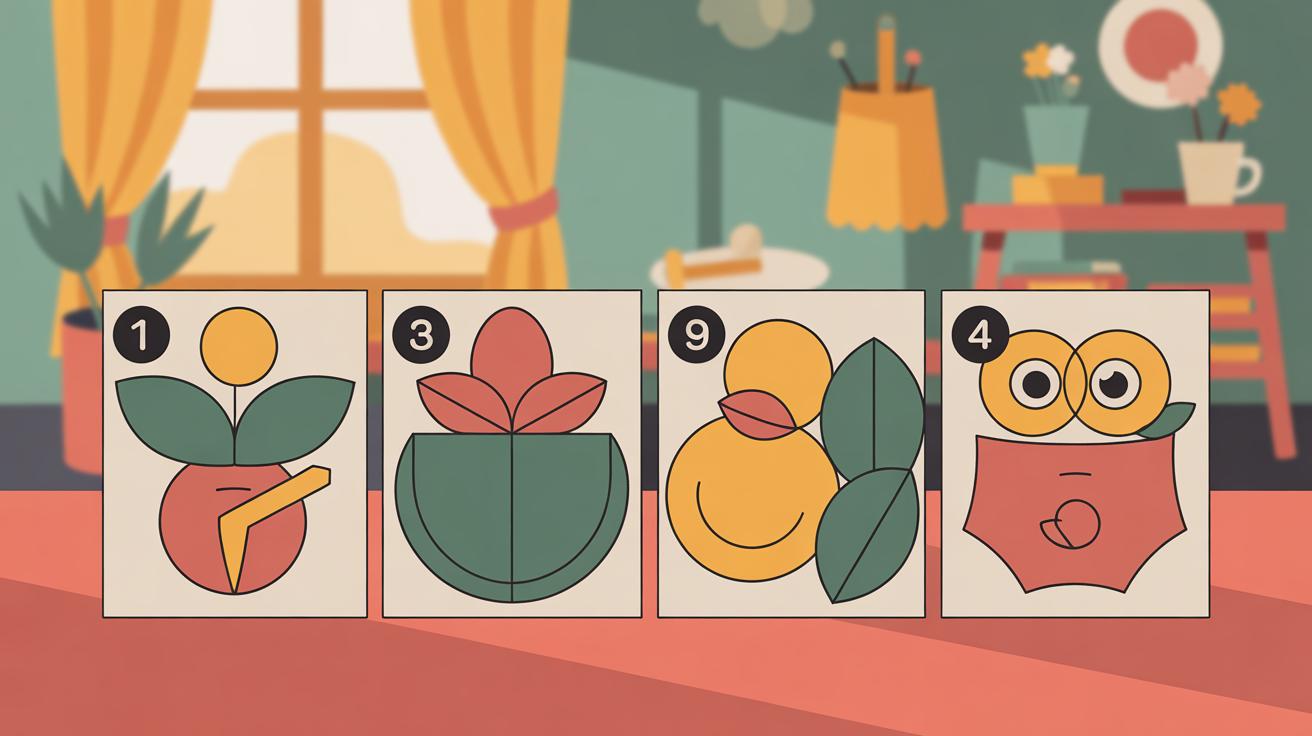
Here are some layout approaches to consider:
- Arrange by theme—group elements sharing a concept or color to create mini-narratives within your collage.
- Use spirals or circles to mimic natural movement and keep viewers engaged.
- Place focal points off-center to avoid predictability and add visual tension.
- Layer transparently, letting some elements peek through others, adding depth.
- Incorporate negative space thoughtfully to give parts room to “breathe”.
Think about how your eye moves across the piece. Does the layout invite curiosity or rush past? Sometimes, disrupting flow deliberately can keep viewers watching longer or make your statement sharper.
Transforming Personal Stories Into Collage Art
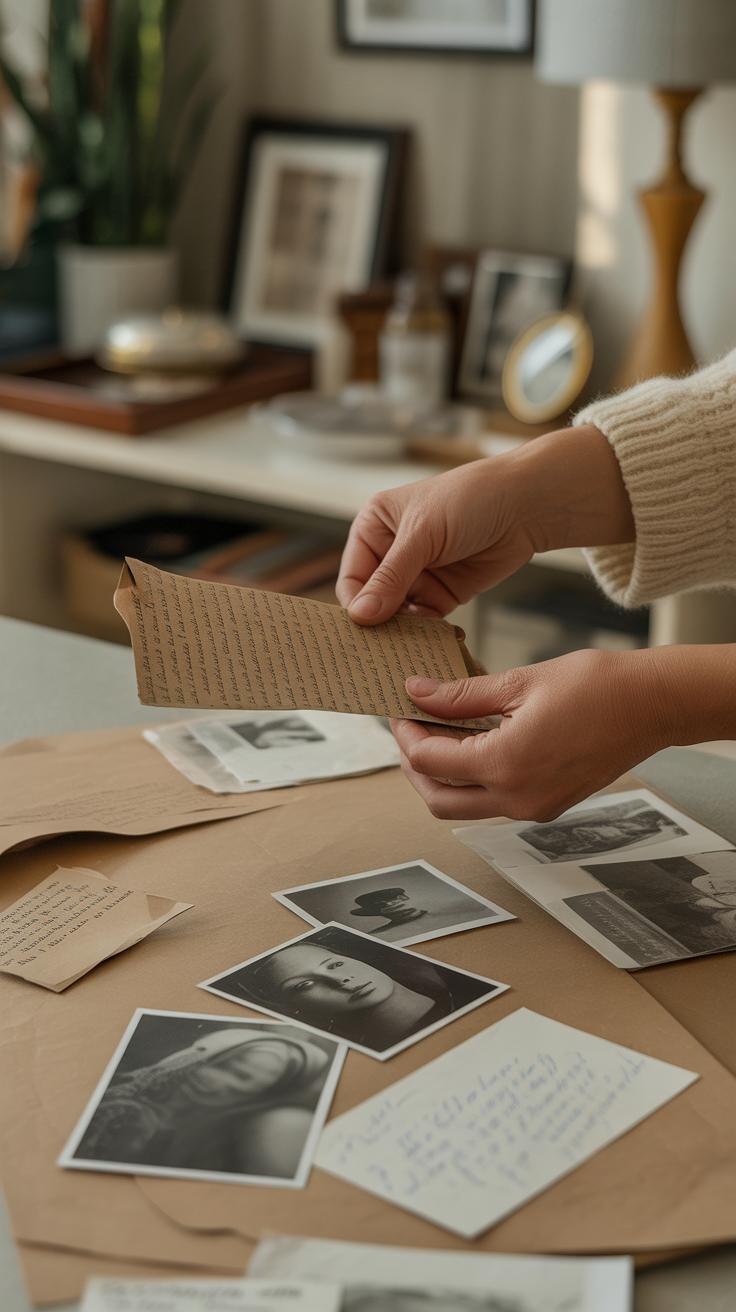
You can use collage to tell your personal stories or share emotions by choosing elements that carry meaning for you. Start by gathering images, colors, or textures that represent moments, people, or feelings from your life. It might be a snippet of an old letter, a pattern that reminds you of a place, or a symbol connected to your culture or values.
When selecting these pieces, think about their significance beyond surface appeal. For example, a simple torn edge from a childhood book might convey nostalgia better than a polished photograph. Such choices often bring depth and honesty to your artwork.
Arranging these elements is like setting a scene for your story. You might organize pieces chronologically, or maybe in a circular pattern to show repetition or cycles. Sometimes a chaotic layout better captures confusion or conflict. You decide which approach fits your story best.
Ask yourself: What feeling do I want to evoke? Should the viewer follow a clear path through my memories, or get lost in abstract impressions? Remember, your collage can be subtle or direct. Both have their own power to connect.
By thoughtfully combining meaningful pieces and arranging them with intention, you turn a collection of images into a narrative that touches both you and the people who see your work.
Incorporating Photography Into Your Collages
Photographs add a striking layer to collage artwork, grounding abstract ideas with concrete imagery. When you include photos, they can introduce narrative depth or emotional weight. Yet, choosing which photos to use isn’t always straightforward. You want images that don’t just fill space but speak to the theme or mood you’re aiming for.
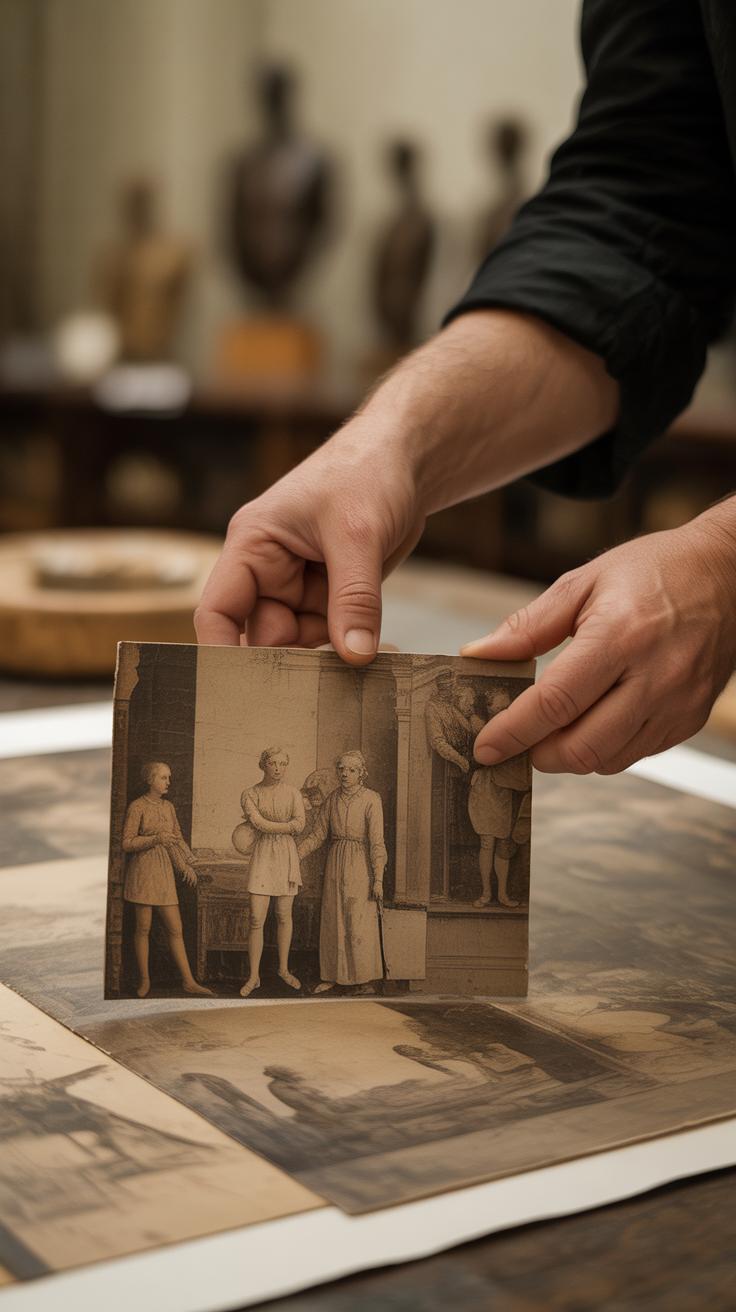
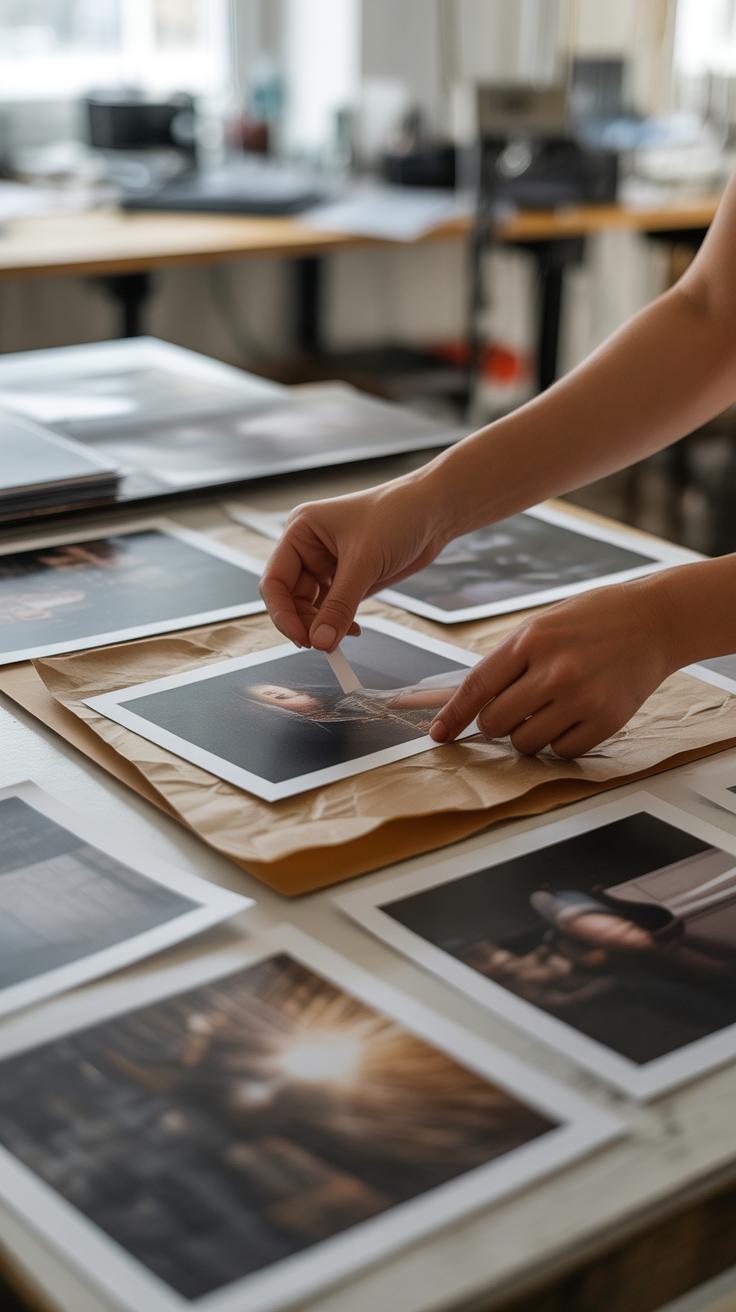
Selecting Appropriate Photographs
Start by asking what story or feeling your collage tries to convey. Pick photos that echo or contrast with that. Maybe a vintage family portrait complements an exploration of memory—sometimes, an unexpected urban snapshot can add tension or surprise. Also, consider the photo’s style: black-and-white images offer a different vibe than vibrant colored ones. Don’t feel you must use perfect photos; sometimes grainy or imperfect shots bring character. I’ve found that random, slightly out-of-focus pictures often push the composition in new, compelling directions.
Blending Photos With Other Materials
Integrating photographs into your collage calls for more than just gluing them down. You can soften their edges by sanding or tearing to avoid sharp lines that interrupt flow. Layering paint or ink around photos helps them feel part of the whole rather than stuck on top. Try partially covering sections with translucent paper or combining photos with textured materials like fabric or newspaper. In one project, I overlapped a photo with torn magazine text and then brushed watercolor over the edges, creating a subtle transition that felt natural—almost like the photo was melting into the piece. Such techniques help achieve a balance; your photos stand out, yet coexist with other elements without dominating.
Exploring Mixed Media With Collage
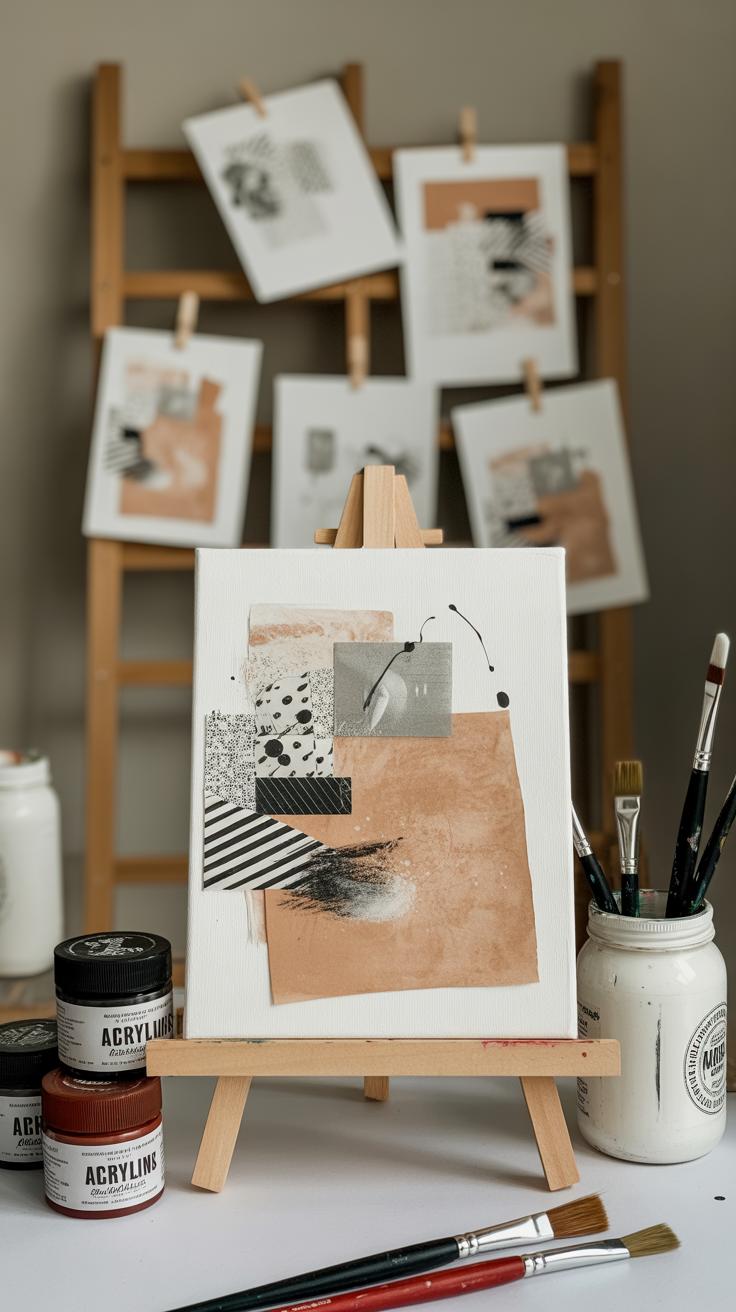
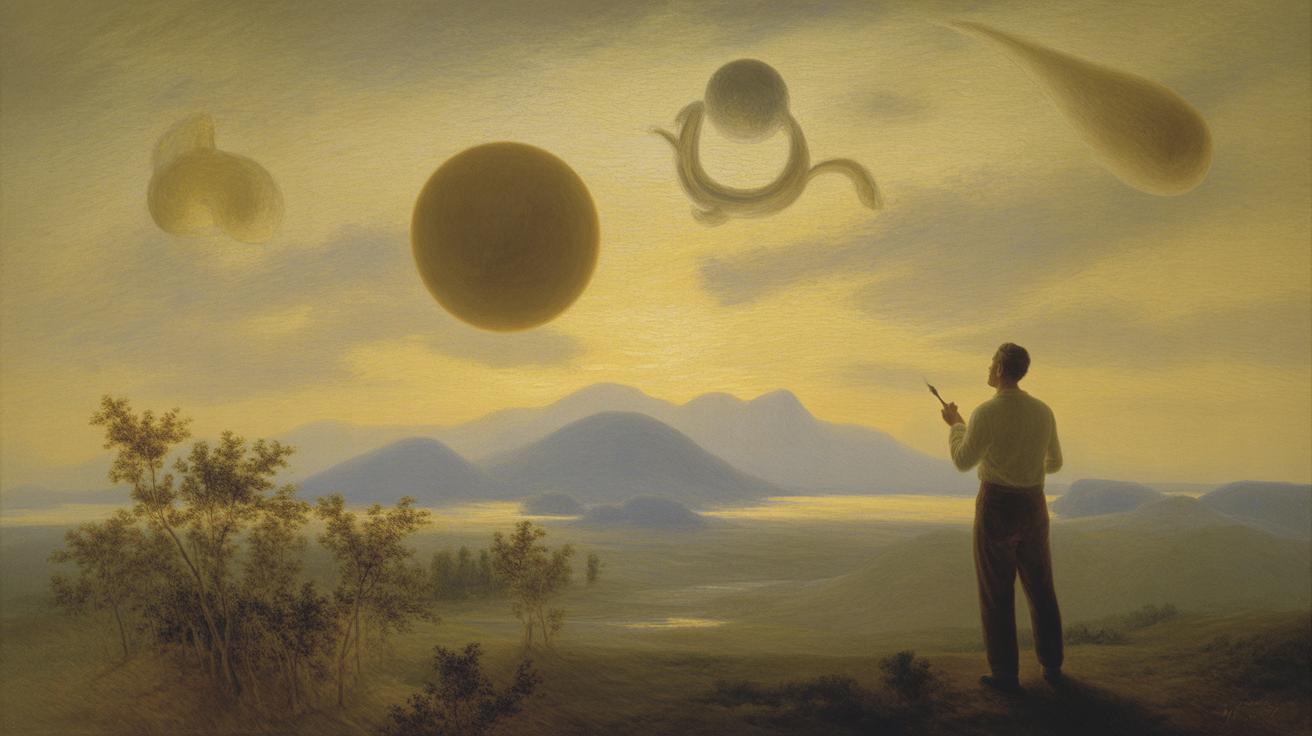
Combining collage with painting or drawing opens up possibilities you might not expect. When you start layering paint, pencil, or even ink over your paper or fabric pieces, it’s like the collage gains a new voice. Suddenly, your work isn’t just cut-and-paste—it becomes a tactile, multi-dimensional story. You might outline shapes with pencil to highlight certain areas or apply washes of watercolor as a subtle backdrop. These touches can either blend elements together or make certain pieces shout for attention.
Adding paint or drawing elements can be as simple as a few brush strokes or as involved as a fully painted background beneath your collage layers. I’ve seen artists achieve great effects by sketching directly on their collages with charcoal or colored pencils, which adds texture you won’t find in just glued paper. Sometimes, a splash of acrylic or a graphite smear changes the whole mood and adds depth—though at times it might feel like it’s distracting instead of enhancing, which is something to watch for.
Mixed media collages let you express ideas that wouldn’t come through in just one medium. There’s room for experimentation—like combining crisp photo cutouts with loose, expressive brushwork—and that unpredictability creates uniqueness. Your artwork can become a blend of control and surprise, disciplined cuts meeting spontaneous marks. Would your collage feel as alive without those added layers? Probably not.
- Use paint to set a tone or unify disparate collage pieces.
- Try drawing accents to guide the viewer’s eye or add details.
- Experiment with layering different media to discover new textures.
- Let some parts stay raw while others get enhanced with paint or pencil.
What if you step back and let your collage dictate where to add paint or drawing? Sometimes the best results come from letting materials talk to each other, not just you deciding upfront. This approach can open doors to creativity that aren’t just technical but feel more intuitive and alive.
Displaying And Preserving Your Collage Artwork
Choosing Frames And Backing
Picking the right frame for your collage isn’t just about aesthetics—it’s about keeping your piece stable and secure over time. You’ll want a frame that supports the layers without squashing them flat. Something like a shadow box frame often works well because it gives depth, letting your collage breathe. Flat frames risk pressing delicate bits too hard, which can distort textures or even cause damage.
Backing materials matter just as much. Acid-free foam board or museum-quality mat boards are good bets; they prevent yellowing and protect against warping. You might think that any rigid backing will do, but cheaper alternatives sometimes lead to moisture buildup or uneven support. I once skipped proper backing and, a year later, saw parts of my collage curl up—definitely avoid that.
Protecting Your Artwork From Damage
Once framed, your biggest enemies are sunlight, moisture, and dust. Direct sun is brutal on paper and colors; it fades pigments and weakens fibers faster than you’d expect. So, try to place your art where it won’t get blasted by sunlight, even if it means rearranging your room. It might be a pain, but it pays off.
Humidity is another silent threat. If your collage hangs where moisture lingers, glue can loosen, and paper can warp or grow moldy. A steady indoor climate with decent air circulation helps, but sometimes you just have to be cautious about where you hang your art. I’ve had to retreat a few pieces to a less humid room after noticing subtle warping.
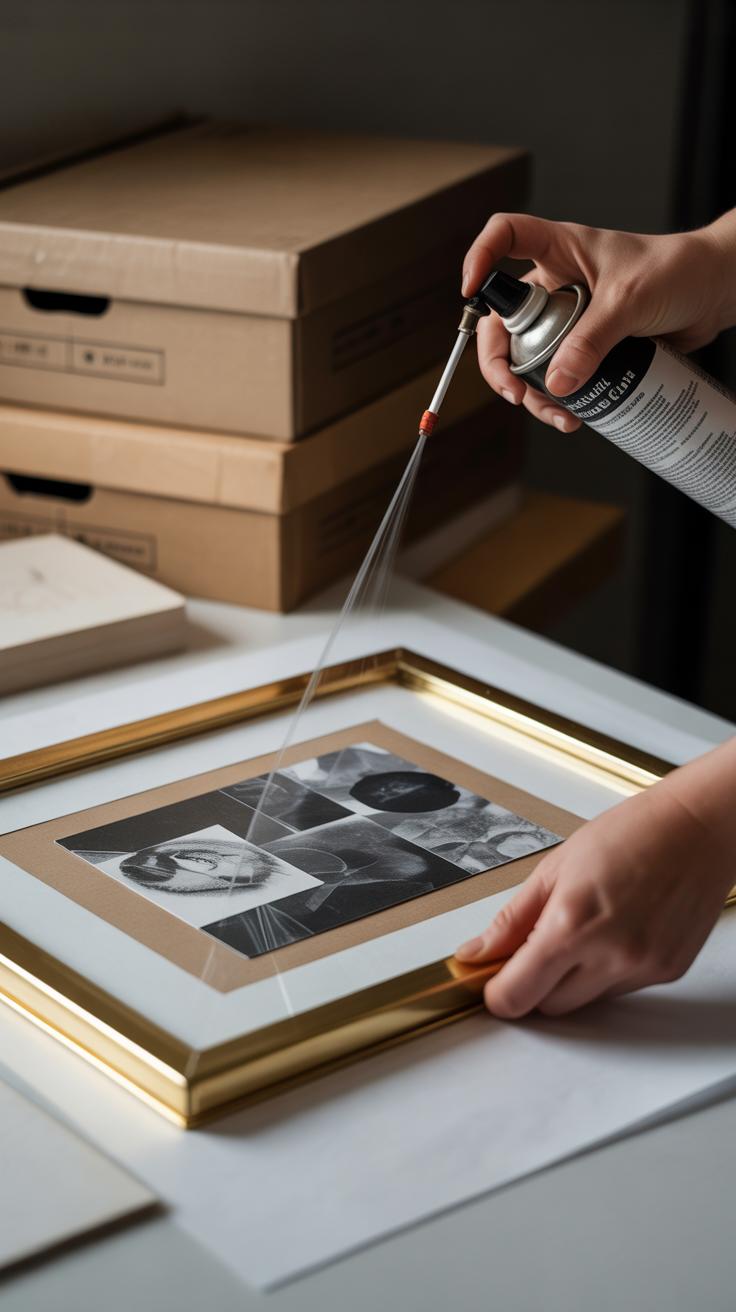
Dust tends to settle in crevices, especially if your collage has lots of texture. Using UV-protective glass or acrylic fronting not only reduces light damage but keeps dust out too. And once in a while, gently dust your framed collage with a soft brush or microfiber cloth—never spray cleaners directly on the glass. This ongoing care keeps your art looking fresh, maybe for decades.
Finding Inspiration And Staying Motivated
Sources Of Inspiration For Collage Artists
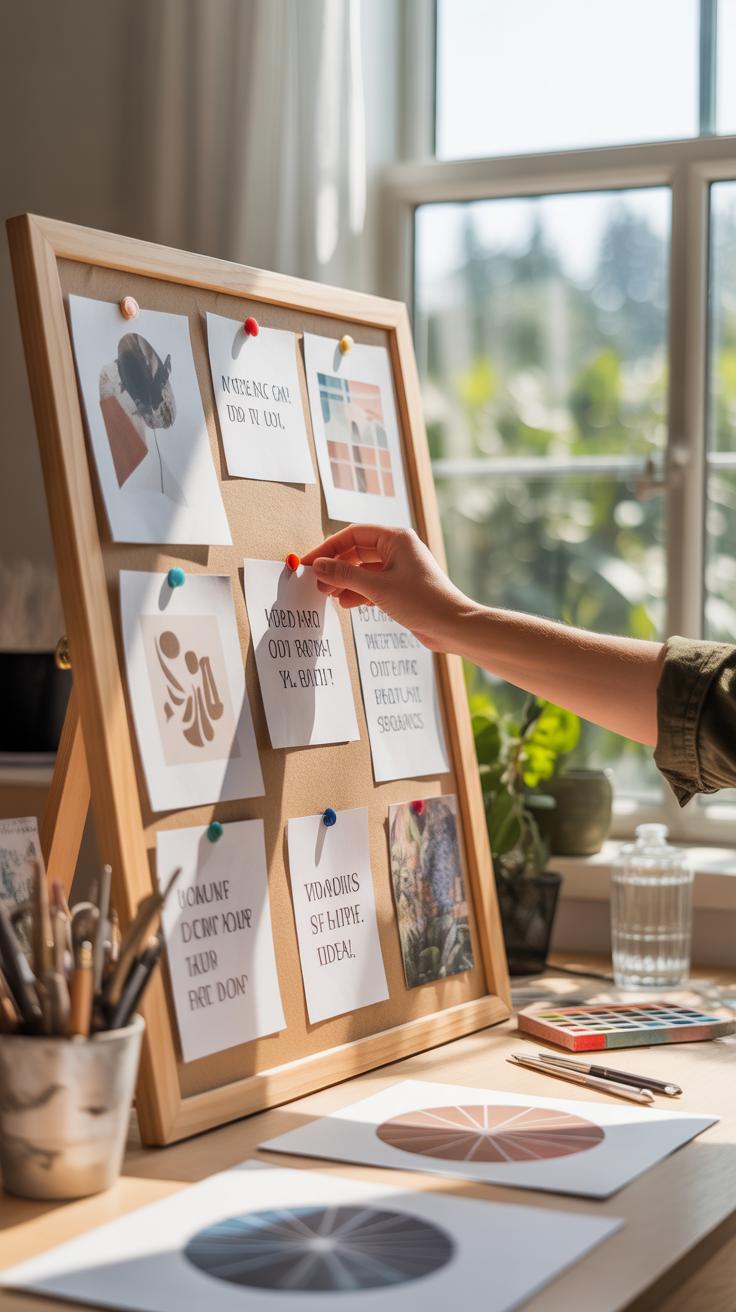
Inspiration often hides in the most ordinary places. You might find it in a worn-out magazine, a weathered postcard, or even the patterns of leaves on your morning walk. Don’t limit yourself to obvious sources like art museums or galleries—though they do offer a rich feast of ideas. Sometimes, flipping through an old book of art history sparks connections you didn’t expect.
Personal memories also serve as a surprisingly deep well. Think about moments that evoke strong feelings or visuals, then turn them into material. Exploring nature could mean more than just observing—it might involve collecting small things like dried petals or torn bark to include physically in your work. Even everyday life, like conversations overheard or city streets, can offer patterns, colors, or stories worth exploring.
Maintaining A Creative Routine
Keeping motivation alive isn’t always easy. Setting small, clear goals helps—maybe it’s finishing one collage element a day or just spending ten minutes arranging fragments without pressure. Practice shifts from intimidating to manageable when you treat it as a habit rather than a task.
Creative blocks will come. When they do, try changing your environment or moving to a different medium briefly. Sometimes, that helps ideas resurface. Journaling your thoughts or sketching loosely might open new doors. You could also try working alongside other artists or sharing progress to rekindle excitement. Regularity matters, but so does flexibility—don’t be harsh on yourself for unpredictable bursts or pauses.
At times, inspiration might feel scarce, yet that’s part of the process too. Staying curious, asking yourself “What if?” or “Why not try this?” can keep your creative engine humming, even if the path isn’t always clear.
Conclusions
Collage artwork offers you a powerful way to blend diverse elements into unique creations. By understanding fundamental principles and exploring varied techniques, you can develop your style and make compelling art. Your imagination is your greatest tool.
Keep experimenting with materials, layouts, and concepts. Each attempt enriches your skill and broadens your artistic voice. Embrace collage as an ongoing journey of discovery and expression, where every piece reflects your bold ideas and creativity.


