
Introduction
Coffee art painting transforms a simple cup of coffee into a captivating visual experience. This practice involves creating designs on the surface of coffee drinks, mainly using foamed milk and espresso. You can elevate the sensory enjoyment of coffee by combining taste with appealing visuals. Techniques used in coffee art painting include precise pouring, layering foam, and etching patterns, which require skill and practice.
Expressive coffee art painting techniques help you add personal flair to your creations. They go beyond standard latte art to explore new forms and styles that reflect your creativity. Whether you are a barista or a coffee enthusiast, understanding these methods could improve your coffee experience. This article guides you through the basics, tools, and advanced tips to create striking coffee art that impresses every time.
Understanding Coffee Art Painting
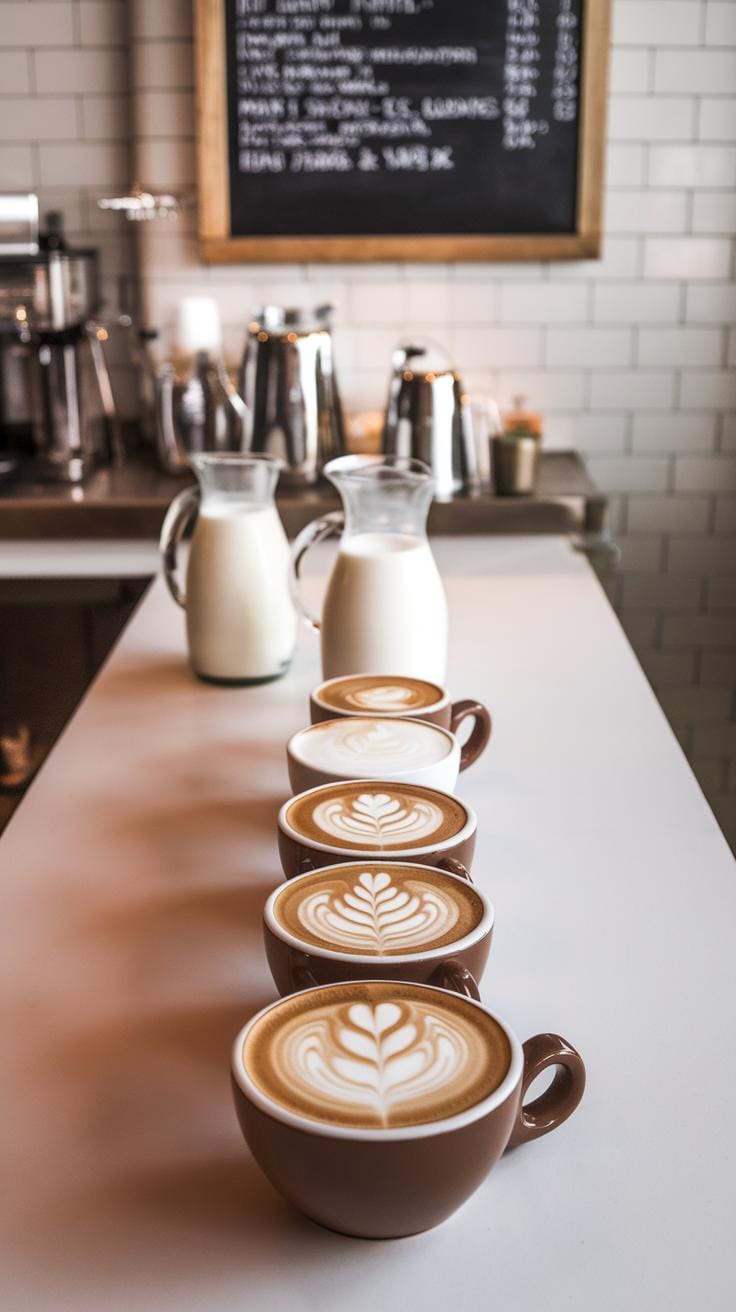
Coffee art painting involves creating visual designs on coffee surfaces using steamed milk, coffee foam, or edible colors. This practice adds creativity and personality to a simple cup of coffee. It connects baristas and drinkers through a shared appreciation of craft and aesthetics. Coffee art started mainly as latte art, where steamed milk forms patterns like hearts or rosettas on espresso. Over time, it evolved into more expressive forms where artists paint or draw intricate images on the coffee’s surface.
The significance of coffee art extends beyond appearance. It improves the drinking experience by engaging multiple senses, making each cup special and memorable. Customers notice the extra effort and enjoy the personalized touch. Coffee art enriches presentation and encourages social sharing, which helps coffee businesses attract new customers and build loyalty. What could your coffee look like tomorrow if you master these artistic techniques?
History and Evolution of Coffee Art
Coffee art began in Italy during the early 20th century, closely tied to espresso culture. Italian baristas devised simple patterns as a way to enhance their coffee’s appeal. The movement gained momentum when skilled baristas in the United States introduced latte art during the 1980s. This innovation sparked widespread interest and competitions.

David Schomer, a Seattle barista, played a key role in popularizing latte art by sharing techniques and encouraging precise milk steaming. The art form has grown from simple patterns to complex, colorful paintings. Events like the World Latte Art Championship showcase new styles and push creative limits. This evolution shows how coffee art blends tradition with innovation. How might current trends shape coffee art tomorrow?
Why Coffee Art Matters
Visual appeal strongly influences how customers perceive their coffee. Attractive coffee art suggests care and quality, raising satisfaction and value. Customers often remember places where the barista adds artistic touches. Coffee art also boosts engagement by sparking conversations and photos shared on social media.
Competitions give baristas a platform to display skill, creativity, and speed. Judging criteria include technique, design, and originality, motivating baristas to refine their craft. Coffee art separates average coffee shops from great ones by delivering a unique experience. Could mastering coffee art give you an edge in the café world? Your presentation affects your customers as much as your recipe.
Tools and Ingredients for Coffee Art
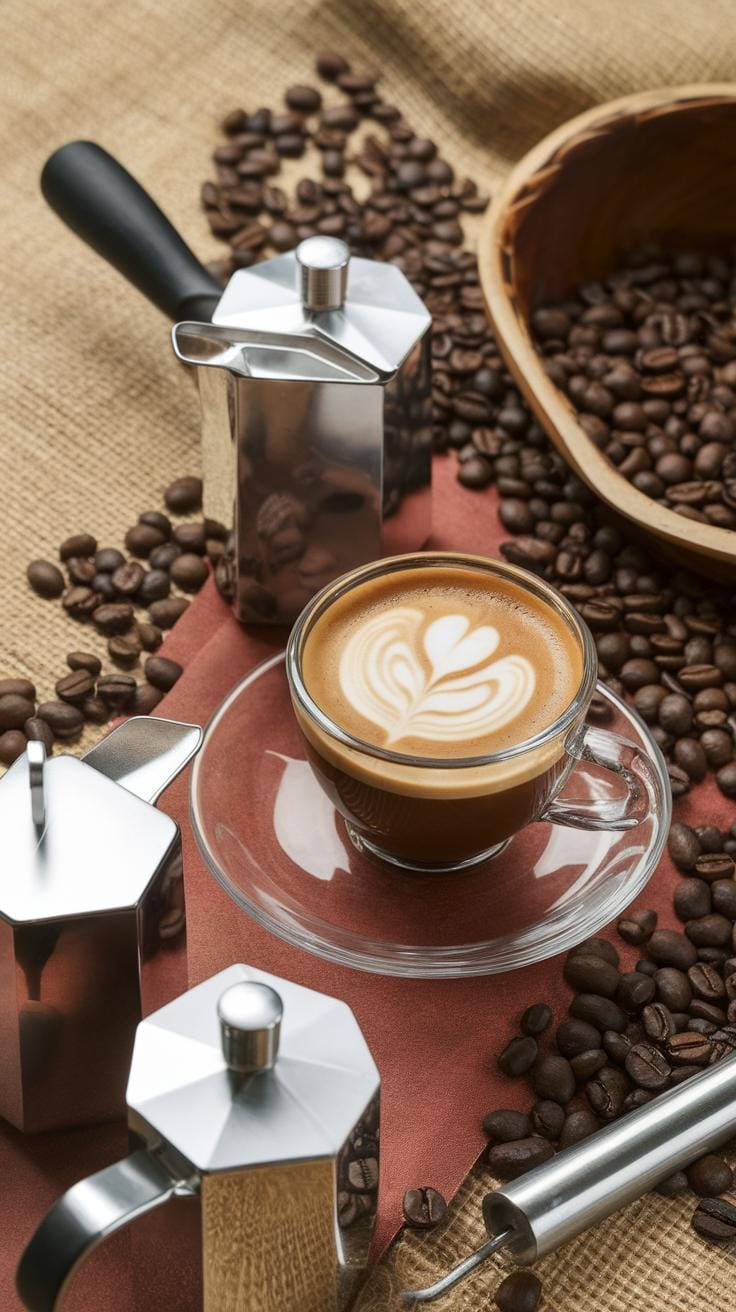
Creating expressive coffee art starts with the right tools and quality ingredients. A reliable coffee machine designed for espresso is key. Machines with stable temperature settings and consistent pressure help extract the rich flavors needed for vivid coffee art. Home baristas often choose semi-automatic or automatic espresso machines for control and ease.

Milk frothers come in several forms, from handheld steam wands attached to machines to standalone electric frothers. Steam wands that deliver adjustable pressure let you craft the fine microfoam necessary for detailed art. Choosing pitchers made of stainless steel with a narrow spout improves control during pouring.
Edible colors and flavored syrups can add creative elements to your art but keep them natural and food-safe. Using fresh, quality beans and milk influences your final result profoundly. Fresh espresso and properly textured milk yield a smoother canvas for painting that lasts longer. Have you noticed that the freshest ingredients make your coffee art more vivid?
Selecting the Right Equipment
Your espresso machine should offer precise temperature control and stable pressure. These features ensure consistent espresso shots, which are the base for your art. Machines with reliable steam wands that allow you to regulate steam intensity make frothing milk easier.
Look for steam wands that can create small, controlled bubbles, which are critical for smooth microfoam. Pitchers with sharp, narrow spouts give you better control when pouring, allowing you to create detailed designs. The size of the pitcher matters, too—a smaller pitcher helps you manage milk volume better and pour with precision.
Consider how comfortable and ergonomic your tools feel. When practicing artistic pours for minutes at a time, comfort supports steady hands and reduces fatigue. Do your tools allow you to work with confidence and precision?
Choosing Ingredients

Start with fresh coffee beans, ideally medium to dark roast with a rich crema. The crema forms the base on which your coffee art appears. Beans with uneven roasting or stale beans struggle to produce crema and weaken your design’s clarity.
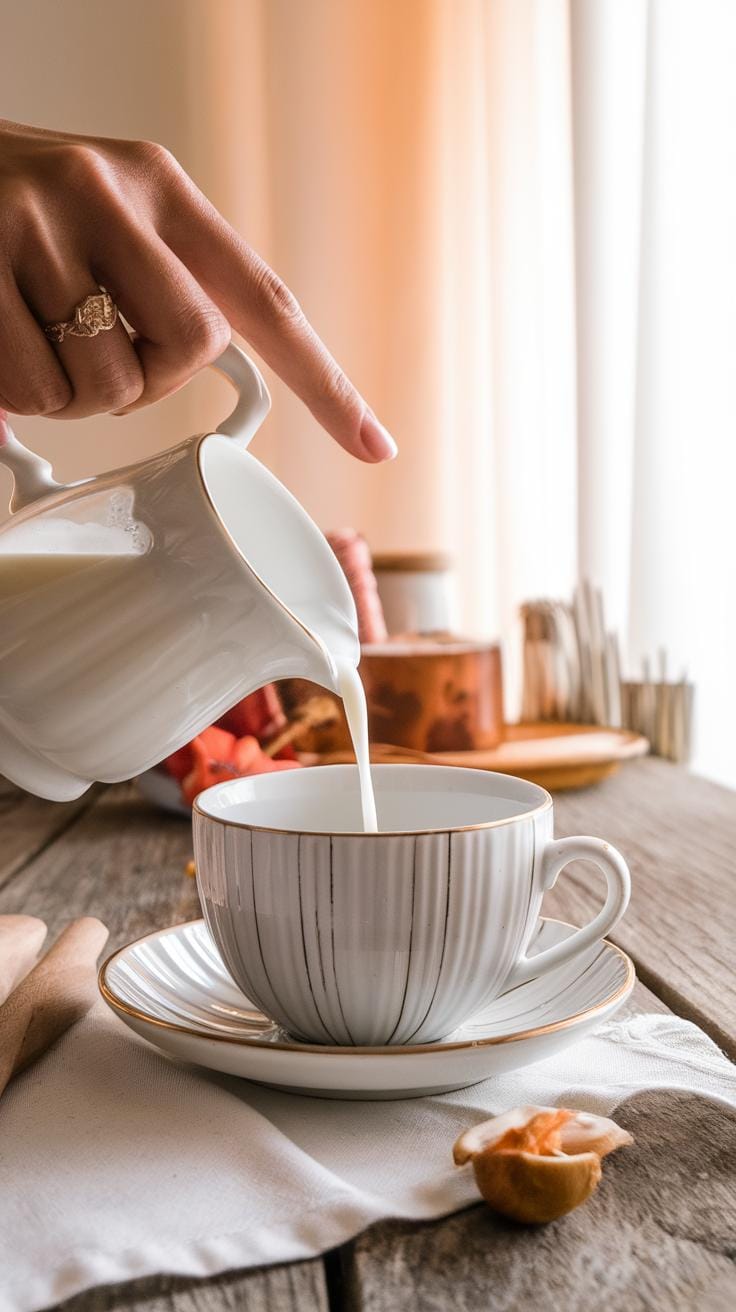
Milk choice greatly impacts your foam quality. Whole milk typically froths better and yields a creamier texture because of its higher fat content. Skim or plant-based milks may require adjustments in technique because they produce different foam textures.
Milk temperature matters—aim for around 140°F (60°C). Milk that overheats turns flat and won’t hold the microfoam texture. Cooler milk won’t froth properly. Additives like syrups or natural colors can enhance your art but use them sparingly to avoid affecting foam stability.
How might you adjust your ingredient selection to challenge yourself and improve your coffee art? Experimenting with different beans and milk types can reveal surprising results in your creative work.
Mastering Milk Frothing and Microfoam


Steaming milk to create microfoam is key for expressive coffee art. Microfoam is made of tiny, fine bubbles that give milk a smooth, velvety texture. This foam blends well with espresso, making it easier to shape patterns and designs.
Start by pouring cold milk into a metal pitcher, about one-third full. Insert the steam wand just below the surface. Turn on the steam and lower the pitcher slowly to introduce air until you hear a gentle hissing sound. This step creates the tiny bubbles you need.
Next, raise the pitcher so the wand is deeper in the milk. This heats the milk while keeping the foam smooth. Stop steaming when the pitcher becomes too hot to hold comfortably, around 150°F (65°C).
Common mistakes include letting the wand stay too close to the surface, causing large bubbles, or overheating the milk, which breaks down the foam. Practicing this step-by-step helps you create the perfect texture for your coffee art.
Technique for Microfoam Creation
Position the steam wand just under the surface of the milk. Angle the pitcher so the milk spins in a whirlpool. This motion helps mix the bubbles evenly into a creamy foam.

Control temperature carefully. Aim to reach about 150°F (65°C). Feel the pitcher as you heat. If it becomes too hot to touch, stop steaming.
Use short bursts of air and avoid sinking the wand too deep at the start. Once you hear a steady hissing, lower the wand to heat the milk smoothly. Maintaining this balance is essential to produce fine microfoam.
Troubleshooting Milk Frothing
If your foam has large bubbles, the steam wand might be too close to the surface. Try lowering the pitcher slightly to reduce air intake.
When the milk overheats, it loses sweetness and becomes difficult to pour smoothly. Use your hand to check temperature often while steaming.
When foam is too dry or thick, it may mean too much air entered the milk. Adjust by positioning the wand to create a gentle whirlpool instead of aggressive frothing.

Try these corrections one at a time. Each small change will improve your microfoam quality and your overall coffee art results.
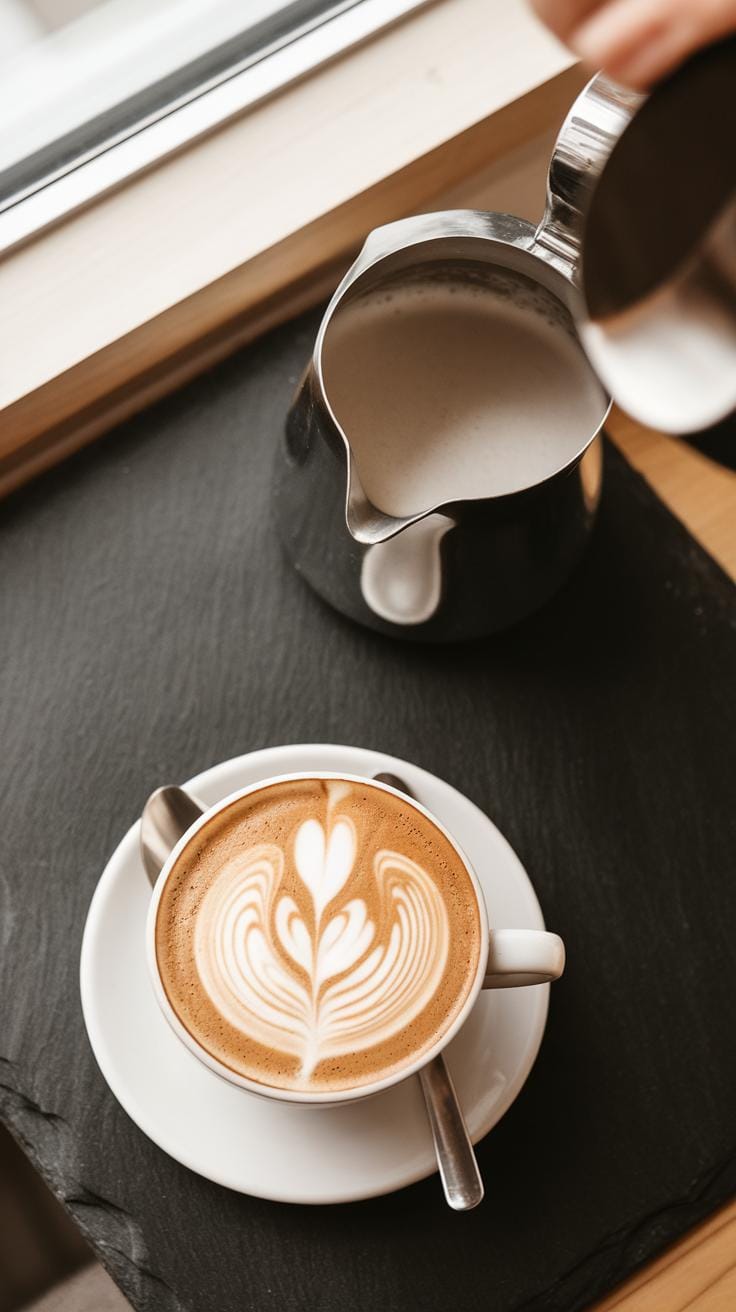
Basic Pouring Techniques
Pouring steamed milk into espresso needs control over three main elements: milk flow rate, pitcher angle, and hand movement. The way milk flows affects how it interacts with the espresso’s crema. Pour slowly at first to mix milk and coffee evenly. Then increase flow to create the design.
Hold the pitcher at a steady angle, usually around 45 degrees, to guide the milk smoothly. Adjusting the angle changes the milk’s spray pattern and design edges. Move your wrist gently during the pour. Too little movement creates simple spots, while precise, slow motions shape patterns.
Practice shifting your hand height. Pouring from high up blends milk deep into coffee, while pouring close to the surface creates bold white contrasts. How do you control these elements in your pouring?
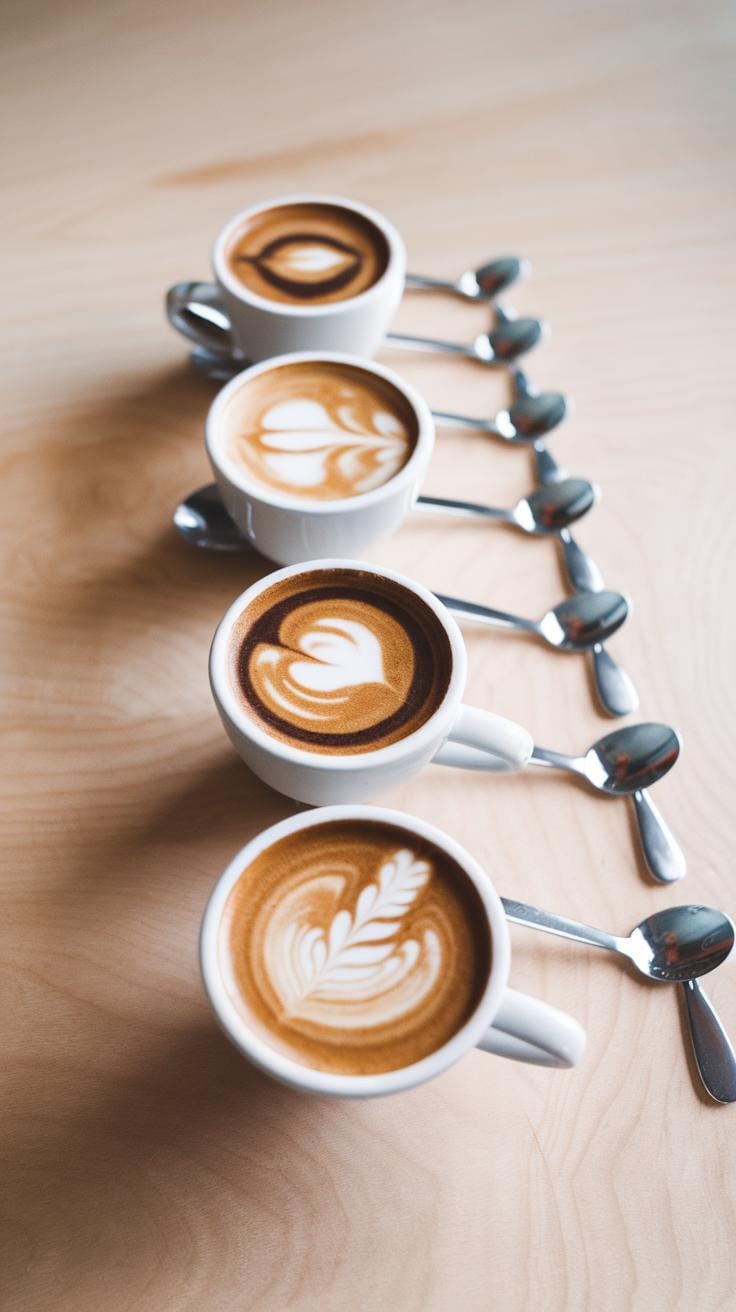
Starting with Simple Patterns
Begin with the heart pattern. Start pouring from a high position until the cup is half full. Lower the pitcher close to the surface and pour faster to form a white circle. Finish by pulling the pour through the center, creating a heart shape.

The rosette looks more complex but follows a similar flow. Begin with a steady base pour. Then wiggle the pitcher side to side as you pour closer to the surface, forming layered leaves. End by pulling through the middle to define the stem.
Try these steps slowly and focus on steady hand movements. Watching your milk’s color change helps you know when to shift speeds and height. Which pattern are you ready to master next?
Controlling the Pour
Pour consistency starts with a steady hand and calm focus. Hold your pitcher firmly but relaxed to avoid sudden shakes. Match your pour speed with the design you want—slow for fine details, faster for larger shapes.
Pay attention to the milk flow. A narrow, steady stream gives precision. If the stream splits or sputters, your milk texture or pitcher position needs adjustment. Keep your wrist stable and avoid abrupt moves to maintain smooth flow.
Practice pouring in an empty cup. Repeat the motion until your muscle memory builds. How does controlling your hand speed and angle change your results? Small changes make a big difference in coffee art.
Advanced Expressive Coffee Art Forms


You can take your coffee art beyond simple pouring by using techniques like etching, layering colors, and adding syrups. Etching lets you draw detailed images or patterns on the foam surface using tools like needles or thin sticks. This technique works best after you pour the milk, giving you a fresh canvas. Try creating delicate lines or swirls, and see how varying pressure changes the design.
Adding layers means carefully pouring different densities of milk or espresso to build depth and texture. You might pour a thin layer of espresso first, then add foamed milk, and top it off with syrup colors made from natural ingredients like beet juice or matcha. These layers create striking effects and give your coffee a unique look.
Consider syrups that contrast with milk foam for color or flavor, such as vanilla or caramel, to highlight your art. Think about what patterns or images you want to try next. How can you use these techniques to make your coffee presentation stand out? Experiment freely. The more you practice, the more creative your designs will become.
Etching and Drawing on Foam
Use a fine needle, toothpick, or specialized latte art tool to draw directly on your coffee’s foam. After pouring, let the surface settle, then gently drag your tool to create lines or shapes. You can make feathers, flowers, or even faces with simple strokes.
Try dragging the tool through spots of contrast, like where foam meets espresso, to make your design pop. You can also dot the foam surface for texture or add fine details inside larger shapes. Etching lets you turn your cup into a tiny canvas and adds an artistic layer beyond pouring.
Practice steady hand movements to avoid breaking the foam. Think about how light or deep your lines should be for different effects. What small image would you like to sketch on your next cup? Using etching, you can push your creativity where pouring alone can’t reach.
Using Colors and Layers
Colors add excitement to coffee art without harming taste. Use safe, natural additives like matcha powder or beetroot juice mixed with milk or syrup. Add these colored liquids in thin amounts after layering your basic foam patterns.
Layering means controlling liquid density and pouring order to prevent colors from mixing too much. For example, start with espresso, then pour steamed milk with a hint of color slowly on top. If you add syrup, use a dropper to place it precisely.
Adding texture can include sprinkling cinnamon, cocoa, or nutmeg on specific areas to highlight your design. Think about using contrasting colors and textures — can you make your coffee look like a sunset or an abstract painting? Layering lets you customize your cup with detail and style.
Expressive Design Ideas to Try
Try creating coffee art designs inspired by nature, abstract shapes, and personal symbols. These styles will push your creativity and add interest to your coffee presentation. You might start with simple floral forms or leaves, then experiment with patterns made of dots and lines.
Nature offers many options. Leaves, flowers, and vines can be painted using pouring and etching techniques. Imagine swirling a leaf shape with your latte and then refining its veins with a thin tool. You can layer syrups to deepen color or create shadows within your natural designs.
Abstract patterns give you freedom to move beyond recognizable shapes. Lines, dots, waves, and spirals add a modern touch. Try drawing rhythmic lines with a thin stick, then filling spaces with careful dots. When do these patterns look balanced or pleasing to you?
Personalized motifs add meaning and fun. Your initials, simple animals, or icons related to your day can make your cups unique. Creativity grows with practice, so challenge yourself to mix styles and invent new shapes. What design will you try next?
Nature-Inspired Designs
Start with a smooth pour to form a creamy base. Use pouring to create broad petals or leaf shapes by controlling flow speed and tilt angle of your cup. Slow pouring near the edges makes soft leaf tips, while faster pours create sharp points.
After pouring, switch to etching with a fine tool. Sketch veins on leaves or detail flower centers by dragging the tool gently through the foam. To add depth, layer darker syrup along veins before etching. This technique mimics the natural textures of petals and leaves.
Repeat these steps to build layered designs. Each line or curve you etch refines the shape and adds life. Have you noticed how natural shapes often follow simple patterns, like symmetry or repetition? Use these as guides to keep your art balanced.
Abstract and Geometric Patterns
Abstract designs allow freedom to paint with lines, dots, and waves. Start by making long, smooth lines with steady hand movements. You can draw from one side of the cup to the other or create looping wave patterns that fill spaces evenly.
Dots and dashes balance solid lines. Place dots in a row or scatter them for texture. Connecting dots with thin lines can form geometric shapes such as triangles or diamonds.
Experiment with rhythm in your marks—alternating small and large dots or varying line thickness adds interest. Try combining waves with sharp angles. How does changing spacing or direction affect your overall design? Geometric patterns often create a strong visual contrast compared to organic shapes, so mixing both can energize your coffee art.
Practicing and Improving Your Coffee Art
Practice shapes your skills in coffee art. Set aside time to work on your pouring and frothing daily or several times a week. Consistency builds muscle memory, which helps you pour precise shapes and create smooth milk textures. How often can you dedicate focused practice to coffee art?
Tracking your progress matters. Take photos of your art after each session and compare them over time. Spot differences and identify what improved and what needs work. Reflecting on mistakes lets you grow faster. What part of your technique feels hardest to master?
Look for inspiration outside your own work. Watch video tutorials to see how others approach patterns and milk control. Join online coffee art groups or visit cafés known for great latte art. Observing different styles will push your creativity. Whose work sparks your interest most?
Building Confidence Through Practice
Choose a schedule that fits your routine, such as 15 minutes every morning or three evenings per week. Use practice to refine basic skills like frothing milk to the right texture and pouring steady streams. Start with simple designs before moving to complex ones.
Break practice into steps. Froth milk separately, then focus on controlling your pour speed. Repeat each step until consistent results feel natural. Consider how steady your hand is and if the milk foam feels creamy or bubbly. Can you tell when your milk is just right?
Confidence grows as you succeed in small goals. Celebrate when you pour a clear heart or tulip shape. Then challenge yourself with more detailed techniques. How will you adjust your practice next week to improve?
Learning from Examples
Tutorials are valuable tools. Look for step-by-step videos that explain each motion as it happens. Pause and rewind to observe details you might miss in person. Try copying their actions and then add your personal touch.
Engage with coffee art communities online or locally. Share your attempts, ask for feedback, and try new patterns shared by others. Seeing different interpretations helps avoid getting stuck in one style.
Remember that every artist started where you are now. What new design will you explore after watching a tutorial or chatting with another barista?
Sharing Your Coffee Art Creativity

Presenting your coffee art to others can deepen your connection with your craft. When you serve coffee with art, observe how it sparks conversations. Many people appreciate the skill and care behind the design. This interaction can fuel your passion and motivate you to try new techniques. You might find yourself wanting to refine your skills by watching their reactions and hearing their feedback.
Offering your coffee art in a café or at home creates moments to bond, whether with customers, friends, or family. It also invites questions about your process, opening doors to share your journey. Sharing this way often leads to discovering others who appreciate coffee art, helping you build a community. How might your coffee designs inspire those around you?
Displaying Coffee Art in a Café or Home
Keep your coffee art fresh and inviting by serving it quickly after creation. Warm cups preserve the crema and prevent the art from fading. Use clean, simple cups to highlight the details of your design. Avoid overcrowding the tray or table to let each cup stand out.
Display your cups where lighting shows the texture and colors clearly. Consider transparent lids for takeout cups to protect your art without hiding it. If you serve at home, create a small dedicated space to showcase your creations. What kind of presentation will best show off your work?
Engaging with Coffee Art Communities
Joining online forums or social media groups helps you connect with other coffee artists. Sharing photos of your work invites feedback that can guide your growth. These platforms also expose you to new styles and challenges.
Competitions offer chances to push your limits and gain recognition. Many community members post tutorials and tips that help you overcome obstacles. Try asking thoughtful questions or sharing your experiments to create meaningful dialogue. How will you use these communities to sharpen your skills and enjoy coffee art even more?
Conclusions
Expressive coffee art painting enriches your coffee experience with visual beauty. By mastering the essentials of milk frothing, pouring, and pattern creation, you can make coffee presentation an artistic pursuit. Try practicing simple shapes first and gradually incorporate complex designs. Think about how different textures and colors interact on your drink’s surface. This approach can engage your customers or guests and make each cup special.
The journey to mastering coffee art is about patience and experimentation. Explore various styles to find your unique expression in coffee art. Technical precision supports creativity, so focus on perfecting your milk texture and pour angle. Coffee art painting is challenging but rewarding, offering endless opportunities to refine your craft. Will you accept the challenge to transform coffee drinking into a rich visual delight?


