Introduction
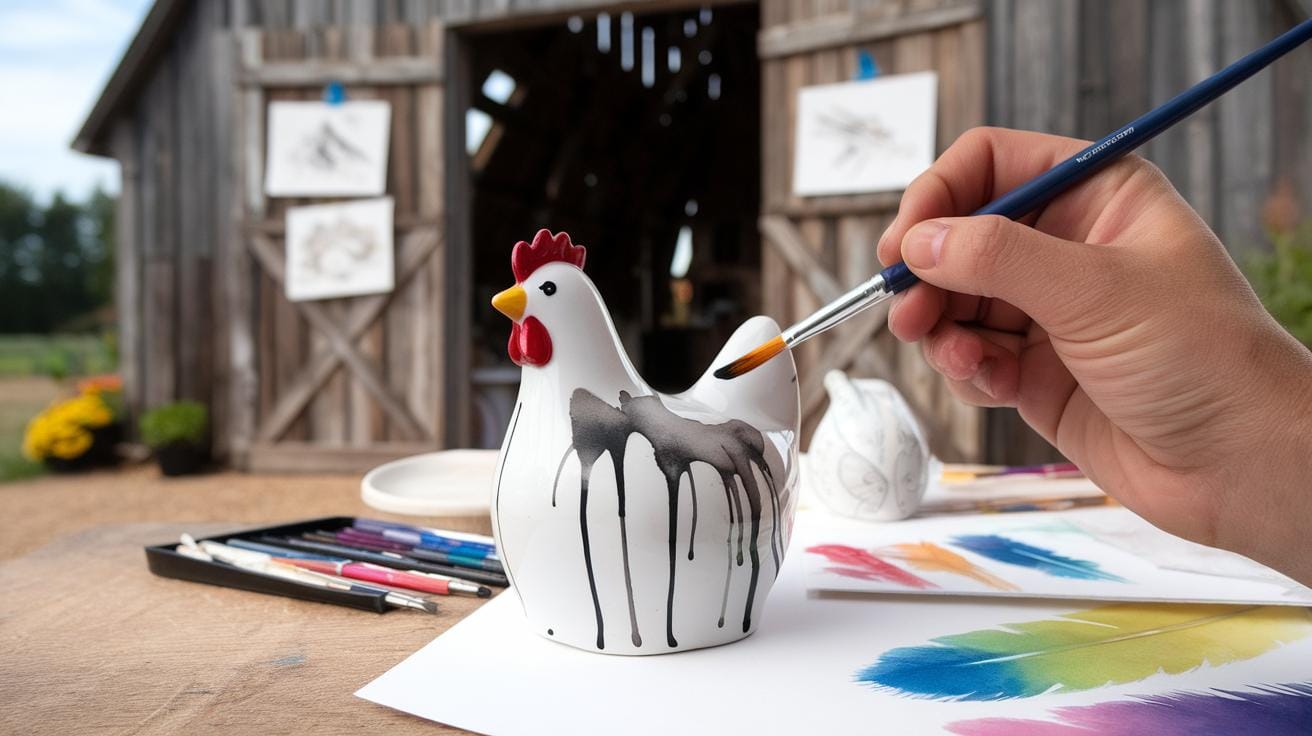
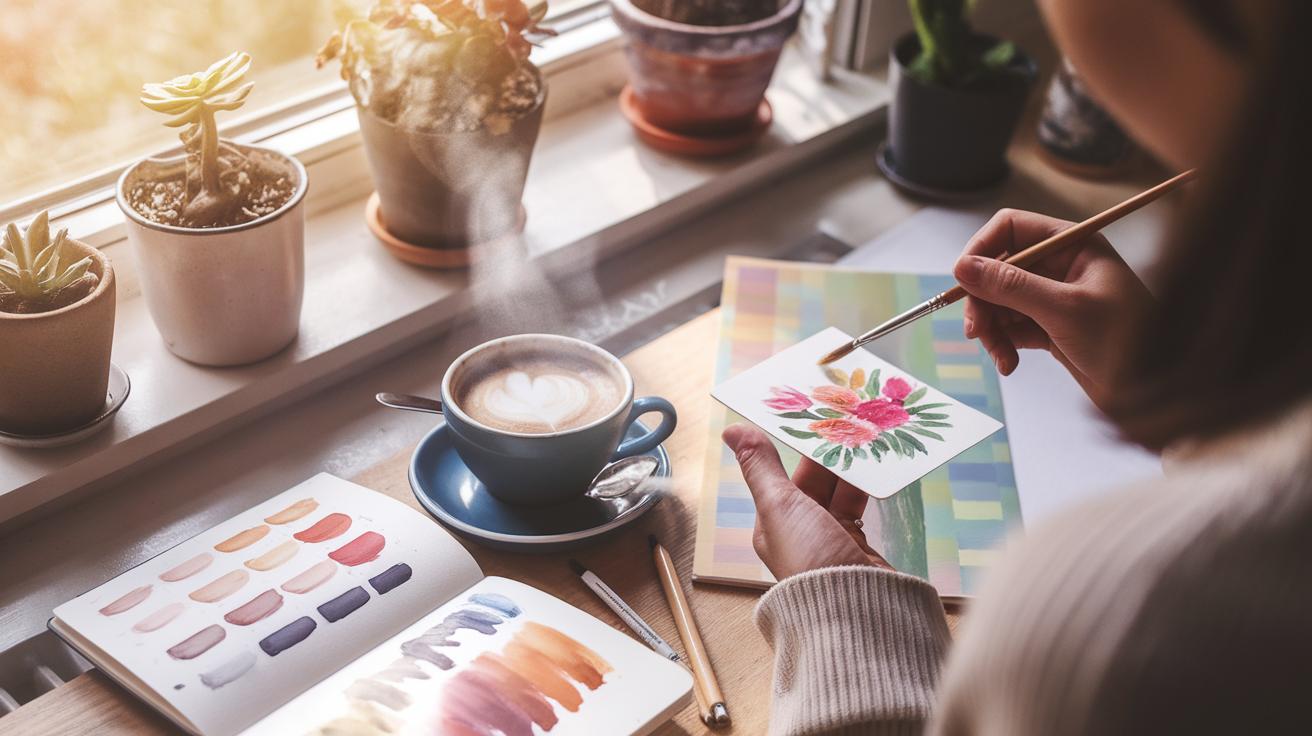
Chicken painting offers a fascinating way to express creativity through art. Using gouache and ink wash allows you to explore textures, shades, and details that bring your chicken illustrations to life. This art form balances blending vibrant colors with subtle ink lines, making your work stand out. Whether you are an experienced artist or a beginner, these techniques provide an excellent medium to experiment with and develop your style.
Understanding the basics of chicken anatomy and behavior adds depth to your paintings. Chickens have distinctive shapes and movements that you can capture with gouache’s rich pigments and the fluidity of ink washes. This article guides you through quirky ideas and practical tips for painting chickens. You will learn how to combine these materials effectively to create lively and original chicken art that reflects your personal creativity.
Introduction to Gouache and Ink Wash for Chicken Painting
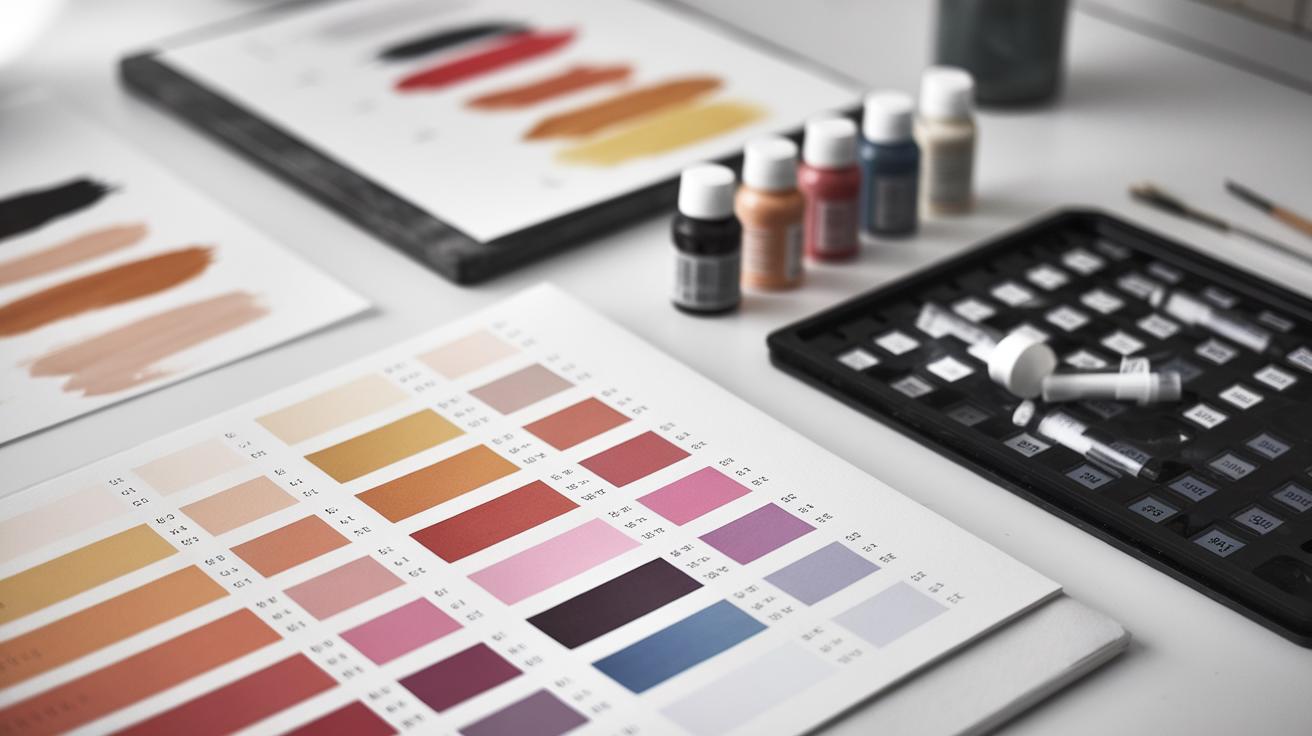
Painting chickens requires materials that capture fine details and vibrant colors. Gouache and ink wash fit this need well. Gouache is a water-based paint known for its bold opacity and quick drying time. It lets you layer colors smoothly, helping you highlight feathers, wattles, and beaks with precision. Ink wash uses diluted ink to create soft shadows and rich textures. When paired, these two techniques help bring out both the form and personality of chickens.
Compared to watercolor, gouache does not become transparent when dry. This gives your artwork a solid appearance without losing subtle details. Ink wash provides tonal contrast that enhances depth and shapes. Using these materials, you can create playful or realistic chicken paintings that stand out. What details will you emphasize—the fluffiness of feathers or quirky postures? These techniques offer the flexibility to express your vision.
What is Gouache and How Does It Work
Gouache paint contains fine pigment particles suspended in a water-soluble binder. This makeup gives it strong opacity, allowing you to paint over dark areas with lighter colors. The paint dries quickly, so you can add layers without long waits. This fact makes it easier to build complex textures like the layered feathers on chickens.
The matte finish of gouache prevents glare and lets you see each brushstroke clearly. Mixing gouache produces smooth color blends, useful for shading a chicken’s soft plumage. When you paint a chicken’s comb or eye, you can use fine brushes and layering to create sharp, vivid spots of color. Would you try blending tones on the palette or directly on paper to capture the chicken’s unique look?
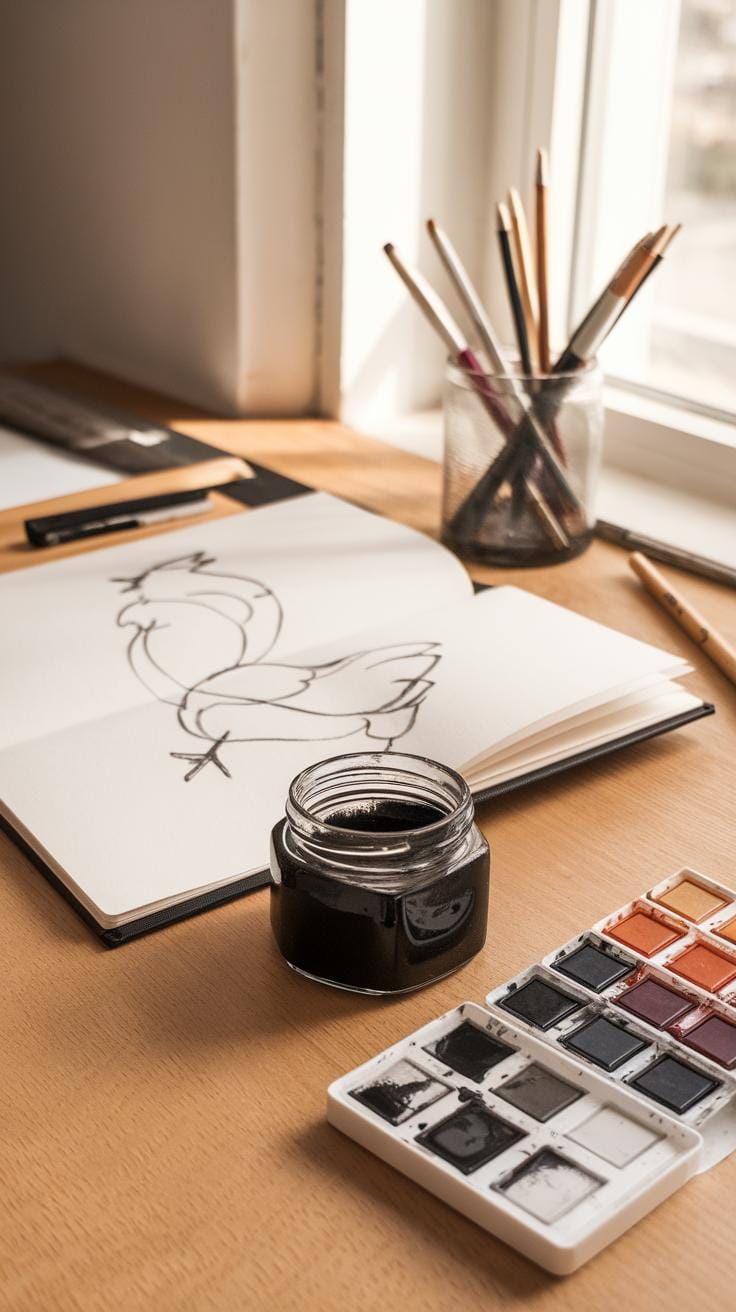
Properties of Ink Wash and Its Role in Art
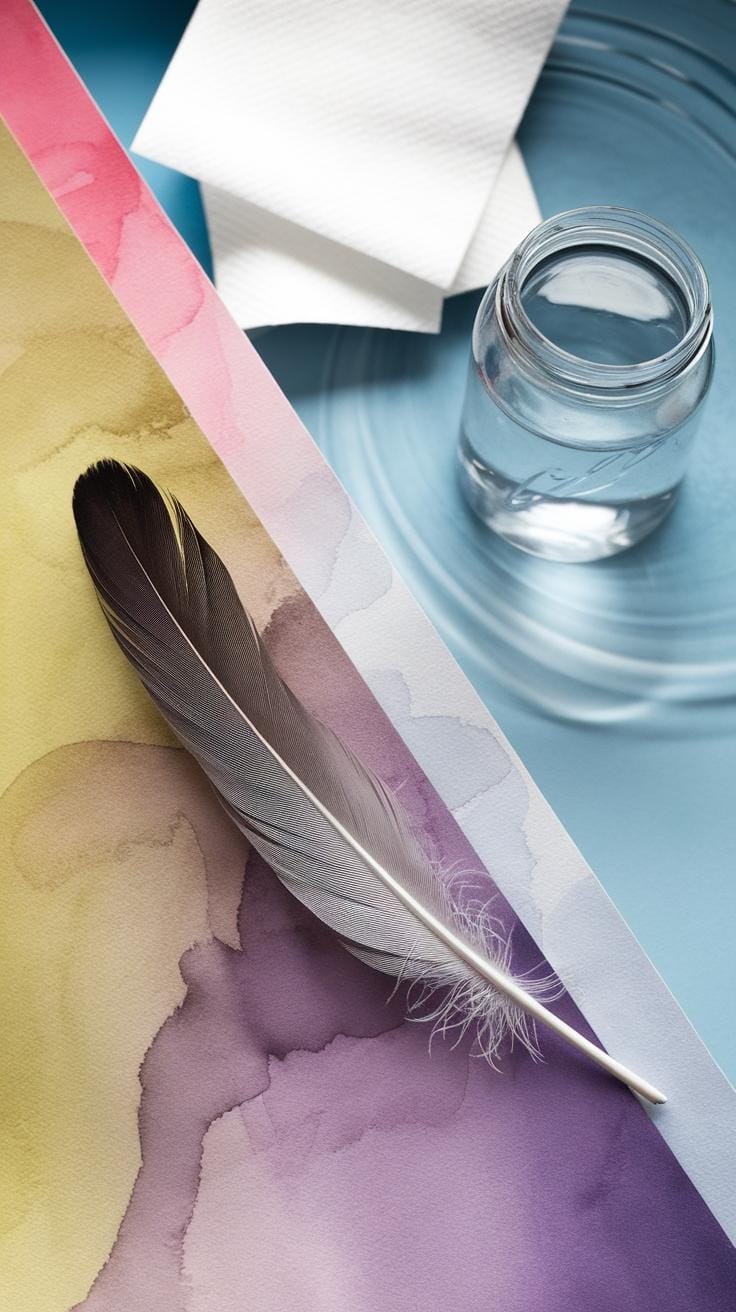
Ink wash relies on thinning ink with water to get various shades of gray or black. By controlling the dilution, you create smooth transitions from dark to light areas. This technique works well for shadows and outlining feathers on chickens, giving them a tactile quality.
Ink wash can add movement and energy to your paintings because of its fluidity. Combining it with gouache lets you play with contrasts between solid, layered color and translucent, flowing ink. For example, you might use ink wash to sketch the initial chicken shape, then paint over it with gouache to highlight features. How might different ink concentrations help you express a chicken’s posture or the texture of its feathers?
Understanding Chicken Anatomy and Form
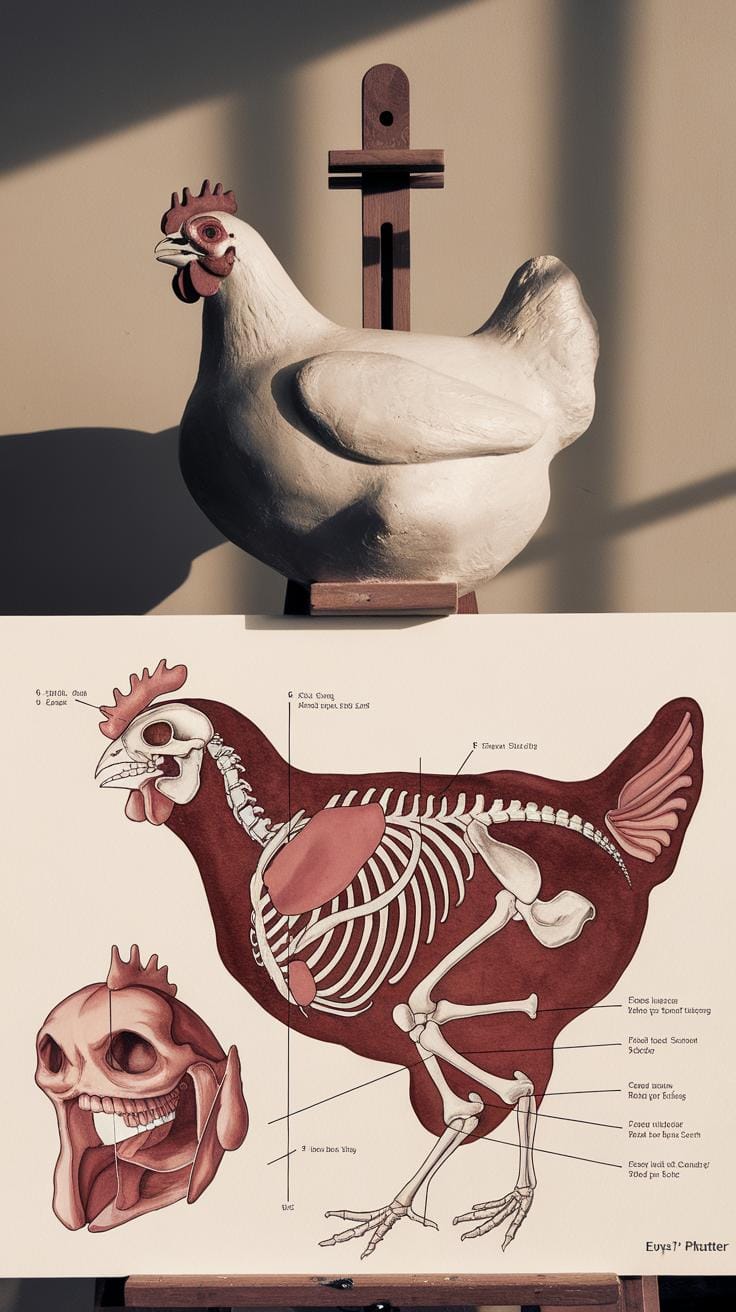
Key Features to Capture in Chicken Art
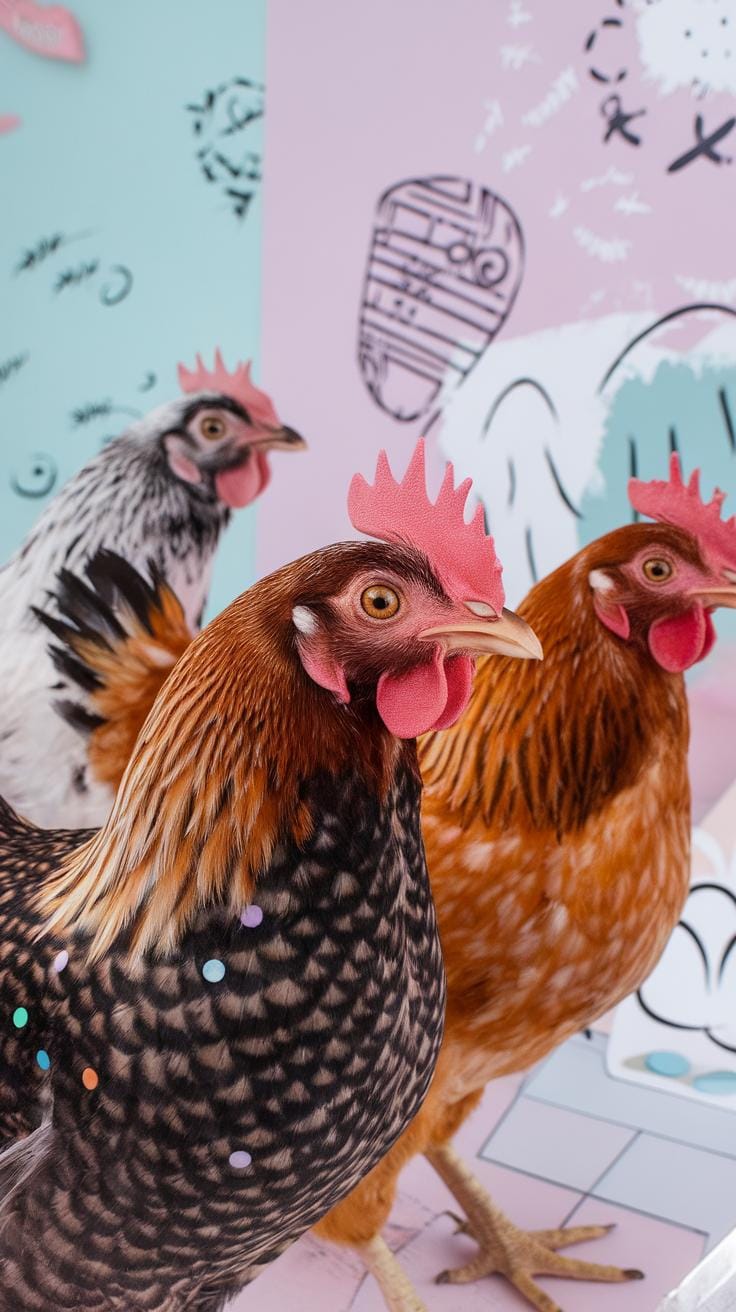
When you paint chickens, notice their distinct features. The comb sits on the top of the head, often bright red and varying in shape—from smooth to jagged edges. Wattles hang below the beak and add a splash of color and texture. Feathers create layers and patterns across the body; they are smooth on the neck but fluffier on the breast. Legs are strong and scaly, with sharp claws that balance the bird.
Focus on these parts to make your painting believable, whether you want a realistic or quirky style. Try simplifying the feather shapes into bold strokes or emphasizing the comb’s unusual form to add character. How detailed do your comb and wattles need to be for your style? Can the legs tell a story in your painting? Understanding these shapes gives you a solid base to work from.
Observing Chicken Movements and Poses
Chickens rarely hold still. Their movements range from quick head turns to slow, cautious steps. Watch how their bodies shift when they peck or flap wings—these actions change their shape and add life to your painting. Notice the curve of their necks and the angle of their tails in different poses.
Try sketching a chicken walking or scratching the ground. See how the leg bends or the feathers ruffle. Capturing these poses makes your artwork dynamic. Ask yourself which pose expresses the chicken’s mood best. Could a tilted head or a raised wing add humor or personality?
Paying attention to movement helps you break away from stiff, static images. Use your observations to bring energy into your gouache and ink wash paintings, creating a scene that feels alive.
Techniques for Combining Gouache and Ink Wash
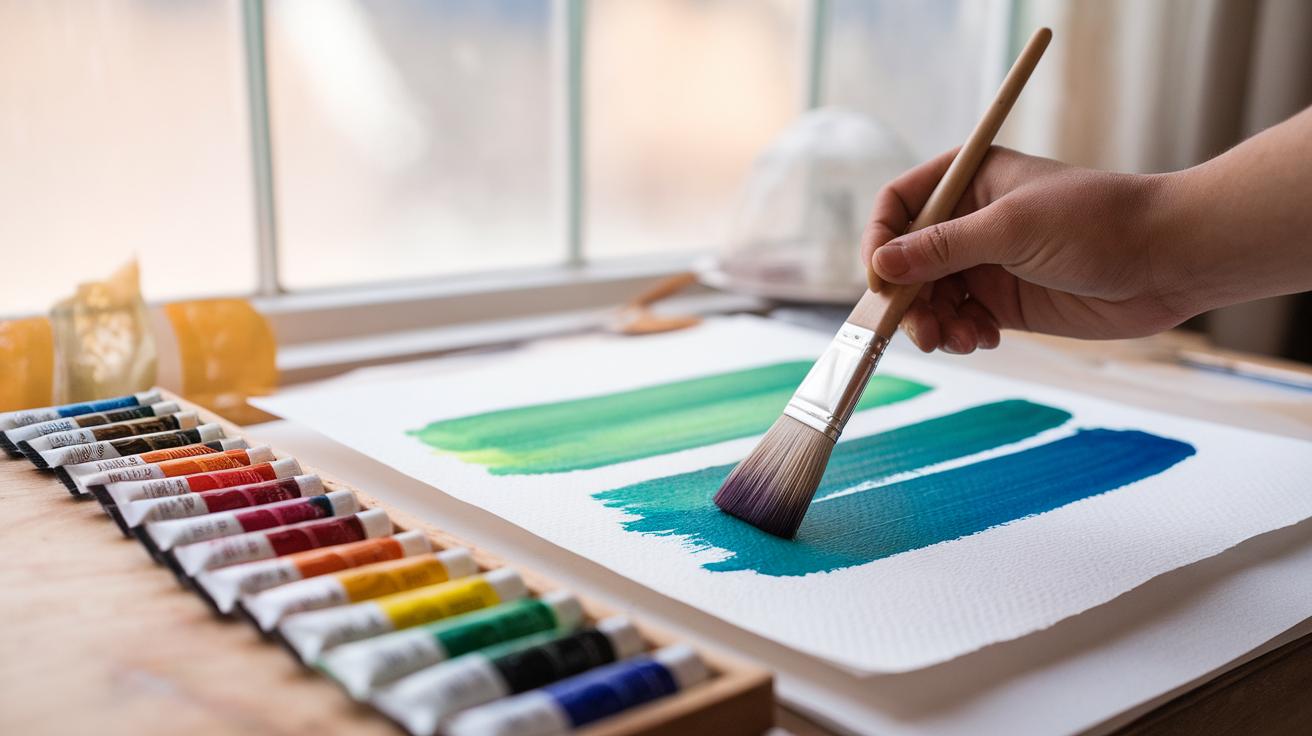
Building your chicken painting with gouache and ink wash allows you to play with texture and depth. Start by layering gouache in thin, flat layers. Thin your gouache with water to control how thick or translucent your paint appears. Thicker paint lets you highlight small details, like feathers that catch the light, while thinner washes help create smooth color gradients.
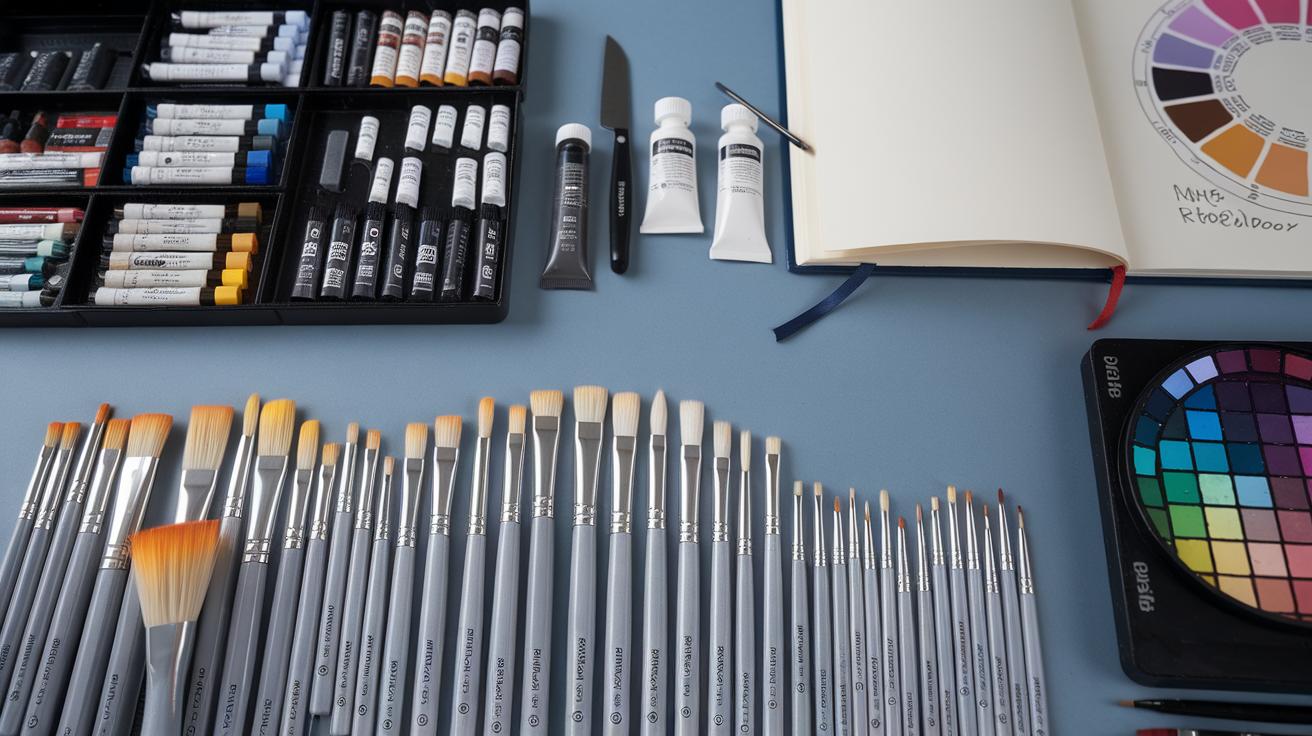
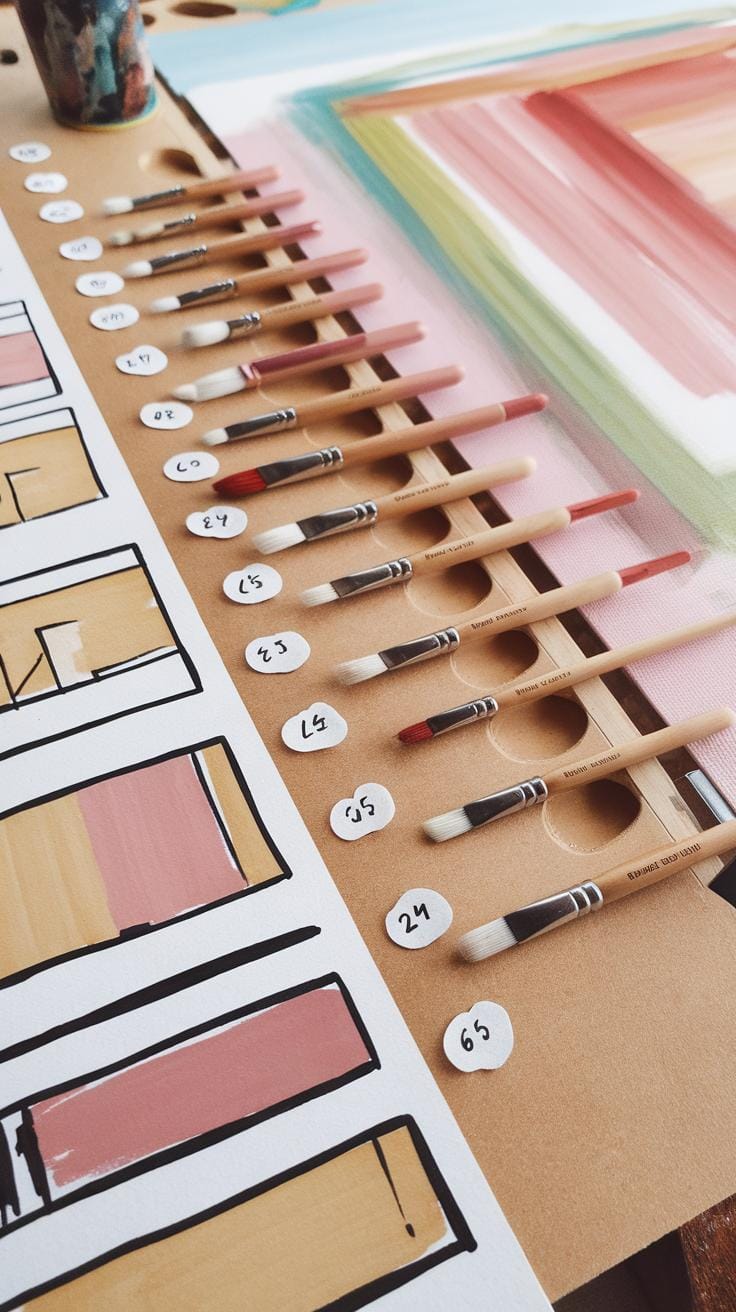
When you apply ink wash, use diluted ink to add shadows or accentuate details over the gouache base. You can vary the ink’s strength to create light or dark areas, offering contrast and dimension. Experiment with soft, wide brushes for broad washes and fine brushes for delicate lines around the chicken’s eyes, beak, and plumage.
Have you ever tried shifting between opaque gouache layers and transparent ink wash? This contrast can give your artwork a lively tension that grabs viewers’ attention and enhances your chicken’s personality.
Layering and Blending Gouache Colors
Start your painting by blocking in base colors with flat gouache. Build shadows and highlights by adding layers of different shades on top. Paint thin layers and let each dry before adding the next to avoid muddying colors.
Blending colors smoothly helps to mimic the soft transitions on a chicken’s feathers. While the paint is still slightly wet, use a damp brush to blend edges where two colors meet.
Try mixing warm and cool tones within the same feather area to suggest light bouncing off the plumage. This layering technique helps you create a lively, three-dimensional effect without complicated brushwork. What combinations of colors will best bring your chicken to life?
Using Ink Wash for Shadows and Textures
Ink wash works well to deepen shadows and highlight fine feather texture. Dilute your ink to several levels and apply light washes in shadowed areas below wings or under the neck. This adds realistic depth without overpowering the gouache.
You can also use a dry brush with dark ink to add subtle texture on feathers. Flick the brush lightly for a rough effect that suggests the fluff or slight ruffles on the bird’s body.
Dark ink lines can outline parts of your chicken to create focus or exaggerate quirky shapes. How will you balance ink’s sharp detail with the softness of gouache? Try applying ink after the gouache has dried to keep the edges crisp and the textures clear.
Creative Ideas for Quirky Chicken Paintings
Chicken paintings can take many shapes if you blend creativity with gouache and ink wash techniques. Try featuring chickens in playful scenes, such as wearing hats, flying with oversized wings, or standing on colorful eggs. These themes draw attention and add personality.

Consider using bright, unexpected colors like teal, magenta, or mustard yellow alongside traditional white and brown feathers. This contrast makes your artwork pop. Play with composition by placing chickens off-center or showing only parts, like a close-up of feathers or beak, to create interest.
Think about quirky concepts such as chickens as dancers, chefs, or musicians. How would a chicken look playing a saxophone? Such ideas invite viewers to pause and engage with your painting. Let your imagination guide how you combine gouache’s vibrant color with the soft textures of ink wash.
Incorporating Playful and Abstract Styles
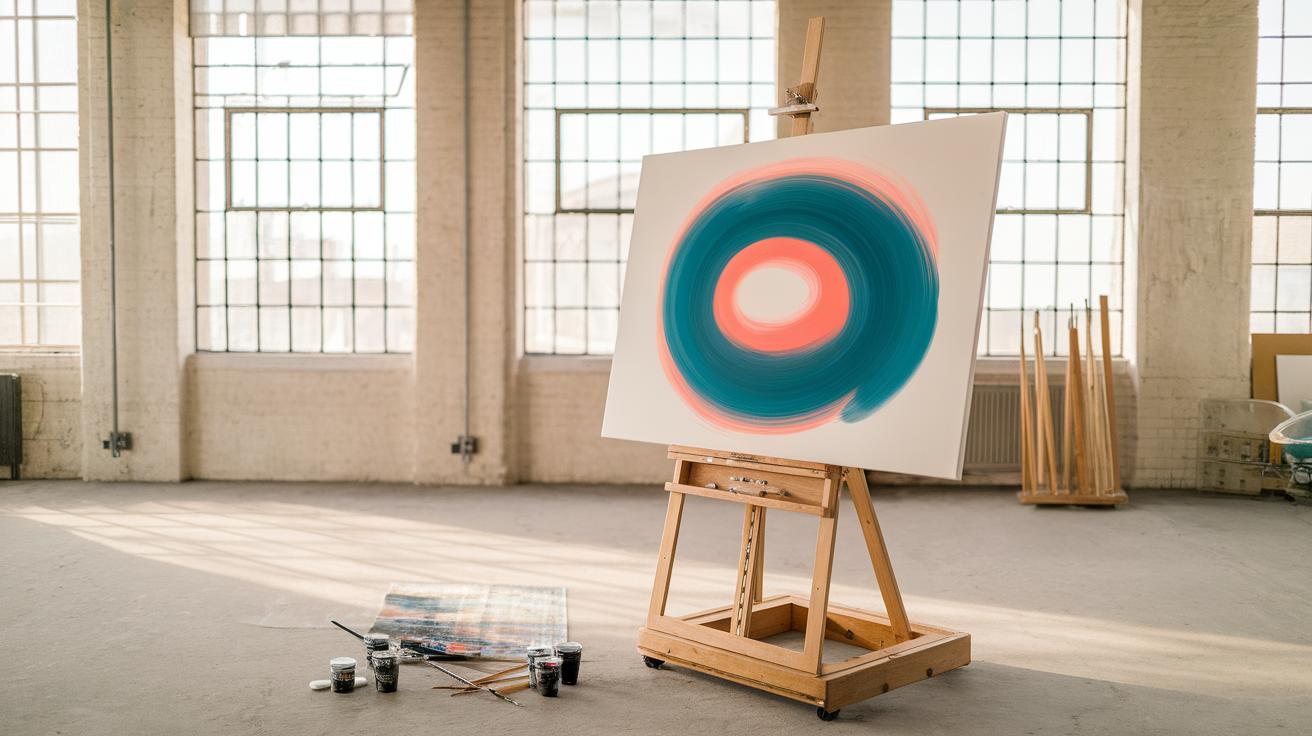
Adding abstract elements to your chicken paintings helps you break away from realism. Try distorting shapes or using swirls and lines to show movement instead of precise details. You could replace feathers with blocks of color or weird patterns made with ink wash.
Playful styles can include exaggerated eyes, mismatched wings, or chicken silhouettes made from random shapes. Such alterations add humor and surprise. Look at how abstract artists simplify animals and find ways to do the same. Experiment with dots, grids, or splashes around your subject to create lively backgrounds.
Ask yourself: How far can I bend the usual chicken form before it becomes something new? Let your brush dance freely, and don’t worry about staying inside the lines. Let the quirky ideas shape your final piece.
Using Bold Colors and Unusual Perspectives
Bold colors bring energy to your chicken paintings. Swap common browns and whites for fiery reds, deep blues, or bright oranges. You can use gouache’s opacity to layer colors and create strong contrasts. Combining solid blocks with ink wash textures adds depth.
Look for fresh ways to present chickens by shifting perspective. Paint a close-up of a chicken’s eye or feathers from an unusual angle. Try showing a chicken from below as if you’re looking up or an overhead view highlighting shapes formed by their bodies.
Think about what you usually don’t see in chicken art. How would a chicken look with its head upside down or tilted sharply? These perspectives challenge viewers’ expectations and make your work memorable. Experiment often with placement and colors to keep your work lively and original.
StepbyStep Guide to Painting a Chicken Using Gouache and Ink Wash
Initial Sketch and Gouache Base Layers
Start by drawing a light sketch of your chicken on smooth paper. Focus on simple shapes like ovals and circles to form the body and head. Use a pencil with a soft lead to keep lines easy to erase or paint over.
Choose a limited color palette for your gouache base layers. Begin with light mid-tone colors representing the main body and feathers. Paint thin, even washes to build up color gradually. Avoid thick paint at this stage to keep the surface smooth.
Let each layer dry fully before adding more. Keep your shapes loose and avoid detailing yet. This allows you to adjust proportions and color placement as you progress.
How does your chicken’s pose feel? Does the initial sketch capture its personality? Adjust lines if needed before moving on to color.
Adding Details with Ink Wash and Final Touches
Once the gouache layers are dry, prepare your ink wash by diluting black ink with water for lighter gray tones. Use a fine brush to add shadows around the chicken’s curves, under the wings, and beneath the beak, enhancing form and depth.
Apply ink wash gradually, building darker areas where natural shadows fall. This technique creates contrast without overpowering your colored layers.
Use a thicker ink line or a brush pen to outline key features like eyes, comb, and feathers selectively. Avoid heavy outlining all over to keep the artwork fresh and quirky.
Sprinkle subtle texture by dry brushing small, quick strokes with a nearly dry brush dipped in ink. This adds visual interest and suggests feather detail without painting every one.
Ask yourself which parts need more focus. Would adding a highlight on the eye or a shadow in the wing make your painting pop? Final tweaks sharpen your chicken’s unique look.
Common Mistakes and How to Avoid Them
Painting chickens with gouache and ink wash can be tricky. Many artists struggle with keeping paint layers smooth and clear. Managing the consistency of gouache paint plays a big role here. When gouache is too thick, it can clog details and cause uneven patches. If it dries too fast, you might get brush marks or blotches that disrupt your design. To maintain smooth layers, try mixing your gouache with a little water and work quickly. Use a palette to test paint thickness before applying it on your paper. This helps you control coverage without overloading the brush.
Applying the ink wash is another challenge. Many artists apply ink wash too heavily, which creates muddy pools or stains that obscure features like feathers or eyes. To prevent this, dilute your ink wash properly and apply it in thin layers. You can build depth gradually by layering light washes, allowing each layer to dry completely before the next. Ask yourself: Does this layer enhance my chicken’s shape or is it dulling details? If the ink looks too dark or blotchy, use a damp brush to lighten it before it dries.
Managing Gouache Paint Consistency
When gouache is too runny, it can become transparent and streaky. Thick gouache, on the other hand, hides details and can crack when dry. Balance is key. Start by mixing a small amount of water with your gouache. The paint should glide smoothly without dripping. Test the paint on scrap paper to check how it spreads and dries. Keep a spray bottle or damp cloth handy to rewet your palette; this prevents the paint from thickening during your session.
Avoid layering thick paint right on top of a still-wet layer. Wait until the first one is dry, or it will lift or smudge. This patience improves the flatness of your paints and ensures clean, sharp edges around your chicken’s features. Experiment with brush size too. Using a medium brush for base shapes and a fine brush for details helps keep layers crisp and controlled.
Preventing Overuse of Ink Wash
Ink wash can bring life and structure, but too much obscures your chicken’s character. Heavy washes make the image look dull, like it’s covered in grime. Apply your ink wash with a light hand and thin mixture. Start with a diluted wash to mark shadows and textures, then add depth in layers.
If you feel the wash is overpowering your painting, use a clean damp brush to lift excess ink while it’s still wet. This can soften harsh lines and lighten areas that need more contrast. Save strong ink accents for the final steps where you outline feathers, eyes, or comb details. This way, your chicken looks clear and expressive rather than blurred.
Have you ever finished a painting and felt the ink wash swallowed the details? Next time, ask yourself if each wash adds clarity or hides your work. Practicing restraint with ink will help your chicken painting stand out with fresh, balanced tones.
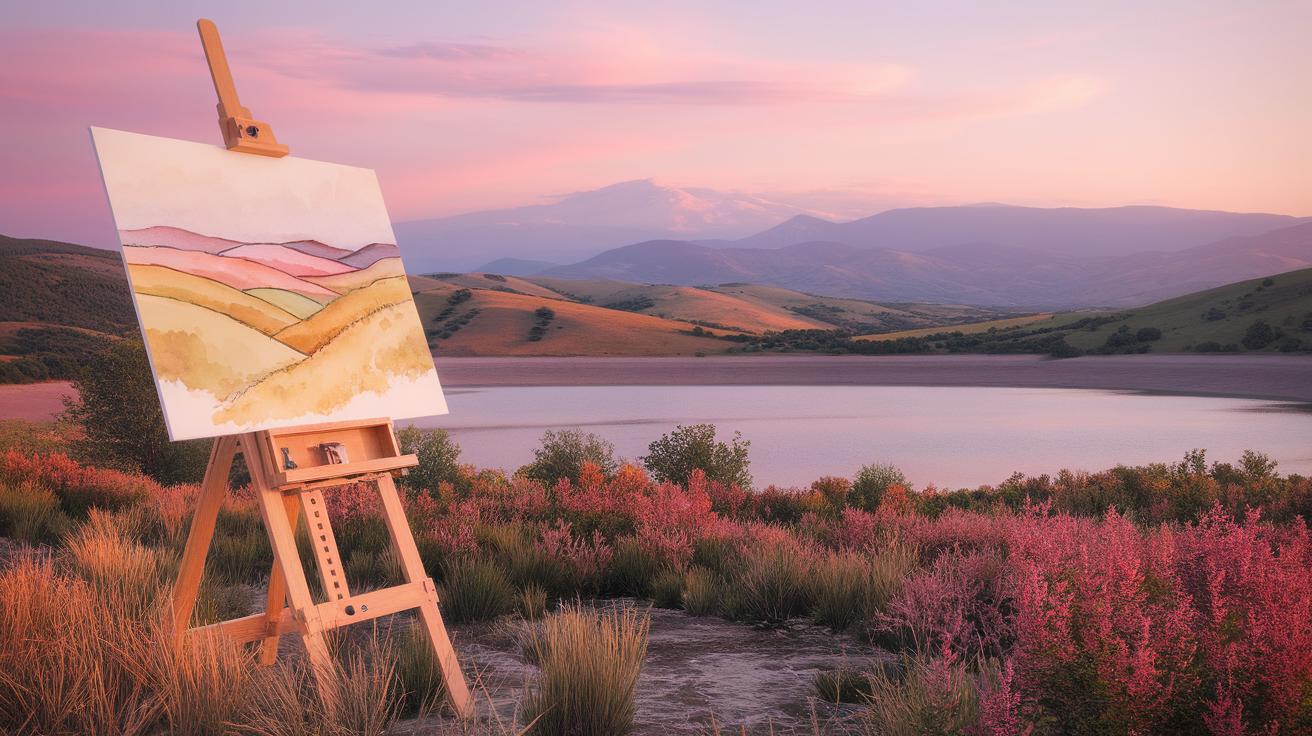
Inspiration Sources for Chicken Artwork
Your idea of painting chickens with gouache and ink wash grows stronger when you look beyond your canvas. Find places and moments where chicken life truly happens. Farms offer natural settings, but city backyards or farmers’ markets can show you unusual chicken shapes and behaviors. Have you noticed how chickens stretch, preen, or scratch the ground? These movements can give your paintings liveliness and energy.
Try to sketch or photograph chickens during different times of the day. How does light play on their feathers in the morning or evening? How do their shadows stretch? These small details add personality to your work. Tap into your direct experience with chickens instead of relying only on pictures from the internet.
Your surroundings can feed your creativity. Look for old farm equipment, rustic fences, or even chicken feed bags with graphics. These elements add texture and context to your art. Make a list of places and moments you can visit regularly to observe chickens and their environment. Your paintings will benefit from your thoughtful observation.
Studying Real Chickens and Their Behavior
Spend time where chickens live and move freely. Farms are great for this. Watch how chickens interact with each other and their space. When a hen suddenly flares her feathers, what emotions do you see? How does a rooster hold his head? These impressions help you paint believable expressions and postures.
Try sitting quietly for a while to catch natural behaviors without scaring the birds. Use a notebook or phone to jot down interesting details. Notice the difference between an adult chicken and a chick. How do their feathers feel? Which colors catch your eye? The more time you spend with the subjects, the easier it becomes to paint them with confidence.
Challenge yourself to capture a chicken’s quick peck or a jump onto a perch. These swift moments improve your skill in mixing gouache with loose ink washes. You will learn what parts of the chicken’s form to emphasize and which to simplify for quirky, fun results.
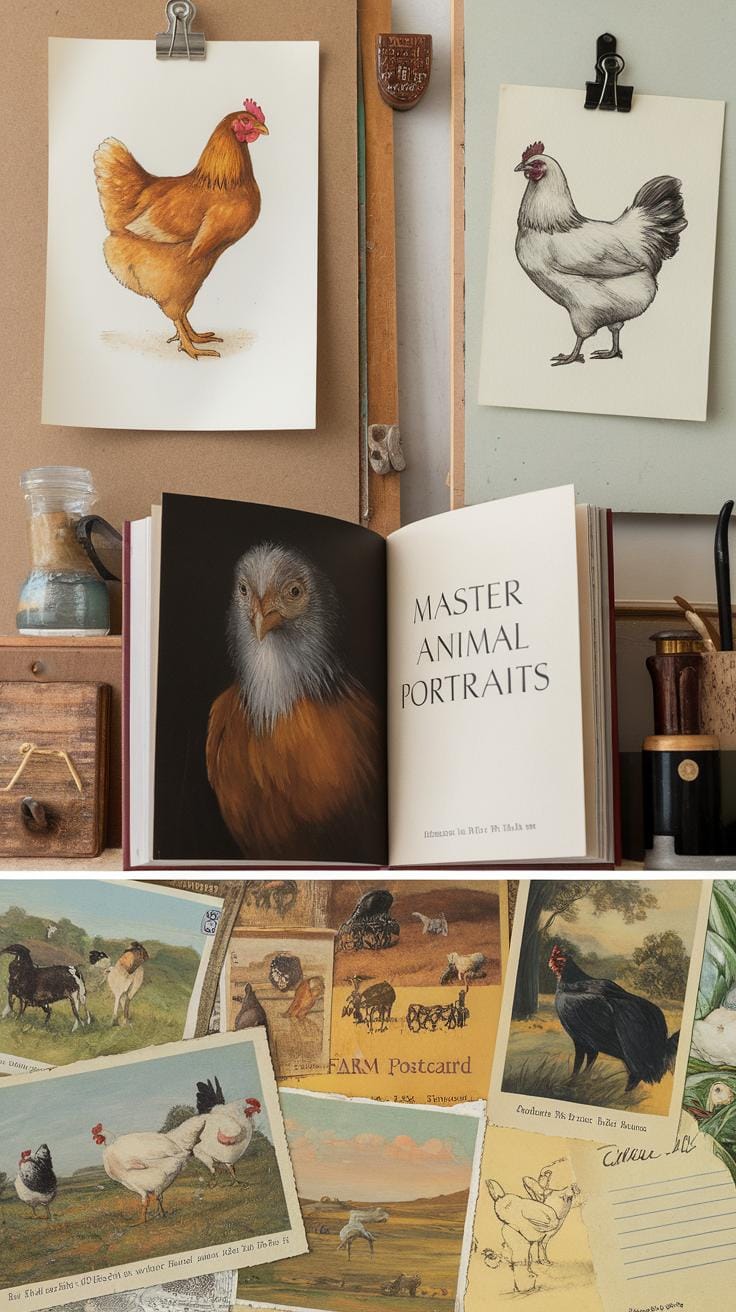
Exploring Artistic Styles and Historical Art
Go beyond real life and look at how other artists have portrayed farm animals, especially chickens. You could find inspiration in folk art, which often exaggerates features for humor and charm. Study how the shapes, lines, and colors create character without perfect detail. How can you apply this to your gouache and ink wash work?
Historical artworks in museums or online galleries offer clues on using ink wash with color. Notice how artists from different periods show texture or shadow with ink strokes. Try to identify techniques that could fit your style. What happens if you add a splash of bright gouache over a soft ink wash?
Check out contemporary artists who mix media with animals in interesting ways. Do they use unexpected color palettes or compositions? Experimenting with different influences allows your own quirky chicken paintings to stand out and look fresh. What would happen if you combined classic styles with your personal vision?
Displaying and Sharing Your Chicken Paintings

Choosing the right way to show your gouache and ink wash chicken paintings affects how others see your work. Selecting a high-quality paper designed for gouache helps preserve color and prevents warping, especially if the paper has a bit of texture to hold the paint well. Thick, acid-free watercolor paper often works best.
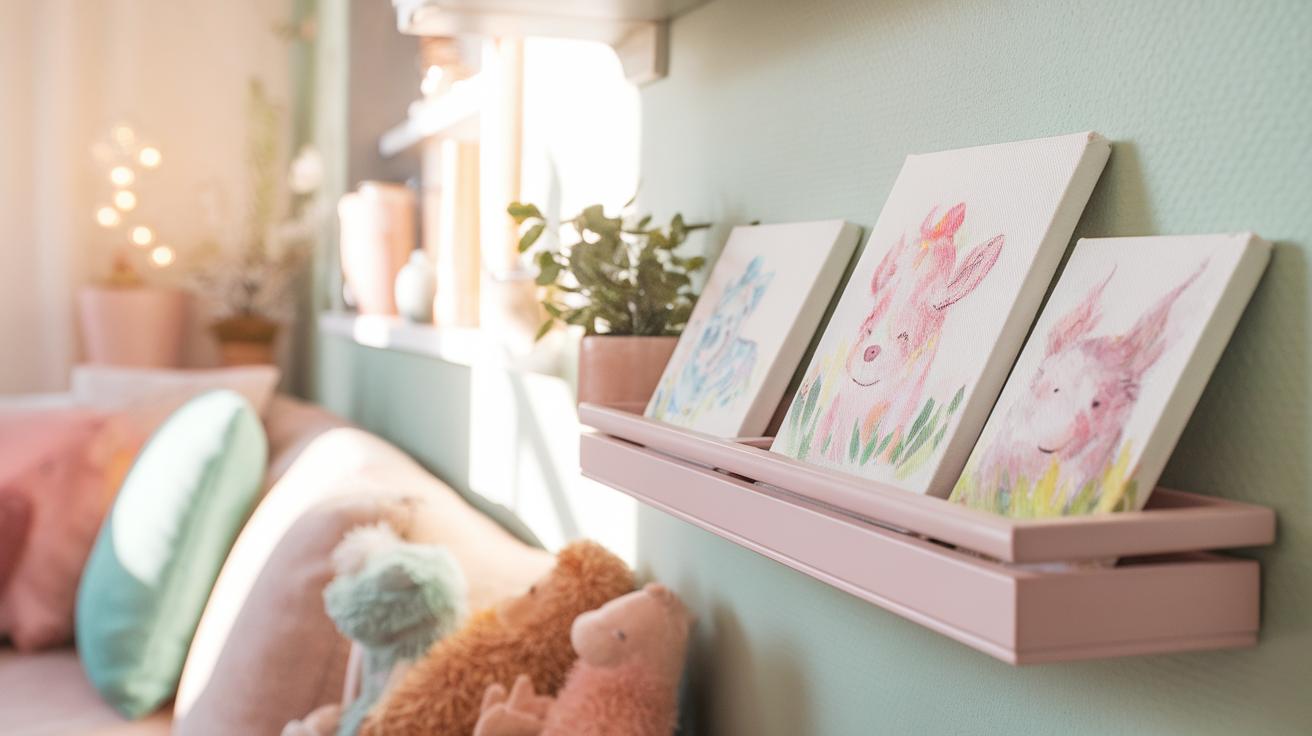
A simple frame with a mat can protect your painting and give it a polished look. Use UV-protective glass to stop fading over time. Floating frames keep the edges visible, adding a modern touch. For casual displays, clip frames or even handmade paper folders offer flexible, less costly options without harming your art.
To share your chicken artwork, photograph it clearly with good lighting and post on social media platforms that focus on art. Sites like Instagram, Pinterest, or specialized art forums connect you with viewers who appreciate your style. Uploading to online art galleries also opens doors to sales or commissions. Attending local art shows or farmers markets gives you the chance to display your work to a community that might admire your quirky approach. Where could you present your next piece to reach people who enjoy chicken-themed art?
Choosing the Right Materials for Display
Your choice of paper impacts the presentation and durability of your chicken paintings. Use heavy, textured watercolor paper that handles both gouache and ink wash without buckling. Acid-free paper keeps colors from fading and fibers from yellowing.
Frames should complement your work without overpowering it. Simple wood frames in neutral colors often highlight quaint chicken humor. Mats create breathing space around your art and prevent glass from touching paint surfaces. Choose mats in subtle cream or white to preserve the image’s vibrancy.
Protect your painting by sealing it inside the frame with UV-filtering glass or acrylic to guard against light damage. Spraying a fixative designed for gouache adds another layer of protection. Do you have a favorite paper or frame that made your painting stand out more?
Engaging with Art Communities and Audiences
Sharing your chicken paintings in art communities helps you grow as an artist. Joining local art groups or online forums allows you to show your work, get honest feedback, and learn from others with similar interests. Participate in challenges or themed exhibitions focused on animal art to connect with a wider audience.
Social media offers a direct way to reach others. Post behind-the-scenes photos, time-lapse videos, or before-and-after images to engage followers. Responding to comments and asking viewers what quirky chicken traits they want to see next encourages interaction.
Consider signing up for art fairs or pop-up galleries in your town. Meeting people face-to-face creates lasting impressions and opens up sales opportunities. How might you invite feedback while sharing your chicken paintings in new spaces?
Conclusions
Gouache and ink wash techniques open new avenues for creating unique chicken paintings. By mastering these media, you can highlight the textures and characteristics that make chickens interesting subjects. Focusing on details such as feathers or the playful nature of chickens can make your artwork engaging and appealing. Experimenting with different styles and compositions helps you discover what best fits your artistic vision.
Taking the time to practice and explore various quirky ideas transforms your chicken paintings from simple drawings into expressive art. Remember that each piece can tell a story or evoke a mood, depending on your approach. Keep challenging yourself to innovate with both gouache and ink wash to keep your artwork fresh and exciting. Your creativity is the key to making memorable and distinctive chicken paintings.


