Introduction
Brush texture plays a key role in producing realistic effects in oil painting. Knowing the right techniques can help you create lifelike textures that give your artwork depth and character. This article covers practical ways to apply brush textures that mimic real oil paint surfaces effectively.
You will learn about different brush types, materials, and stepwise methods that suit beginners and experienced painters alike. We will also discuss common mistakes and how to avoid them to improve your brushwork skills. The overall aim is to equip you with useful knowledge to enhance your painting’s tactile quality.
Brush Texture Techniques For Oil Painting
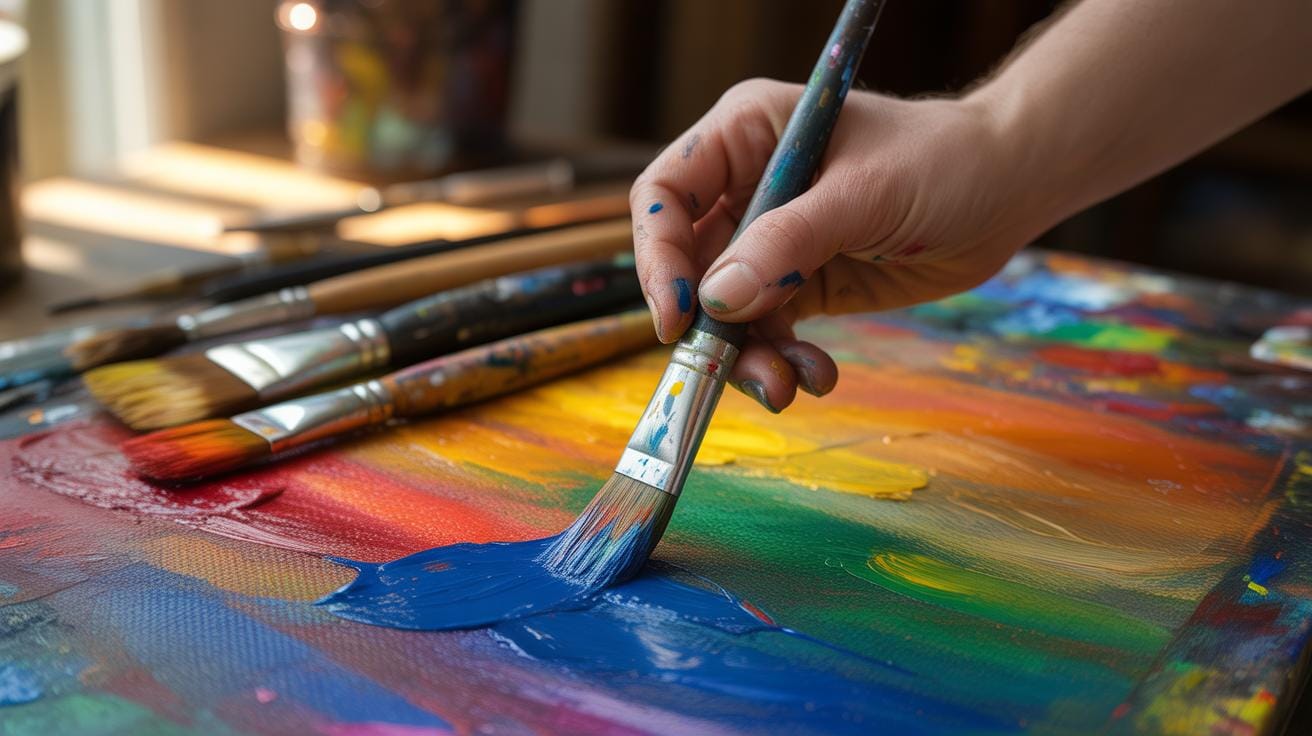
When aiming for realistic oil brush textures, it’s helpful to think about the brush as a tool with personality. You don’t just smear paint on a canvas; you shape it with intention. Techniques like layering, where you build paint thickness in strategic areas, are fundamental. Let’s not forget the role of brushstroke direction—this can guide the viewer’s eye or mimic the natural flow of your subject, like the grain of wood or the curve of a cheekbone. The brushstrokes themselves can be soft or bold, smooth or jagged, depending on the effect you’re after. Sometimes, leaving parts untouched or barely blended creates tension that feels more natural than a polished finish.
Layering often involves wet-on-wet for blending or wet-on-dry for crisp marks. Play with varied pressures—press harder for a rougher texture or lightly feather strokes for subtle transitions. I find it tricky not to overwork the paint when building textures; sometimes, less really is more. In fact, the unpredictability of how oil paint behaves under different brushes can lead to happy accidents that enhance realism.
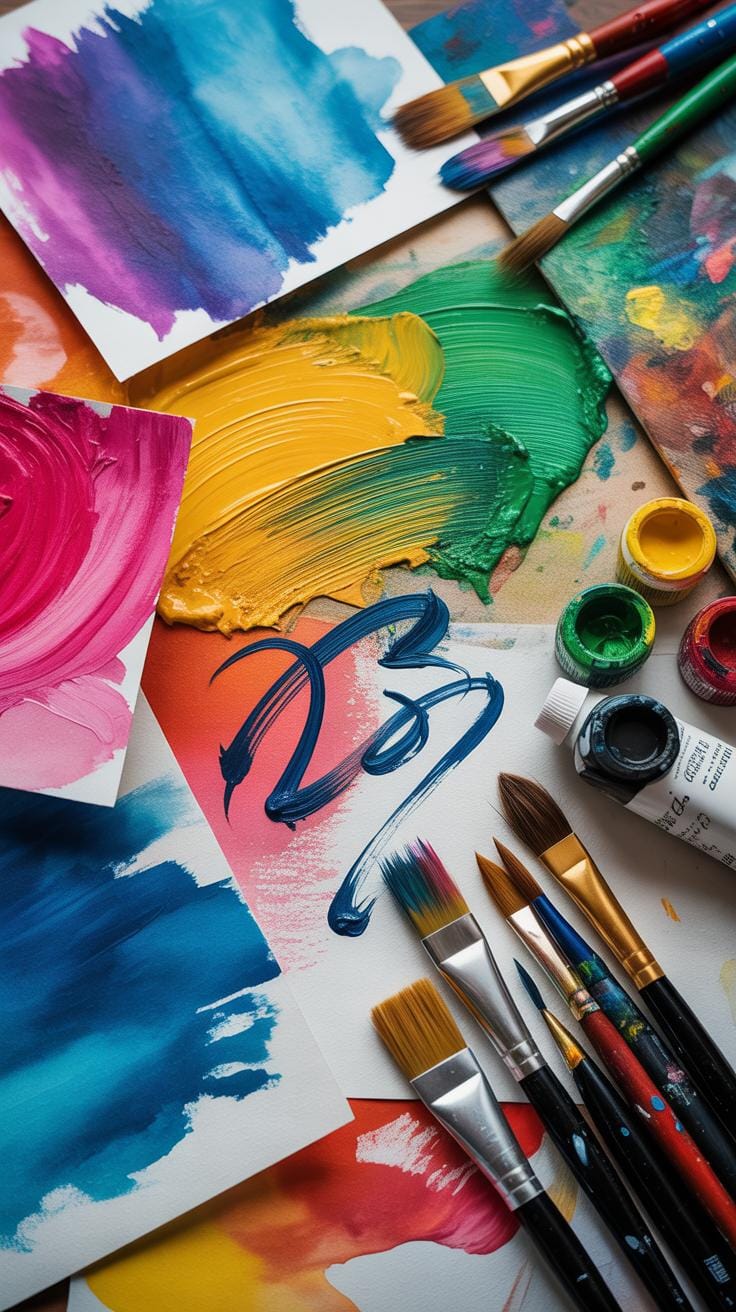
Different Strokes To Try
Brushstroke variety is key. Take dabbing—a technique where small, quick taps of the brush create a stippled effect. It’s excellent for textures like foliage, rough skin, or fabric fibers. Swirling involves circular motions that can mimic organic forms such as hair or clouds; yet it requires restraint or it may become too obvious. Scumbling is a favorite for me: lightly dragging a dry brush with minimal paint over a dried layer produces a broken, grainy texture. It’s subtle and adds depth without overwhelming the work.
- Dabbing for granular textures or small details
- Swirling to simulate movement and soft forms
- Scumbling for layered visual complexity and ties between colors
Trying out these strokes on a palette or scrap paper before applying them to your painting helps anticipate their effect. You might find that some strokes work better with certain brushes—hog bristle brushes, for example, hold up well under vigorous scumbling, while softer sable brushes excel at gentle blending and swirling.
Where To Apply Texture
Not every part of a painting benefits equally from pronounced texture. Typically, areas drawing the viewer’s focus, like faces, hands, or key objects, are good candidates for layered brushwork that invites closer inspection. Backgrounds often do well with smoother textures or softer strokes to avoid competition. Texture can also guide the eye through a composition; rough, tactile strokes in one corner might balance a smoother, calmer area across the canvas.
Think of texture as a storytelling device. In a portrait, for instance, the skin might be smooth with gentle scumbles to mimic pores, while the hair carries swirling brushstrokes to emphasize volume and movement. For landscapes, rocky surfaces or bark benefit from heavier impastos, while skies and water might stay fluid and less textured to contrast naturally.
Adding texture is not only about realism; it can also influence mood and depth. So, ask yourself: where does texture intensify the story? Where does it distract? Balancing these will make your brush texture work feel less like an effect and more like an integral part of the painting itself.
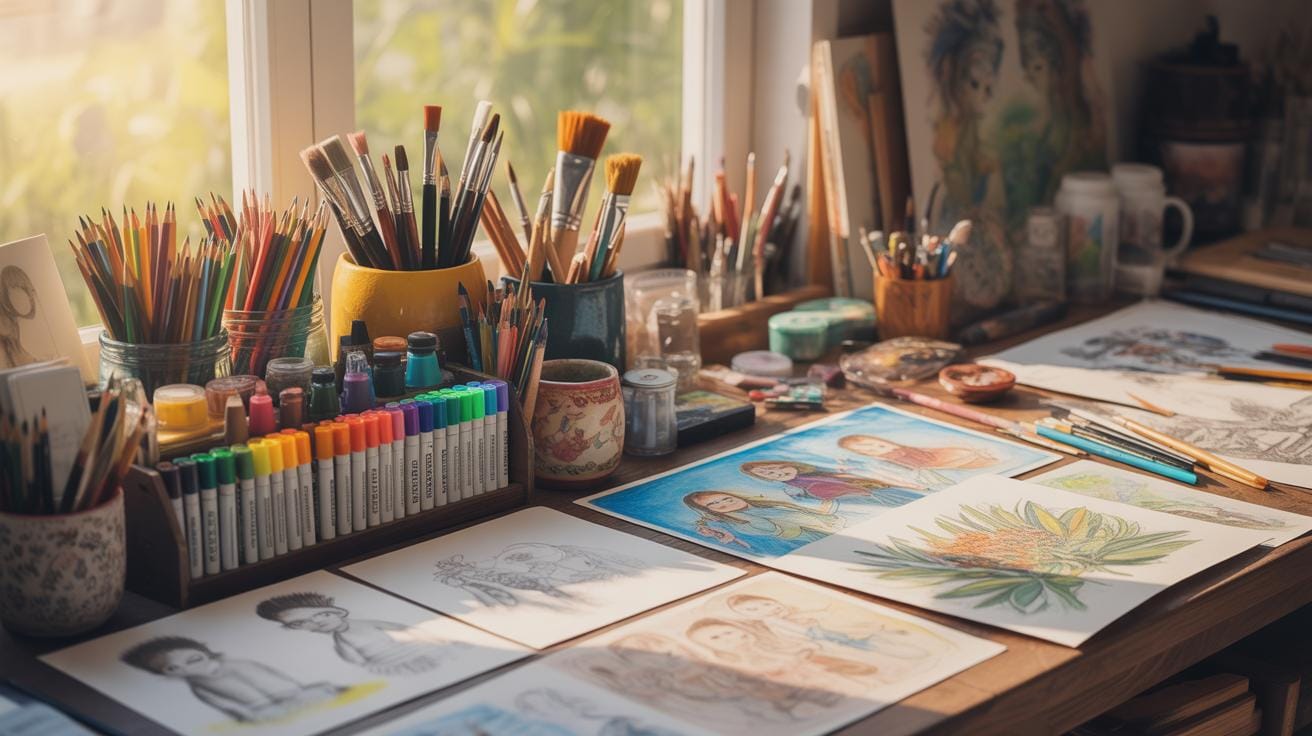
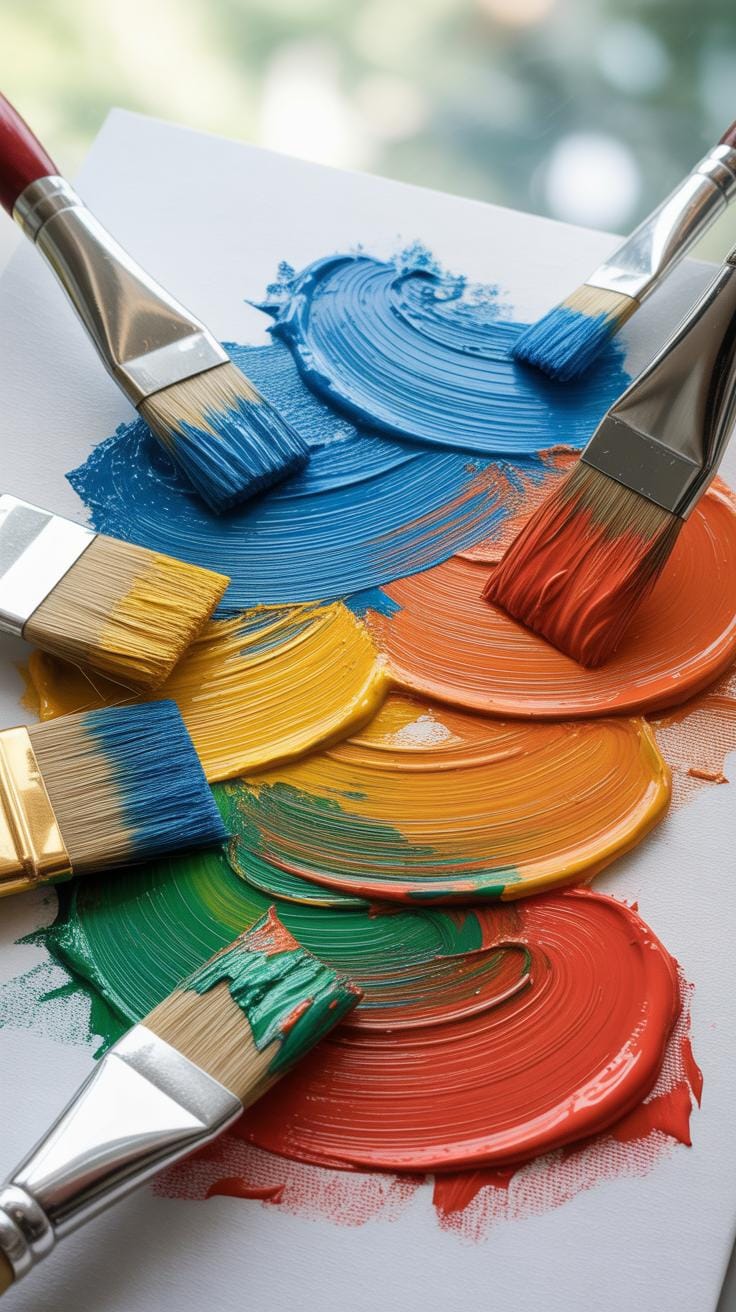
Tools Needed For Brush Texture
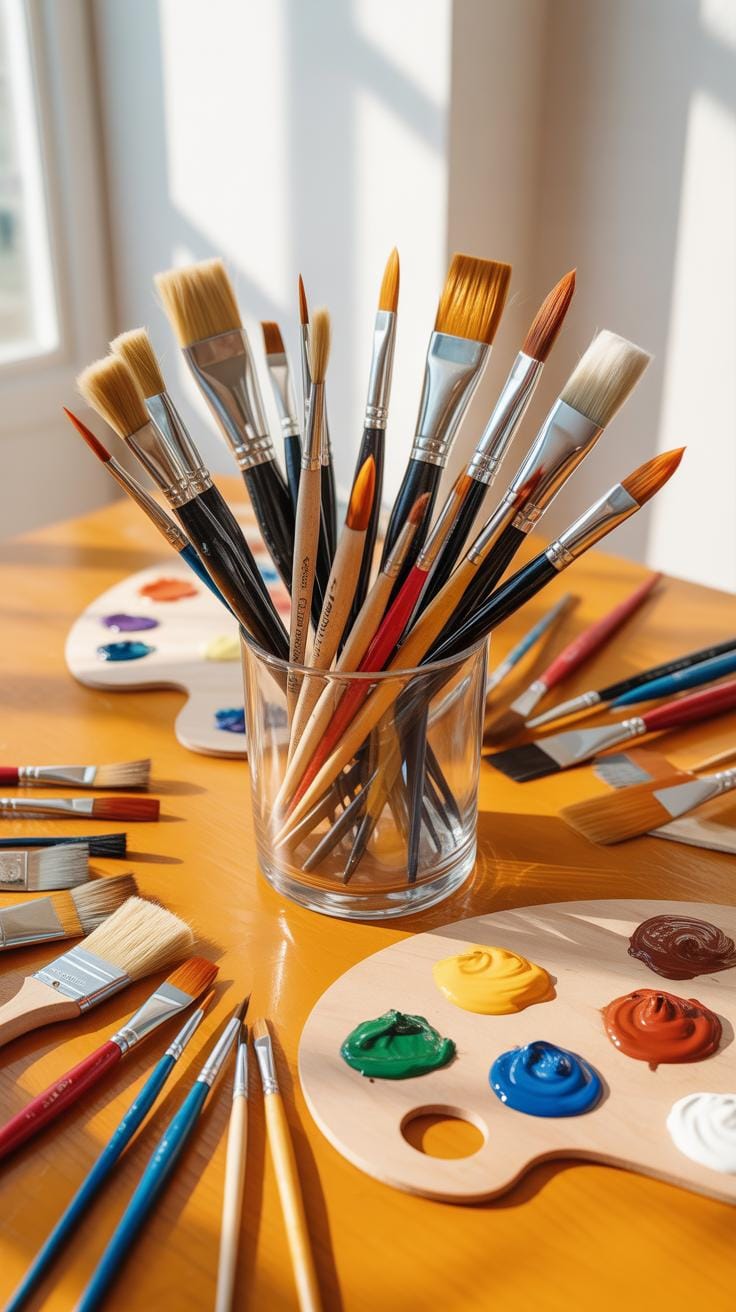
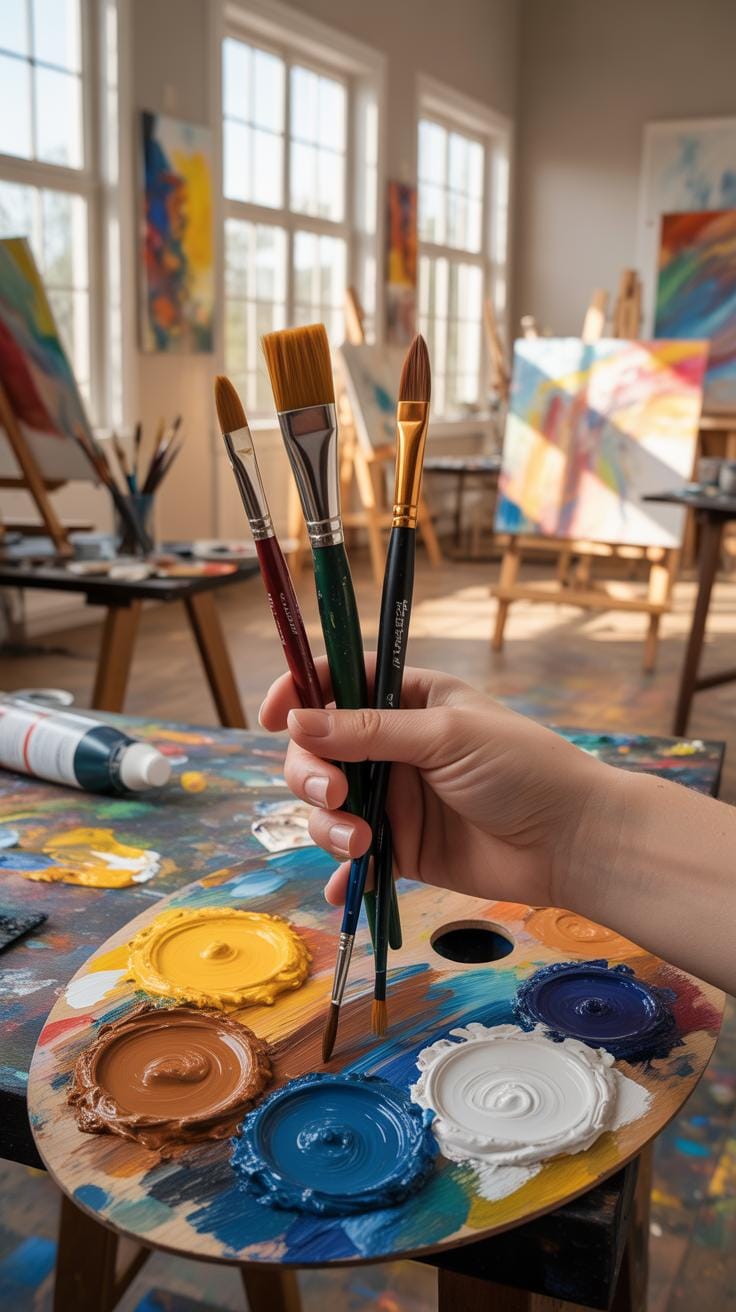
Types Of Brushes Explained
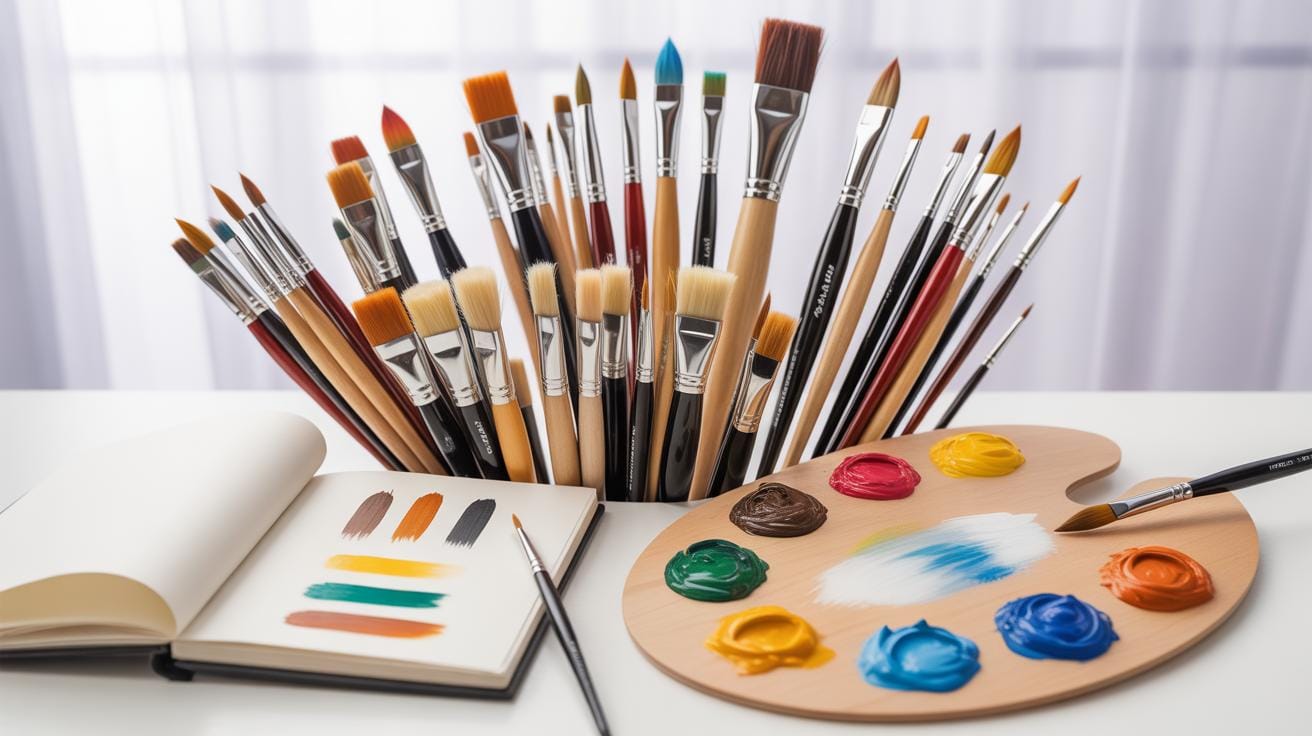
When you’re aiming to create texture in oil painting, the brushes you pick are crucial. You’ll want a few different shapes on hand—round, filbert, fan, and flat brushes all bring their own charm. Bristle brushes are the usual go-to for texture due to their stiffness and ability to hold paint thickly. You might find hog bristle brushes especially useful—they grip the paint and canvas well, allowing you to build up peaks and rough strokes that your eye can really notice. On the other hand, fan brushes are great for softer, more delicate textures, like foliage or atmospheric effects. Their spread-out hairs make patterns that you just can’t easily get with a flat brush.
Supplementary Tools Overview
Now, brushes aren’t the only weapons in your arsenal. Palette knives bring another level of texture that brushes can’t always achieve. Have you tried dragging a knife loaded with thick paint across your canvas? It’s fantastic for creating bold, raised textures and a kind of scratchy, tactile surface. They’re also handy for mixing on the palette or even for scraping off paint if you want to start fresh in some areas.
Sponges also deserve a mention. They can dab and lift paint, producing granular effects and layered textures. Different sponges—natural or synthetic—offer various outcomes, so it’s kind of fun experimenting with how they absorb and apply paint. Plus, they can help you soften harsh brush strokes when needed, so you’re not stuck with one look.
Putting these tools together, you get a range of possibilities. Sometimes, I find myself just switching from brush to palette knife or sponge mid-work to keep the surface lively and unpredictable. Texture isn’t just about adding material; it’s also about playing with surface interaction.
Step By Step Brush Texture Process
Preparation Steps
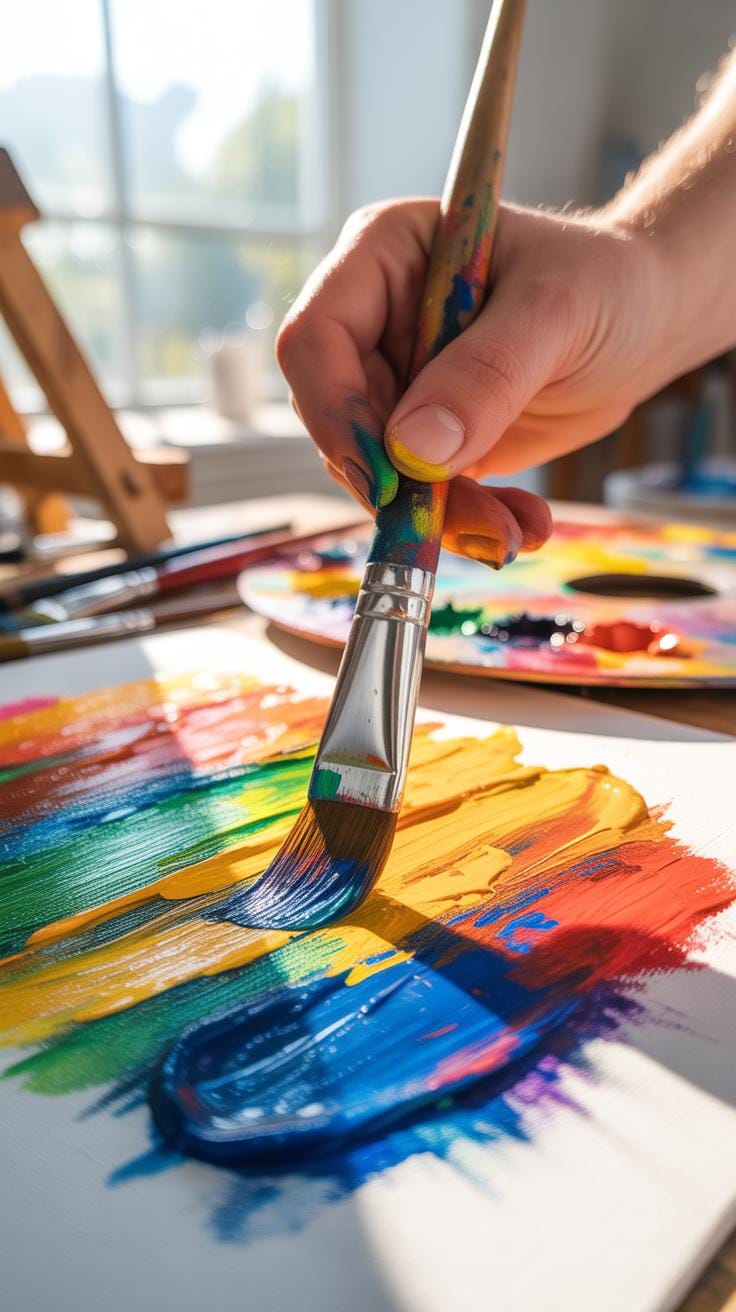
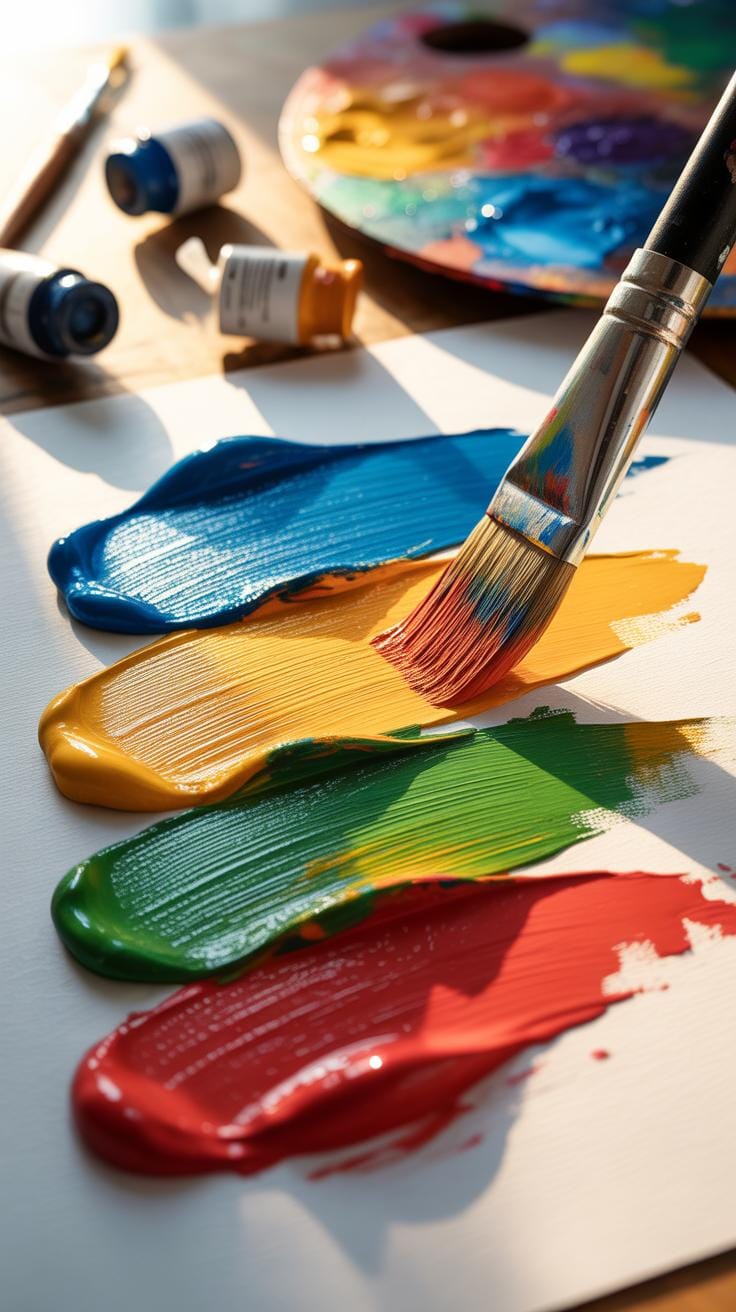
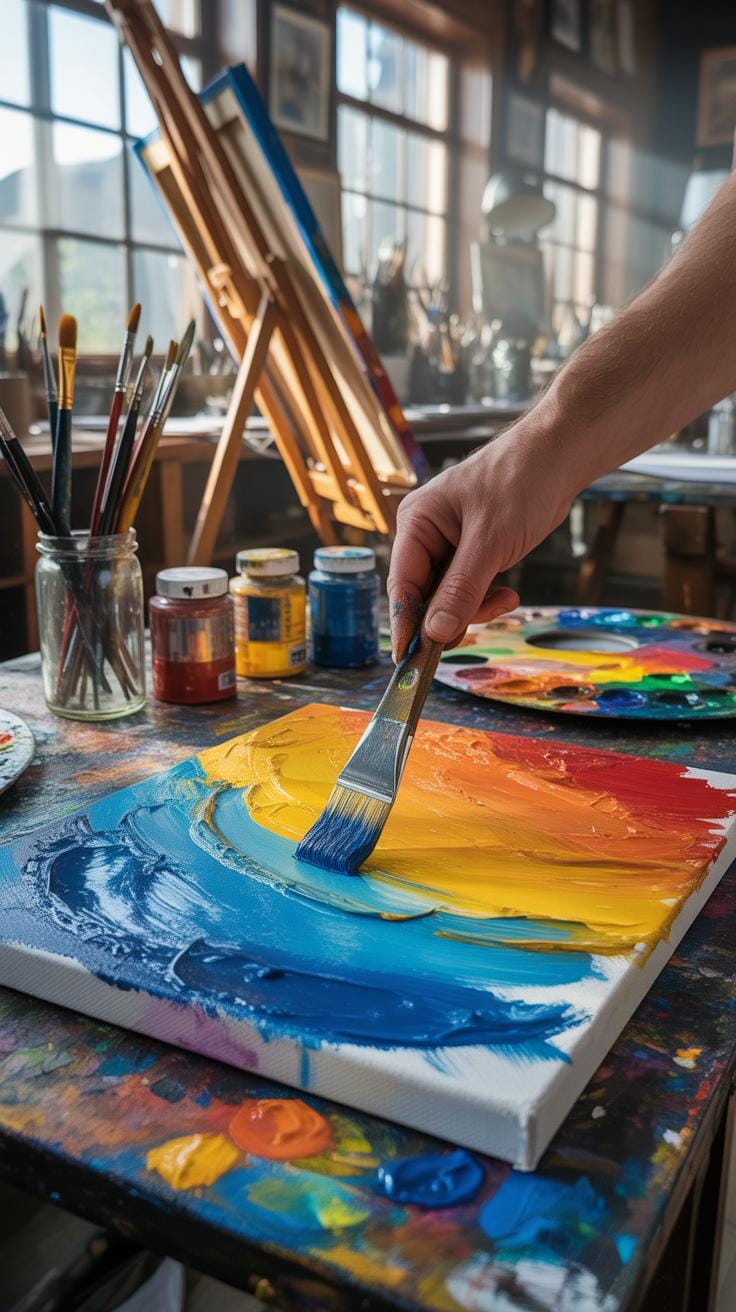
Begin with a well-primed canvas, preferably with a few layers of gesso to create a subtle tooth. This bit of texture isn’t just for grip but also sets the stage for paint to adhere thoughtfully. When mixing your oil paints, consider adding a small amount of medium like linseed oil or a touch of cold wax to increase the paint’s plasticity. This helps the paint to spread smoothly yet retain shape, which is crucial when aiming for textured strokes.
Layering And Finishing Tips
Apply your first layer with a larger brush, establishing basic forms with thick strokes, letting each section dry slightly before working over it. This layering supports depth. Use smaller brushes for detailed texture, dragging bristles lightly or pressing firmly for distinct ridges. To finish, avoid overly smoothing out textures; instead, set the surface with a gentle varnish once fully dry, preserving the tactile qualities of your brushwork without dullness. You might find that leaving some areas raw versus fully finished creates a more dynamic effect, so feel free to experiment with where you apply final touches.
Common Brush Texture Mistakes
Overworking The Texture
When creating brush texture in oil painting, it’s easy to get carried away and overwork the area. Excessive brushing tends to flatten or muddy the texture you’ve carefully built. You might think reworking it will improve the effect, but often it dulls the lively, organic feel of the brush marks. I know from experience how tempting it can be to continually touch up a spot, hoping to fix small imperfections. Instead, try to step back frequently. Consider applying your paint in deliberate, confident strokes and resist the urge to re-brush areas too much.
Giving your texture some breathing room preserves its dimensionality and vibrancy. Sometimes, waiting for the paint to dry slightly before adding another layer helps maintain texture rather than erasing it. So, patience, though challenging, is a key ally against overworking.
Improper Brush Choice
Choosing the wrong brush can sabotage your texture effects. For instance, a brush that’s too soft might glide over the paint, smoothing out the very ridges you want to highlight. Conversely, a brush too stiff or coarse can create harsh, unwanted marks that feel artificial. I’ve seen novice painters struggle with this balance, using large, flat brushes for detailed textures where smaller round or bristle brushes would fare better.
Opt for brushes that suit your texture goals and paint consistency. Fan brushes, filberts, or bristle rounds each bring different textures. Experiment with natural versus synthetic bristles too—natural ones grip paint differently, often lending a more tactile texture. You may find that switching brushes mid-painting is necessary to achieve varied texture without forcing one type to do it all.
Comparing Brush Types For Texture
When considering brush texture in oil painting, the type of brush you choose can dramatically influence your results. Each brush type has its quirks, strengths, and limitations that shape the canvas differently.
Natural hair brushes, such as hog bristle or sable, often offer a rich, tactile texture. They hold a lot of paint and feel springy, allowing for expressive strokes. However, they can wear down faster and demand more care. Synthetic brushes, on the other hand, are generally more durable and easier to maintain. They tend to yield crisper, sometimes stiffer strokes that might lack the organic subtlety natural hairs deliver.
Now, the shape of the brush can’t be overlooked. Flat brushes produce broad, sweeping strokes and are great for building up blocks of color or texture. Round brushes offer precision — but you can coax them into subtle texture with varied pressure. Fan brushes spread paint lightly, good for delicate effects, while filberts blend the qualities of flat and round brushes for versatility. Each shape offers different patterning possibilities, which can be handy or frustrating depending on your intent.
Thinking about your brush choice this way — not just natural vs. synthetic, but hair type plus shape — might feel a bit like juggling, but it’s worth experimenting with. After all, the brush is your primary tool for texture, so why not give yourself the widest palette of options?
Brush Texture In Different Styles
Brush texture techniques vary significantly across painting styles, impacting how paint interacts with the canvas and how viewers experience the artwork. In realism, artists strive for lifelike accuracy, applying fine detailed brush strokes to mimic textures in nature. These subtle textures build depth, giving surfaces like skin, fabric, or leaves a tangible quality. It’s a painstaking process—tiny strokes, often invisible from a distance, layer to create a believable effect.
Contrast this with impressionism, where brushstrokes are bold and visible. Here, texture isn’t hidden; it’s part of the atmosphere. The broad, energetic strokes catch light unevenly, creating a shimmering effect that suggests fleeting moments and changing light. These textures are less about detail and more about mood, inviting viewers to fill in the gaps with their imagination.
Abstract art, meanwhile, uses brush texture as an expressive tool rather than a representational one. The texture itself becomes a focal point—sometimes rough, sometimes smooth, with thick or thin paint layers. Texture in abstraction can evoke emotion or create dynamic movements on the canvas. It’s not about replicating reality but exploring the physicality of paint and brushwork.
So, depending on the style—whether realism’s precision, impressionism’s vibrancy, or abstraction’s emotion—brush textures carry different intentions and effects. Have you noticed how your own preferences in brushwork might shift when trying different styles? It’s a curious thing, how texture shapes not just what you paint but how you engage with the materials.
Checklist For Effective Brush Texture
Achieving successful brush textures in oil painting requires attention to several key points. You might want to keep in mind the balance between thick and thin paint applications—it’s tricky. Too thick, and the paint might crack; too thin, and the texture disappears.
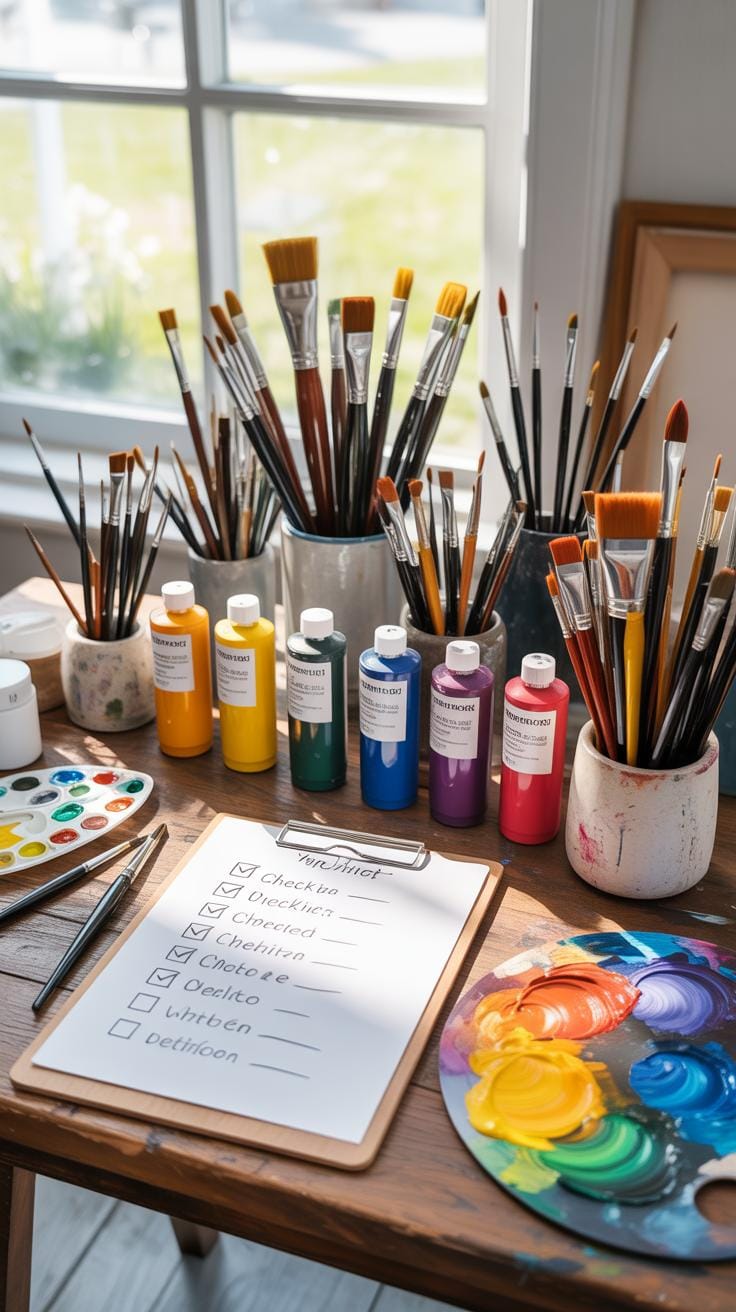
Prepare your materials thoroughly. Here’s a list of essentials:
- Quality oil paints with different consistencies
- Various brush shapes and sizes—flat, filbert, fan, round
- A palette knife for mixing and texture manipulation
- Mediums like linseed oil or turpentine for adjusting paint flow
- Canvas or board with a suitable tooth to hold texture
When painting, remind yourself about technique:
- Use deliberate brush strokes—hesitant brushing won’t build texture effectively.
- Experiment with layering: dry over slightly tacky layers can create dimension.
- Maintain ‘fat over lean’—ensure top layers have more oil to prevent cracking, but be cautious here; sometimes intuition tells otherwise.
- Don’t overwork areas—sometimes less is more for organic texture.
Keep asking yourself: Is the brush stroke contributing to the overall effect or just noise? The right texture supports the painting’s story, but too much can distract. Do your tools feel right? Is your hand steady or rushed? These subtle decisions matter more than you might initially believe.
Troubleshooting Oil Paint Textures

Working with oil paint textures is rewarding but can sometimes trip you up. Drying time, for example, is often trickier than it seems. Oil paints generally dry slowly because of the oils that bind the pigments. Thin layers might dry within days, but thick textures? They could take weeks, even months. If you’re impatient or want to add more layers quickly, smudging happens easily. But rushing is risky; cracking often follows.
Here are a few practical approaches to manage drying times better:
- Use thinner layers of paint to speed up drying.
- Incorporate fast-drying mediums or add a tiny bit of alkyd medium to the paint.
- Ensure proper ventilation and moderate warmth to help air circulation without overheating the paint.
- Avoid heavy humidity, which slows drying.
Another problem artists face—texture peeling. This mostly stems from poor adhesion to the surface or applying paint over layers that haven’t cured well enough. Fixing this isn’t just about better materials; it’s about good surface prep. Always prime your canvas or panel correctly. Some artists swear by sanding between layers to roughen surfaces lightly, helping the next layer grip. Also, avoid mixing very oily layers beneath drier layers; it could cause separation later.
There’s no perfect formula—sometimes what works for one painting fails for another. Still, paying close attention to drying conditions and prepping well can save your textured work from falling apart prematurely. Ever had a thick impasto flake off unexpectedly? It’s frustrating, but it teaches you to respect the paint’s natural behavior a bit more.
Examples Of Brush Texture In Art
Brush texture has long played a subtle yet compelling role in oil paintings, revealing as much about technique as about the artist’s intention. Take Vincent van Gogh’s “Starry Night,” whose swirling, thick brushstrokes almost create a sense of motion that you can feel. These textures aren’t just decorative; they shape the mood and draw you in closer. You might notice how the brushwork makes the sky alive and tangible, which teaches us about using texture to evoke emotion.
Then there’s Rembrandt, whose masterful layering and varied brush pressure gave his portraits depth and realism. His brush texture captures not just light but the very flesh and fabric, making viewers pause and study every detail. It’s a reminder that texture can add volume and intimacy, pulling the subject from the canvas.
If you explore techniques inspired by these artists, you could try varying your brush pressure or layering thicker paint to build texture. Play with directional strokes like van Gogh, or experiment with subtle, smooth blends interrupted by occasional rough patches, echoing Rembrandt. Why not start small—maybe on a study—or just let your brush dance freely and observe where texture reveals itself unexpectedly? Sometimes your best insights come from happy accidents.
Conclusions
Incorporating brush texture into your oil painting can dramatically improve the visual appeal and realism of your artwork. Practicing different techniques and using suitable tools helps build confidence and control over your brushstrokes.
By following the outlined steps and considering the advice on materials and common pitfalls, you can create compelling oil paint textures that add dimension and interest. Keep experimenting with brush types and pressure to discover your own texture style that matches your artistic vision.


