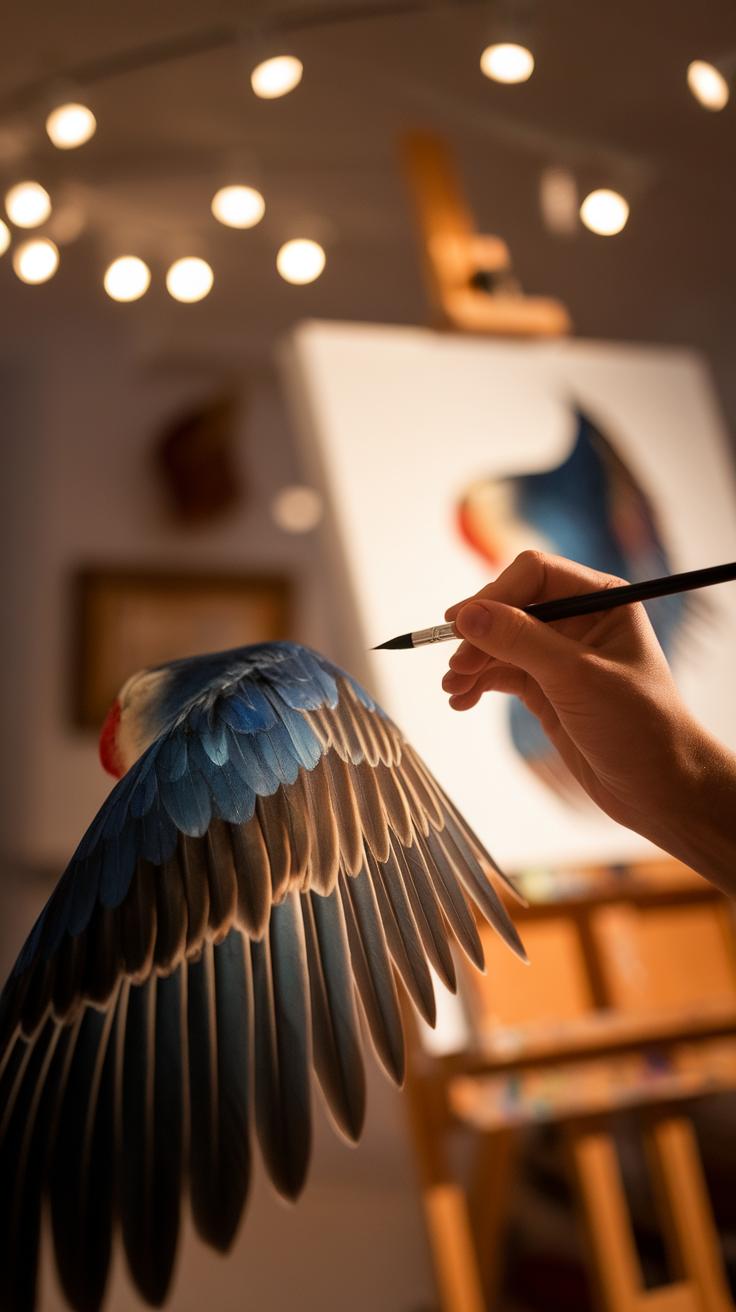
Introduction
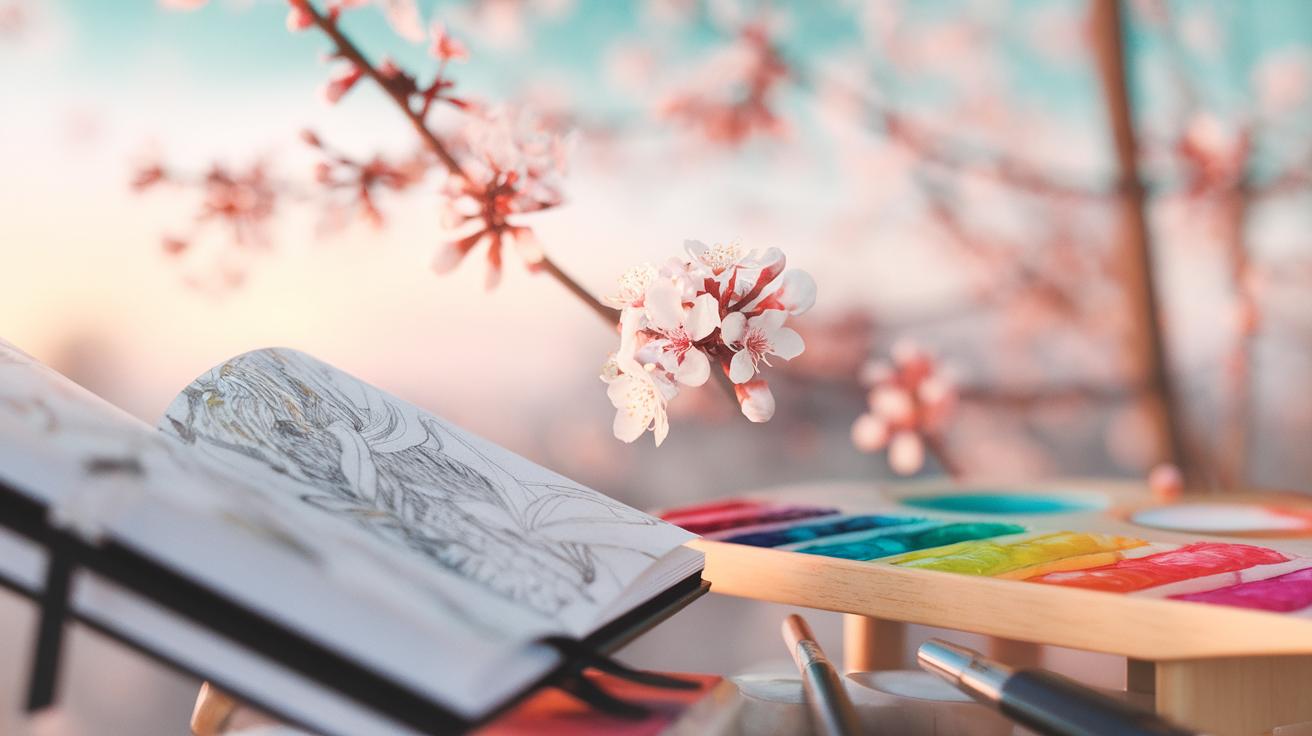
Bird painting holds a rich tradition in art history, especially in Chinese culture where it evolved as a unique genre known as Huaniaohua. This style combines detailed brushwork with symbolic meanings, capturing the beauty of birds and flowers not just realistically but with deeper artistic expression. You can learn from both historical and contemporary techniques to elevate your own bird painting skills. Whether you prefer fine detailed strokes or loose, expressive forms, there is much to discover and apply in your artwork.
This tutorial walks you through essential techniques and approaches to bird painting. We cover how to start your composition, select colors, use brush strokes effectively, and blend styles from classic Asian painting traditions and modern acrylic dynamics. Each chapter builds on the previous one to help you develop your style step by step. Are you ready to refine your painting methods and bring vibrant life to your bird art?
Introduction to Bird Painting and Its Symbolism
Bird painting holds a special place in Chinese art, especially in the Huaniaohua tradition. This style blends images of birds with flowers to create scenes full of life and meaning. Birds often symbolize virtues like freedom, peace, and hope, while flowers represent beauty, growth, and harmony. When you paint birds and flowers together, you tell stories beyond the visible. Your work becomes a personal message about life, emotions, or values.
Think about what a bird’s flight means to you. Is it freedom, escape, or a new journey? Your brush can express these feelings through colors and brushstrokes. The Huaniaohua tradition teaches you to look deeply at nature and capture its spirit, not just its appearance. This connection enriches your art and lets your personality shine through every detail you paint.
Historical Roots and Traditions
Bird painting in Chinese art began to flourish during the Tang dynasty. Artists started to focus on natural subjects, moving away from the earlier focus on religious themes. During the Song dynasty, scholar-artists refined bird painting into a respected genre. These scholars combined poetry, painting, and calligraphy, making bird paintings a form of personal expression and intellectual achievement.

Your painting can carry the same spirit. The scholar-artists worked with careful brush techniques to show not only the bird’s form but its soul. They painted because they wanted to express their thoughts about nature and life. This tradition encourages you to practice patience and observation, merging skill with feeling in your work. It is about creating art that tells a story beyond appearance.
Symbolic Meanings in Bird Art
Chinese bird paintings often use specific birds and flowers for their symbolic meanings. The crane stands for longevity and wisdom. The magpie brings good news and happiness. Peonies symbolize wealth and honor. When you choose which birds and flowers to paint, you shape the message your art sends to others.
Consider the emotions you want your painting to evoke. Would a pair of lovebirds best represent connection? Would plum blossoms show resilience during hard times? Your choices in symbolism can deepen your connection to your painting and encourage viewers to look closer. Each bird and flower has a language all its own, waiting for you to bring it to life.
Choosing Your Materials for Bird Painting

Picking the right materials shapes the way your bird paintings develop. Your choice of paints, brushes, and canvases directly affects how detailed and expressive your work appears. For example, some artists prefer acrylics for their quick drying times, while others lean toward ink wash paints for their fluidity and tradition.

Think about how you want your final piece to look and feel. Do you want sharp lines or soft, flowing strokes? What type of texture do you want on the surface? Reflecting on these questions will guide your materials selection and shape your artistic process.
Using suitable brushes helps you capture fine feathers or broad color washes. Preparing the canvas correctly brings out your paints’ best qualities. Taking time here ensures your painting reflects your vision clearly and precisely.
Selecting the Right Paints
Acrylic and traditional ink wash paints offer distinct advantages for bird paintings. Acrylics dry fast, allowing you to layer colors quickly without waiting long. This speed benefits beginners and experienced artists who like to experiment or fix details promptly.
Ink wash paints produce delicate gradients and soft edges, perfect for classic styles like Chinese Huaniaohua. They require more control but reward patience with subtle textures and depth. Can you imagine how these qualities might fit your painting goals?
Choosing acrylics gives you flexibility and durability on your canvas. Ink wash paints invite you to focus on brushwork and tone more intimately. Your style determines which path suits you best.
Brush Types and Canvas Preparation

Round, flat, and filbert brushes serve different roles in bird painting. Thin round brushes help create crisp feathers and fine details. Flat brushes cover larger areas swiftly and blend backgrounds. Filbert brushes combine softness with control, useful for feathers’ edges and shapes.
Canvas preparation affects how paints behave. Priming your canvas with gesso creates a smooth yet absorbent surface that prevents paint from soaking in too much. Some artists like unprimed canvas for a textured finish but beware of paint sinking or spreading unevenly.
Try different brushes and canvas setups to find what fits your style. Which brush shapes feel comfortable in your hand? How does your paint spread on a primed versus unprimed surface? Testing brings clarity and confidence to your bird painting process.
Basic Brush Techniques for Fine Detail
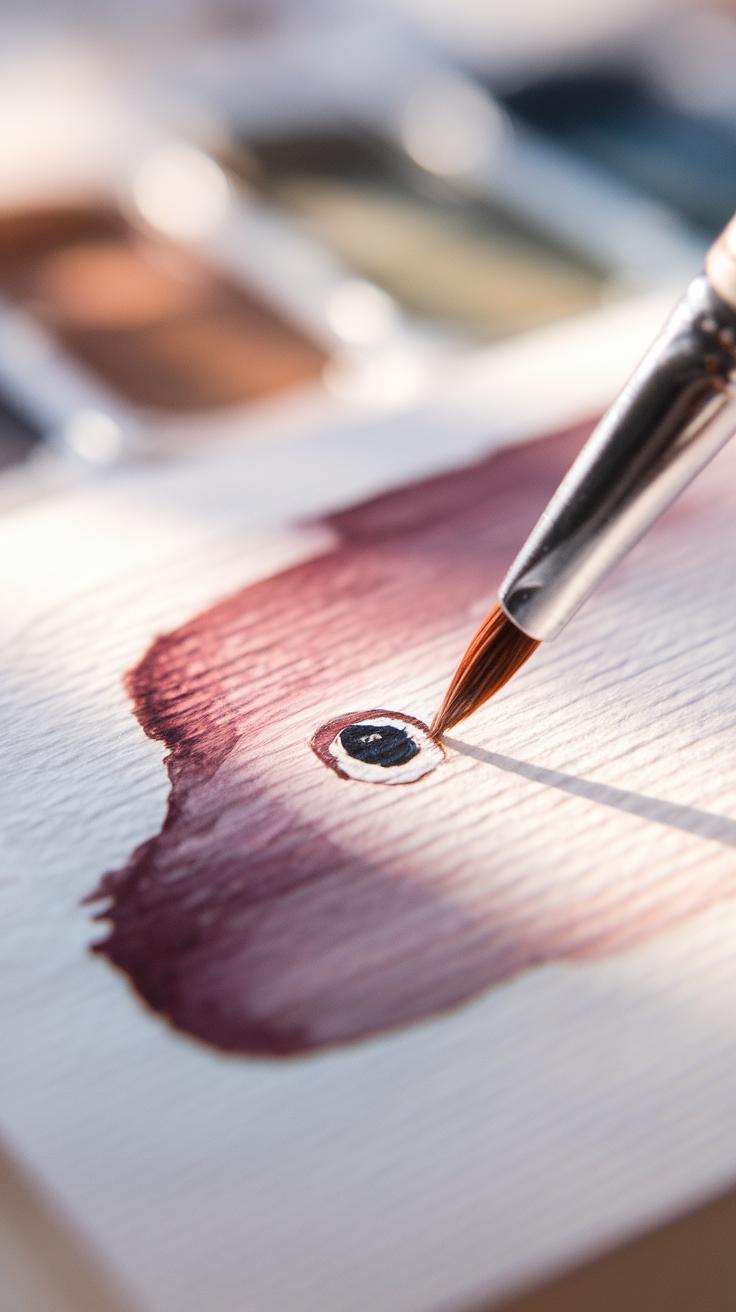
Mastering your brushwork is key to creating fine details in bird painting. Hold your brush near the ferrule for better control and precision. Avoid gripping too tightly—relax your hand to allow smoother strokes. Practice varying your pressure: a light touch creates thin lines, while a firmer press produces thicker marks. Try moving your brush slowly for delicate outlines, then faster for texture.
Steady hand control helps you avoid shaky lines and uneven edges in your bird’s form. Focus on slow, deliberate movements whenever you define feathers or facial details. Experiment with different brush angles to see how the tip or side affects your strokes. Do you find it easier to work with a round or liner brush for detail? Testing helps you choose your best tools for crisp results.

Control comes from practice and attention. Test your brush pressure by drawing lines that gradually change from thin to thick. Notice how small adjustments affect your control. Your hand and wrist should feel comfortable, not tense. How steady is your line when you draw a tiny feather or outline a wing tip? Keep refining these basic techniques to build a strong foundation for all detailed birdwork.
Outline Strokes and Detailing
Creating sharp outlines defines your bird’s shape clearly. Use a small, pointed brush to draw smooth, clean lines around the body and features like eyes and beak. Start with slow strokes and steady your breathing to reduce hand shake. Practicing drawing simple shapes like circles and ovals steadily helps control line consistency.
Use the tip of your brush for thin lines and the side for broader strokes. Ensure the paint is not too thick or too watery to prevent blotchy edges. Try tracing over a printed bird image to train your hand’s steadiness and line flow. How even can your lines stay during long or curved strokes?
Consistent line quality highlights the bird’s form without overpowering the painting. Combining thin lines for delicate areas with thicker lines for shadows or borders adds depth. Ask yourself if your outlines support the overall bird shape without looking rigid or harsh. Practicing these strokes sharpens your ability to bring your bird’s features to life with clarity.
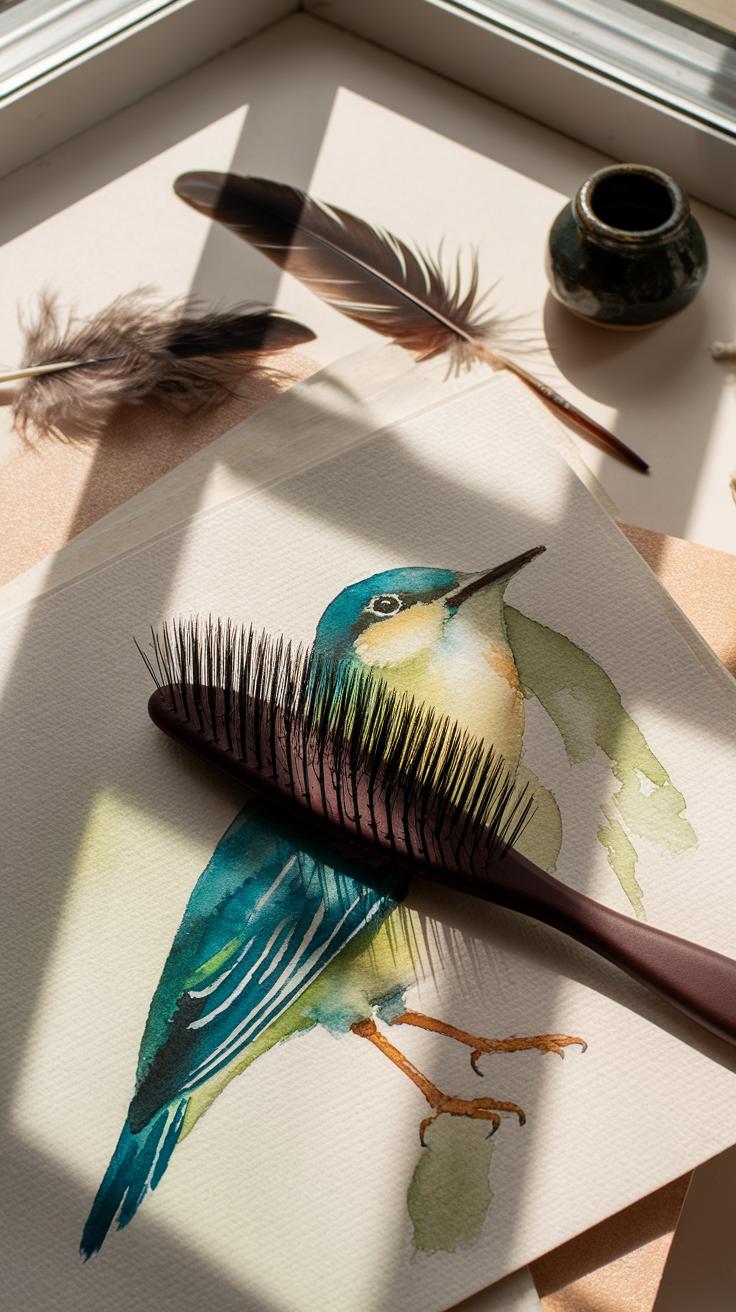
Feather Texture and Layering
Feathers need texture to feel real but not too heavy or flat. Use short, light strokes for individual feather details. Vary the length and direction of these strokes to mimic natural feather patterns. Start with a light base layer and slowly build up darker layers on top, allowing some underlying color to show through.

Layering helps create depth and dimension. Paint feathers in overlapping groups rather than isolated strokes. This method gives a sense of volume and movement. When painting wing or tail feathers, observe how they layer and point in the real bird. Do your strokes follow those natural patterns?
Keep your brush lightly loaded with paint to avoid harsh edges. Soft strokes suggest the softness of feathers. Try painting a single feather by layering small strokes from base to tip, adjusting colors gradually. How many layers does it take before the feather looks three-dimensional? This technique makes your bird feel alive and textured while respecting the fine detail work you practiced earlier.
Exploring Color Mixing and Application
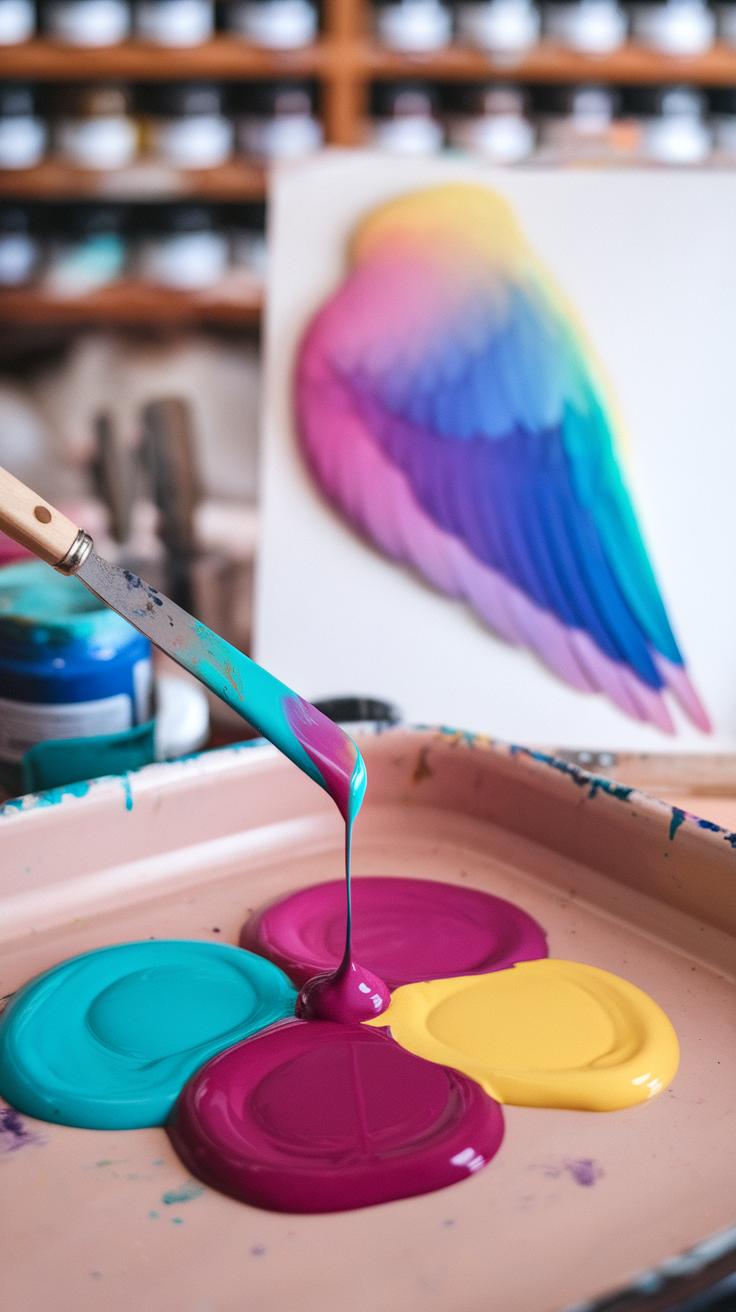
Mixing colors effectively helps your bird paintings gain depth and appeal. When you blend colors, pay attention to how they interact. Using harmony and contrast makes your subject pop against the background.
Try combining warm tones like reds and yellows with cool blues to create interesting shadows or highlights. Contrast between bright and muted colors can draw attention to key features, such as the bird’s eye or feathers.

Ask yourself: Which colors enhance the bird’s natural beauty? How can subtle shifts in tone suggest different textures? Experimenting with color layers can also add movement and life to your work.
Applying paint in thin layers lets you build color gradually. This approach prevents muddying and keeps your colors fresh. Remember, your goal is to balance vibrancy with realism or stylistic choices based on the bird you want to depict.
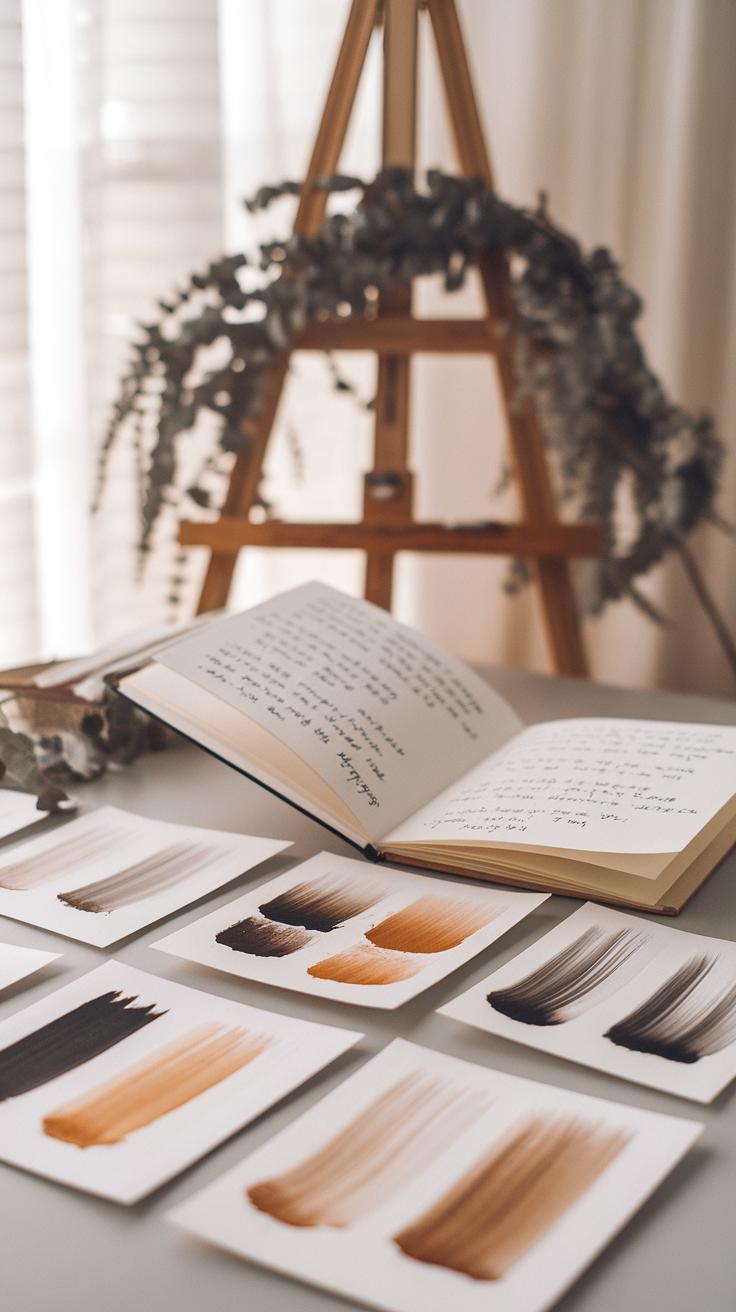
Mixing Naturalistic Colors
Create natural bird colors by mixing your primary paints carefully. To make browns, blend reds, blues, and yellows in different amounts. Avoid adding too much of one color to keep the result from looking dull or muddy.
For blue feathers, try mixing a small amount of green or gray with your blue to match the subtle tones found in nature. Red tones come alive when layered lightly with orange or pink rather than straight from the tube.
Use small test strokes to check your mixed color before applying it fully. This method saves paint and adjusting your mix becomes easier. You’ll notice that delicate shifts in your mixtures capture the complexity of real bird feathers better than solid, flat colors.
Using Color for Emotional Effect

Colors don’t just show appearance; they can express mood. Choosing brighter or muted colors changes how viewers feel about your painting. For example, painting a cardinal in bold reds can feel energetic or intense.
Muted tones like soft grays or blues create calm or mysterious moods. Experiment with these options to highlight characteristics that matter most to you. Maybe a falcon’s sharpness looks stronger with cool grays, or a cheerful songbird shines in warm yellows.
Try adjusting your color palette according to the story you want to tell. What message does your color choice send? Testing different moods with color will expand your artistic skills and make your bird paintings stand out.
Incorporating Ink Wash Techniques
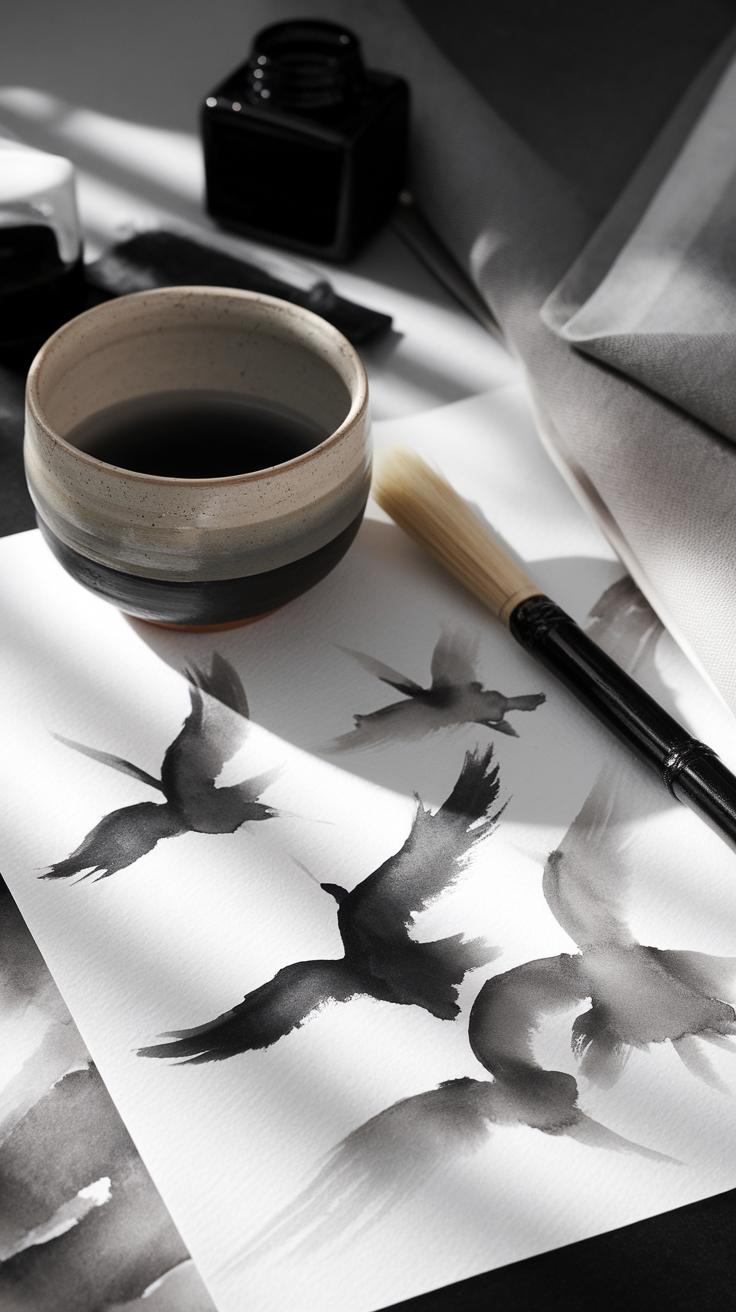
Ink wash techniques add smoothness and flow to your bird paintings. They allow you to create soft gradients and fluid transitions that bring life to feathers and surrounding areas. Start by thinning your ink with water. This reduces its intensity and helps form delicate layers. Control how much ink you load on your brush so you avoid harsh stains.

Build your washes slowly. Begin with light layers and let each one dry before applying another. This layering method helps create depth as darker tones emerge naturally instead of appearing flat. Experimenting with drying times can produce varied textures and effects that suit different bird species or moods.
Ask yourself: How can you use the looseness of ink wash to emphasize the shape and movement of a bird? Using this technique, your paintings gain a sense of subtlety and softness hard to achieve with solid lines or pure color. This method fits well with earlier lessons on mixing color, as ink wash perfectly complements watercolor hues for a balanced finish.
Creating Light and Shadow with Ink
Diluting ink helps you build soft shadows in feathers or backgrounds. Applying thin ink layers creates gentle shifts in light that let you shape a bird’s form without harsh outlines. This layering method plays with contrast subtly, offering volume and dimension that mimic natural lighting.
Observe how the ink’s intensity changes when layered. Each new wash darkens previous ones. Use this effect to highlight feather patterns by adding shadows under wing tips or around the bird’s body curve. Thicker, darker layers bring features forward, while softer washes push areas back.
Try thinking about light direction before starting. Use lighter washes where light hits and darker ink to shade parts hidden from view. This approach makes your bird painting more realistic and visually interesting. How might shifting shadow placement affect the mood or position of your bird?
Combining Ink Wash with Brush Outline
Pairing precise brush outlines with fluid ink washes creates harmony in your artwork. Begin with a clear, confident brush outline to define the bird’s shape and main feather details. Then add loose ink washes to fill in and soften the space inside or around this framework.
The outline maintains structure and clarity while the wash offers movement and subtle variation. For example, you can paint a sharp beak or eye with solid brushstrokes and use washes to render fluffy feathers or an abstract background. This balance keeps your painting both expressive and readable.
Practice adjusting the thickness of your outlines and the flow of your washes. What happens when the line work is lighter or heavier? How do soft washes around strong lines change the overall feel? Combining these techniques encourages you to control both detail and atmosphere in your bird paintings.
Building Compositions with Flowers and Branches
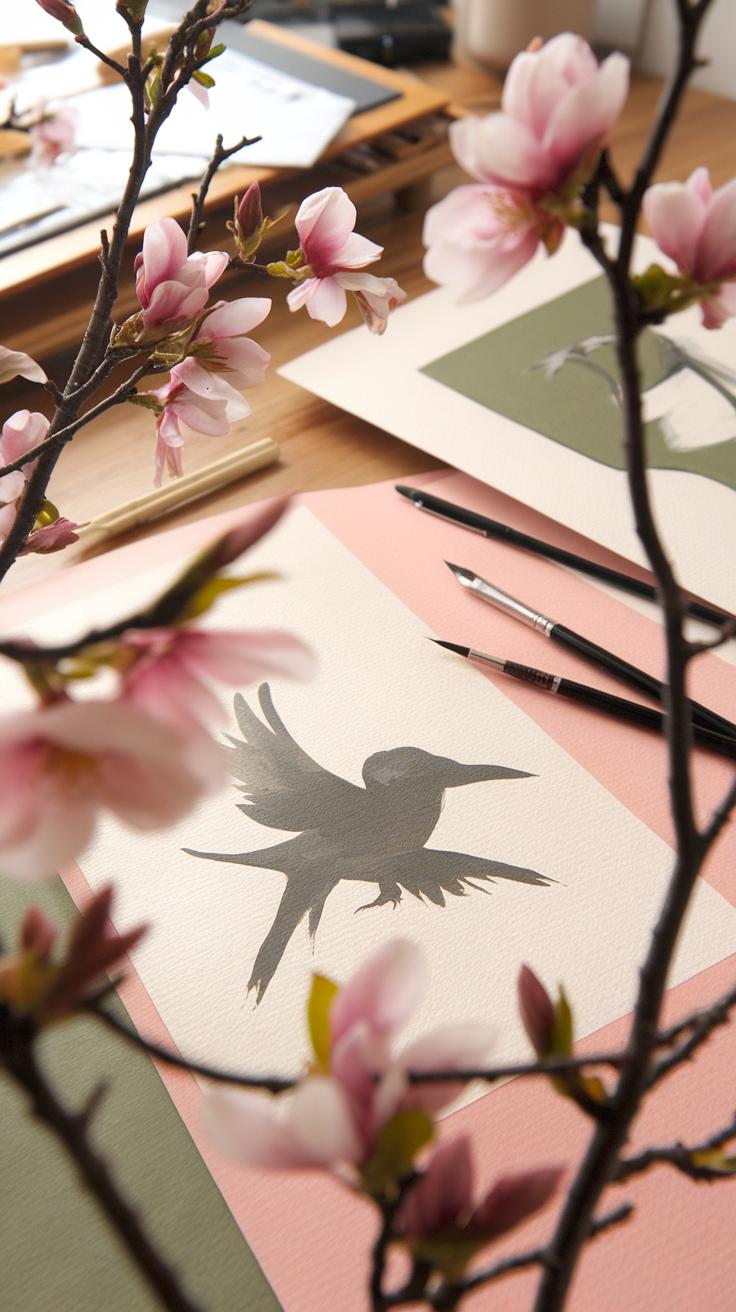
When you add flowers and branches to your bird paintings, balance becomes your biggest tool. You want these elements to support the bird, not compete with it for attention. Start by placing the bird slightly off-center to create a natural focus point. Then, arrange branches and flowers around it to lead the viewer’s eye toward the bird.
Think about the shape and position of branches as frames or guides. Allow some branches to curve gently to direct attention, while others can add texture and depth without crowding the main subject. Use spacing to create breathing room; empty areas are just as important as filled ones.
Ask yourself how each flower or branch changes the painting’s mood or flow. Does it highlight the bird’s colors? Does it add contrast or soften edges? Paying attention to these details helps you design a well-balanced composition that enhances your bird painting.
Arranging Supporting Elements
Place flowers and branches so they complement the bird’s size and position. Choose smaller blossoms if your bird is large, or fuller branches if the bird is small. This keeps the scene in harmony and prevents the supporting elements from stealing focus.
Layer flowers and branches to add depth. Position some elements closer and others further away, using lighter colors or softer lines on distant parts. This creates a sense of space without distracting from the bird.
Avoid placing flowers or branches directly over key parts of the bird like its face or wings. Instead, let them gently touch the edges or frame the bird. This technique helps maintain the bird’s visual dominance while enriching your painting’s background.
Symbolism in Complementary Motifs
Including certain plants can add meaning to your artwork beyond their appearance. For example, plum blossoms often symbolize resilience and renewal in traditional art. Bamboo represents strength and flexibility, while chrysanthemum stands for longevity.
Think about the message you want your painting to convey. Adding a cherry blossom branch might suggest fleeting beauty, while pine needles can imply endurance. These choices invite viewers to connect with your work on a deeper level.
Have you considered the story behind the plants you include? By researching their cultural symbolism, you give your painting invisible layers of meaning. This enriches your art and lets you share more than just a beautiful image.
Freehand Painting for Personal Expression
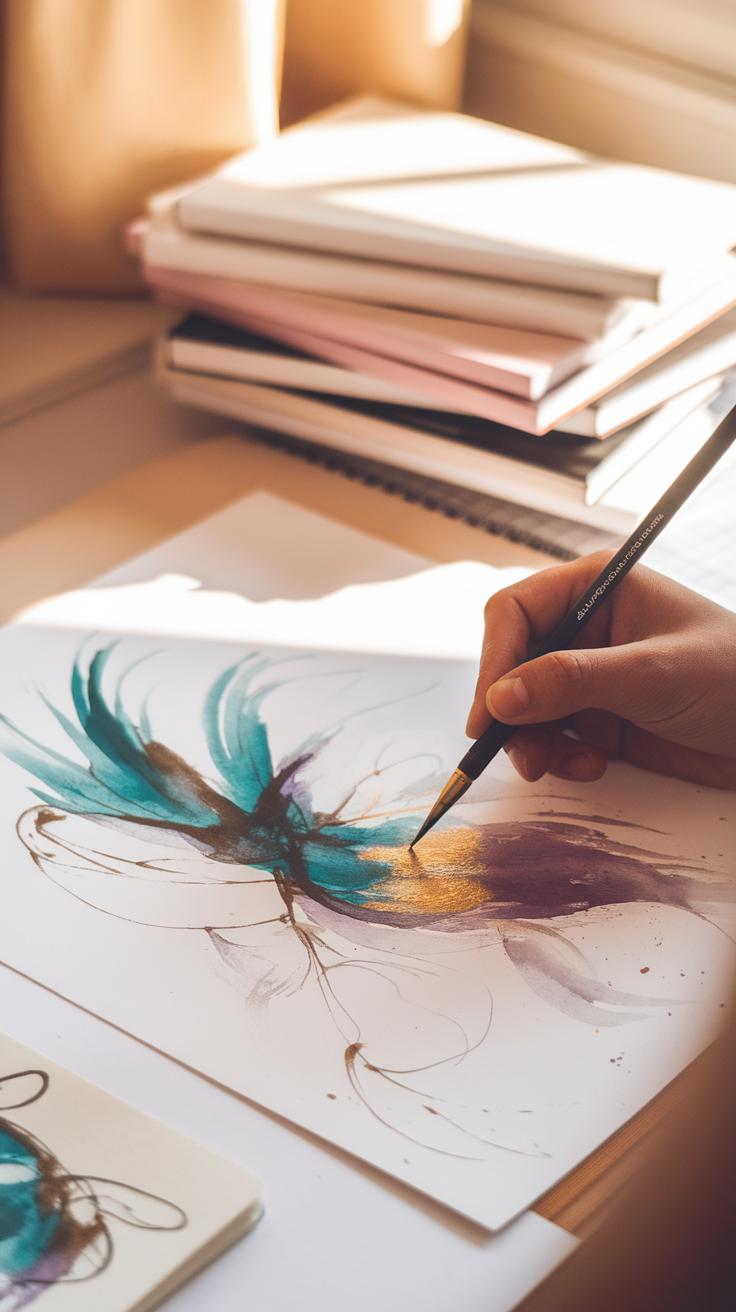
Freehand painting invites you to loosen control and explore your personal connection with the bird you want to depict. The Xieyi style, known for its expressive brushwork, encourages bold gestures that focus on feeling rather than exact detail. You do not need to replicate every feather or contour perfectly. Instead, focus on shapes and movements that convey the bird’s spirit.
Try using quick, confident strokes that suggest motion and energy rather than precise outlines. Feel the brush as an extension of your emotions. What does the bird’s posture tell you about its mood? How can your strokes communicate that?
Maintaining recognizable forms is still important to anchor your painting. Use simple lines for wings or beaks while allowing other areas to remain loose or suggestive. This balance helps your work stay accessible yet vibrant. Can you allow more freedom in your strokes while keeping the bird identifiable?
Embracing Spontaneity
Painting quickly helps capture the energy and personality of birds. Use intuition when applying paint rather than planning every detail. A timed exercise to sketch a bird in two minutes can boost this instinctive approach.
Keep your brush moving without hesitating. Let your eyes follow the bird’s rhythm and translate that rhythm onto the canvas. How does speed affect the character your bird expresses? Experiment with fluid lines that mimic wingbeats or head turns to create lively poses.
Use minimal brush loads and confident taps or sweeps to build form fast. Avoid second-guessing; trust your initial marks to convey life and movement. This technique sharpens your ability to feel and share the bird’s essence.
Balancing Detail and Abstraction
Mix clear details with broad, simple strokes to build dynamic compositions. Define key features like the eye or beak with sharper brushwork to draw focus. Surround them with loose washes or quick, large strokes that suggest feathers and background.
This contrast creates visual interest and gives your painting depth. Try outlining a bird’s silhouette precisely, then fill the interior with spontaneous colors or textures. Which parts benefit from clarity, and where can you allow form to fade into suggestion?
Working this way keeps your bird lively. Detailed areas engage the viewer, while abstract sections invite imagination. The result feels fresh and expressive, reflecting how we actually experience birds in nature—part clear, part fleeting.
Advanced Acrylic Techniques for Texture and Glow
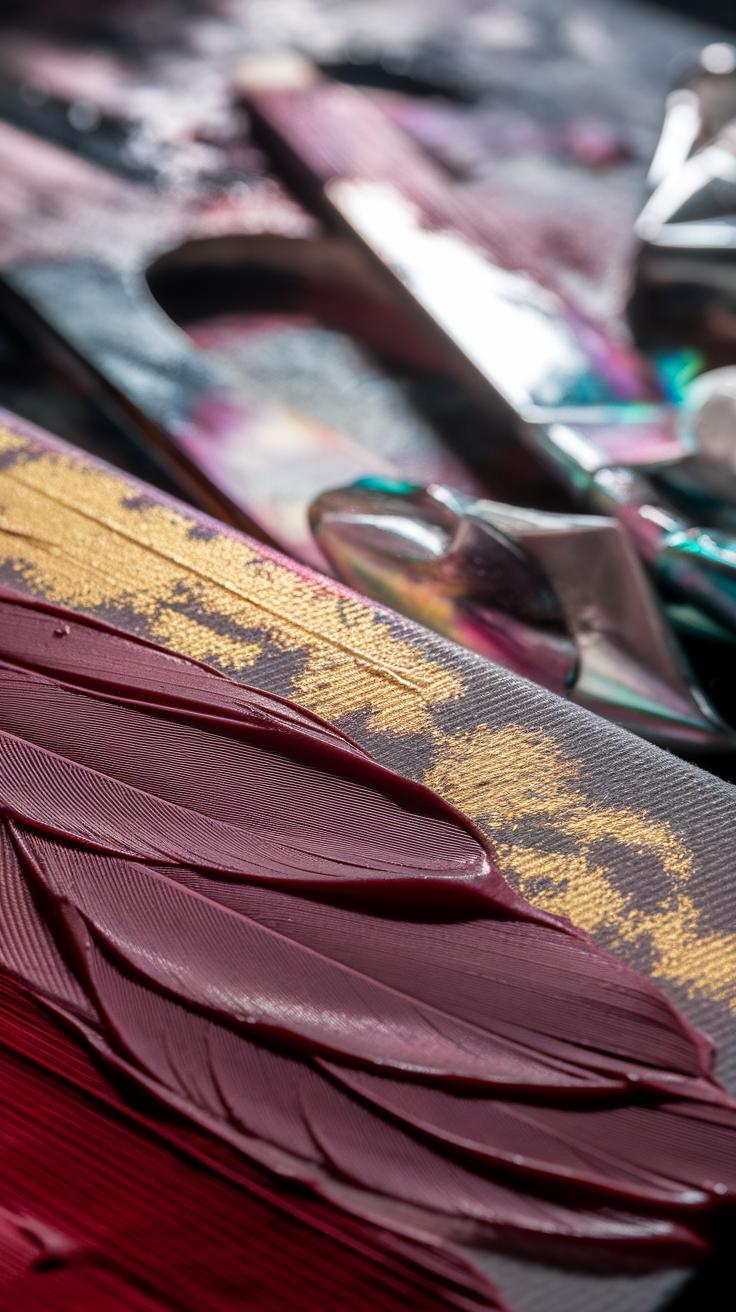
You can make your bird paintings stand out by using advanced acrylic methods like glazing, layering, and pouring. These techniques help create textures that bring your artwork to life while adding a vibrant glow to your colors. Applying thin layers of paint gradually builds depth, making your birds look more realistic and three-dimensional.
Glazing lets you work with transparency. It enhances the richness of colors without losing details underneath. Layer your paint delicately, waiting for each layer to dry before adding the next. This process makes your bird’s feathers shimmer with a natural glow.
Try pouring diluted acrylics to create smooth gradients and subtle color shifts. This can add interesting backgrounds or soft transitions in plumage. Experimenting with layers can develop complex textures that simple flat paint can’t achieve. What new effects can you create by combining these methods? Think about how lighting changes with each layer you add.
Glazing for Depth
Glazing uses thin, transparent washes of acrylic paint to build color slowly and smoothly. Because each layer is see-through, you keep all the details from below while intensifying the hue. You might start with a light base color and apply several glaze layers to deepen shadows or brighten highlights.
When you glaze, avoid using thick paint. Thin it with glaze medium or water to maintain transparency. Paint small, controlled strokes and let each layer dry completely before the next. This technique is perfect for adding subtle color shifts on feathers or the soft glow of light reflecting on a bird’s body.
Have you noticed how glazing allows the colors underneath to affect the final tone? That interaction adds a natural complexity that flat colors lack. This method also gives you more control over your painting’s mood and atmosphere.
Texture Through Brushwork
Your choice of brush strokes can create textures that imitate feathers and add interest to the background. Using different brushes—from fine liners to stiff bristles—helps you replicate the delicate patterns in bird plumage. Short, quick strokes suggest fluffy feathers, while longer strokes show sleek, smooth feathers.
You can enhance texture by mixing acrylic media into your paint. Gel or molding paste thickens the paint, helping it hold shape and creating raised effects. Press your brush or palette knife lightly over the paint surface to form feather-like patterns.
Consider varying your brushwork across the painting to differentiate the bird from its environment. Rough, textured strokes can hint at foliage or bark behind the bird, making it stand out visually. How might changing your brush techniques alter the mood or focus of your piece? Try practicing these strokes separately and observe their impact before applying them to your main work.
Final Touches and Enhancing Visual Impact
Adding the right finishing touches can turn a good bird painting into a truly captivating piece. Applying highlights and shadows carefully will create a sense of depth and realism. Consider where the light naturally hits the bird’s feathers and features, then accentuate those areas with lighter paint. Shadows help set the form and separate layers, so deepen them where needed to boost contrast.
Think about the overall balance of your composition. Where do you want the viewer’s eye to rest? Use color and placement of elements to direct attention without crowding the painting. Sometimes removing or softening details around the focal point strengthens the impact.
Small adjustments here can change the entire feeling of your work. You might ask yourself: Which detail needs more light? How can I adjust shapes and colors to create clear focus? Taking time with these last steps enhances your painting’s power and invites viewers in.
Adding Highlights and Contrast
Highlights give your bird painting a lifelike glow. Use a small brush to apply highlights on areas like the eyes, beak, and the edges of feathers where light naturally falls. Avoid overusing bright spots; focus on key areas to create a subtle shine that suggests texture and volume.
Mix a slightly lighter color than your base tone and test it on a separate palette before applying. For example, a small stroke of white mixed with the bird’s main color can brighten feathers without looking artificial. Highlights can also suggest moisture or smooth surfaces, like a glossy eye.
Contrast between light and dark adds drama and clarity. Strengthen shadows around highlighted areas to make them stand out. Ask yourself: Does this highlight support the shape? Would adjusting contrast better define the bird’s form? Thoughtful highlights and shadows enhance realism and visual interest.
Balancing Composition for Focus
Guide viewers by balancing elements and colors in your painting. Place your bird slightly off-center to create a natural, inviting composition. Use contrasting colors around the focal point to make it pop. For instance, a bright red bird against soft green leaves directs attention clearly.
Negative space works in your favor here. Too many details can confuse the eye. Reduce background clutter or soften less important areas to keep the focus on your bird. Think about the flow: does the viewer’s eye move smoothly around the painting and return to the main subject?
Ask yourself how colors and shapes interact. Does the arrangement highlight your bird’s beauty effectively? Shifting a branch or tweaking colors can change where the eye lands. A balanced composition helps your painting feel complete and engaging.
Practicing and Developing Your Unique Bird Painting Style
Regular practice builds your skills and moves you closer to expressing your unique style in bird painting. Set aside time to draw or paint birds often, even if it’s just quick sketches. Each attempt teaches you more about shapes, colors, and movement.
Reflect on what parts of your work feel natural and exciting. Which brushstrokes or colors resonate with you? Combining classic techniques with your own ideas helps you develop a distinct voice that stands out.
What emotions or stories do you want your bird paintings to tell? Keep stretching your skills by trying new approaches. This focused effort shapes your style and increases your confidence in every painting.
Regular Practice and Observation
Careful observation of birds enriches your accuracy and creativity. Watch birds in different settings—at feeders, parks, or your backyard. Notice how wings move, how light hits feathers, and how birds perch or fly.
Practice quick sketches from life to capture these details. These studies sharpen your eye and hand coordination. Sketch often to build muscle memory and improve proportions.
Ask yourself what makes each bird unique. Which features stand out? Keep a sketchbook with notes and drawings to track your progress and inspiration.
Experimentation with Techniques
Trying new materials and painting styles reveals fresh paths in your art. Experiment with different brushes, paints, or papers to see how each change affects your work.
Mix modern and traditional methods. Maybe test dry brush effects, layered washes, or bold color contrasts. Notice which techniques feel natural and help you express your vision.
Challenge yourself with styles outside your comfort zone. How would a loose, abstract approach affect your depiction of birds? How does a detailed, realistic style change your process? These experiments guide you to a style uniquely yours.
Conclusions
Your ability to paint birds elegantly combines understanding traditional methods and experimenting with modern materials. By practicing detailed brushwork and exploring varied paint consistencies, you can capture the delicate features and lively spirit of birds. Remember that each stroke and color choice speaks to your personal expression and connection with the subject. Keep practicing regularly to build control and confidence.
Over time, merge the freehand styles with precise techniques to develop your unique artistic voice. Observe bird behaviors and forms in nature to inform your work authentically. The balance between technical skill and emotional engagement creates paintings that resonate with viewers. Continue to refine your process and enjoy the rewarding journey of artistic growth through bird painting.


