Introduction
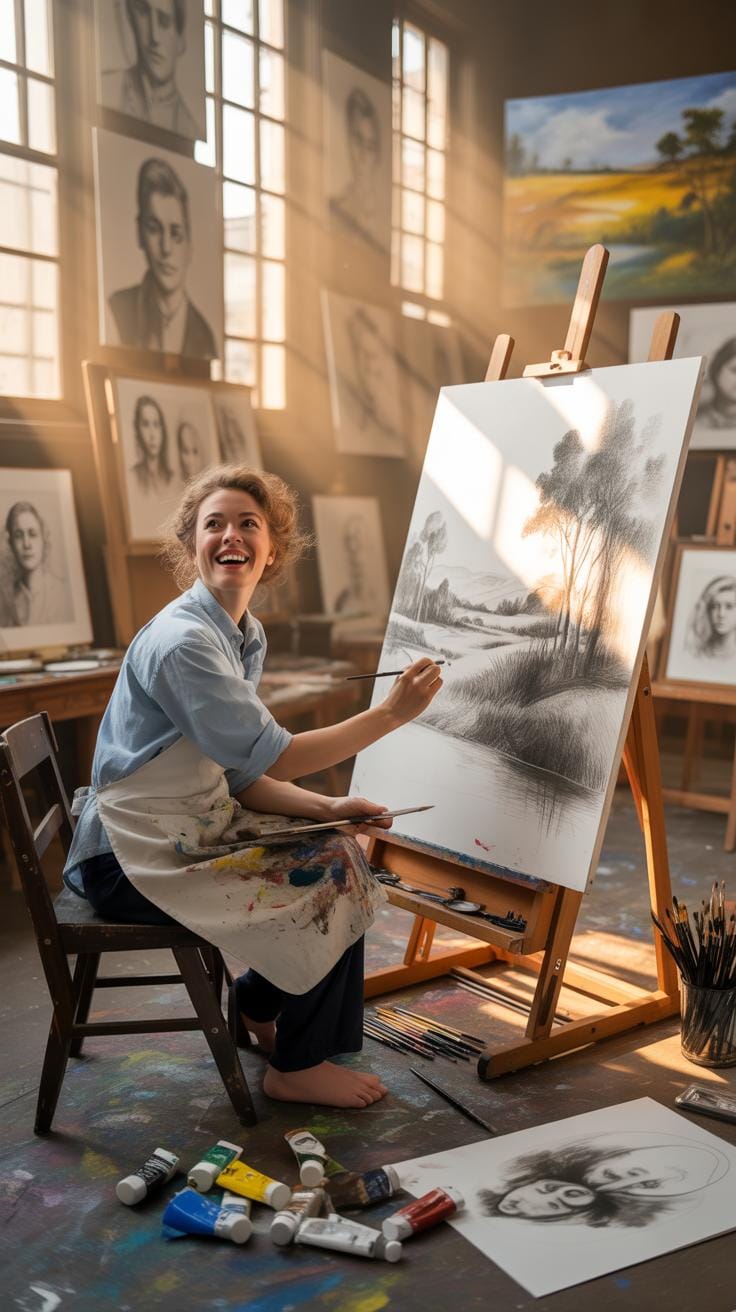
Art Tools Drawing Versus Sketches Tutorial For Creative Prompts is about understanding the difference between drawing with full art tools and creating quick sketches for creative ideas. Drawing often uses many types of tools like pencils, pens, and colors to make finished artwork. Sketches are faster freehand drawings that use simpler tools and are often rough drafts or first ideas.
This article looks at the types of tools used for both drawing and sketches. You will learn why the choice of tools matters, when to pick simple sketch tools or full drawing sets, and how to use them for creative prompting. Whether you are a beginner or someone looking to improve, this guide breaks down the essentials in a clear way.
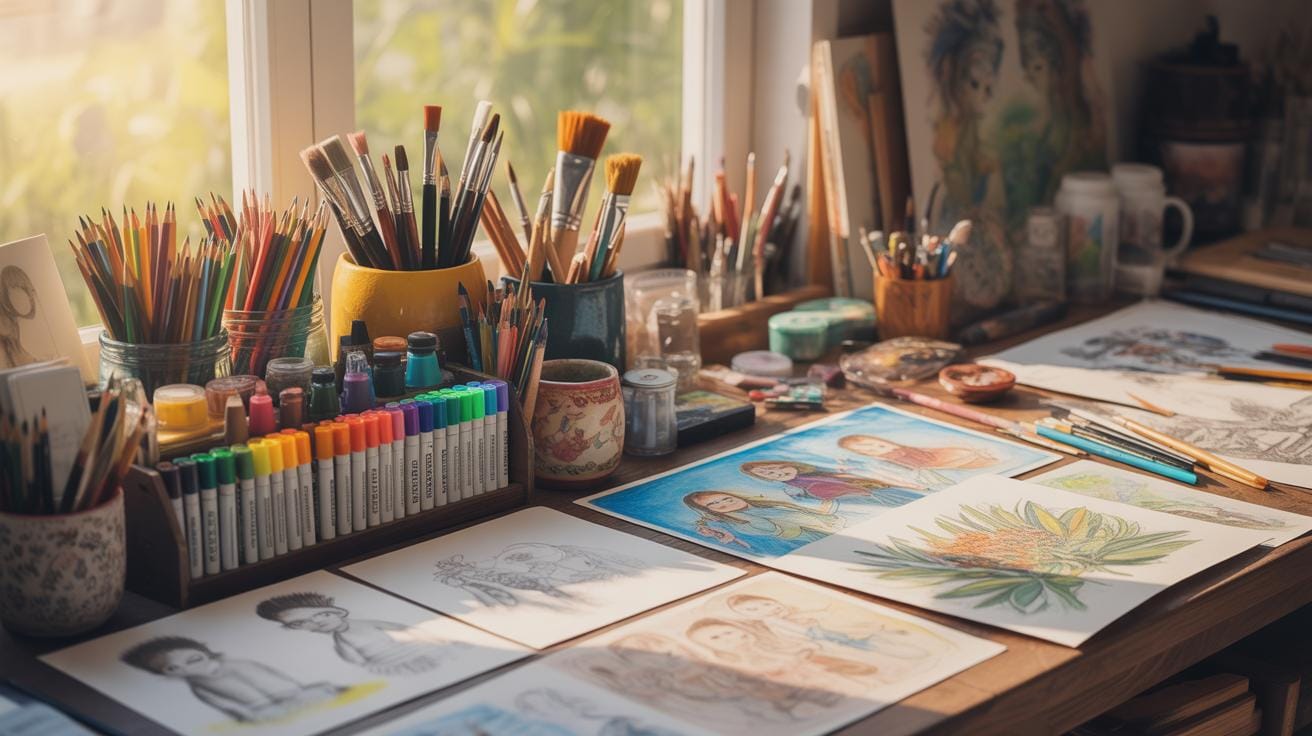
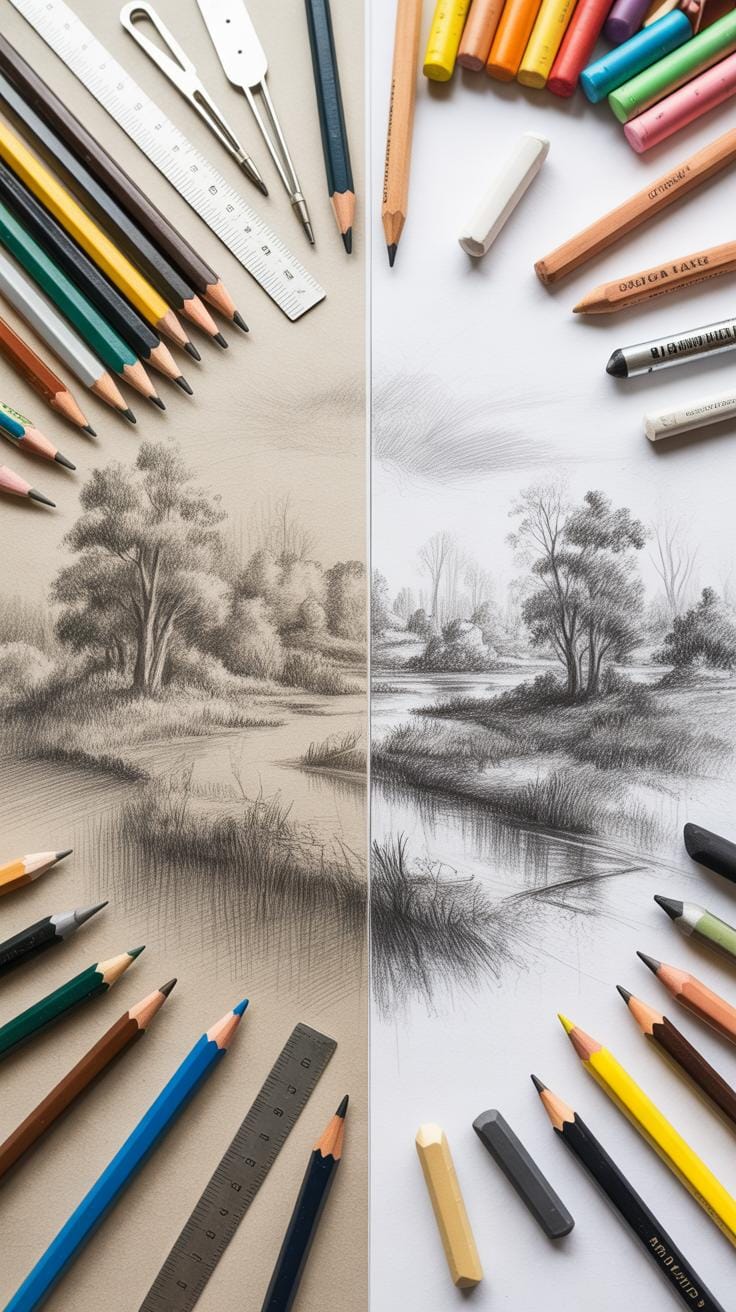
Choosing Art Tools For Drawing
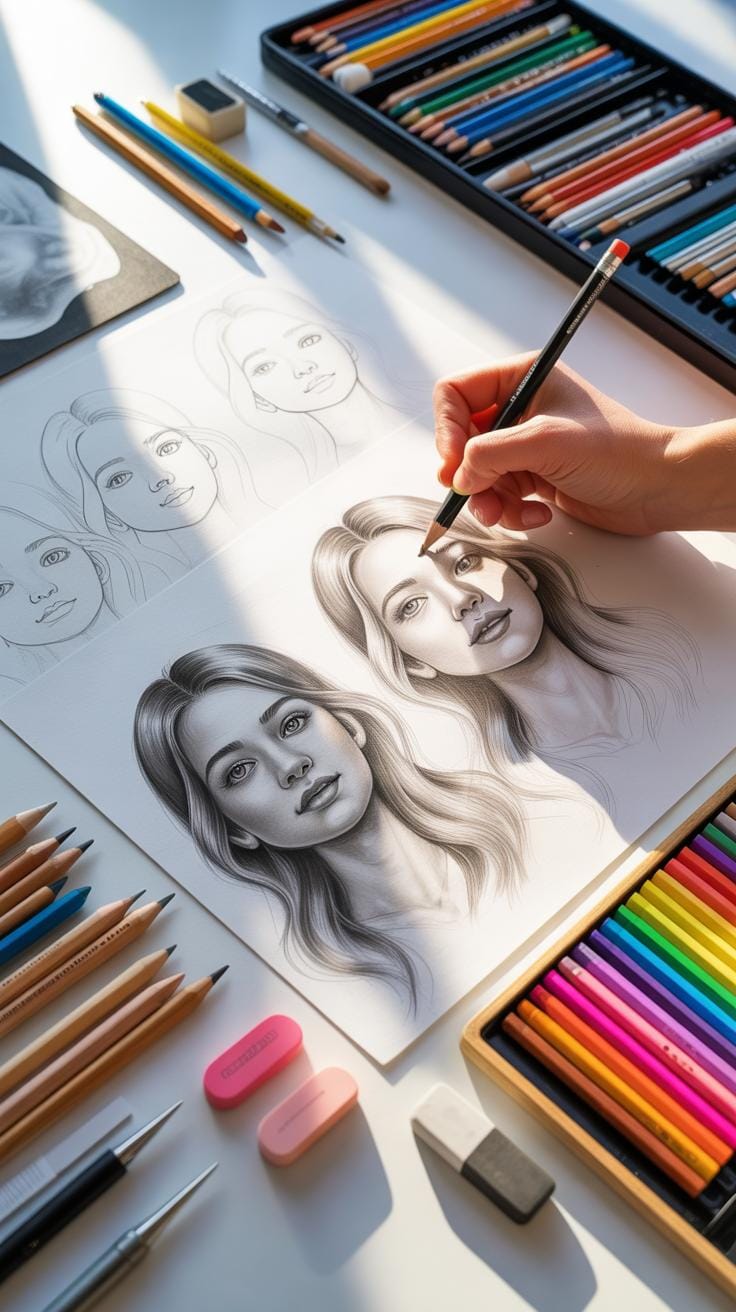
When it comes to drawing, a variety of tools come into play, each with its own function and appeal. Pencils are probably the most familiar; they vary in hardness from soft to hard and allow for different shading and line qualities. You have pens as well, which provide a consistent, permanent line, ideal for details or inked artwork.
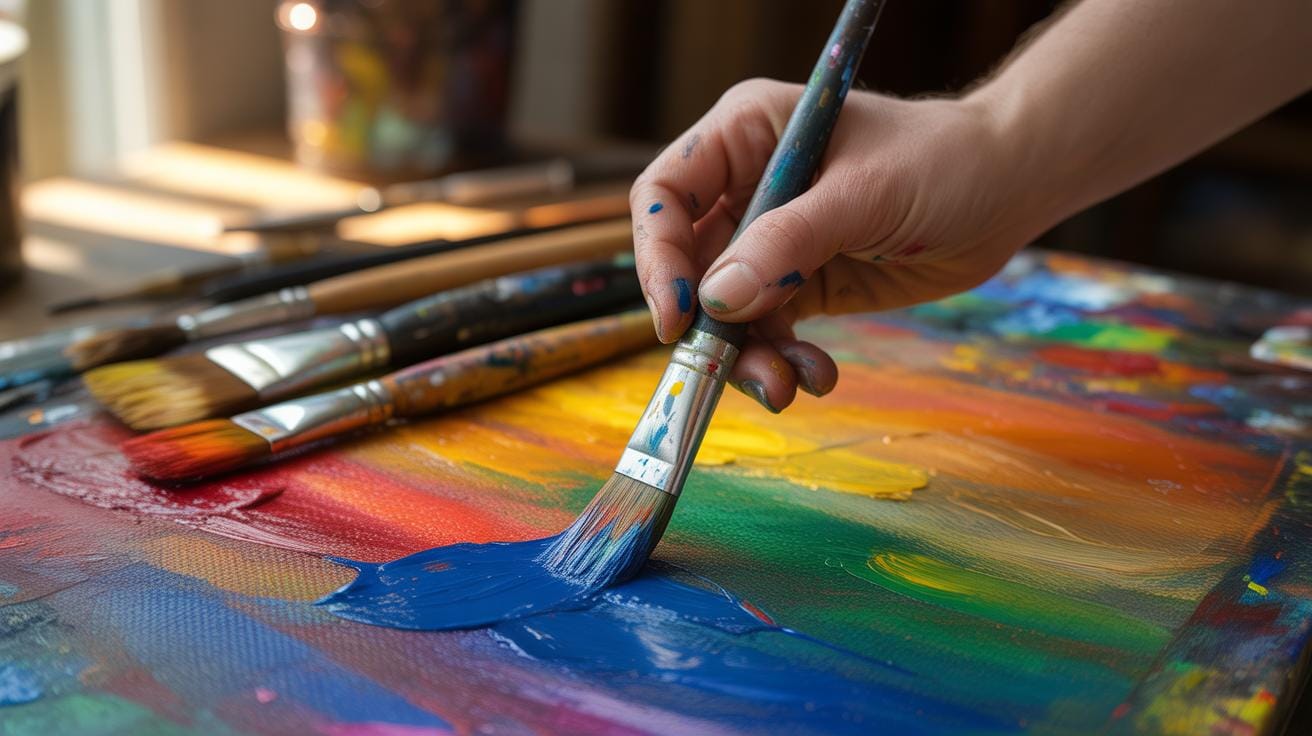
Brushes, though more associated with painting, are used in drawing too, especially with ink or watercolor. Colored pencils add a layer of vibrancy and texture, letting you blend or layer colors without the mess of paint.
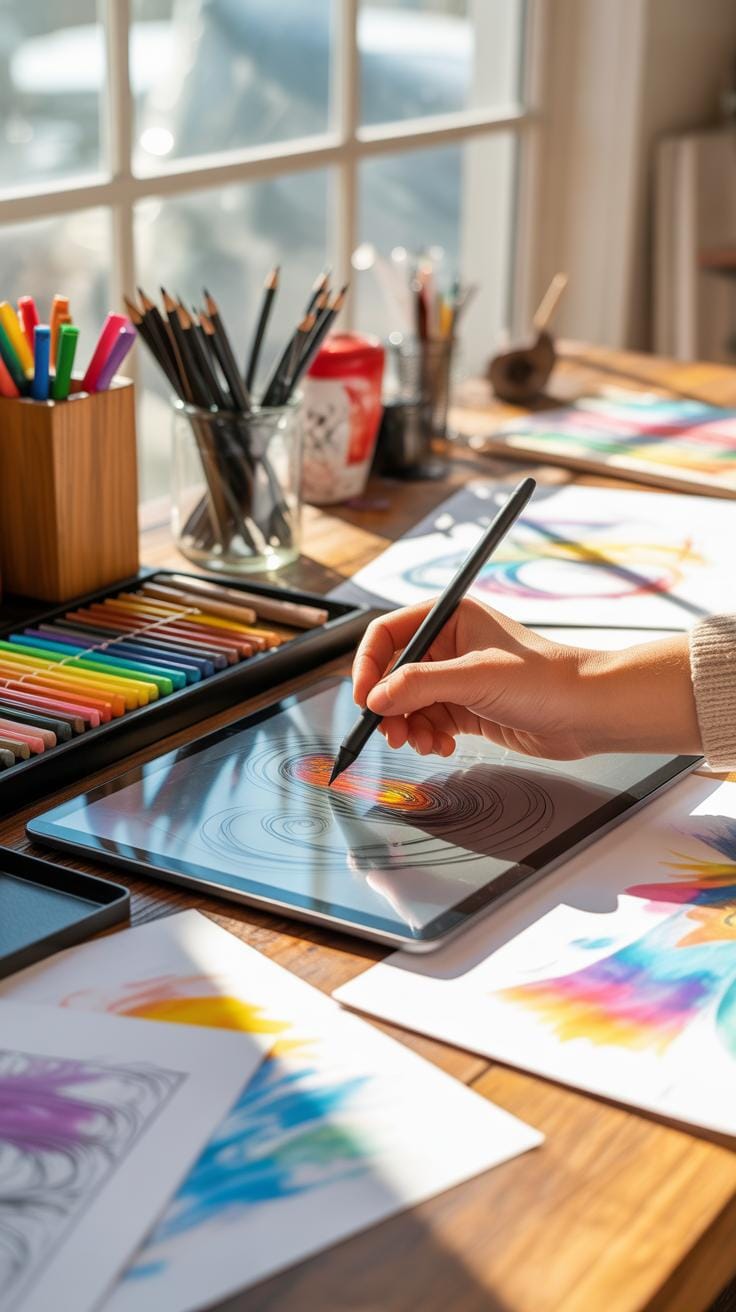
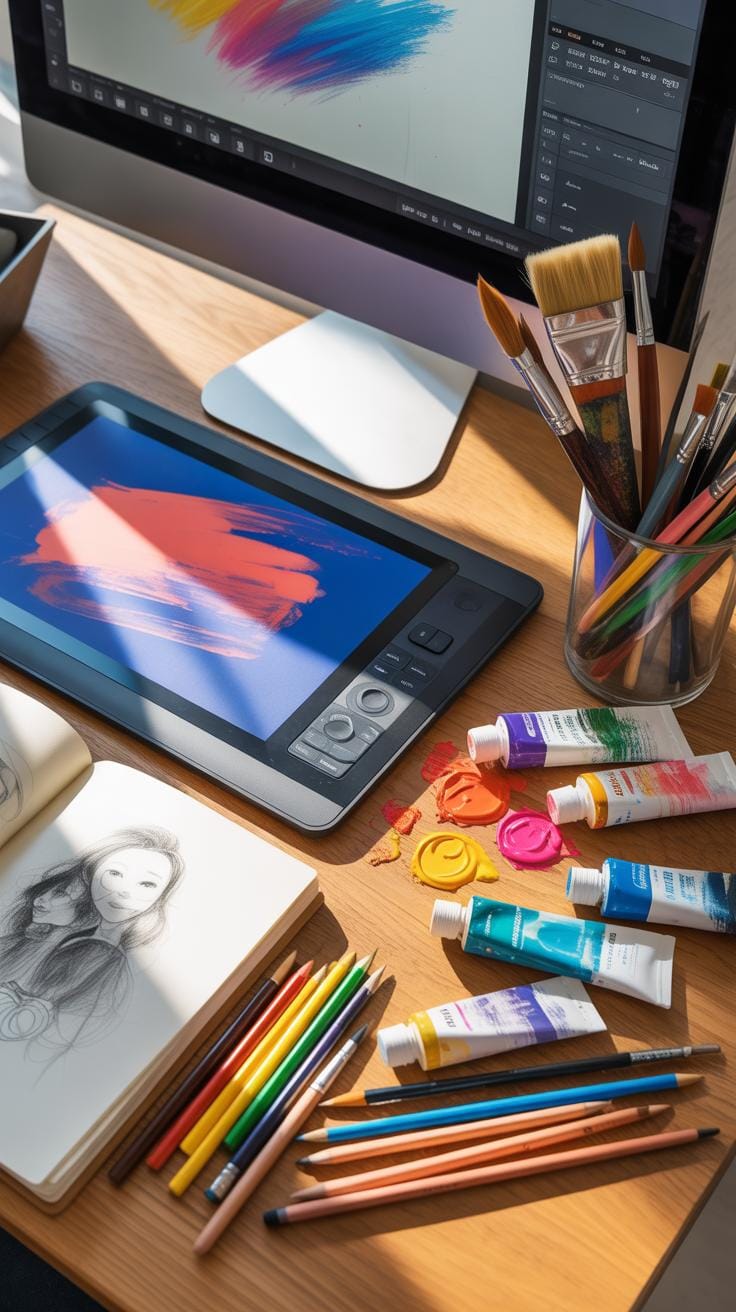
Then there’s the world of digital tools—tablets, styluses, and software like Photoshop or Procreate—that mimic traditional tools but add endless possibilities for editing, undoing mistakes, and experimenting without waste. So, selecting tools often depends on what you want to achieve and how comfortable you feel with each.
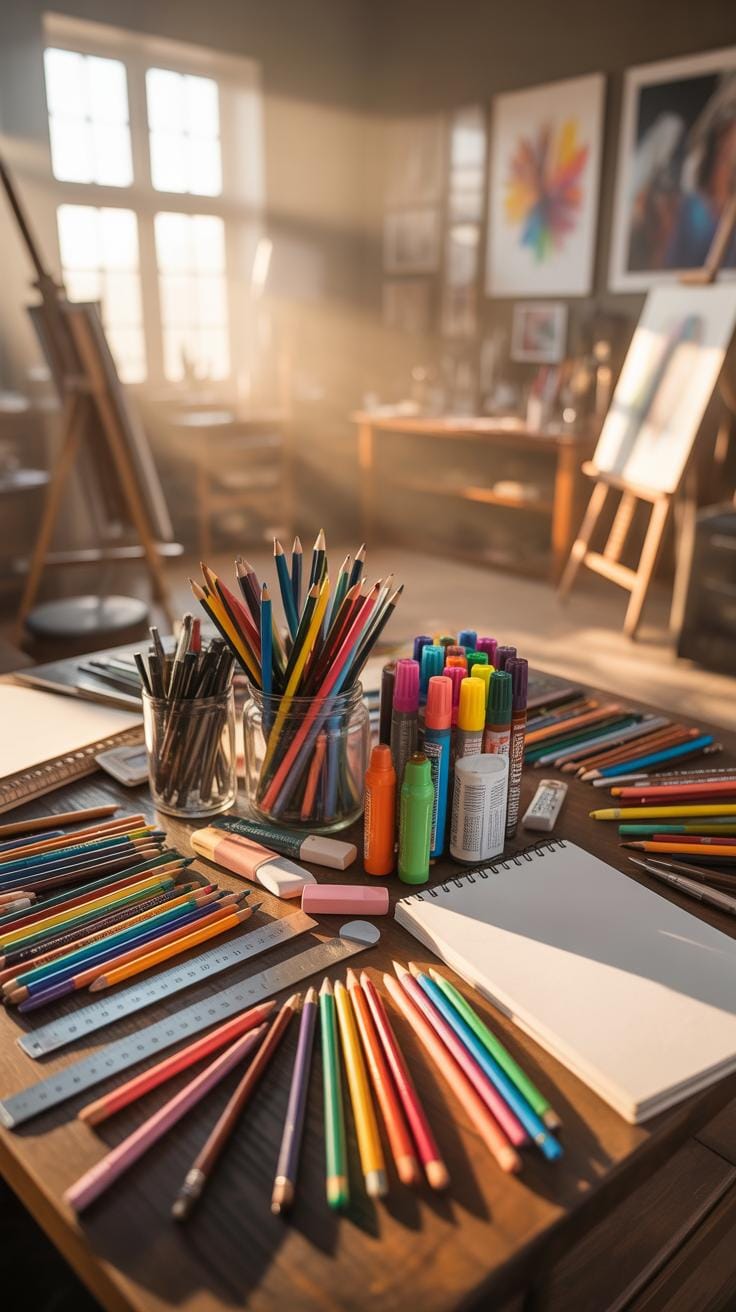
Basic Drawing Tools To Start
If you’re just beginning, simple tools are best. A few pencils of different hardness (like 2B and HB), a reliable eraser, and decent-quality paper are enough to get going. Why? Because pencils give you control; you can shade lightly or heavily, erase mistakes, and practice lines. The eraser becomes your safety net, encouraging experimentation without fear.
The type of paper matters too—the texture affects how the pencil marks show up. Smooth paper suits fine detail, while rougher paper grabs more graphite for shading. Starting simple helps you focus on basic skills like line, shape, and form before layering on complexity.
How Sketches Use Fewer Tools
Sketching usually involves fewer tools than detailed drawing. Often, just a pencil and paper do the trick. Sometimes a pen or charcoal gets added, but the essence is simplicity. The tools for sketching focus on quick, loose marks rather than polished detail.
This simplicity lets you capture ideas rapidly, without getting bogged down in precision. It’s tempting to add more tools, but limiting yourself can be freeing. You notice essentials like proportion and gesture rather than obsess over color or texture. Fewer tools mean less setup and cleanup, keeping the creative flow going.
Differences Between Drawing And Sketching
Clarifying Drawing Versus Sketching
Drawing and sketching might seem similar, but they differ quite a bit in purpose, tools, and process. A detailed drawing is about polishing a final piece. It focuses on precision, shading, and often color. You use a variety of tools—from graphite pencils of various hardness to ink pens and sometimes digital tablets for intricate detail. The process is slower, more deliberate.
Sketching, well, it’s usually quicker, rougher. It’s less about perfection and more about catching ideas on paper fast. Artists use soft pencils or charcoal for sketches since these let you draw freely without fussing too much. Sketching serves a different goal—thinking out loud visually, exploring shapes, or capturing movement. You might sketch in just a few minutes, while detailed drawing takes hours or even days.
The Purpose Of Sketching
Sketching isn’t just practice; it’s a crucial step that many artists rely on heavily. Using sketches as preliminary work helps you experiment without commitment, sort out composition, and play with ideas. The advantages? You can correct mistakes easily and keep your creativity fluid. Sometimes, sketches themselves hold a raw charm you wouldn’t get in a polished drawing.
Personally, I’ve found that quick sketches help me stay loose in my work, avoid overthinking. But this looseness doesn’t mean less value—sketches are often the foundation for stronger pieces later.
When Detailed Drawing Tools Are Needed
Detailed drawing tools come into play when you need to deliver something finished—artwork for presentation, commissions, or gallery pieces. These tools, like fine liners, blending stumps, or colored pencils, allow you to render textures, shadows, and fine lines that sketches won’t capture. If you’re working toward a polished outcome, the detailed approach helps communicate intention clearly.
For example, architectural drawings or character designs for animations need that precision. Using full drawing tools ensures the work is ready for critical viewing or reproduction.
Selecting Tools Based On Your Project
Choosing the right art tools depends a lot on what you’re aiming to create and the scale of your project. For example, if your project involves large, quick sketches, using a broad-tipped marker or charcoal can quickly cover space and capture energy. But if the project calls for fine detail or delicate shading, pencils with different hardness levels or fine ink pens might be better. You see, tools influence not just the look but the entire process.
Sometimes it’s about convenience too. Small sketchbooks paired with compact tools like mechanical pencils or colored pencils can fit into your pocket, fueling quick ideas anywhere. On the other hand, bigger canvases demand sturdier, often pricier tools, like specialized brushes or markers designed for large surfaces.
Tools For Quick Creative Prompts
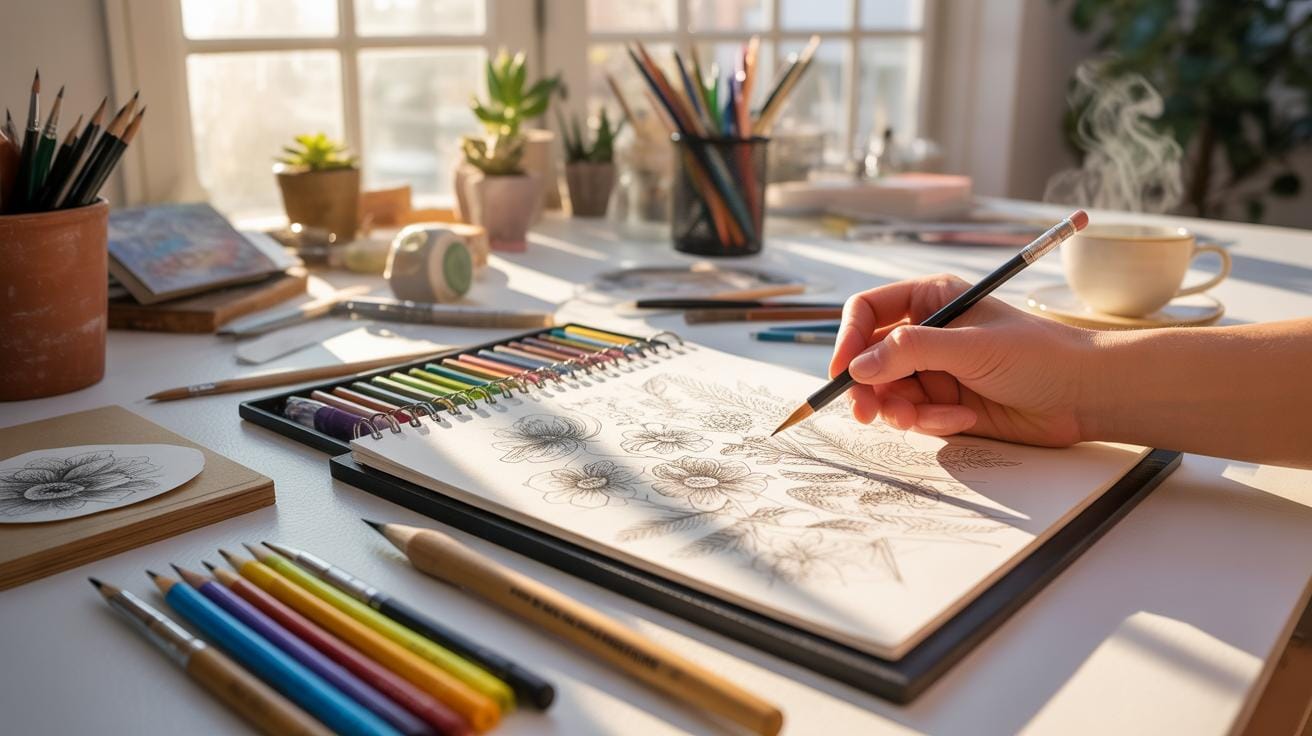
When speed matters, traditional pencils, charcoal sticks, and ink pens are frequent go-tos. These let you scribble, erase, and adjust fast without fuss. A pencil’s flexibility lets you play with shade and line weight; charcoal brings boldness quickly with smudge potential for expression; fine ink pens add clear contours that won’t smudge.
- Mechanical or standard pencils—easy to carry, quick for rough ideas.
- Charcoal sticks and pencils—fast, dark, and blendable for dynamic sketches.
- Ink pens and fineliners—good for sharp outlines, less worry about smudge.
- Sketchbooks or loose sheets—something to capture ideas on the fly.
They’re perfect because they remove the barrier to beginning—a quick scribble turns to inspiration. This immediacy can sometimes feel more important than precision.
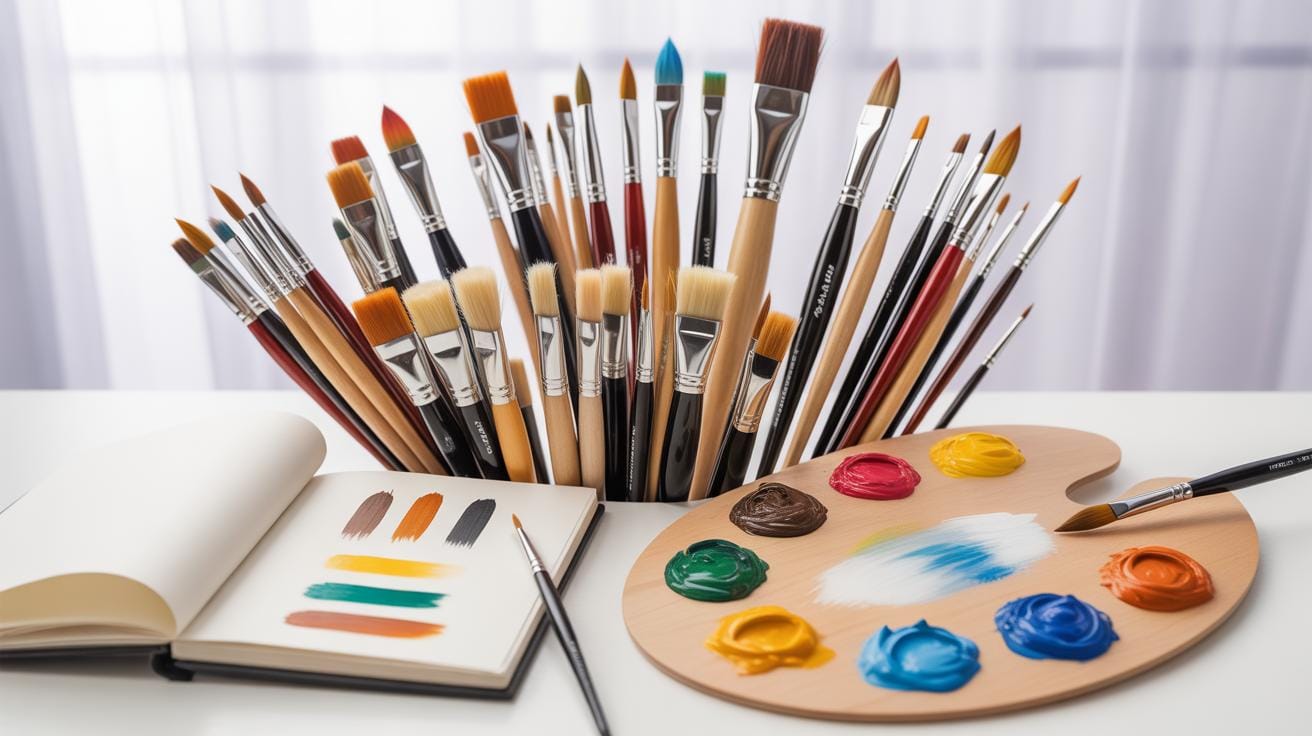
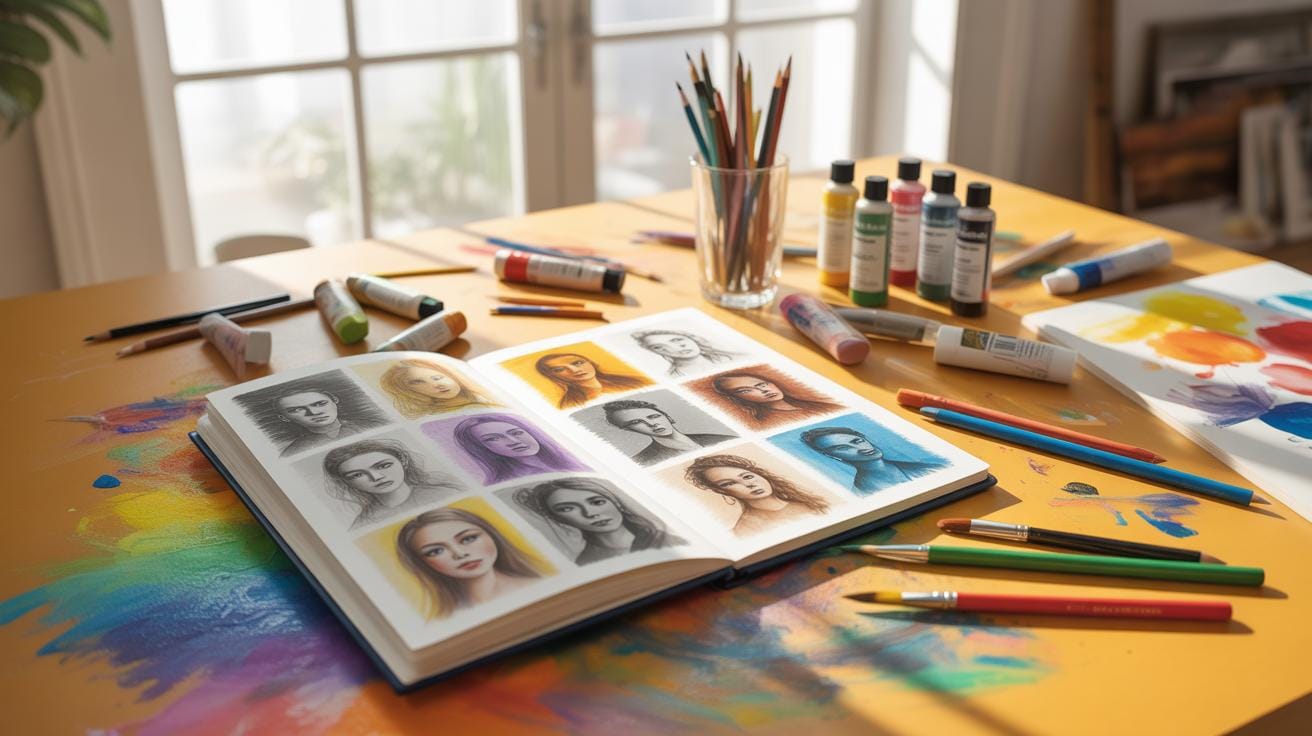
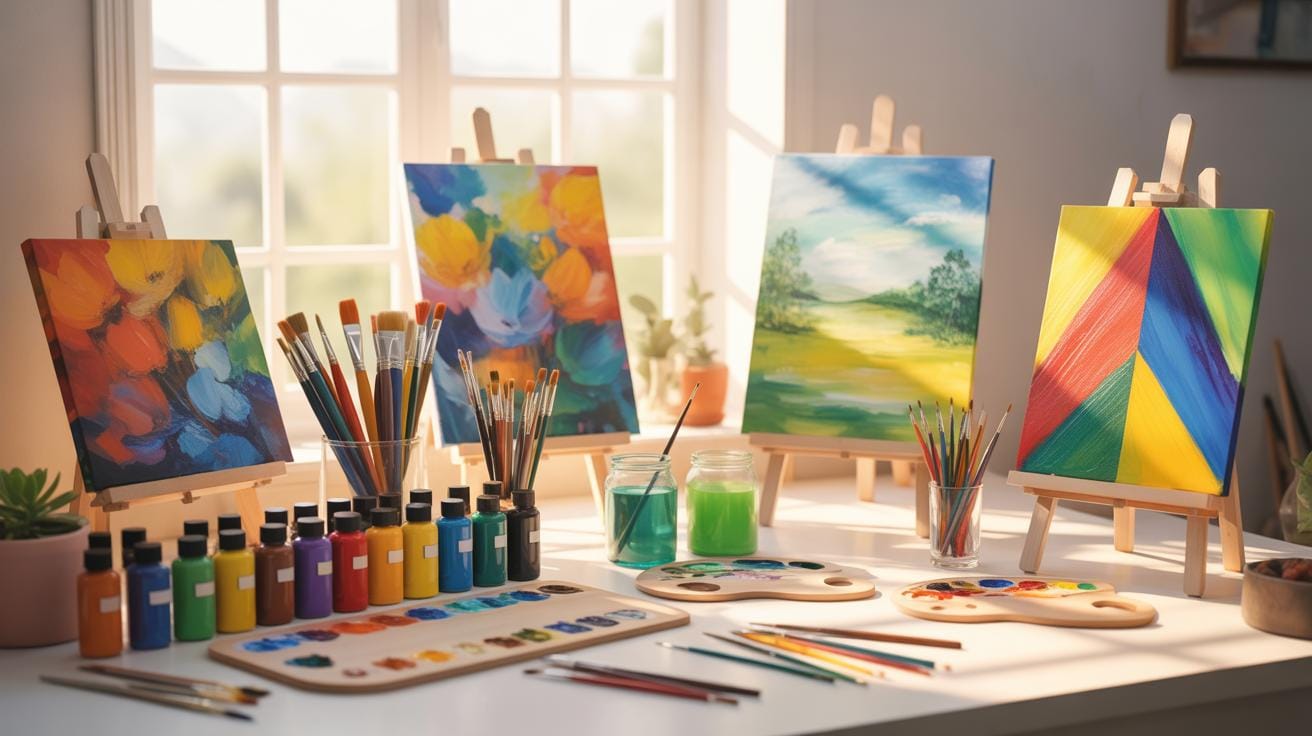
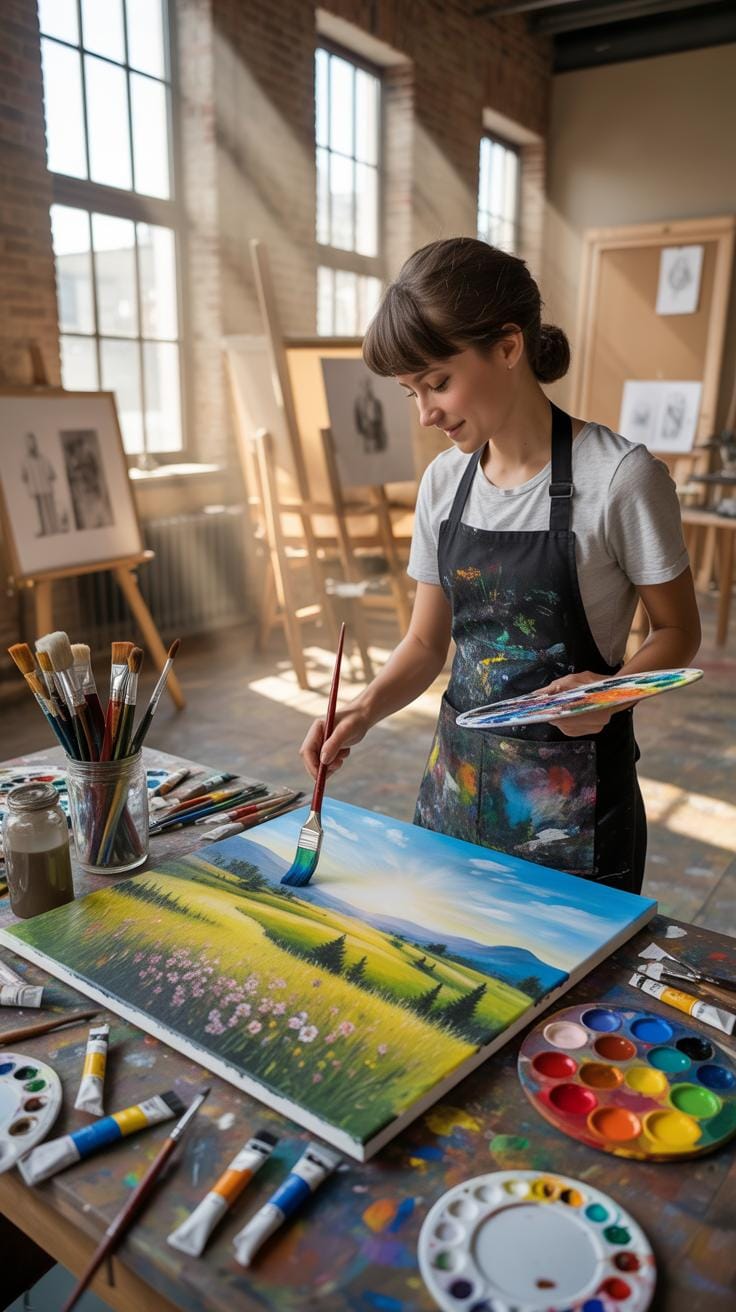
Tools For Finished Artworks
It’s a different story when working toward finished art with detail and color. Higher quality materials matter more here. Smooth Bristol paper offers a sturdy surface for layering colored pencils or ink. Watercolor or acrylic paints require brushes, palettes, and the right paper or canvas. Graphite pencils in varying hardness, along with blending stumps, help refine shading and form.
- Colored pencils with layering potential, like Prismacolor or Faber-Castell.
- Professional-grade ink pens and technical drawing tools for crisp lines.
- Brushes varying in size and texture for paint detail and texture effects.
- Good paper or canvas suited to your chosen medium to avoid warping or bleeding.
Here, patience comes in. Finishing art asks you to invest time, sometimes undoing the rush of preliminary sketches for cleaner, richer outcomes. But if you want your work to hold up, choosing the right tools from the start helps avoid frustration and wasted effort later.
StepByStep Sketching Process
When you sit down to sketch, starting can feel like the hardest part. Using simple tools—like a regular HB pencil or a charcoal stick—can help you loosen up. Begin with light, broad strokes to block in the shapes you see. Don’t worry about details yet. Lines can be a bit shaky or uncertain—that’s perfectly okay. It’s all about capturing the overall form before diving deeper.
Once you have the basic shapes, begin refining. You might want to add more confident lines over the first layer, darkening where shadows fall or solid edges appear. Try not to spend too long here; quick gestures can communicate volume as well as careful strokes. If your shading seems rushed, consider using cross-hatching or simple smudges with your finger or a blending stump to add texture fast.
What tools suit you best? Perhaps a mechanical pencil lets you sketch finer lines, but a softer pencil offers richer shading. Experiment with pressure—lighter strokes lay a foundation, and pressing harder builds contrast. That contrast is essential in suggesting depth without overworking your sketch.
Ask yourself: Does the sketch feel alive or stiff? Sometimes rough, spontaneous lines offer more energy than polished ones. Sketching isn’t about perfection; it’s about communicating an idea swiftly. So, keep your tools simple and your strokes loose, and remember—each line counts.
Using Drawing Tools Effectively
Drawing tools each offer unique possibilities, and learning how to handle them well is key to getting the effects you want. Pencils, pens, and brushes aren’t just tools; they’re part of how you translate your ideas visually. I’ve found that even simple tweaks in grip or pressure can change a line dramatically.
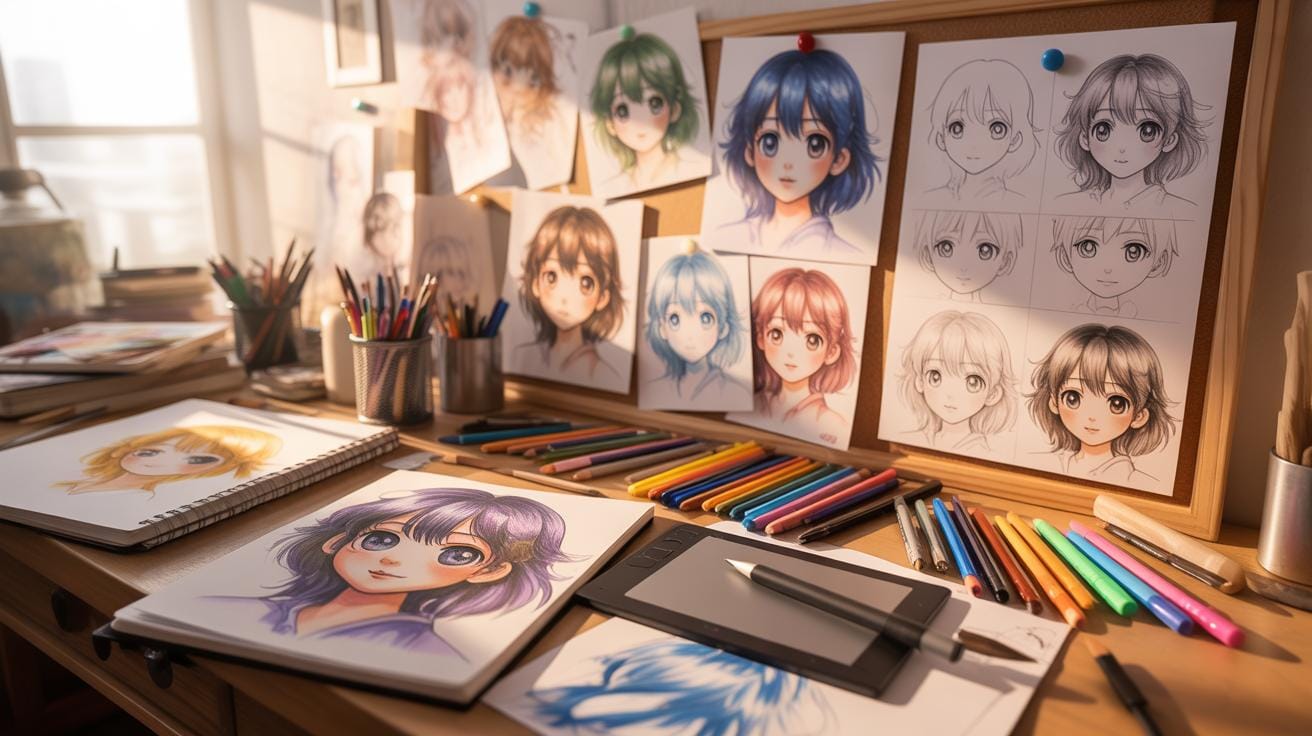
Pencil Techniques
Pencils excel at building form through line work, shading, and texture. Using different pencil grades allows subtle control over darkness and softness — from light, fine lines with hard leads to rich, smudgy shading with soft leads. Try varying your pressure; a light touch produces faint outlines, while pressing harder adds weight. You can also experiment with techniques like cross-hatching for depth or blending with a tortillon to smooth gradients. Pencil not only sketches basic shapes but can add surface texture, giving life to hair or rough materials.
Inking And Detailing
Pens are great for contrast and precision. Unlike pencils, pens give you sharp, final lines that stand out strongly. This makes them perfect for inking over sketches or emphasizing fine details. Different nib types create varied line widths—fine liners offer delicate strokes while brush pens can sweep broad, expressive marks. Pens are less forgiving; you can’t erase easily, so you often rethink your approach, making each line deliberate. I sometimes hesitate before placing a pen stroke, aware it anchors the drawing’s structure.
Both pencils and pens have their strengths. Mixing them lets you push visual depth in your artwork — soft pencil shading alongside hard pen outlines can shape compelling images. So, how do you choose which to lean on? It’s worth remembering that your tools don’t just make marks; they guide the whole creative process.
Benefits Of Sketching For Artists
Sketching isn’t just about drawing quickly; it helps artists think through ideas and get ready for bigger, more detailed pieces. When you sketch, you’re basically brainstorming with lines, shapes, and shadows on paper. It’s a tool that lets your mind wander and explore different possibilities without the pressure of perfecting every detail.
Sketching also sharpens your observation skills. The quicker pace forces your eye to catch important aspects of what you see, often noticing things that might get missed when you slow down. It’s like your brain learns to prioritize what’s essential, which is helpful not only in art but in many other situations where you need to see things clearly and fast.
Another underrated benefit is how much time sketching can save you. Instead of jumping straight into a full drawing that might take hours or days, sketches let you try out ideas fast. You can test compositions, poses, and perspectives on the fly, without committing to anything permanent. This way, you avoid wasting effort on concepts that don’t work and find the ones that do more quickly.
Have you noticed how sketches sometimes feel unfinished but still carry the energy of a complete work? It’s kind of fascinating how rough lines and incomplete shapes can still communicate so much. Maybe that’s why many artists keep a sketchbook handy—to capture fleeting ideas and keep their creativity flowing.
Common Mistakes Using Art Tools
Overloading Sketches With Tools
Sometimes when starting out, there is this urge to use every cool art tool you own in one sketch. I’ve found, well, it often muddies the simple idea you are trying to express. Instead of flowing quickly, your process slows down as you juggle multiple pencils, pens, or brushes. The sketch may end up looking cluttered, losing spontaneity and freshness. It’s tricky because each tool might feel necessary at the moment, but too many can overwhelm your work and yourself.
Try keeping just a couple of tools on hand when sketching—maybe one pencil and one pen. It lets your ideas breathe and keeps the focus clear without getting bogged down with choices. It’s okay, even beneficial, to keep sketches simple and loose; they’re just the rough truths of your thoughts anyway.
Choosing Wrong Tools For Drawing
It’s easy to think high-end or advanced tools automatically make better drawings, but that isn’t always true. If a tool feels complex or unfamiliar, it might slow you down or frustrate you, especially when learning basics. For instance, using a fine technical pen for quick gestural sketches can feel restrictive and stiff.
On the flip side, sometimes a too-simple tool doesn’t allow the detail or coverage you want, leaving you dissatisfied. Finding the right tool that matches your style and the drawing type matters much more than the tool’s price or sophistication.
- Are you drawing loose sketches or detailed portraits?
- Does your tool encourage or inhibit your natural hand movement?
- Are you comfortable with the tool, or does it cause hesitation?
Reflect on these, and pick your instruments thoughtfully. It’s okay to experiment, but don’t chase the newest or most advanced tool without considering your needs and comfort. Often, the best tool is the one you enjoy using the most.
Digital Versus Traditional Drawing Tools
Comparing digital and traditional drawing tools brings out a few interesting points. Digital tools offer things that pencil and paper just can’t — like an undo button, layers to separate parts of your work, and a vast color palette at your fingertips. You can experiment without fear of ruining a piece since mistakes are reversible. Layers especially change the game, helping you organize complex drawings easily.
But, digital drawing isn’t without its quirks. It takes time to get comfortable with the software and the equipment — tablets, styluses, sometimes pricey computers. That learning curve can be steep for those used to the simplicity of traditional materials. And let’s face it, the initial cost for digital gear can make it a bigger investment than just grabbing a notebook and pencil.
You might wonder if the trade-offs are worth it. Do the features of digital tools justify the expense and effort? Or does traditional drawing offer a directness that digital can’t replicate? Deciding often comes down to your personal workflow and goals as an artist.
Examples Of Art Tools In Famous Sketches
Some famous sketches are practically synonymous with the tools used to create them. For instance, the pencil sketch of “Study of a Woman’s Head” by Leonardo da Vinci stands out—not just for its finesse but because of the silverpoint and chalk he favored. These were the cutting-edge tools of his time, demanding precision and patience. It’s interesting how these tools helped shape the delicate lines and subtle shading he is known for.
In other iconic works like Albrecht Dürer’s “Praying Hands,” the artist used pen and ink, emphasizing bold, confident strokes. Similarly, Vincent van Gogh preferred charcoal and reed pen for preliminary sketches before moving on to oil painting, which shows a raw, almost electric quality in his lines.
So, when looking at the art tools behind these famous sketches, it’s clear the medium often influenced the style. Do you ever wonder how much the tool nudged the artist’s hand? It’s a thought worth exploring as you choose your own materials.
Leonardo Da Vinci Sketch Tools
When you think of Leonardo da Vinci, his notebooks come to mind—those dense pages filled with scientific diagrams, anatomical studies, and artistic sketches. He used a range of tools, but notably silverpoint, iron gall ink, and charcoal sticks. These allowed for fine lines and layering of tones.
Leonardo’s use of silverpoint—a technique involving a silver rod on special paper—created delicate, almost ethereal lines that age beautifully over time. The demands of this medium, requiring steady hands and controlled strokes, may have sharpened his observational skills. Iron gall ink gave him the ability to add darker, more permanent lines, highlighting details or shading.
This combination shaped his distinctive style: detailed, careful, and experimental. His tools weren’t just utensils; they were part of his methodical approach to study and invention. Perhaps the tools themselves inspired the depth and precision in his work.
Modern Artists And Their Tools
Today, artists continue to experiment with tools, but there’s a clear turn towards diversity and personal preference. Some still stick to traditional pencils and charcoal, valuing the tactile control these provide. Others embrace digital tablets and styluses, finding new freedom in virtual sketching.
Take someone like David Hockney, who famously shifted to iPads for drawing—this choice dramatically changed how he creates and shares his art. Meanwhile, illustrators like Quentin Blake stick to pen and ink for their expressive line work, showing the power of simple tools in skilled hands.
Contemporary artists seem to pick tools that align with their workflow and concept. Ask yourself: do you want a tool that offers precision, or one that encourages spontaneity? Your choice can reflect your unique artistic journey.
Improving Your Art Skills With Practice
Practice is tricky. It’s easy to say, “Just draw every day,” but what does that actually mean? Setting small, manageable goals can make a big difference. Maybe start with ten minutes of quick sketches each day, focusing on different subjects or parts of the body you find challenging. The key is consistency—not perfection. Over time, those small sketches accumulate into noticeable progress, even if sometimes it feels like you’re stuck.
Try to mix things up. Use pencils one day, charcoal the next, or maybe take out some pens. Different tools force your hand and mind to adapt, and that variety can spark fresh ideas or techniques you hadn’t considered. I remember when I first tried ink pens—it was frustrating because my lines had to be confident and unerasable. But that restriction pushed me to think more before I drew.
Here are a few practical steps:
- Set a daily sketch goal, even if it’s just a small doodle.
- Keep a sketchbook handy to capture ideas quickly.
- Experiment weekly with a new tool or medium.
- Reflect periodically on what tools gave you the best results and felt most comfortable.
Does the idea of trying unfamiliar tools intimidate you? It’s normal. But maybe that nervousness is where growth lives. Drawing isn’t just about what tool you use—it’s about exploring what you can do with it. So, what will you pick up next?
Conclusions
Drawing tools influence how detailed and finished your artwork will be. Using the right tools helps you bring your creative ideas to life. Quick sketches need fewer tools but serve as important starting points for larger projects. Knowing when to use detailed drawing tools and when to keep it simple with sketch tools helps your art process run smoother.
Your skill grows by practicing with both sets of tools and understanding their roles. Drawing takes patience and the right materials, while sketching encourages fast expression of ideas. By combining these approaches, you develop stronger art skills and better creative prompts for your projects.


