Introduction
Art studies often use sketchbooks as important tools to develop skills and ideas. These sketchbooks allow artists to experiment with different techniques and document their creative process. This article will focus on arte sketchbook techniques that support creative growth and help you improve your art studies.
We will look at practical steps, from selecting the right materials to specific sketching techniques. You will also find examples and guidance to help you get the most from your sketchbook, making it a key part of your art practice and growth.
Materials Required For Sketchbook Art
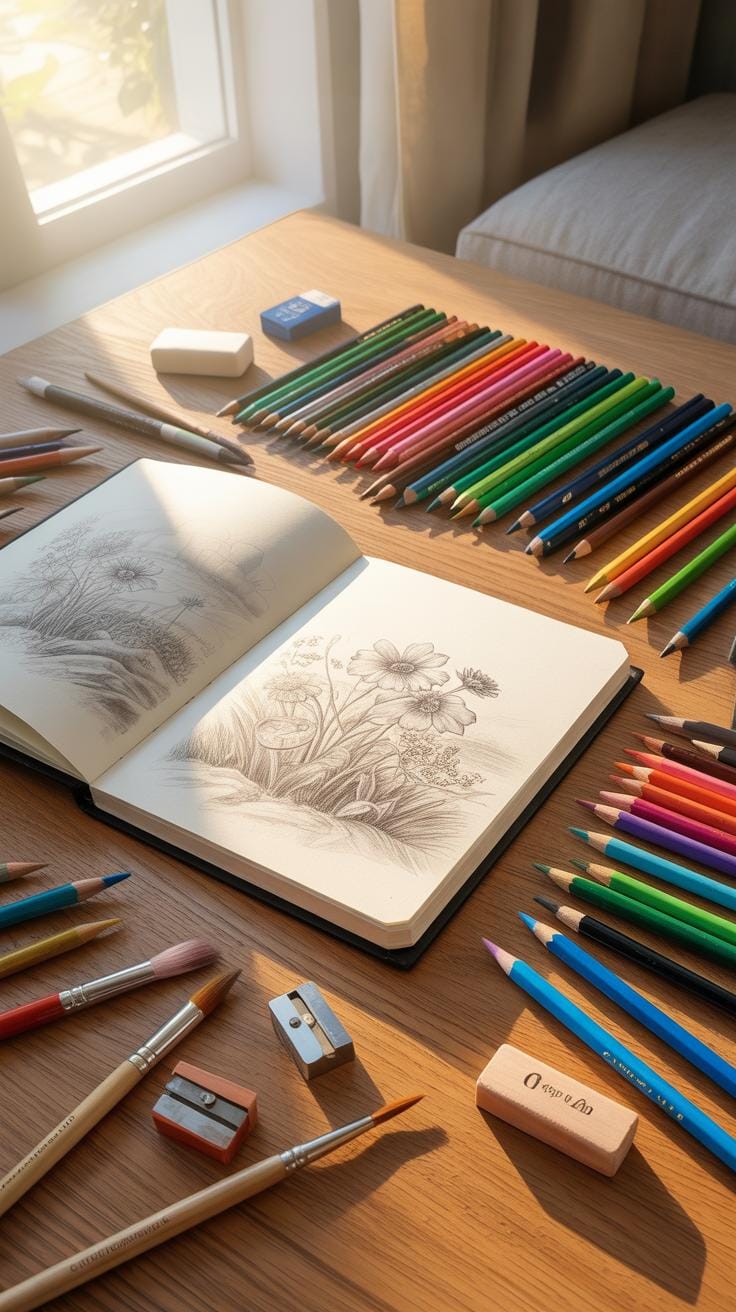
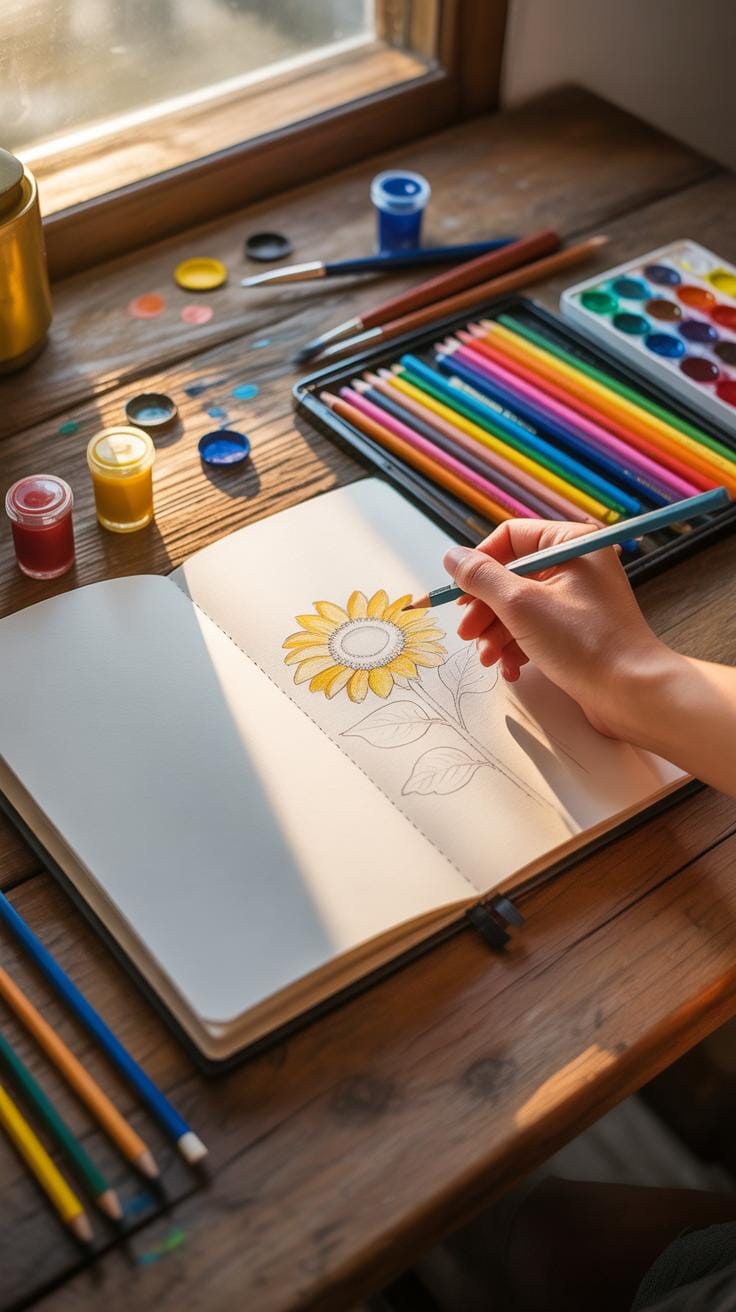
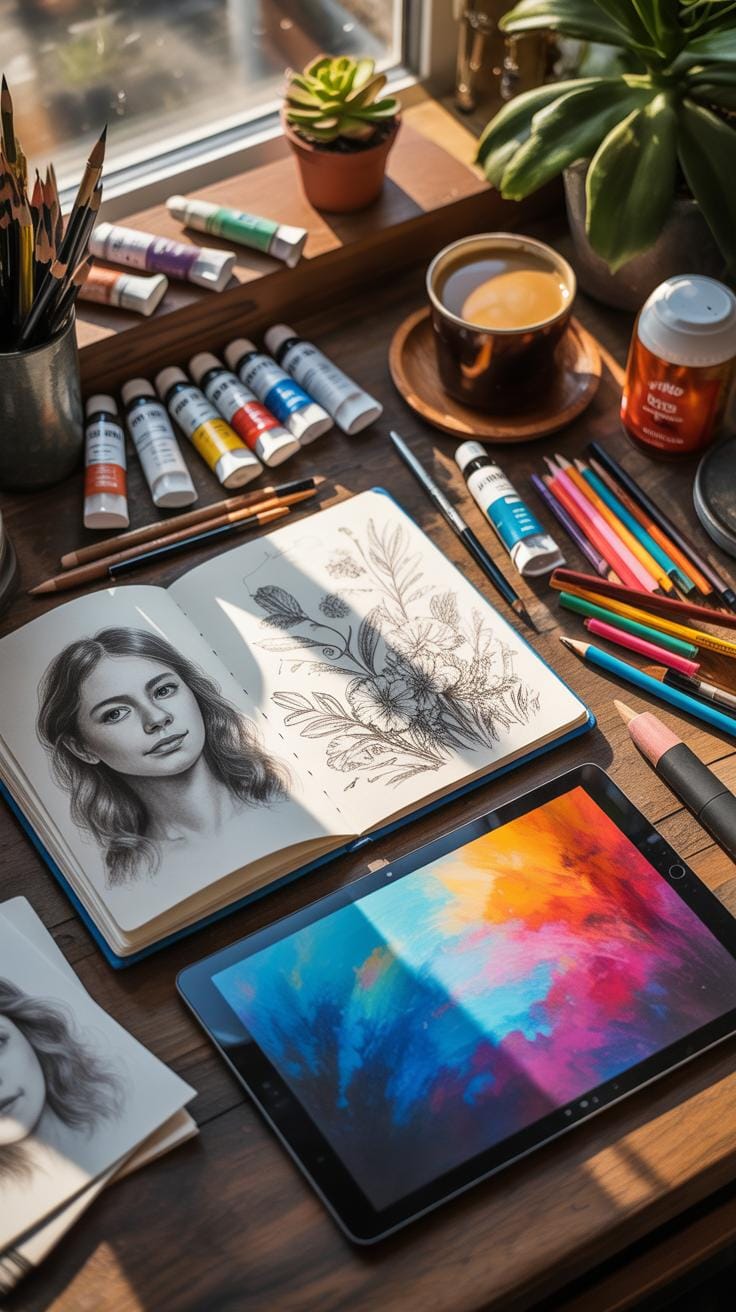
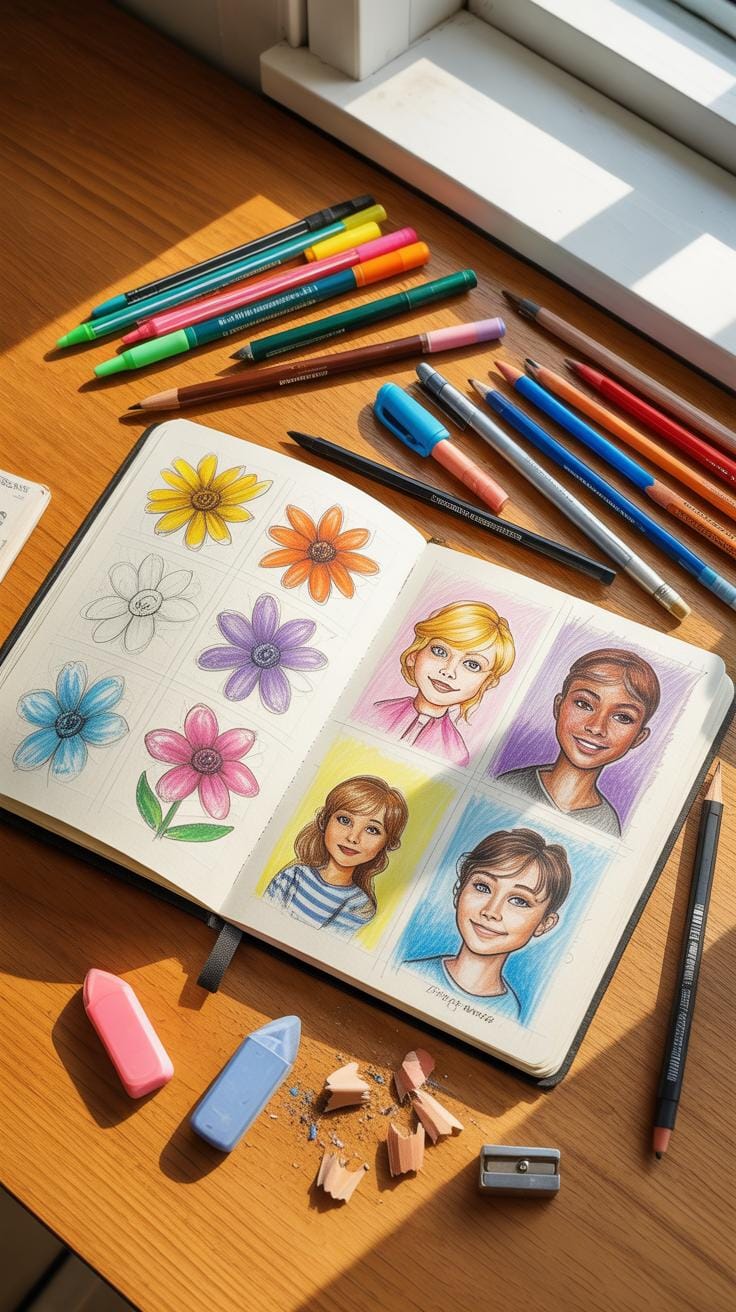
When you first start sketching, the materials you choose can really shape your experience. The basics include paper, pencils, and pens, but each comes with its own quirks. For example, the texture and weight of paper have a big impact on your lines and the media you use. Thicker paper handles wet media like markers or ink better, while thinner sheets are great for pencil sketches but might buckle when wet.
Pencils vary a lot too – from hard, light lines to soft, dark strokes. It’s worth experimenting with different grades to see what fits your style. Pens offer diverse effects based on the ink type and tip – some are great for fine detail, others for bold strokes. Other tools like erasers, sharpeners, and blending tools can improve control and add versatility.
Choosing the right mix might feel overwhelming at first. But don’t worry – the materials should support your creative flow, not complicate it. Trying out different supplies can be part of the learning process itself, even if it means occasionally going back to basics.
Pencils, Pens And Paper Types
When it comes to pencils, there’s a wide range from hard (H) to soft (B) graphite. Hard pencils (like 2H) produce light, crisp lines, great for detailed sketches or initial outlines. Soft pencils (like 6B) give you richer, darker lines but smudge more easily–some artists love that smudgy effect for shading.
Pens come in numerous varieties: gel pens, ballpoint, fountain, and felt-tip pens being common choices. Gel pens often have smooth, dark ink but dry slower, increasing smudge risk. Felt-tip pens can provide bold, expressive lines but might bleed on thin paper.
Paper choice matters, too. Smooth papers work better for fine detail and pen work, but rough or textured papers add character and grip suitable for pencil shading or mixed media. Weight is important: lightweight papers (under 100gsm) are fine for practice but won’t hold heavy media.
Where To Buy Affordable Art Supplies
Starting with affordable supplies is practical. Major retailers like Walmart or Target have basic sets for pencils and sketchbooks. Online stores such as Amazon often offer bundle deals that can save money. Local art supply stores sometimes have clearance sections with quality materials at reduced prices.
Check out dollar stores for simple sketchbooks or pens when on a tight budget. Craft stores also frequently have sales, making mid-range materials accessible. Sometimes, second-hand shops or community art swap events offer hidden gems. It’s not always about brand names but about what suits your personal style and comfort.
Trying a variety of sources helps you find supplies that feel right without breaking the bank. And remember, even a simple pencil and notebook are enough to start—progression comes with practice, not expensive tools.
Starting Your Sketchbook Journey
When you start a sketchbook aimed at growing your art skills, the first step is picking the right format. You want something portable enough to carry around but large enough for your ideas to breathe. Maybe an A5 or A4 size, depending on how much space you need.
Next, create a title or theme page. It doesn’t have to be fancy, just a simple statement of what this sketchbook is about. Something like “Exploring Light and Shadow” or “Animals and Movement.” This focus helps your mind stay connected to a purpose.
Organizing ideas early on is crucial. You can set rough categories or sections if you like a bit of order. Or simply write down your main objectives right there on the first few pages. This way, when you’re feeling stuck, you have a reminder of your broader goals.
Setting achievable goals can make all the difference. Instead of vague aims like “improve drawing,” try “complete one daily sketch focusing on anatomy” or “experiment with a new medium weekly.” It might sound strict, but clear goals keep you accountable and give a sense of progress.
Remember, motivation will dip. That’s normal. But keeping your goals visible and your sketchbook setup simple helps nudge you forward. What small step can you start with today? Maybe just picking up that pencil and making one mark on the page.
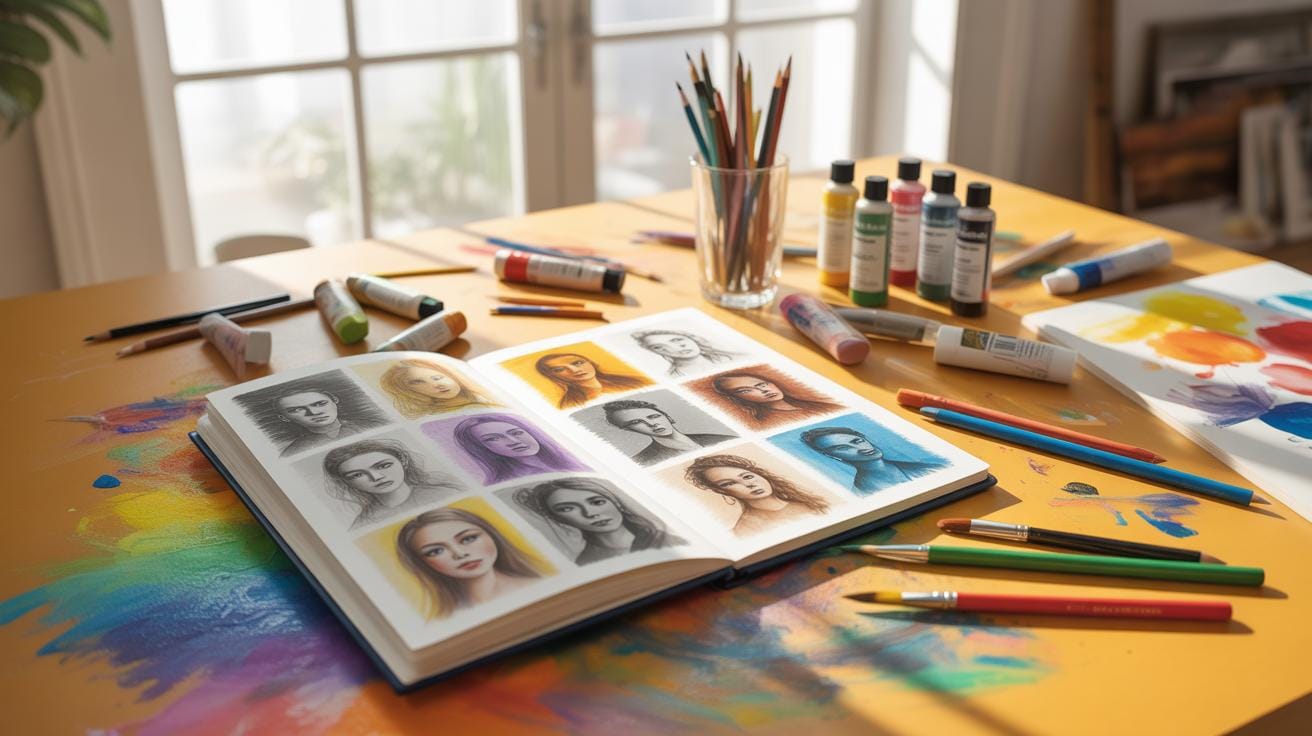
Sketching Techniques To Practice Daily
Practicing sketching every day helps build skills gradually, even if you set aside just a few minutes. You can start with line work, drawing simple lines repeatedly—straight, curved, wavy—trying to keep them smooth or purposely shaky, whichever feels more natural. It’s surprising how this basic exercise sharpens hand-eye coordination over time.
Next, introduce basic shading exercises. Try shading small shapes using varied pressure to create gradients from light to dark. This practice teaches control and how to imply form, not just flatness. You may find it tricky at first to get subtle transitions, but that’s okay—it’s part of the process.
Adding texture can be fun too. You might experiment with cross-hatching, stippling, or scribbling in a controlled way. Texture introduces interest and depth and can mimic surfaces like wood, fabric, or fur. Mixing these techniques helps keep your sketchbook fresh and engaging.
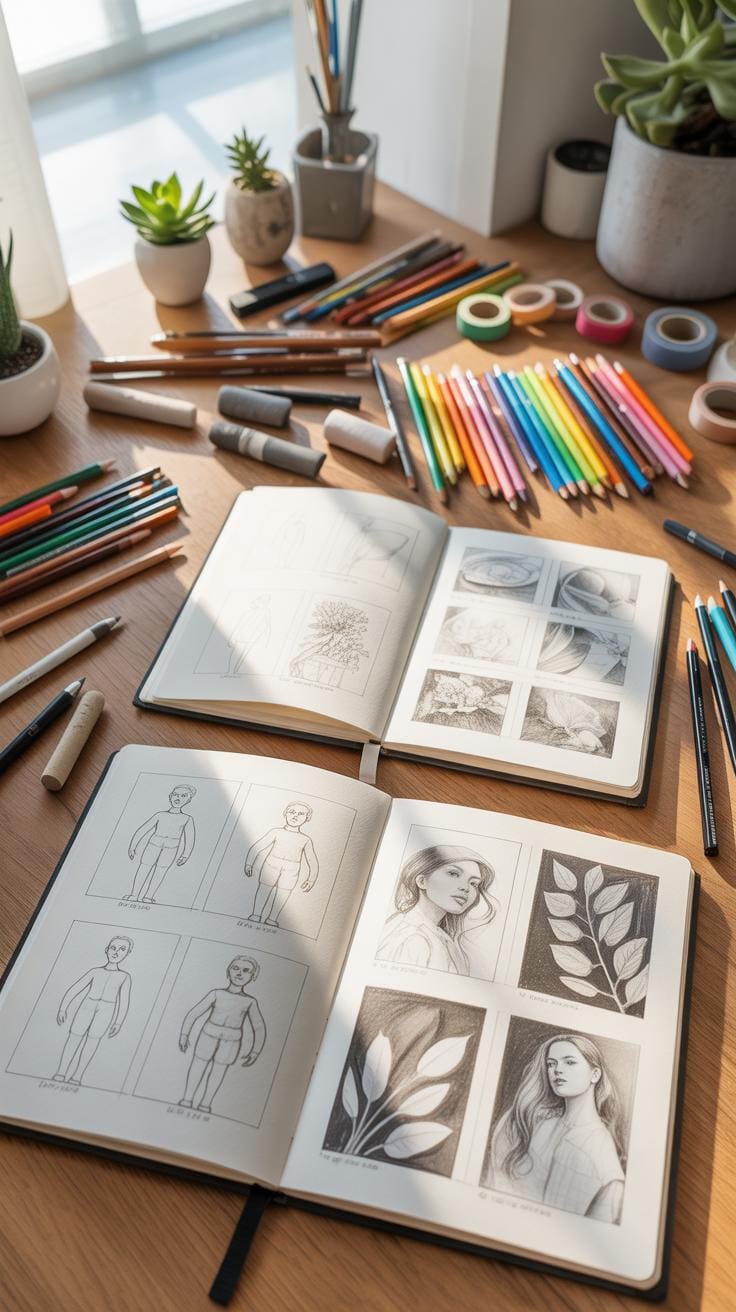
Basic Line And Shape Exercises
Start by drawing continuous lines without lifting your pencil to build confidence. Then, practice shapes—circles, squares, triangles—focusing on clarity and consistency. Don’t worry too much about perfection; the goal is steady improvement.
- Draw lines of varied length and thickness.
- Create repeated geometric shapes, filling pages if you want.
- Combine shapes to challenge yourself with simple compositions.
This approach strengthens your foundation. You might feel a bit stiff in the beginning but consider it laying groundwork for more complex work.
Adding Depth With Shading Skills
Shading isn’t just about making things darker; it’s about creating volume and space. Start with simple techniques:
- Hatching—parallel lines to suggest shadow.
- Cross-hatching—overlapping lines for darker areas.
- Stippling—dots placed closer or farther apart for shading.
Try combining them casually to see what works for you. Remember, the goal isn’t photorealism immediately but developing a sense of where light hits and shadows fall. You’ll notice sketches begin to feel less flat and more alive once you get the hang of this.
Sketchbook Comparison With Digital Tools
You might wonder how traditional sketchbooks really stand against digital sketching apps. Both have their place, just depending on what you’re trying to do. Traditional sketchbooks offer a direct physical connection; you feel the paper, the drag of your pencil or pen, and that interaction can really ground your creative process. It’s tangible, no distractions from battery life or software updates.
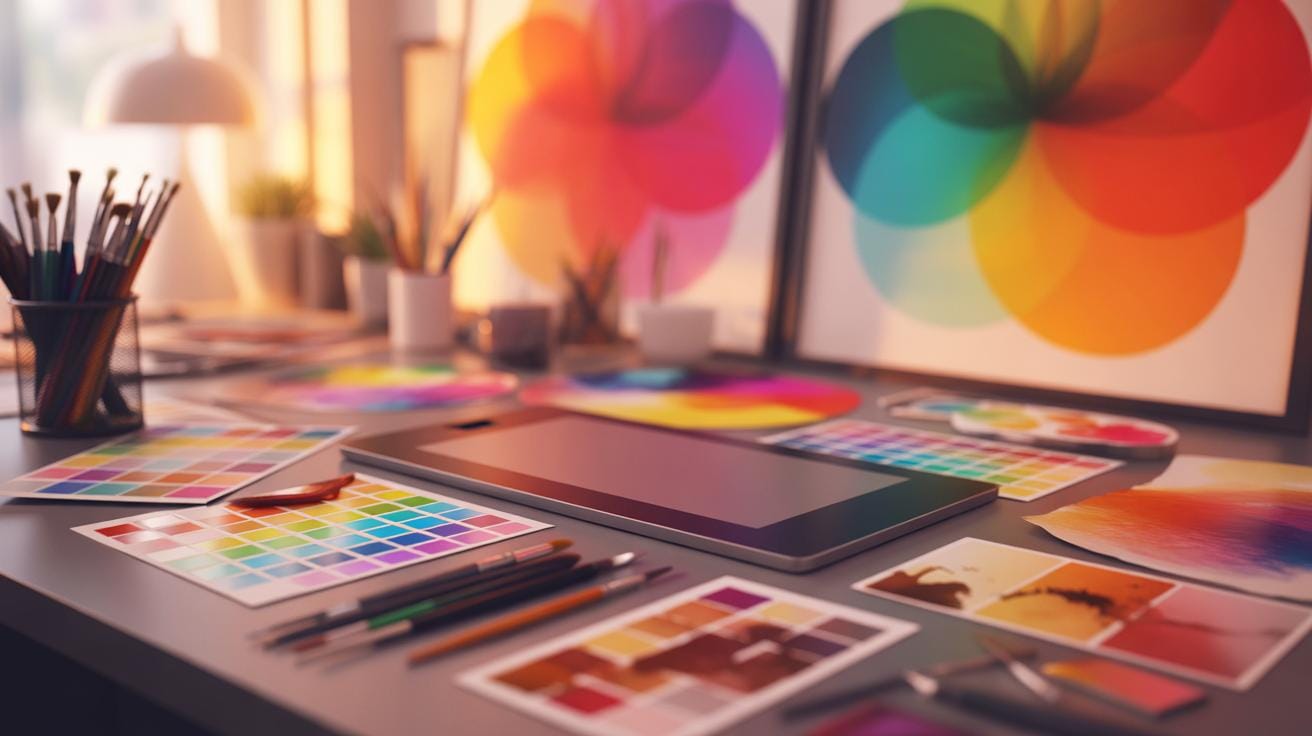
On the other hand, digital tools bring a different set of perks. Editing is a breeze—you can erase or adjust without a trace, allow layers for coloring, and experiment with brushes and effects that would mean a lot more setup with physical media. Plus, sharing your work is instant and global.
But there’s drawbacks too. Paper lets you get lost in the moment, less interrupted by technical issues or gadgets. Yet, it can be restrictive if you need to make a quick fix or want to try multiple versions without wasting pages. Digital can sometimes feel a bit detached from the experience of drawing, and spending hours in front of a screen isn’t for everyone.
So, the question is: does your art benefit more from the tactile focus and immediacy of paper, or from the flexibility and convenience of digital? Maybe both. Many artists oscillate between the two, depending on the phase of their work.
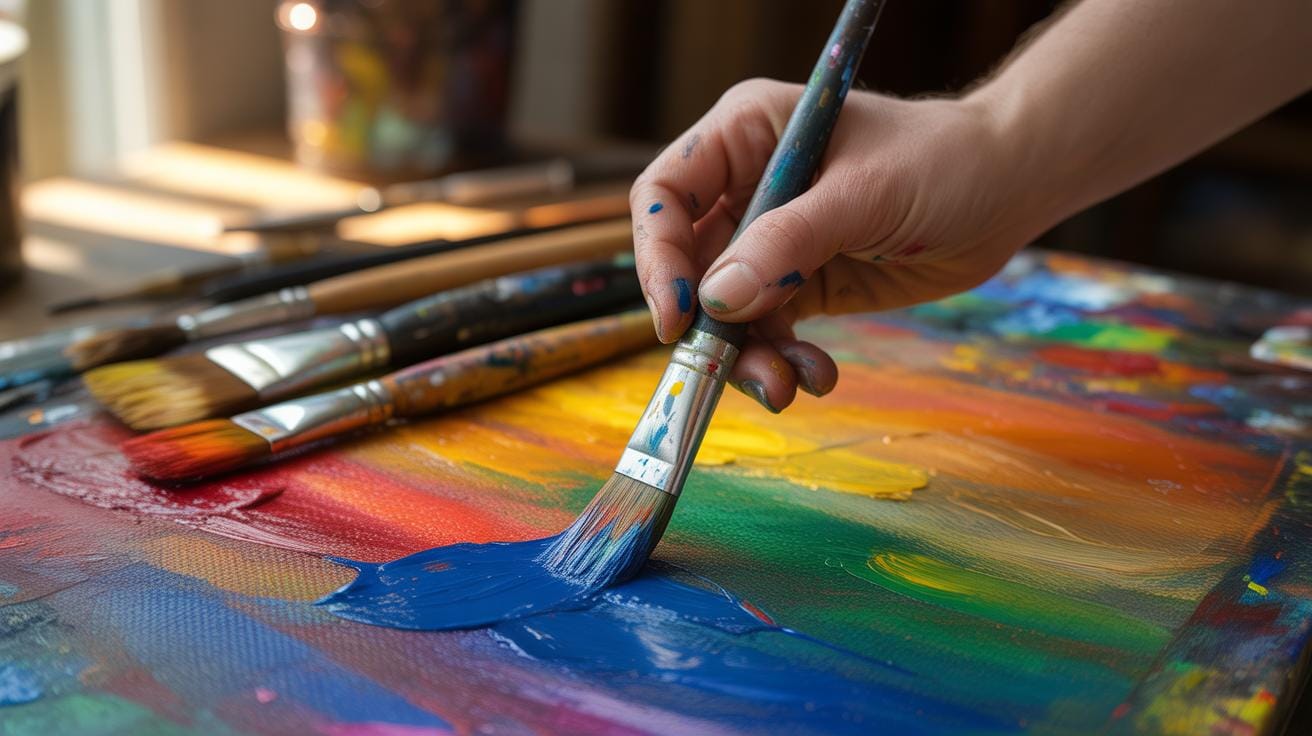
Advantages Of Paper Sketching
Paper sketching holds a unique value that’s hard to replicate digitally. That tactile feedback—the way your pencil bites into the grain of fine paper—can influence the energy of your line work. You’re physically connected to each stroke, which helps maintain focus and flow.
Paper sketchbooks also serve as a personal archive. The pages accumulate over time, showing how your style and skills have grown. There’s no accidental undo, which means every mark counts and encourages confidence. I’ve noticed that with paper, distractions seem fewer—no notifications, no accidental clicks, just you and your tools.
The simplicity encourages spontaneity. You can jot quick ideas, messy scribbles, or detailed studies without worrying about software limitations or device compatibility.
When To Use Digital Sketching
Digital sketching shines in areas like editing and coloring, where flexibility is paramount. If you’re working on a piece needing multiple revisions, digital apps allow you to experiment fearlessly. Layers mean you can separate line work, color flats, and shading without disturbing the base drawing.
Another scenario is when portability and convenience matter—carrying a tablet can replace a stack of sketchbooks. Plus, integrating your sketches directly into other digital workflows or sending drafts to clients becomes effortless.
Digital tools also enable effects impossible with paper, like custom brushes, undo options, and easy resizing. Artists doing concept art, animation, or detailed color work often swear by digital for speed and versatility. Yet, it can sometimes dampen the immediacy you get from traditional sketching.
So, digital is helpful when precision and alteration are needed, or when your project demands quick sharing and collaboration. It’s not just about replacing paper but expanding your toolkit.
Common Sketchbook Mistakes To Avoid
Starting a sketchbook can feel intimidating, and it’s easy to fall into some common traps. One big mistake is leaving pages incomplete. I think many beginners worry their work isn’t good enough to finish, so they abandon sketches halfway. But really, unfinished sketches can be useful—they show progress, ideas in development, and even struggles worth reflecting on.
Another frequent issue is fear of making mistakes. You might catch yourself erasing too much or hesitating to experiment, worried the lines won’t be perfect. But mistakes aren’t failures; they’re stepping stones. Embracing them can open unexpected artistic paths.
Irregular practice also hinders growth. Sketchbooks thrive on consistency. If you only use your sketchbook sporadically—say, when “inspired”—progress stalls. Combat this by setting small, manageable goals like a quick daily doodle or regular themed pages. Routines help build momentum and lessen pressure, making sketching feel more natural over time.
Sketchbook Art Setup Checklist
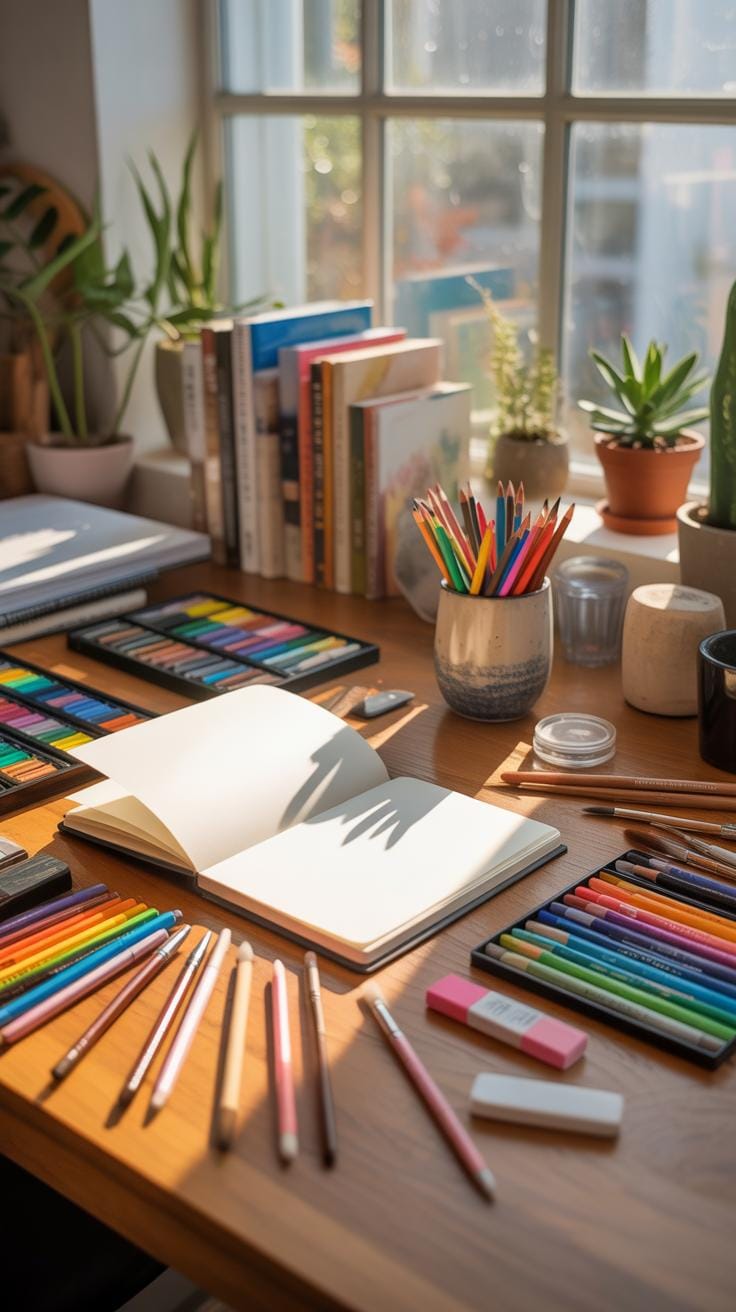
Before you dive into sketching, it’s practical to have a setup that supports creativity instead of disrupting it. Think of it as creating a mini environment where ideas can flow more freely—that alone can shift your whole approach.
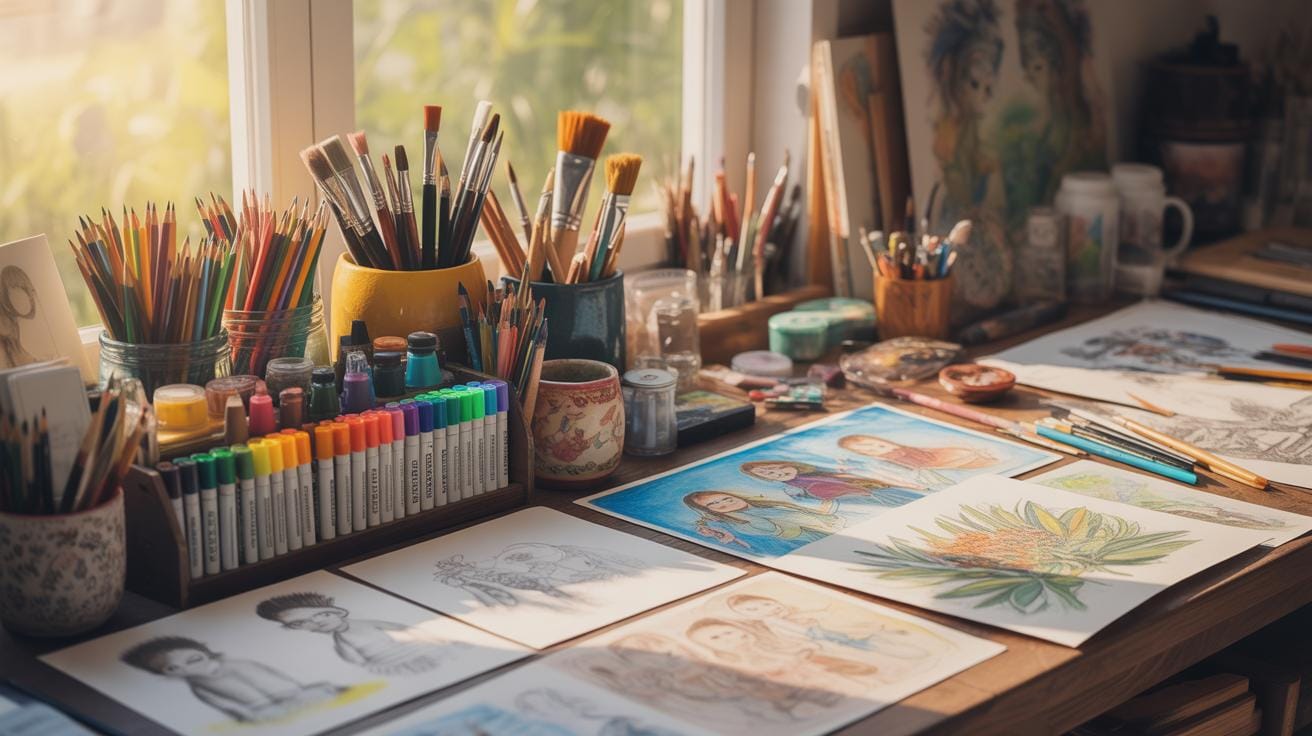
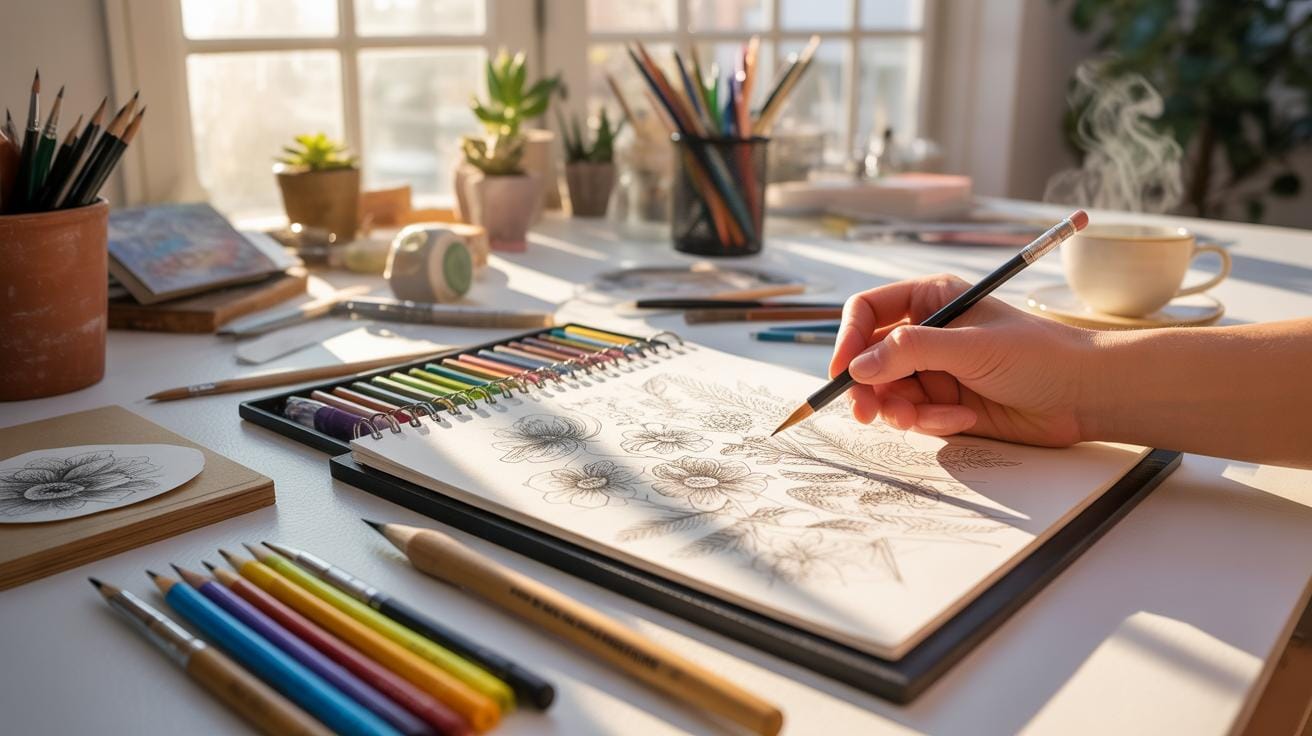
Focus on three main parts: materials, workspace, and mindset. For materials, gather your sketchbooks, pencils, erasers (maybe a blending stump if you like softer shadows), and any markers or pens you might prefer. Keep things simple—too many options can overwhelm.
Your workspace should be clean but comfortable. Natural light is ideal, but a good desk lamp works too. Try to keep distractions like phones or unrelated papers away. If you can, add something inspiring nearby—a small plant, a favorite sketch, or an object with interesting shapes.
Mindset is often overlooked—set a small intention for your session. Whether you want to explore a new technique or simply relax, remind yourself without pressure. Sometimes, just mentally gearing up helps break the blank page anxiety.
What about timing? Decide how long you’ll sketch this session. Mid-session breaks help keep things fresh. What tends to work best for you?
Workspace Preparation Tips
Organizing your sketching space is about making it inviting but not distracting. I find that having everything within arm’s reach minimizes interruptions. A tidy table with your essentials only is preferable, but a bit of clutter, like a half-finished painting nearby, can spark ideas too.
Adjusting seating to avoid strain is crucial. I sometimes overlook this and pay the price with sore shoulders. You might want a chair that supports your back well and a surface that’s at a comfortable height. A slightly tilted drawing board can also make a surprising difference in ease and control.
If you like music or silence, prepare that in advance. It affects your focus and mood more than you might guess. Some swear by white noise or instrumental tracks; others prefer quiet. Why not try both next time?
Tools Arrangement For Easy Access
Keeping your tools arranged can speed up your workflow, even if it seems like a minor detail. I once tried stacking pencils loosely in a drawer—it slowed me down more than I expected.
Try using a small container or a pencil cup to segregate tools by type or function. For example:
- Pencils and charcoal in one section,
- Erasers and sharpeners in another,
- Pens and markers separated neatly.
Some artists prefer laying out their tools in a line or semicircle around the sketchbook. This way, your hand doesn’t have to travel far. Also, consider a small tray or pouch for quick cleanup or transport.
Have you noticed how having easy access to grabbing a tool just when inspiration hits can keep you in the zone? Organization doesn’t have to be rigid; it should fit your personal rhythm.
Creative Growth Metrics To Track

When you use a sketchbook as an artist, it can be more than just a place to doodle. It can actually become a map of your creative growth if you pay attention to certain markers. One key marker is skill improvement, which might show up as more confident lines or better shading over time. Another sign is how your idea generation evolves—does your sketchbook start with simple concepts and then shift into more complex or unique ones?
Tracking Technique Improvement
Noticing progress in drawing techniques isn’t always easy, especially day-to-day. But flipping through your pages and comparing the earliest sketches with more recent ones can help. Look for details like how you handle proportions, perspective, or texture. Sometimes, it also helps to keep a brief note of what specific technique you practiced on a given day or what challenges you faced.
Noting Idea Development
Ideas aren’t static, and your sketchbook is the perfect place to track how they evolve. You might start with a rough shape or concept and later return to it with new inspiration. Try jotting down dates or brief comments next to your ideas. That way, you create a timeline showing how your thinking shifts. This can be a little surprising at times, revealing patterns or unexpected directions in your creative process.
Examples Of Successful Sketchbook Uses

Famous Artists And Their Sketchbooks
Sometimes I find it fascinating just how intimately sketchbooks reveal an artist’s thought process. Consider Leonardo da Vinci, who filled hundreds of pages with both drawings and written ideas. His sketchbooks often mixed scientific observations with imaginative inventions, illustrating how sketching was a vital tool for exploration and problem-solving, not just art-making.
Similarly, J.M.W. Turner produced about 300 sketchbooks, packed with thousands of studies in pen and watercolor. These weren’t mere doodles; they were detailed observations of landscapes and atmospheric effects, helping him master light and color in his paintings. It’s interesting how sketchbooks serve as a bridge between quick studies and complex finished works.
John Constable’s approach also stands out. He relied heavily on sketches made from direct observation and sometimes even painted small oil studies in his sketchbooks. His commitment to working from life appears to have strengthened the realism and emotion in his landscapes, showing how sketchbooks are essential practice grounds for skills that then translate to larger canvases.
Modern Day Sketchbook Practices
Fast forward to today, and sketchbooks are no longer limited to paper, scarce space, or drying time. Many artists embrace digital sketchbooks on tablets, combining the spontaneity of sketching with endless layers and undo options. It’s a different vibe, for sure, but it shares the same purpose: developing ideas and experimenting without fear of mistakes.
Among current hobbyists and professionals alike, keeping a sketchbook remains a staple habit. Some use theirs exclusively for daily visual journaling, capturing fleeting moments or moods, while others may focus on thematic explorations or technical exercises. The range of styles—from hyper-realism to abstract notes—proves sketchbooks are deeply personal tools. They invite playfulness and seriousness in unequal measure.
Have you ever thought about how your own sketchbook might evolve over time? Rarely do they stay neat or fully organized, and that’s part of their charm. They mirror artistic growth in its messy, unpredictable way.
Maintaining Motivation For Art Growth
Staying committed to regular sketchbook practice can be tricky, especially when creative blocks creep in. These blocks aren’t just about lacking ideas—they often stem from the pressure you put on yourself or the frustration when a drawing doesn’t meet your expectations. It can feel like hitting a wall. Yet, it’s possible to push through by gently changing how you approach your work.
One useful way to keep motivated is to set small rewards after meeting your sketching goals. For example:
- Allow yourself a favorite snack or coffee break after completing a page.
- Plan a brief walk outside to refresh your mind.
- Buy a new sketching tool after finishing a set number of sketchbook sessions.
These small celebrations acknowledge progress and can make your practice feel less like a chore.
Also, mixing up your sketchbook routines helps avoid boredom. Trying different exercises such as quick gesture drawings, detailed studies, or experimenting with color can revive your interest. Sometimes, switching your environment or time of day for sketching shakes things up enough to spark fresh ideas. You might even surprise yourself by discovering a new style or subject.
Have you noticed that your mood or setting affects creativity? Maybe your best sketches come during a quiet morning or while listening to music. Paying attention to these shifts can guide you on when or how to vary your routine to counteract blocks. It’s about finding what nudges your motivation forward, even if it’s just for a few sketches at a time.
Conclusions
Using arte sketchbook techniques in your art studies gives a clear path for creative growth. Keeping a sketchbook helps you track progress, test new ideas, and strengthen your skills. These techniques also make your learning process more organized and meaningful.
By following practical steps like choosing the right tools and practicing regularly, you will see steady improvement. Your sketchbook becomes a personal space for creativity and skill building, essential for any artist aiming to develop their art studies effectively.


