Introduction
Gouache is a unique painting medium that blends the qualities of watercolor and acrylic paints. It is known for its opaque finish, quick drying time, and vibrant colors. This paint has been a favorite among artists for centuries, used in illustrations, posters, and fine art. Understanding the right tools can significantly improve your experience and results with gouache.
This article introduces essential tools and supplies you need for gouache painting. Whether you’re a beginner or looking to refine your technique, having the right brushes, paints, surfaces, and accessories plays a crucial role. With the right equipment, you can control texture, opacity, and detail, unlocking new levels of creativity and precision in your artwork.
Understanding Gouache Paint
Gouache is a type of water-based paint that artists use for its strong, opaque colors. Unlike watercolor, which is transparent and lets the paper show through, gouache covers surfaces with a dense, solid layer. This makes it easy to layer colors or correct mistakes by painting over dry sections. It dries to a matte finish, different from acrylic, which often shines or has texture.
The history of gouache goes back centuries. It was popular in medieval manuscripts and later in posters and commercial art. Designers valued gouache because it allowed fast drying while keeping rich, flat colors. Today, you’ll find gouache in illustration, fine art, and animation thanks to this unique mix of flexibility and opacity.
What makes gouache useful for your work? Consider its quick drying time and the ability to mix opaque layers. Are you looking for a paint that combines watercolor fluidity with acrylic’s coverage? Gouache might fit your needs better than other paints.
Properties of Gouache Paint
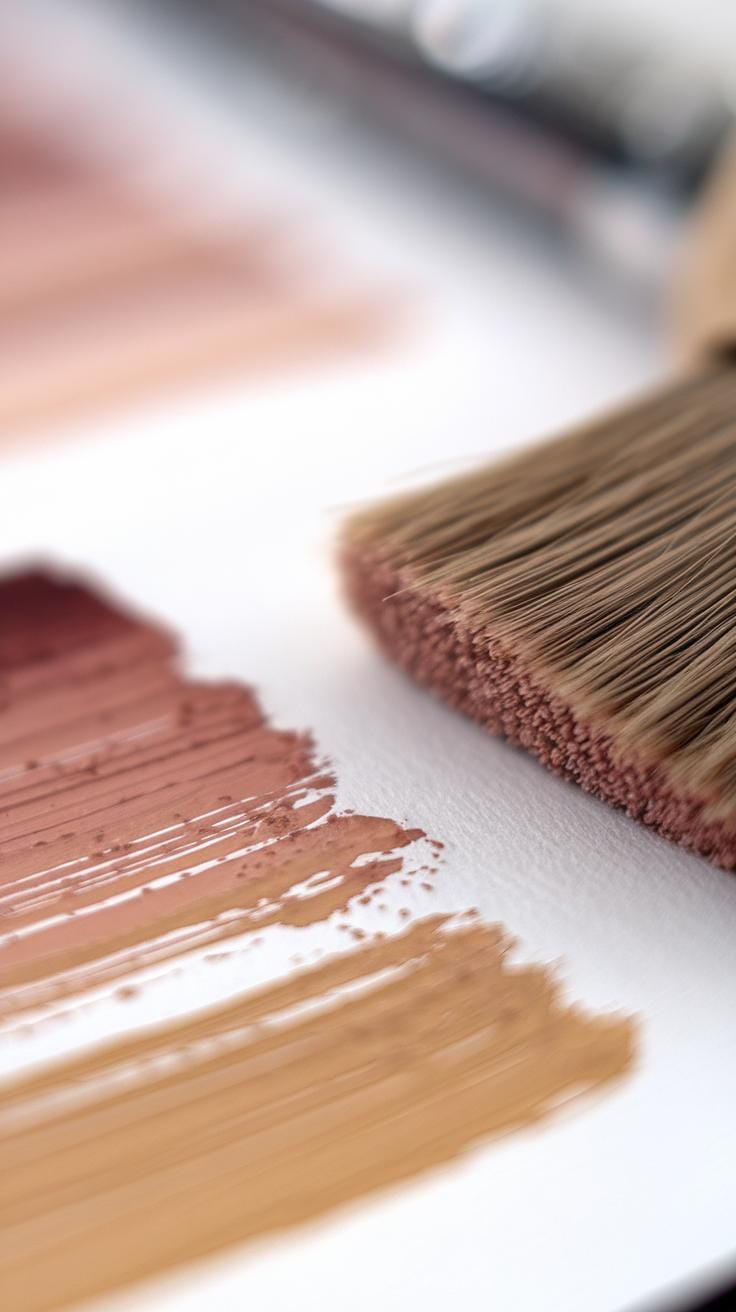
Gouache stands apart because of its heavy pigment load. This means each stroke carries a lot of color, helping create bold, vivid images. The pigments mix with a binder, often gum arabic, which controls how the paint sticks to your paper or board.
Its opacity results from chalk or other white fillers that make the paint less transparent than watercolors. When gouache dries, it loses some shine, leaving a flat, matte surface that prevents glare and helps colors look consistent under different lighting.
Drying fast is common with gouache, but it can be reactivated with water, letting you rework areas after they dry. Its texture feels smooth on paper but can crack if layered too thickly. Working swiftly or layering thin coats keeps your painting fresh and even.
Uses of Gouache in Art
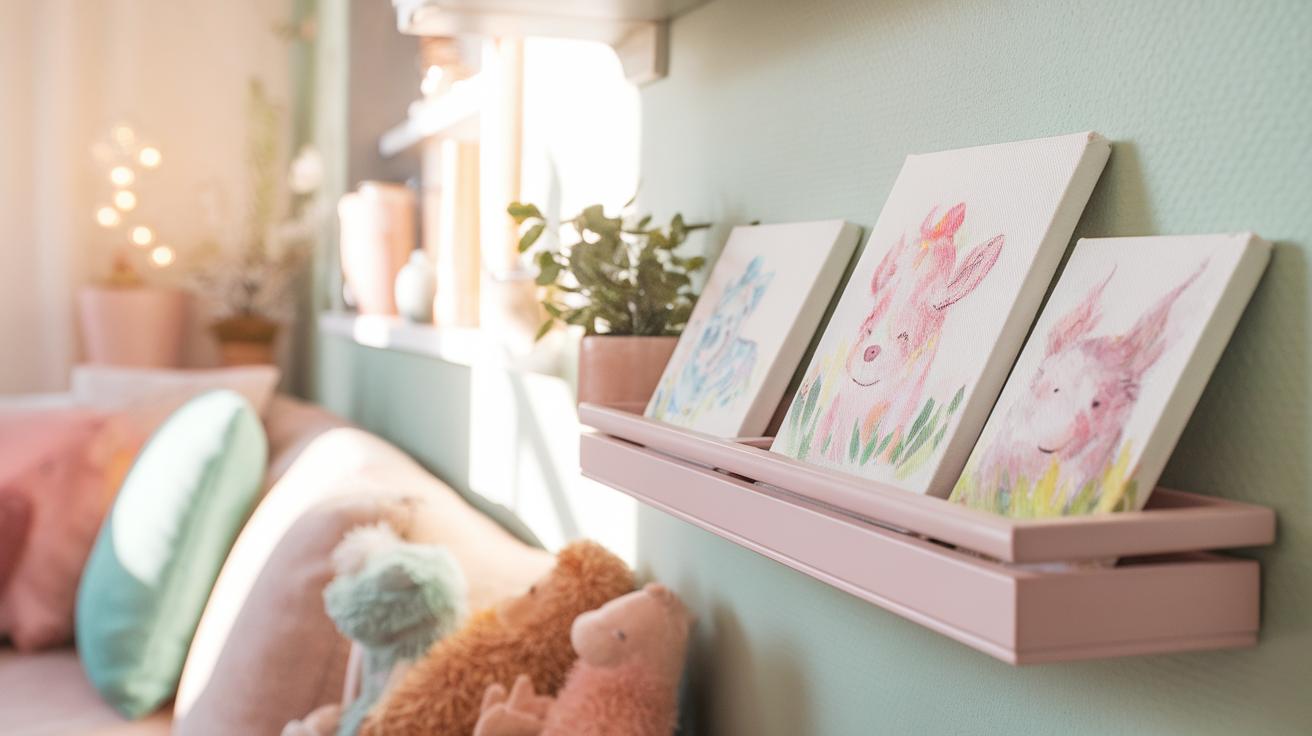
Artists pick gouache for many reasons. Illustrators use it to make bright, solid shapes that stand out in books or ads. Its opacity also brings bold design to posters where clear, flat colors catch viewers’ eyes quickly.
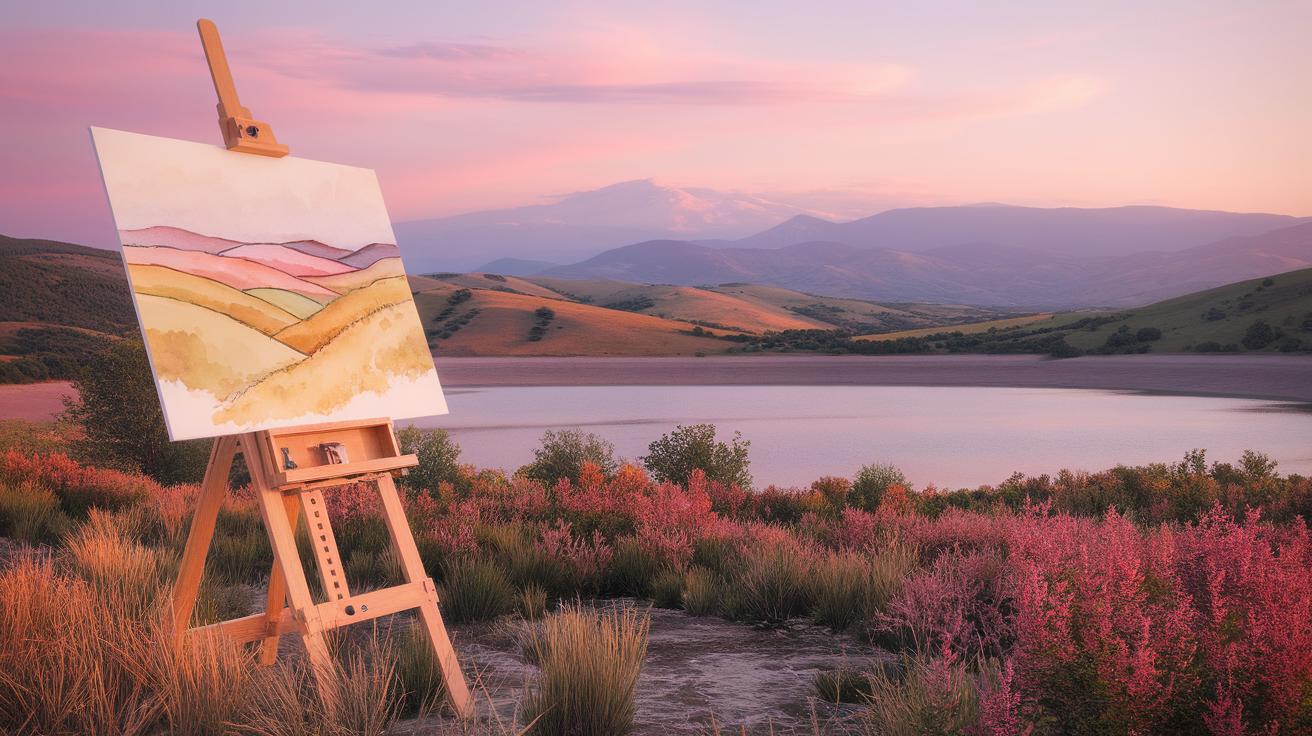
In fine art, gouache allows painters to build texture and detail without losing color intensity. Animators rely on gouache for character design and backgrounds because it combines the ease of watercolor with the richness of acrylic paints.
How might gouache enhance your projects? If you need paint that balances blending with strong coverage, gouache may offer the tools you want. Whether you work on quick sketches or detailed pieces, its versatility supports both styles effectively.
Choosing the Right Gouache Paint
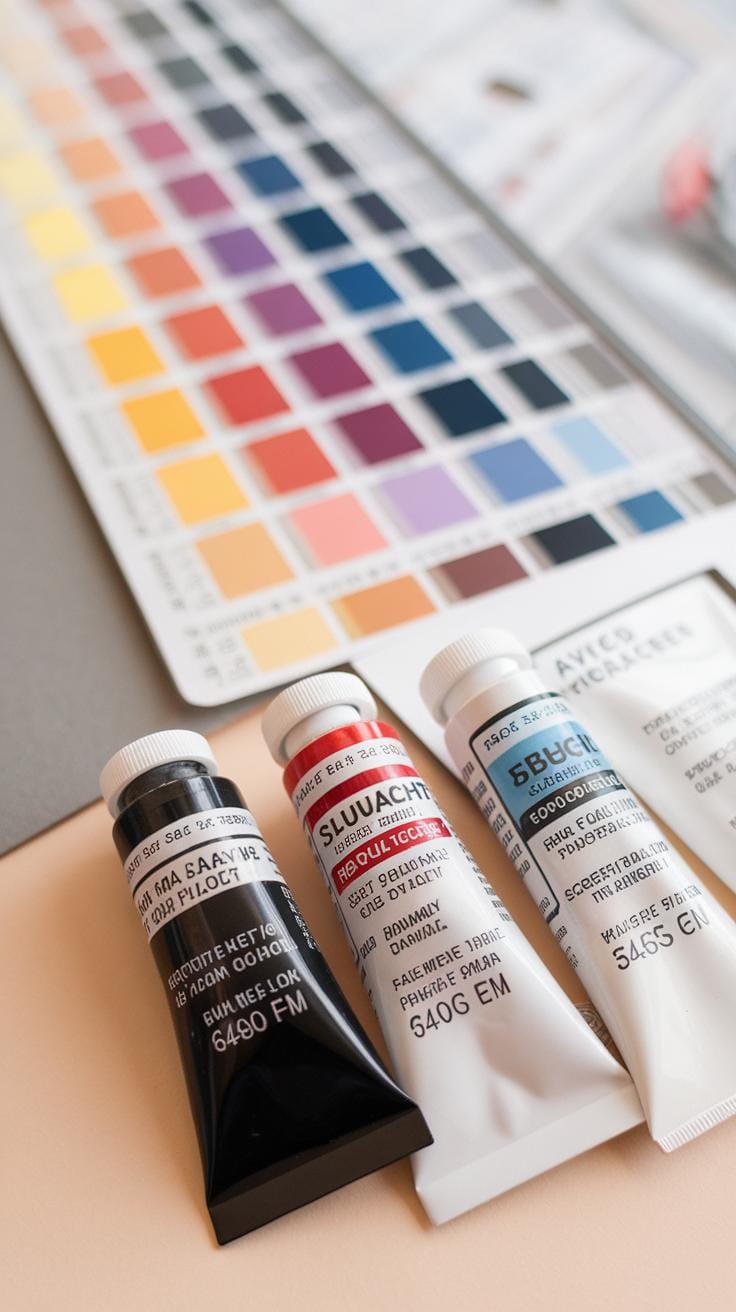
Gouache paints come in different types that affect your painting experience. You will find student-grade and professional-grade paints on the market. Student-grade gouache usually costs less but contains fewer pigments and more fillers. Professional-grade paints have richer colors, better coverage, and last longer. Deciding what to buy depends on your budget and goals. If you want vibrant, lasting colors, professional-grade offers more value. If you’re practicing or experimenting, student sets work well.
When buying gouache tubes or sets, check the pigment list and opacity. Some brands label paints as opaque or semi-transparent. Your choice here changes how layers interact and affect your image’s brightness. Also consider the size of the tubes: smaller tubes let you try many colors without a big cost, while larger tubes suit regular use. Think about your style—do you paint small detailed works or large, loose ones? This influences your color and tube size choice.
Differences between Grades
Student-grade gouache uses lower pigment amounts, mixing them with fillers to save money. This lowers color brightness and opacity. Professional-grade paints pack more pigment, so colors look vivid and cover surfaces better. You get smoother blending and stronger layering with professional paint. Price differs too—student tubes cost a fraction of professional ones, but the trade-off is visible when colors dry. If you are serious about colors lasting and looking sharp in photos or galleries, professional-grade is worth the investment.
Student-grade sets suit beginners who want to explore without spending much. Professionals and skilled hobbyists notice the subtle differences in hue and consistency. Ask yourself, how much control do you want over your colors? Do you care if colors fade over time? These questions help you decide which grade fits your needs.
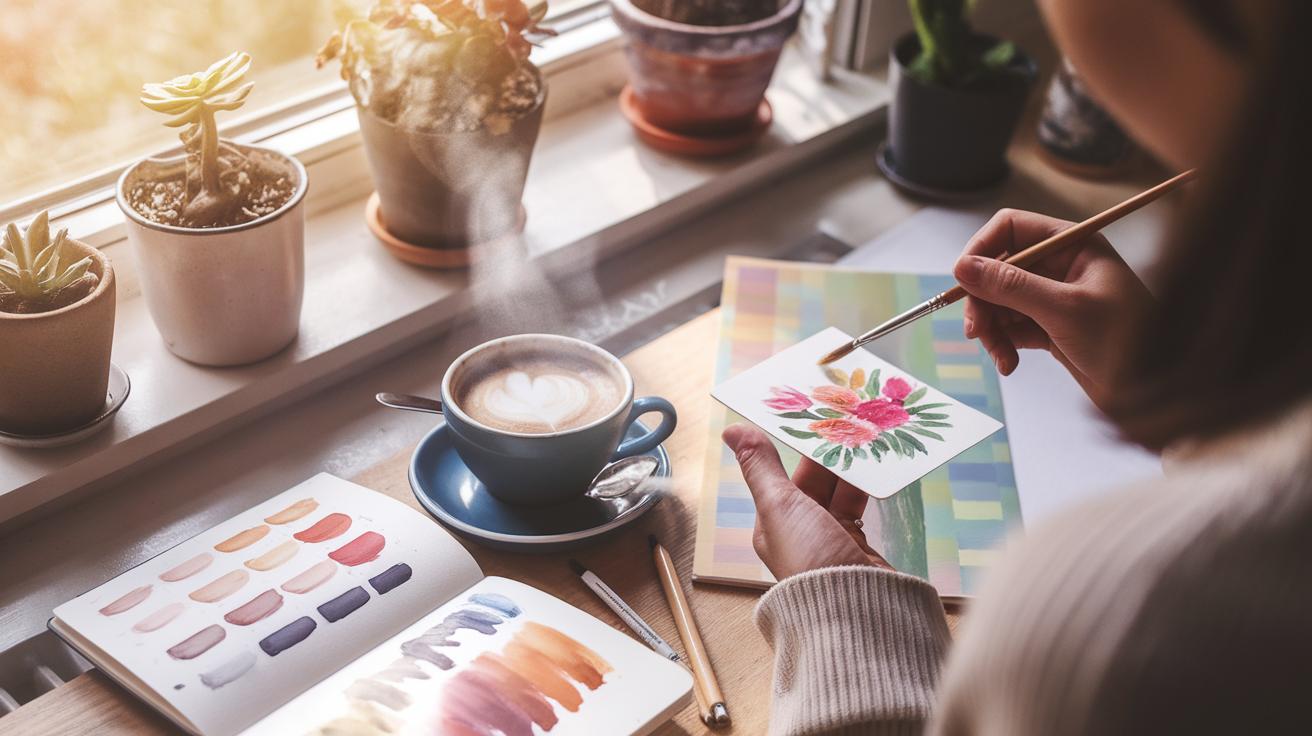
Selecting Colors
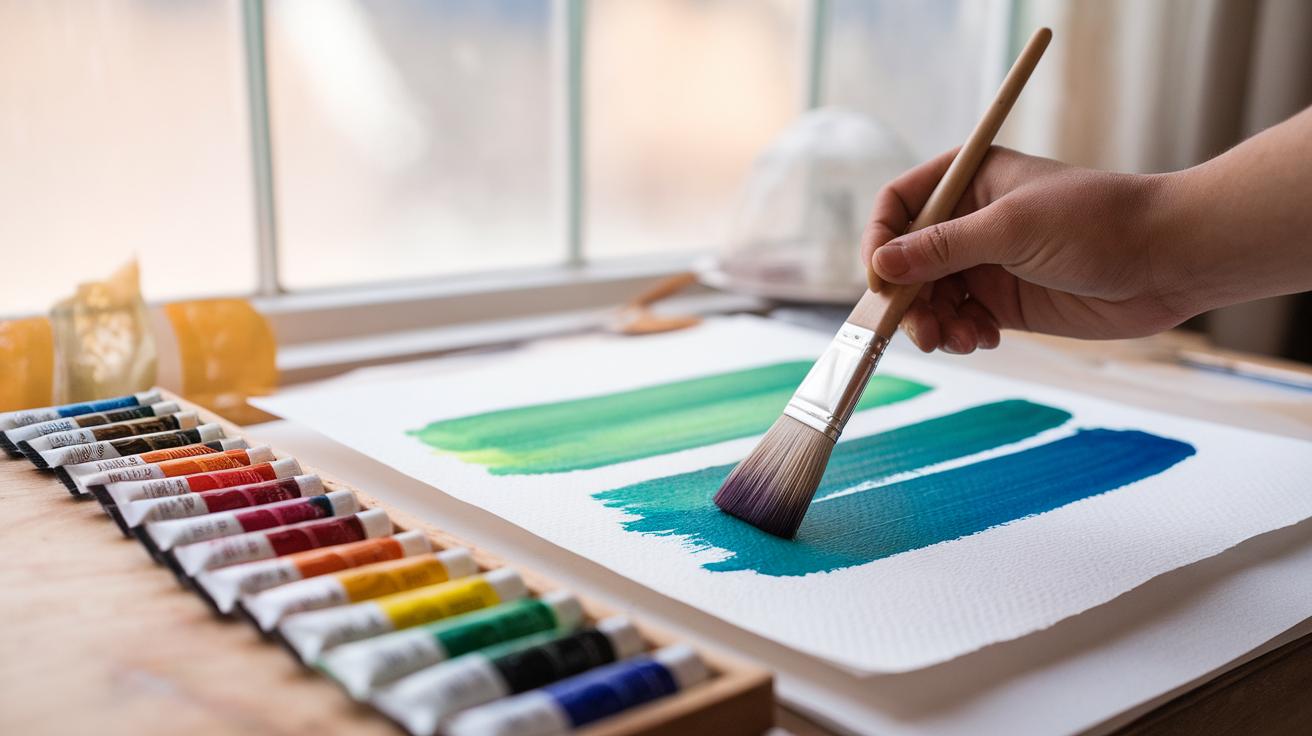
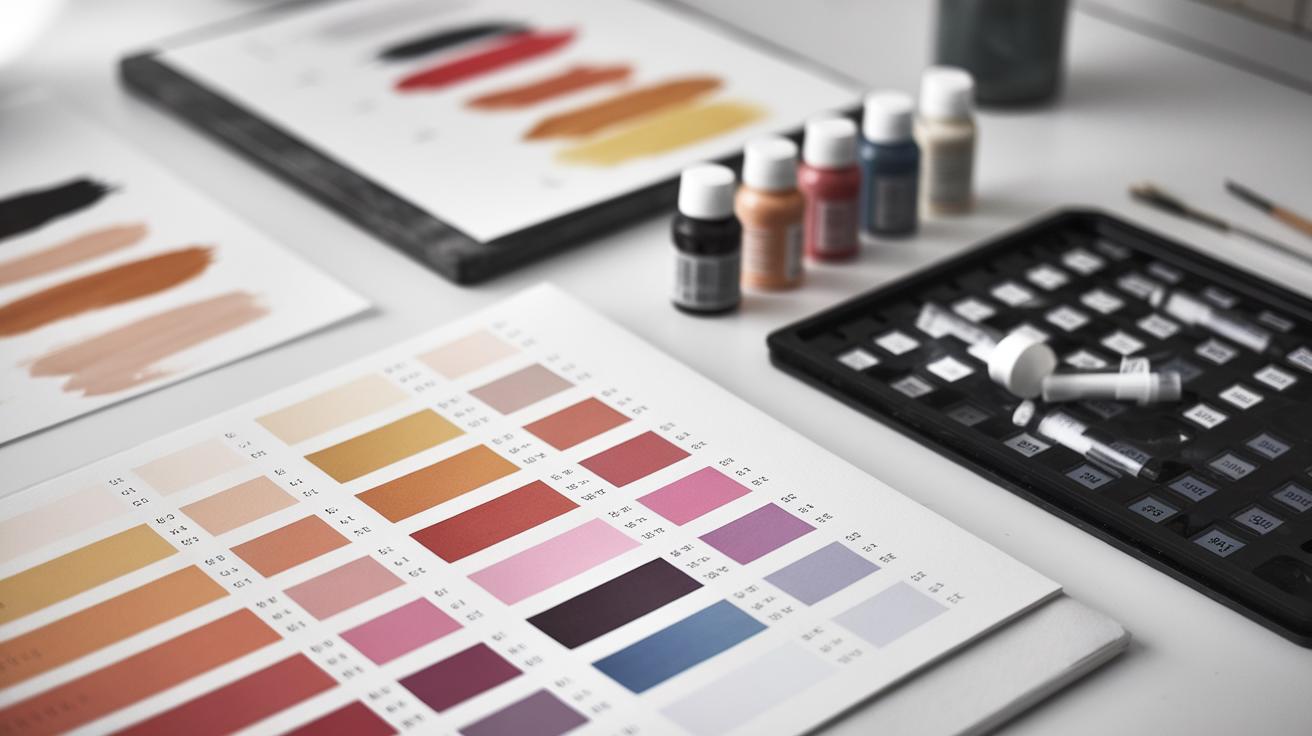
Start your palette with essential colors to paint a full range of subjects. Include primary colors like red, blue, and yellow, and add white for mixing tints. Some artists add black, but mixing complements can create deeper shadows. Select opaque colors for strong, solid areas and transparent ones when you want to layer or glaze colors subtly.
Mixing colors expands your range without buying many tubes. For example, mixing ultramarine blue with cadmium red creates vibrant purples. Try combining transparent yellows with opaque blues for unique green tones. Testing your mixes on scrap paper reveals how opacity and transparency work together. Have you tried building colors by mixing instead of relying on many tubes? This skill saves money and deepens your understanding of color behavior.
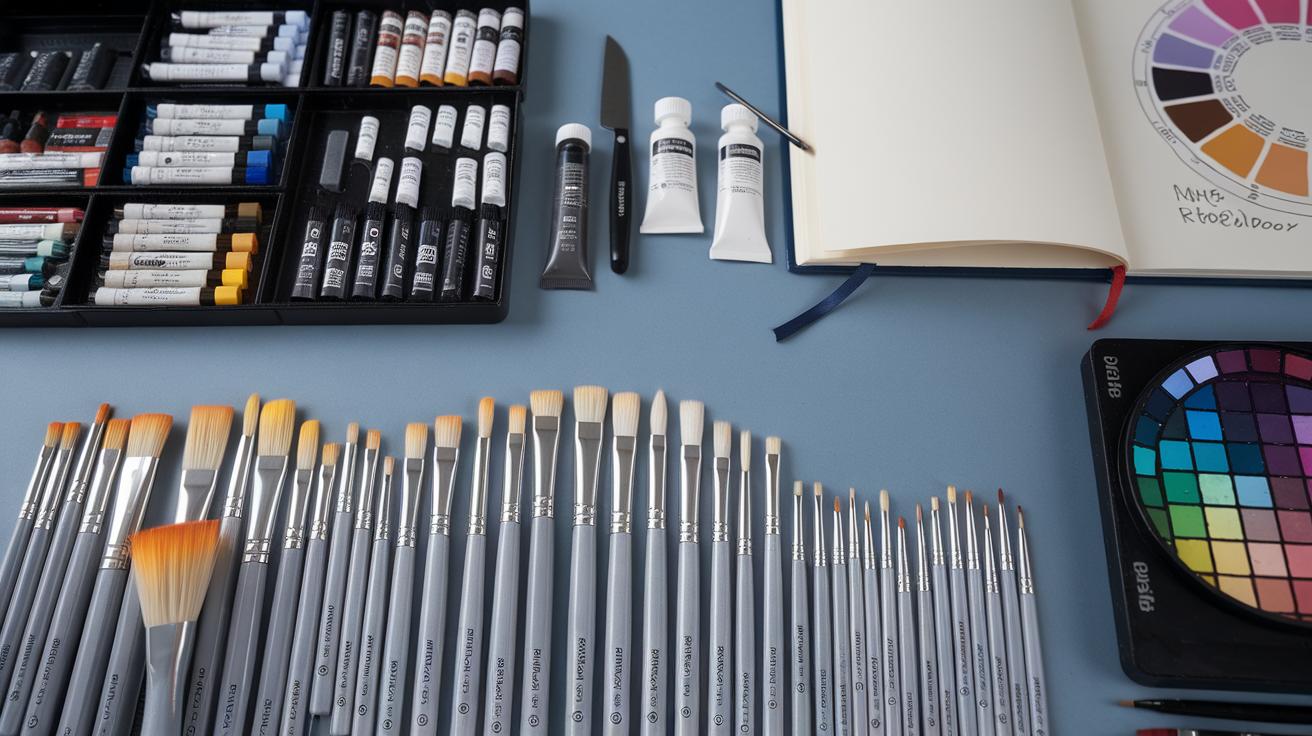
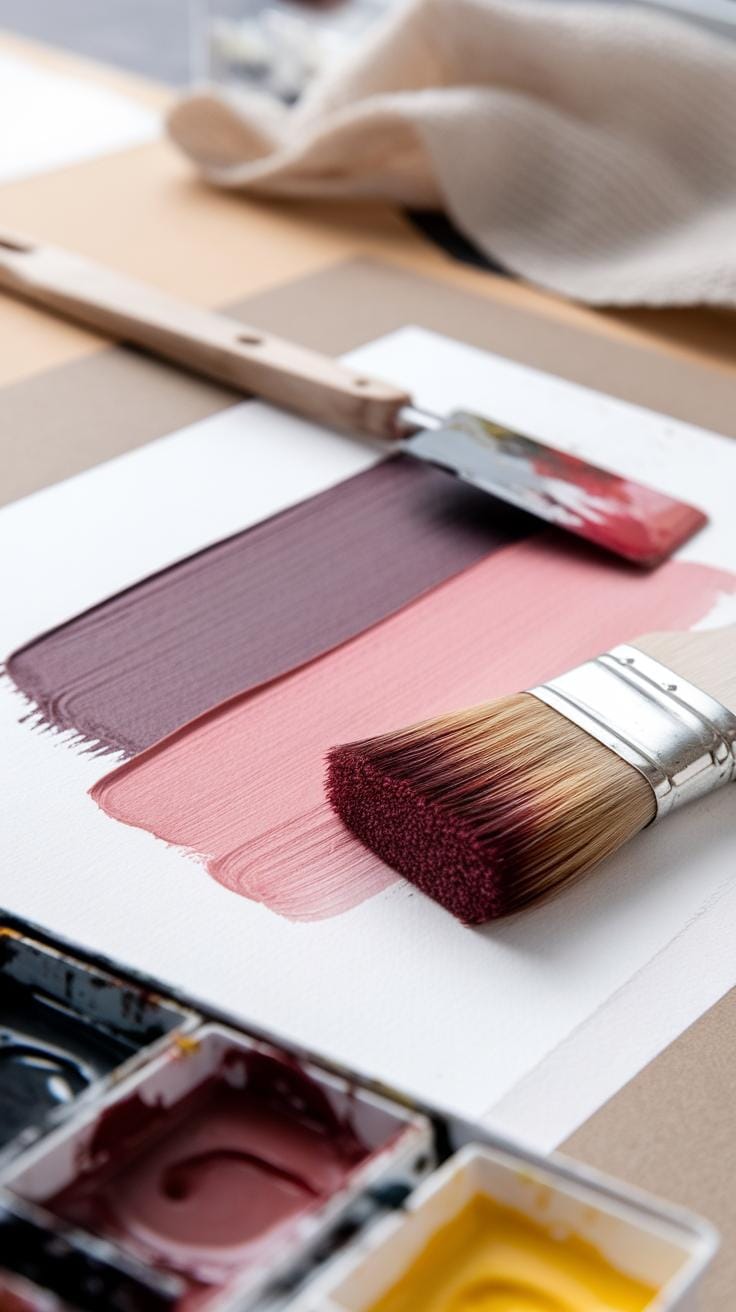
Essential Brushes for Gouache Painting
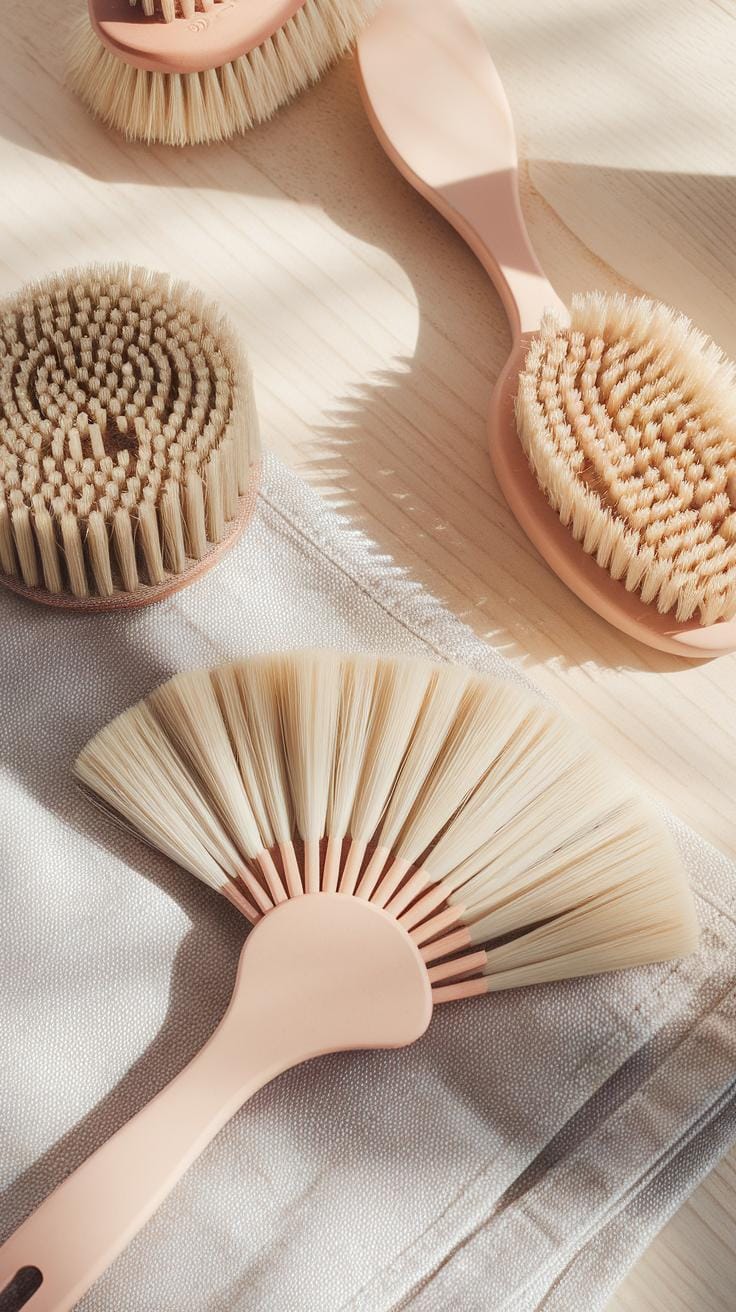
Choosing the right brushes shapes how your gouache painting looks and feels. Various brush shapes help you create different effects, so understanding their uses improves your control and style. Round brushes are great for fine details and soft curved lines. Flat brushes cover larger areas and produce sharp edges. Filbert brushes combine the softness of rounds with the flat brush’s edge, ideal for blending and creating organic shapes.
Brush size matters too. Small brushes work for intricate details, while larger ones help lay down color quickly. If you prefer layering and glazing, soft synthetic brushes make it easier to apply thin, even coats of gouache without disturbing layers beneath. However, stiffer natural hair brushes offer more texture and control if you like working with heavier paint.

Think about your technique and what effects you want to achieve. Are you going for precise lines or smooth transitions? Experiment with a range of shapes and sizes to find what feels right for your gouache style. How does your current brush collection support your painting goals?
Brush Types and Uses
Flat brushes have a square edge that helps you cover large spaces and create sharp, clean strokes. Use them for backgrounds, blocking in shapes, or painting geometric forms.
Round brushes taper to a point and perform well on fine detail work, controlled lines, and soft edges. They are very versatile for blending and sketching.
Filbert brushes have an oval tip. They blend the qualities of flats and rounds, giving you rounded edges with the coverage of a flat brush. They excel at painting soft shapes like petals or clouds.
Each brush shape produces different textures and detail levels. Having these basic types in several sizes prepares you for wide-ranging techniques in gouache painting.
Brush Materials and Maintenance
Brush hair comes in natural and synthetic forms. Natural hairs, like sable or hog bristle, hold paint well and offer good spring but can be expensive and require careful care. Synthetic brushes, often made from nylon or polyester, are durable, easier to clean, and increasingly mimic the qualities of natural hair.
Since gouache is water-based, clean brushes immediately after use with lukewarm water. Avoid hot water or harsh soaps, as these can damage bristles. Reshape the brush tip before drying to maintain its form.
Regularly cleaning and storing your brushes horizontally or with bristles up prevents damage. How often do you clean your brushes during a painting session? Keeping your tools in good shape will extend their life and improve your gouache results.
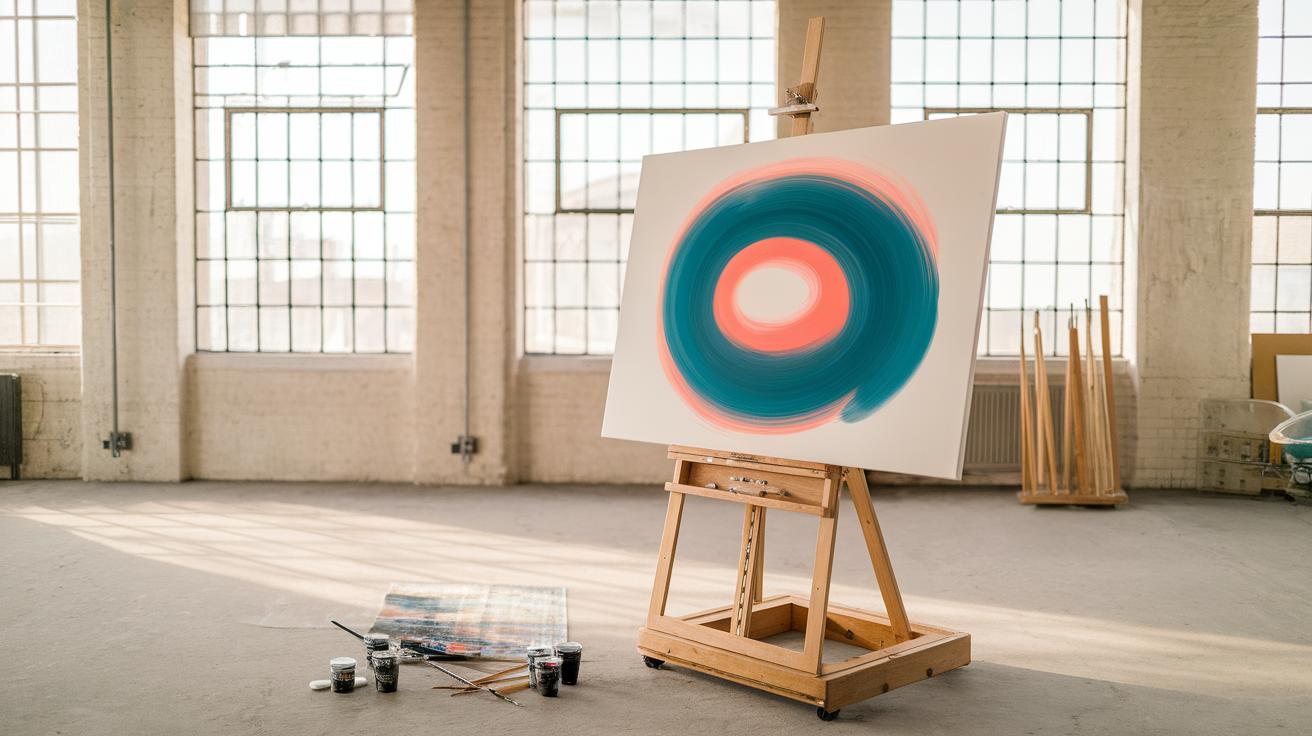
Choosing the Right Surface for Gouache
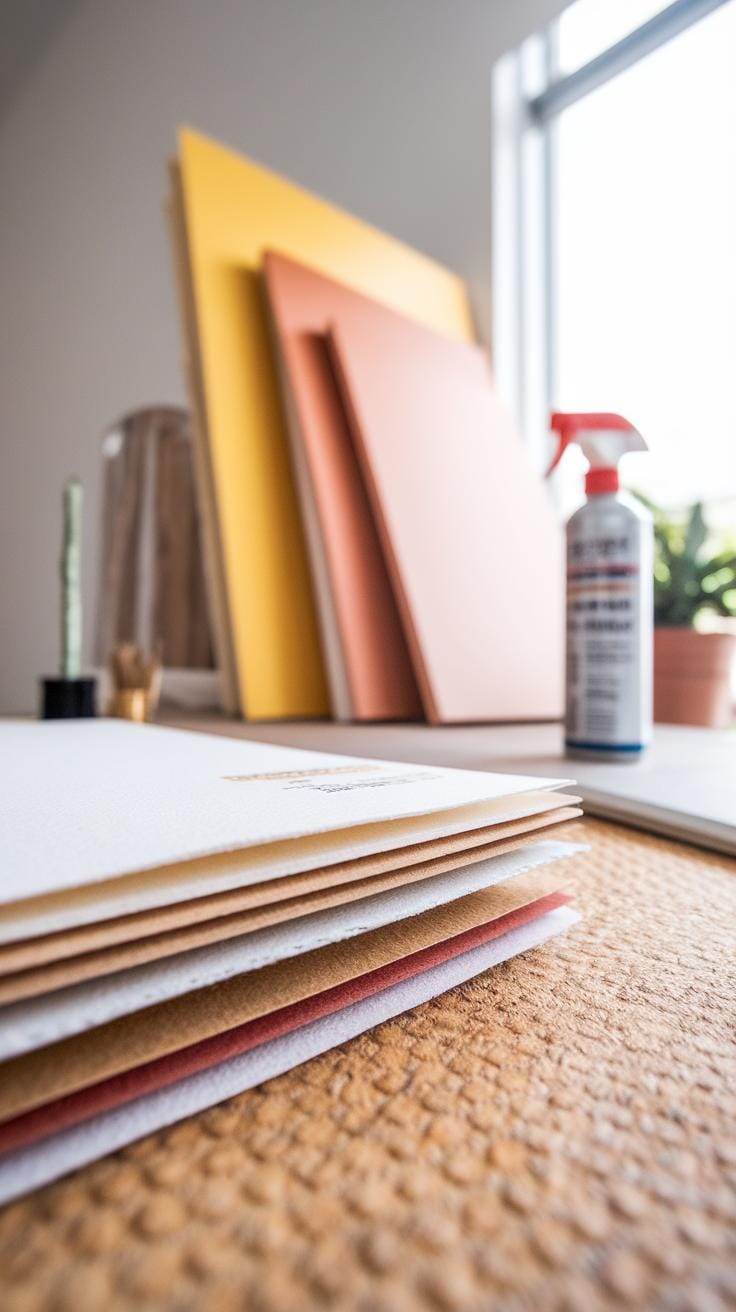
Your choice of surface influences how gouache behaves in your artwork. Using the correct surface allows the paint to adhere properly, keeps colors vibrant, and affects texture and drying time.
Not every paper or surface handles gouache equally. Some absorb water and pigment quickly, while others let the paint sit on top for longer, which affects your ability to layer and blend.
How does the surface texture impact your brush strokes? Would you prefer a smooth application or a more textured finish? Assessing these qualities helps select a surface that matches your style.
Paper designed for watercolor often works best, but illustration boards and prepared boards also offer durable options. Trying surfaces beyond traditional watercolor paper can open new possibilities but may require prep like sizing or priming.
Have you experimented with different surfaces to see how gouache behaves on each? Understanding this can improve your control and the final look of your paintings.
Types of Paper
Watercolor papers typically come in three textures: hot-pressed (smooth), cold-pressed (medium texture), and rough. Hot-pressed paper lets gouache flow smoothly, ideal for detailed work. Cold-pressed provides a subtle texture that catches brush strokes, offering a moderate grip. Rough paper has a coarse surface, which can add texture but might challenge fine details.
Weight matters, too. Heavier papers (300 gsm or more) handle water without buckling. Lighter papers tend to warp under wet layers. Your gouache layers demand a sturdy surface to avoid damage or uneven drying.
Mixed media papers combine properties of watercolor and drawing papers. They resist warping and allow various mediums alongside gouache, helping if you want to add ink or graphite.
Consider what effect you want and how wet your technique will be. Some artists prefer smooth surfaces for clean edges, others the grip of textured paper for expressive strokes. Testing samples can help you find your best match.
Alternate Surfaces
Illustration board offers a thick, sturdy base that doesn’t bend. It supports heavy layering of gouache and can hold fine detail. Some brands come pre-sized, but you may want to add a coat of gesso to control absorbency and improve paint adhesion.
Canvas paper mimics canvas texture on a paper sheet. It adds tooth that supports bold brushstrokes and layering. When using gouache on canvas paper, priming with a light gesso layer can prevent excessive absorbency.
Panels made of wood or fiberboard provide a rigid work surface. To use gouache here, apply a suitable primer to maintain adhesion and prevent cracking as the paint dries.
Experimenting with these surfaces requires adapting your approach. Thicker layers might behave differently, and drying times can change. Preparing the surface properly will help you achieve consistent results and extend your painting’s lifespan.
Using Palettes and Mixing Tools
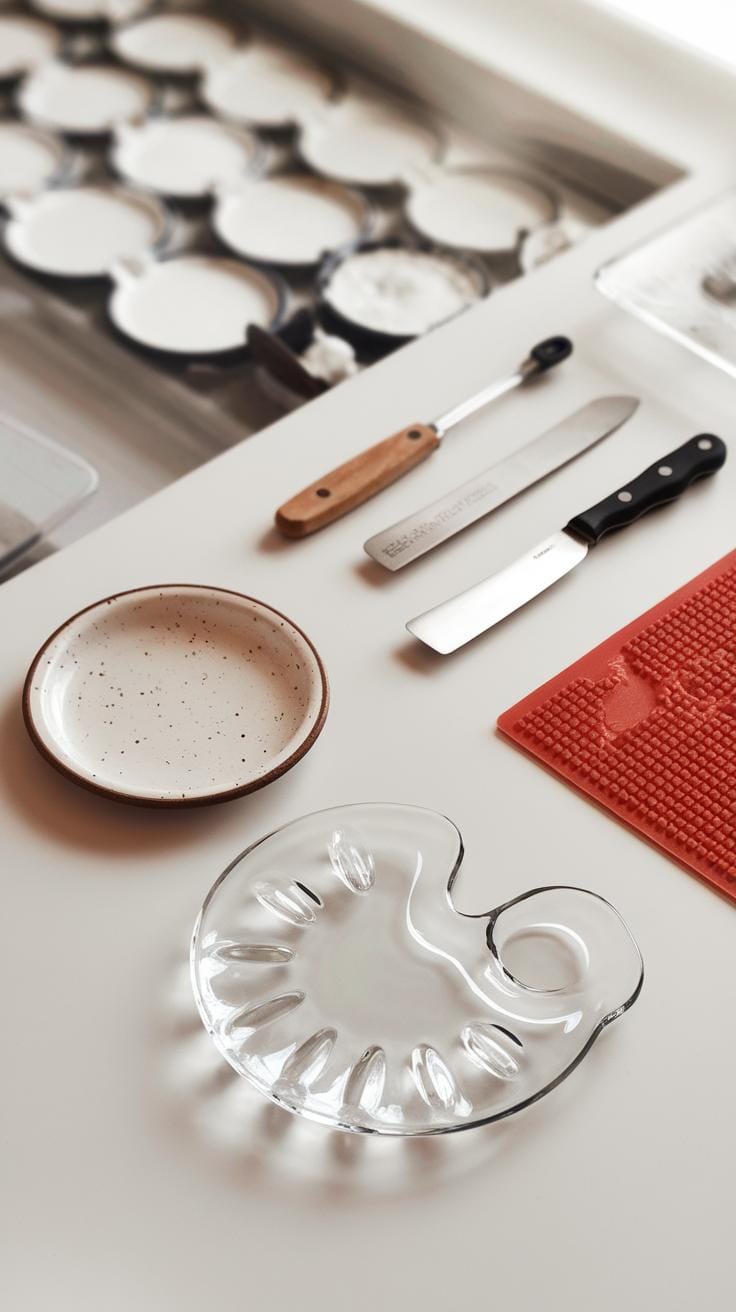
Types of Palettes
Plastic palettes are lightweight and affordable, making them a good choice for beginners. They often have deep wells to hold gouache paint without drying out too fast. However, plastic may stain and scratch easily, so cleaning quickly after use helps keep them usable.
Ceramic palettes stand out for their smooth surface. They allow you to mix colors evenly without absorption. This helps maintain the paint’s consistency. Ceramic is easy to clean since dried gouache peels off well. It also keeps paint moist longer than plastic.
Metal palettes, usually made of stainless steel, offer durability and smoothness. They resist stains and scratches but can feel heavier. Some artists prefer metal because it cools paint slightly, slowing drying. This can give you more time to blend colors effectively.
Consider how often you paint and your cleaning habits. Are you looking for travel convenience or studio durability? Choose a palette that fits your painting style while controlling gouache moisture and color integrity.
Mixing Techniques
Gouache dries quickly, so mixing paint carefully matters. Start with small amounts and add water gradually to reach a creamy but thick consistency. Too much water weakens opacity, while too little makes the paint hard to spread.
Using a palette knife or spatula instead of a brush for mixing helps you blend colors thoroughly and control texture. Knives scrape the palette surface cleanly and mix pigments without adding unwanted brush strokes.
Try mixing primary colors separately before blending to create clear hues. You can layer mixtures on your palette to test opacity and shades. Ask yourself: What color do I want? How intense does it need to be?
Keeping your mixing tools clean between colors can prevent muddy results. You’ll find that a steady routine with your spatula or knife makes your gouache colors more consistent and easier to manage during painting.
Water Containers and Other Accessories
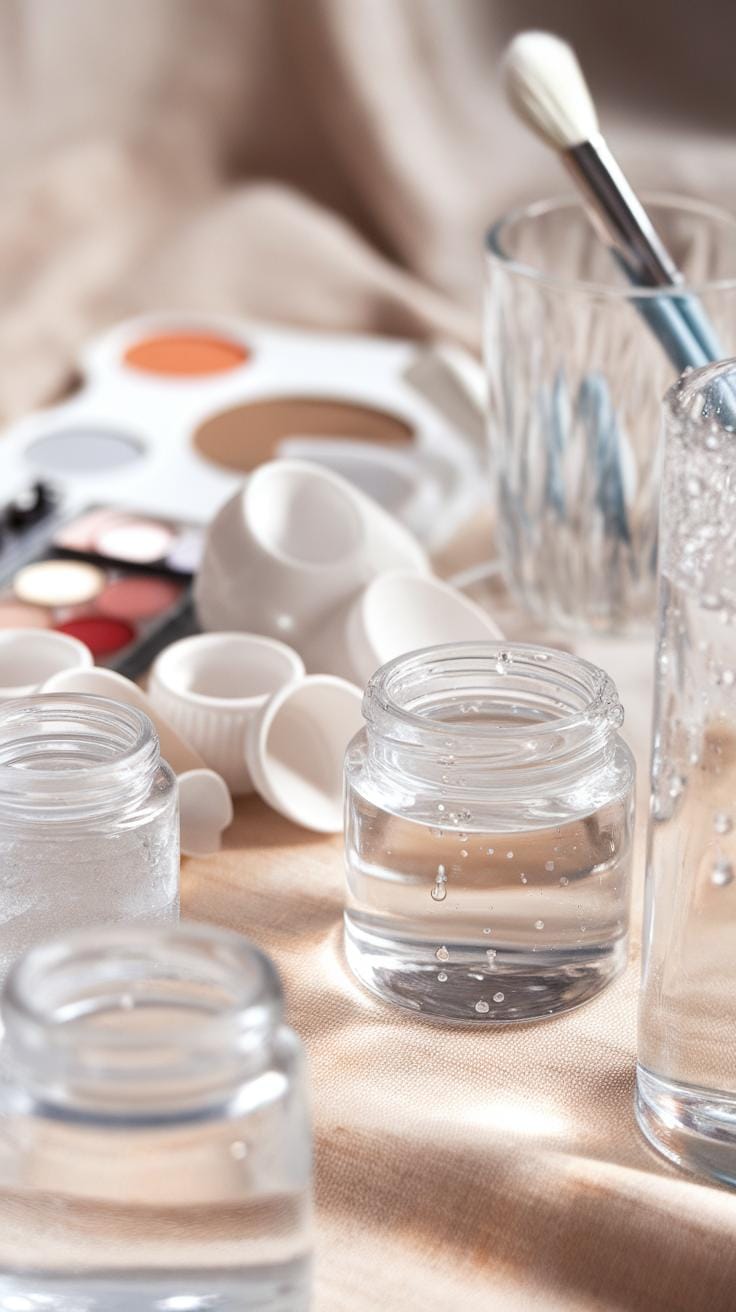
Water Containers and Cleaning
Choosing the right water container affects how well you control your gouache paint’s consistency. Wide-mouthed jars let you rinse brushes quickly without damaging bristles. Narrow containers reduce spills but can trap dirt and dried paint inside.
Using two containers—one for clean water and one for rinsing—helps keep colors fresh. Change the clean water often to avoid muddy mixtures. Plastic containers with lids are handy when you want to store water between sessions without drying out your paint.
Stable containers prevent accidental tipping, saving your work area from mess. Some artists prefer ceramic cups because they are heavy and don’t shift easily. What type of water container will help you maintain better control over paint dilution?
Other Helpful Accessories
Sponges help lift off excess paint or create soft textures with gentle dabbing. Try a natural sea sponge or a synthetic one, depending on how much absorbency you want. Rags and paper towels clear brushes or wipe mistakes fast.
Masking tape protects areas you want to keep white or sharp. Apply it firmly and remove it carefully once the paint dries to avoid tearing your paper. Fixatives work to preserve finished gouache paintings. A light spray seals colors but test first since some may change your paint’s look.
These accessories support techniques you already use with your palette and brushes. Are you using tools that make your painting process quicker and cleaner?
Techniques for Maximizing Gouache Tools
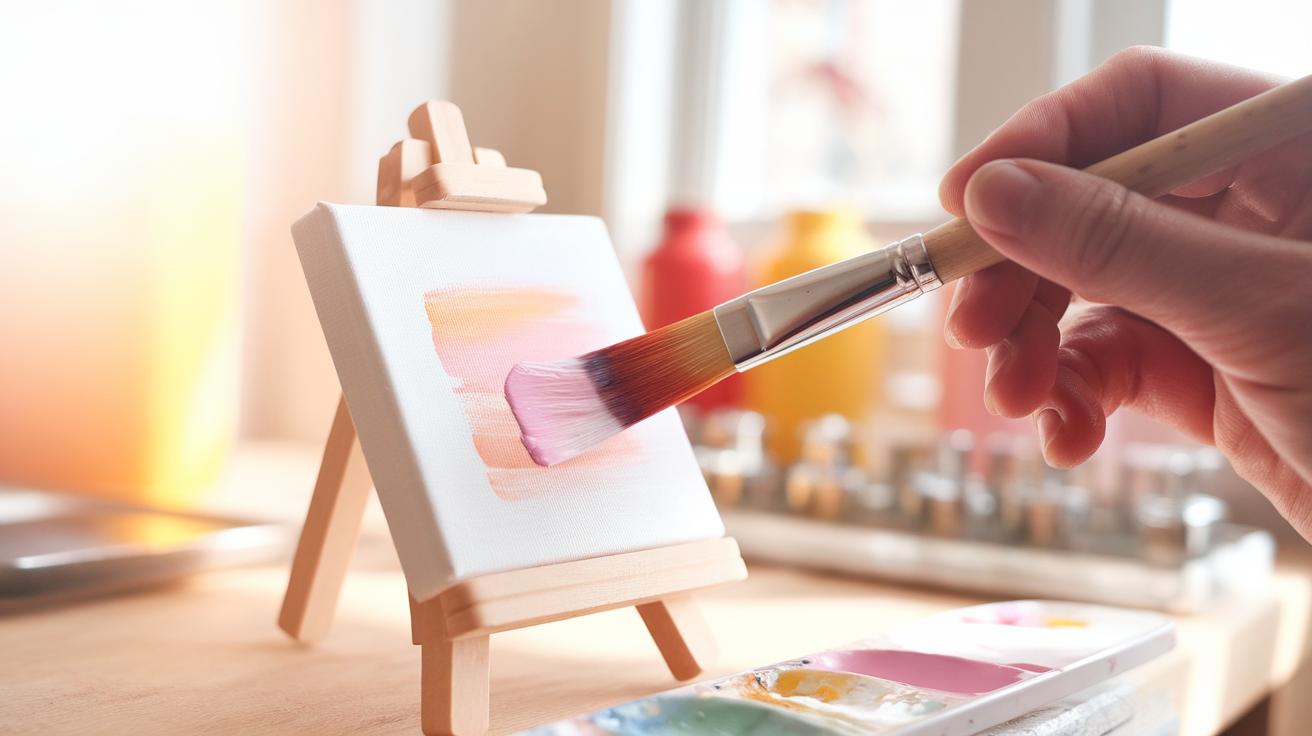
Gouache offers unique control over layering and texture that you can master with the right techniques. When applying layers, use gouache’s opacity to your advantage. Start by painting thicker layers to build solid colors, then add thinner washes to adjust tones without erasing previous work. Avoid soaking your brush too much, which can lift earlier paint unintentionally and ruin your layers. Instead, use a drier brush and gentle strokes to maintain the integrity of your underlying colors.
Blending works best by softly brushing wet paint into wet areas or by feathering edges once the paint starts to dry. This way, you control transitions between colors smoothly. Experiment with different brush sizes and shapes to achieve clean lines or soft gradients. Ask yourself: how can you change your brush pressure or angle to get the effect you want?
Creating texture becomes easier when you use your tools creatively. Dry brushes offer scratchy, broken effects by dragging stiff bristles lightly across the surface. Stippling, tapping the brush repeatedly, adds grainy, speckled patterns ideal for foliage or rough surfaces. Scraping with palette knives or old credit cards peels paint away or leaves ridges that catch light differently. These methods help your painting gain boldness and interest beyond flat color fields.
Layering and Opacity Control
Gouache’s heavy opacity allows you to build depth by layering colors directly over one another. To keep control, start with fully dried layers. Painting a new coat on top before drying may cause colors to mix or lift beneath.
Adjust tone by mixing white into your colors for lighter shades or layering transparent washes to tone down brightness without losing texture. Keep your brushes clean to avoid muddy colors when layering. Using smaller, firmer brushes helps place details on top of broad backgrounds.
To avoid lifting earlier layers, hold your brush like a light touch tool rather than pressing hard. Adding too much water breaks paint adhesion, so gradually build your layers. Experiment with layering warm colors under cool ones, or vice versa, to see how opacity changes your image’s mood and atmosphere. What new effects can you create by controlling how much paint covers what?
Creating Texture
Texture adds life to gouache paintings and can be achieved through simple tools and techniques. Drag your brush with little water over painted surfaces to create broken strokes and scratched patterns. Stippling involves tapping your brush tip repeatedly for dotted effects that simulate grass, fabric, or skin texture.
Palette knives or stiff cards help you scrape away layers or create sharp edges by lifting paint in specific spots. Try scraping after a layer dries for crisp grooves or while the paint is wet for smeared effects. You can also use sponges or rags to dab paint gently for mottled textures.
Don’t hesitate to combine these methods. For example, apply a broad wash, then add stippling on top, and finish with scraping to reveal layers beneath. What textures can you add with the tools at hand? How will texture support your painting’s story and depth?
Caring for Your Gouache Supplies
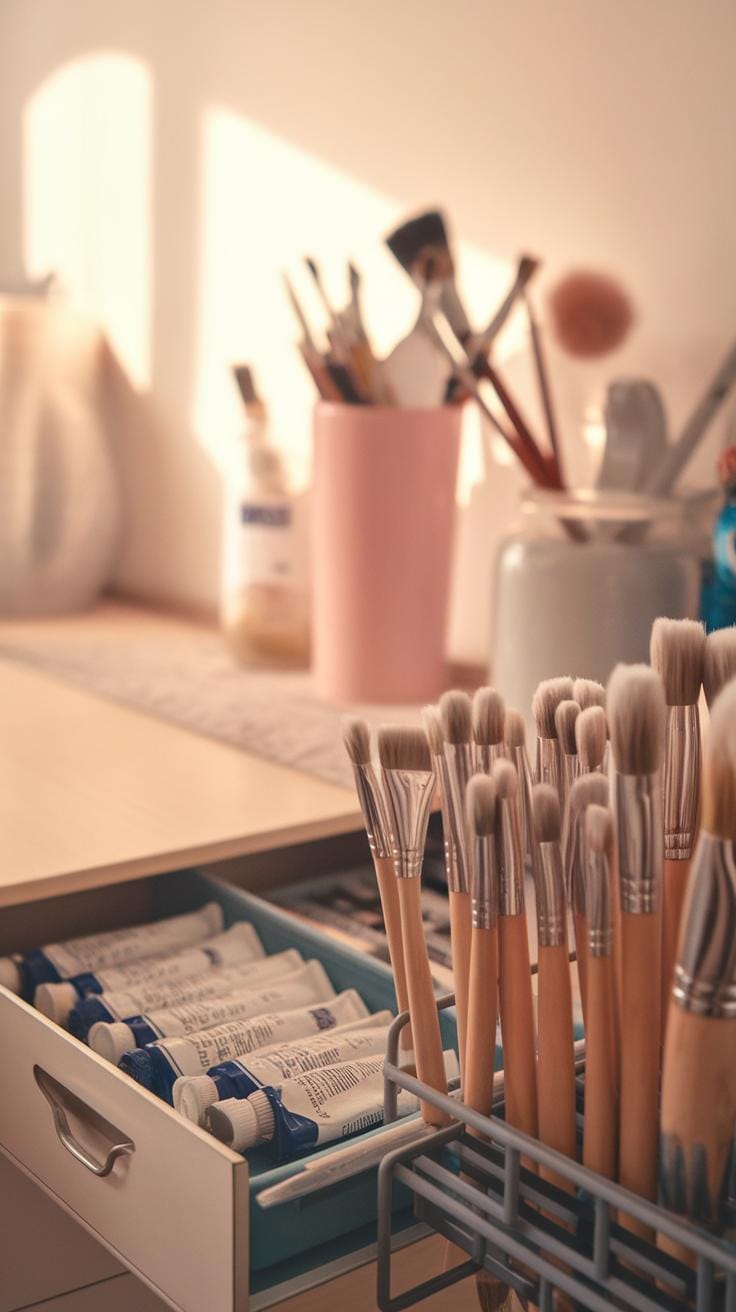
Keeping your gouache tools in good shape requires attention after each painting session. Proper care extends the life of your materials and keeps your colors bright and reliable. Think about how often you use your brushes—cleaning them thoroughly prevents dried paint from damaging the bristles. Storing your paints and tools correctly slows down pigment drying and stops dust or dirt from spoiling your colors.
Your supplies represent an investment in your art. How you treat them influences your painting experience every time you open your palette. Consistent care saves money and frustration, so ask yourself: Are you giving your tools the maintenance they need to perform well now and in future projects?
Cleaning and Storing Brushes
Start cleaning your brushes right after using gouache. Rinse them under lukewarm water until the paint loosens. Use a gentle soap or brush cleaner to remove any stubborn paint from the bristles. Avoid harsh scrubbing, which can break the fibers. Gently reshape the brush tip with your fingers to keep its form.
Let brushes dry horizontally or with the bristles pointing downward. Storing them upright with wet bristles can cause water to seep into the handle and loosen the glue. Use a brush holder or lay them flat on a clean cloth. This prevents damage and keeps brushes ready for your next work.
Preserving Paint Quality
Store gouache tubes tightly closed and in a cool, dry place to prevent paint from drying out or thickening. A sealed plastic bag or airtight container can protect tubes from air exposure, which causes colors to lose their freshness.
When using a palette, avoid leaving paints uncovered for long periods. Clean your palette with a damp cloth after each session to remove paint residue. If leftover paint hardens, you can sometimes reactivate it by adding a little water before your next use.
Do you notice changes in your paint texture or color over time? Proper storage can help keep your gouache ready for vibrant and smooth application, making your painting process smoother and more enjoyable.
Building Your Gouache Kit Step by Step
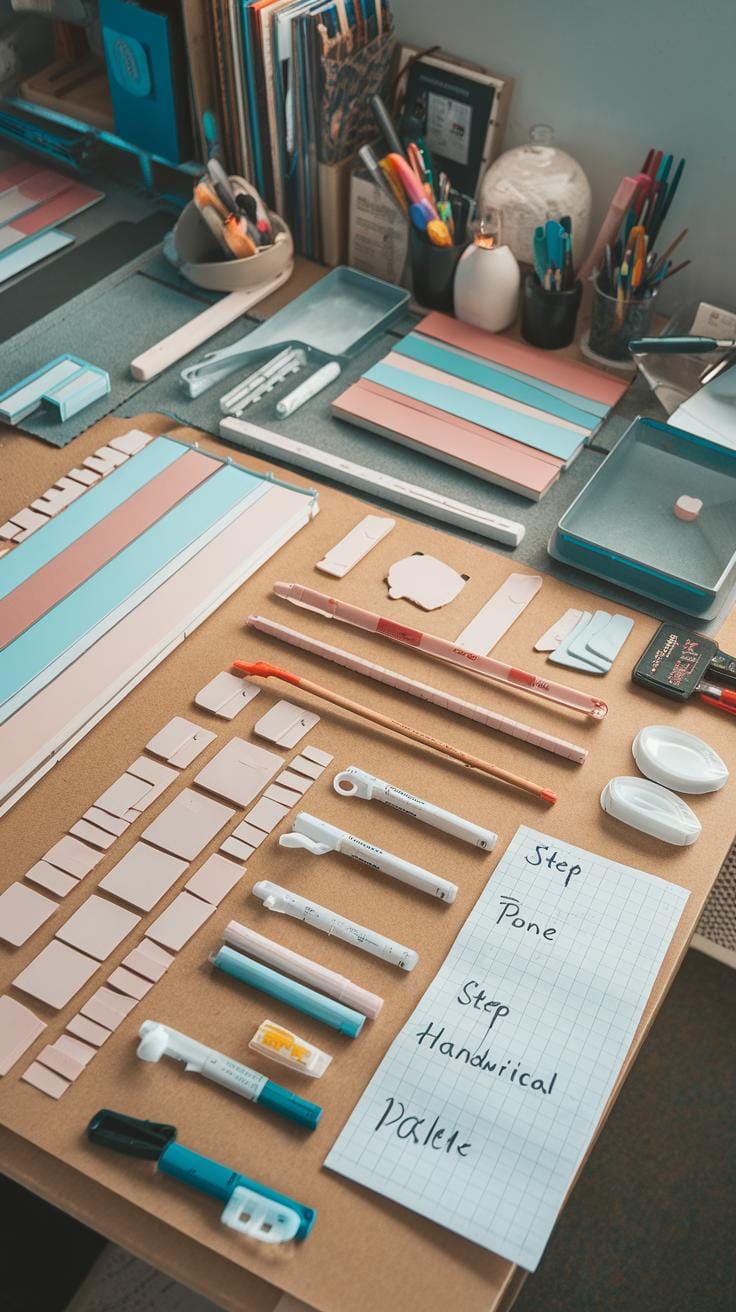
Start your gouache kit with a few key items that help you focus on painting rather than managing too many supplies. Choose a basic set of gouache paints that cover primary colors plus white and black. These give you enough options to mix a wide range of shades without overspending. Pick tubes in student grade or small pan sets that fit your budget but offer solid pigment quality.
Select brushes designed for gouache, such as synthetic rounds in sizes 4, 8, and 12. These sizes handle detail work, mid-size strokes, and large fills. Use an affordable palette like a simple plastic or ceramic mixing tray that’s easy to clean. For paper, try cold-pressed watercolor paper of about 140 lb weight. This paper holds the paint well without warping or bleeding.
Ask yourself which supplies will get the most use right away and avoid buying extra items just to have more tools. Building your kit with fewer, reliable tools lets you concentrate on practice and improving your skills.
Starter Kit Essentials
Your starter kit should include gouache paints in basic colors like cadmium red, ultramarine blue, cadmium yellow, titanium white, and black. Look for sets that balance cost and pigment strength. Choosing synthetic brushes in small, medium, and large sizes helps you shape strokes and textures. Avoid cheap bristles that shed easily.
Paper matters. Select a pack of watercolor sheets with medium texture. They grip gouache without soaking it up too fast. A flat plastic palette or a sturdy ceramic plate makes mixing simple and keeps paint fresh during sessions. Include a jar for water, a cloth or paper towel, and a pencil for sketching.
These basics keep your startup costs low and provide a solid foundation. How will you mix colors to get new hues? These simple supplies let you experiment while learning essential gouache techniques.
Upgrading Your Tools
When you begin mastering gouache, consider adding specialty brushes like filberts, flats, and detail brushes. These shapes let you create sharper edges, wider strokes, and finer lines. Try brushes with natural hair for different textures and sensitivity.
Expand your paint collection by adding secondary and earth tones, such as burnt sienna, phthalo green, and yellow ochre. These colors bring depth and realism to your work. You might also invest in artist-grade gouache for richer pigments and smoother blending.
Experiment with paper options like hot-pressed or rough textures to find what matches your style. Larger sheets help with ambitious projects. A portable palette box and brush holder improve your setup for outdoor painting or studio work.
What new effects could specialty tools unlock in your gouache practice? Upgrading supplies should match your growing skills and creative needs rather than impulse buying. Choose additions that help refine your technique.
Conclusions
Choosing the right tools is a vital step in becoming proficient with gouache. Each item, from the type of paint to brushes and surfaces, affects how you apply and control your paint. Careful selection based on your style and technique goals ensures you get the best performance and satisfaction from your art.
Experimenting with various tools can open doors to discovering your unique approach to gouache painting. You can learn how different papers react, what brushes offer the best stroke, and which paints give the most vibrant colors. Investing time and effort into understanding your materials adds depth to your skills and pleasure in creating your artworks.