Introduction
Art markers have gained popularity among artists for their vibrant colors and versatile application. These drawing tools, ranging from permanent markers to highlighters, offer various techniques to enhance creativity. They not only allow for detailed drawings but also encourage bold expressions. Understanding the fundamentals of using art markers can significantly transform artistic endeavors, resulting in pieces that capture attention and evoke emotions.
In this article, we will explore the different types of art markers and their unique attributes. We will discuss techniques that combine traditional and contemporary drawing methods. Each chapter will focus on specific aspects of using art markers, helping artists of all skill levels harness their potential. This exploration aims to inspire a deeper appreciation and understanding of art markers and their role in modern drawing.
Understanding Art Markers
Art markers are a versatile and popular medium in the world of drawing and illustration. These tools have roots that trace back to the mid-20th century when designers and artists invented them for easy portability and vibrant color application. Unlike pencils or paints, which require brushes and water, art markers provide a quick way to add color and detail directly onto the paper.
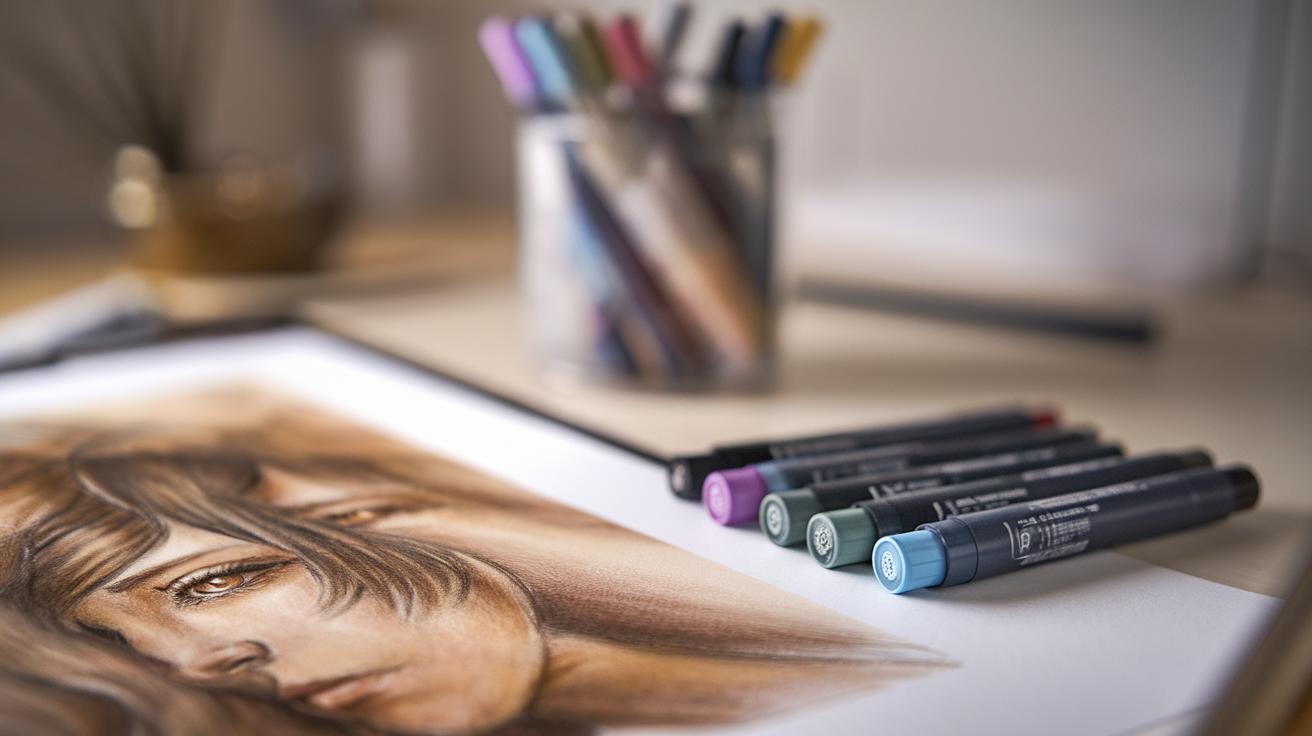
There are three main types of markers: permanent, water-based, and alcohol-based. Permanent markers use strong inks that resist fading and washing. Artists often use them for bold lines and dynamic accents. Water-based markers are easier to blend and wash out, making them perfect for creating softer textures. Alcohol-based markers offer vibrant shades with smooth application, ideal for layering and blending techniques. Each type serves different artistic needs, helping creators bring their visions to life.
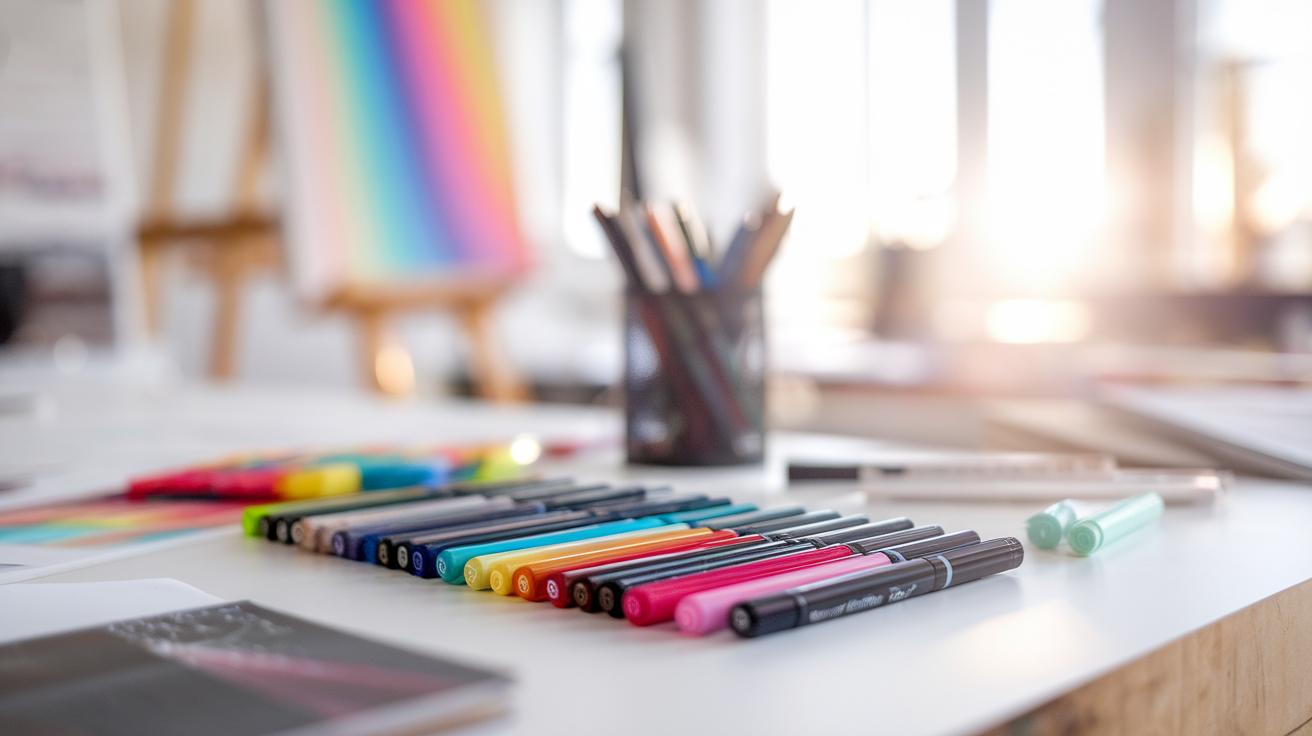
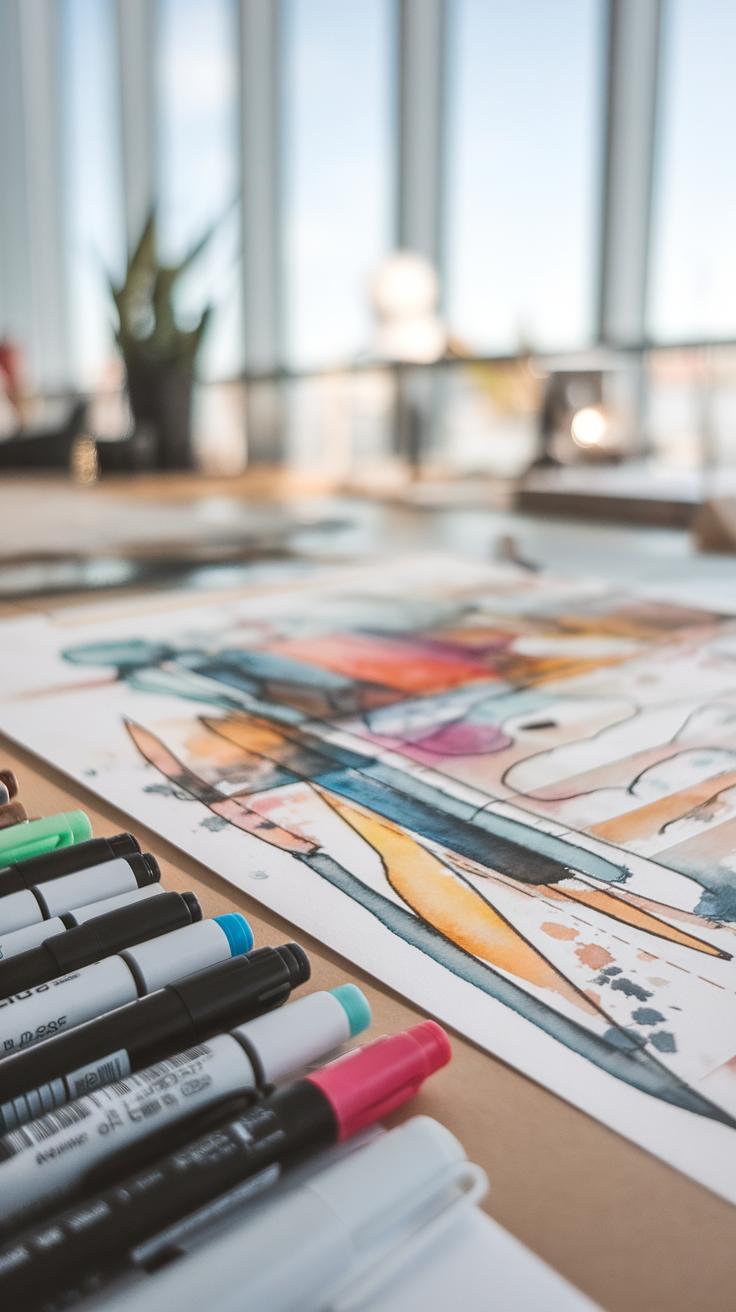
Choosing the Right Markers
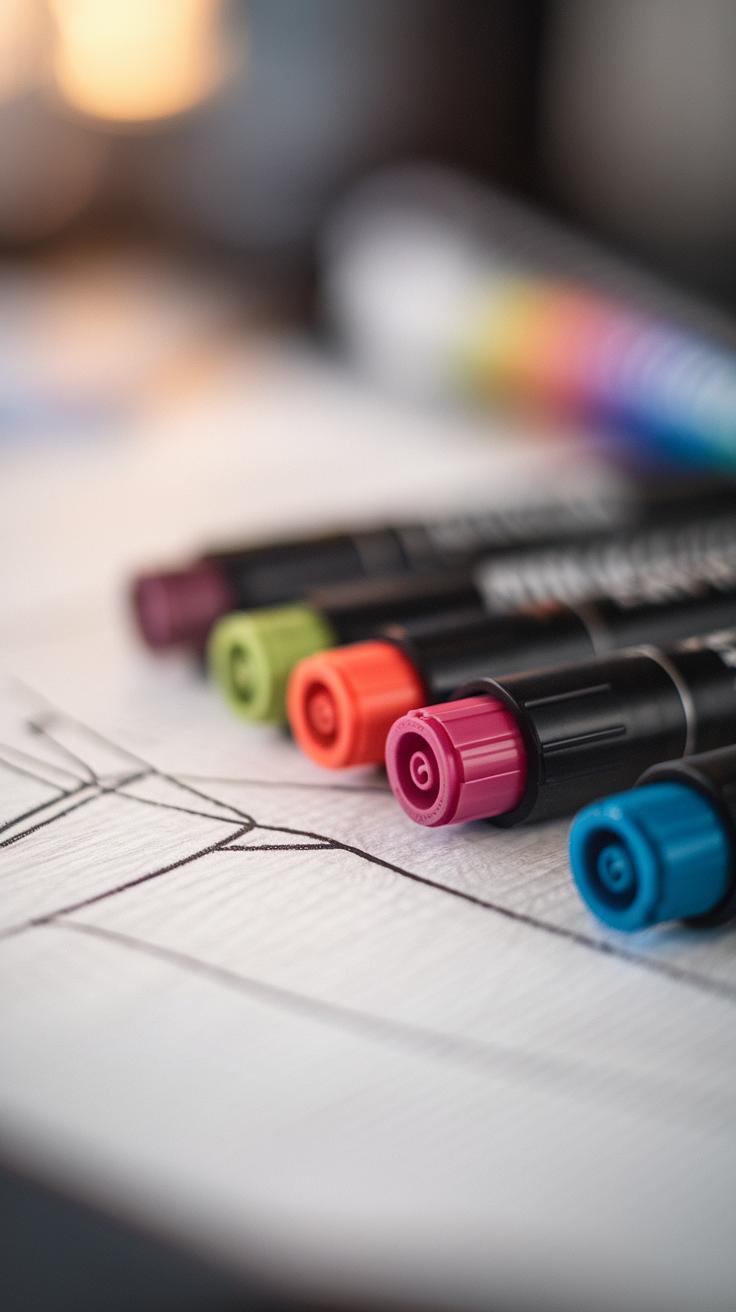
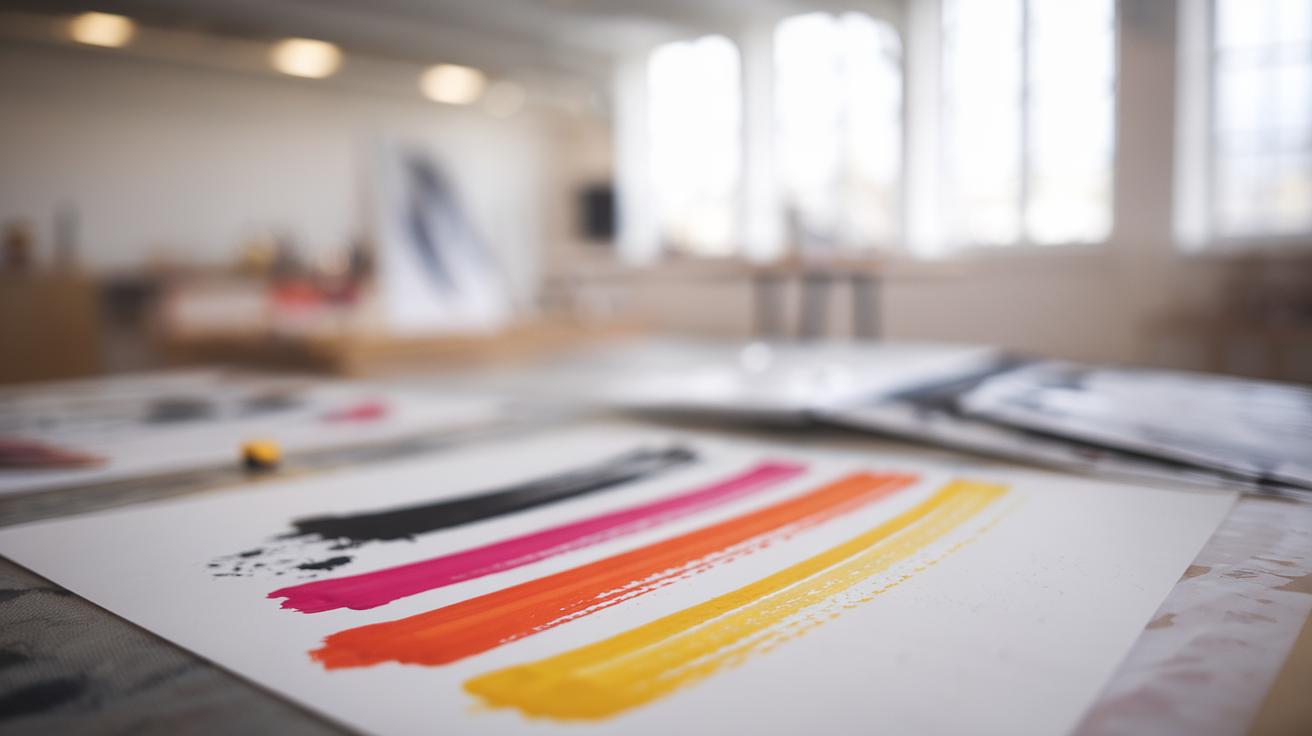
Selecting the right markers can significantly impact your artwork. Consider the type of project you want to tackle. Look for vibrant colors and a variety of shades when you aim for bold illustrations. The tip size also affects your work; broad tips allow for filling large areas, while fine tips excel in providing intricate details.
Pay close attention to ink quality, as it can vary between brands. High-quality inks blend smoothly and create consistent colors. Test a few markers before committing to a full set. This approach ensures that you match the right markers to your artistic style, paving the way for stunning pieces. By carefully weighing these factors, you can find markers that suit your creative needs and enhance your drawings.
Choosing the Right Markers
Understanding Marker Types
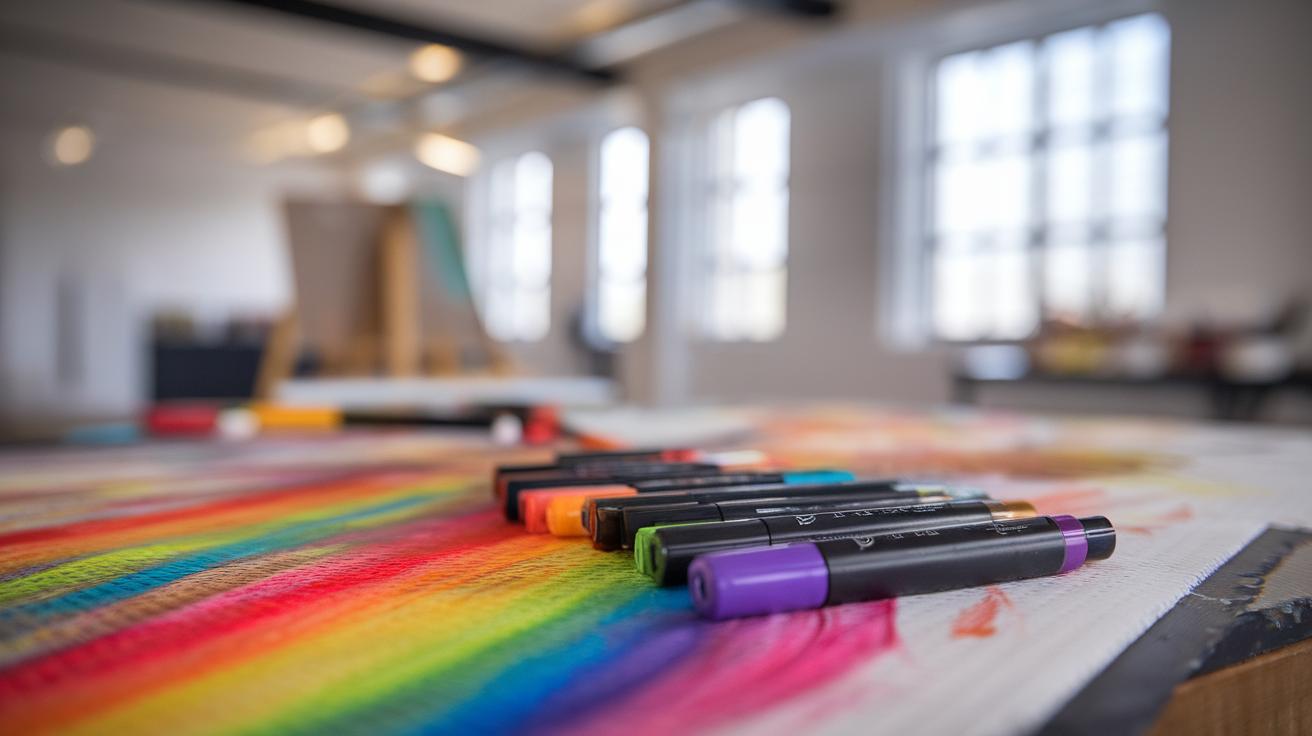
Choosing the right markers significantly impacts your artwork. Consider the marker type first. Permanent markers offer vibrant colors and stay bold over time. Meanwhile, water-based markers provide easy blending options, which works well for soft themes. Alcohol-based markers deliver beautiful transparency, perfect for layering colors to create depth. Artists looking for versatility might prefer dual-tip markers, featuring a broad tip for filling in large areas and a fine tip for detailed work.
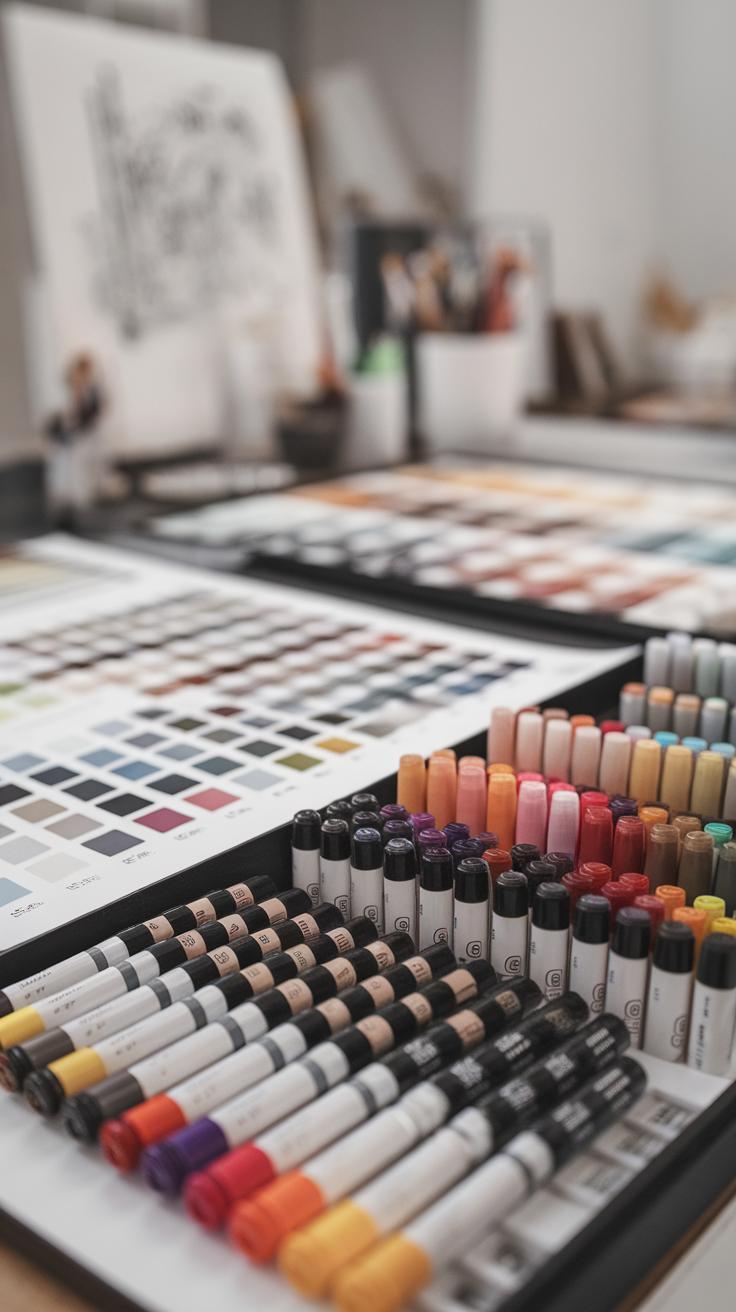
Evaluating Color and Quality
Color selection plays a crucial role. Bright, rich colors can bring artwork to life, while muted tones add subtlety. Look for markers that offer a wide spectrum of hues. Moreover, high-quality ink promotes smooth application and even coloring, preventing streaks. Checking reviews or trying sample packs helps ensure you find markers that suit your style. Always test the markers on your preferred paper to see how they perform before committing to a set.
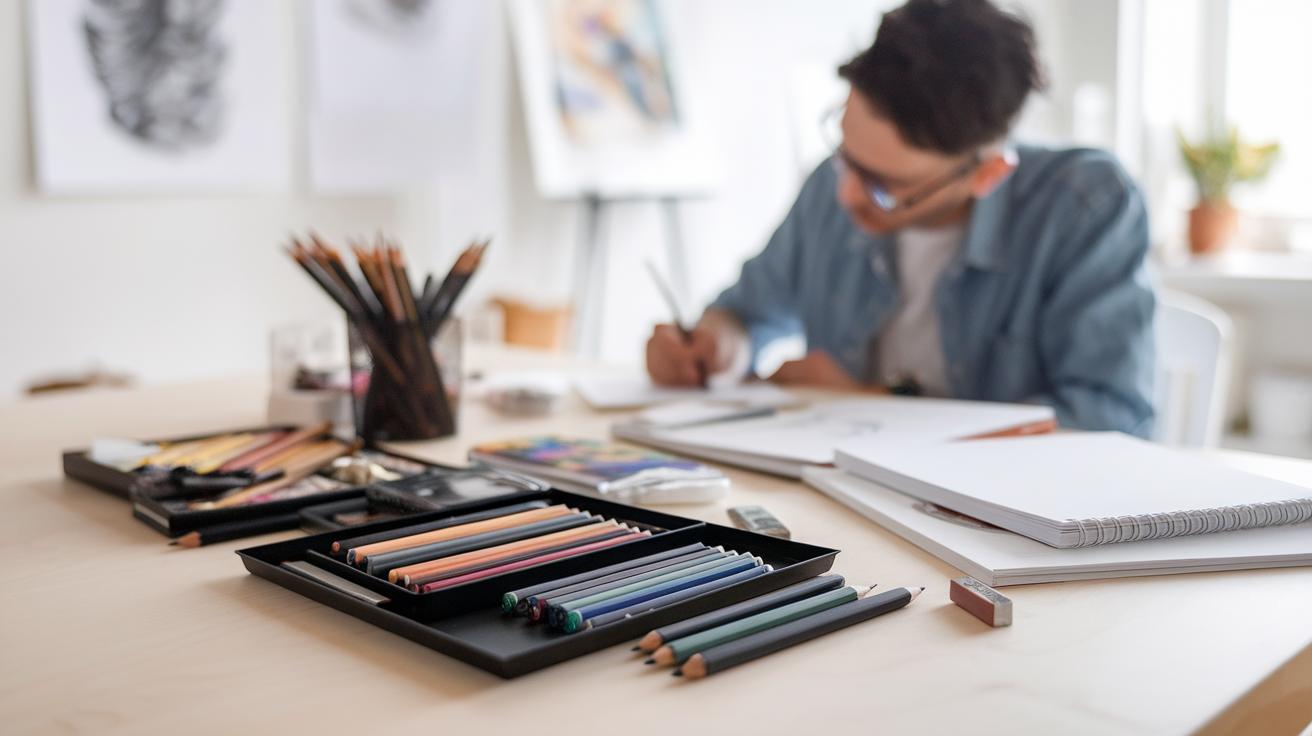
Basic Techniques for Beginners
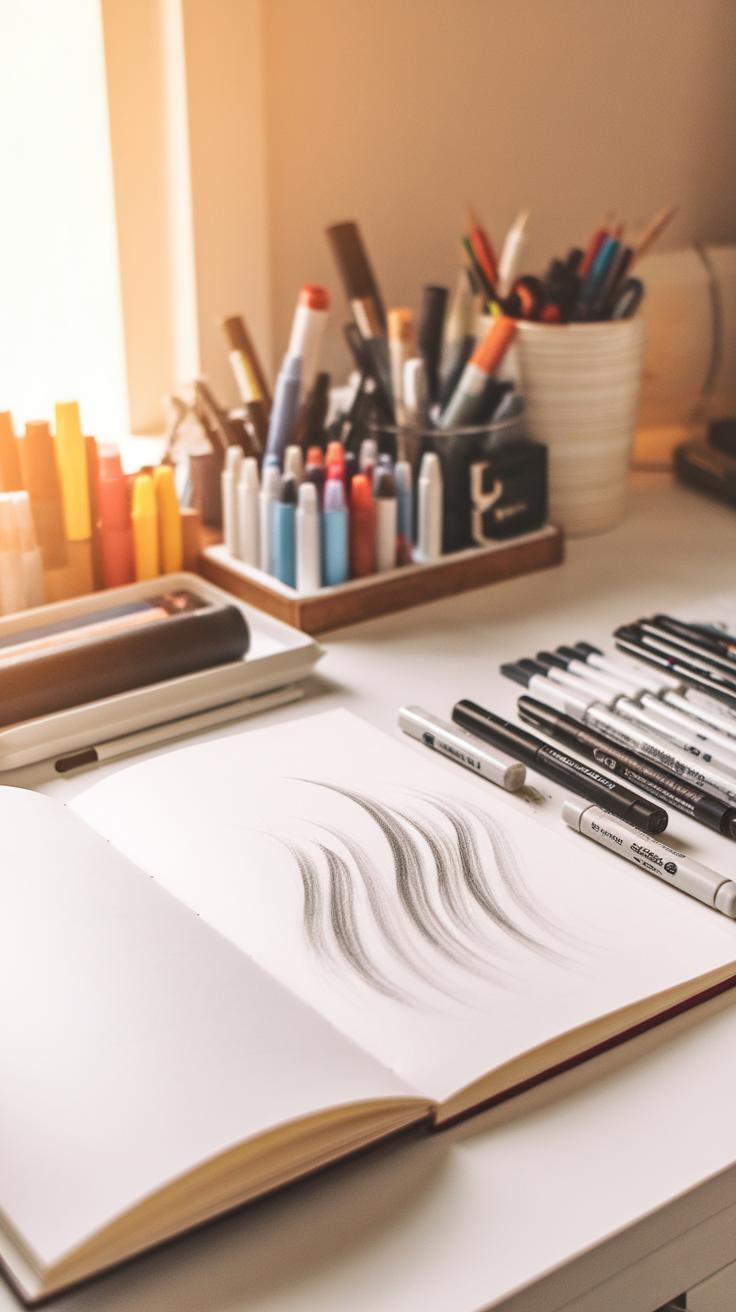
Foundational Techniques Using Art Markers
Starting with art markers involves mastering some foundational techniques. Blending colors creates smooth transitions between shades. To blend, work with similar colors. Apply one color, then layer the second on top using circular motions. This technique softens lines and enriches your color palette.
Creating textures brings your artwork to life. Experiment with different strokes. Use short flicks for a speckled effect or long, sweeping motions for smooth areas. Combining these techniques adds rich detail and keeps the viewer’s eye engaged.
Basic shading enhances depth. Identify the light source in your drawing. Shade on the opposite side using a lighter tone first and layer darker colors gradually. This process creates three-dimensional forms, giving your art a sense of realism without compromising its vibrancy.
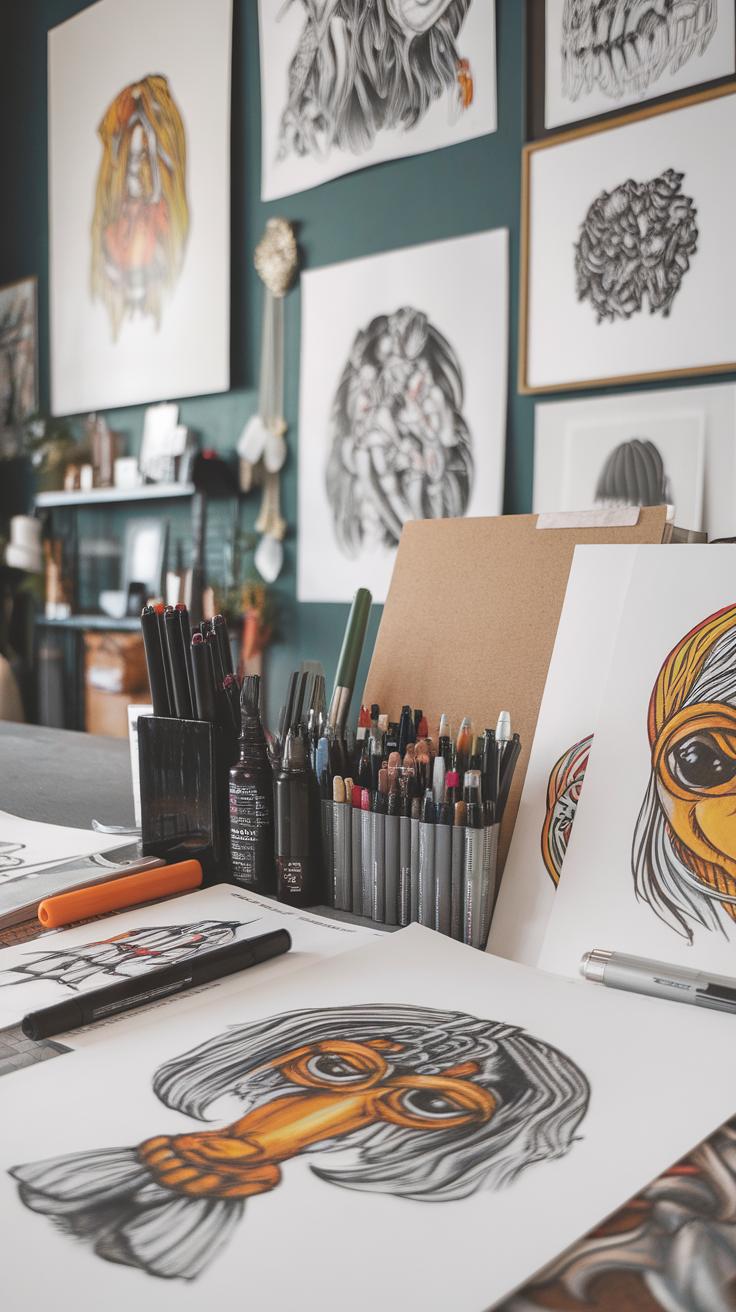
Advanced Drawing Techniques
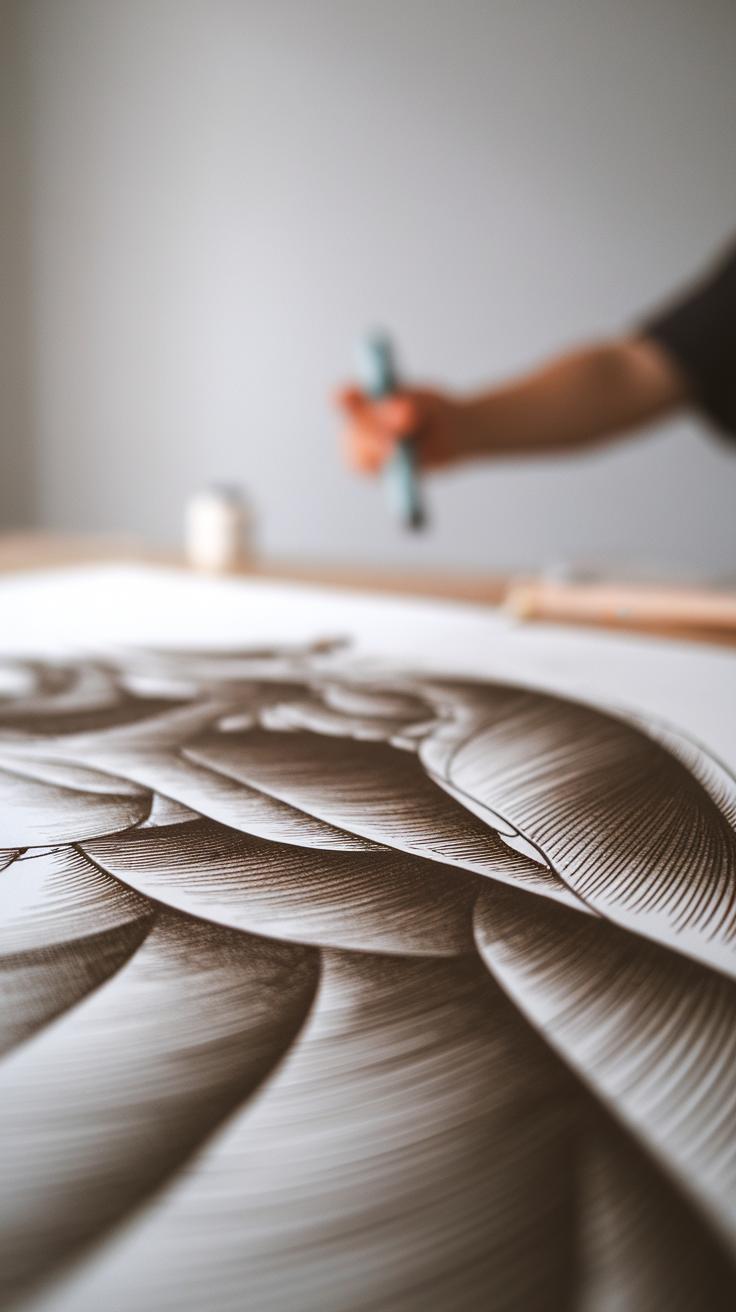
Unlock Distinct Depth with Art Markers Drawing
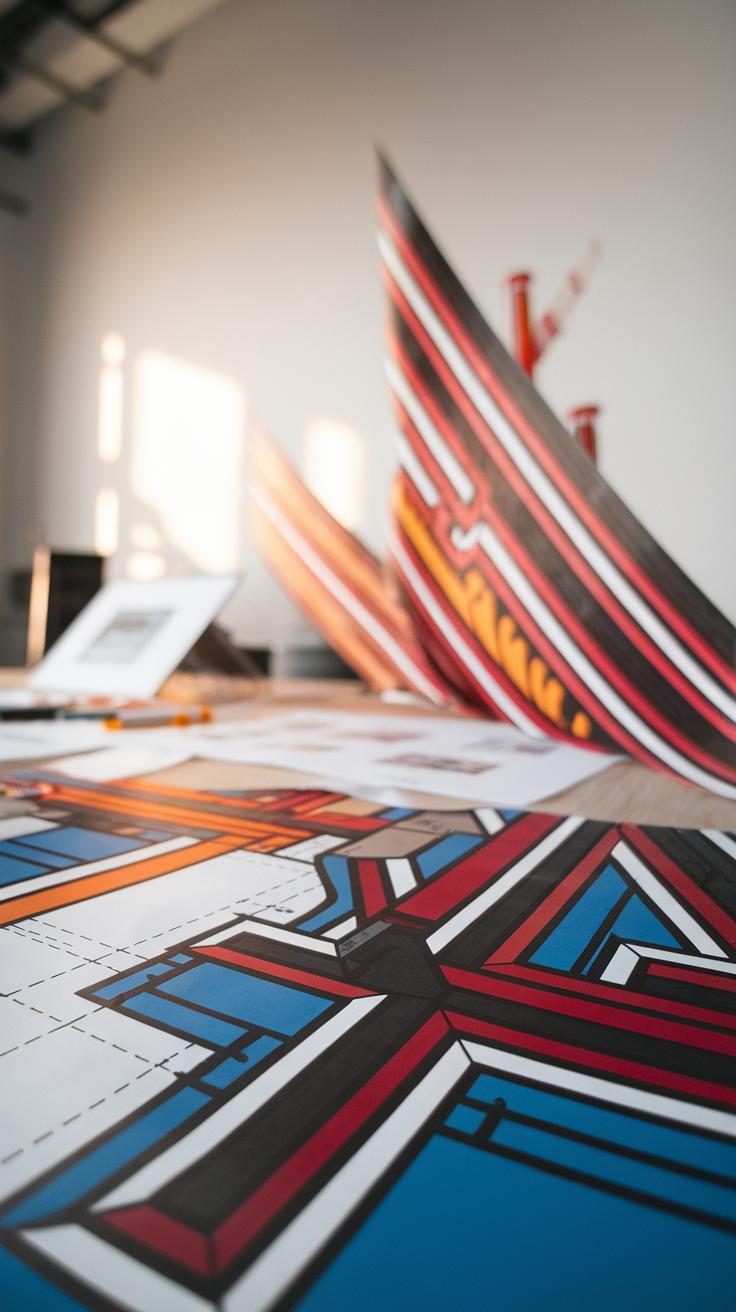
Artists can achieve stunning results with advanced techniques like layering, stippling, and cross-hatching. Layering is a great way to build depth. Start with a light color, then gradually add darker shades. This method allows scenes to pop, as darker tones create shadows and add dimension. Stippling involves making tiny dots to form shapes and shadows. It can create texture and dimension, enhancing the overall feel of the artwork. Combine stippling with layering to intensify effects. Cross-hatching uses intersecting lines to create shading and volume. By varying line thickness and spacing, artists can depict light and shadow effectively. These techniques can help reveal the beauty of art markers, giving a rich depth to any drawing.
Combining Markers with Other Mediums
Achieving Unique Effects
Combining art markers with other mediums can result in captivating artwork. Use colored pencils alongside markers to enhance shading and texture. Markers provide bold colors while colored pencils can add delicate details and softer transitions. Layer the colored pencil over the dry marker areas for depth. This technique works well for creating shadows and highlights, giving your art a three-dimensional feel.
Watercolors make an excellent partner for markers, especially for backgrounds. Begin by applying a light wash of watercolor to create a base layer. Once dry, draw over it with markers to add vibrant details. The watercolors can soften the starkness of the markers, producing a harmonious blend. Lastly, try integrating pastels for a soft finish. Blend pastels into areas already marked with color to create smooth gradients. Each of these combinations opens up new avenues for creativity, allowing you to transform simple designs into stunning compositions.
Creating Illustrations and Designs
Cartoon and Comical Styles
Art markers allow artists to achieve vibrant and expressive cartoon styles. Using bold colors, artists can create characters with exaggerated features and playful expressions. Layering colors adds dimension, making figures pop off the page. Simple shapes and outlines help define movement and energy. Cartoon illustrations often tell a story, so consider how your characters interact with their backgrounds. These lively designs draw audiences in, making them perfect for comic strips or children’s books.
Realistic Drawing Techniques
Creating realistic drawings with art markers challenges artists to blend colors skillfully. Start with light layers, gradually adding darker tones to build depth. Focus on shadows and highlights to enhance texture, making objects appear three-dimensional. Observe real-life references closely to capture details accurately. Techniques like cross-hatching and pointillism can produce intricate effects that surprise viewers. Designing landscapes or portraits with art markers reveals a unique style, merging traditional realism with modern flair.
Tips for Maintaining Your Markers
Extend Lifespan and Functionality
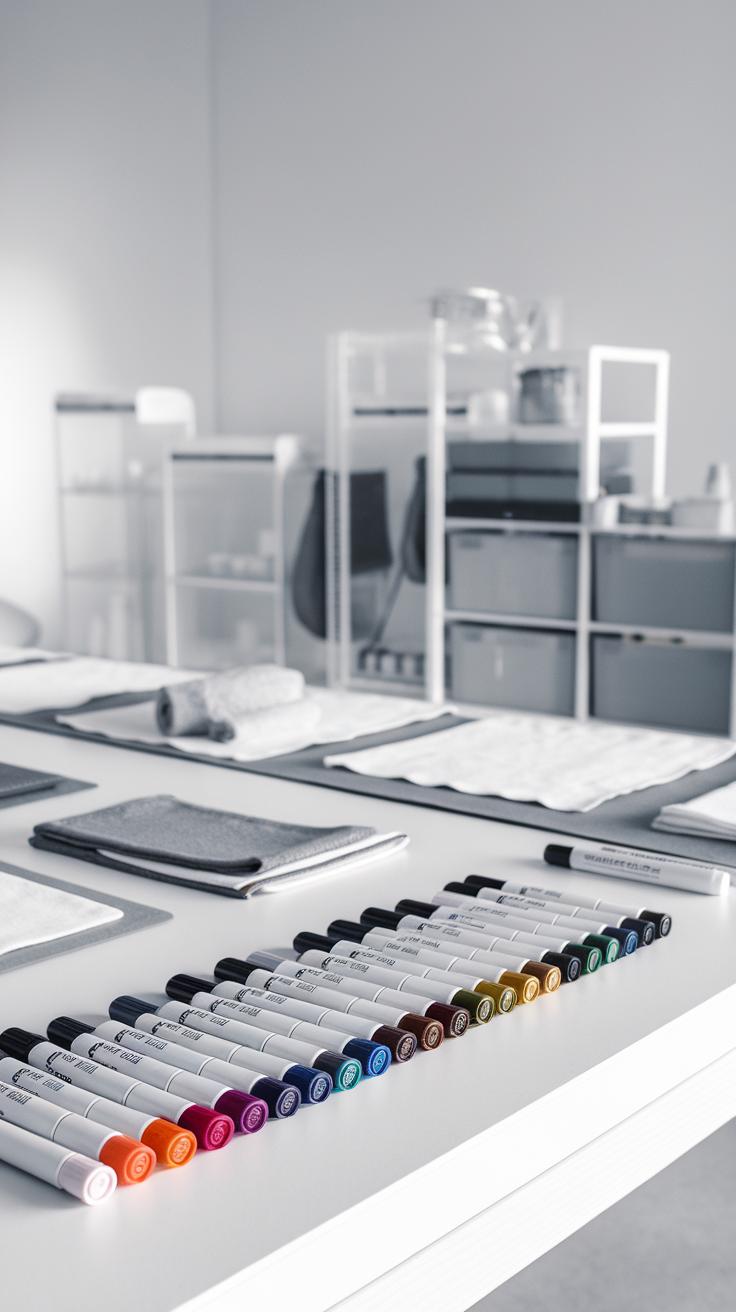
To keep your art markers in great shape, store them horizontally. This position prevents ink from pooling at one end, ensuring an even flow when you use them. Make sure to keep the caps on tightly after each use. If the cap sits loosely, your marker might dry out quickly.
Cleaning the nibs can also boost performance. Wipe them gently with a soft cloth to remove dirt and dried ink. For stubborn stains, use a bit of rubbing alcohol on the cloth. Regularly check for any signs of drying; if you notice a marker becoming less vibrant, try shaking it to mix the ink or reposition it for better ink flow.
Keep your markers out of direct sunlight. Sun exposure can cause colors to fade and materials to break down. Store them in a cool, dry place to maintain their quality. Following these simple tips will help you enjoy many creative sessions with your markers.
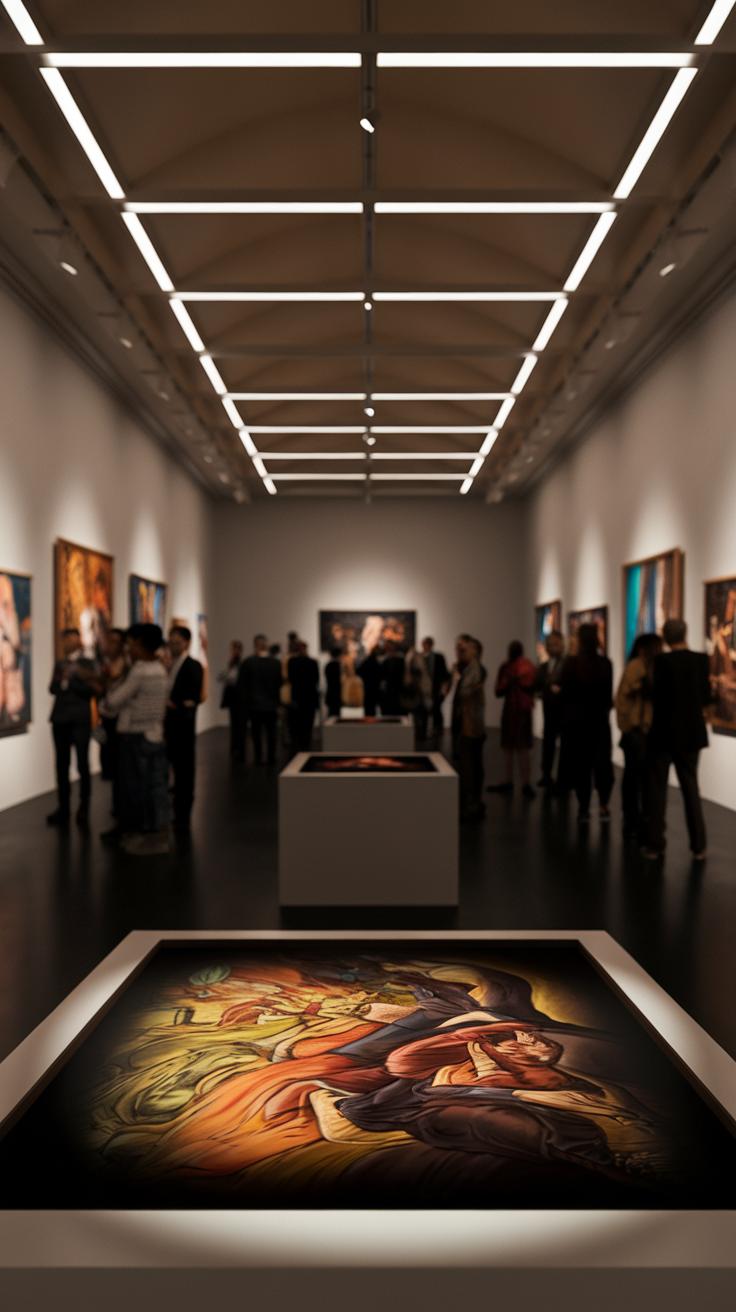
Showcasing Your Artwork Display and Promote Your Marker Masterpieces
Framing Your Art Markers Drawings
Choosing the right frame can enhance your marker artwork’s visual appeal. Select frames that match your piece’s style and color scheme. Consider using a simple black or white frame for a modern look or a vintage wooden frame for a classic touch. Use matting to add depth and contrast, which helps your artwork stand out. Make sure to secure your artwork properly within the frame to prevent shifting or damage.
Sharing Your Work Online
Promoting your artwork online allows you to reach a larger audience. Create a dedicated social media account or a portfolio website to showcase your pieces. Post high-quality images and share details about your creative process. Engaging with fellow artists and art lovers through comments and feedback can build a supportive community. Utilize hashtags strategically to increase visibility and attract potential buyers.
Inspiration from Professional Artists
Professional Insights
Many artists find inspiration in the techniques of professional creators who excel in art marker drawing. For example, illustrator and muralist Lisa Congdon uses markers to blend vibrant colors and intricate designs. She often emphasizes the importance of layering colors to achieve depth and dimension in her artwork. By practicing layering, emerging artists can transform basic sketches into stunning pieces that capture attention.
Another artist, Greg Ruth, often shares how he utilizes markers to portray depth through shading and line work. He encourages aspiring artists to experiment with various styles, from comic art to realism, to discover their unique voice. These professionals show that consistent practice and experimentation can lead to breathtaking artwork, motivating others to push their creative boundaries.
Conclusions
As we have uncovered the various techniques and types of art markers, it becomes clear how significant they are in the artistic landscape. Artists can achieve distinct styles by mastering these tools. Whether using them for intricate details or bold strokes, art markers empower individuals to express their creativity fully.
Art markers are essential for anyone looking to explore the depths of drawing. By applying the techniques discussed, individuals can elevate their artwork, ensuring a fresh perspective in a world rich with visual art. Embrace art markers and let them guide you to new artistic horizons.