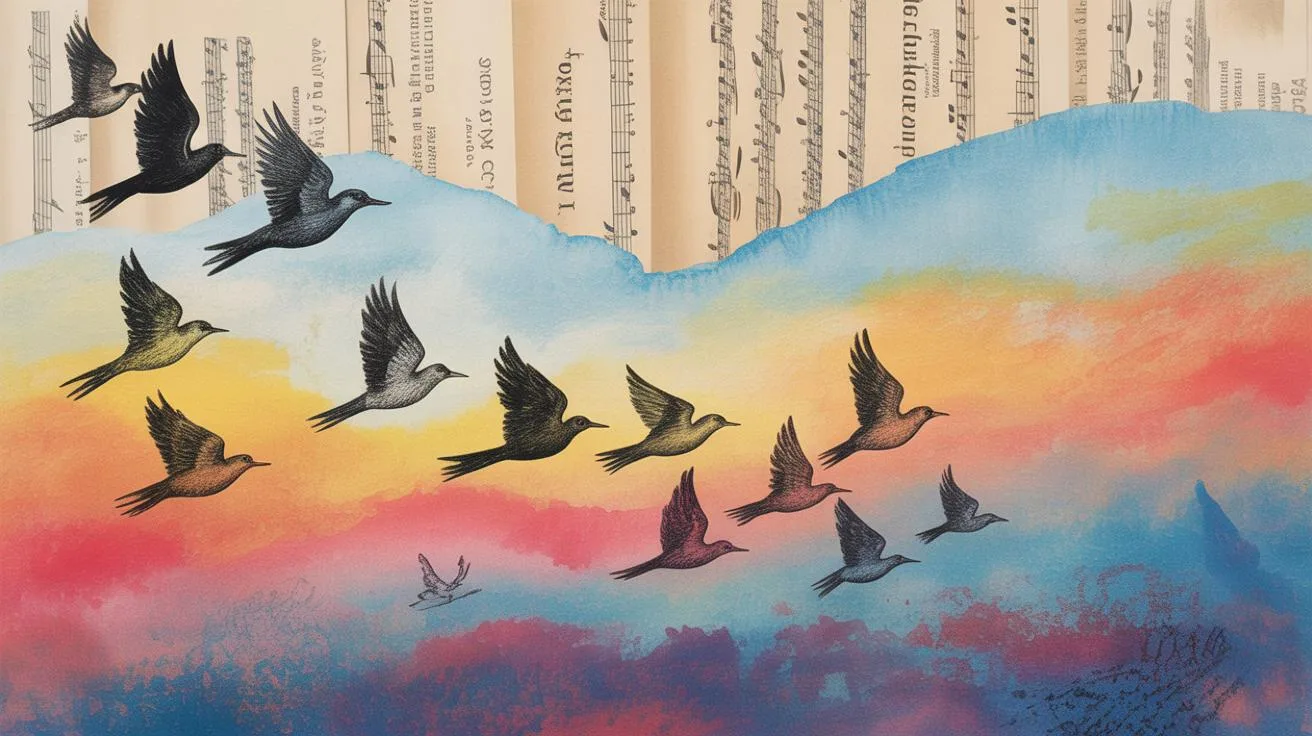
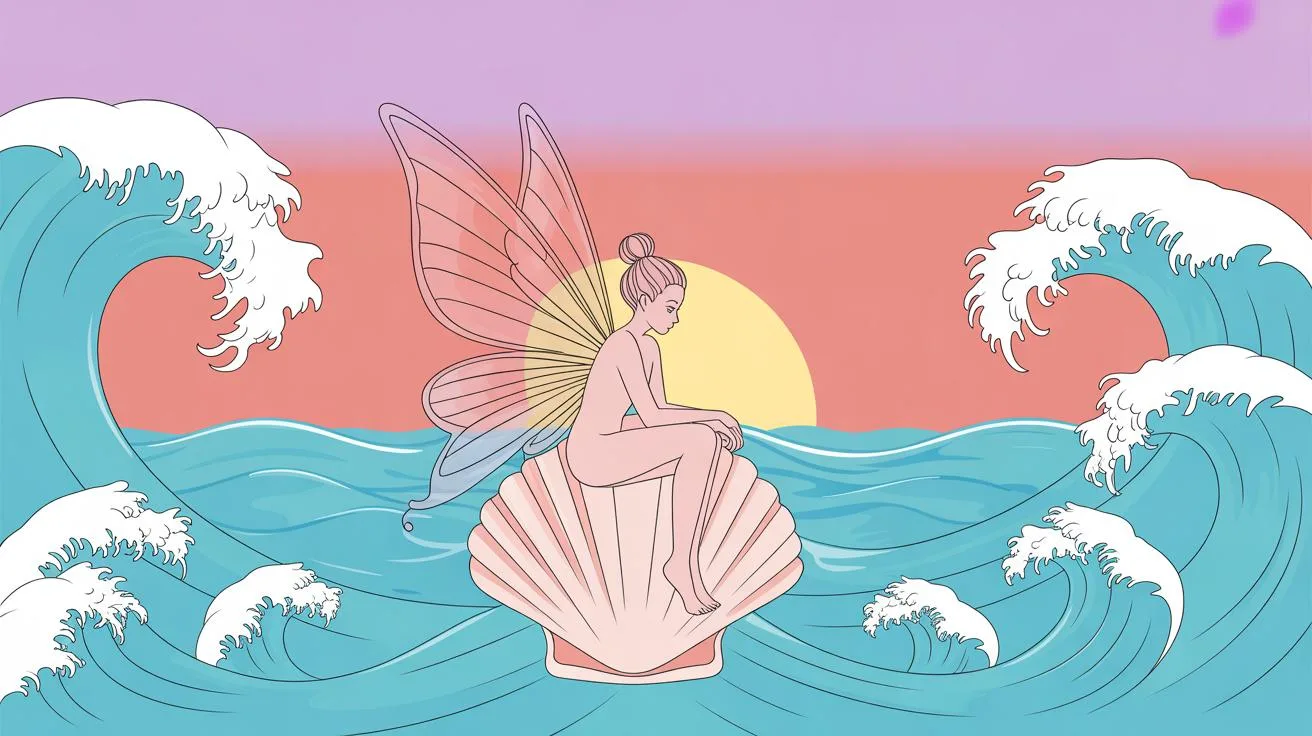
Introduction
Art coquillage involves creating beautiful art pieces using shells as the main material. This style draws inspiration from the natural shapes, colors, and textures of seashells to make unique artworks. Shells can be used in many creative ways, including jewelry, decorations, and even paintings. Exploring art coquillage allows you to bring a bit of the ocean’s beauty into your home or gifts.
This article will guide you through different coquillage techniques. You will learn about the tools needed, shell selection, and step-by-step processes to create stunning shell art. Whether you are a beginner or experienced artist, these ideas can help you bring your shell-inspired creations to life.
What is Art Coquillage and Its History
The Meaning of Coquillage in Art
Art coquillage centers on the use of shells and natural ocean materials as its primary elements. The word “coquillage” itself comes from French, meaning “shell collection,” but in art, it has come to describe works that incorporate shells either as the main medium or decorative accents. It’s not simply about sticking shells on surfaces; coquillage often involves arranging these organic pieces thoughtfully, creating patterns or scenes inspired by the sea. You might find it hard to imagine how simple shells could become art, but through this style, they transform into textured, tactile expressions linked closely to nature and the ocean’s rhythm.
What stands out is how coquillage bridges natural history and artistic creativity. It isn’t just decoration – it carries the weight of the shells’ origin, their shapes, colors, and even their imperfections. This gives the art an organic, somewhat unpredictable quality that reflects the complexity of the ocean itself.
Historical Use of Shells in Art
Shells have been part of human creativity for centuries, if not millennia. Ancient coastal communities often collected shells for functional and symbolic purposes, but they also embedded them in art and rituals. For example:
- Native American tribes crafted shell beads for jewelry and ceremonial items, sometimes trading these beads across vast distances.
- In ancient Rome, designers decorated walls and floors with mosaics using tiny pieces of shell combined with stones or glass.
- During the Renaissance, cabinets of curiosity often included intricately arranged shells, reflecting a fascination with natural curiosities.
- French artists popularized coquillage décor for furniture and picture frames in the 18th century, transforming shells into ornate trim, which became a hallmark of seaside elegance.
Historically, artists have used shells not only for their aesthetic appeal but also as symbols—sometimes signifying fertility, the sea’s mystery, or protection. It’s curious how across different cultures and eras, shells have maintained a role in artistic expression, even though the exact style and methods have shifted. Your shell-based artwork carries echoes of those ancient traditions, even if you don’t consciously realize it.
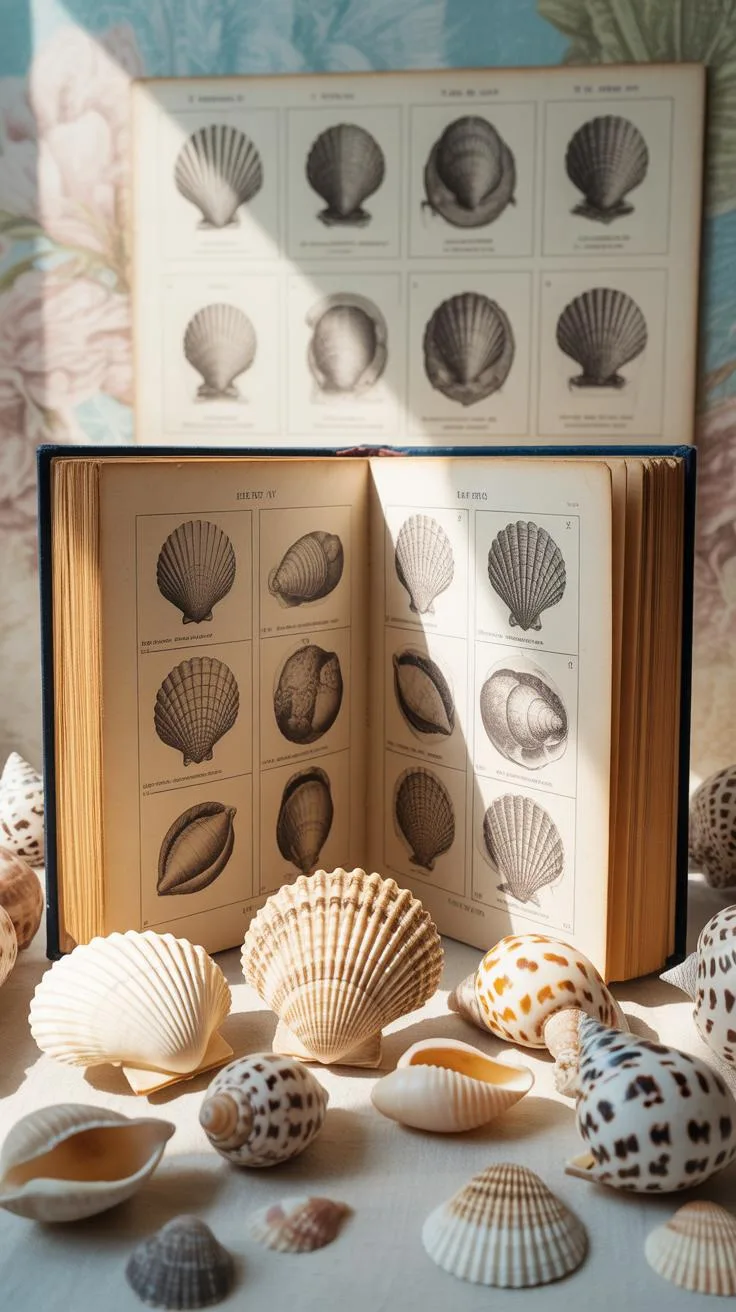
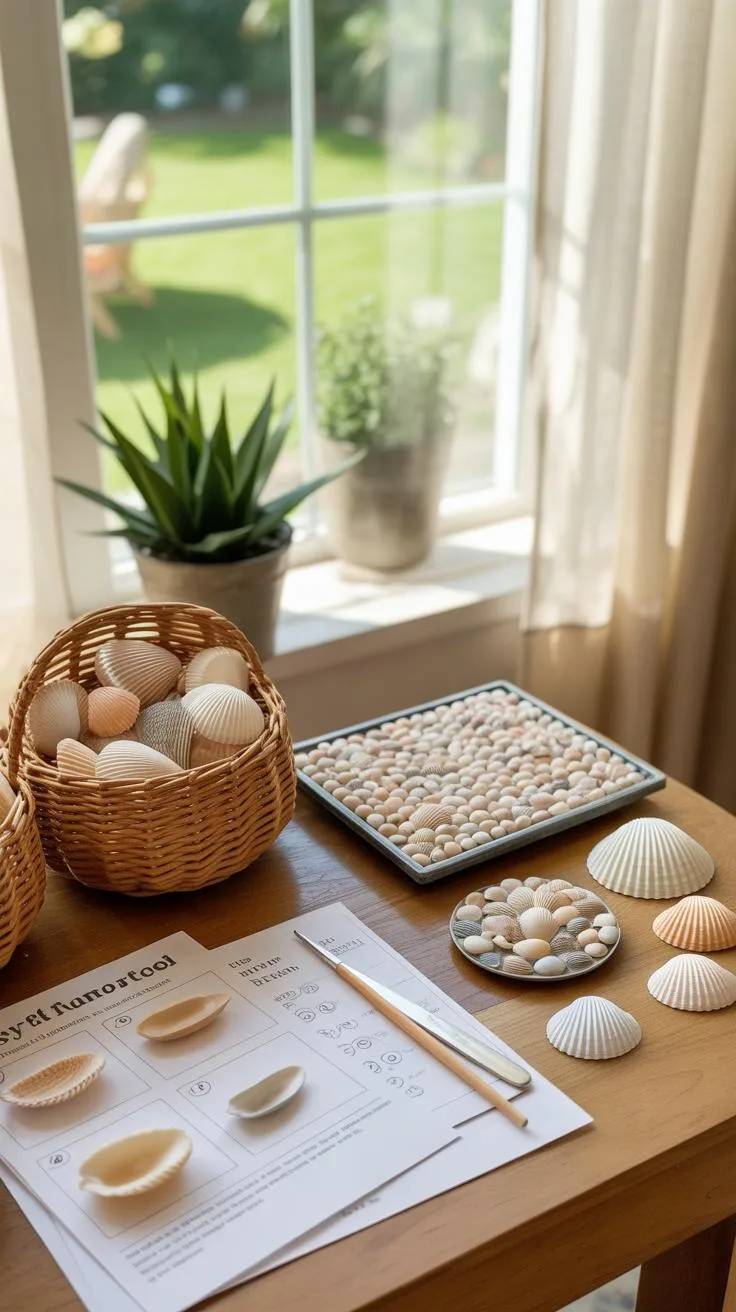
Choosing Shells for Your Art Projects
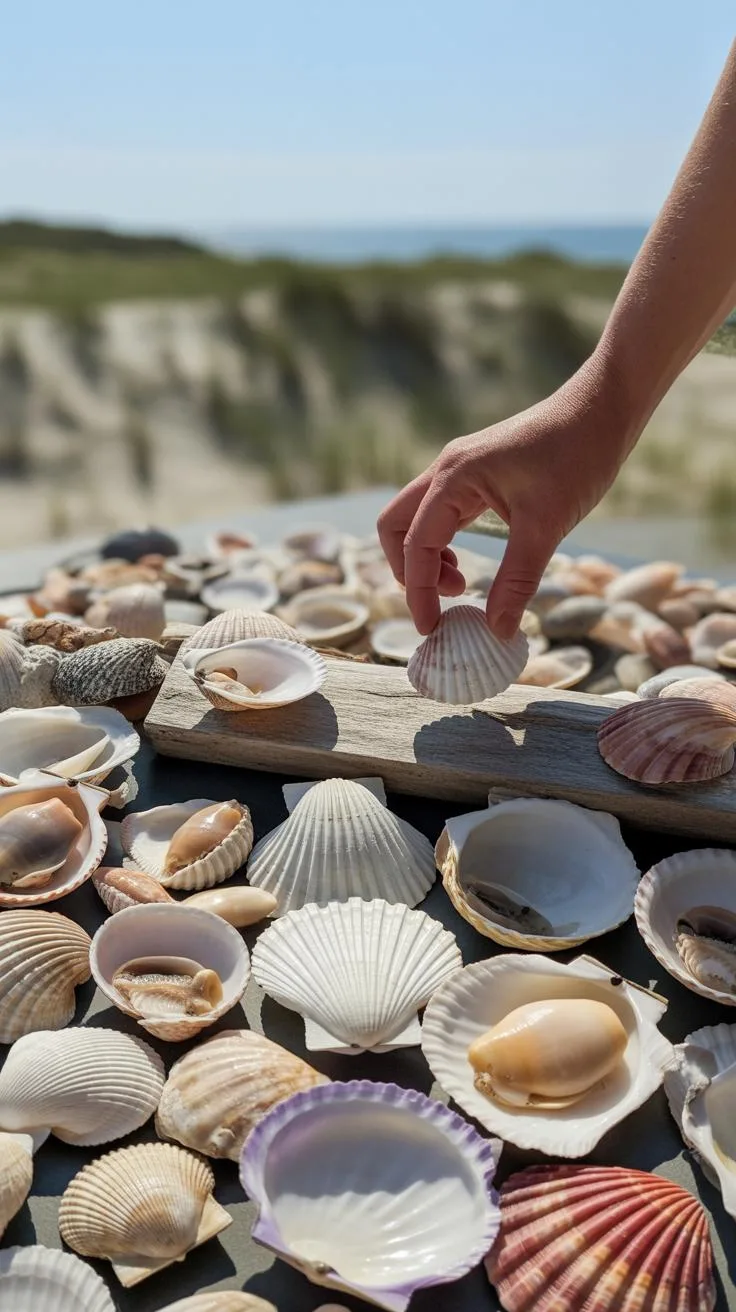
Picking the right shells shapes your whole project—maybe that’s obvious, but it’s easy to overlook how much size, shape, and color influence your design. You might want big, flat shells as a base, or smaller, curled ones for detail. Sometimes, I’ve tried using all tiny shells in a piece and found the texture lost its impact.
Shapes matter too. Flat scallop shells can form neat backgrounds, while spiral snail shells add interesting curves. Think about what you want to highlight. Do you want your art to feel structured or organic? The shells you choose will steer you one way or another.
Colors might surprise you. White and cream often make for subtle, elegant creations, but bright orange or deep purples can make a piece pop. Sometimes a mix of muted tones works better than vivid contrasts. It really depends on your mood and the effect you want.
Types of Shells and Their Uses
There’s a wide range to pick from, each with unique qualities that suit different designs. Some common ones include:
- Scallop shells: Ideal for backgrounds or frames due to their flat, fan-like shape.
- Conch shells: Great for standalone focal points because of their size and spiral form.
- Abalone shells: Known for their iridescent shine, good for adding a shimmering accent.
- Clam shells: Often used for textured layers or to build structure.
- Snail shells: Small, rounded, perfect for delicate details or borders.
Each shell type lends itself differently—it’s worth playing around to see which fit your vision best. You may find some shells suit certain art styles, but less so others.
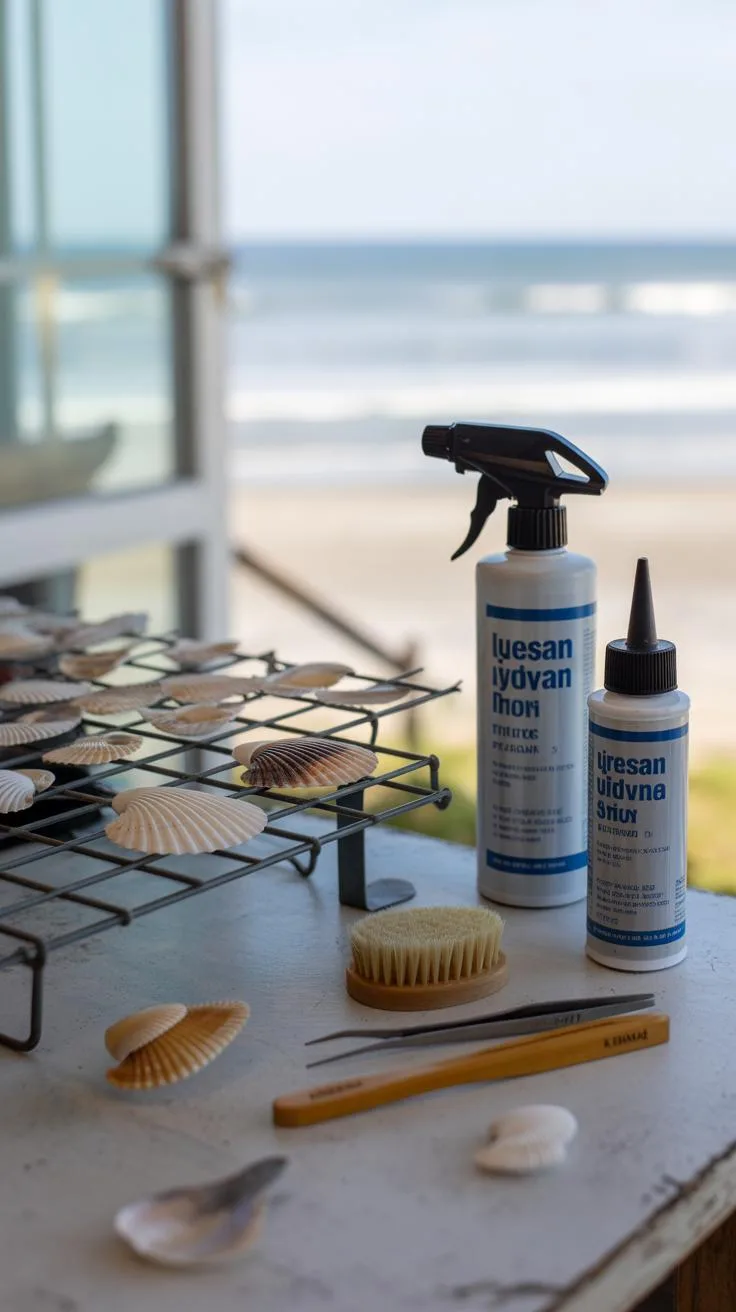
Cleaning and Preparing Shells
Never rush this step. Dirty or grimy shells ruin even the most careful designs. Start by soaking shells in warm water to loosen debris. Sometimes a soft brush or old toothbrush helps get into the nooks.
For tougher stains or leftover organic material, I’ve gently boiled shells to sanitize them, though some shells can become brittle this way. Acid-based cleaners work, but only if you’re willing to risk dulling a shell’s shine.
Dry them thoroughly before use—wet shells don’t stick well if you’re gluing or painting. Also, consider sanding down rough edges to avoid snagging or discomfort while handling.
Tools and Materials Needed for Art Coquillage
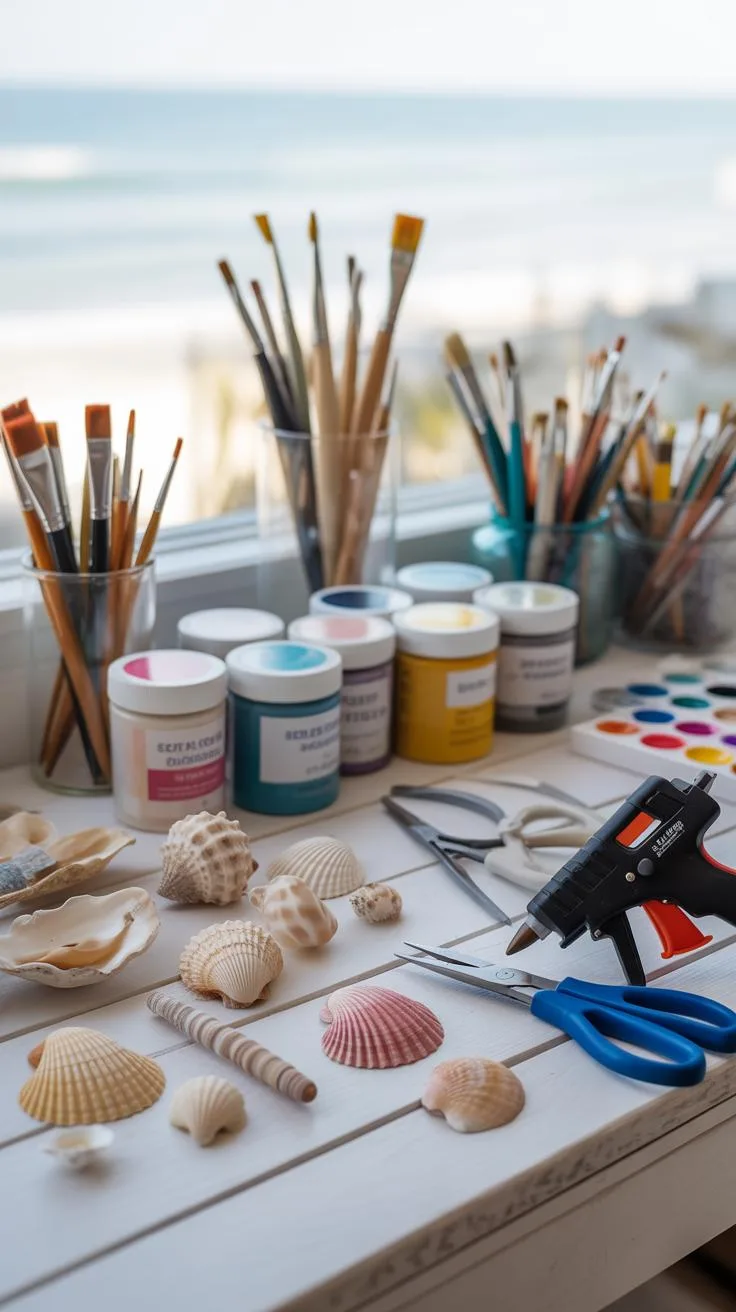
Working with shells in art demands some specific tools to handle the delicate materials without damaging them. You’ll want a strong adhesive—something like a clear-drying craft glue or a quick-setting epoxy works well. Once, I tried a generic glue, and shells just wouldn’t stick firmly, so be a bit picky here.
Tweezers become your best friend, especially when placing tiny shells or pieces in intricate designs. I remember fumbling with my fingers before switching to tweezers; trust me, it makes a difference. Small brushes help, too, not just for cleaning shells but also when applying glue in precise spots.

Cutting shells can be tricky, so a sturdy cutting or carving tool is almost essential if you plan to reshape or trim shells. Scissors might work for thin or flexible bits, but a knife or craft saw meant for delicate work really helps avoid cracks—or worse, shattered pieces.
Essential Tools for Shell Art
Here’s a quick list of basic tools you’ll want at hand:
- Strong adhesive (clear craft glue or epoxy)
- Tweezers for precision placement
- Small brushes for glue application and cleaning
- Cutting tools—like a hobby knife or craft saw
These tools might seem simple, yet they make a big difference in getting your shells to sit exactly where you want them. Without tweezers, you’ll find yourself frustrated trying to hold tiny shells steady while gluing.
Additional Decorative Materials
Once you’ve mastered shell placement, you may want extra touches to give your art some flair. Paint can be used to highlight or change shell colors. When I first added a soft wash of watercolor to shells, the results felt surprisingly fresh and unexpected.
Beads or small gems can complement shells nicely, especially if you want more texture or sparkle. Glossy varnishes seal the work and add a finished look, and sometimes they intensify natural shell colors. But here, it’s a choice—you might prefer the shells’ raw, matte beauty instead.

Which materials you add really depends on your personal taste and the style you’re aiming for. Are you going for something bold or subtle? Experiment a bit—you never know what might work until you try.
Techniques to Attach and Arrange Shells
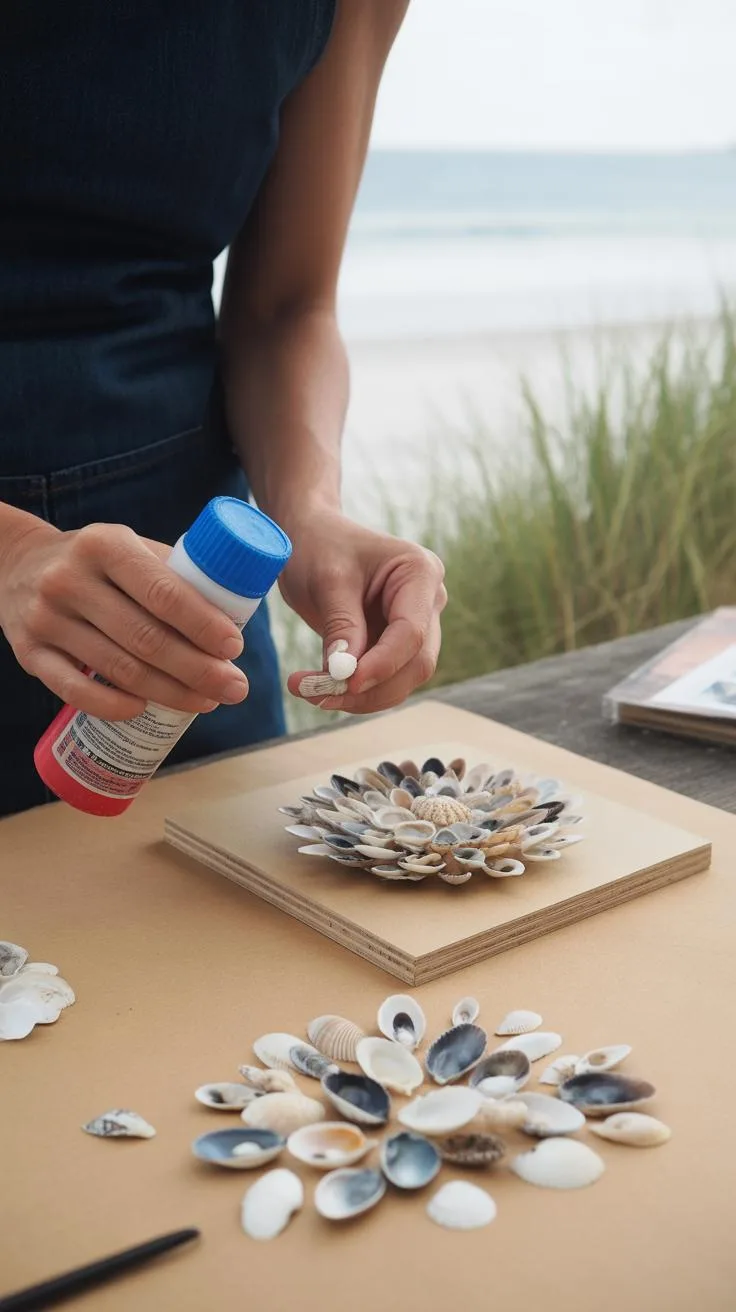
Attaching shells to surfaces requires a careful yet flexible approach. You might try hot glue for quick fixes, but often it’s too harsh and can crack delicate shells. I’ve found that clear-drying craft glues or epoxy give stronger bonds without discoloring the shells. Epoxy works well on wood, glass, or fabric, though it takes longer to set. If the base material is something porous, like untreated wood, a tacky glue can hold better by soaking in slightly.
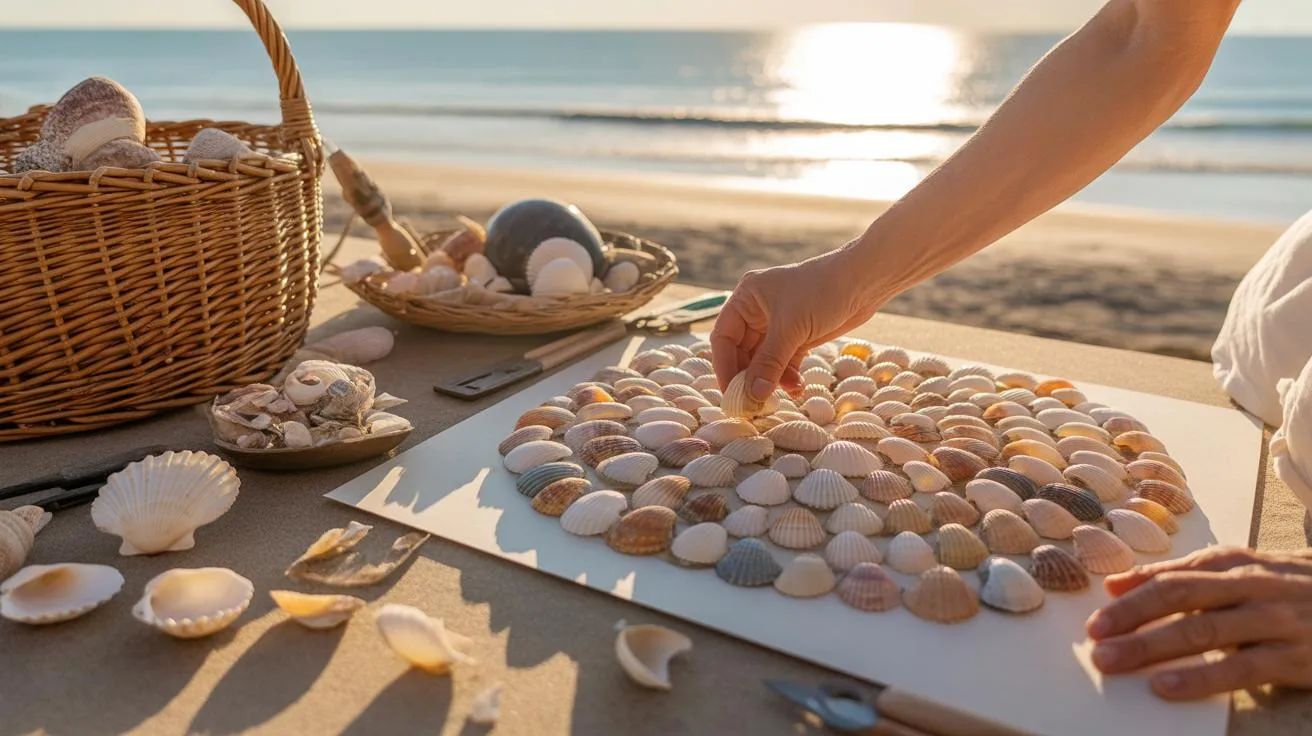
When arranging shells, don’t feel confined to neat grids. Groupings that feel natural often grab the eye more—think clusters, lines, spirals. Play with size contrasts by mixing big and small shells to create depth. Symmetry has its place, yet a little imbalance can bring energy to a piece. Sometimes I deliberately place one shell “off” just to make the design pop or seem less predictable.
Here are a few tips to consider:
- Test your arrangement before gluing—move shells around until the design just clicks.
- Think about shell orientation; a flat surface facing up can catch light differently than a curved edge.
- Use a combination of overlapping shells for texture or spaced spacing for a more airy look.
- Consider the shell colors and patterns—sometimes contrasting tones highlight the shapes better than matching hues.

It’s tempting to rush with glue and finalize the piece quickly, but patience usually brings an elegant result. What if a small mishap happens? Sometimes, removing glued shells is possible with careful heat application—yet that can damage fragile pieces. So, be sure before you commit, but also don’t shy away from experimenting a bit. In shell art, the arrangement is as much about trial as it is about intention.
Creating Shell Jewelry and Accessories
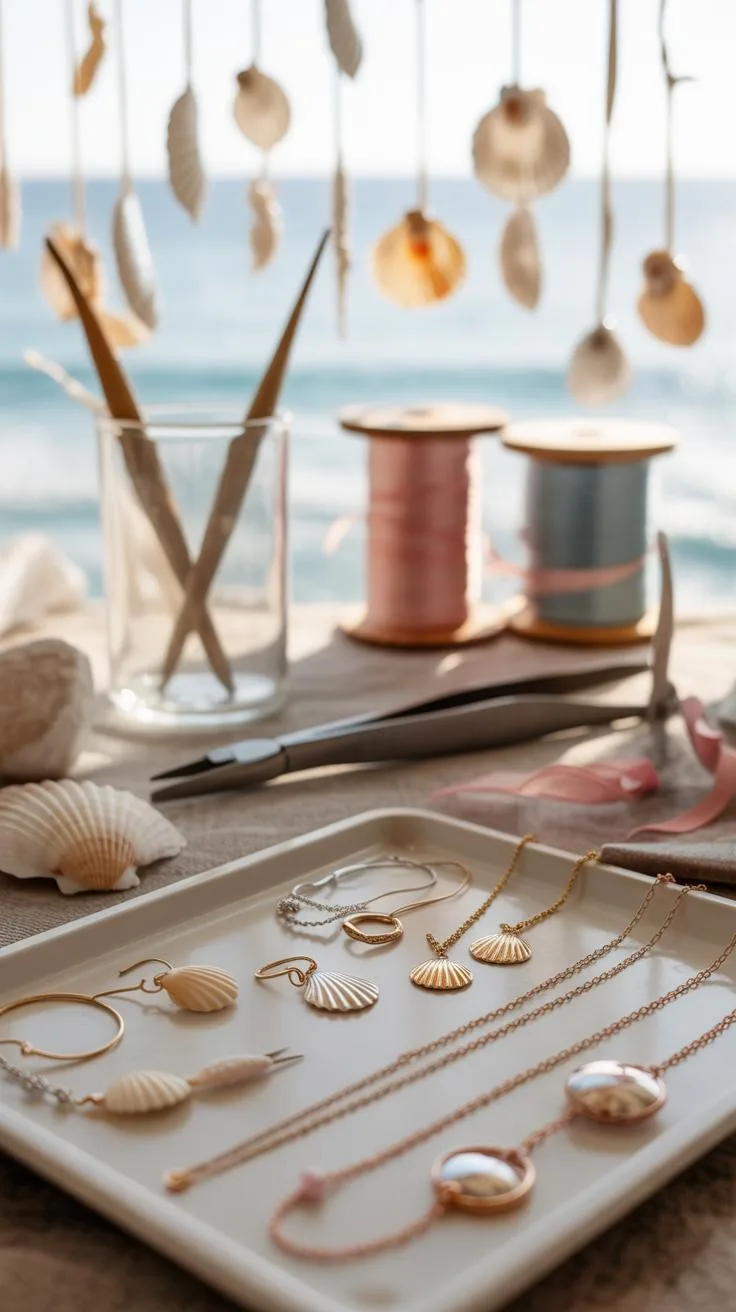
Making jewelry from shells feels surprisingly rewarding. You don’t need a fancy studio, just some basic tools like pliers, wire, string, and glue that holds well on shells. Start with a clean, dry shell—sometimes the hardest part is finding the right shape or size that fits your vision. If you want to make a simple necklace, drilling a tiny hole near the shell’s edge is usually best. I found that a small hand drill or even a sharp nail, used carefully, works fine for most shells.
Once the hole is ready, threading a leather cord or thin chain through can instantly give you a charming, natural piece. You can knot the ends or add clasps for a polished look. It’s surprisingly easy, but at times the shell cracks or chips—don’t throw it away right away; sometimes you can salvage by trimming or gluing fragments creatively.
For bracelets and earrings, the approach varies a bit. You might want to attach small shells to wire hoops or string several together, mixing with beads for visual interest. Earrings can be as simple as shell slices dangling from hooks, or combined with other materials like feathers or small stones.
Simple wire wrapping techniques can really change how your shell pieces look. Even if you’re not familiar with jewelry tools, experimenting with wrapping gives a tactile feel to the process. Plus, once you try it, you might want to push yourself to add more details or mix shells with other elements. What kind of shells do you find best for comfortable, wearable pieces? I’m still trying to figure out which types last longest without breaking or scratching skin.
Decorating Home Items with Shells
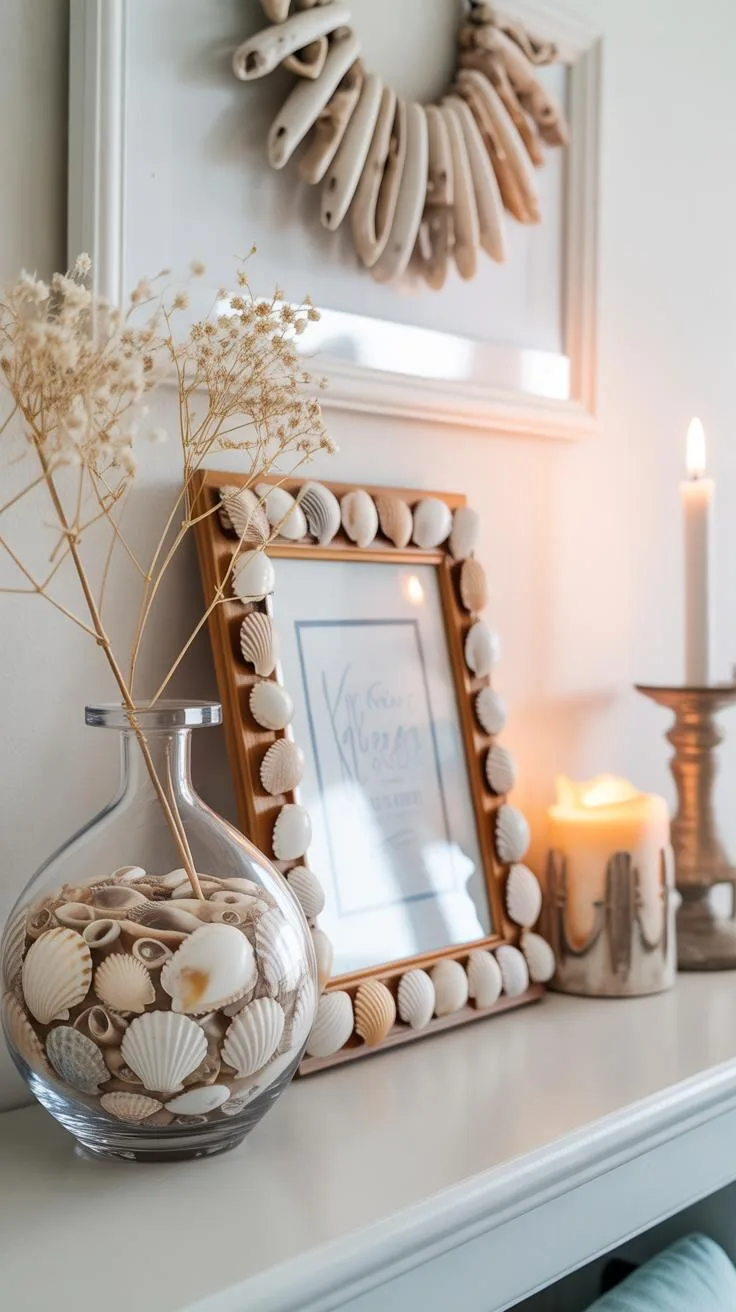
Shell Embellished Picture Frames
Turning an ordinary picture frame into something that carries a hint of the ocean is surprisingly simple. Start with a plain wooden or plastic frame—something with enough flat surface to attach shells securely. Before you glue anything, lay out your shells to see how they might fit together. Mixing sizes usually works better than uniformity.
Use a strong adhesive like a hot glue gun or a craft glue made for non-porous surfaces. Press shells firmly but don’t rush—some need a moment to settle. You might want to fill gaps with smaller shell fragments or even tiny pebbles collected from the beach. There’s something oddly satisfying about seeing how these natural elements fit in unexpected patterns.
One thing I learned while making these frames is how imperfect placement adds character. Not every shell needs to face the same way or sit perfectly flat. Imperfections make the piece feel authentic and alive, like it carries a story from the shore.
Using Shells on Containers and Mirrors
Shells work well on boxes and mirrors, too, creating unique accents that bring a subtle seaside mood. On boxes, think about enhancing lids or edges. Start by cleaning the surface and planning your design—shells glued along the corners give a neat outline, or scatter clusters for a more natural look.
Mirrors can feel cold or sterile. Adding shells around the frame softens their look and adds textural interest. You might want to focus on just one side or cluster shells in the corners, rather than covering the entire frame. That way, the decoration complements rather than overwhelms.
The key is all about balance: where to place shells, how much space to leave. Don’t hesitate to swap shells around until you find a feel that’s right. Sometimes, the simplest arrangements make the biggest impact.
Painting and Finishing Techniques for Shell Art
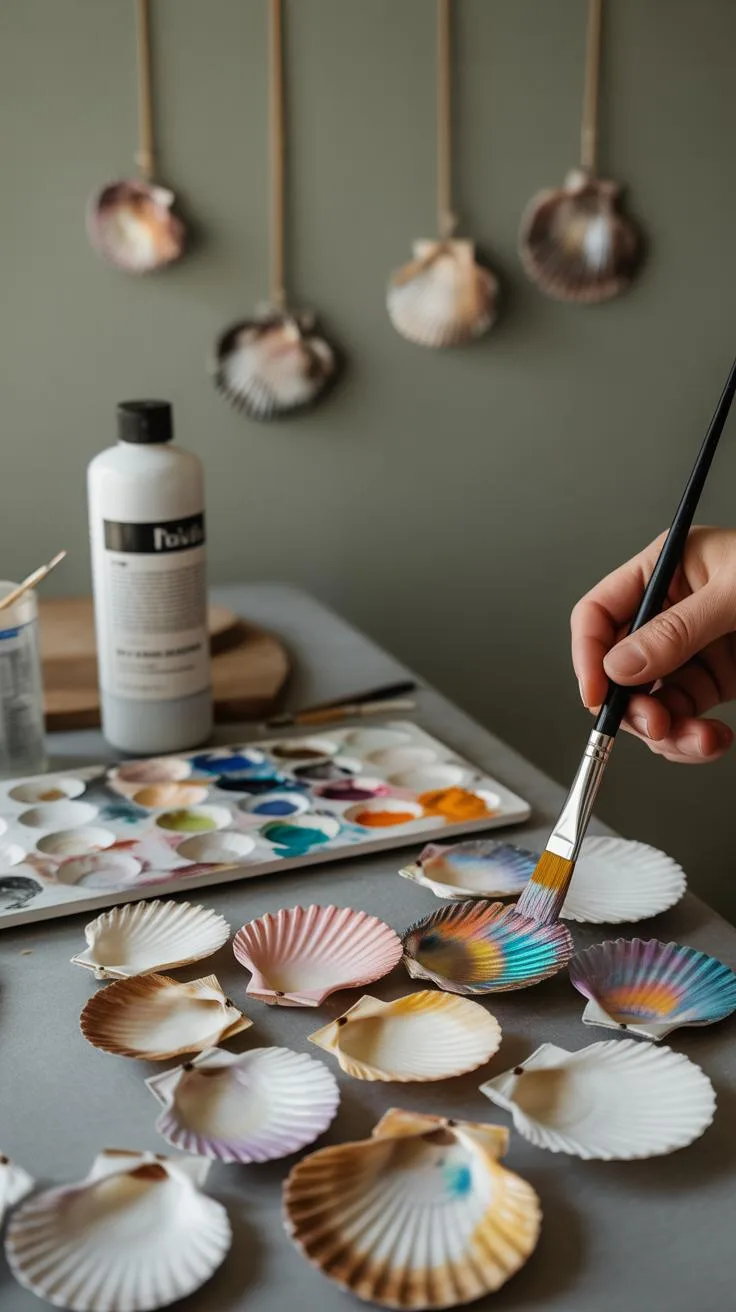
Painting shells can be surprisingly rewarding, even if you’re not a skilled artist. Sometimes, simple patterns—dots, stripes, or even random splashes—bring out the shell’s natural shape in unexpected ways. I’ve found that starting with lighter colors and layering darker tones on top gives depth without overwhelming the shell’s texture. You might want to experiment with acrylic paints since they adhere well and dry quickly. Brushes don’t have to be perfect; a small sponge or even a toothpick can add interesting details.
Once painted, protecting your work matters, especially if your piece will sit outside or see frequent handling. Sealants do more than just add shine—they guard against fading and chipping. Clear acrylic sprays are popular, but some prefer a brush-on varnish for greater control over thickness. It’s a bit of trial and error to find what suits your project best. You might notice that some finishes intensify colors, while others mute them, which could surprise you.
Here are a few tips to keep in mind:
- Dry shells thoroughly before painting to avoid bubbles or peeling.
- Apply thin coats of paint and let each layer dry fully.
- Use sealants with UV protection if the shells will be exposed to sunlight.
- Test finishes on a spare shell first to see how they affect your colors.
- Be patient—sometimes the best look comes after multiple layers and seals.
Have you ever wondered what kind of finish would work best on a rough, ridged shell? Sometimes, those imperfections change what finish you choose. Maybe gloss highlights the bumps, or matte masks them. Try both before deciding—it’s part of the fun.
Inspiring Shell Art Projects for Beginners
Working with shells can feel a bit intimidating at first, but starting simple often helps. One easy project to try is a shell collage. Gather a variety of shells—different shapes, sizes, and colors can really play well together. Lay them out on a sturdy base like cardboard or a wooden board. Arrange the shells loosely before gluing them down with craft glue. Don’t worry too much about perfection; some overlaps or gaps can add character. You might experiment by mixing other natural materials like sand or small pebbles. It’s a great exercise that lets you practice layout and composition without needing fancy tools or skills.
Another straightforward project is making a shell mobile. It’s a bit different since it involves balance and movement. Start by collecting shells with small holes, or you can carefully drill tiny holes yourself. Use fishing line or thin string to hang the shells from a frame—an embroidery hoop, a branch, or a wire ring all work. You can vary the lengths for a dynamic look. Assembling this mobile teaches you patience and planning, since the shells need to connect just right to hang well. Plus, when it gently moves, it brings your space a subtle touch of the sea.
Trying these projects lets you get familiar with handling shells and exploring coquillage art. What shapes catch your eye? How do shells’ natural textures inspire your ideas? Give these beginner projects a shot before moving on to more complex techniques. They can be surprisingly satisfying and might even spark further creativity.
Tips to Care and Preserve Your Shell Art Creations
Cleaning Finished Shell Art
Cleaning shell art needs a gentle hand. You want to avoid scrubbing too hard because shells can be fragile—especially smaller, more delicate ones. A soft brush, like a clean paintbrush or a soft toothbrush, works well to remove dust and dirt without scratching. If you feel like your piece needs something more, try a damp cloth with mild soap, but be sure to test a small area first. I once ruined a shell by soaking it with too much water—it got cloudy and lost its shine. Keep water exposure minimal.
Never use harsh chemicals or abrasive cleaners; these can dull the natural finish or wear away any glue or paint you’ve applied. Sometimes the simplest way is just gently wiping with a dry cloth. It’s not always obvious, but less can be more when dealing with shell art.
Storing and Displaying Shell Art
When it comes to storage, think about protection from dust and impacts. Wrapping your pieces in soft tissue paper or bubble wrap helps, especially if they’re small or fragile. Boxes with dividers can keep things from knocking into each other. I’ve kept shells in old shoeboxes with layers of paper between them—it’s basic but surprisingly effective.
Displaying shell art? Natural light is lovely, but too much direct sunlight can fade shells or cause glue to weaken. Try indirect light or spots with filtered sun. Temperature and humidity matter too; extreme changes might cause shells or adhesives to crack. If you notice a shell getting loose, fixing it sooner rather than later prevents bigger damage.
Also, think about the environment—places near kitchens or bathrooms can be humid or greasy, which might affect your piece over time. Sometimes the best spot for display isn’t the most obvious one.
Conclusions
Exploring coquillage art lets you connect with nature and express creativity through shells. Using simple tools and techniques, you can transform ordinary shells into artistic pieces. The beauty in shell art lies in its softness, textures, and colors, which bring calmness and charm to any project.
By practicing these coquillage techniques, you develop skills and enjoy the creative process. Your creations can decorate your space or make thoughtful gifts. Keep experimenting and find joy in crafting with shells. Let the ocean inspire your next art project and surprise yourself with what you create.