Introduction
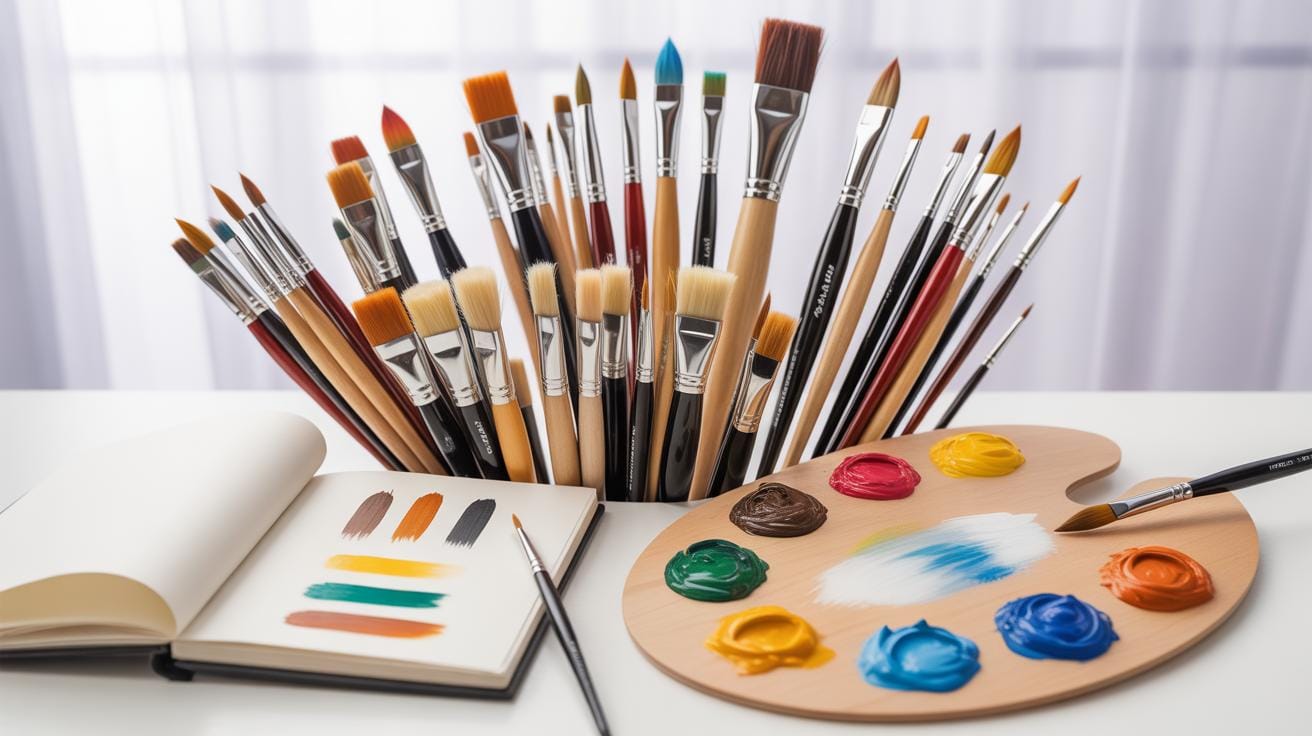
Paint Brush Drawing Techniques With Art Brushes For Beginners offers a way to start creating art with confidence. Using the correct brushes changes how your artwork looks and feels. This article explains what types of brushes beginners should choose and how to use them.
You will learn how different brushes create lines, textures, and effects. This guide will help you pick tools that make painting easier and more fun. Get ready to bring color and shapes to life with your brush skills.
Brush Shapes And Their Effects

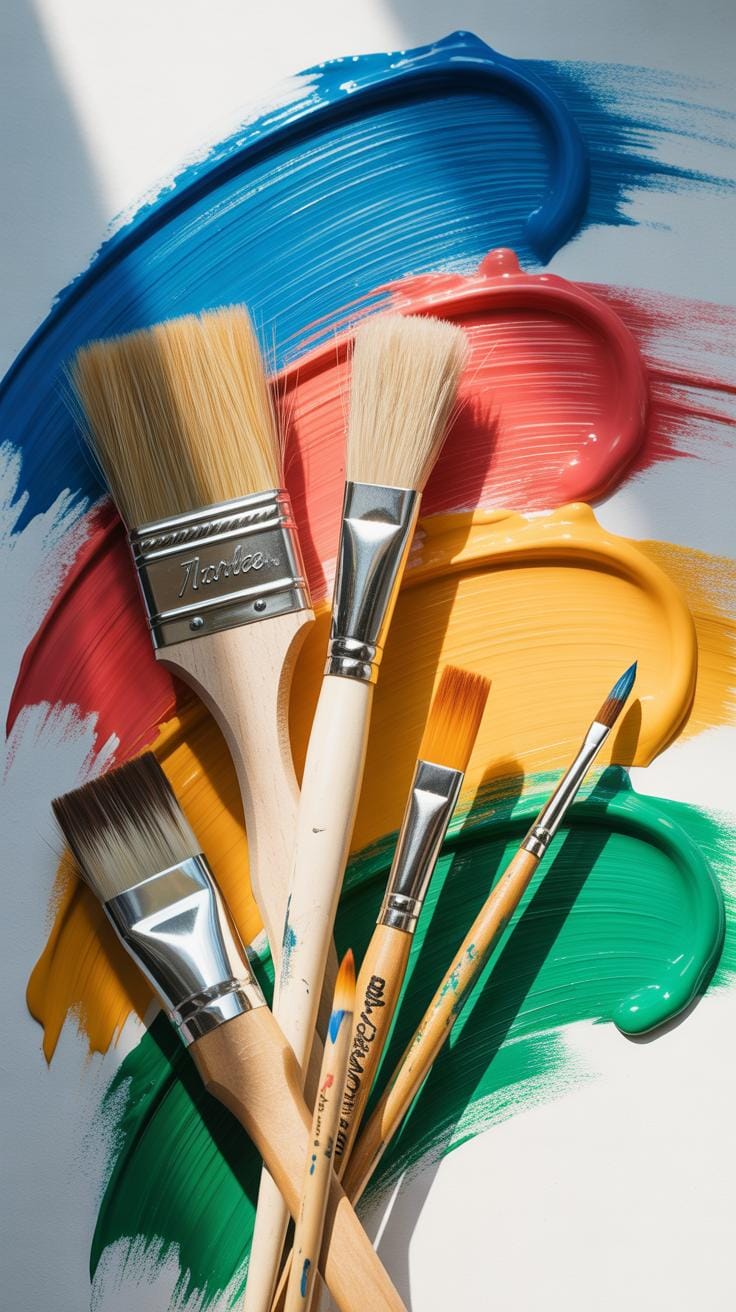
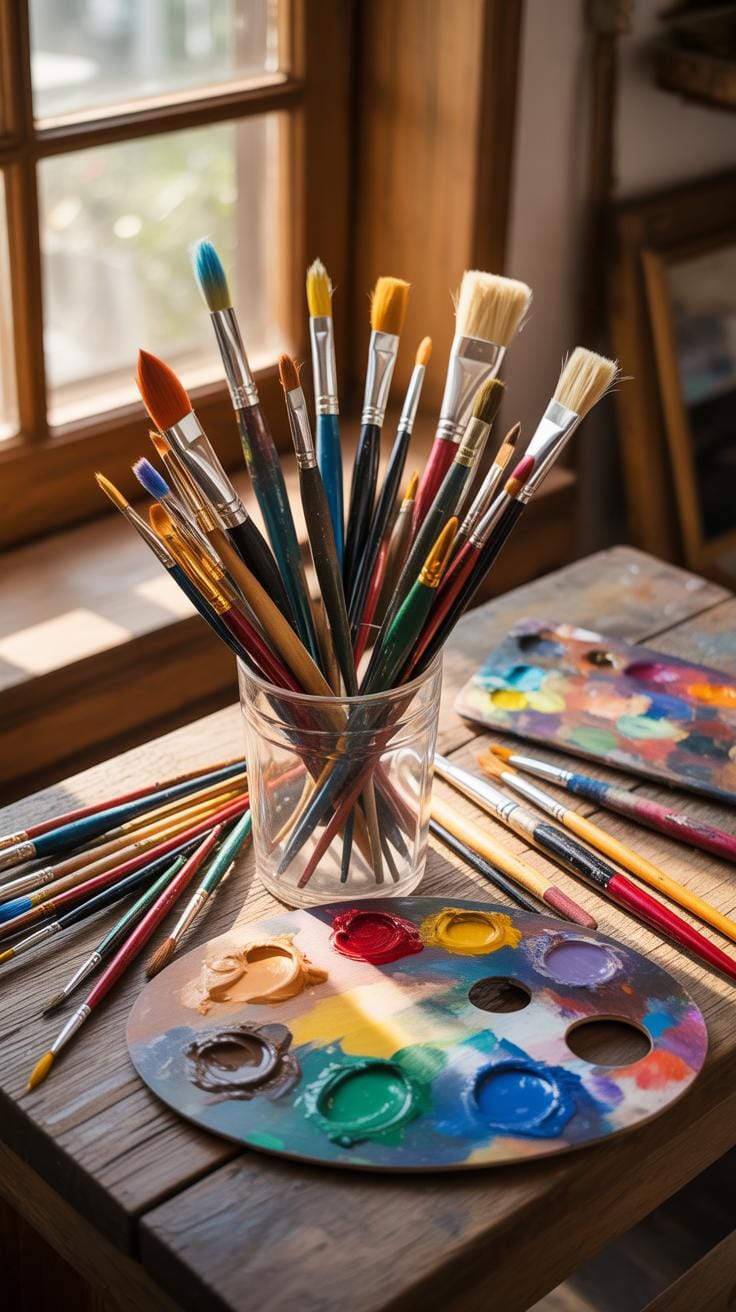
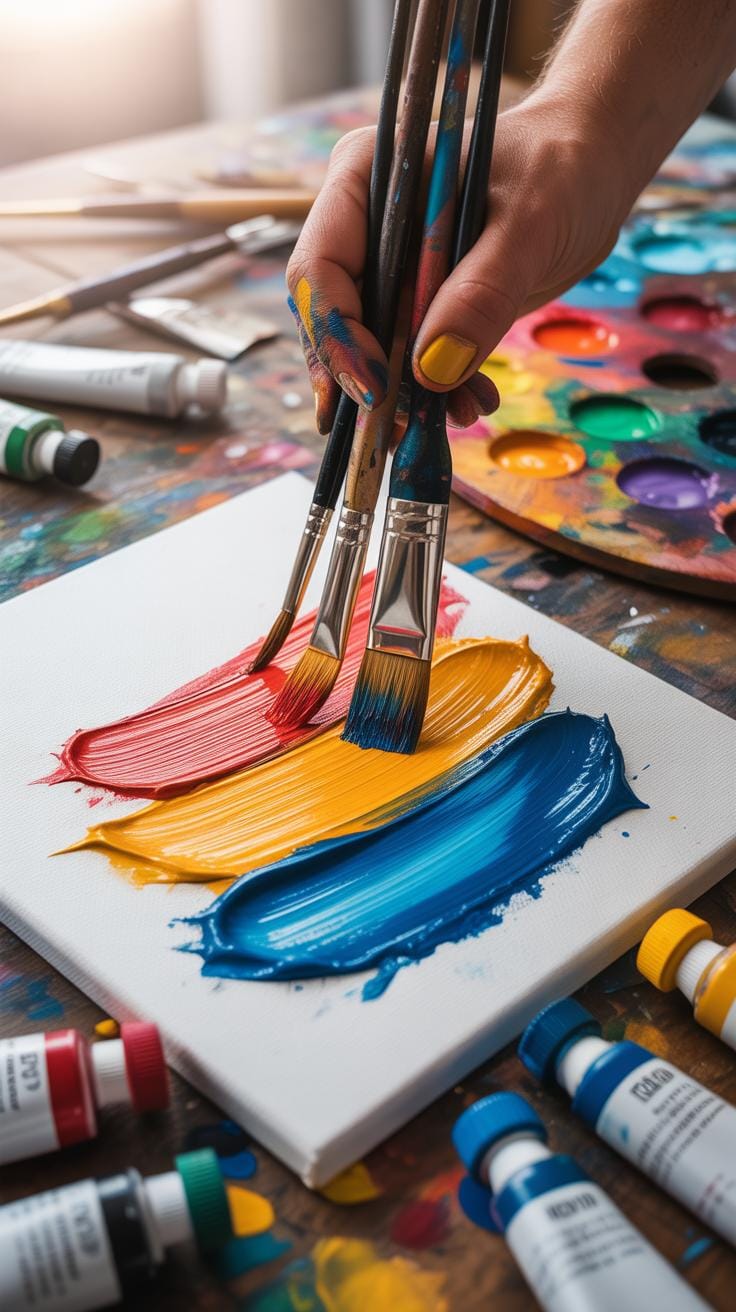
When it comes to art brushes, the shape you choose really changes the way your lines and effects come out. Each shape lends a different character to your painting. Round brushes, with their pointed tip, let you make fine lines or bold strokes, perfect for detail work and expressive strokes. Flat brushes, on the other hand, create broad, sweeping strokes and sharp edges—great for filling large areas or making geometric shapes.
Filbert brushes mix things up a bit—their oval shape softens edges while still allowing precision, making them ideal for blending and creating natural, rounded shapes like petals or leaves. Fan brushes spread out, and you might find them handy for textures, such as foliage, grass, or even clouds. Then there’s the detail brush—tiny and precise—best for the smallest elements in your painting, like highlights or fine lines.
Round Versus Flat Brushes
Much of your brushwork depends on whether you use a round or flat brush, and I find that choosing between them almost feels like picking tools for different jobs. Round brushes are versatile; you can press gently to get thin lines or press harder for thicker strokes. They’re perfect for detailed work or calligraphic lines. Flat brushes, by contrast, produce strokes with consistent width and sharp edges—ideal when you want even coverage or to make block shapes. They work well for layering or creating bold, expressive marks. Sometimes it’s about precision, sometimes about coverage.
Using Filbert And Fan Brushes
Filbert brushes are an interesting hybrid. Their curved tip lets you get both broad strokes and delicate edges without switching tools. Artists often use these for blending colors right on the canvas or creating shapes that require softness, like petals or rounded forms. Fan brushes, though less common, serve a unique role. They’re great for mimicking natural textures—grasses, hair, or tree leaves—because their spread bristles create patterns that look irregular and organic. If you want to experiment with effects and textures that feel more spontaneous, fan brushes are quite handy.
Brush Hair Types And Painting Style
When choosing art brushes, the type of hair or bristle plays a key role in shaping your painting experience. There are mainly three kinds to consider: synthetic, hog bristle, and sable. Each behaves differently with paint.
Synthetic hairs, often made from nylon or polyester, are generally smooth and springy. They hold less paint but offer control and are easy to clean. Hog bristle, from pig hair, is stiff and coarse, great for heavy-bodied oils or acrylics. It allows rough strokes and textured effects but can feel rough if you prefer smooth lines.
Sable, often kolinsky sable, is the softest and most flexible of the three. It holds a fine point and picks up a good amount of paint, lending itself well to detail work and delicate blending. Yet, sable brushes are pricier and require more care. The hair’s natural taper makes it ideal for fluid lines.
Each hair type changes the way paint is applied and how your brush strokes appear. So, your style and medium matter when picking the brush hair.
Synthetic Versus Natural Bristles
Synthetic brushes have come a long way. They’re more affordable and work fine for acrylics and watercolors, particularly for beginners. Natural bristles, like hog or sable, respond better to oils and have more texture and spring.
Beginners might find synthetics forgiving. They don’t lose shape as quickly and handle modern paints better. Meanwhile, natural bristles offer a classic feel and superior paint holding but can wear faster, especially if not cared for properly.
For rougher work or experimental styles, a hog bristle brush feels more solid. For refined details, sable or quality synthetics are a better bet. Sometimes, mixing synthetic and natural bristles combines the best of both worlds.
Care Tips For Different Brush Hairs
Keeping your brushes clean and in good shape means they’ll last longer and paint better. Synthetic brushes typically handle thorough cleaning with soap and water well. You don’t need to be overly gentle. They’re less absorbent, so drying is quicker.
Natural bristles require a gentler touch. Use mild soap or brush cleaner, rinse well, and reshape the hairs while wet. Avoid soaking for long periods, which can loosen the glue. Always store your brushes horizontally or with the bristles pointing up to avoid damage.
Whether synthetic or natural, resist the urge to leave paint to dry on the brush. This damages hairs and ruins their shape. Remember, a well-cared-for brush isn’t just about cleanliness but about preserving the bristle quality for the style you want.
Basic Brush Techniques To Learn
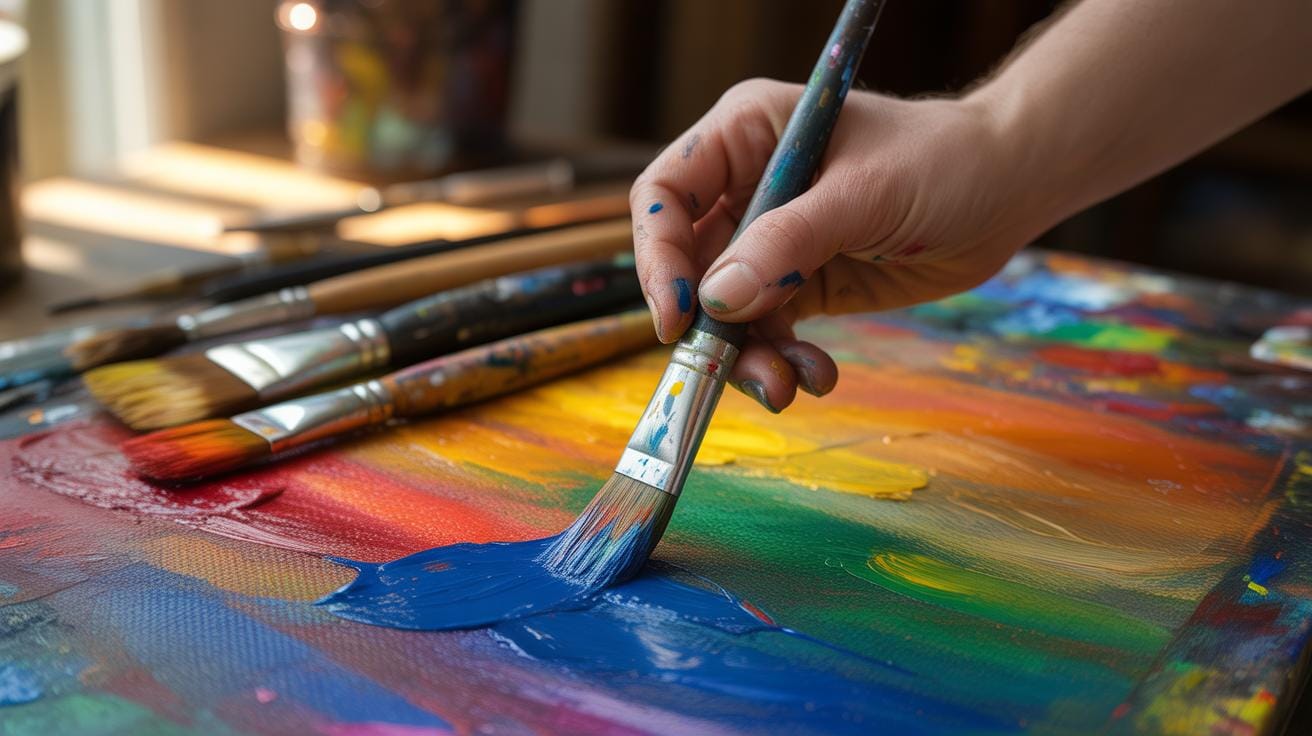
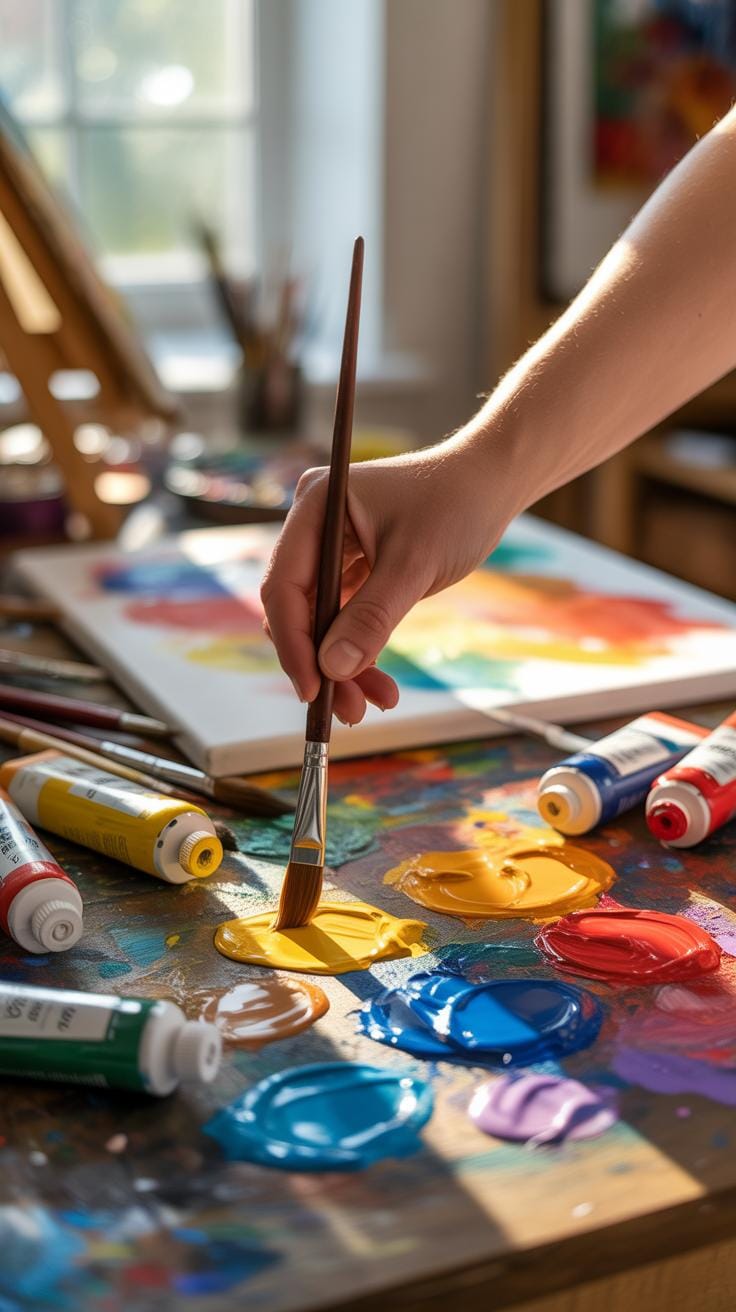
Working with art brushes starts with getting a good feel for them—how you hold them, the motions you use. The basics are surprisingly simple, yet mastering them helps your work immensely. How do you hold a brush? Well, for control and comfort, hold it similarly to a pencil but a bit looser. Grip it about halfway along the handle. This lets your hand move freely without tension, which is key for smooth strokes.
Now, let’s talk about some fundamental strokes you should try:
Dabbing: Tap your brush gently onto the canvas to create spots of paint. Great for adding texture like flower petals or rough surfaces.
Sweeping: Glide the brush in longer, fluid motions. This covers areas quickly and creates smooth transitions. It’s good for backgrounds or large shapes.
Dry Brushing: Use a brush with little paint and barely any water. Drag it lightly across the surface to get scratchy, uneven marks. It’s excellent for textures like wood grain or fabric.
These strokes might seem obvious, but experimenting with the angle and pressure changes everything. Don’t rush; let your hand feel the brush’s response. Soon, these methods become second nature and form the base for more complex painting techniques.
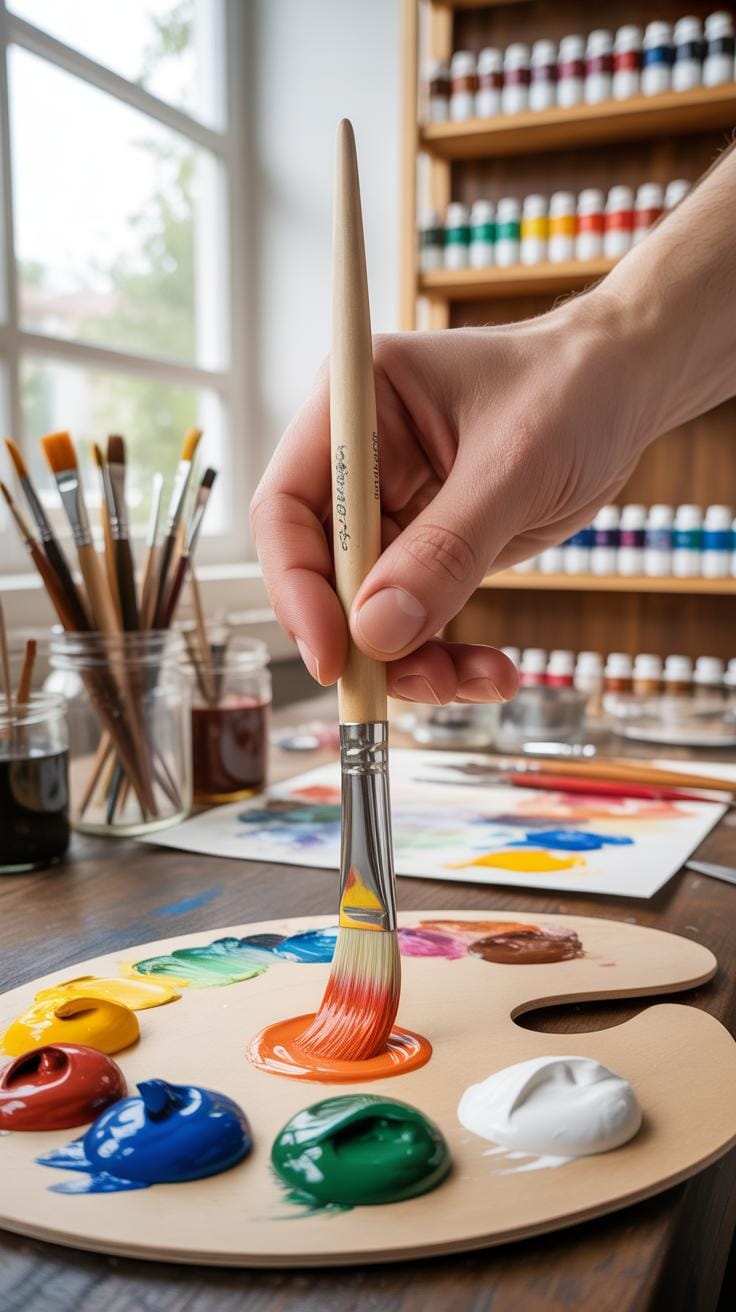
How To Hold A Paint Brush Correctly
It’s tempting to grip a paintbrush tightly, thinking it offers better control, but that often leads to stiffness and fatigue. Instead, there’s a balance between firm and relaxed. Support the brush between your thumb and index finger while the rest of your fingers lightly cradle the handle. This grip gives stability while allowing flexibility.
Some artists like holding the brush closer to the ferrule (the metal part that holds bristles) for detailed work. Others prefer holding it farther back for broader strokes. Which you choose depends on your style and the effect you want. Try both, and see which feels more natural. Experimentation is part of learning.
Simple Strokes To Create Texture
Texture gives life to your paintings, and it can be surprisingly easy to make with simple strokes. Here are a few to practice:
Stippling: Tap the tip of your brush repeatedly for a speckled effect. This creates rough or dotted textures.
Crosshatching: Make short, intersecting strokes in different directions. Great for shading and adding depth.
Scrumbling: Use a dry brush in small, circular motions to produce a soft, broken texture. Excellent for foliage or clouds.
Let these techniques become your toolkit when you face different surfaces or subjects. Trying these can sometimes surprise you—textures might emerge you hadn’t planned, but that adds character. So, take time with these basics. They often underpin the most compelling artwork you’ve seen. Have you noticed how even simple strokes carry a lot of expressive power? It’s worth pondering as you practice.
Painting Process Using Art Brushes
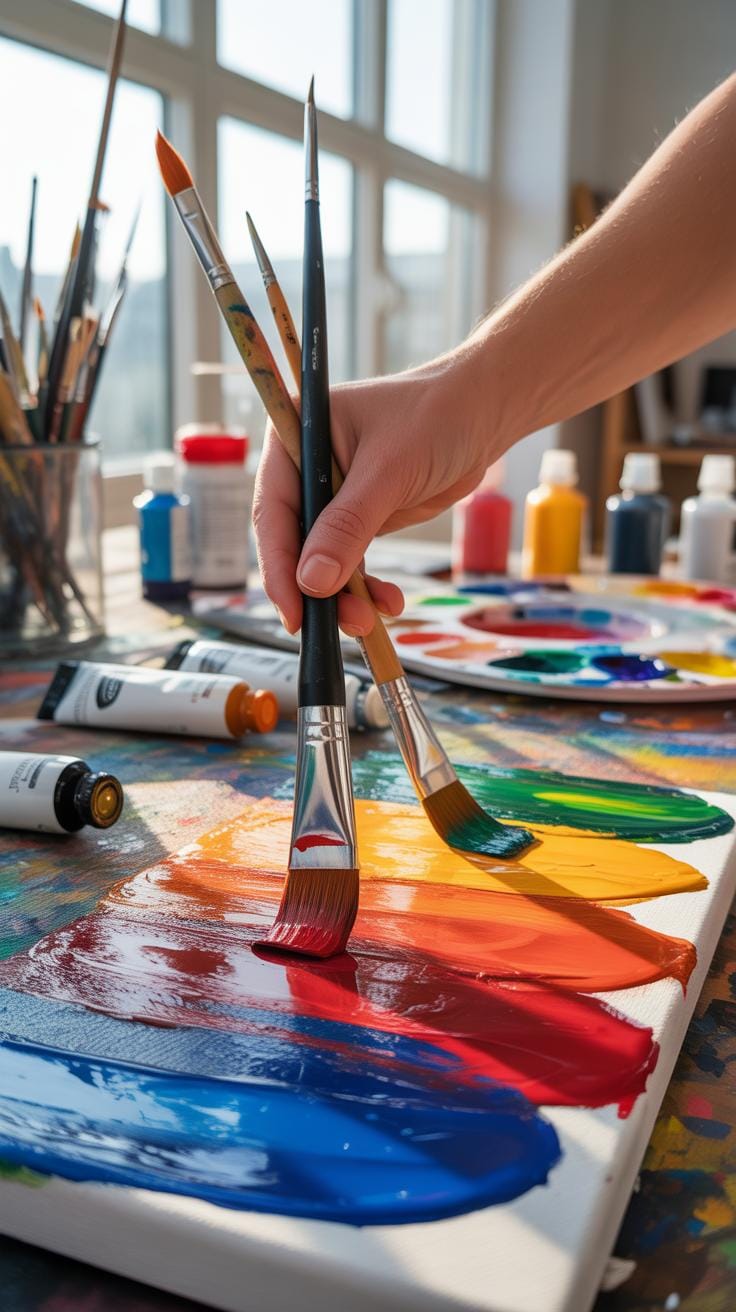
Starting a painting session with your art brushes is more than dipping into paint and sweeping across the canvas. First, prepare your brushes by moistening the bristles slightly if you use acrylics, or ensuring they are clean and dry for oils. This lowers resistance and helps paint disperse evenly.
When applying paint, load your brush with an appropriate amount—too much leads to clumps, too little won’t cover well. Working in layers is the key. Begin with broader strokes using larger brushes to block in shapes. Gradually switch to smaller brushes for details as you build complexity.
Cleaning brushes between colors is vital. Wipe off excess paint with a rag or paper towel, then rinse in water or solvent depending on your medium. A gentle swirling motion helps release pigment without fraying bristles. Avoid soaking brushes for too long, or the ferrule might loosen.
Layering Paint With Various Brushes
Layering paint isn’t about piling color randomly; it’s deliberate, paced, and nuanced. Use flat brushes for smooth, even layers and bring in filbert or round brushes for softer edges and subtle transitions. This mix creates a sense of depth and texture.
Start with thin, diluted layers that dry fast—think washes. As layers accumulate, gradually increase paint thickness to add vibrancy. Sometimes, a dry brush technique with a stiff bristle can give a rough texture, perfect for rocky surfaces or foliage.
Consider the natural bristle types, too—hog bristles absorb more paint and hold up under heavy strokes, while synthetic brushes are better for fine details and glazing. Mixing brush types can mimic the textures in your subject.
Switching Brushes Within A Session

Changing brushes mid-session might feel fiddly but it’s a game changer for detail and color purity. Switch brushes when you move from broad backgrounds to intricate foreground elements. This prevents muddying colors and maintains edge sharpness.
Have several brushes ready, each reserved for specific tasks—one for darks, one for lights, another for blending. Rinse and dry brushes fully before switching colors or exploring different textures. This habit reduces color contamination.
If you notice a brush picking up unwanted paint residue, stop immediately. Even a quick wipe won’t fully clean a brush saturated in different paint. It’s okay to replace and clean brushes often; it preserves your work’s clarity and prevents frustration.
Choosing Paint Brushes Under Budget
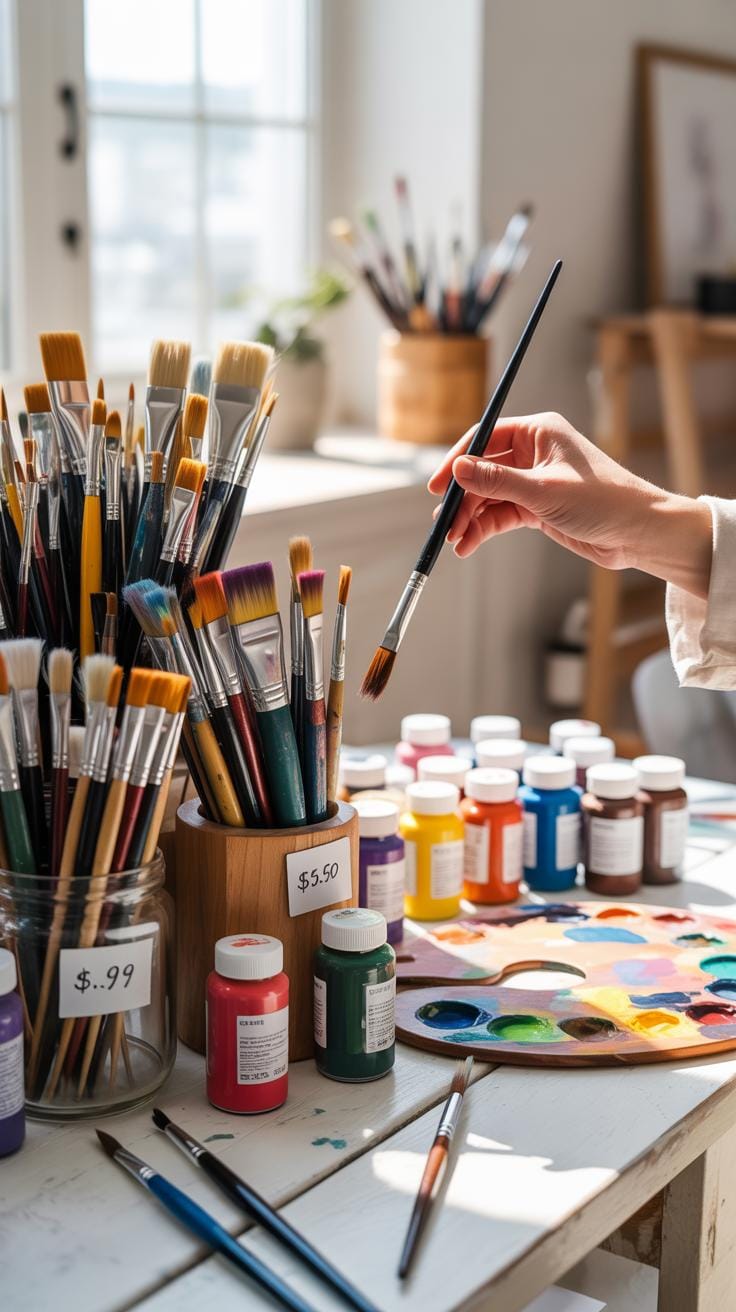
Picking the right art brushes without emptying your wallet can be tricky. You want tools that won’t fall apart after a few uses but also don’t cost a fortune. Start with a quick checklist: look for brushes with sturdy handles, smooth ferrules (that metal part holding bristles), and bristles that feel soft yet resilient.
Price-wise, for beginners, expect to spend around $5 to $15 per brush for decent synthetic options. Natural hair brushes start higher, often above $15. Stores like art supply shops, online marketplaces, and even craft stores can have hidden gems—sometimes big brands run sales or have starter packs worth grabbing.
Affordable options include brands like Princeton and Royal & Langnickel. These tend to balance cost and quality well. Synthetic brushes from these names mimic natural hair behavior without the pricetag, making them great for learning. I remember being surprised at how well one Princeton round brush held paint during my first attempts.
Be cautious of brushes priced under $3 each. These often shed bristles, have loose ferrules, or rough handles. If a set looks too good to be true, examine it closely—check for bristles coming loose or uneven tips. Sometimes, saving a bit more now stops you from needing replacements after one frustrating project.
Cleaning And Maintaining Your Brushes
Taking care of your art brushes is, well, crucial if you want them to last. Brushes can be quite an investment, especially if you’re just starting out and don’t want to keep buying new ones all the time. So, giving them a proper clean right after you’re done painting really helps. Neglecting this can lead to stiff, unusable bristles that just won’t behave the way you want them to next time you pick up your brush.
Good maintenance involves more than just a quick rinse. By adopting a consistent cleaning routine, you can often extend the life of your brushes by months or even years. This means your brushes hold paint better, retain their shape, and feel nicer to use—things that can totally affect your painting experience.
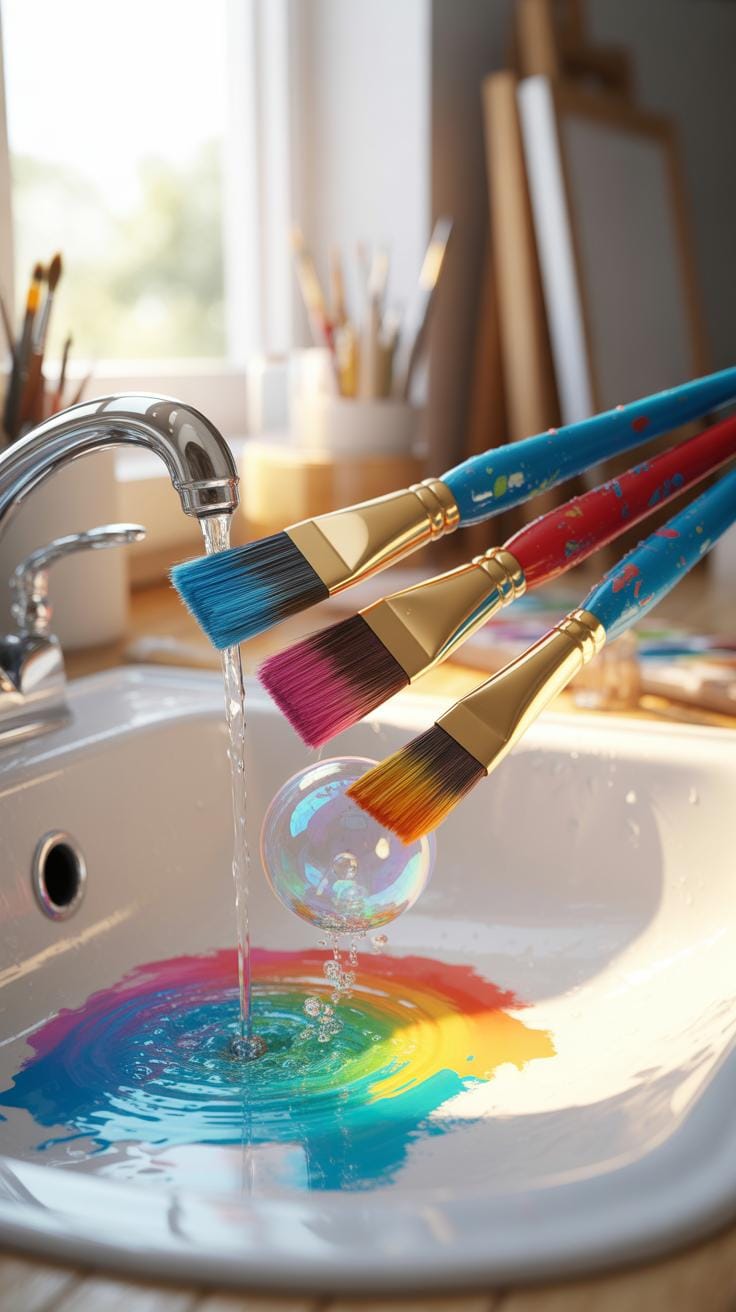
Steps For Cleaning Paint Off Brushes
Cleaning methods slightly change based on the paint you’ve used. For acrylics, try to wash the brush immediately in lukewarm water. Push the bristles gently with your fingers to loosen the paint, then use a mild soap to get rid of any stubborn residues. Rinsing thoroughly is a must, or old paint will dry inside the bristles.
When dealing with oils, things are a bit more involved. You’ll need a solvent like turpentine or mineral spirits first to break down the paint. Dab the brush in the solvent until the paint starts to loosen, then follow up with soap and water to finish off. It might feel like a bit much, but trust me—it really saves your bristles from hardening.
Storing Brushes To Keep Their Shape
How you store your brushes matters quite a lot. Leaving them lying flat or with bristles pressed down can cause them to bend or lose their tip. Some artists swear by storing brushes upright with the bristles pointing up—this way, gravity helps keep them in shape.
If space is tight, you might consider wrapping brushes loosely in paper or using a brush case to protect the tips. Avoid leaving them soaking in water overnight, no matter how tempting—it softens the glue holding the bristles and could make them shed faster. Keeping your brushes dry and well-organized means they’re ready to perform whenever you are, without a frustrating splay of bristles waiting for you.
Avoiding Common Brush Mistakes How to Handle Your Art Brushes Better
Using art brushes might seem straightforward, but beginners often stumble on a few predictable mistakes. For one, pressing too hard with your brush can cause unexpected splaying of bristles, which ruins the brush’s precision. I remember squashing a fine detail brush, feeling frustrated at how it never recovered its shape.
Dirty brushes are another frequent issue. It might seem like a small thing to skip thorough cleaning, but leftover paint clogs the bristles, making future strokes uneven and unpredictable. I’ve lost count of the times I wanted a bright, sharp line, only to get blotchy smears instead. So take a moment to rinse well with gentle soap and water when changing colors or finishing up.
Choosing the wrong brush size is surprisingly common too. At first, it’s tempting to use the biggest brush to cover more area quickly. But oddly, that can limit control and detail. Smaller brushes help with fine lines, while bigger ones suit broad washes better.
Why Brushes Splay And Lose Shape
Splaying usually happens when you push too hard during painting or press the brush sideways against the surface. Over time, those bent bristles won’t return to their original alignment. Poor cleaning also worsens the problem. Paint residue stiffens bristles and causes them to spread apart.
To prevent this, hold your brush lightly and avoid unnecessary pressure. Rinse brushes immediately after use, reshape bristles gently with your fingers, and store brushes bristle-up or flat after drying.
Picking Incorrect Brush For Paint Type
The right brush depends on the paint you’re using. Synthetic brushes often suit acrylics because they hold up better to heavier paint and frequent cleaning. Natural bristle brushes work well with oils because their stiffness manages thick paint smoothly.
Using a soft watercolor brush for acrylic can frustrate you with splayed bristles and patchy coverage. Conversely, stiff oil brushes with watercolors might drag the paper and make blending harder.
Ask yourself: What paint am I using? How much detail or coverage do I need? Matching brush type to paint saves time, avoids wear, and keeps your work looking good.
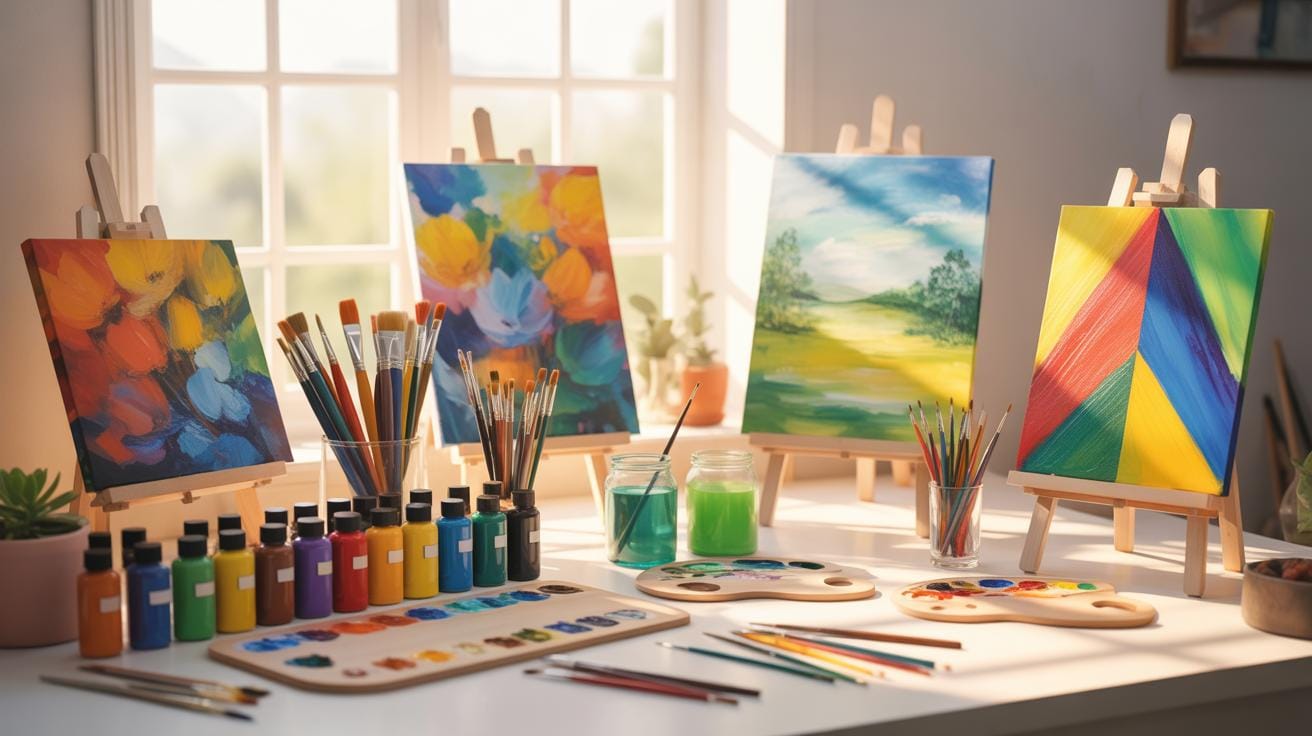
Examples Of Brush Use In Art Styles
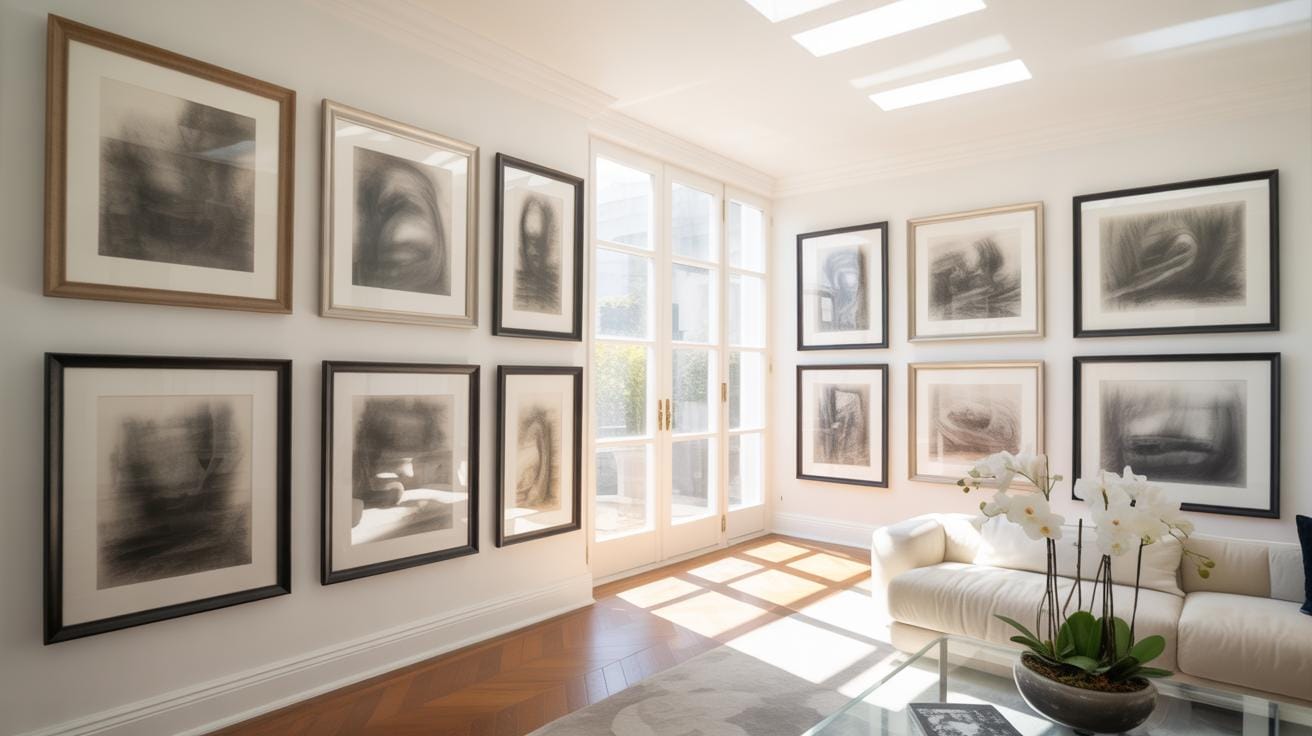
Brush Use In Realistic Paintings
Realistic painting relies heavily on brushes that allow for precision and control. Small, fine-tipped brushes are your best friends here. They help you craft those tiny details—think eyelashes, leaves, or the glint in an eye. Smooth, continuous strokes matter a lot; they create the illusion of reality by avoiding harsh textures or abrupt changes. Beginners might find this style challenging because it demands patience and steady hands, but starting with simple subjects can build confidence. Layering colors gently with these detailed brushes helps achieve softness and depth. It’s a slower process, but for those who enjoy meticulous work, it can be really rewarding.
Effects Created With Abstract Brushwork
Abstract art embraces freedom—a stark contrast to realism—with brushwork that’s loose, spontaneous, and sometimes chaotic. Here, the kind of brush you pick changes the texture and emotion of the piece. Larger, flat brushes can create broad, sweeping areas of color, while round or angular brushes lend themselves to dynamic shapes and interesting edges. You might try dragging brushes sideways for scrape-like effects or dabbing with the tip for speckled patterns. These unpredictable marks invite viewers to interpret the work in their own way, which is part of the fun. Trying different brush sizes and strokes can lead to unexpected textures. It’s less about control, more about expression.
Conclusions
Good painting starts with good brushes. When you know how to pick and use your brushes, your art improves. Different shapes and materials do different things in your artwork. Practice with several types of brushes so you can see which styles you like.
Your creativity grows as you try new techniques. Each brush tip or hair type gives you new options for making lines and textures. Keep exploring brush strokes and soon your paintings will show your personal touch clearly.


