Introduction
Anime Drawings Tutorials Sketches Tutorial For Character Sketches offers a clear path to building your anime art skills. Whether you’re new or need to sharpen your approach, this tutorial presents fundamental techniques to sketch anime characters effectively. It breaks down the drawing process into manageable steps that help you focus on essential shapes and lines to create appealing character sketches.
In this article, you’ll find practical guidance on preparing your drawing tools, understanding character design elements, and following a step-by-step approach to sketching anime figures. With this knowledge, you can develop your ability to produce clean, expressive anime sketches that capture personality and style.
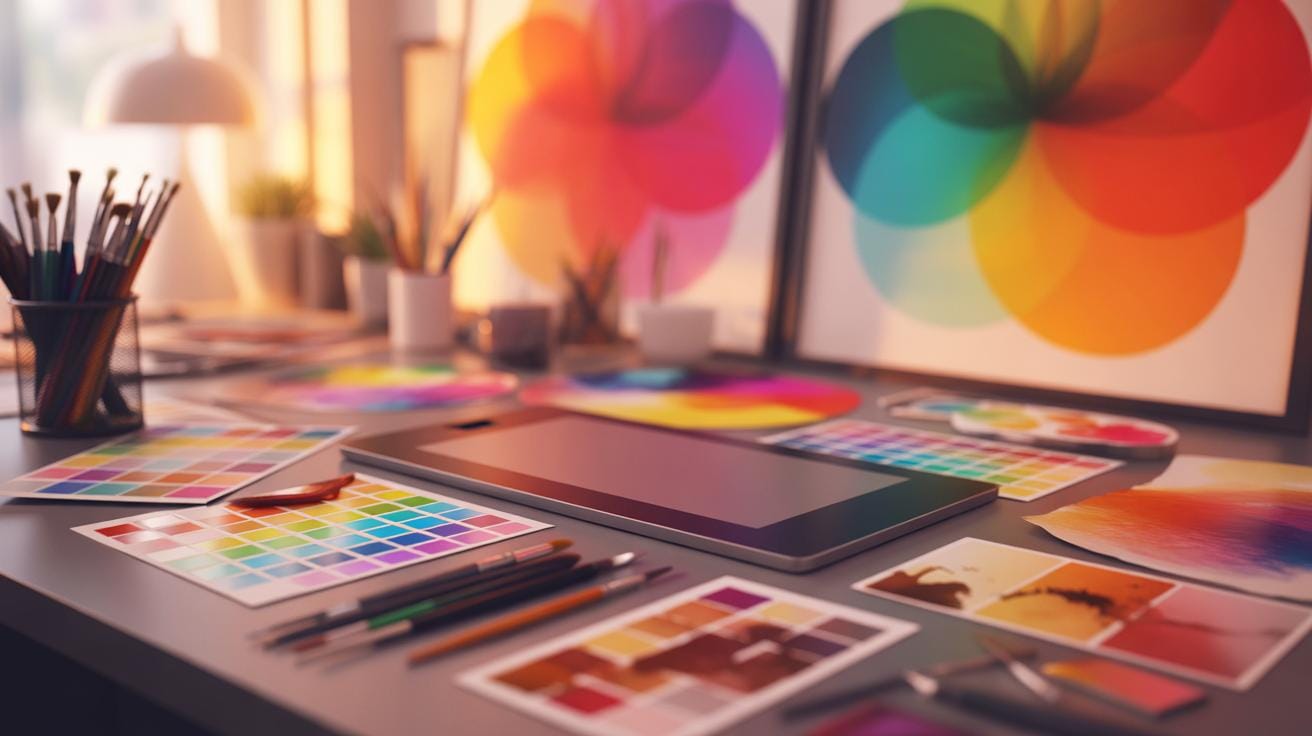
Prepare Your Drawing Space And Tools
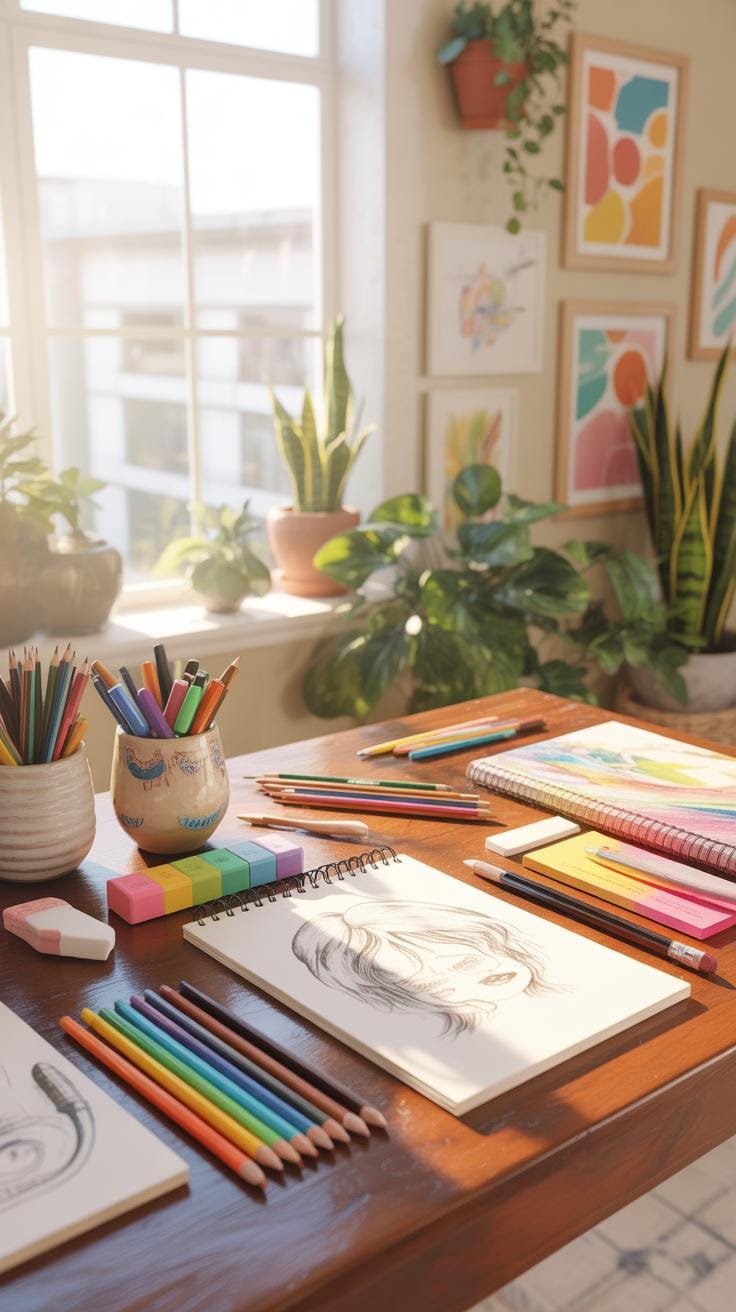
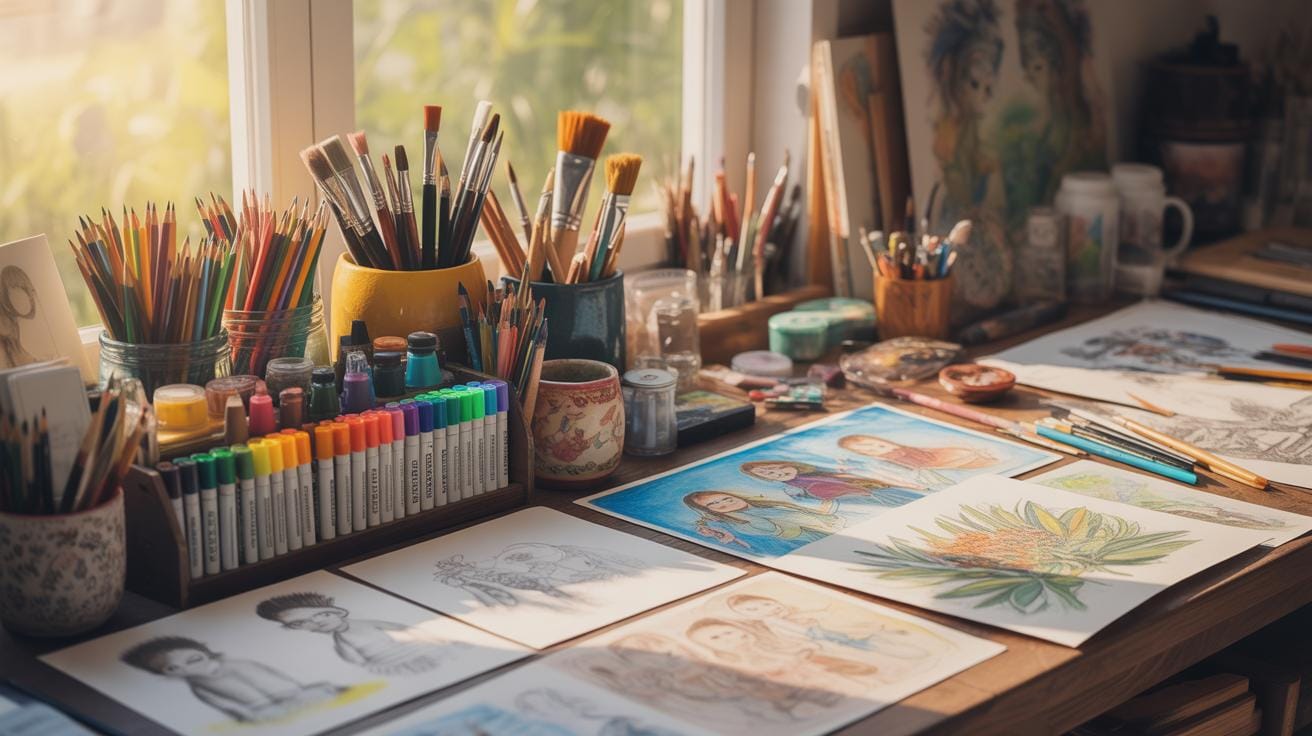
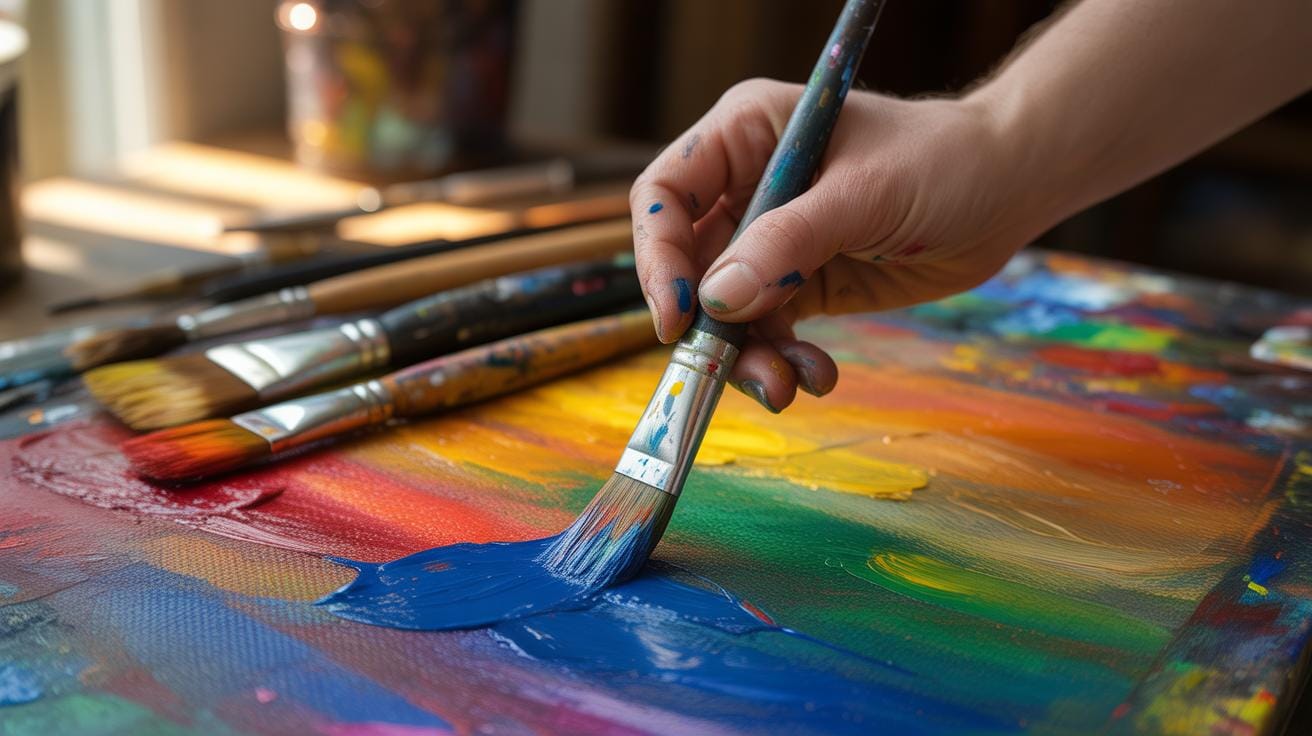
Setting up a drawing space for anime sketches isn’t just about having a flat surface. It’s about comfort too — long sessions require you to feel at ease. A good desk with enough room to spread out your papers and tools helps a lot, but lighting is equally crucial. Natural light is best, but if that’s tricky, a bright adjustable lamp can save you from eye strain.
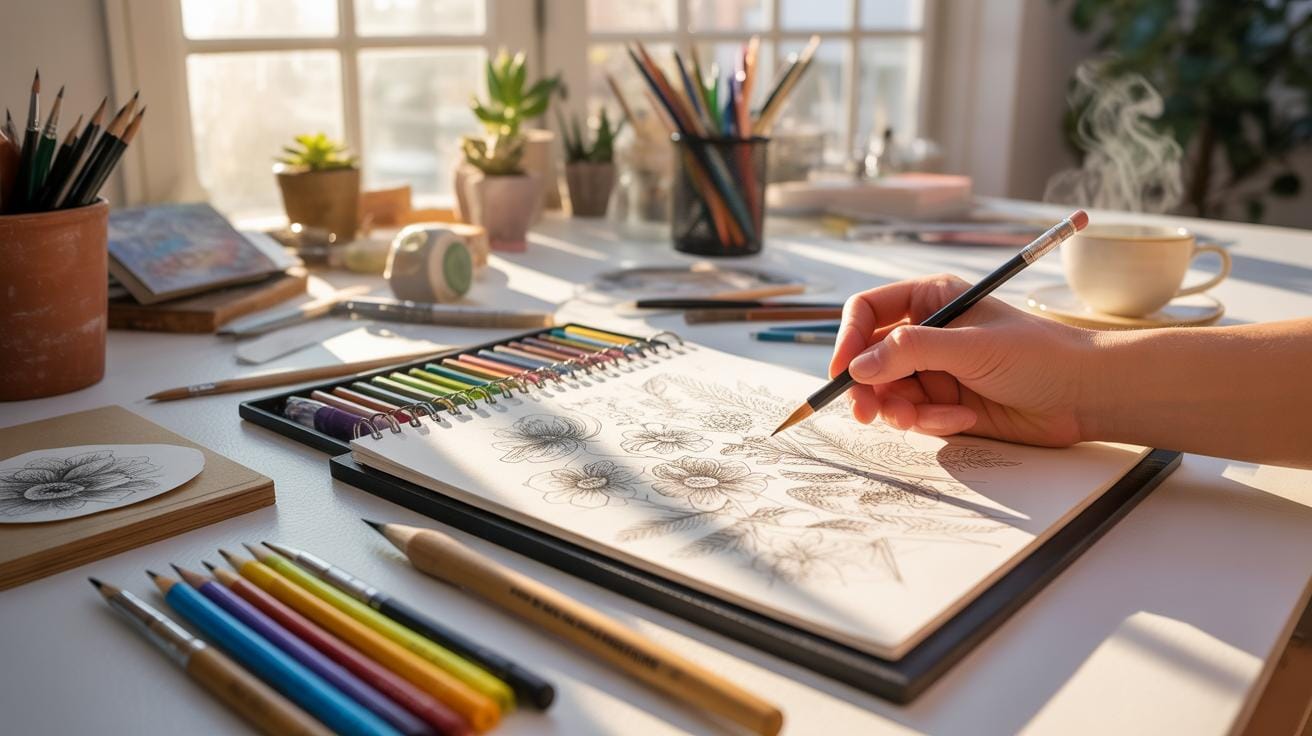
When it comes to tools, beginners should start simple. Mechanical pencils or traditional wooden pencils with a range of hardness are ideal. A medium softness pencil, like a 2B, balances detail and shading well. You’ll want a good eraser — a kneaded one is preferable for gentle corrections without damaging paper. Speaking of paper, use smooth sketch paper or even printer paper initially; they’re affordable and less intimidating.
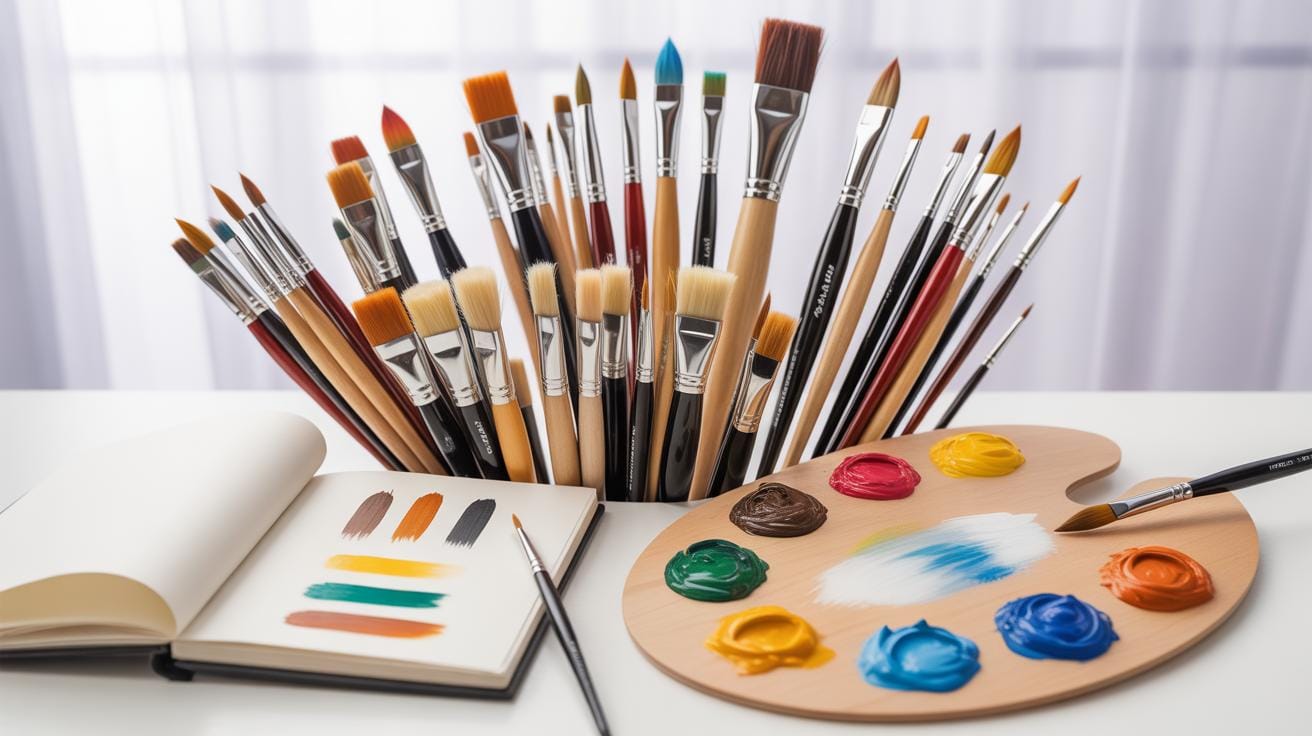
If you’re curious about digital drawing, tablets like Wacom or iPads with Apple Pencil are popular. But maybe keep digital tools as a secondary option until you’re comfortable with basics on paper. It feels different, after all.
Choosing The Right Pencils And Paper
Pencils aren’t all the same. Their hardness varies and affects your sketches deeply. For anime, softer pencils like 2B to 4B allow expressive and darker lines, great for outlines and shading. Harder pencils like H or 2H create lighter, finer lines, which can be helpful for initial sketches or details.
Paper choice also matters. Smooth, heavyweight paper handles erasing and detailed lines better, avoiding wear or tearing. Rough paper can add texture for shading, but it might interfere with clean line work typical in anime styles. Think about what you want your final drawing to feel like.
Choosing the right combo will improve your sketches, making corrections easier and your lines sharper — especially important if you plan to ink or color later.
Setting Up Your Workspace Efficiently
Organizing your space can either help or hinder your flow. Try to keep your essentials within arm’s reach but uncluttered. Don’t forget: posture matters for your health and focus. Use a comfortable chair that supports your back and keep your drawing surface at an angle, which can reduce wrist strain.
Distractions? Minimize them. Turn off notifications or use simple background music if silence feels too empty. And remember, take breaks! Hours hunched over a desk aren’t good for anyone, and a bit of movement can refresh your perspective.
How you arrange your tools and environment can subtly shift how you work. It’s worth tweaking until you find your groove. Maybe it’s a slightly messy desk with everything visible, or a minimalist setup with just a pencil and paper. What feels right might change over time — and that’s okay.
Basic Anime Face And Head Shapes
When you begin drawing anime characters, the head shape is your foundation. Most anime faces start with a simple circle for the skull—that much is common knowledge. But the shape going forward? That’s where things get a bit flexible. The jawline usually narrows to a point, offering that distinctive anime look. It isn’t always perfectly symmetrical; slight variations can add personality.
Proportions here matter, though not rigidly. The head’s width and height are roughly equal, with the jaw taking up about a third of the lower part of the circle. Here’s something to try:
- Start with a circle as the skull basis.
- Add vertical and horizontal guidelines to help place the features.
- Sketch the jawline, tapering it down from the circle’s edges.
Facial features don’t sit in the exact middle; they slightly vary based on character style. While this might sound a bit vague, it’s also freeing—you get to decide how your character appears. Just keep the general head shape balanced enough for the anime style to come through clearly.
Drawing The Basic Head Outline
Drawing begins with a circle—that’s the key step. It’s tempting to get caught up in perfect circles, but rough sketches work better at first. After drawing the circle, imagine slicing off the bottom part to add a chin and jawline. The shape resembles an inverted egg more than a perfect sphere.
Think about the lines before the details:
- Draw a rough circle for the head.
- From the bottom edges of the circle, extend two lines downward, angling slightly inward.
- Connect those lines to form a pointed chin.
This outline provides the basic anime head shape. Experiment with angles—sharp or rounded jaws change a character’s feel.
Placing Eyes, Nose And Mouth
Guidelines are your friends here. Draw a horizontal line through the circle’s middle—this generally marks where the eyes go. Eyes in anime usually sit lower than you’d think. The nose and mouth? They fall along the lower half of the face, spaced carefully but not rigidly.
Try these steps:
- Mark a horizontal line halfway down the circle for eye placement.
- Add a vertical line down the middle to keep features aligned.
- Position the nose just below the eyes, about a third down from the eye line to the chin.
- Place the mouth roughly halfway between the nose and chin.
Remember, these are guidelines, not absolute rules. Depending on your character’s personality, you may shift features a bit—perhaps a mischievous smile a little off-center or eyes larger on one side to hint at something interesting.
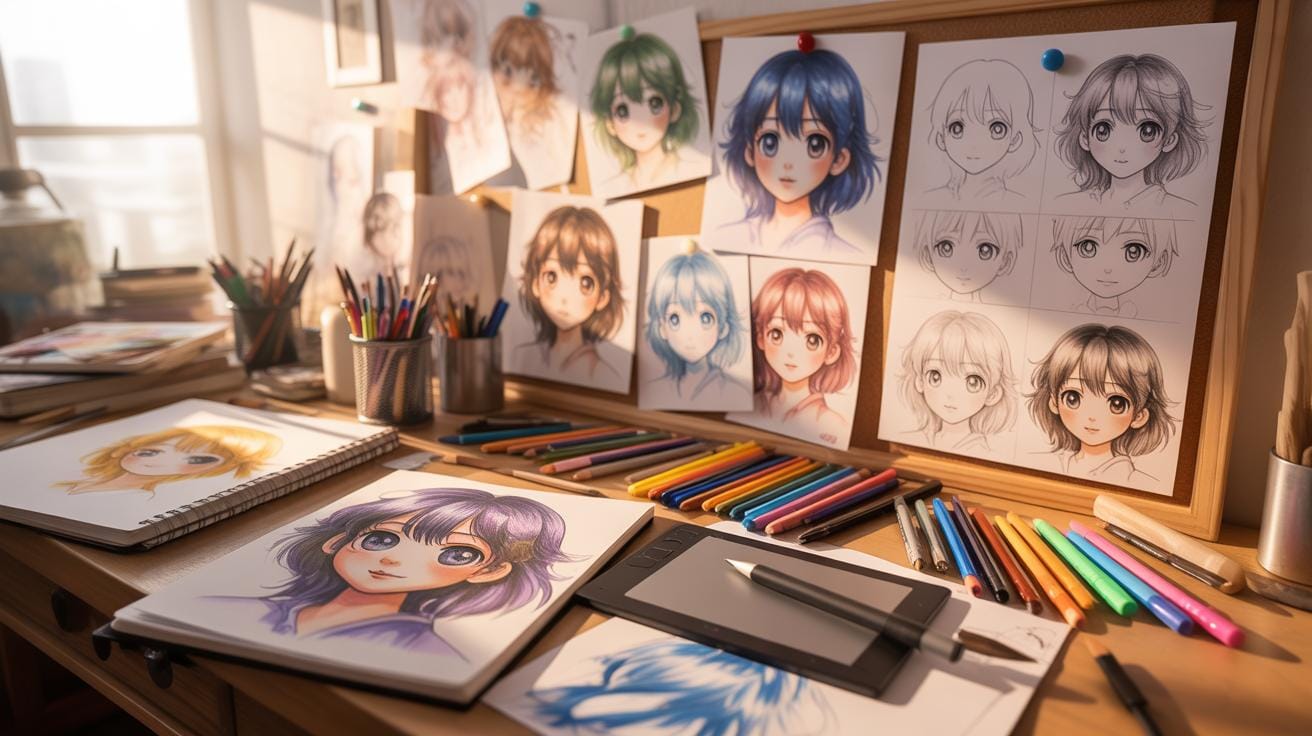
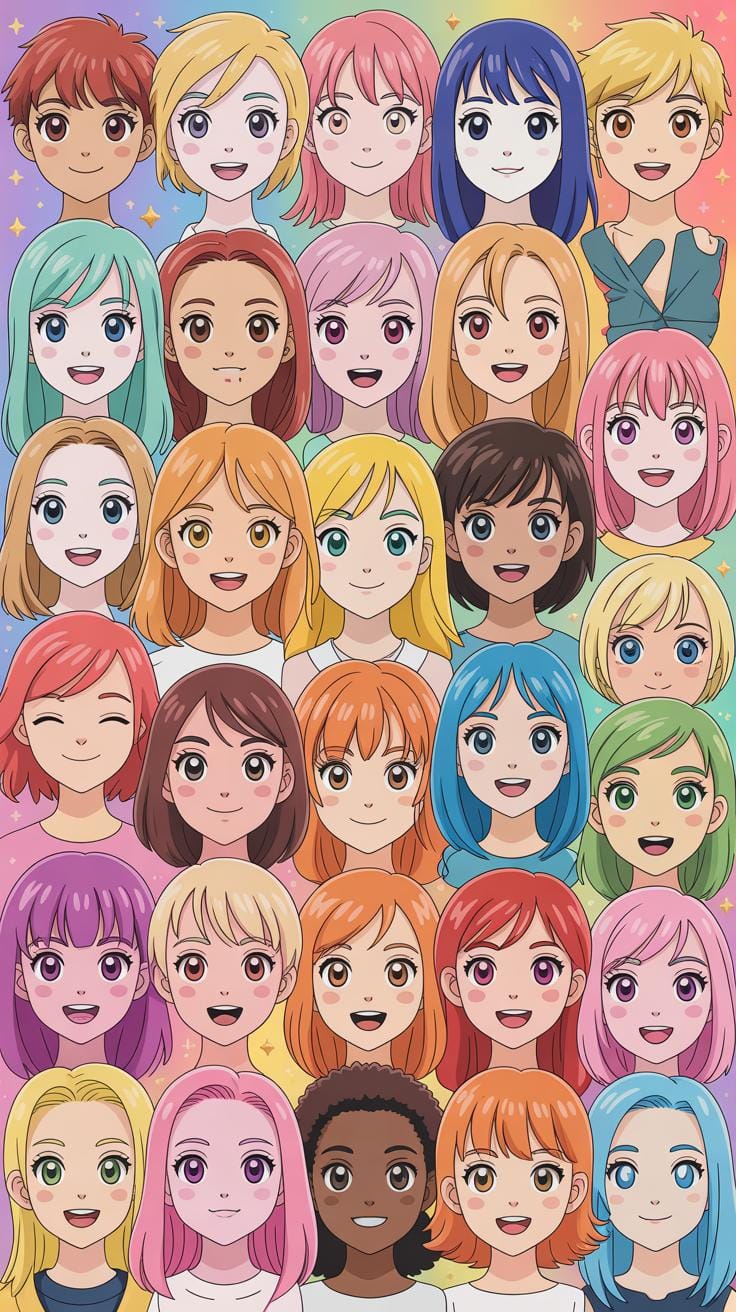
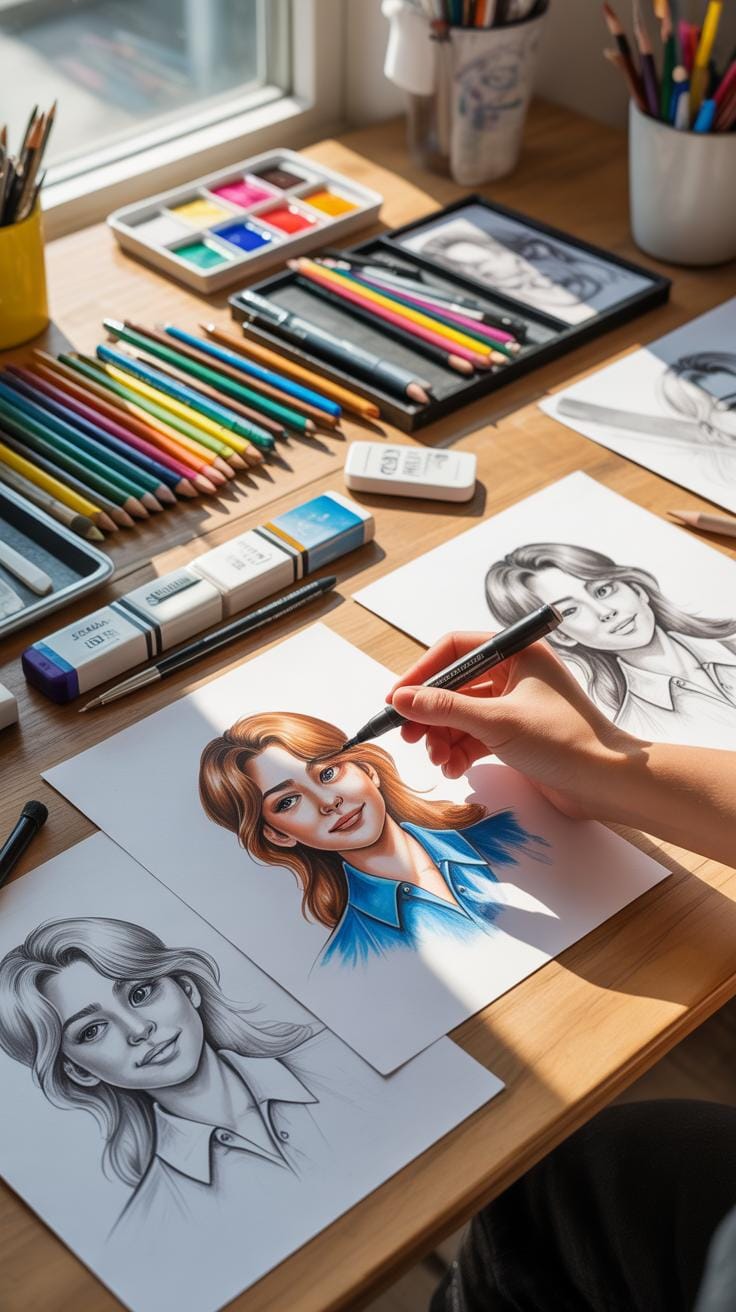
Sketching Anime Eyes And Expressions
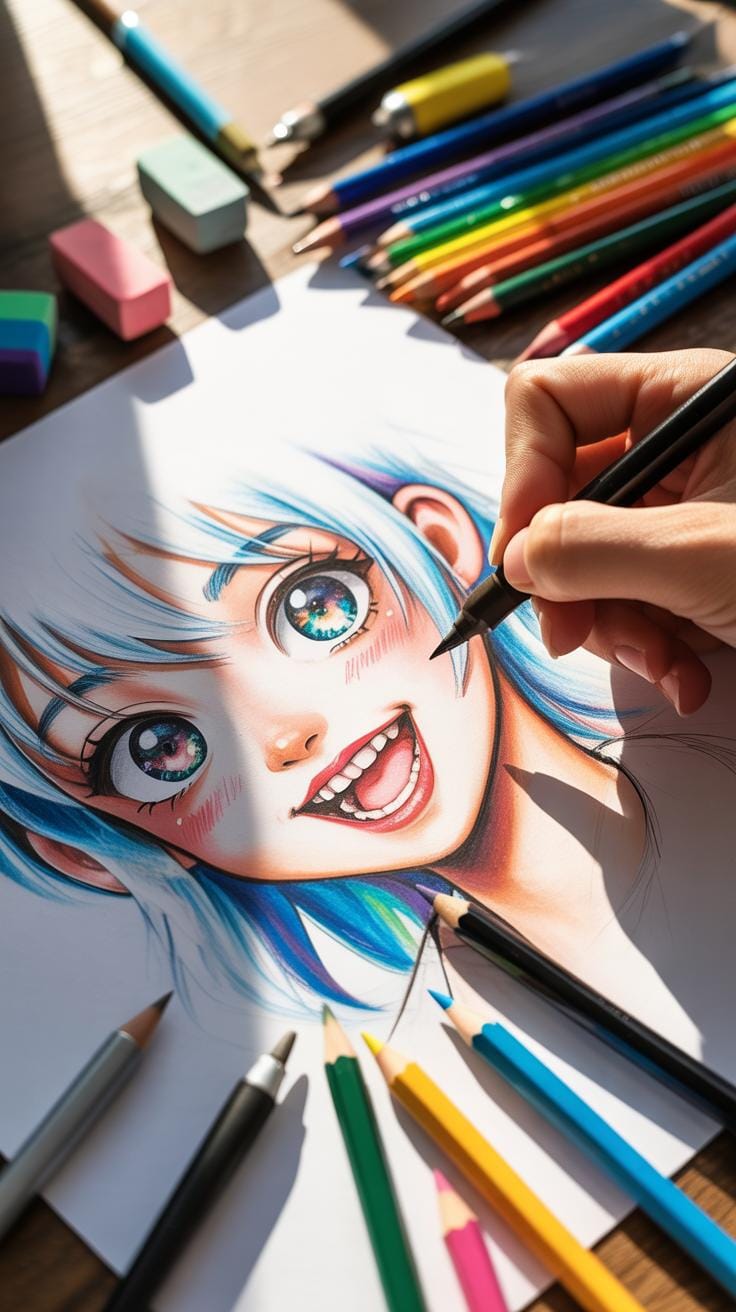
When you start drawing anime eyes, the variety can be a bit overwhelming. Eyes come in all shapes and sizes, and each choice changes the character’s entire vibe. You might try a round, wide eye for innocence or a narrow, sharp shape to hint at seriousness or slyness. There isn’t one perfect formula here—sometimes the eyes almost draw themselves once you get a feel for the character.
Think about the basics first. A big eye with a shining highlight can instantly make the character look kinder or more naive. Smaller eyes might communicate age or toughness. And then, of course, there’s the shape—some are more oval, others more angular or almond-shaped. These subtleties matter when you want to show who your character really is.
To convey emotions, look closely at how eyelids and pupils behave. Drooping eyelids can mean sleepiness or sadness, while sharply raised ones often signal surprise or anger. The position of the eyebrows above the eyes is just as key. A slight angle can shift a neutral face into one of curiosity or suspicion. Pupils? Larger pupils suggest excitement or affection, whereas tiny pupils might express fear or shock. If you fiddle with these elements, you’ll see how the character’s expression can totally transform with just small tweaks.
Sometimes, I find it useful to sketch quick eye studies focusing only on expression. It’s like solving a little puzzle—what combination of lines best captures that feeling? And honestly, practice helps you guess these just right without overthinking. So, don’t hesitate to experiment with different shapes and subtle changes. Your best character eyes might be hiding in what feels like a quirky, imperfect sketch.
Anime Hair Styles And Movement
When sketching anime hair, you might find it helpful to first think about the overall shape and flow rather than each individual strand. Anime hair often falls into styles like spiky, smooth, or layered, but what really makes it believable is how it moves and flows. Spiky hair, for instance, isn’t just sharp points; it has a rhythm, like the spikes grow out from the scalp and slightly twist or curve as if caught in a breeze.
Smooth hair tends to have gentle, continuous lines that flow naturally—maybe like a soft wave or a sleek fall over the shoulders. Layered hair is all about breaking the mass into overlapping sections; each layer has its direction and weight. You want to draw these styles so they retain a sense of lightness and action, not just rigid shapes stuck on the head. Think about how gravity and head movement affect hair and try to capture that in your sketch.
Drawing Basic Hair Shapes
Start by dividing the hair into broad sections—imagine large clumps or tufts instead of individual strands. Outlining these major shapes simplifies the process and prevents getting lost in too much detail early on. For instance, draw an oval around where the bulk of the hair sits, then break it down into spikes, waves, or layers based on the style.
This way, you’re focusing on the big picture: overall volume and direction. It also allows you to adjust proportions before committing to finer lines. Many drawings go awry when the initial shape isn’t clear; it’s like building a house without a solid foundation. So, ask yourself, where is the hair coming from and where does it flow?
Adding Hair Details And Texture
Once your basic shapes are in place, add strands to define and texture the hair. Instead of drawing every strand, pick areas where you want to highlight movement or depth. For example, a few curved lines following the flow can suggest volume and softness. Small, fine lines near roots or tips can mimic natural hair texture without overloading the sketch.
Try varying line thickness—thicker lines for shadowed sections, thinner lines for lighter parts. This contrast helps the hair feel alive. You might find that sometimes less is more. Too many details can make hair look busy or stiff rather than fluid. How much detail is enough? That’s partly up to your style and partly a judgment you’ll develop with practice.
Ultimately, capturing anime hair’s movement boils down to balancing structure with freedom. Let the hair have its shape, but also some unpredictability, just like real hair does as it dances with every head turn.
Constructing Anime Body Proportions
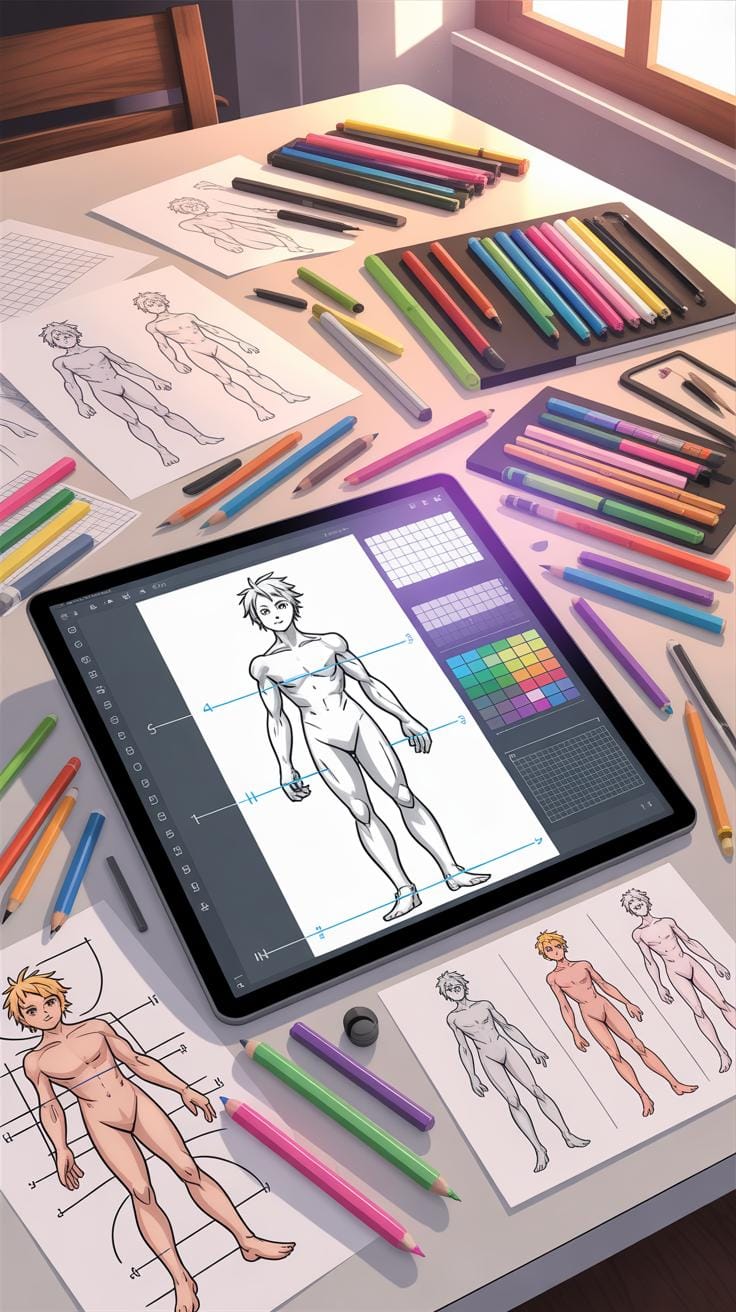
When sketching the basic anime body, starting with simple shapes really does wonders for getting proportions right. It’s kind of like placing puzzle pieces — but the pieces here are circles, rectangles, and lines. Imagine beginning with a circle for the head, then layering rectangles for the torso and pelvis. Lines can act as guides for limbs, making sure arms and legs flow naturally. It’s a bit like mapping out a route before starting a journey.
Using this approach, you can roughly size the figure from head to feet. Typically, an anime character stands about seven to eight heads tall. But then, some styles, like chibi, completely twist those proportions — you get those cute, stubby figures with oversized heads and tiny bodies. Still, for standard anime, this head-based measurement keeps things in balance and helps avoid odd-looking anatomy.
Using Shapes To Map The Body
Here’s a helpful way to think about it:
- Circles for joints and head — giving you natural pivot points.
- Rectangles for the chest and hips — these anchor body parts and give mass.
- Lines for limbs and spine — connecting everything smoothly.
By breaking down the figure like this, the complex human form gets simpler. You sketch a framework that guides your details later. You might forget this and jump straight into drawing muscles or clothes, but trust me, the foundation saves time.
Comparing Male And Female Anime Figures
Male and female anime bodies differ — not just in how they look but in shape and proportions too. Males typically have broader shoulders and narrower hips. Their torso is more rectangular, giving that angular, solid feel. Females, on the other hand, often show a narrower waist with wider hips, creating a more hourglass figure. Shoulders tend to be softer and less pronounced.
These differences aren’t just about appearance — they affect how characters move and express themselves in art. Sometimes you’ll see exaggeration to emphasize gender traits, like a very slim waist or bulky muscles. It’s tempting to stick rigidly to these ideas, but remember, real anatomy varies a lot, even in anime.
Clothing And Accessories Sketch Guide
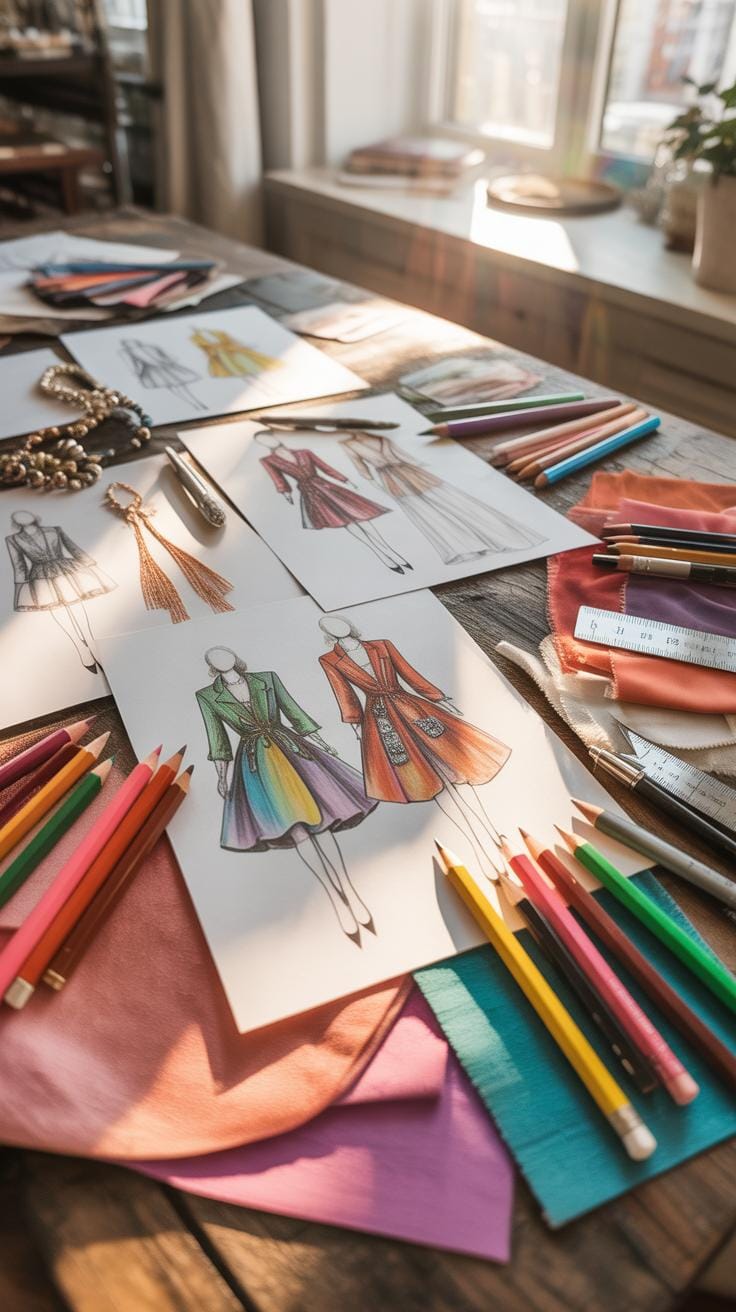
When you sketch clothing on your anime characters, think about how the clothes fit the body you drew earlier. Clothes aren’t just slapped on—it’s like they wrap around or hang from the shapes beneath. For example, a tight shirt will cling and show the form underneath, while a loose jacket will hang and even fold differently. So, look at your character’s pose and imagine how fabric would behave on it.
Here are a few tips to consider:
- Start with basic clothing shapes that follow the torso and limbs closely, then layer details.
- Accessories should complement the character but don’t overcomplicate—keep it simple to maintain clarity in your sketch.
- Think about gravity: clothes pull downward but stretch or bunch in places the body bends or moves.
- Don’t forget small details like collars, buttons, or belts; these bring characters to life.
Adding folds and wrinkle lines makes your clothing seem more realistic. Focus on points where the fabric squeezes or stretches, such as around joints or cramps caused by movement. One common approach is to think of the fabric as water flowing over the body—where it gathers, it creases, where it stretches, it smooths out.
Drawing folds might seem tricky, but start simple. Use quick strokes to suggest tension, and try to capture the rhythm of fabric bending. And remember, not every fold needs to be perfect or symmetrical. Sometimes uneven wrinkles show natural wear or fabric texture better. Don’t hesitate to experiment and let the sketch look a bit spontaneous; it feels more alive that way.
Step By Step Character Sketch Process
Starting With Rough Sketches
When you begin an anime character sketch, start with loose, sweeping lines. These lines are not about precision but capturing the essence of the pose and basic shapes. Think of it as laying down a framework. Use simple circles, ovals, and lines to indicate the head, torso, limbs, and joints. Don’t worry about neatness here—rough sketches often look messy and cluttered, but that chaotic energy keeps the movement alive. It’s tempting to jump into details immediately, but rushing can trap you in rigidity. Instead, sketch lightly to stay flexible. Experiment by shifting the pose or balance. Sometimes, that faint hesitation in your lines reveals the natural flow better than a confident stroke. Leave questions open—Is the stance dynamic enough? Does the silhouette speak the mood you want? This phase is about exploration, not perfection.
Refining And Finalizing Your Sketch
After your rough outlines feel right, you begin to add structure. Start picking out the strongest lines and erase the unnecessary ones. This is where the sketch becomes a clearer form. Use sharper, deliberate strokes to define the character’s shape, concentrating on distinct features like the eyes, hair, and clothing folds. At this stage, the character starts to gain personality. Adding subtle details—soft shading or light texture—helps the drawing feel less flat. Don’t stress about making all lines perfectly straight or overly smooth; slight irregularities add character. You might find yourself erasing and redrawing multiple times, which is fine. It’s part of the process. Your sketch should feel alive, not mechanical. By the end, the entire character should stand out clearly on the page, ready for either inking or coloring.
Correcting Common Sketching Mistakes
When you first start sketching anime characters, you might notice some recurring issues that slow down your progress or frustrate you. One of the most common mistakes is misjudging proportions. Sometimes the head may appear too big or too small compared to the body, or the limbs might feel awkwardly long or short. It happens to everyone, so don’t be discouraged.
Fixing Proportion Issues
Spotting proportion problems often means taking a step back and comparing parts. Ask yourself: does the head size match the body’s length? Are the arms reaching naturally to the hips when relaxed? Use basic guidelines like the classic anime ratio, where the character’s height is about six to seven heads tall. If something feels off, gently erase and adjust the lengths. Sometimes slight changes make a big difference. Drawing a light skeleton underneath can help you keep the structure in check.
Improving Line Confidence
Wobbly, hesitant lines are another frequent issue. They give your sketch a shaky look, making it less appealing. To improve line confidence, try practicing controlled hand movements. Instead of slowly dragging your pencil, use swift, deliberate strokes. It might feel strange but will smooth out your lines. Drawing over the same line multiple times can also build confidence, but overdoing it might clutter your sketch. Try warm-up exercises like quick sketches to loosen your hand first. Finding the right balance takes time, so be patient with yourself here.
Best Practices For Continuous Improvement

If you want to get better at anime drawing, it helps to build routines that keep you moving forward, even when progress feels slow or spotty. Maybe try setting aside just 15 minutes each day for sketching—it doesn’t have to be a masterpiece every time. Consistency beats intensity; drawing a bit every day, no matter how small, adds up.
Think about keeping a sketch diary or digital folder where you track your efforts and see how your skills shift over weeks and months. Sometimes your mind will resist the practice, and that’s okay—it’s normal to feel stuck sometimes. But sticking with it can pay off better than trying to learn everything in huge chunks.
Also, don’t hesitate to mix in variety. You could try new styles, tools, or themes on certain days to keep things fresh. The key is to create habits that feel natural rather than forced, so you’re more likely to keep them up over time.
Daily Sketching Exercises
Breaking your daily sketch time into focused exercises can make practice less overwhelming. For example:
- Spend one session drawing just eyes. Try different expressions and shapes.
- Focus another day solely on hands—these can be tricky but are super important.
- Practice quick pose sketches, perhaps 30 seconds or one minute each, to capture movement.
These small, manageable challenges help you build skills piece by piece. If you feel stuck on a particular feature, return to it often. Over time, these focused drills can improve your confidence with more complex drawings.
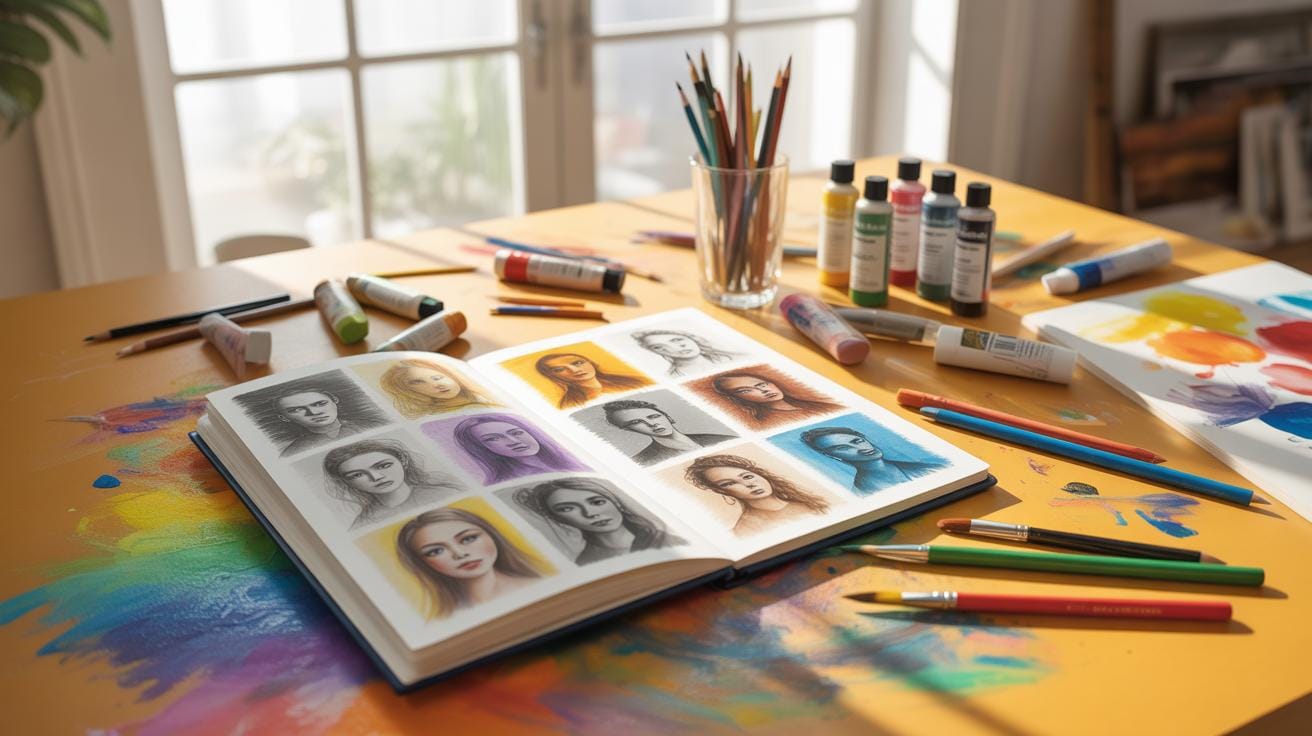
Analyzing And Learning From Others
Studying other artists is more than copying. It’s about understanding what makes their characters feel alive or unique. When you look at a piece you like—try to figure out why it works. Is it the way they draw eyes, the line quality, or how the pose conveys emotion?
Try following tutorials from different creators or watching speed drawings and think about the steps they take. But beware of blindly mimicking—blend what you learn with your own style and keep experimenting yourself. Your artistic voice will emerge that way.
Using Digital Tools For Anime Sketching

If you’re just starting out with anime character sketches, digital drawing apps can be quite helpful. They tend to offer a more forgiving environment compared to traditional pen and paper — especially because of the undo feature. There’s something about not having to start over because of a small mistake that feels quite freeing.
For beginners, apps like Medibang Paint, Ibis Paint X, and Krita often come recommended. They’re not only free but also packed with user-friendly features tailored to anime and manga drawing. You don’t need a super fancy tablet either; many of these work well on basic graphic tablets and even on smartphones or standard computers.
What’s nice is that these programs focus on simple brush tools that mimic pencils and inks quite well. Layers become a best friend here. You can sketch rough lines on one layer, then refine or color on another without messing up the original outline. You might find it a bit tricky at first to organize layers, but with a little patience, it soon becomes second nature.
Brush customization is another little perk these apps offer. You can change brush sizes and styles to suit the kind of line work you want. That finer control feels very different from a regular pencil, and, honestly, I think it helps beginners experiment more freely.
And don’t underestimate the undo button—it’s probably the most underrated tool. Instead of cringing at a slipped stroke, just hit undo, no sweat. Of course, that can sometimes lead you to rely on undo a bit too much, maybe stopping you from learning how to fix mistakes traditionally. But, hey, we all find our balance eventually.
Conclusions
Following Anime Drawings Tutorials Sketches Tutorial For Character Sketches can help you build strong foundational skills in anime art. You learn by doing, starting from basic shapes and gradually adding details to your sketches. These tutorials encourage regular practice and focus on clear, simple methods to improve your technique.
Use the tools and step-by-step process discussed to develop your unique style over time. Keep sketching regularly, study various character designs, and try new methods shared here to grow as an anime artist. This approach ensures steady progress in character sketching skills.


