Introduction
Resin is a special material that you can turn into pretty and unique items. Amazing resin ideas can make gifts, decorations, and art projects that really catch attention. When you use resin, you mix and pour it in molds or onto surfaces. As it dries, it becomes hard and shiny.
In this article, you will learn simple steps to make cool resin crafts. These ideas will help you surprise your friends with designs they haven’t seen before. Whether you want to create jewelry, coasters, or artwork, resin offers many ways to express your creativity.
What is Resin and How Does it Work
Resin is basically a sticky liquid that hardens into a solid when mixed with a special ingredient. It’s made from natural materials like tree sap, but the types used in crafts are usually synthetic. Think of it as a kind of plastic you can pour and shape before it becomes rock solid.
The chemistry behind resin involves something called “polymerization.” When you mix resin with its hardener, the molecules connect to each other, creating a tight network. This process changes the resin from a runny liquid into a hard, durable solid over several hours or days, depending on the type and temperature. It’s a bit like how gelatin sets, but way stronger.
The origins of resin go way back to plants, where natural resins protect trees from damage. Today’s craft resins borrow that idea but are tailored to be clear, strong, and waterproof. So next time you see a shiny, glasslike surface on a resin project, remember—it started as a liquid, just waiting to set.
Types of Resin You Can Use
If you’re just getting into resin, two types will probably cross your path: epoxy resin and polyester resin. Each has its quirks and best uses.
- Epoxy resin: Clear, user-friendly, and doesn’t smell too bad. It works great for jewelry, coasters, or small art pieces. Epoxy cures slower, giving you more time to play with colors and textures.
- Polyester resin: Often cheaper but tougher to handle. It has a strong odor and cures faster, which can be tricky. It’s ideal for larger projects or boat repairs but less forgiving for delicate crafts.
There are also UV resins that harden under special lights, good for tiny, detailed work but with some limits on thickness. Picking the right resin depends on your project size, skill level, and patience.
Safety Tips When Working with Resin
Resin might seem harmless while pretty, but it requires some care. Always work in a well-ventilated space, since fumes can irritate your lungs and eyes. If you don’t have a fancy ventilation fan, opening windows and using a small fan helps.
Gloves are essential. Even if you’re super careful, resin can stick to your skin and cause reactions. Nitrile gloves work better than latex here. Also, keep your workspace covered—wax paper or silicone mats save you a lot of scrubbing later.

Clean-up? Use alcohol wipes or acetone to remove resin spills before they harden. Once it’s cured, resin is tough to get off surfaces or skin, so it’s best to prevent messes rather than fix them. It might feel a bit overwhelming at first, but once you get used to these habits, working with resin becomes manageable.
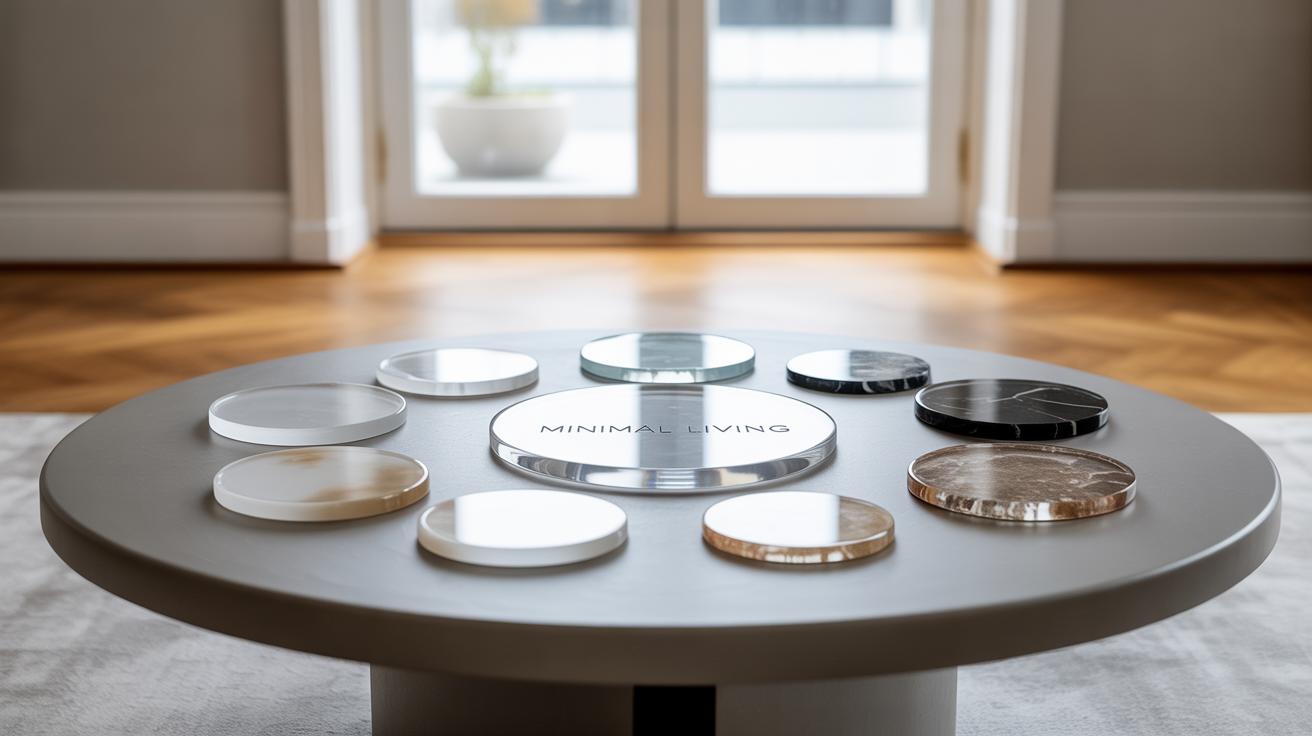
Choosing the Right Resin Project for Beginners

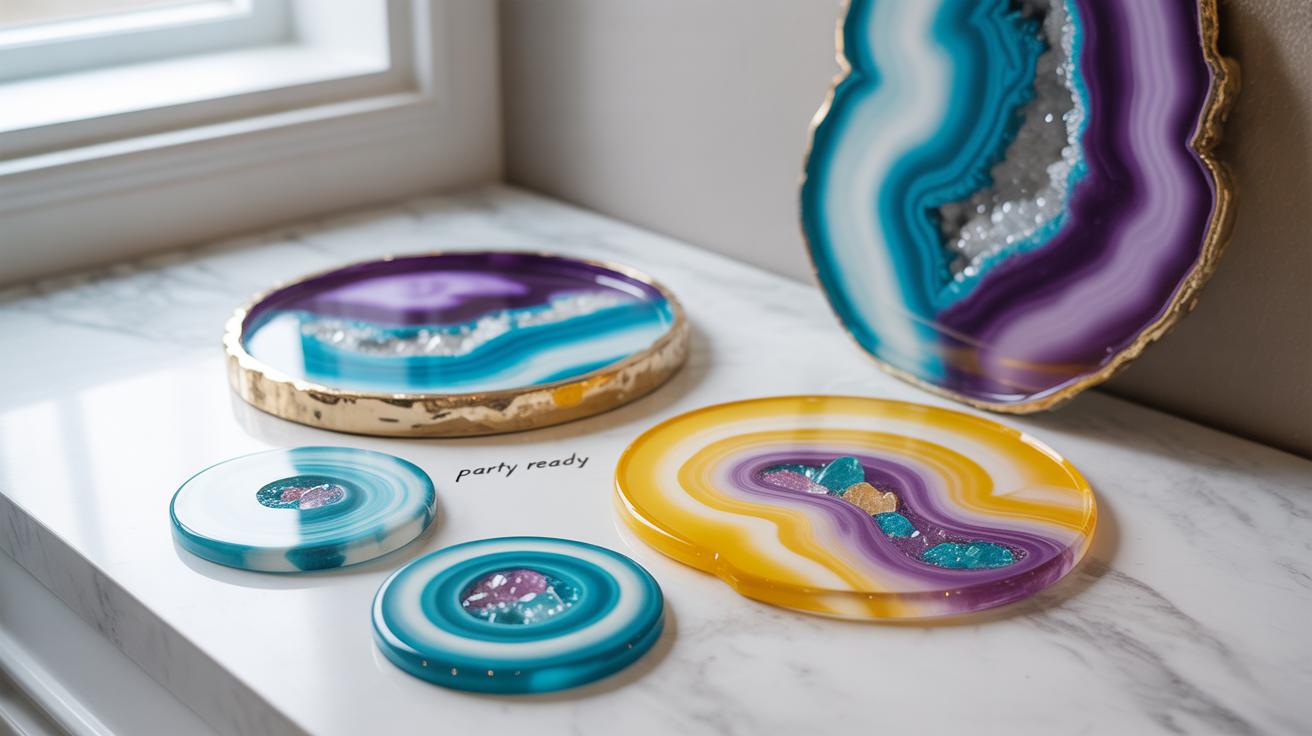
Starting resin art can feel a bit daunting, so picking the right first project really matters. Something small and manageable, like coasters or simple jewelry pieces, is a smart place to begin. These projects aren’t overwhelming, give you quick results, and let you see exactly how resin behaves without a huge time or material commitment. Plus, they’re practical—who doesn’t need a set of coasters or some unique earrings?
Why go small? Well, it helps you practice measuring, mixing, and pouring the resin. You get to test your timing and see how the resin cures. Mistakes are less costly, both in materials and effort. Also, completing a small project builds confidence—you feel like you actually can do resin work, which makes taking on bigger things less scary. I remember my first resin coaster didn’t come out perfect but finishing it encouraged me to try again.
As for tools and materials, here’s what you’ll need without getting too fancy:
- Resin and hardener: The core materials, usually in two parts that you mix. You can’t skip these.
- Mixing cups and sticks: For accurate measuring and thorough mixing. It’s tempting to eyeball it, but precise ratios matter.
- Molds: Silicone molds work great for beginners—easy to use and release resin.
- Protective gloves: Resin is sticky and not great on skin, so gloves protect your hands.
- A heat gun or torch: Helps remove bubbles that form after pouring.
- Sandpaper: For smoothing any rough edges after curing.

Starting with these basics keeps things simple but effective. You could add things like pigments or small decorations later, but first focus on mastering the basics. When you get comfortable, you might surprise yourself with what you can create next.
StepbyStep Guide to Making a Resin Coaster

Making a resin coaster is a straightforward way to get hands-on with resin without feeling overwhelmed. Start by gathering your materials: resin, hardener, a mixing cup, stir stick, a silicone mold, and whatever colors or decorations you want to include.
First, carefully measure resin and hardener. Most products call for a 1:1 or 2:1 ratio, but read your instructions closely. Even tiny errors in measuring can affect curing. I’ve learned it pays off to be patient and precise here—been there, ruined a batch by eyeballing.
Mix slowly and steadily for about two to three minutes, scraping the sides and bottom. Don’t rush—the goal is to avoid introducing too many air bubbles, but don’t hesitate too much or the resin might start curing before you’re ready.
Next, color and decorate. Add pigments or glitters directly to the mixed resin—start with small amounts and build up to your preferred shade. If you want to add small objects like dried flowers or tiny beads, gently place them into the mold after pouring a thin base layer of resin, then pour more on top to seal. This layering helps keep things from floating unexpectedly.
Pour resin carefully into your mold, filling up to your desired thickness. You can use a toothpick to nudge bubbles to the surface. Then, set it aside on a level surface to cure. It usually takes about 24 to 48 hours depending on the resin type. Patience is key here; touching it too soon can leave dents or smudges that are hard to fix.
When fully cured, pop the coaster out and sand any rough edges with fine-grit sandpaper. A quick buff with a soft cloth can bring out a nice finish. Does it always come out perfect? Not for me on the first try, but that’s part of resin craft — each layer of trial and error adds a bit to the fun.
Creative Resin Jewelry Ideas
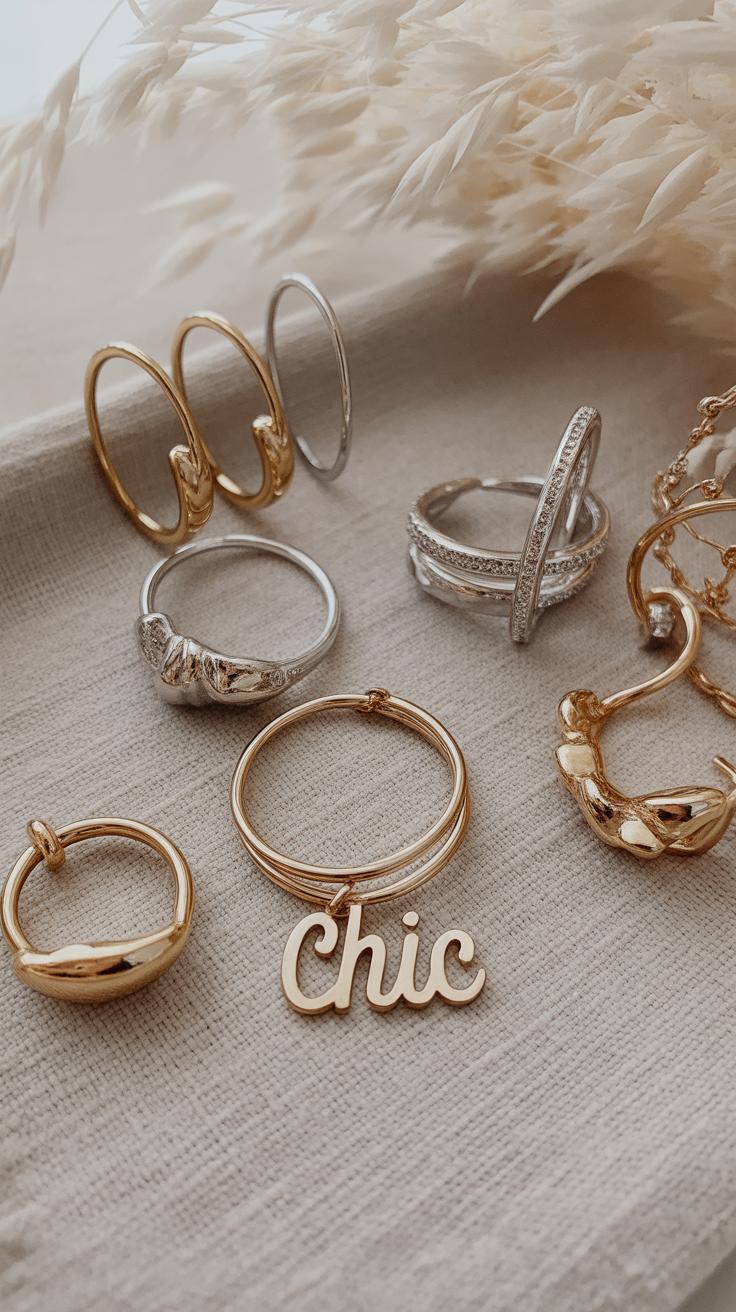
Resin jewelry offers plenty of variety, especially when you start thinking beyond just pouring resin into molds. Earrings, pendants, even rings can be made with resin, and the possibilities to customize are vast. One neat thing about resin is how well it preserves delicate details, so small objects embedded inside stay crystal clear over time.
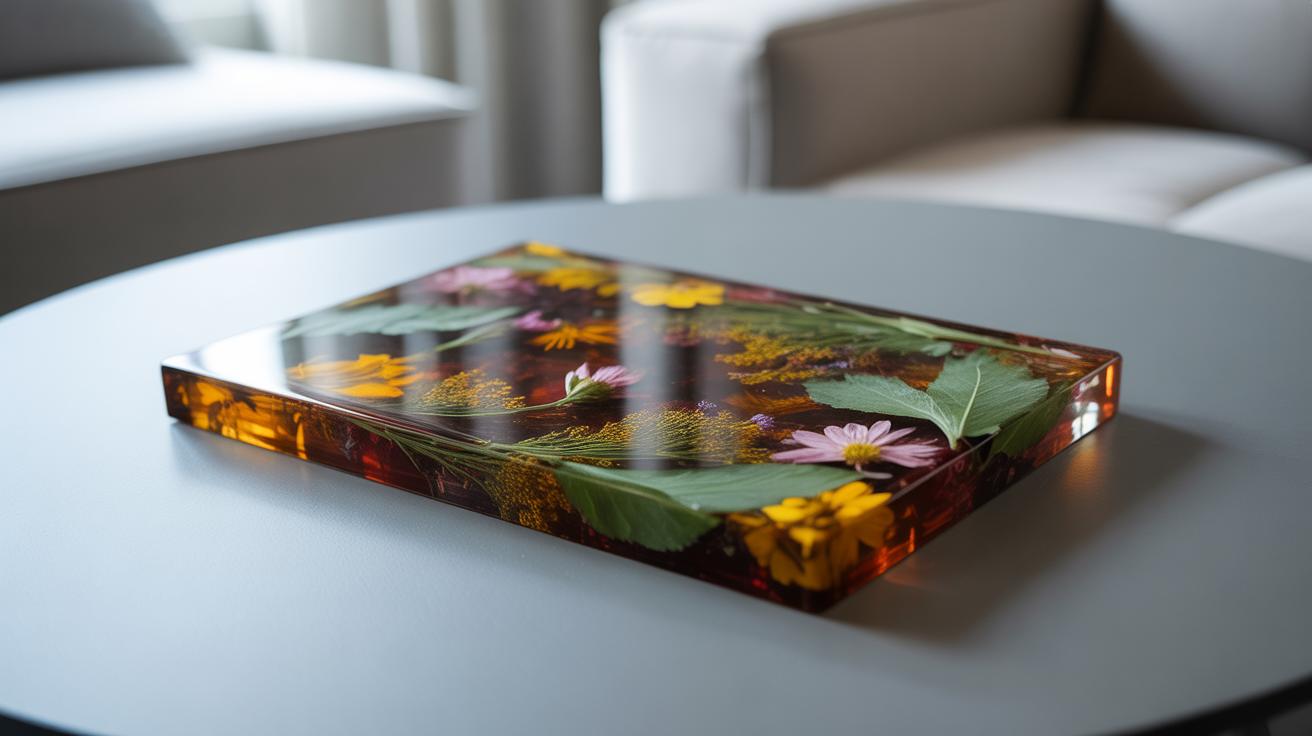
Embedding Flowers and Leaves
Preserving tiny flowers or leaves in resin gives your jewelry a natural touch that’s hard to replicate otherwise. Start by selecting fresh or dried pieces that aren’t too thick—thinner works better for sealing without air bubbles. You’ll want to press and dry them first; otherwise, moisture can trap inside and cause cloudiness or decay later on.
Once dry, place your chosen flower or leaf gently into partially cured resin to hold it still, then pour a thin top layer. This layering helps avoid trapping unwanted bubbles and keeps your embedded object safe. The effect can be surprisingly lifelike—almost as if you’re carrying a tiny garden with you.
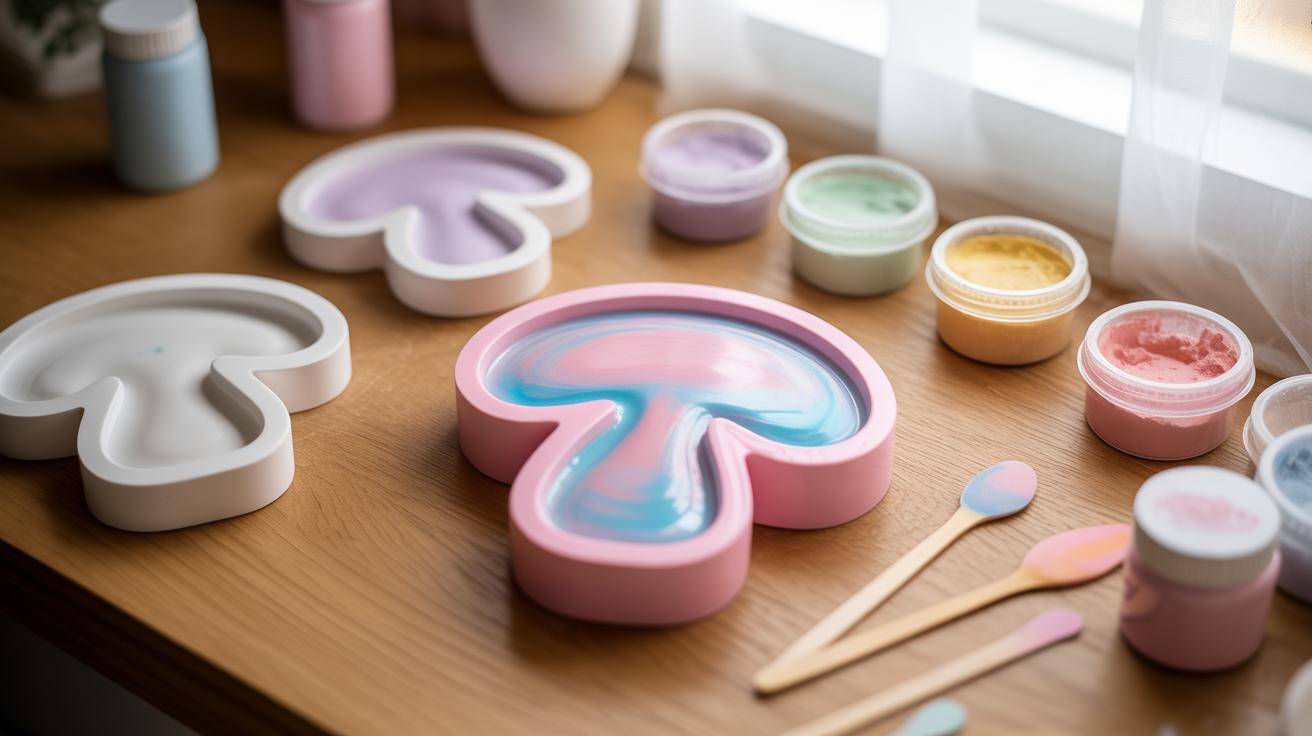
Using Molds for Perfect Shapes
Silicone molds are a great way to get consistent jewelry pieces, especially if you’re making sets like matching earrings or pendants. These molds come in all sorts of shapes—circles, teardrops, rectangles, even geometric patterns. They’re flexible, which helps when it’s time to pop your hardened resin out.
When using molds, make sure to apply a mold release spray if you want to avoid any stickiness or damage, though some high-quality molds don’t really need it. Pour slowly and watch for bubbles—sometimes a quick pass with a torch or lighter removes surface bubbles before curing. I found that patience here pays off; you’ll get much cleaner edges and shapes without scrambling to fix mistakes later.
Have you tried mixing resin jewelry with other materials? Sometimes combining resin with metal findings or beads adds a unique layer of texture and style. It feels like a simple project, but, well, it truly catches people’s attention. Why not experiment a bit and see what stands out to you?
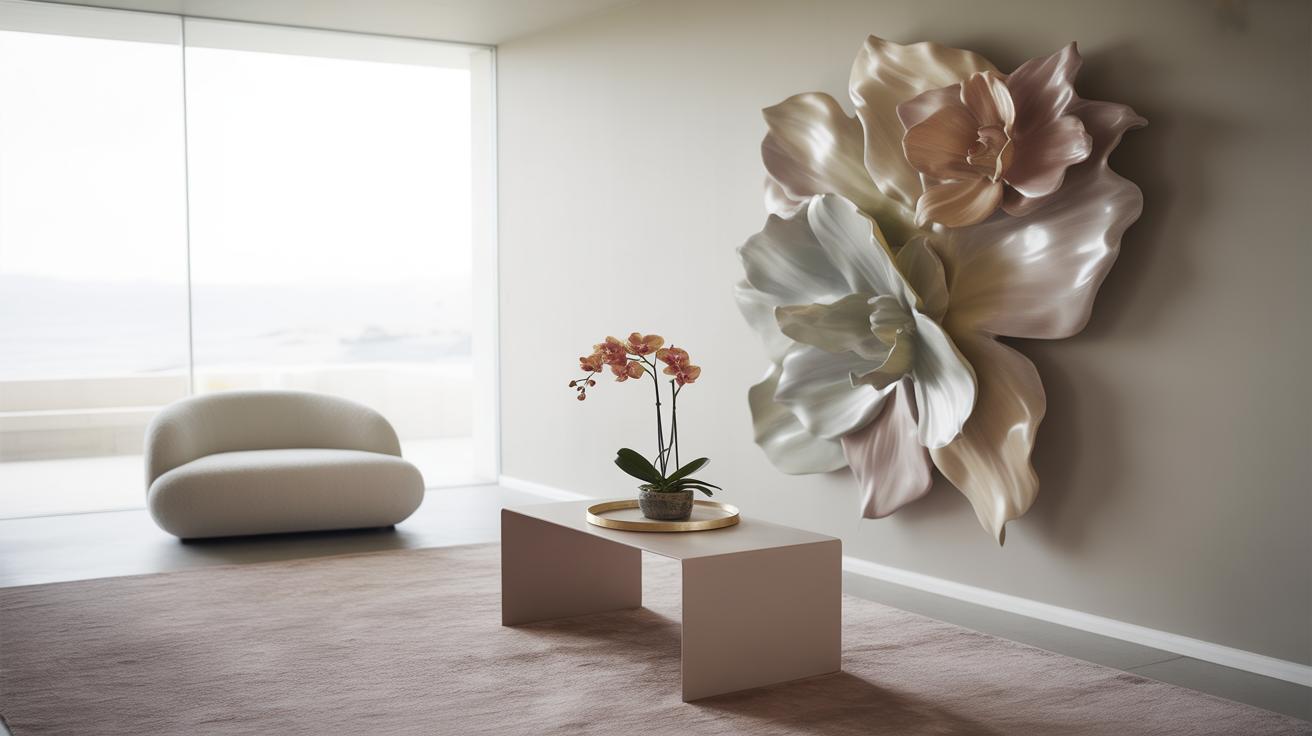
Making Resin Art Pieces for Your Home

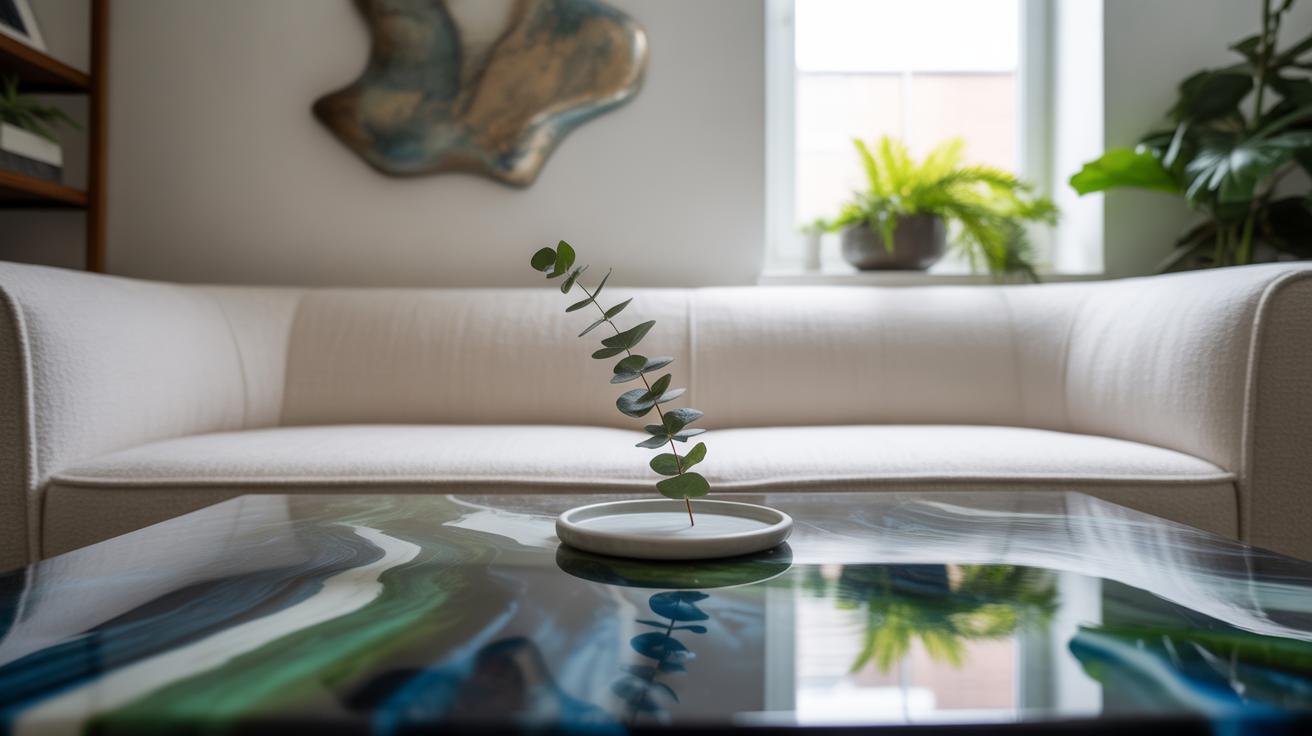
Resin opens up some really cool options when it comes to adding personality to your home. Think beyond jewelry—imagine resin paintings or even tabletops that catch the eye without screaming for attention.
One way to make these pieces unique is by mixing resin with acrylic paints or alcohol inks. The way these colors interact inside the resin can create soft gradients or sharp contrasts, depending on how you pour or swipe them. Sometimes, the colors blend smoothly; other times, they separate in interesting patterns you didn’t expect. This unpredictability makes each piece kind of special, doesn’t it?
Building up layers of resin can add depth and weight to your art. If you want texture, add small objects or even use a brush to create tiny ridges before sealing each layer. The shine that resin naturally brings gives your work a gloss that you can’t really replicate with paint alone. Sunlight bouncing off a resin tabletop, for example, looks almost wet, but it’s totally solid.
Personally, I find something satisfying about watching the resin self-level and transform flat surfaces into something that feels alive. Though, it can take a little patience and experimentation to get it just right. But once you do—your home suddenly feels a bit more stylish and a lot more personal.
Sealing and Finishing Your Resin Projects
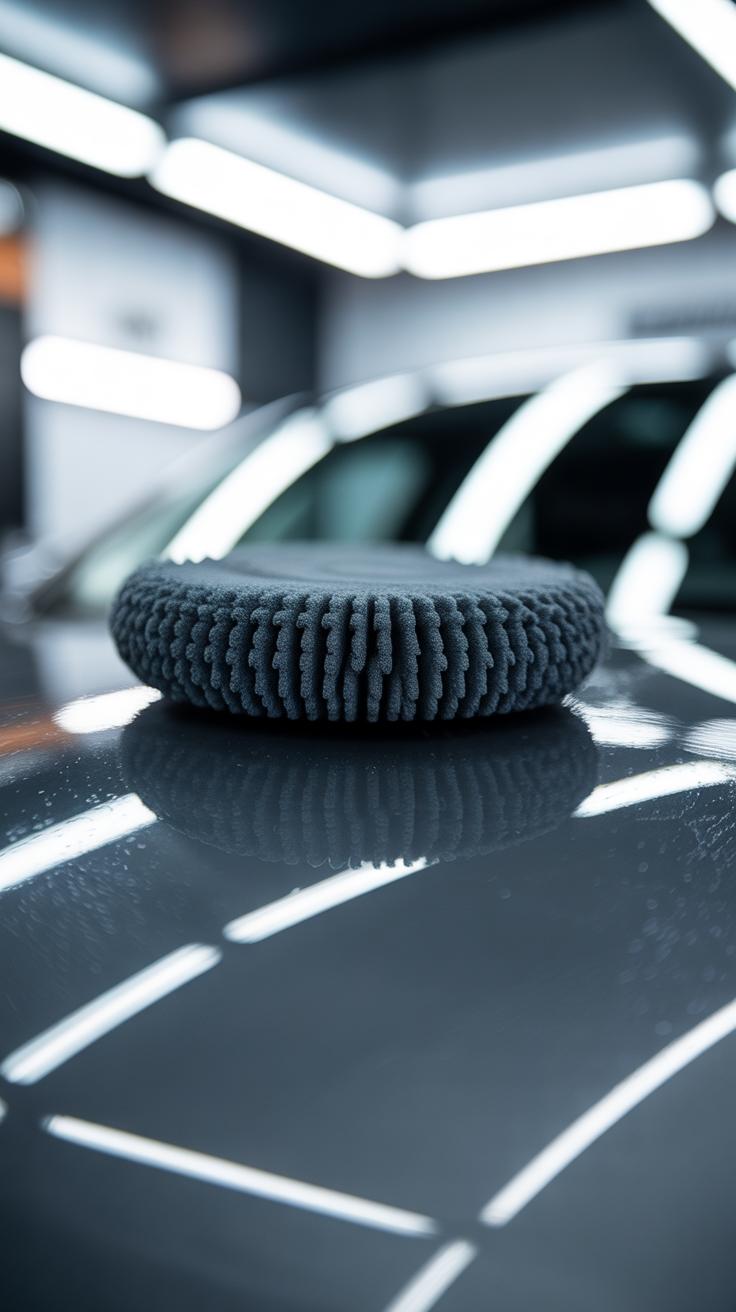

Once your resin piece is cured, a good seal and finish can make all the difference in how it looks and lasts. The best way to start is by carefully sanding any rough edges or surfaces that might feel uneven or sharp. You can begin with a coarser grit sandpaper—say around 220—and work your way up to finer ones, maybe up to 1500 or even 2000 grit, if you want a really smooth, glass-like finish. It takes some patience, but running your fingers over the piece between steps helps you notice spots that still need work.
Polishing comes next. A simple polishing compound and a soft cloth do wonders. Just a little circular motion can bring back the resin’s shine without stripping the surface. Sometimes I get nervous about over-polishing and ruining the depth of color or embedded items, so testing on a smaller slice or scrap is a tactic I rely on.
After sanding and polishing, sealing the resin is key to protecting it. A clear top coat like polyurethane or a spray-on acrylic sealer can protect against UV damage and scratches. Some people prefer epoxy sealers to keep the exact resin finish, but those might add another curing step. If you’re unsure, try sealers on a sample piece. Strange as it sounds, each sealer can slightly change the look—some add warmth, others leave a cooler tone.
When choosing, consider the final use of your project. Will it handle wear and tear? Or just sit on a shelf? The right finish keeps your resin looking good and guards your effort against time. It might feel like a lot of steps, but sealing and finishing your resin crafts shapes how others will see your work—and that, I think, is definitely worth the extra effort.
Common Challenges with Resin and How to Solve Them

Preventing and Removing Bubbles
Bubbles are probably the most frustrating thing that creeps into resin projects. They sneaky little pockets of air can show up during mixing or pouring, and honestly, they just steal the smooth look you’re aiming for. To avoid them, try stirring slowly and steadily instead of whipping the resin around—fast movements trap more air. Some swear by letting your mixed resin sit for a few minutes before pouring to let bubbles rise and pop on their own.
If bubbles still appear after pouring, you can gently wave a heat gun or a small torch over the surface. The heat helps pop the bubbles, but be careful not to overdo it—too close or too hot can damage your piece. Alternatively, a toothpick or pin can be used to pop stubborn bubbles on the surface, though this can leave tiny pits that might need light sanding later.
Fixing Sticky or Soft Resin
Sticky resin is a pain, and it happens when the curing process doesn’t finish right. This could be due to mixing the resin and hardener in the wrong ratio or stirring insufficiently. Temperature and humidity play roles too—working in a cold or very humid space can slow or halt curing. If your resin stays sticky after curing, you might need to add a clear coat of fresh resin and let it cure again, but sometimes the layer underneath never fully solidified, making that ineffective.
Light sanding with fine-grit paper can remove the sticky surface and give you a chance to apply a new seal. Occasionally, I’ve seen people recoat and quickly cure with heat to push it along, but that’s a bit risky. Patience can be your best friend here, even if it means waiting several more days. Sometimes, it’s just best to accept the flub, learn from it, and try a small test batch next time.
Personalizing Your Resin Projects
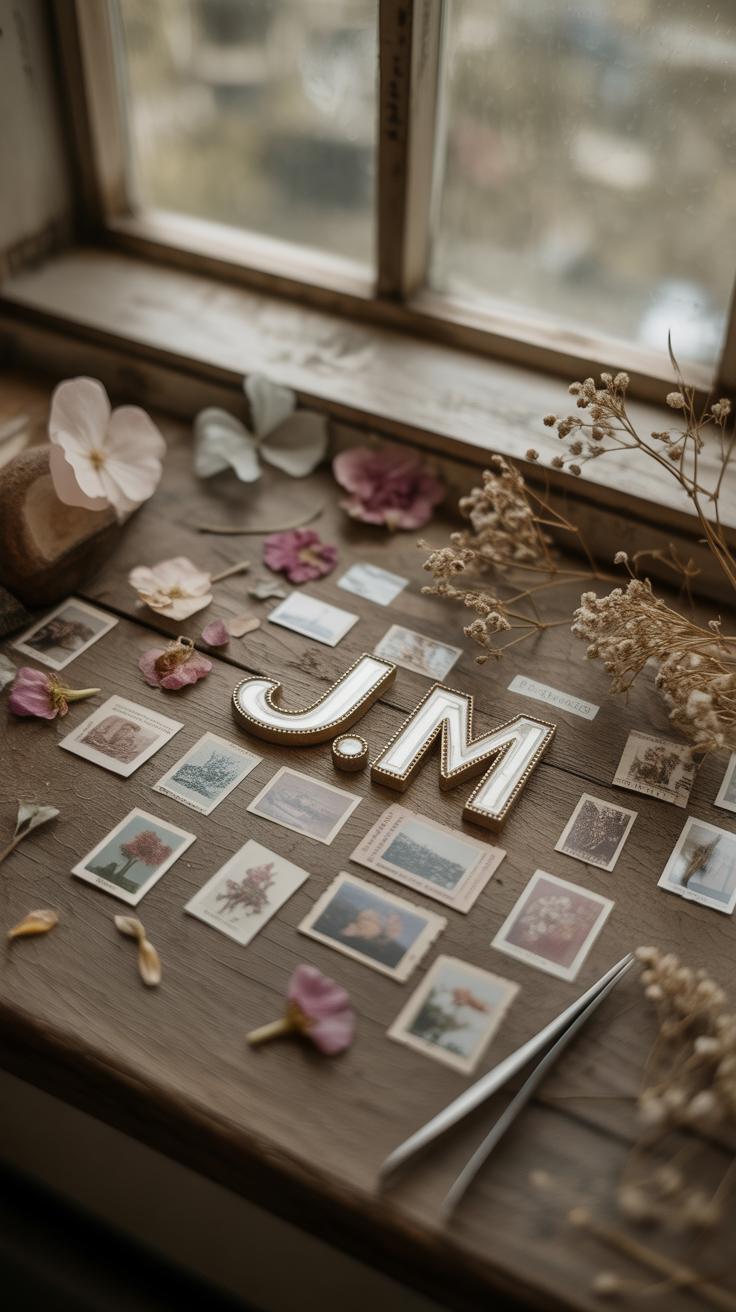
Adding a personal touch to resin crafts can make them feel more special—like they really belong to you or someone you care about. One approach I find quite fun is including initials or small symbols right inside the piece. You can cut out tiny letters from paper or vinyl, or even use small stamps, then embed them carefully. It’s a bit tricky placing them perfectly without bubbles or misalignment, but the effect—seeing your name or a meaningful letter suspended in clear resin—is worth the patience.
Photos are another way to personalize resin projects. Think of shrinking a favorite snapshot to fit inside a coaster or necklace charm. I usually print on waterproof paper or laminate the photo to protect it, then seal it within the resin layers. The image stays safe and gives the piece a story. There’s something quiet and nostalgic about these keepsakes, wouldn’t you agree?
Embedding Keepsakes and Mementos
Your resin craft becomes truly unique when you embed small items from your life. Things like dried flowers, tiny seashells, or even a lock of hair can add meaning beyond looks. For example, embedding a pressed flower from a memorable hike turned a simple paperweight into a small memory capsule. A subtle tip: arrange your keepsakes thoughtfully before pouring resin—they might shift or float if you’re not careful.
Small trinkets tell a story. Maybe a little charm from childhood or a piece of confetti from a special event? They can feel like tiny time capsules. Do you worry whether the items will discolor or break down? Some materials hold up better than others. Test pieces first, if you can, or seal delicate items with a clear spray to protect them.
Using Resin Decals and Transfers
Applying decals or transfers inside resin crafts is another creative way to decorate. You can buy clear or white-backed decals and place them on a cured resin surface, then pour a thin layer of resin over to seal. Or sometimes placing them just between resin layers works well—though it might require a few attempts to get it perfectly positioned.
One tricky part is avoiding bubbles and wrinkles in the decals. I tend to use tweezers and a damp brush to smooth decals carefully before sealing. Sometimes, I wonder if decals take away a bit from the handmade feel, but they definitely broaden what you can create—like adding intricate designs without needing to be a painter. Ever tried layering multiple transfers for a collage effect? It looks complex but can come out surprisingly well.
Sharing and Gift Giving Your Resin Creations

When you’re ready to share your resin crafts with others, the way you present them can make a big difference. Even a simple item can feel special with the right packaging. You don’t need fancy materials—sometimes, a bit of creativity goes further than expensive wrapping.
Try natural textures like kraft paper or small organza bags that let your creation peek through. A box lined with shredded paper or delicate fabric adds a nice touch and keeps your resin piece safe. If your resin art is flat, like coasters or bookmarks, wrapping them individually in tissue paper and tying with twine looks charming and effortless.
Adding a personal note can spark a real connection. It can be brief: a sweet message, a memory tied to the piece, or simple care tips like avoiding harsh sunlight or heat. Handwritten cards often feel more genuine than printed ones. You might even include a small tag explaining what inspired your design.
I’ve noticed friends keep those notes longer than the gift itself. Maybe it’s the thought that counts more than we expect. So, what do you want your resin gift to say beyond just being decorative?
Conclusions
Using resin lets you create beautiful and personal items that stand out. By following basic techniques and adding your own style, you can make amazing resin projects. These crafts are perfect to share with friends or keep as special treasures.
Start with easy resin ideas and try new things as your skills grow. Each project teaches you more about working with resin and how to get the effects you want. Keep exploring and have fun making resin art that truly wows.


