
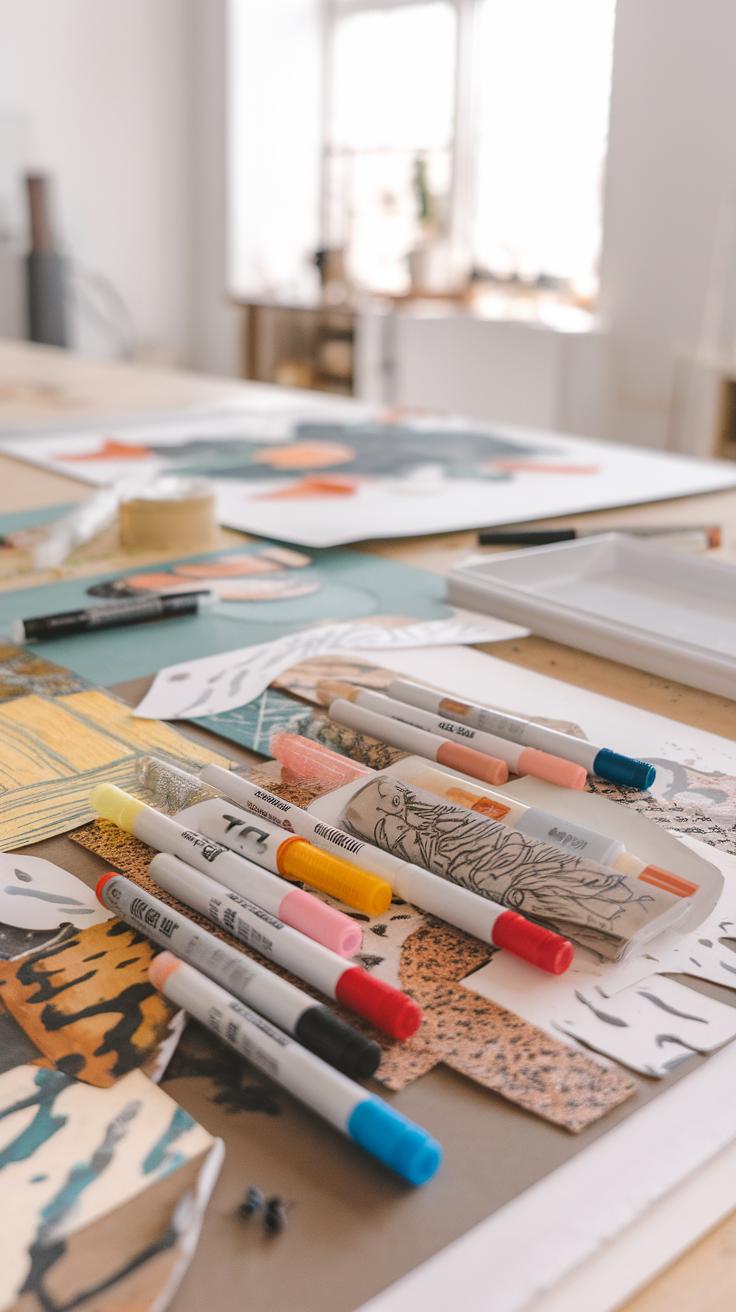
Introduction
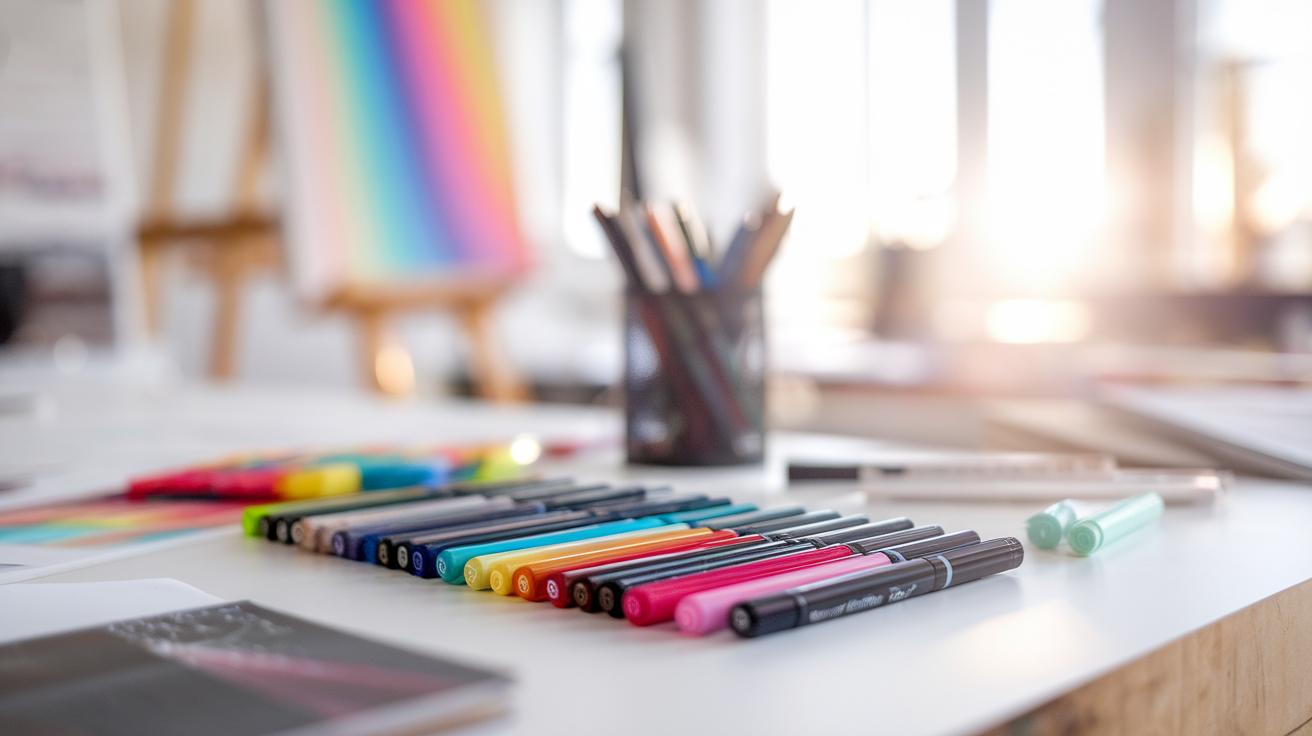
Alcohol markers have become a favorite tool among artists of all levels. These vibrant markers create stunning artwork, offering a unique blend of precision and richness in color. Designed with alcohol-based ink, they allow for smooth application and blending, making them ideal for illustrations, sketches, and various creative projects. The appeal of alcohol markers lies not only in their ability to produce bold, vivid colors but also in their versatility. Whether you are a beginner or an experienced artist, alcohol markers can significantly enhance your creative process.
This article dives into the world of alcohol marker art, exploring its benefits, techniques, and tips for maximizing your creative potential. We will discuss various applications, color blending methods, and the importance of choosing the right paper to complement your artwork. Embrace the endless possibilities that alcohol markers offer and discover how to foster your artistic skills.
Understanding Alcohol Markers
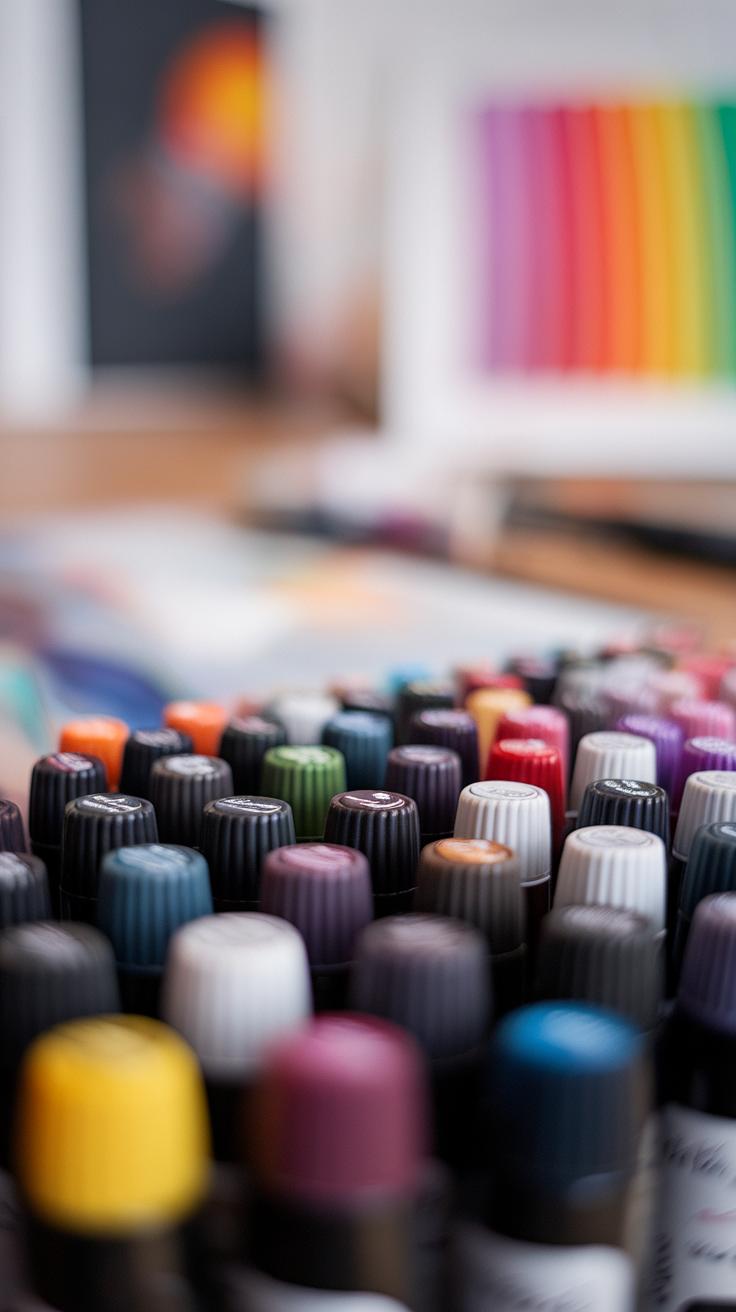
Alcohol markers are special art supplies that use ink made from alcohol and dyes. This unique ink makeup allows the markers to create smooth, vibrant colors. Artists often appreciate these markers for their ability to blend seamlessly and dry quickly. Unlike water-based markers, alcohol markers do not produce streaks, which helps in achieving a polished look. Additionally, the ink is often transparent, enabling artists to layer colors for more depth and creativity. Most alcohol markers come with two tips: a broad tip for filling large areas and a fine tip for detailed work. These features make alcohol markers stand out, making them a favorite tool among both beginners and professional artists.
Basic Techniques for Using Alcohol Markers
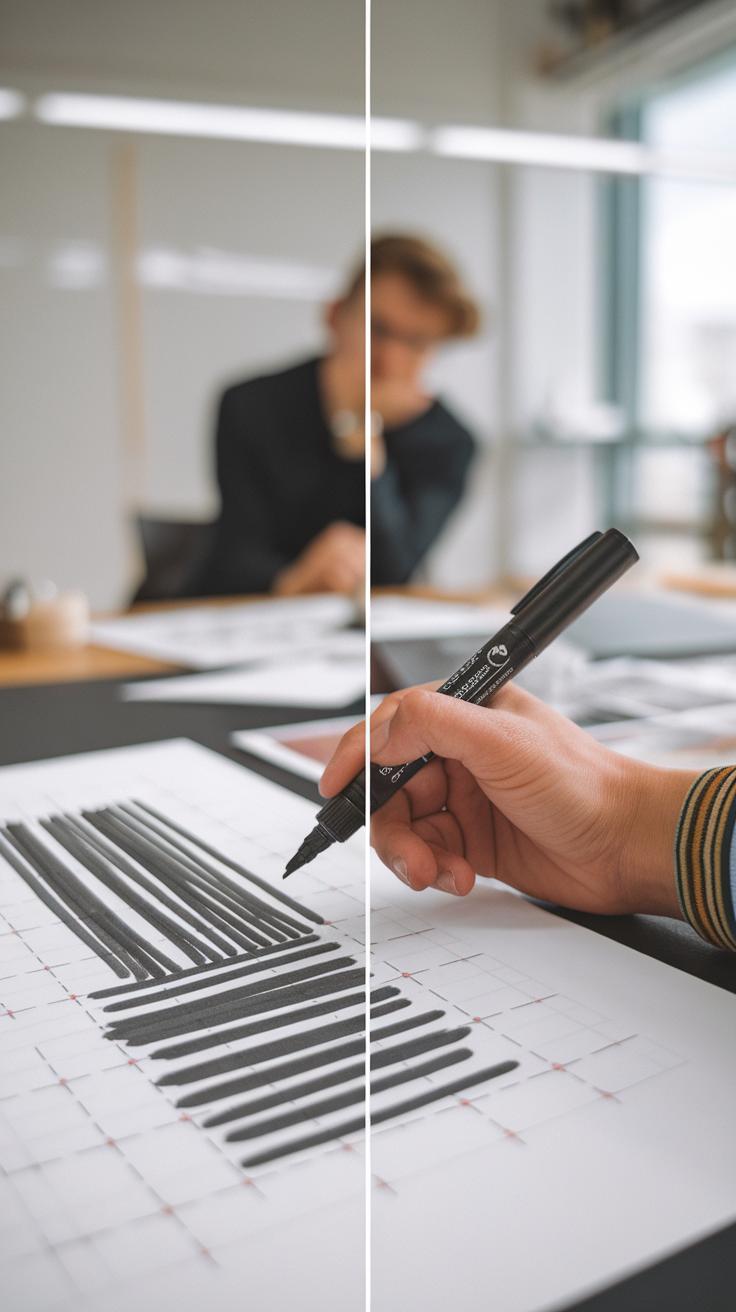
Mastering Strokes and Layering
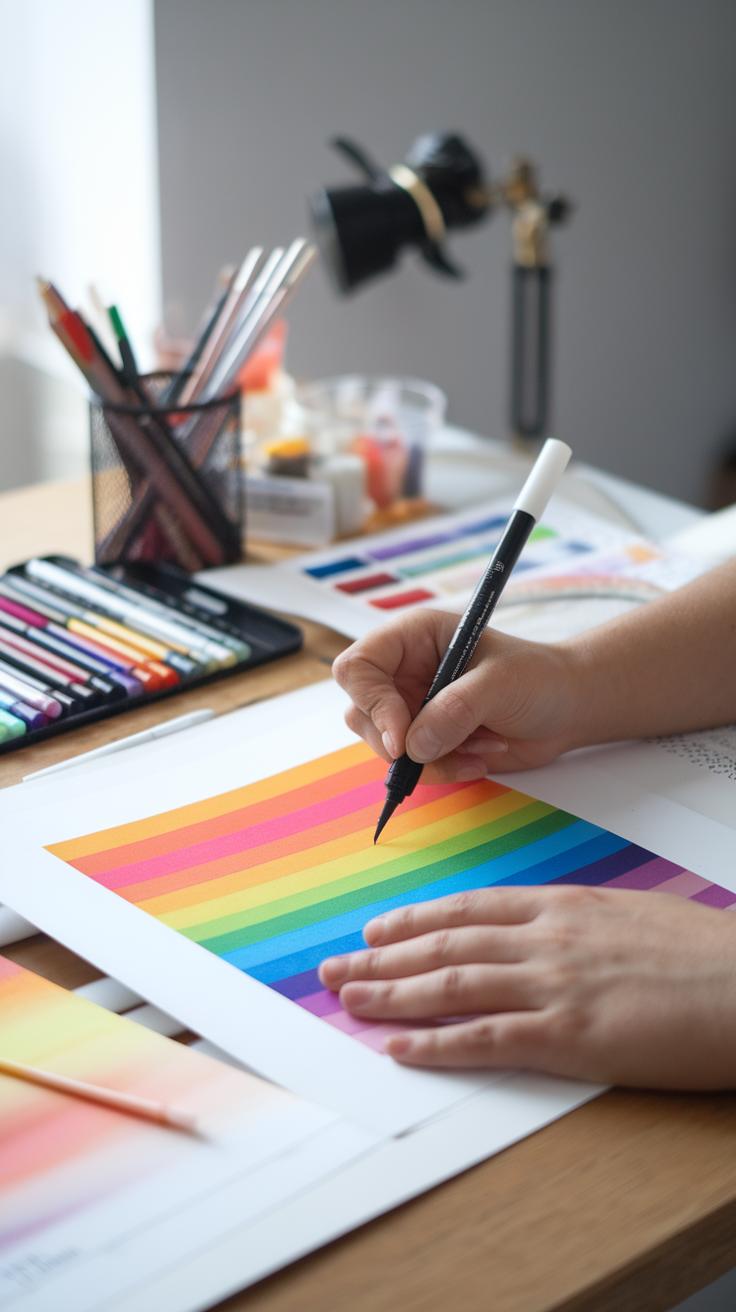
Begin by experimenting with basic strokes to understand how alcohol markers flow. Start with straight lines, flicks, and curves. Hold the marker at different angles to create varied line thicknesses. Use gentle pressure for lighter strokes and apply more pressure for darker ones. Once you feel comfortable, layer colors for depth. Start with light colors as your base, then add darker shades on top. This process helps create a sense of dimension and richness in your artwork.
Blending for Smooth Transitions
Blending offers a way to create smooth color transitions and gradients. To achieve this, choose two or more complementary colors. Apply your light color first, then add the darker shade next to it. Use a blending marker or a lighter shade to merge the two colors together. This technique allows you to create beautiful, seamless effects. Experiment with different blending methods, such as the feathering technique, where you lightly flick the edges of colors together for a soft transition.
Choosing the Right Paper
The Importance of Paper Selection
Choosing the right paper significantly affects the quality of artwork created with alcohol markers. Different types of paper interact uniquely with alcohol ink, influencing how colors blend and how lines appear. Smooth papers, like bristol board or marker paper, work well because they allow for easy layering and blending. These surfaces prevent ink from bleeding, giving artists the control they need for precision work.
Suitable Types and Textures
Specialty paper designed for markers provides the ideal texture for achieving vibrant results. Heavier weight paper prevents warping, especially when applying multiple layers of color. Strathmore and Canson make excellent options. Artists can also experiment with textured papers to see how they change the appearance of their markers. Finding the perfect paper allows artists to maximize their creative potential and encourages innovative techniques in their work.
Creating Textures with Alcohol Markers

Enhancing Visual Interest in Artworks
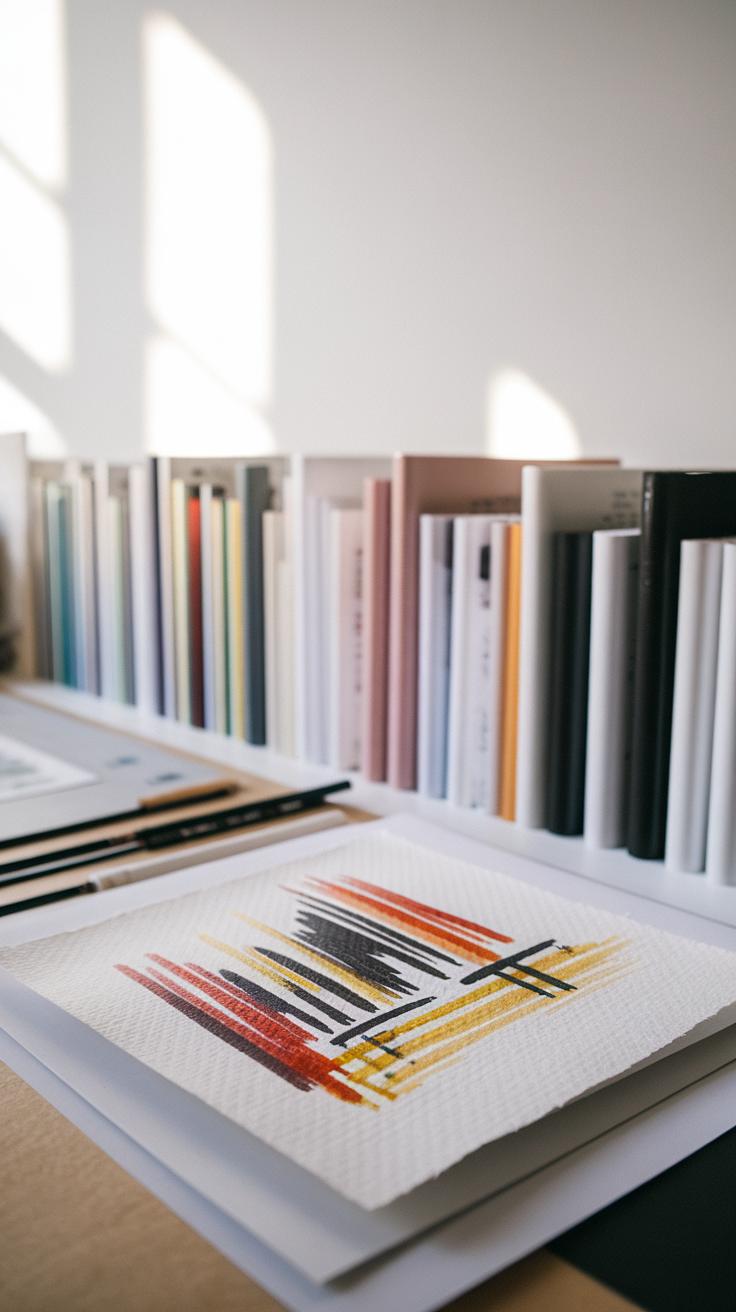
Artists can achieve exciting textures using alcohol markers, adding depth and dimension to their artwork. By layering colors, you can create a rich, multi-dimensional effect. Start with a base color and then add darker shades to define areas, or use lighter colors to highlight. This technique results in a captivating interplay between light and shadow.
Another effective method involves scribbling or using a stippling technique. By tapping the marker in various directions, you can create textures that resemble grass, fur, or even intricate patterns. Experiment with blending colors using a blending solution or a colorless marker. When combined with different strokes and layering techniques, these methods can produce stunning textures that bring your creations to life.
Exploring Color Theory
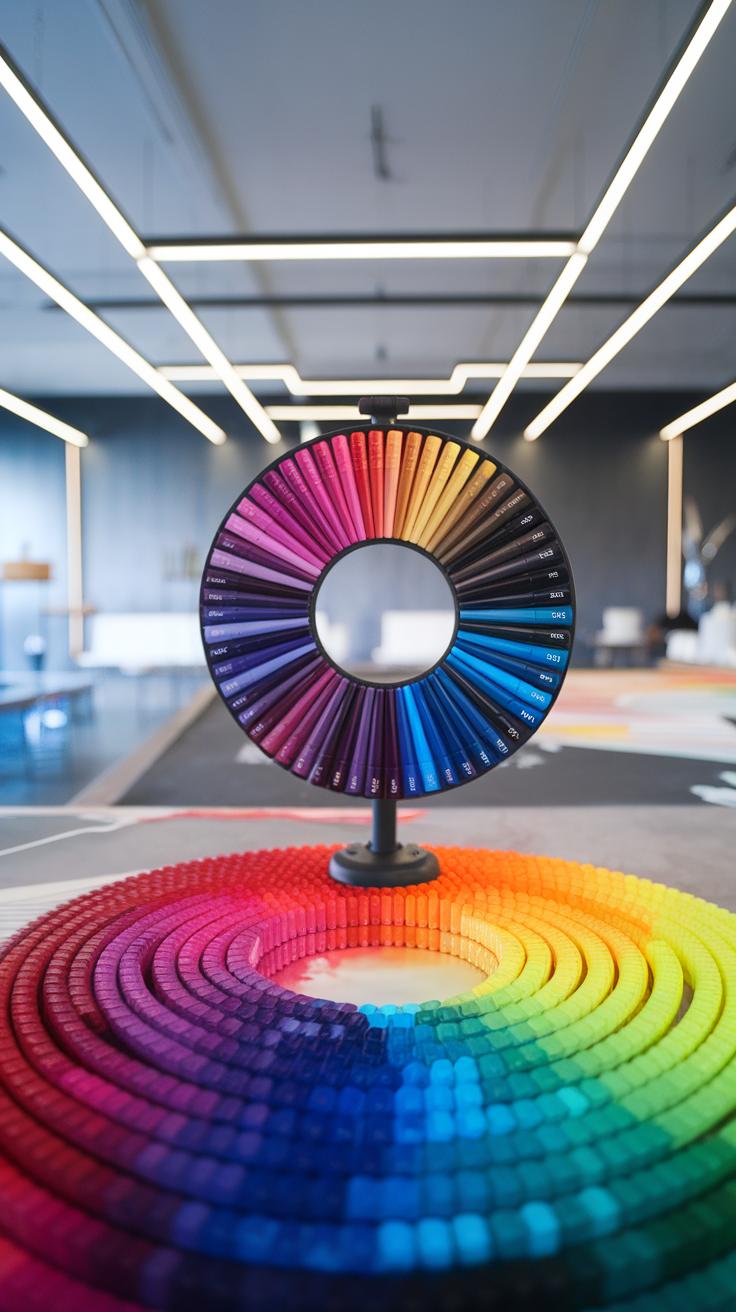
Understanding Color Basics
Color theory forms the backbone of successful alcohol marker artwork. Recognizing how colors interact can enhance artistic expression significantly. Primary colors, like red, blue, and yellow, serve as building blocks for all other colors. When artists mix these colors, they create secondary colors, such as green, orange, and purple. Grasping these concepts allows artists to create harmonious compositions.
Applying Complementary and Analogous Colors
Complementary colors, which sit opposite each other on the color wheel, create striking contrasts. Pairing these colors, like blue and orange, generates vibrant effects that catch the viewer’s eye. On the other hand, analogous colors, located next to each other on the wheel, maintain a more subtle harmony. These combinations, such as yellow, yellow-green, and green, provide a soothing, unified appearance. With alcohol markers, understanding and applying these color relationships revitalize creativity, allowing artists to explore new dimensions in their work.
Advanced Blending Techniques

Mastering the Wet-on-Wet Technique
The wet-on-wet technique allows artists to create smooth transitions between colors easily. To use this method, start by applying the first color to your paper. While it’s still wet, introduce a second color. The markers blend naturally, producing soft gradients that bring life to your artwork. This approach works well for skies, water, or any subject that requires a seamless effect. Practice controlling the amount of ink you apply to prevent excessive pooling, which can create unwanted blotches.
Utilizing Colorless Blender Markers
Colorless blender markers serve as a fantastic tool for enhancing details in alcohol marker art. These markers don’t add color; instead, they lighten shades and blend colors seamlessly. Use them to merge edges between two colors for a softer look. They help lift color from areas, allowing you to correct mistakes or create highlights. Experiment with layering colors and then using the colorless blender to achieve a refined finish. Mastering these techniques will significantly boost your confidence and creativity when working with alcohol markers.
Incorporating Alcohol Markers in Mixed Media
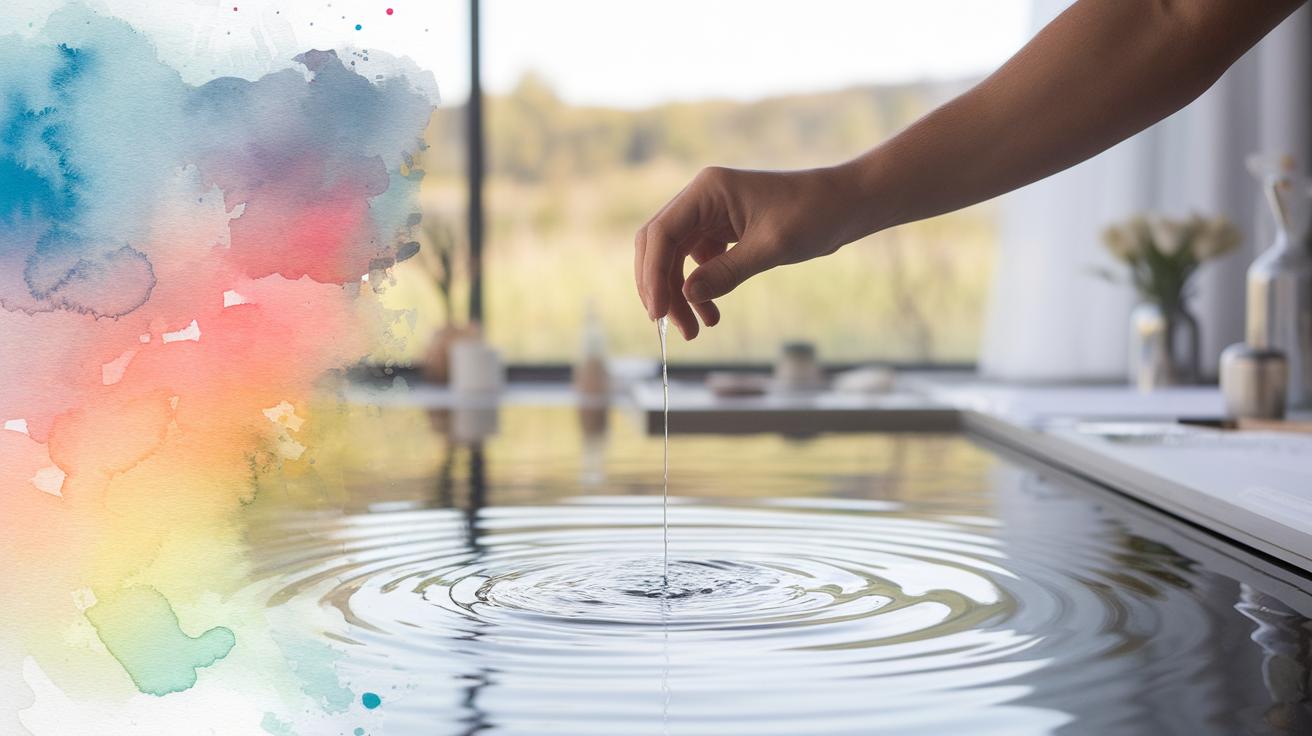
Combining Alcohol Markers with Other Mediums
Artists can create stunning effects by mixing alcohol markers with other mediums like watercolor or pencil. Using alcohol markers first, one can establish a vibrant base layer. This layer provides bold and rich colors that draw the viewer’s attention. Following that, adding watercolor can enhance the overall piece. Watercolors blend beautifully, allowing soft gradients that contrast nicely with the crisp lines of the markers. When applying pencil over alcohol markers, artists can add fine details or texture, creating depth in the artwork.
Layering for Depth and Texture
Layering different mediums not only boosts visual interest but also encourages creative thinking. Start with alcohol markers to outline shapes and add depth with pencils. This method allows artists to explore their unique style. An artist can create dynamic compositions by experimenting with varying line weights and shading techniques. Each medium can complement the others, bringing out the best qualities. Mixing these elements enhances the artistic experience and encourages exploration, fostering new ideas and styles in creative projects.
Common Mistakes to Avoid
Common Pitfalls for Beginners
Many beginners face challenges when using alcohol markers. One frequent mistake is choosing the wrong type of paper. Alcohol markers need special paper that prevents bleeding. Using regular paper can lead to smudged lines and messy designs. Another common error involves not allowing layers to dry. Alcohol markers dry quickly, but stacking too many layers too soon can cause muddiness in colors. Proper blending also becomes tricky if a beginner does not use the right technique. One should work in small sections and layer colors gradually to achieve smooth transitions.
Strategies to Overcome These Challenges
Beginners should test on scrap paper before applying markers on their main artwork. This step helps in understanding how the colors behave. Setting aside time for each layer to dry can enhance overall quality. Employing the right blending tools, like colorless blenders or even cotton swabs, can lead to better results. When beginners establish a routine of practice, they refine their skills and build confidence. Avoiding these common mistakes can significantly enhance the experience of creating art with alcohol markers.
Inspiration from Alcohol Marker Artists
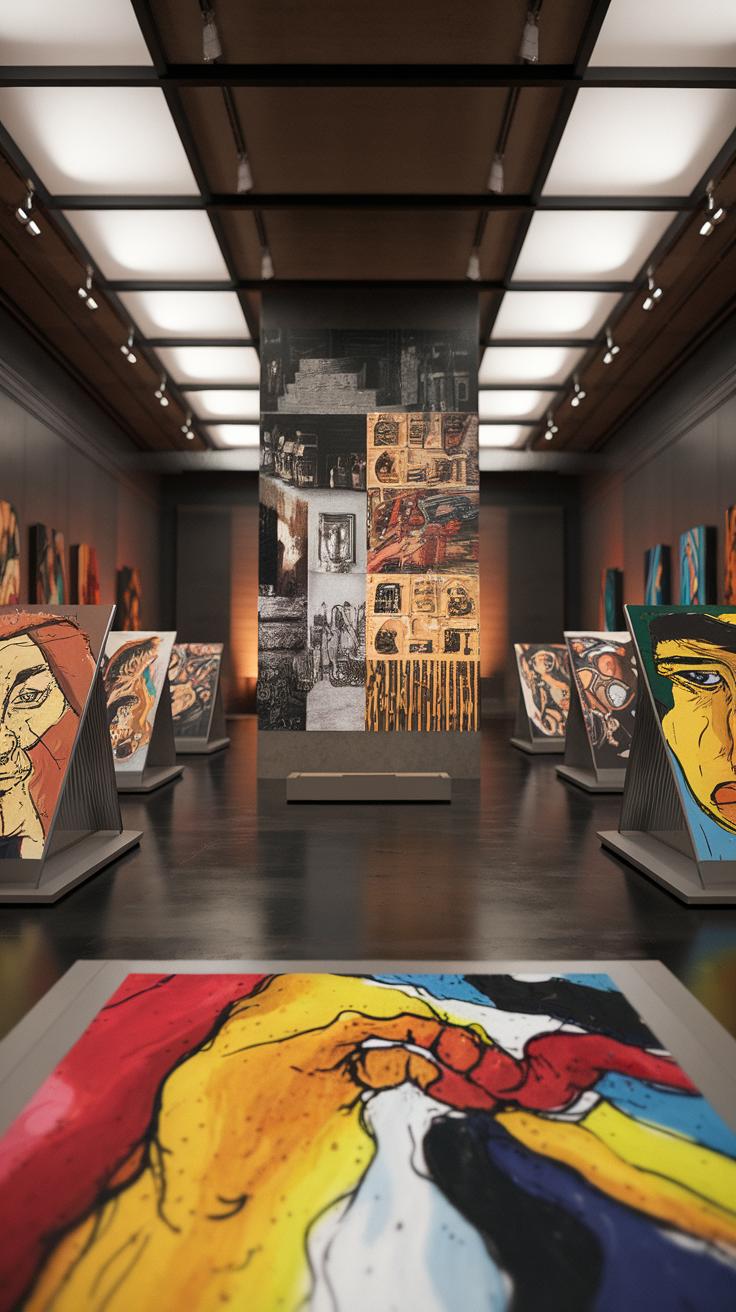
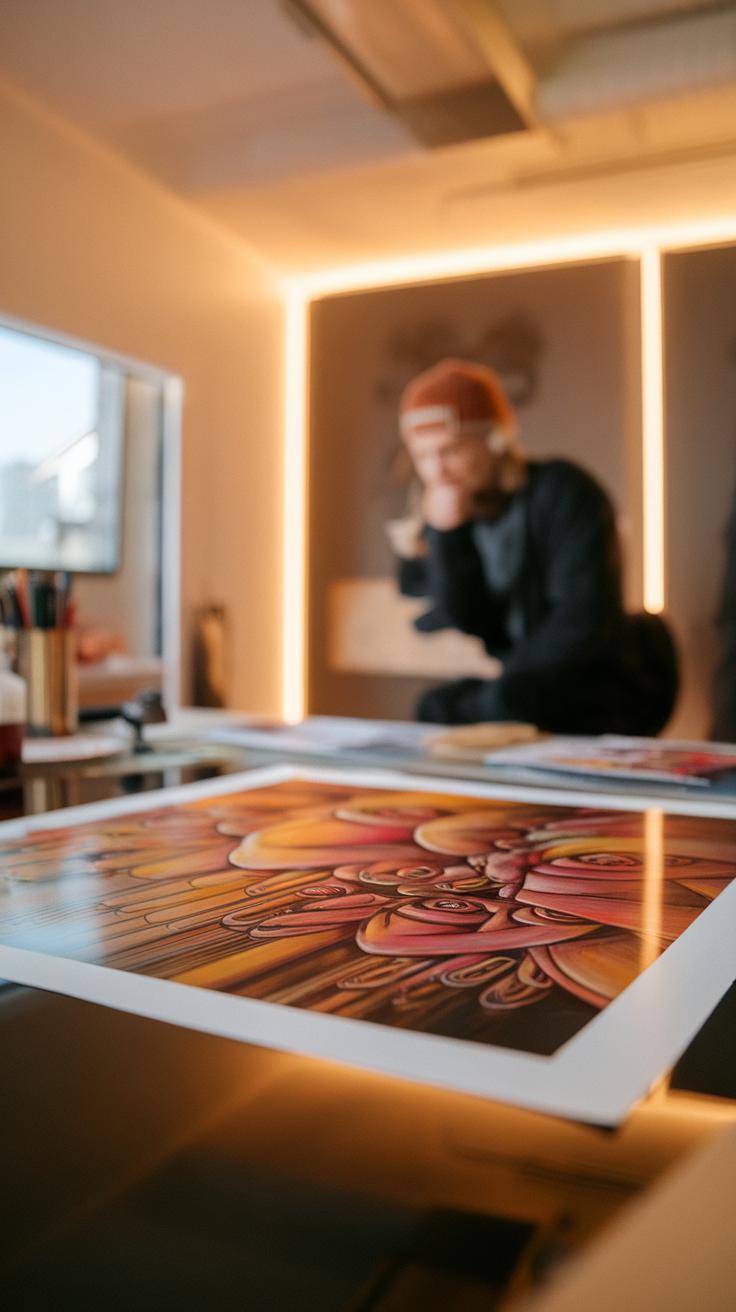
Notable Artists and Their Techniques
Alcohol markers attract many talented artists who create inspiring work through vibrant colors. Artists like Janna H. use these markers to achieve dynamic illustrations with deep shading and smooth blending. Her style highlights the power of layering colors, allowing the markers to blend seamlessly. This technique gives her artwork a polished and professional look.
Another artist, Anna G., explores intricate designs and patterns. Her attention to detail draws viewers into her colorful worlds. She often employs cross-hatching and stippling techniques, adding texture and depth to her pieces. Combining bold colors with fine lines creates a striking contrast that captivates audiences.
Taking inspiration from these artists encourages new creators to explore their unique styles. Experimenting with different techniques can stimulate creativity and lead to remarkable artistic journeys.
Final Thoughts on Alcohol Markers
Key Takeaways from Using Alcohol Markers for Art
Alcohol markers offer an exciting way to express creativity. Their vibrant colors and smooth application invite artists of all skill levels to explore new techniques. These markers blend well, allowing for incredible shading and depth in artwork. They dry quickly, reducing the risk of smudging and letting artists work efficiently. One of the most appealing aspects is their versatility; whether you prefer illustration, graphic design, or mixed media, alcohol markers fit seamlessly into various styles.
Experimenting with alcohol markers helps artists discover unique ways to express their ideas. Artists can layer colors and create intricate details, enhancing their compositions. This medium encourages playfulness and innovation, allowing imagination to flourish. Learning to use alcohol markers can empower any artist to revive their passion for creativity.
Conclusions
Alcohol markers serve as an excellent medium for artists seeking to enhance their work with vibrant colors and smooth application. By understanding the characteristics and techniques associated with these markers, artists can unlock a new realm of creativity. Throughout this article, we explored their benefits, proper usage, blending techniques, and even the best types of paper to pair with these markers.
With practice and experimentation, anyone can master the art of alcohol markers, making it an accessible and enjoyable medium for myriad artistic styles. Embrace the adventure of exploring this fascinating art form, and let your creativity flourish with every stroke.


