Introduction
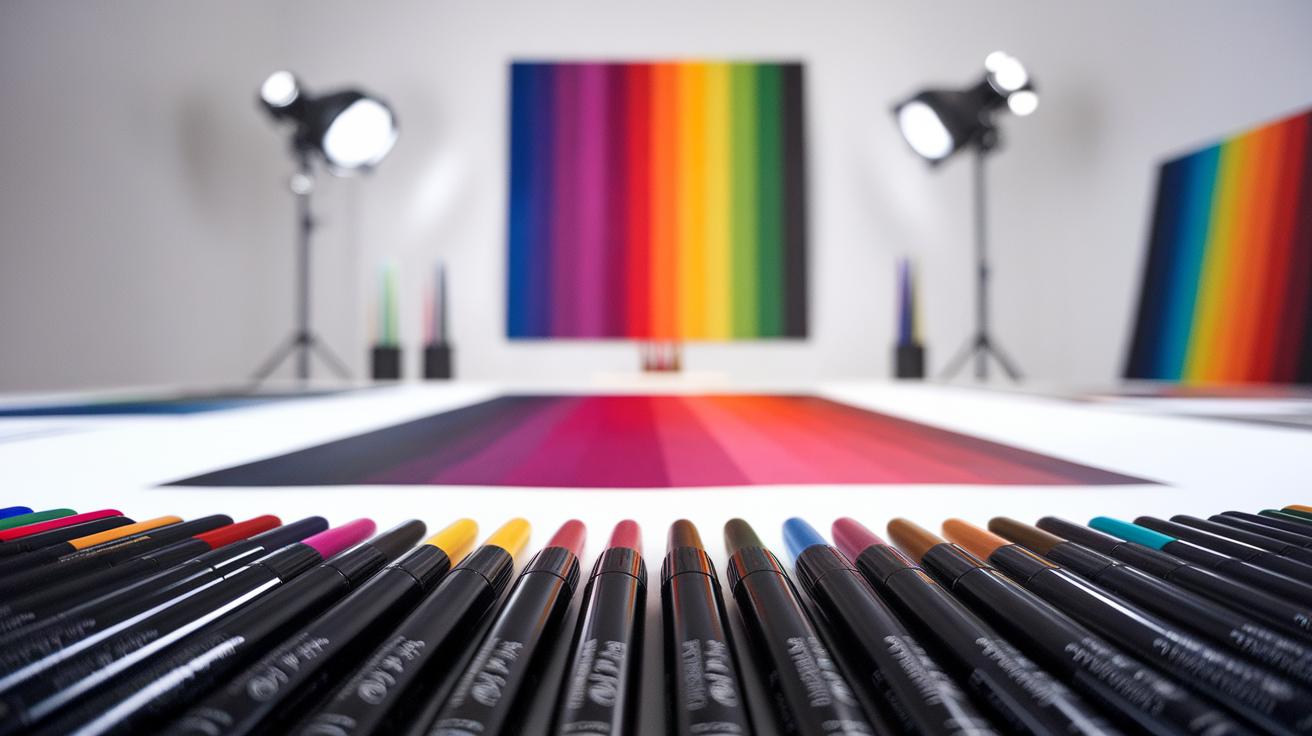
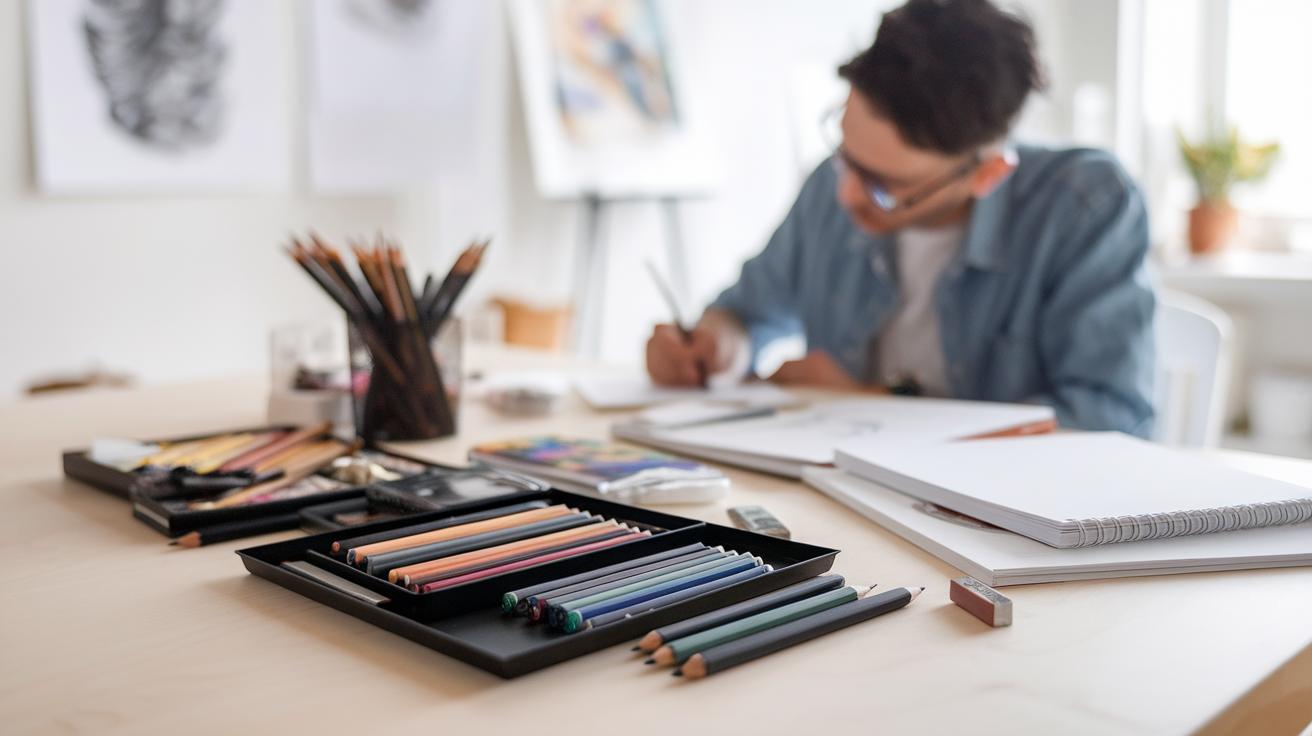
Alcohol markers stand out in the world of art supplies due to their vibrant colors and unique blending properties. These markers use an alcohol-based ink that dries quickly and resists smudging, making them a favored choice among artists and hobbyists alike. From intricate illustrations to quick sketches, alcohol markers offer versatility suitable for various projects. Their ability to layer colors smoothly adds a depth and richness that sets them apart from regular markers.
Diving into the world of alcohol markers means exploring a variety of techniques and applications. Artists can create stunning artworks using simple strokes or complex blending methods. With the right tools, including high-quality papers and different marker types, anyone can achieve amazing results. This article will uncover the many aspects of alcohol markers, providing insights into their proper use, maintenance, and potential to transform any creative endeavor.
Understanding Alcohol Markers
Alcohol markers have become popular among artists and crafters for their unique qualities. These markers contain alcohol-based ink that dries quickly, allowing artists to layer colors without muddying the hues. Unlike water-based markers, alcohol markers blend smoothly, creating seamless gradients and vivid shades. The rapid drying time prevents smudging, making them ideal for detailed work.
The ink’s transparency offers versatility, enabling artists to create both bold statements and subtle effects. This characteristic allows for various techniques like glazing and blending, which enrich the artwork. Alcohol markers come in an array of colors, giving artists a broad palette to express their creativity. The combination of quick drying and vibrant colors makes these markers indispensable tools in the world of illustration and design.
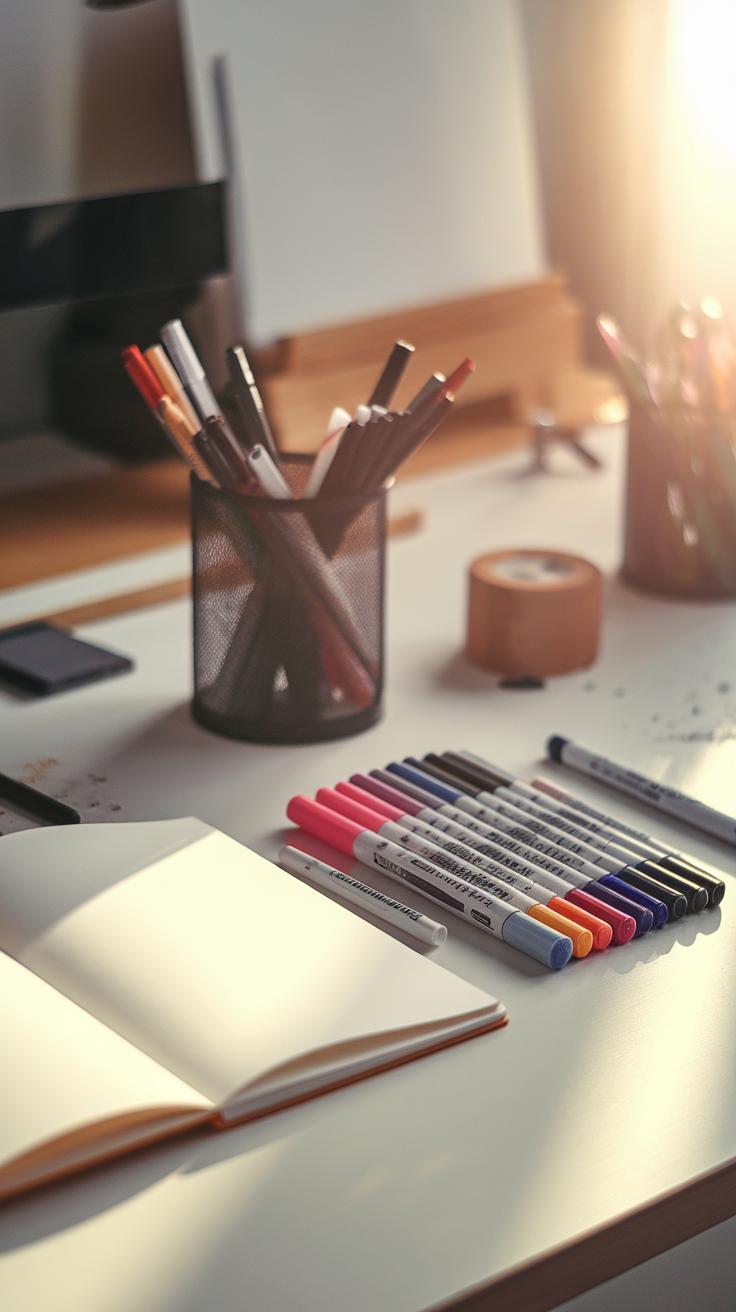
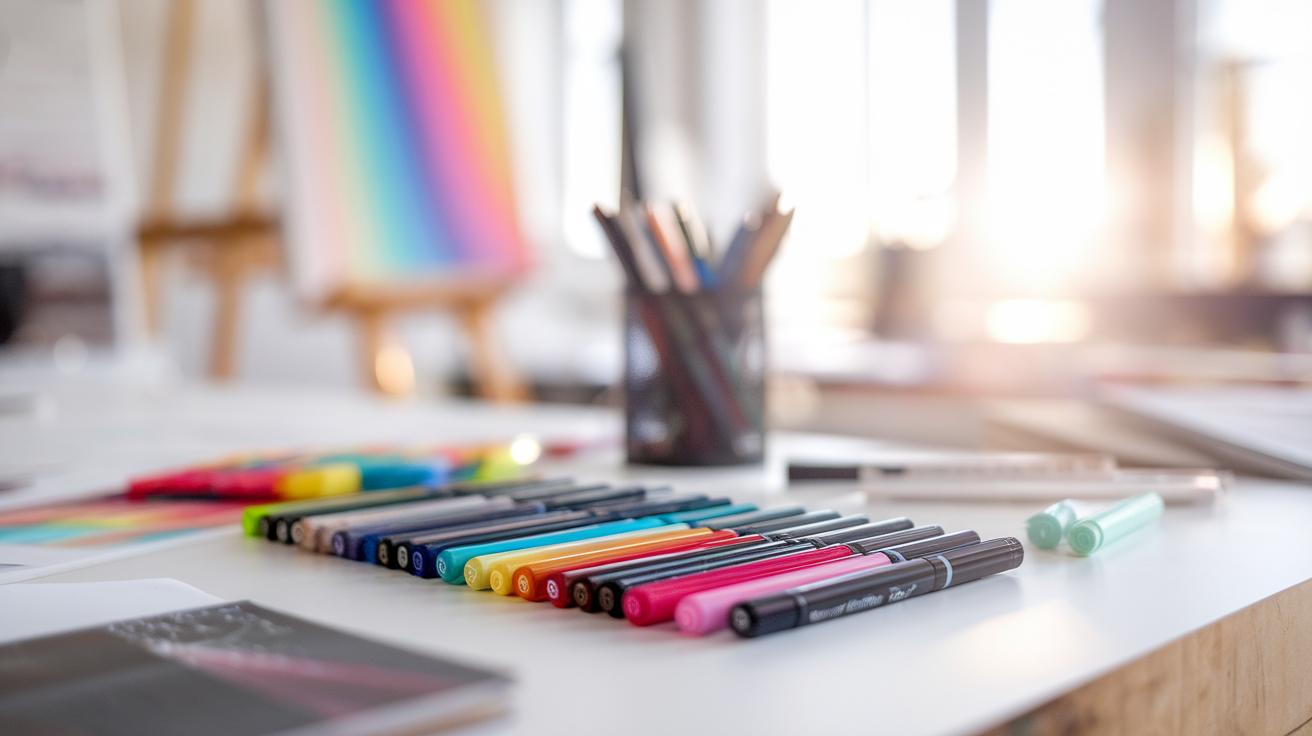
Types of Alcohol Markers
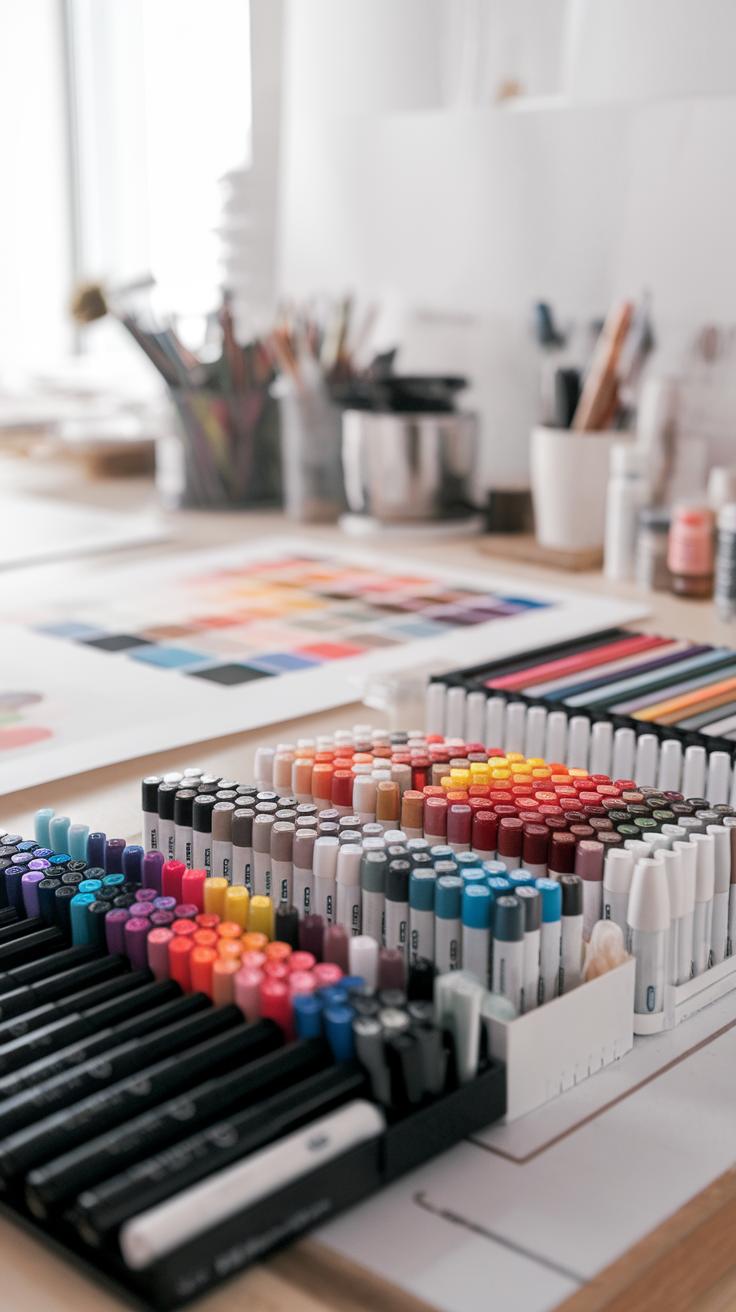
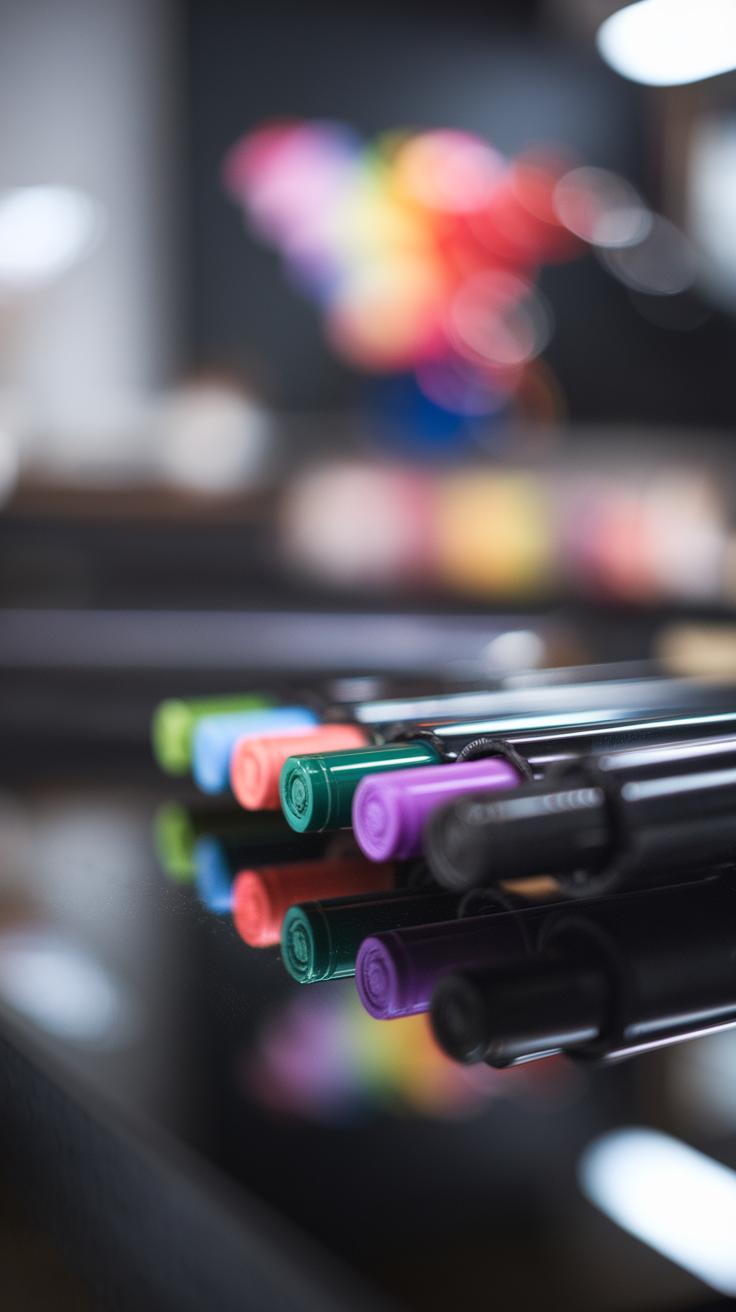
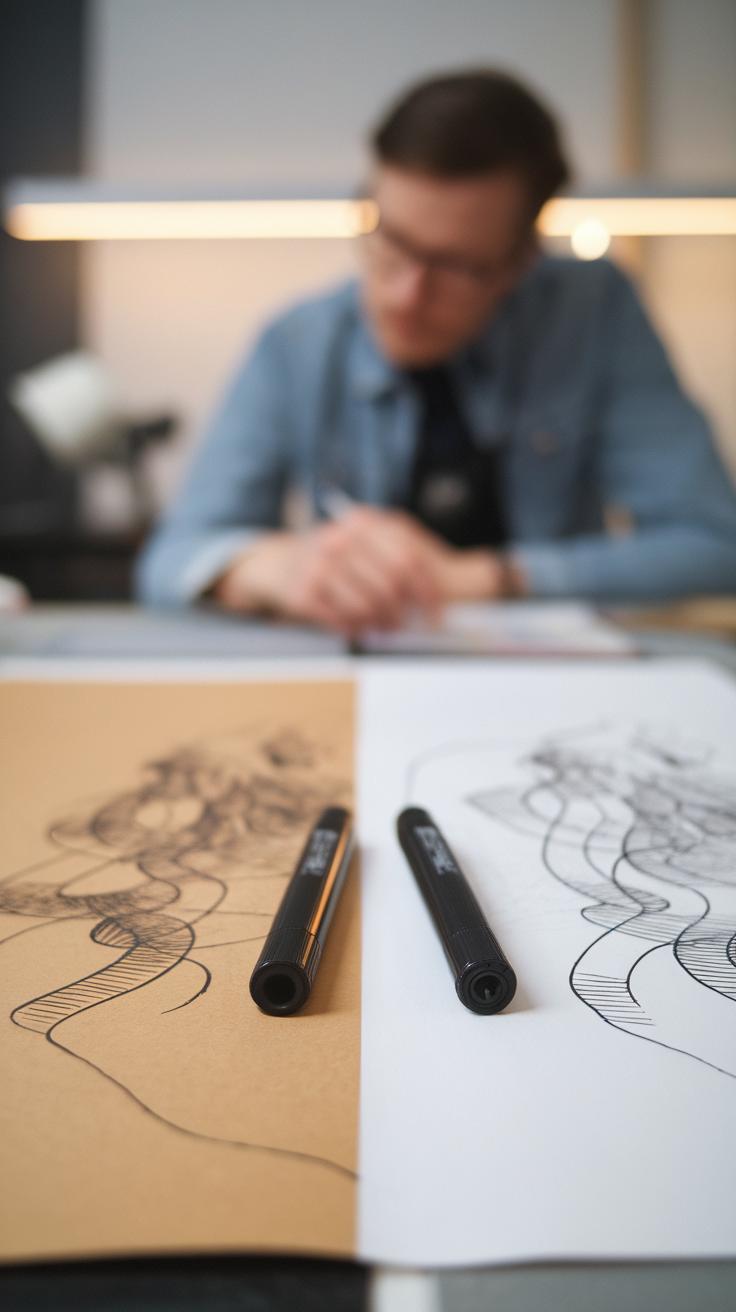
Artists can choose from various types of alcohol markers, each designed for specific tasks and styles. The most popular types include dual-tipped markers, brush tip markers, and chisel tip markers. Dual-tipped markers feature a fine tip on one end and a broad tip on the other, making them versatile for detailed work and filling larger areas alike.
Brush tip markers allow for fluid strokes, resembling paintbrush movements. This design suits techniques like blending and shading, which demand smooth transitions. On the other hand, chisel tip markers provide broad strokes ideal for filling in large spaces quickly or creating bold outlines. Each type serves a unique purpose, and understanding these differences can really boost your creative process. Consider experimenting with all three to find which suits your artistic style best.
Getting Started with Alcohol Markers
Effective Use of Alcohol Markers
Starting with alcohol markers can feel overwhelming, but a few simple steps help ease the process. First, gather your materials. Choose a suitable paper designed for alcohol ink. This paper allows the ink to blend smoothly without bleeding through. Next, select a basic set of alcohol markers. A set with a range of colors provides variety while letting you experiment.
Practice basic coloring techniques. Start with light strokes to build color intensity gradually. Layering colors creates depth and richness, so don’t hesitate to experiment with blending colors. Use a colorless blender marker to soften edges and blend shades together. Consider using stencils or outlines to guide your artwork. Following these steps will help you develop confidence and skill with alcohol markers as you explore your creativity.
Advanced Techniques for Alcohol Markers

Using Blending and Layering
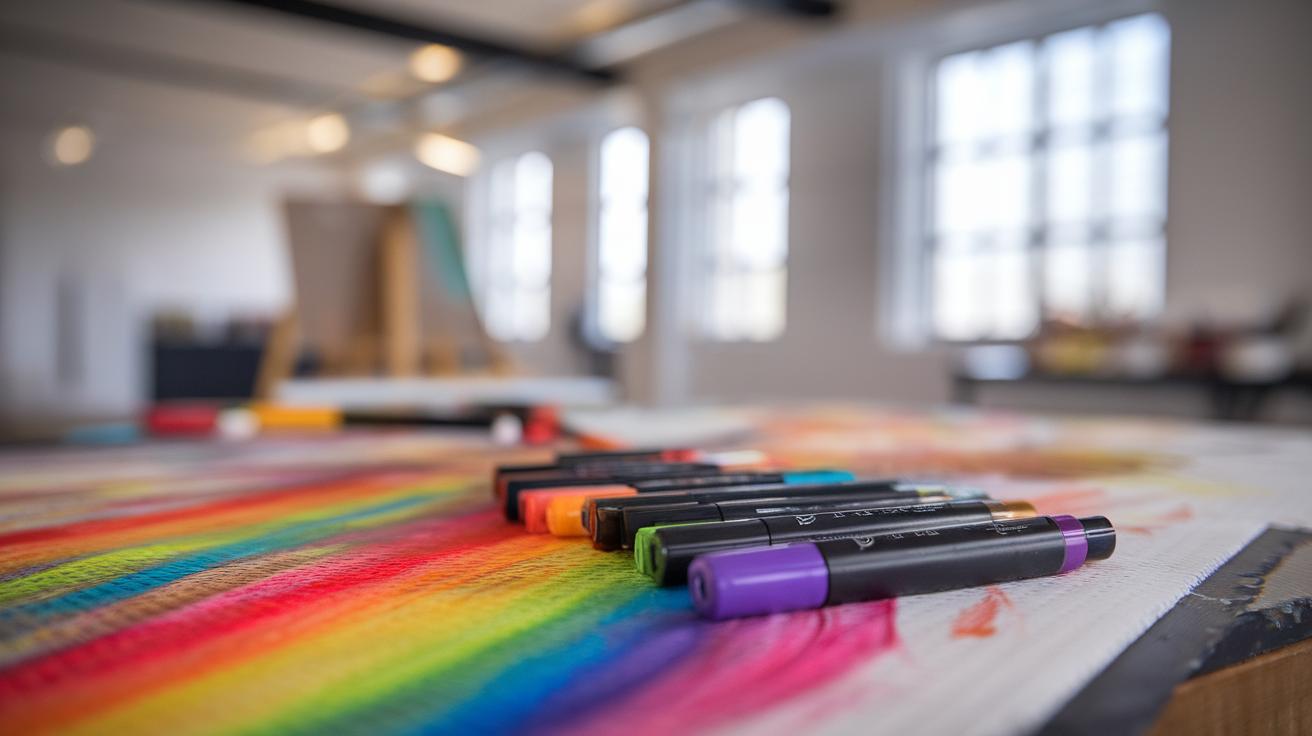
Alcohol markers allow artists to create stunning effects by blending and layering colors. Start by selecting two or more shades of the same color. Lay down the lighter shade first, and then gently apply the darker shade on the edges or areas where shadows would naturally occur. Use a blending marker or the lighter color to soften the edges of the darker shade. This technique builds depth and makes the artwork appear more three-dimensional.
Adding Details with Fine Lining
For a polished finish, incorporate fine lining after your coloring is complete. Use a pen with permanent ink to draw intricate details or outlines. This method enhances the overall structure of the artwork and draws the viewer’s eye to the important features. Choose colors that contrast well with the main hues to create striking visuals. Using this technique will elevate your piece, making it more captivating and alive.
Caring for Your Alcohol Markers
Maintaining Your Markers
Caring for alcohol markers helps them last longer and perform better. Always store your markers horizontally to prevent the ink from settling at one end. This position allows the ink to flow evenly when you use them. Cleaning the nibs becomes vital too; wipe them gently with a soft cloth after each use to remove any dried ink. If a nib appears too dry, you can place it in a small amount of rubbing alcohol for a brief period. This helps rehydrate it and makes your colors flow smoothly again.
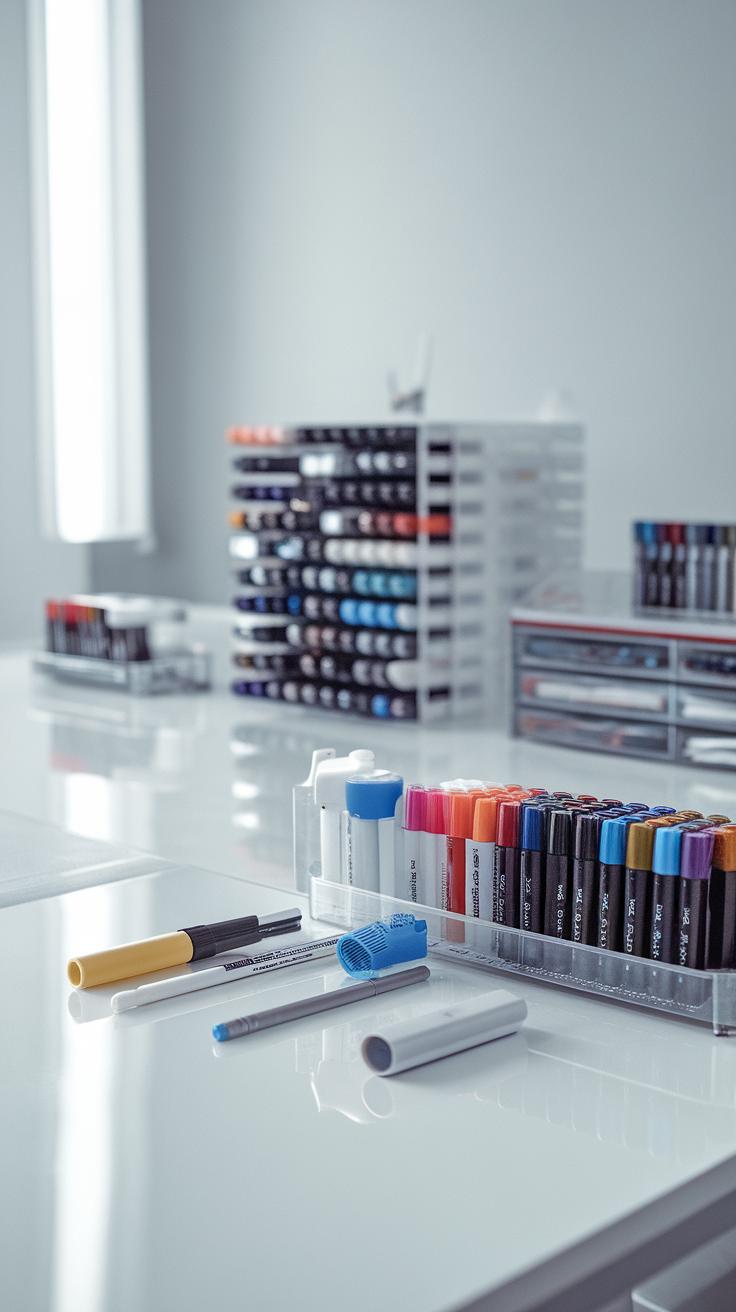
Storage Solutions
The way you store alcohol markers plays a big role in their lifespan. Use a marker case or upright container to keep them organized and protected from damage. Keep markers out of direct sunlight to prevent the ink from fading and slightly seal their caps to maintain moisture. When transporting your markers, consider using a dedicated travel case to avoid accidents. Taking simple steps will help you enjoy vibrant colors for years to come, allowing your creativity to shine without interruptions.
Common Mistakes to Avoid
Identifying Mistakes
Artists often make mistakes when using alcohol markers that hinder their creativity. One common error involves skipping the blending process. When colors blend smoothly, they create depth and vibrancy. Ignoring this step may lead to harsh lines and uneven shades that can ruin a piece. Instead, practice layering colors to achieve a more cohesive look.
Avoiding Over-Saturating Paper
Another mistake occurs when artists over-saturate the paper. Alcohol markers work best on specific papers designed for them. Using regular paper can cause excessive bleeding and warping. Select smooth, high-quality marker paper to retain bold lines and colors. Pay attention to the amount of pressure applied, as pressing too hard can damage both the nib and the surface.
Artists should also avoid using too many colors at once. Selecting a few complementary shades allows for more impressive results. Mixing an overload of colors can create muddiness rather than the bright, bold hues desired. Focus on refining color choices to enhance the overall impact of the artwork.
Where to Find Inspiration
Seek Ideas from Nature
Nature provides a brilliant color palette. When you look at flowers, sunsets, and landscapes, you see a variety of hues that you can incorporate into your alcohol marker artwork. Grab your sketchbook and take a walk in the park. Observe different shades and patterns. Use photographs of nature as references to create vivid designs. This approach invites creativity and sparks new ideas.
Engage With Art Communities
Joining an art community can open your eyes to fresh perspectives. Online platforms, local art clubs, and social media groups let you connect with fellow artists. Share your work and discuss techniques. You’ll gain insights and find inspiration from others. Participate in challenges or themed projects that encourage experimentation with bold colors. This interaction often leads to exciting creative pathways.
Showcasing Your Art
Presenting Your Artwork
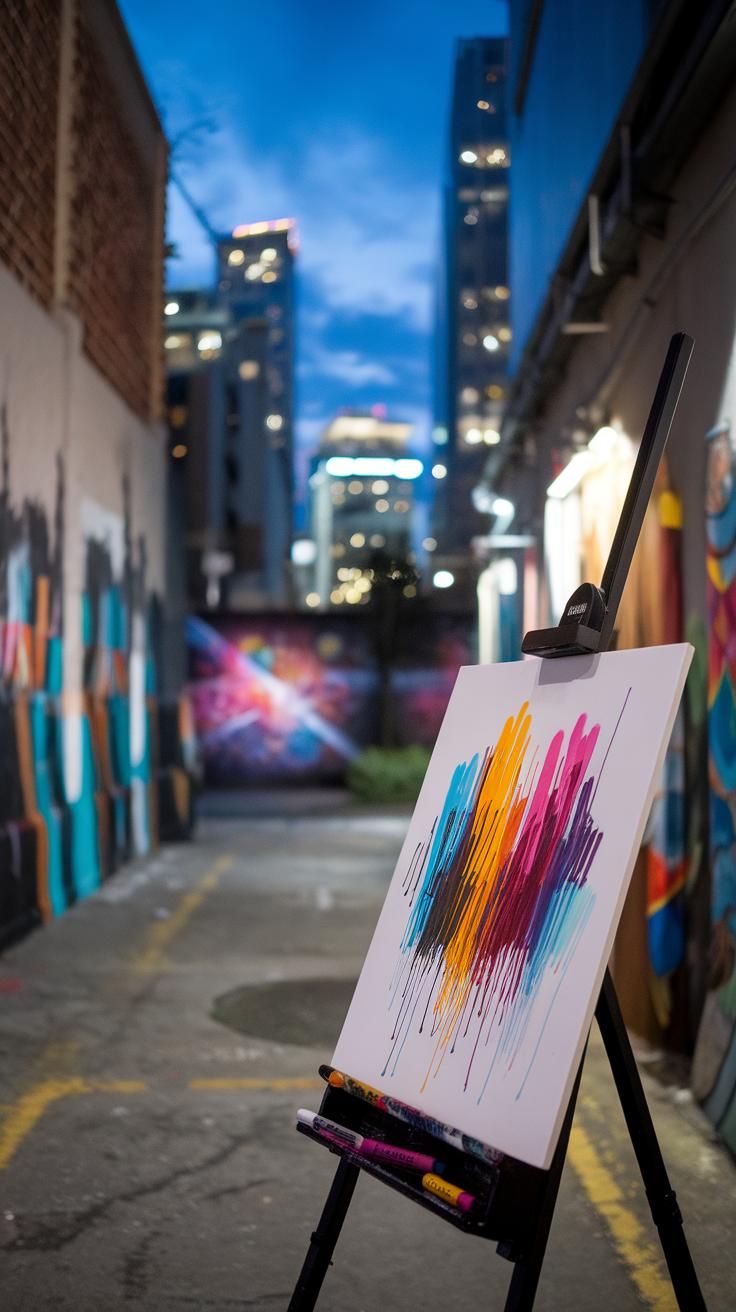
Creating bold artwork with alcohol markers is just the start. Presenting your pieces in ways that capture their vibrancy and details enhances the viewer’s experience. Start by framing your work. Choose frames that match the theme of your art. Deep colors can benefit from simple black frames, while lighter, softer pieces might shine in white frames. Make sure to use glass that protects your markers from fading over time.
Display your art in well-lit areas. Natural light works wonders, but avoid direct sunlight to prevent colors from washing out. Consider creating a gallery wall. Arrange your pieces in a way that draws the eye, using different sizes for visual interest. Finally, share your creations online. Use social media to connect with other artists and share your techniques. Showcasing your artwork invites appreciation and inspires others to explore their creative side.
Engaging With Your Audience
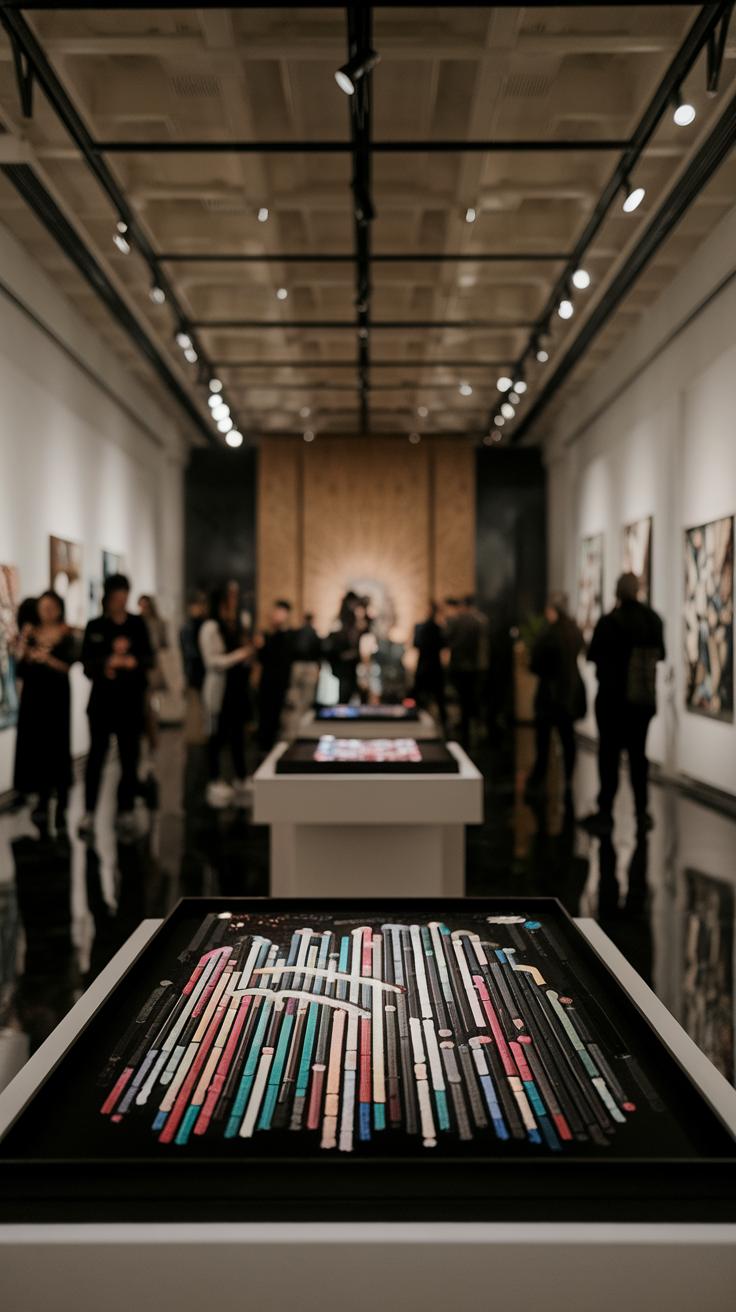
Engagement adds another layer to showcasing your art. Talk about your process, from selecting colors to applying techniques. This transparency allows others to appreciate the effort behind each piece. Organize exhibitions or participate in local art fairs. These events provide opportunities to connect with fellow artists and art lovers. Offering workshops also builds community. Teach others how to harness the bold hues of alcohol markers, sharing your passion while inspiring creativity.
Consider creating an art portfolio. A digital or printed collection of your best work can attract potential clients or collaborators. Regularly updating your portfolio showcases your growth as an artist. Remember, your art tells a story, and sharing that story engages your audience, leading to a deeper appreciation of your bold creations.
Conclusions
Alcohol markers provide endless opportunities for creativity and expression. Their vibrant hues and user-friendly application make them an excellent choice for artists of all levels. By understanding how to use these markers effectively and caring for them properly, you can enhance your artistic skills and bring your visions to life. Many artists have transformed their approach to drawing and painting by integrating alcohol markers into their toolkit.
As you embrace alcohol markers in your artistic journey, remember to experiment and have fun. The ability to blend, layer, and create unique textures will open new pathways for your imagination. With practice and patience, you can master the use of alcohol markers and create captivating works of art that stand out.