Combining Sketchbook Practice With Easy Drawing
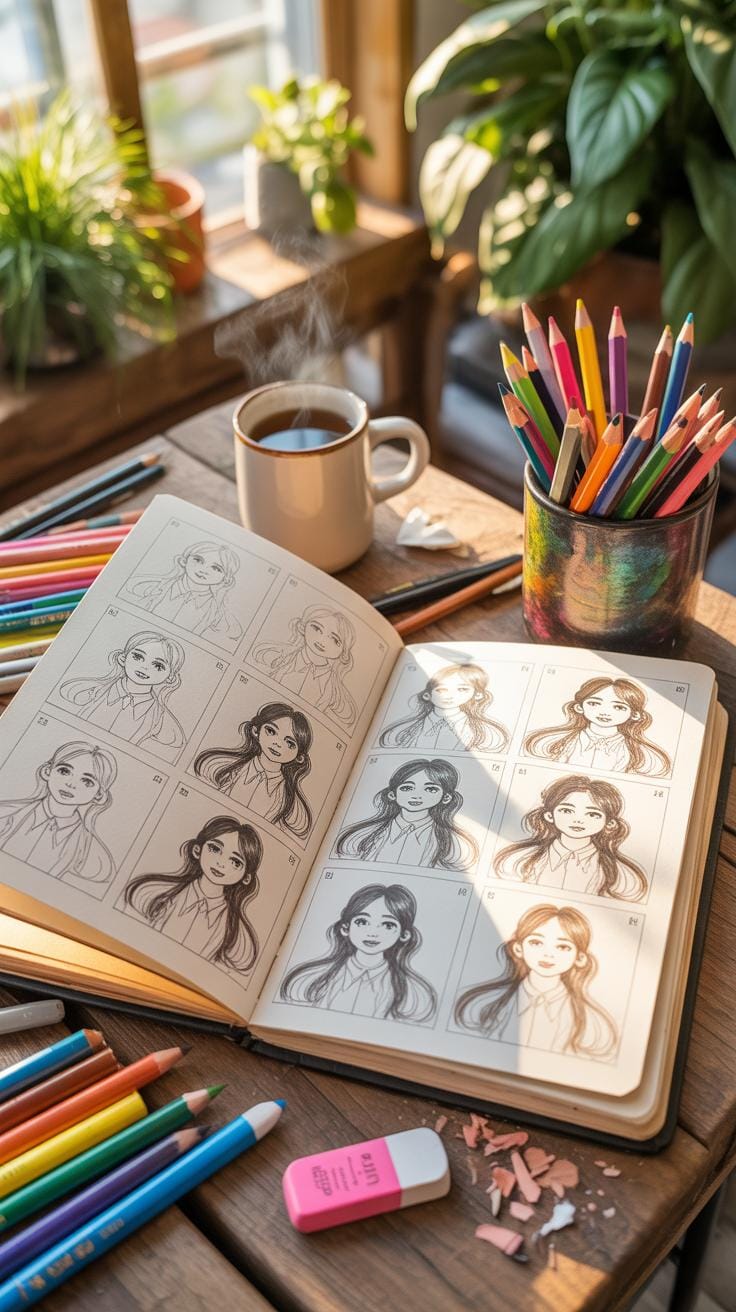
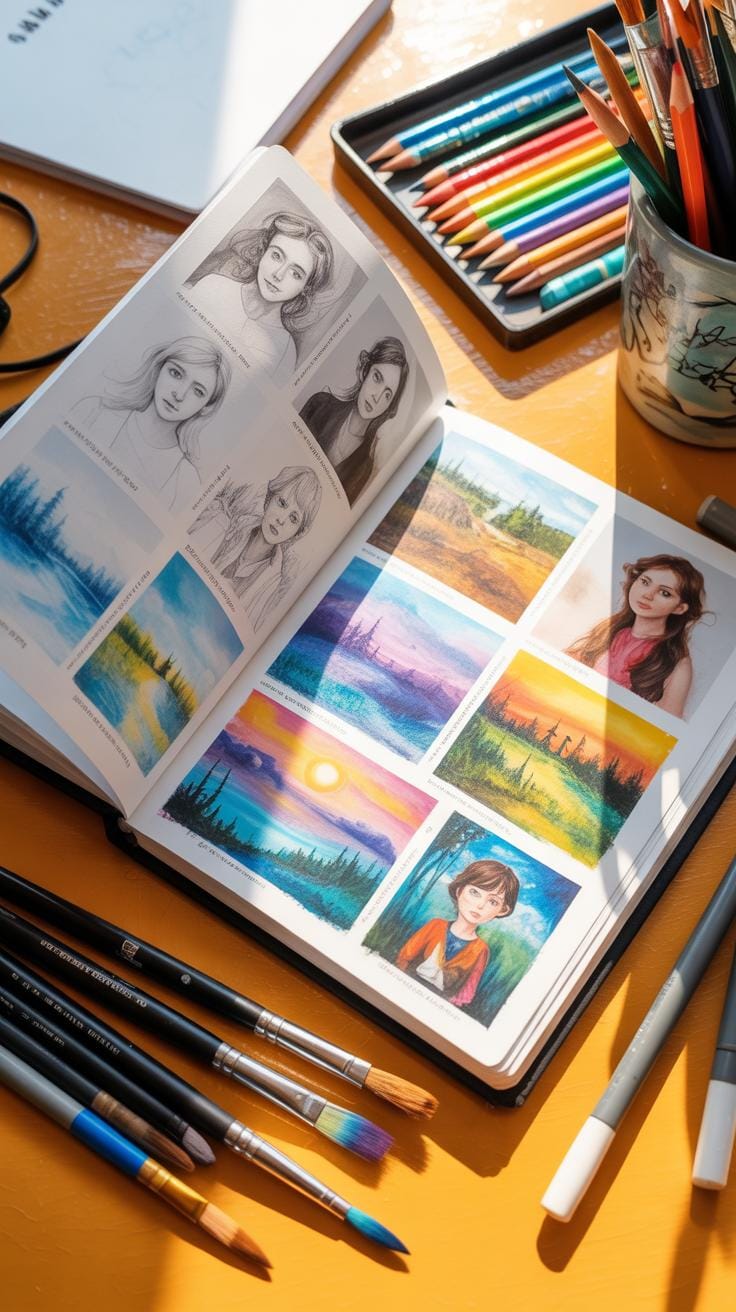
Sketchbook Art Inspiration combining arte sketchbook with easy drawings sketches is a helpful way to boost your creativity. A sketchbook is a blank book used by artists to draw, paint, and record their ideas. It is a handy tool to keep all your art concepts in one place. Using a sketchbook helps you practice drawing regularly and improve your skills.
In this article, you will learn what a sketchbook is, how to create easy sketches, and ways to find inspiration through your sketchbook. You will also get tips on tools to use, sketching techniques, and how to make your sketchbook a constant companion for your art journey.
What Is A Sketchbook And Its Uses
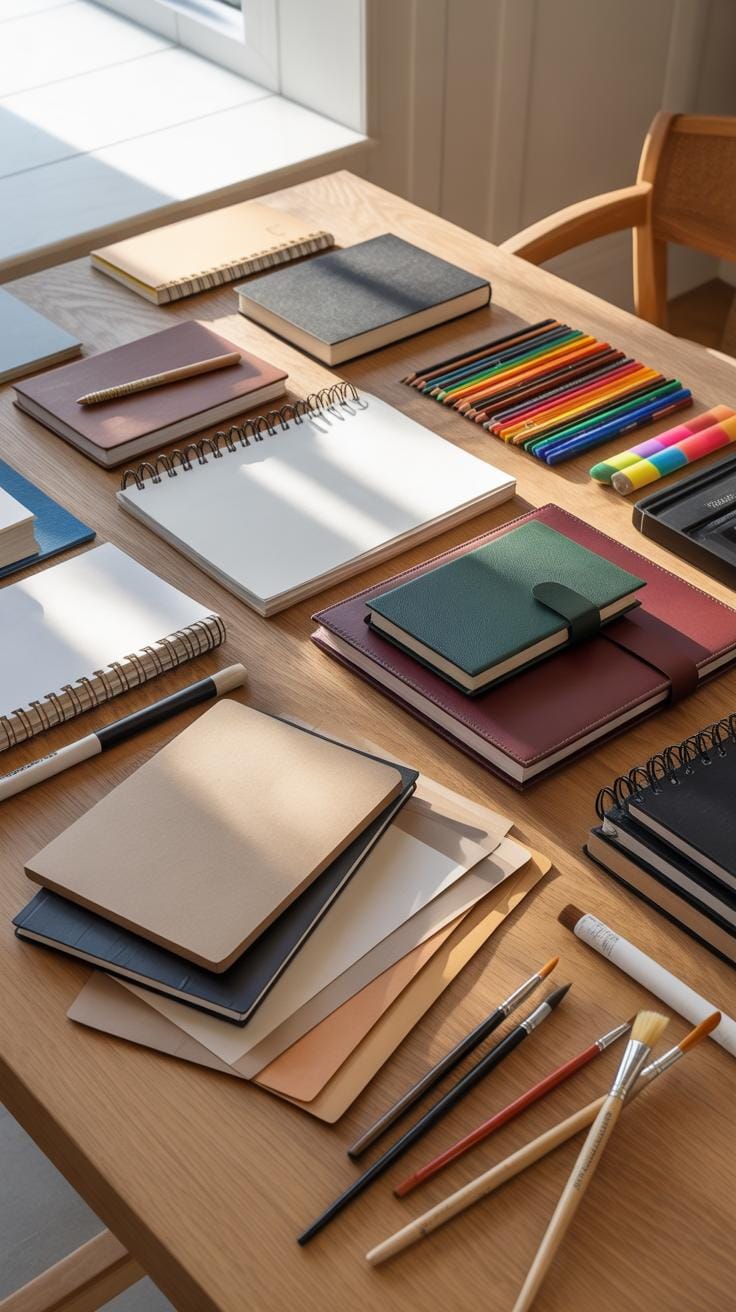
A sketchbook is essentially a book or pad filled with blank pages designed for sketching, drawing, or painting. Artists rely on it as a space to capture ideas, experiment, and document their creative journey roughly or thoughtfully. You’ll find sketchbooks come in a variety of shapes and sizes, from pocket-size to larger formats, with different covers ranging from cardboard to leather or even fabric-bound.
Materials used vary, typically featuring different paper weights, textures, and tones to suit a range of media. Some papers are smoother for ink, while rougher textures better handle charcoal or pastel. It’s common for artists to personalize these, decorating covers or tossing out pages that are no longer relevant.
The primary purpose? It’s a tool—a no-pressure zone—to brainstorm, practice techniques, and explore concepts. Some use it for observational sketches of the world around them, while others delve into purely imaginative creations. Over time, a sketchbook can become a record of artistic growth, showing how skills and ideas evolve.
Types Of Sketchbooks And Paper
Sketchbooks differ primarily based on size, paper quality, and binding. Pocket-sized sketchbooks allow quick idea sketches on the go, whereas larger ones suit more detailed or complex pieces. Paper weight, measured in grams per square meter (gsm), is crucial. Lightweight paper (around 70-90gsm) works well for pencils and pens, but heavier paper (150gsm and above) is better for wet media like watercolors.
Texture, called tooth or grain, makes a difference too. Smooth papers suit ink or markers, while textured papers allow for more expressive charcoal or pastel work. The paper’s tone also varies—from bright white to cream or gray—impacting the contrast and feel of your artwork. Covers range from hardbacks that protect pages better, to flexible softcovers for portability.
Choosing the right sketchbook depends on your preferred medium and style. For example, if you often work with watercolors, a sketchbook with thicker, textured paper is essential. Conversely, pencil artists might opt for smooth, lighter paper to display fine details.
Why Artists Use Sketchbooks
Artists use sketchbooks for a range of reasons beyond casual doodling. For starters, they serve as a regular practice tool, helping improve skills through repetition. Sketchbooks act as idea catchers, a place to quickly jot or draw concepts before they disappear.
They’re also crucial for planning larger works, breaking down complex compositions into manageable parts. I find it reassuring to draft out messy thumbnails or layout ideas without the pressure of creating a perfect finished piece. Also, they allow tracking of one’s artistic progress over time—flipping through old sketchbooks can reveal surprising growth.
Many artists turn to sketchbooks for daily practice, while others use them to experiment without judgment. They become a companion in the creative process, sometimes personal journals of visual thinking that stay private, yet occasionally inspire more polished artworks.
How To Start Simple Drawing Sketches
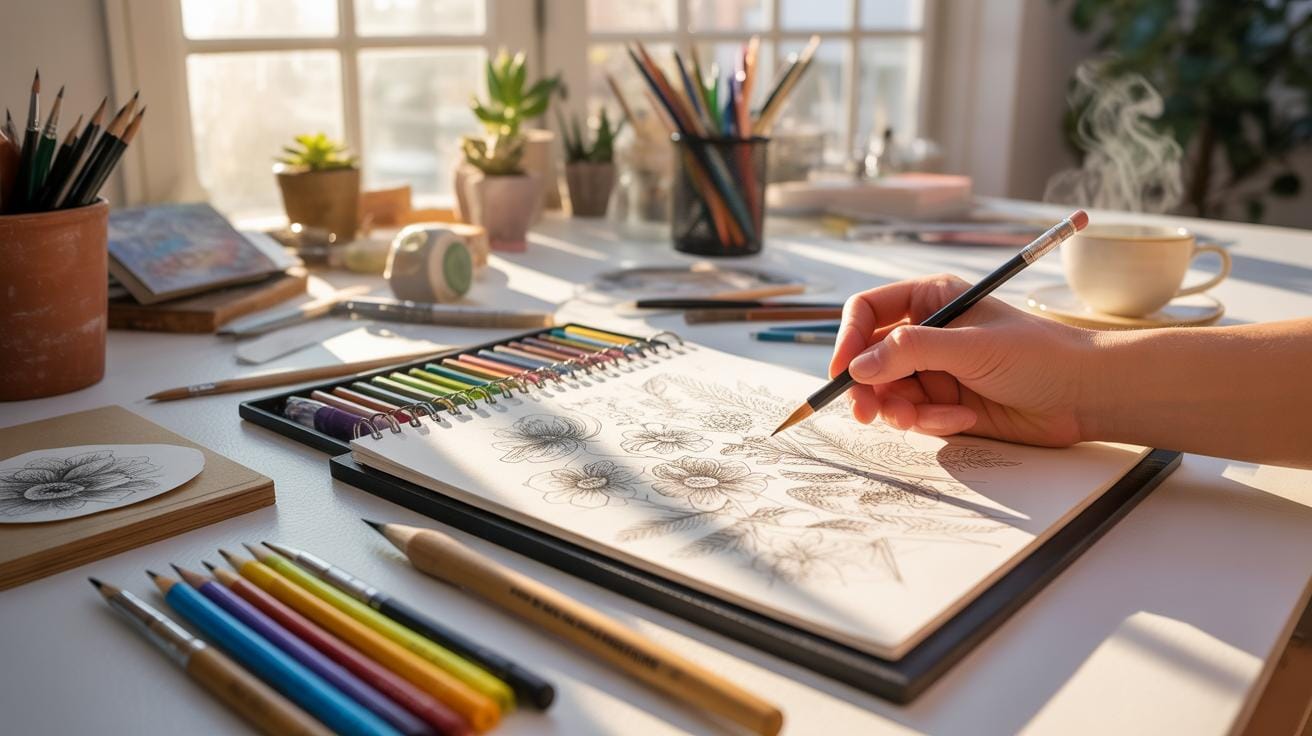
Starting with simple drawing sketches can feel a bit daunting at first, but it doesn’t have to be complicated. The key is to take it slow and build confidence by focusing on easy lines and shapes. Begin by picking up your sketchbook and just make a few marks—circles, squares, or even random scribbles. These are the building blocks of any sketching journey.
Take a subject that’s right in front of you, something uncomplicated. It could be a coffee cup, a leaf, or your own hand. Don’t worry about perfection; the goal is to observe and translate what you see onto paper.
Try this step-by-step approach:
- Look closely at your subject, noticing outlines and simple forms.
- Lightly sketch basic shapes before adding details.
- Don’t press hard—start with light strokes so you can adjust easily.
- Slowly add details bit by bit, layering shadows or textures.
- Pause often. Stepping back gives you a fresh perspective on what to do next.
It’s surprising how quickly simple practice builds your ability. Even if your first sketches seem plain or awkward, that’s perfectly fine—progress comes with each mark you make. The important thing is to keep your sketchbook nearby so you can draw whenever the mood hits you.
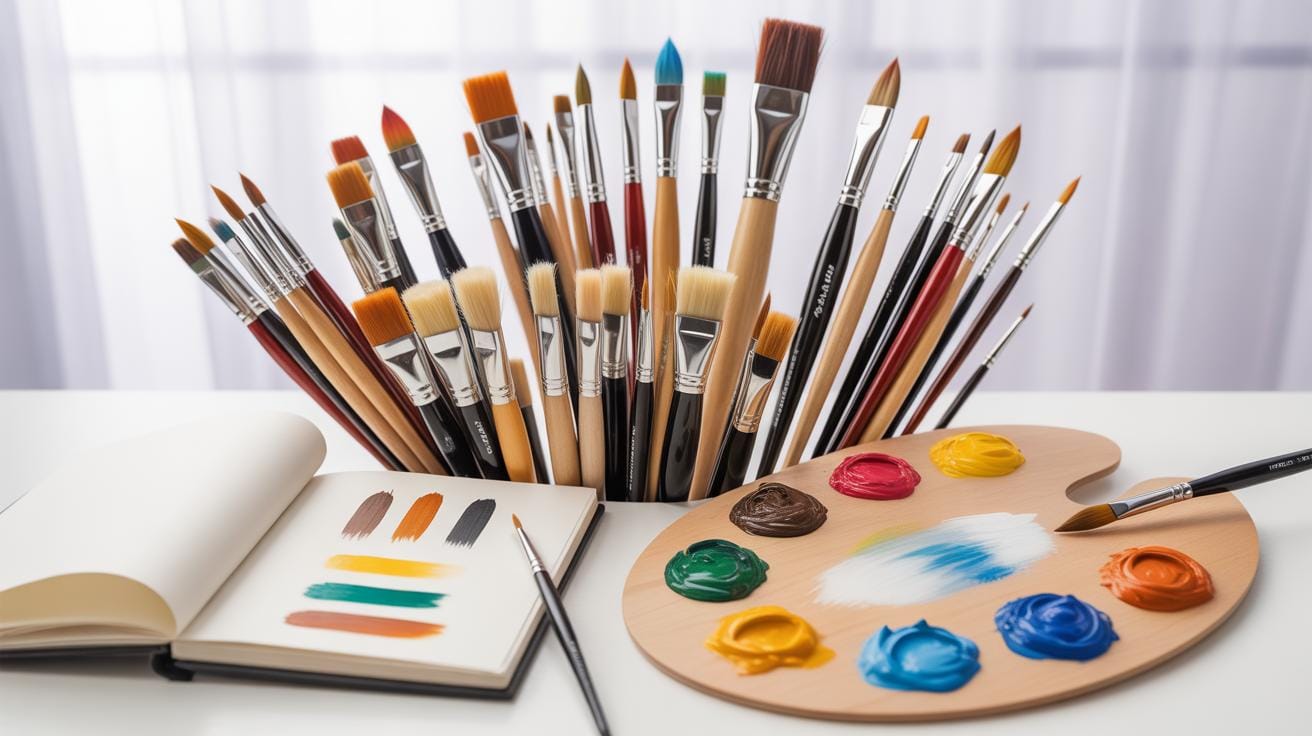
Picking Tools For Easy Sketching
Choosing the right tools for your early sketches is less about fancy gear and more about ease and comfort. Most beginners find a few basic supplies sufficient:
- Pencils: Go for a range, like HB for general use and 2B or 4B for darker lines.
- Erasers: A soft kneaded eraser works well for lifting off marks gently.
- Pens: Fine liners or ballpoint pens add variety and confidence since mistakes can’t be erased, encouraging bold strokes.
- Sketchbooks: Choose a medium-weight paper with a smooth texture—the kind that holds pencil well but doesn’t smudge excessively.
I’ve noticed that using familiar tools makes sketching less intimidating. Sometimes, just having a favorite pencil or a trusted eraser can keep you drawing longer. Your tools don’t need to be expensive; simple ones often do the job just fine while you’re getting a feel for sketching.
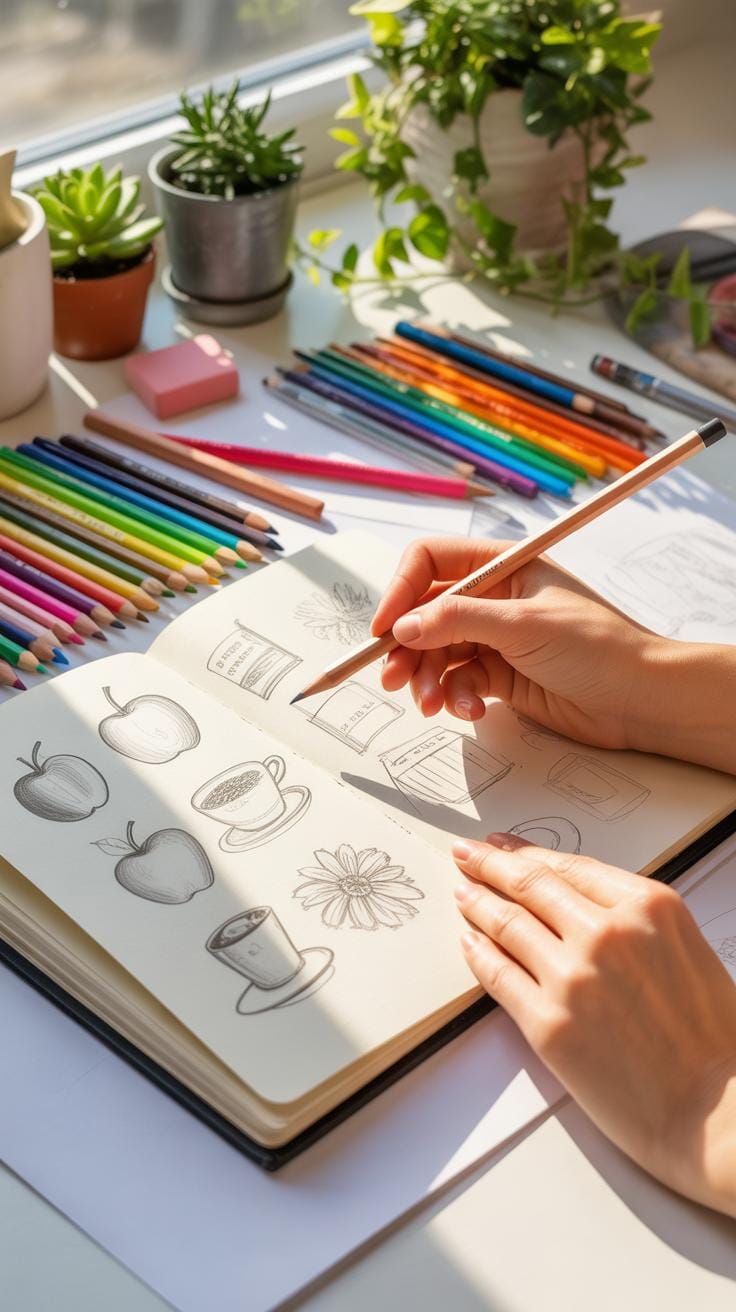
First Sketch Ideas For Starters
Picking what to draw can feel tricky when you’re new. Simple subjects help, not just by their ease, but they also build your observational skills. Try these to get started:
- Basic shapes like cubes, spheres, and cylinders.
- Everyday objects: a cup, your keys, a pair of glasses.
- Natural elements such as leaves, flowers, or stones.
- Simple interior scenes—a chair, a window frame, or a lamp.
These subjects might seem boring, but sketching them repeatedly teaches you to notice proportions and light. You might surprise yourself by spotting new details each time. The trick is to look quietly at something and try to capture its essence with as few lines as possible.
What draws your eye? Does the shape curve gently or break sharply? Asking these questions helps you stay engaged and makes sketching less about copying and more about interpreting what you see. Don’t rush it—let your first sketches be an experiment where mistakes aren’t just allowed, they’re part of the process.
Finding Inspiration Through Sketchbook Art
Using your sketchbook as a tool to find artistic inspiration can feel like unlocking a personal treasure chest. It’s more than just a place to jot down quick drawings. Think of it as a doorway to ideas waiting to be noticed—if only you pay attention.
Using Nature and Things Around You
Looking closely at the natural world can surprise you. The shapes of leaves, the way light falls on a puddle, or even the curve of a bird’s wing—these details offer endless sketch ideas. Try carrying your sketchbook outside. Sketch small sections, patterns, or textures rather than the whole scene. Sometimes, the overlooked details become the most interesting drawing prompts. Everyday objects like coffee cups, chairs, or plants in your home can also spark ideas, especially when viewed with curiosity. You might find inspiration simply by changing your perspective or zooming in on something tiny and familiar.
Learning From Famous Artists’ Sketchbooks
Many great artists kept sketchbooks that reveal their habits, experiments, and thoughts. Leonardo da Vinci’s pages filled with scientific notes and anatomical sketches show how curiosity drives creativity. J. M. W. Turner’s extensive travel sketchbooks reveal how exploring different environments fuels an artist’s vision. Looking at such collections can teach you to blend observation with imagination. It’s like having a quiet conversation across centuries. You might notice how artists didn’t always finish their sketches, reminding you that imperfection can be part of the process. Studying these works can encourage you to be persistent, playful, or even looser in your own drawing approach.
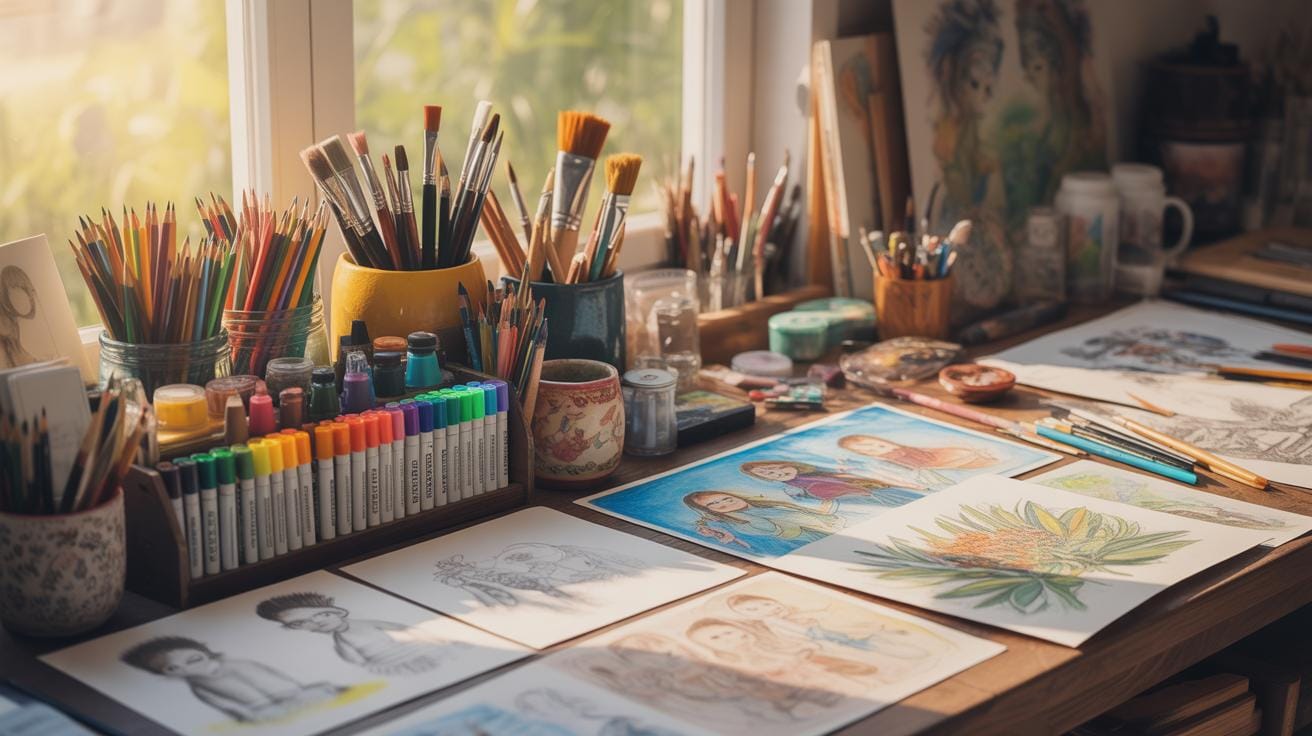
Drawing Techniques To Try In Sketchbooks
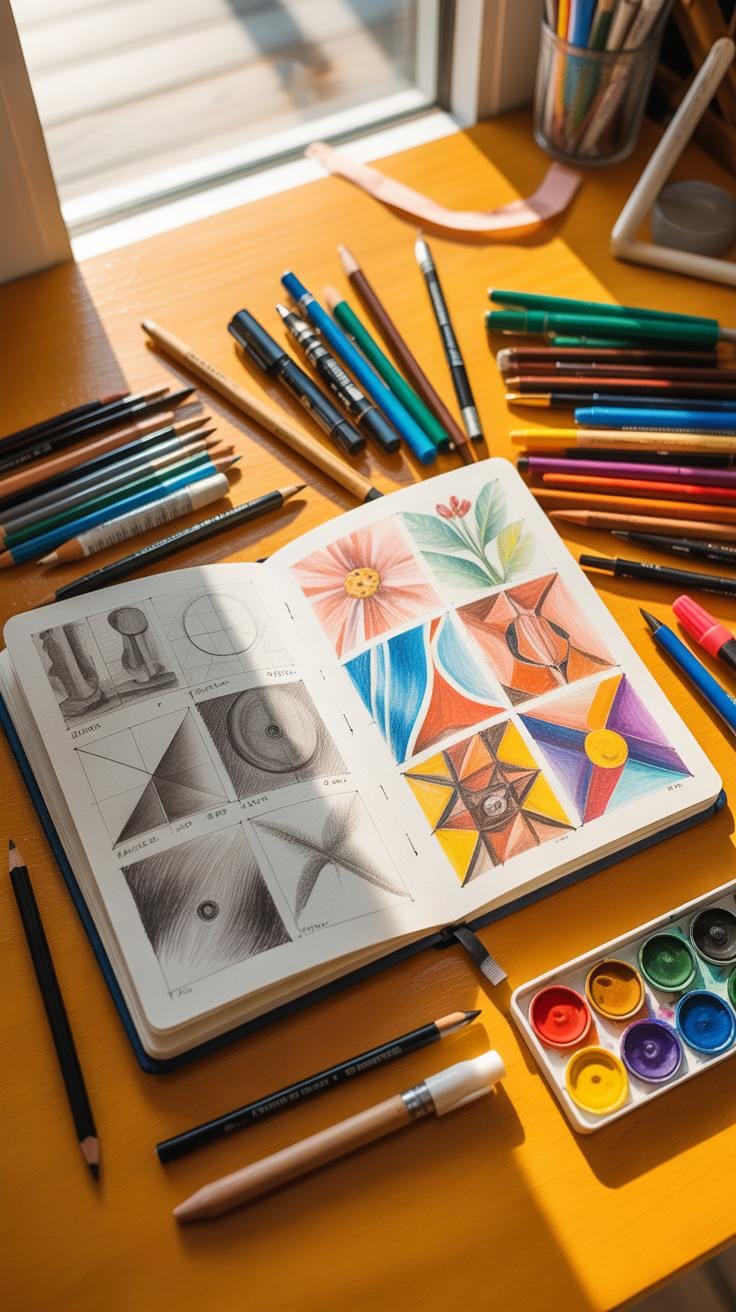
You might wonder which simple drawing techniques could fill your sketchbook pages and keep ideas flowing. Sketchbooks are perfect for experimenting with basics that build your skills. Try shading first. It’s about making areas on your drawing darker or lighter to suggest light and form. You don’t need fancy tools—just pencils or pens. Cross-hatching is easy: draw lines crossing over each other, close lines for dark spots, spaced out for lighter zones.
Lines do more than outline shapes. Playing with line thickness and direction can make your sketches feel alive and three-dimensional. Thicker lines pull objects closer, thinner lines push them back—it’s a subtle but powerful depth trick. Sketch lines that follow the shape’s curves, and suddenly form appears clearer. Try varying line styles—bold, dotted, or broken—to add texture; texture doesn’t have to be perfect to work.
Perspective basics also fit well in your notebook. You might hesitate at first, but simple one- or two-point perspective grids are straightforward ways to sketch space and depth. Imagine looking down a road or into a room. Practicing these grids adds structure to even the simplest scenes and builds your drawing confidence.
Texture creation can be trickier but start small. Use repetitive marks like dots, scribbles, or short strokes to suggest surfaces—think rough bark or soft fur. Texture helps drawings stop feeling flat, and almost always makes them more interesting.
Sketchbooks welcome practice, mistakes, and experiments. Try these techniques in any order; you’ll find some suit you better than others. No pressure, just keep making marks and discovering what feels right for your art.
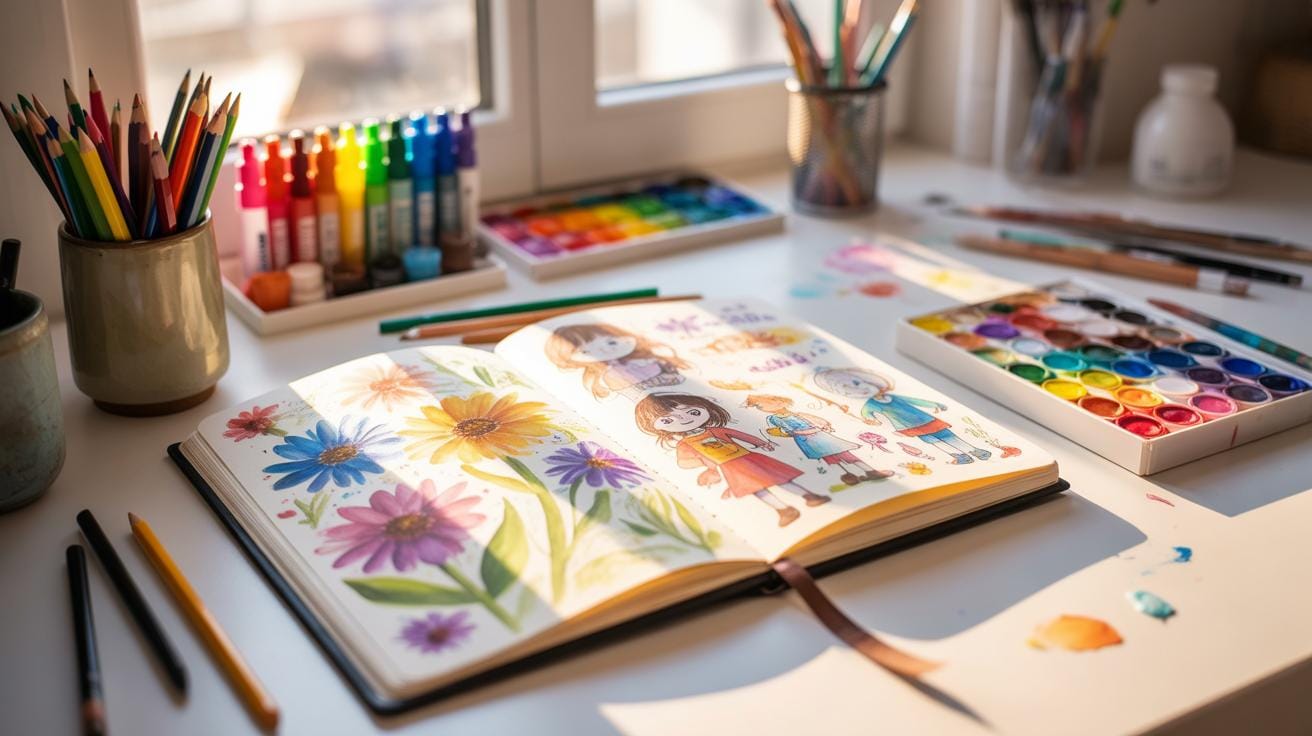
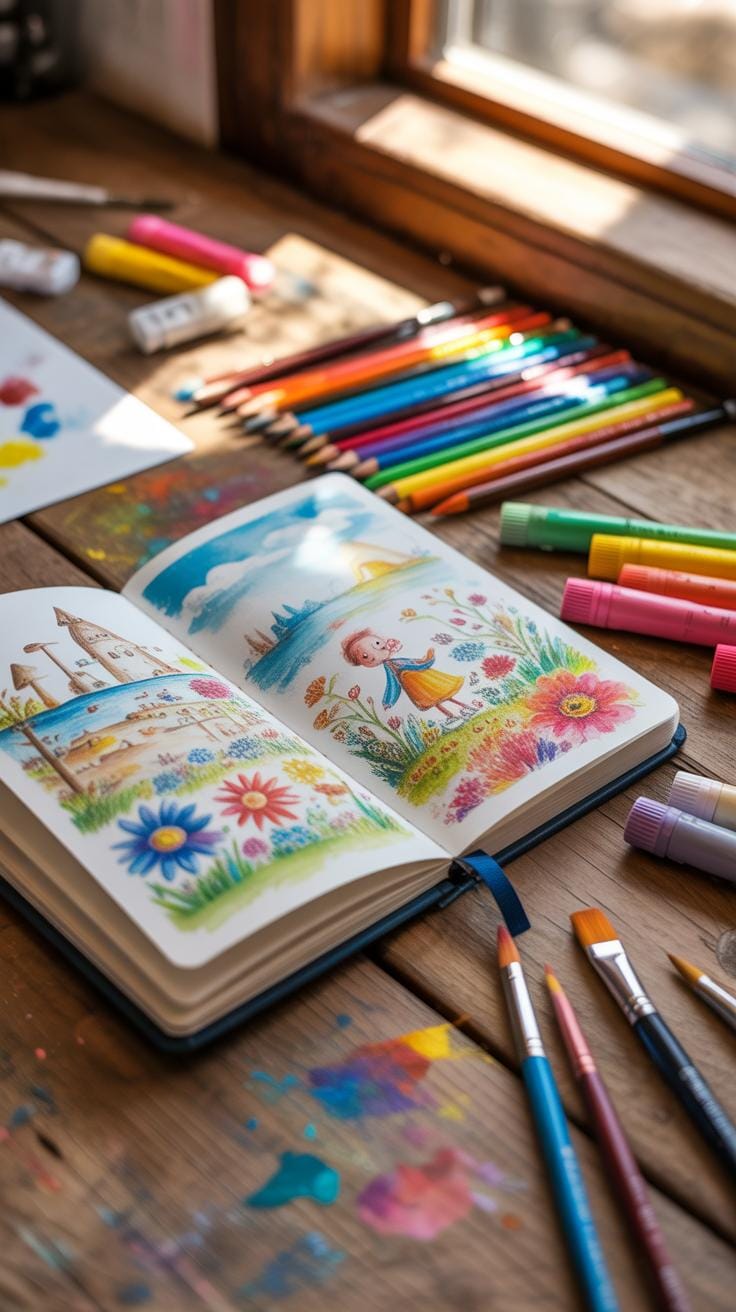
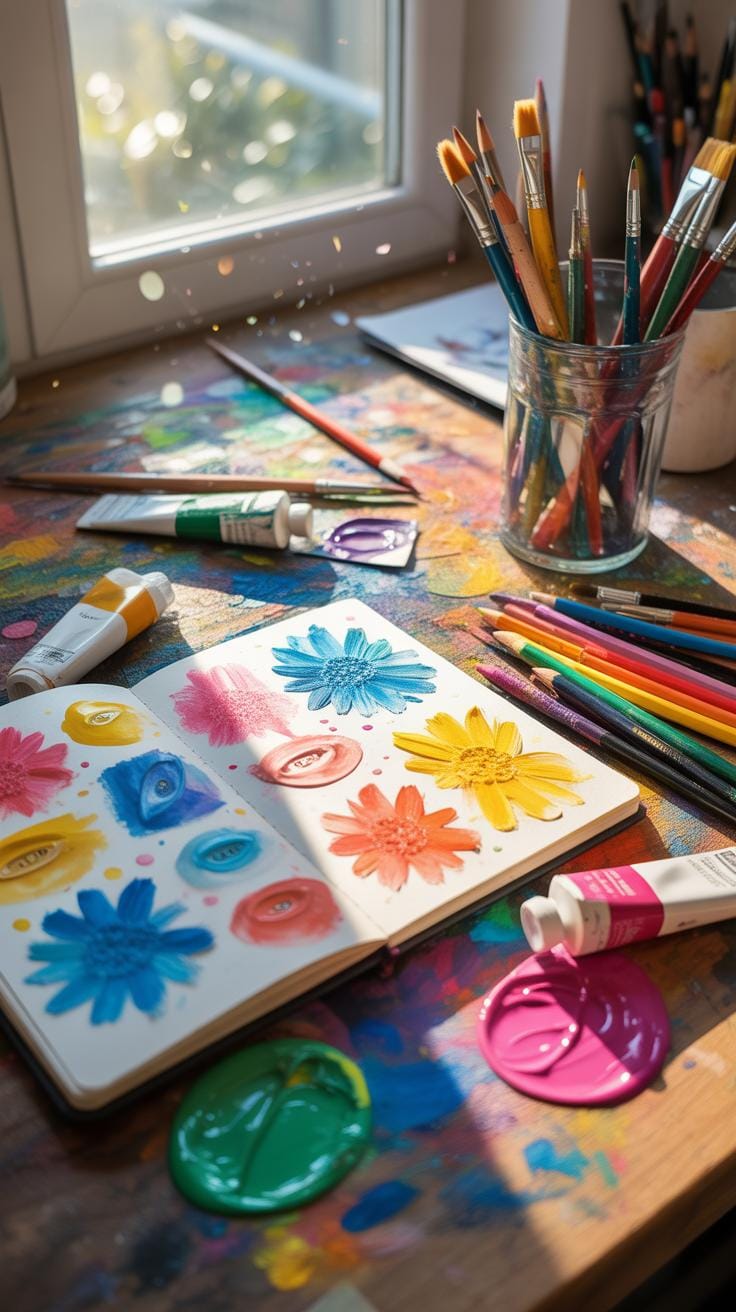
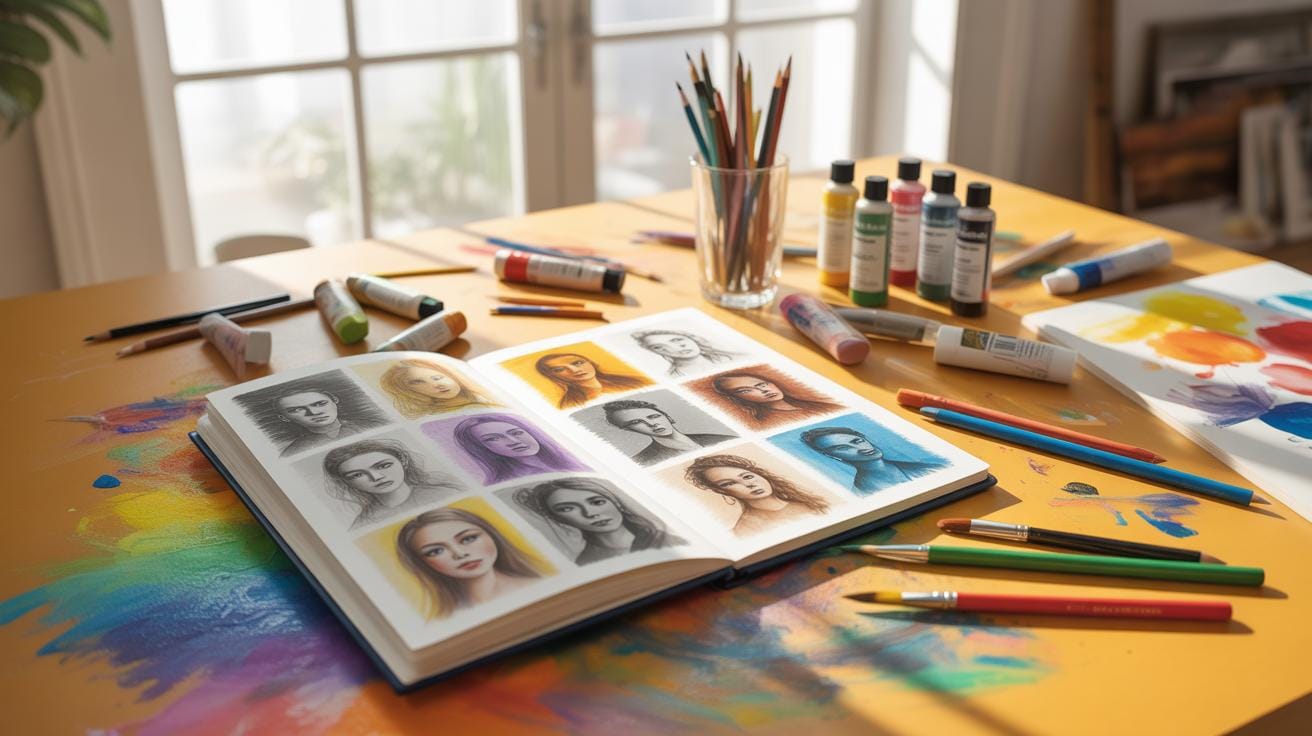
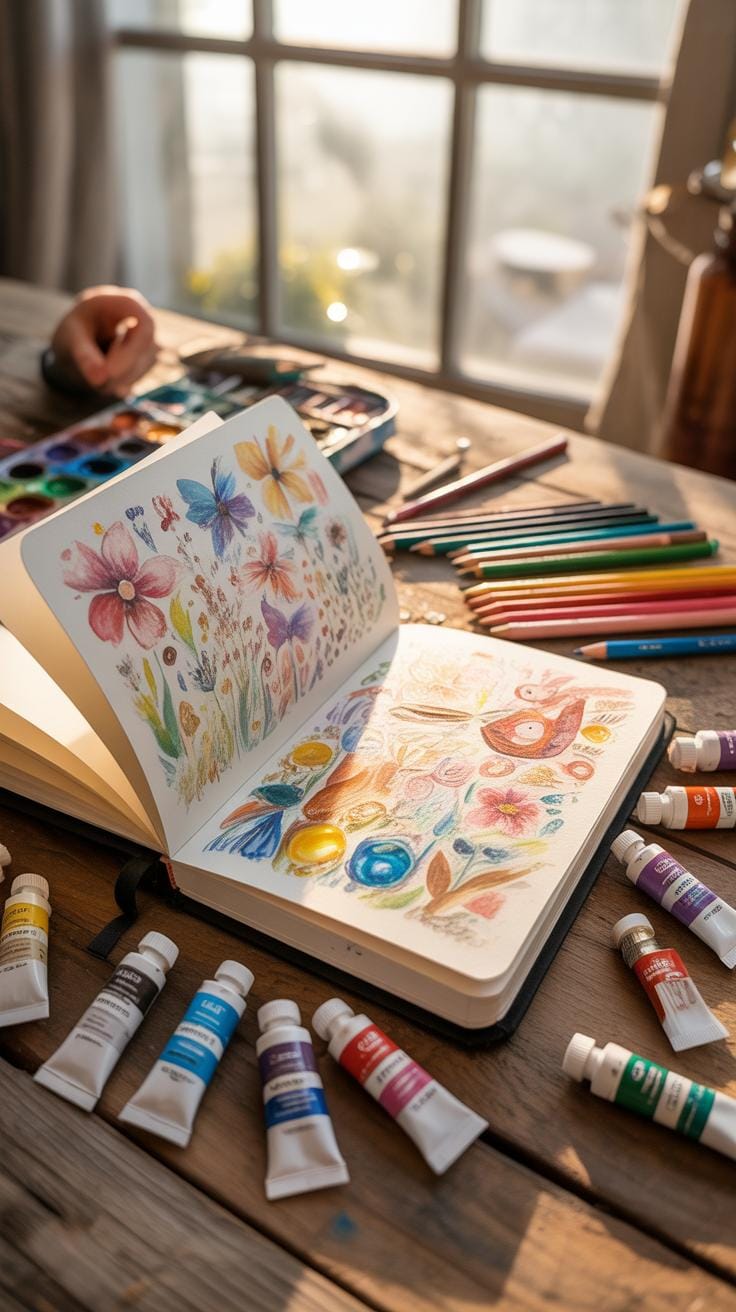
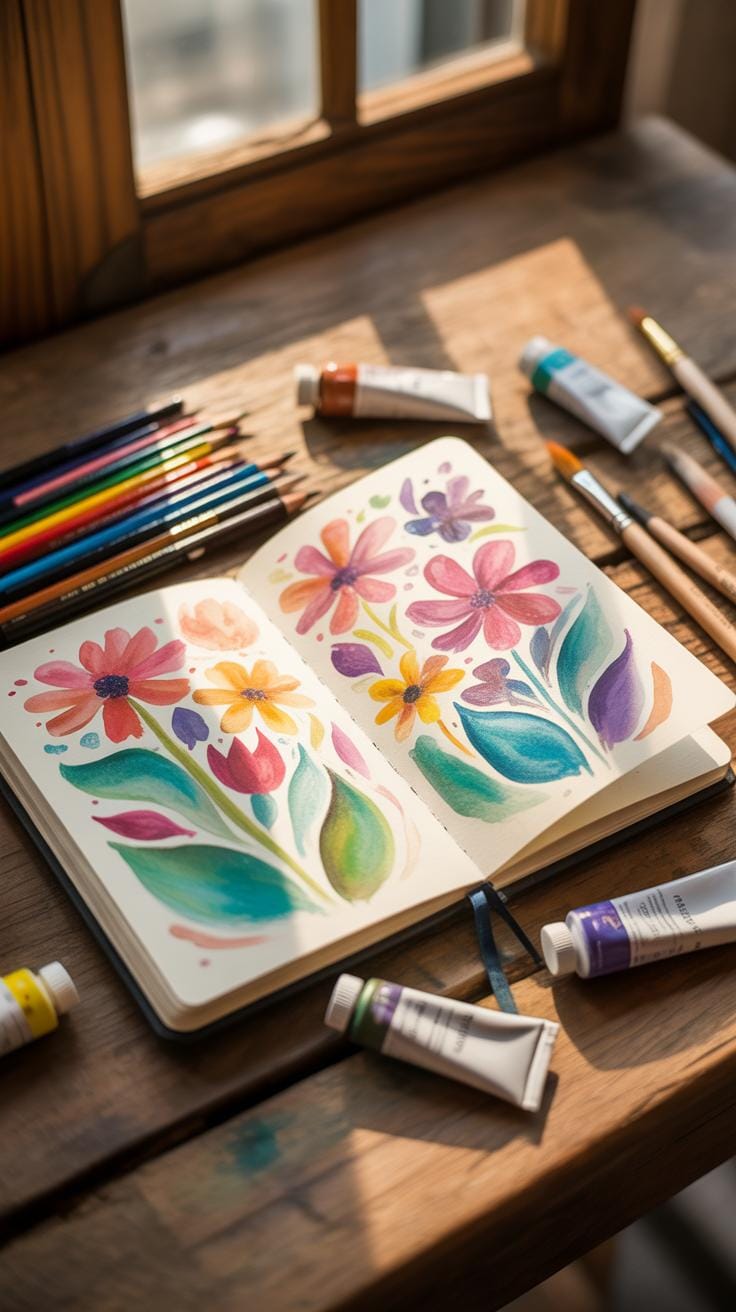
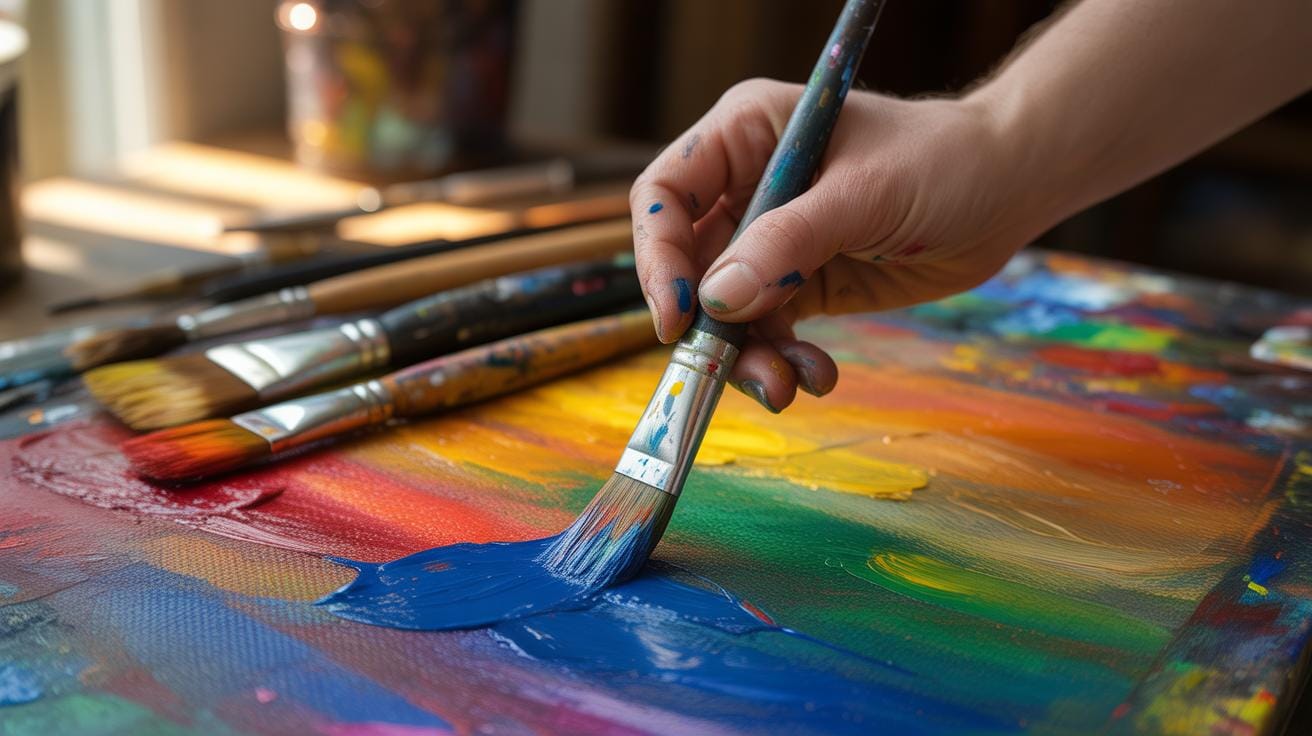
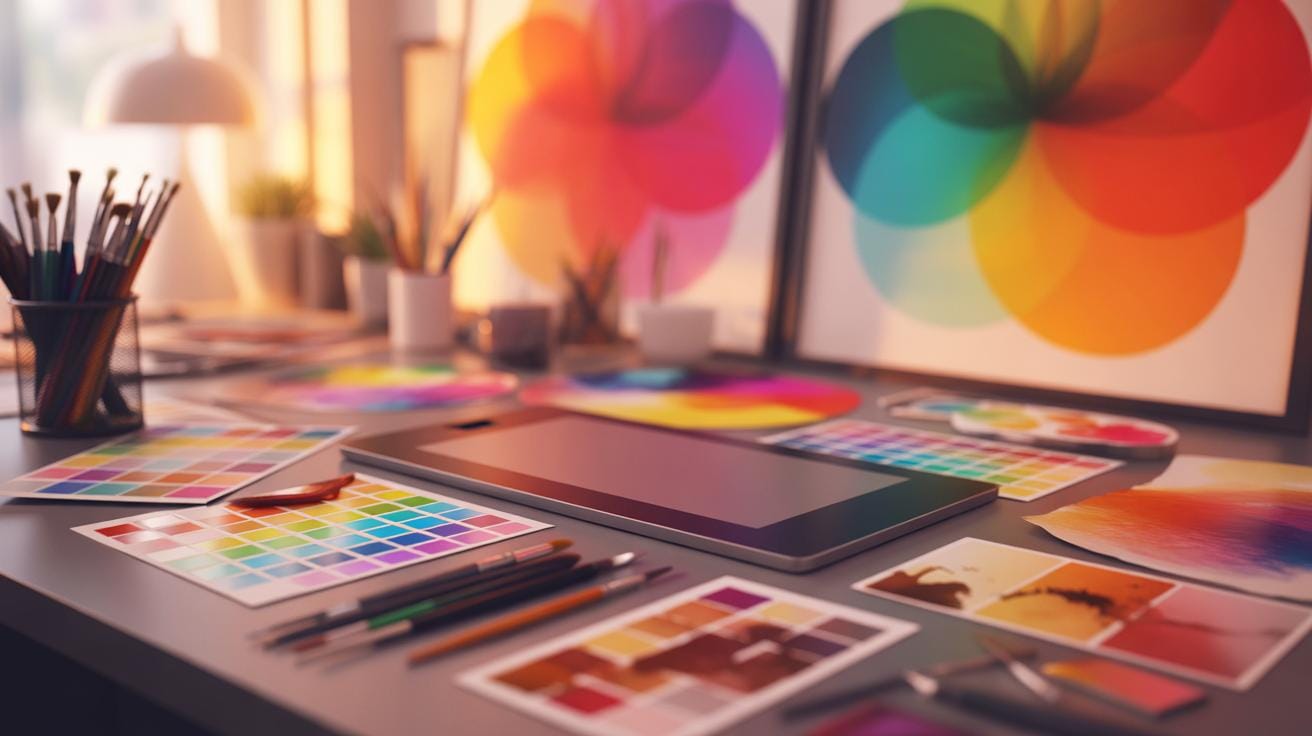
Using Colors In Sketchbook Drawings
Choosing The Right Coloring Tools
When adding color to your sketches, the tools you select matter a lot. Colored pencils, watercolors, and markers each bring something different to the table. Colored pencils give you control and precision, making them great for detailed work. They can be wax-based or oil-based and sometimes even water-soluble, which means you can blend them with water for a softer effect. Watercolors, on the other hand, lend a translucent, layered depth to drawings, but they need paper that can handle moisture—think heavier, textured watercolor paper. Markers provide bold, vibrant colors quickly, but depending on the type, they might bleed through thinner sketchbook pages or cause smudging.
Layering Colors For Better Results
Layering is essential to get the most out of your coloring tools, but it’s tricky—too many layers might damage delicate sketchbook paper. For colored pencils, start with light pressure and gradually build up darker colors, layering complementary hues to add richness. Watercolors work best when applied in thin washes; let each layer dry before adding another to avoid muddy colors. Markers usually require a different approach, as layering too heavily can cause the ink to pool or bleed. Instead, try layering with different shades or overlaying patterns to add texture without saturating the paper.
Color choices can feel overwhelming. A tip I find useful is starting with a limited palette and experimenting. Does a cool blue underline a shadow better than gray? Or maybe layering a warm tone lifts your sketch more. The key is to test on scrap paper first—this saves ruined pages and lets you understand how different materials behave. Have you tried blending colored pencils with a touch of watercolor wash? It’s a bit unpredictable but can yield unique effects that make your sketches stand out. In the end, the best approach might involve some trial and error, but that’s part of the fun, right?
How To Organize Sketchbooks For Better Use
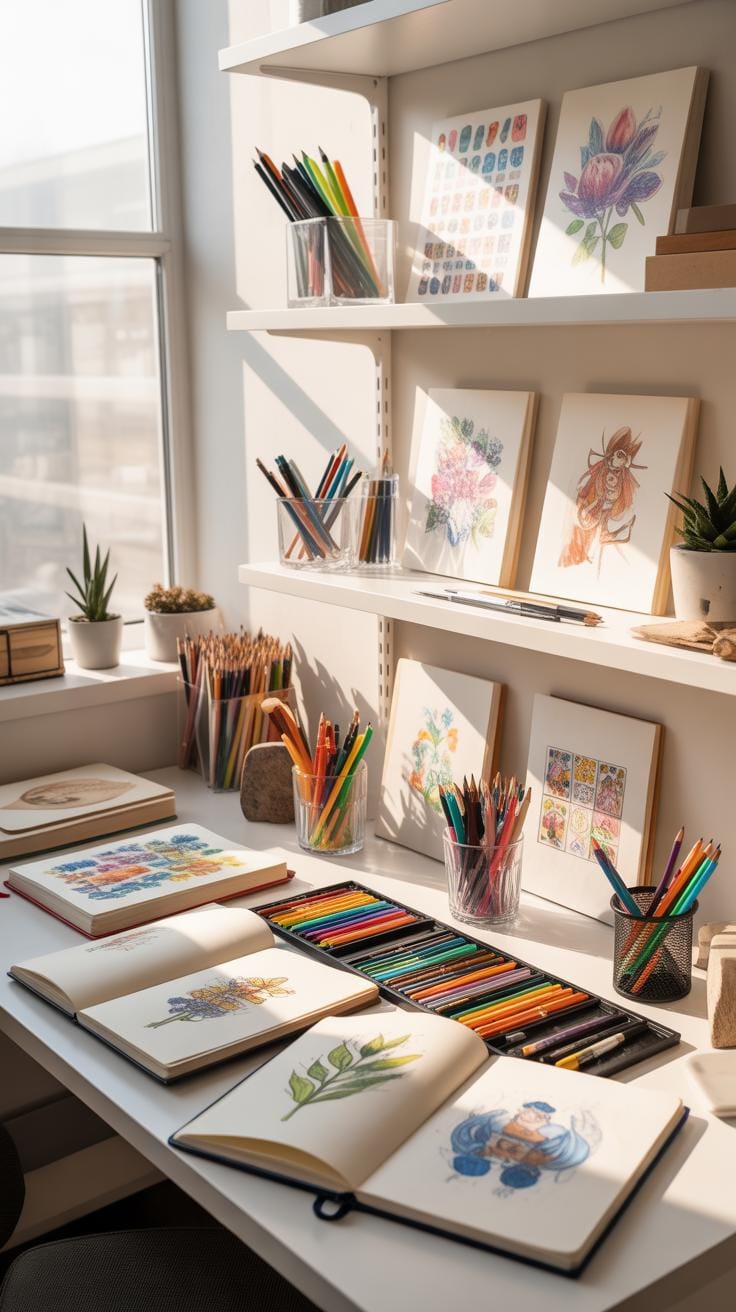
When it comes to organizing your sketchbook, there’s no absolute rule. But some practical steps might help you stay on track with your ideas and see how your work evolves over time.
First, consider numbering your pages or dating each sketch. It’s a simple way to create a timeline, so when you flip back through your book, you can track your growth. I find it handy to jot down the date in a corner — often it’s the small details like these that reveal surprising patterns later on.
Tabs or sticky labels can also be a useful tool for quick access. For example, if you’re working on multiple projects or exploring different ideas, tabs help you jump straight to the right section without flipping endlessly.
Speaking of sections, dividing your sketchbook by themes really organizes your thoughts. You might reserve the first few pages for portraits, then landscapes, and maybe another for design ideas. This doesn’t have to be rigid; feel free to overlap or shuffle sections if an idea ties two themes together. It’s a sketchbook, after all, not a textbook.
Have you ever found yourself lost in your own creations simply because your ideas were scattered? Trying some of these tips might just save you a bit of that hassle, or at least make your creative journey feel a bit smoother.
Keeping A Sketchbook Log
Keeping a log beside each sketch can be surprisingly helpful. It’s not just about remembering what you drew, but capturing the moment and thought behind it. I’ve noticed that jotting down a brief note—whether it’s a thought, feeling, or the place where inspiration hit—adds depth to the sketch over time.
Try to note the date clearly; it anchors your progress in time. Looking back, you might spot how your style shifts or which ideas you’ve revisited. This record becomes a little narrative about your art journey.
Don’t worry about making it perfect or overly detailed. Sometimes, a single word or a short phrase is enough to keep a memory alive. It’s about preserving context without breaking your flow.
Using Sections For Different Themes
One thing I’ve found useful is to set up distinct sections in the sketchbook for different themes. Imagine dedicating part of the book just for nature sketches and another part for figure drawing or conceptual doodles. This way, you create a kind of mini-archive within your sketchbook.
If you work on varied projects, sections can act like folders in a computer, keeping ideas grouped but accessible. You might also find that grouping by theme encourages you to dive deeper into certain subjects, providing focused inspiration.
Sometimes themes overlap, though, and that’s perfectly fine. You could deal with this by putting small indicators or cross-references where sketches relate to multiple themes—keeping the organization flexible keeps it useful.
Common Mistakes To Avoid In Sketchbook Art
Don’t Fear Mistakes Or Imperfect Sketches
When you start using a sketchbook, it’s easy to get stuck fearing mistakes. But sketches rarely turn out perfect on the first try, or even the second. That’s part of learning. Accepting imperfection can actually free you to explore and try new things without pressure. I’ve noticed that when I let go of the need to create flawless pages, my ideas flow much more naturally.
Consider your sketchbook a place for experimenting, not showcasing. Mistakes are hints, clues to what works or doesn’t. If a line isn’t quite right, it’s not a failure — it’s insight. The imperfections tell a story of progress, which is far more valuable than polished final images right away. So, perhaps the real mistake is fearing the messy or awkward marks that come with practice.
Avoid Overworking Your Sketches
Another common pitfall is diving into details too quickly. You might feel the urge to perfect every shadow or line immediately. But overloading a sketch too soon can kill the original spark. Instead of capturing movement or feeling, the image becomes stiff and lifeless. I’ve seen sketches lose their energy when artists fixate on minor details early on.
Try to build your drawing layer by layer—start with broad shapes and simple forms before refining. It’s okay to leave some parts loose or unfinished; that openness often carries more life than overworked pages. Resist the temptation to correct every imperfection immediately. Let sketches breathe before adding complexity. Otherwise, you risk frustration and burnout, which can stop your creative momentum altogether.
Examples Of Sketchbook Art Inspiration
Sketchbooks have served as a quiet yet powerful companion for many artists across history and levels of expertise. Take Leonardo da Vinci, for instance. His notebooks aren’t just collections of doodles—they’re a fascinating mix of anatomy studies, mechanical inventions, and artistic experiments. These sketchbooks helped Leonardo explore ideas before committing them to final works. It’s almost like he used his sketchbooks as a playground for his mind, where concepts could roam free, sometimes solving problems or sparking new routes.
Then there’s J.M.W. Turner, a master of landscapes and light. He filled his sketchbooks during extensive travels, quickly capturing scenes and moods that later blossomed into his celebrated paintings. His sketches reveal a raw immediacy and curiosity about nature’s fleeting effects. You can’t help but feel that Turner’s sketchbooks were more than tools; they were the heartbeat of his artistic vision.
Don’t overlook everyday artists and students either. Many find sketchbooks invaluable for sharpening skills or tackling artist’s block. They serve as safe spaces to play, fail, and try again. From quick gesture drawings to detailed studies, these everyday scribbles build confidence and creativity over time. Sometimes, the most mundane sketches later turn into unexpected breakthroughs—you never know what your sketchbook might unlock. Do you use your sketchbook to capture sudden ideas or to work through artistic challenges? It’s a habit worth nurturing, no matter your level.
Conclusions
Using a sketchbook can open many doors for art inspiration. It is a simple and practical way to capture your artistic ideas anytime. By practicing easy drawings sketches, you can enhance your skills step by step. Your sketchbook becomes a visual diary of your progress and creativity.
Try different tools and techniques in your sketchbook to find what you enjoy most. Keep filling it with your drawings and ideas, and you will see how your art improves over time. Remember, your sketchbook is your space to express and grow as an artist.
- High lightfastness and smoothness
- Swiss made
- 20 piece assortment


