Using Hand References for Accurate Sketches
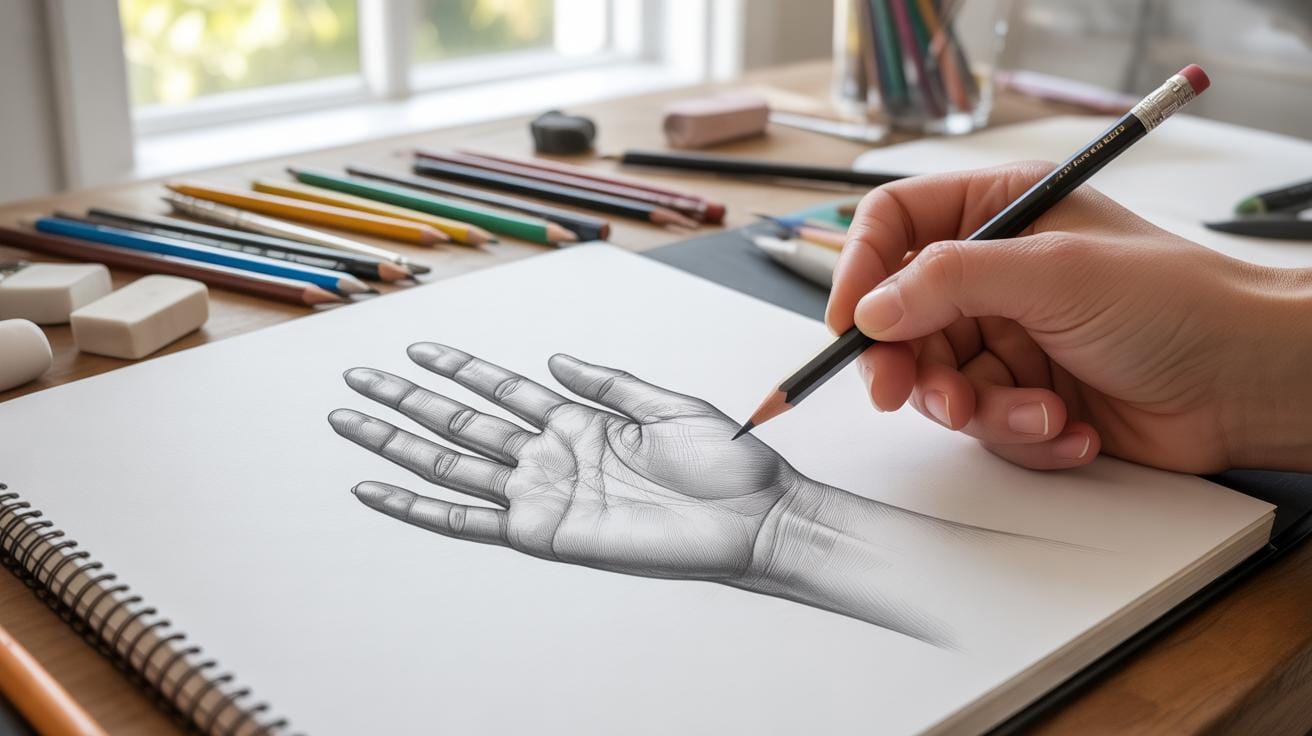
Drawing Techniques With Hand Drawing Reference For Accurate Sketches focuses on the core skills and methods that help you create precise and detailed drawings. Whether you want to improve your art or need to make clear technical sketches, using hand drawing techniques is a valuable skill. This article breaks down practical tips and processes for better sketch accuracy.
Starting with basics like materials and line work, it moves to more advanced methods such as shading and observational drawing. The goal is to give you clear steps and examples that you can apply immediately. This guide will help you build stronger drawing habits and make your sketches more lifelike and useful.
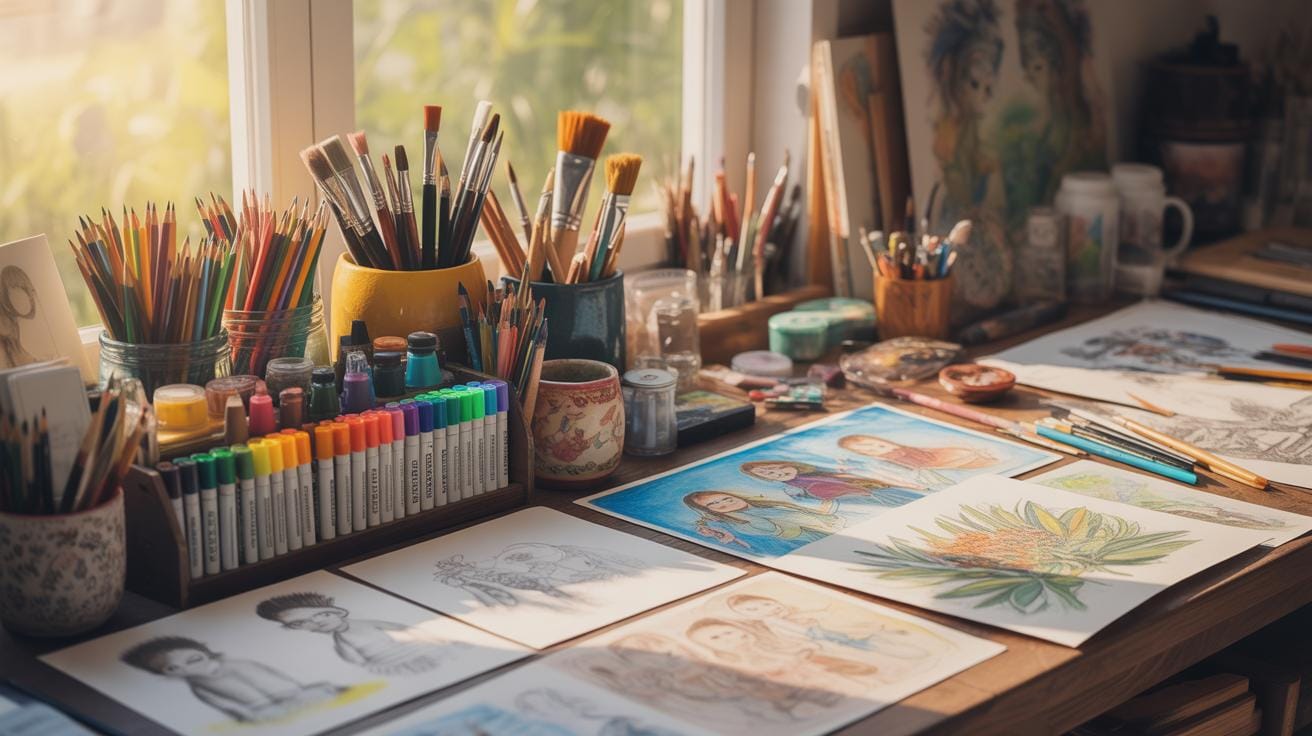
Key Materials For Hand Drawing
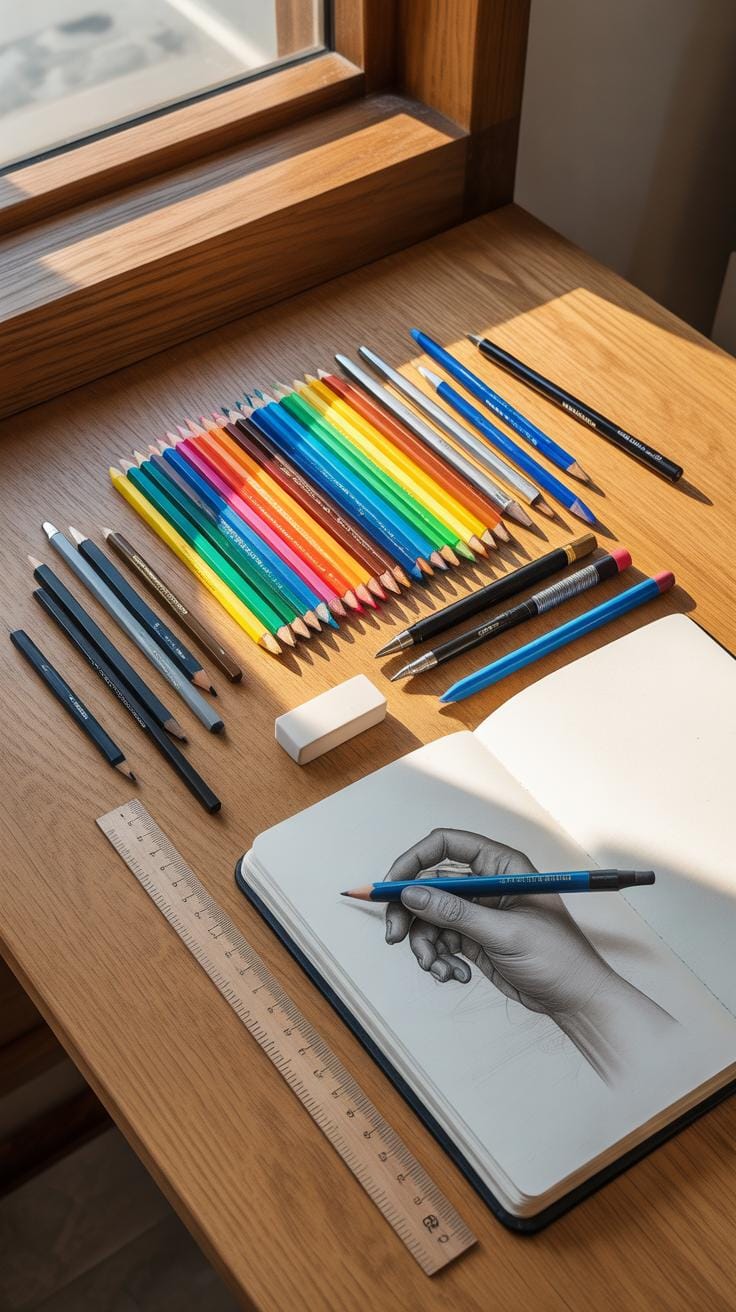
When you start drawing by hand, the choice of tools really shapes your experience and the accuracy of your sketch. You need a few essentials—pencils, paper, erasers, and some extras—but not all are created equal.
The pencils you pick are more than just sticks of graphite. Different pencils offer different thicknesses and darkness in lines. That means an HB pencil might be fine for a quick outline, while a 4B pencil gives you rich, dark shading. You might find yourself switching between a 2B for medium lines and a softer pencil for shadowing if you want detail without overdoing it.
Paper is another piece of the puzzle. The texture, or grain, affects how your pencil glides on it—rough paper grabs more graphite, which works well for texture, but can smudge. Smoother paper lets your lines stay sharp and clean but can feel less natural for sketches. Also, heavier paper won’t wrinkle or buckle when you erase repeatedly, keeping your artwork tidy.
Don’t overlook erasers and their subtle influence on accuracy. A kneaded eraser can gently lift graphite without damaging the surface, especially for refining details. Meanwhile, a firmer rubber eraser can be less forgiving and sometimes mess up the paper if you press too hard.
It’s quite a lot to juggle, honestly. You might end up favoring a specific pencil or paper in your own practice—one that just “feels” right to you. Do you prefer smooth lines or textured strokes? Your choice reflects that. Each tool affects not just the final look but also how precisely you can control your hand’s movements.
Choosing The Right Pencils
Pencils come in a range specified by the hardness of their graphite core, marked from hard (H) to soft (B). For example:
- HB is a middle-ground pencil, often used for general sketching and writing. It produces moderately dark, clean lines and holds its point well.
- 2B is softer than HB, giving darker lines that are easier to smudge or shade.
- 4B and softer pencils are excellent for deep shadows and broad, expressive strokes because their graphite is softer and darker.
The right pencil choice depends on what you want to emphasize. Detailed line work might need the precision of an HB, while shading and textures could benefit from softer pencils. I find switching between these grades helps capture both sharpness and depth in sketches. Have you noticed how different pencils can bring out subtle nuances in your drawing that a single pencil wouldn’t capture?
Paper Types And Their Impact
Paper isn’t just a surface—it’s an active participant in drawing. The grain, or tooth, affects pencil grip and darkness:
- Smooth paper allows sharp, clean lines but can sometimes feel too slick, offering less control for loose sketches.
- Textured or rough paper grabs graphite well, creating a tactile effect with more character but is less forgiving when correcting mistakes.
- Weight or thickness prevents ink or graphite from bleeding through and resists warping due to erasing or moisture.
I recall trying a heavier, textured paper once and noticing how it encouraged me to draw more boldly, almost like the paper was inviting rougher, more spontaneous marks. Conversely, smooth bristol paper might make you cautious, aiming for fine lines and delicate shading. The paper you choose nudges your style in subtle ways, more than you might realize until you experiment a bit.
Line Drawing Techniques Explained

When you start sketching, lines aren’t just lines. They’re the framework supporting everything else. To get your sketches right, learning a few basic line drawing techniques really helps.
First, consider contour drawing. This method focuses on outlining the shape of your subject. It’s not about getting every tiny detail, but about capturing the overall form and volume. Picture tracing the edges of your object with one continuous line if you can. This helps you see its true shape, including the thickness and depth—something beginners often overlook.

Then there’s cross-hatching. You use sets of parallel lines that cross each other to show shadows and texture. Unlike simple shading, cross-hatching lets you control the intensity of shadows by changing how close or far apart the lines are. It’s practical, especially if you want to add dimension without smudging or using complicated tools. You might find adding texture through this method turns your sketch from flat to more lifelike.
Stippling is a different beast—it’s about dots. Yes, simple dots applied in clusters build up tones and shadows. It requires patience but can add a delicate quality to your work. Oddly, stippling can look messier up close but forms a smooth gradient when viewed from a distance. Kind of magical, isn’t it?
Using Contour Lines
Contour lines do more than just outline your subject. When you vary your line weight—that is, how thick or thin your lines are—you give your drawing depth and form. Try pressing harder for shadowed edges and lighter for illuminated ones. Those subtle changes trick the eye into seeing volume.
Also, remember contour lines don’t only sit on the outer edges. You can use interior contour lines to indicate folds, creases, or subtle surface changes. It’s not always about neat, clean shapes; sometimes these inner lines add personality and realism.
Cross Hatching For Shading
Cross-hatching isn’t just for filling in empty spaces. Think of it as creating texture and mood. For example, crossing your lines at different angles can simulate rough or smooth surfaces. I recall once trying to depict a stone wall; varying my cross-hatch directions made the stones feel jagged and weathered.
The key is layering—build your shadows gradually. Rather than going dark all at once, add more layers of lines over time. Notice how denser areas suggest deeper shadows. It gives your work a tactile sense, almost like you could reach out and feel the textures.
Steps For Accurate Sketch Reference

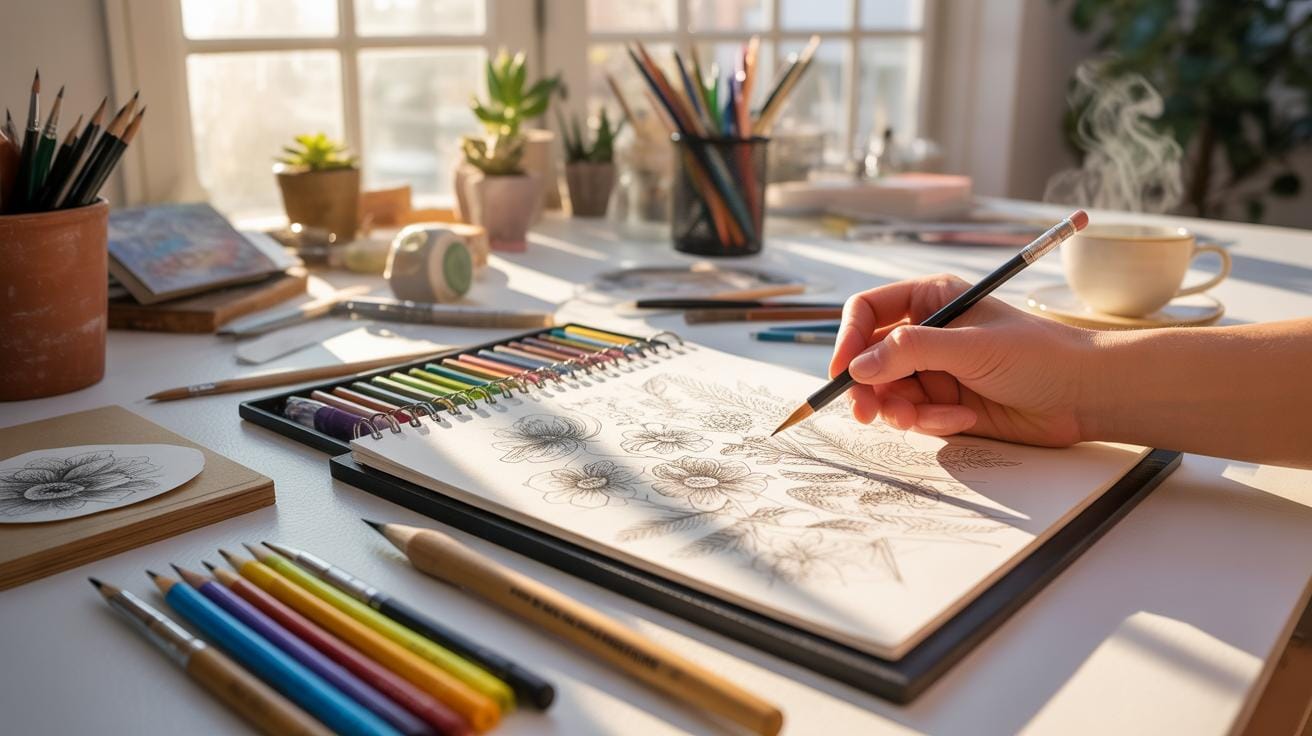
Observing Your Subject
Before you put pencil to paper, spend some real time looking at your subject. This isn’t just a quick glance—try to notice shapes, angles, and how light falls. Sometimes, it helps to look from different distances or angles. You might catch details others miss when you shift your perspective.
Ask yourself questions like: What stands out? What’s subtle? Does anything look a bit off or unusual? These observations will inform your drawing. Sketching without careful looking might mean missing key details that make your work believable. Or worse, you recreate what you think you saw, not what’s really there.
Measuring Proportions
Keeping proportions right can be tricky, but with the right approach, it gets easier. One simple way is using your pencil as a measuring stick. Hold it up and mark key points visually—like width compared to height—and then transfer those measurements to your paper. It sounds mechanical, but it works.
Another method is comparing parts of your subject to each other. For instance, is the nose about half the length of the face? Is one side larger than the other? Your eye can become a rough ruler if you practice regularly. Don’t expect perfect numbers; a little room for interpretation keeps the sketch lively.
Shading Methods To Add Depth
Shading is one of those skills you come back to time and again when sketching by hand. It’s about more than just dark and light—shading gives your drawing shape and form, helping it pop off the page. You play with shadows and highlights to suggest volume, but it’s tricky. Where exactly does the light fall? How deep should shadows be? These questions guide every stroke you make.
Some common shading techniques include cross-hatching, creating lines in grids that get closer or sparser to build darker and lighter areas. There’s also smooth shading, where pencil pressure changes gradually to produce gentle transitions. And let’s not forget stippling, which uses tiny dots to build up texture and tone. Each method conveys a different feel and level of detail. As you experiment, watch how positioning your light source shifts the shadows and impacts the whole sketch.
I often find that combining these shading approaches produces the best results—enough variety to avoid flatness but enough control to maintain realism.
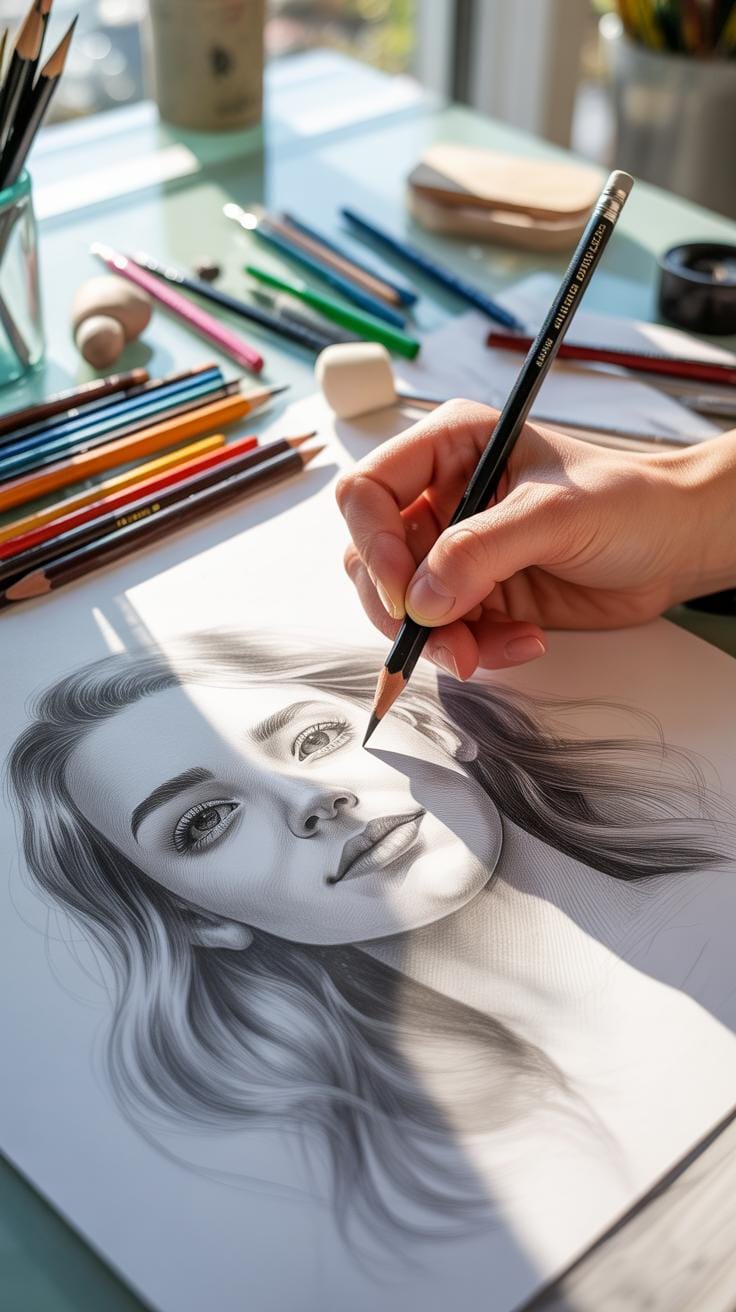
Smooth Shading With Pencils
Creating smooth gradients with pencil shading requires patience and a delicate touch. The secret lies in adjusting your pencil pressure steadily — starting light and gradually increasing to darker values. This gradual change mimics how light softly diffuses around curves and surfaces.

Instead of scribbling wildly, try slow, even strokes in one direction, layering lightly on top of each other. You can also shift stroke direction slightly to blend areas more naturally. I’ve noticed that occasionally pausing to assess your transitions helps prevent harsh lines from appearing unintentionally. If you want extra smoothness, blending tools like tortillons or even a tissue can soften the graphite further, but use sparingly to avoid losing texture.
It’s a good idea to work from light to dark; correcting a dark smudge is far harder than building up intensity carefully.
Stippling And Textural Effects
Stippling might seem like just dotting paper mindlessly, but there’s real skill in creating textures and shading this way. By placing dots closer together, you increase darkness; spaced dots give lighter tones. This technique works well for rough or grainy surfaces that smoother methods can’t capture effectively.
If your subject has skin, fabric, or natural textures, stippling can evoke that irregularity quite well. The process is slower, yes, but in those moments you discover details you might miss otherwise—imperfections and subtle tone shifts that add character.
One challenge is maintaining consistent dot size and density to avoid patches that stand out unintentionally. Also, stippling can become tiring, so pace yourself. Think of it as both a shading and meditative exercise, bringing you closer to your subject’s texture.
Common Mistakes To Avoid

When you’re starting out with hand drawing, it’s easy to fall into habits that end up hurting your work more than helping it. One big issue is overworking your lines. You might think adding more lines makes the sketch stronger or clearer. But, paradoxically, too many lines can make your drawing look messy and confusing. The clarity and simplicity of your original sketch get lost under the clutter. It’s like tracing over the same path repeatedly—it doesn’t sharpen the image; it blurs it.
Try to be more deliberate with each line. Ask yourself if it’s contributing something important. If not, let it go. Sometimes, less is more, even if that feels uncomfortable at first. Your sketches will breathe better, and interestingly, will often look more confident and intentional.
Ignoring Light Direction
Another common stumbling block is neglecting a consistent light source. It might seem subtle, but it plays a huge role in how believable a sketch feels. When light direction is ignored or shifts randomly, your drawing loses a sense of depth and volume. The shadows and highlights become confusing, and the forms seem flat or inconsistent, almost like they’re floating unanchored.
Think about where the light is coming from before you start shading or adding contrast. Stick to that direction throughout. This consistency helps your drawing feel more three-dimensional. It gives a stronger sense of space and realism, even in a simple line sketch.
You might wonder how strictly you need to follow this rule. Well, it depends on your style sometimes. But when aiming for realism, ignoring light direction is almost always a problem.
Comparing Sketching Styles
Sketching can take many forms, and deciding which style to use really depends on what you’re aiming to achieve. Quick sketches tend to be loose and spontaneous, often capturing the essence or movement of a subject rather than all its details. These are great when you’re pressed for time or want to explore initial ideas without getting bogged down. On the other hand, detailed drawings focus on refinement and precision. They require patience and careful observation, aiming to bring out texture, depth, and subtle nuances.
You might find yourself switching between the two styles depending on the situation—perhaps a rapid study to catch a fleeting pose, followed by a more methodical drawing for a finished piece. That said, it’s not always a clear cut choice. Sometimes, a quick sketch can evolve into a detailed artwork, or a detailed drawing can incorporate spontaneous elements.
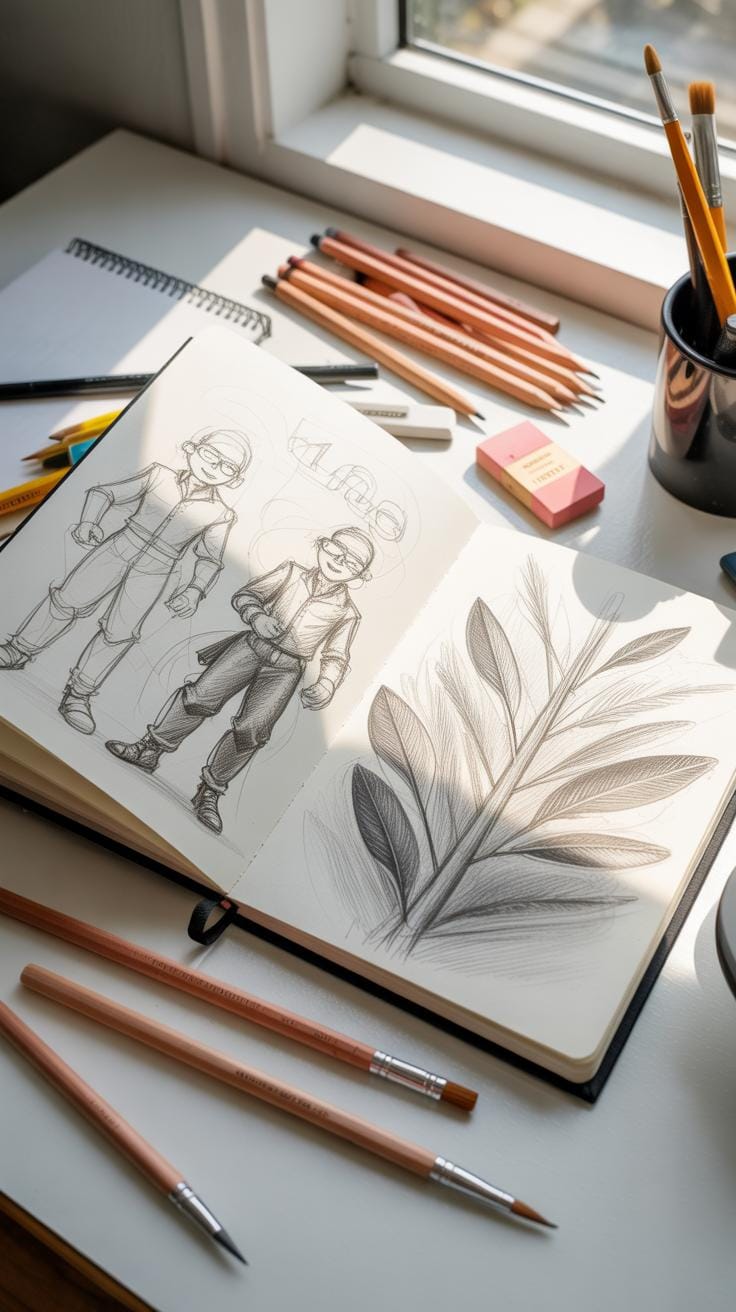
Examples Of Fast Sketches
Fast sketches often use simple lines and minimal shading. Think of an artist jotting down a street scene in minutes or a designer roughing out a concept. Their roughness is intentional, focusing on composition or movement rather than perfection.
- Gesture drawings, capturing basic human poses in seconds
- Thumbnail sketches for idea exploration
- Urban sketches done on location, conveying atmosphere
These styles push you to prioritize speed and feeling over detail. I’ve found fast sketching valuable when I need to stay loose — it frees you from overthinking. But it’s not about rushing blindly; there’s skill in capturing the right lines fast.
Detailed Sketch Approaches
Detailed sketches often rely on layering, shading, and precise line work. Artists may begin with a light outline, gradually adding depth through cross-hatching or blending. This approach can include:
- Careful observation focusing on light and shadow
- Building texture through varied pencil strokes
- Working slowly to ensure proportional accuracy
While this kind of work demands patience, it reveals complexity that fast sketches leave out. Sometimes I get caught in the details myself, questioning if the extra effort always pays off. But when you want to convey form and substance clearly, a detailed sketch often succeeds where quick drawing falls short.
So, when do you choose which? It’s partly about purpose, partly about mood, and partly a matter of practice. Can a sketch be both fast and detailed? Perhaps, but usually you lean toward one end more than the other.
Using Reference For Better Results
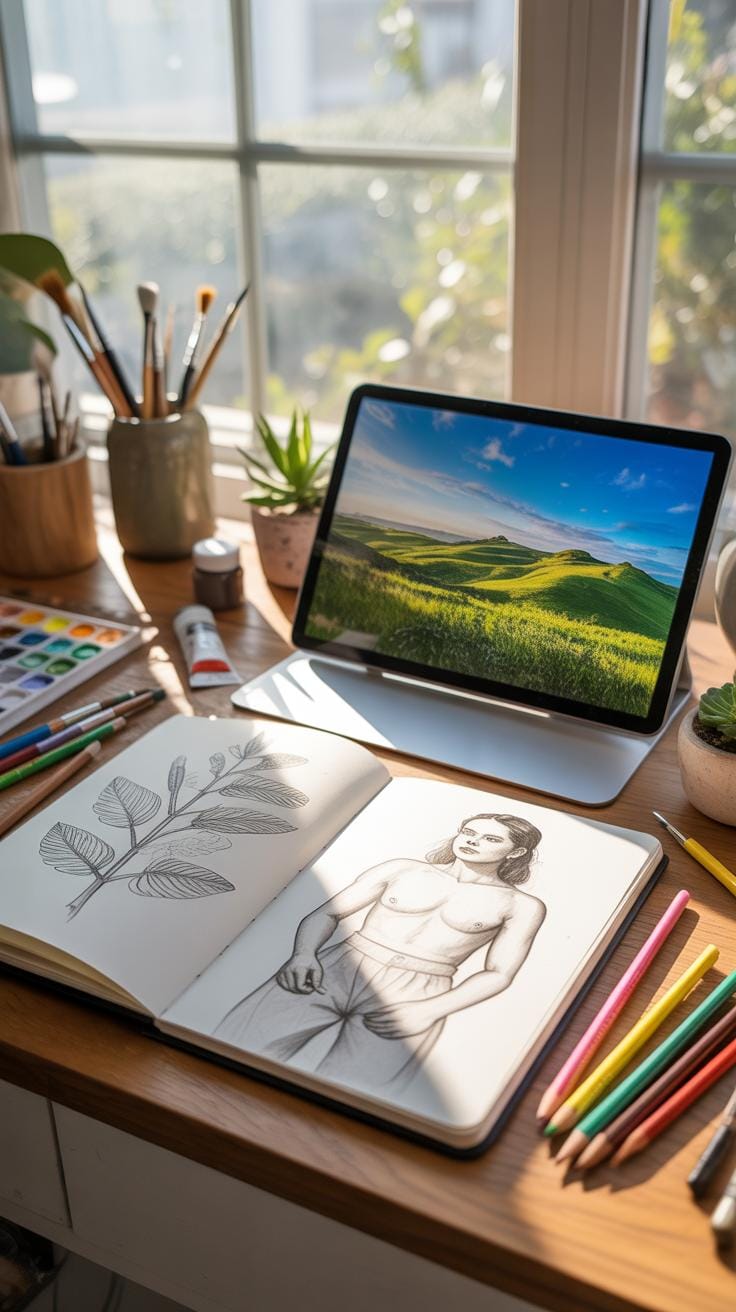
When you draw from reference, whether it’s a photo, an object, or a live subject, your sketches tend to be more accurate—you can capture details that might otherwise slip by unnoticed. It’s funny sometimes, how just observing closely changes the way your hand moves. You notice subtle shapes and lines, those little quirks that give character but often go unnoticed without a reference.
References help anchor your drawing in reality, which is helpful, especially if you’re nervous about proportions or perspective. Using them doesn’t mean your work gets boxed in. Actually, it can give you confidence to experiment more, having a solid base to rely on. Trying to draw from memory alone sometimes betrays you — you end up guessing more than creating.
Setting Up Your Reference
How you position your reference matters. Keep it at a comfortable eye level where you don’t strain your neck or eyes. If it’s a photo, place it close enough so you can glance back easily but not so close that it distracts you. With a physical object, turn it around if you can, study its form before starting. Shifting your viewpoint occasionally helps see new details or shapes you missed.
Make sure the lighting on your reference is clear, or if you’re using multiple images, pick ones with consistent lighting to avoid confusion. It’s tempting to start drawing immediately, but a moment spent observing changes your entire process. Sometimes, even a quick sketch of the reference itself helps ‘train your eye’ before committing to the final drawing.
Copying Vs Interpreting
There’s a subtle, yet key difference between copying exactly and interpreting what you see. Copying means replicating every detail, every shadow, every texture as closely as possible. It’s kind of like tracing with your eyes, useful for practice but maybe less expressive.
Interpreting, on the other hand, means understanding the subject’s essence and then filtering it through your own style or intention. It leaves room for simplification, exaggeration, or omission based on what you want to emphasize. You might ask yourself: which details tell the story? Which shapes matter most?
Somewhat confusingly, the line between them can blur. At times, copying helps build skills that allow you to interpret later. But if you’re always copying, you might miss out on developing your own viewpoint, your own voice in drawing.
Checklist For Sketching Practice
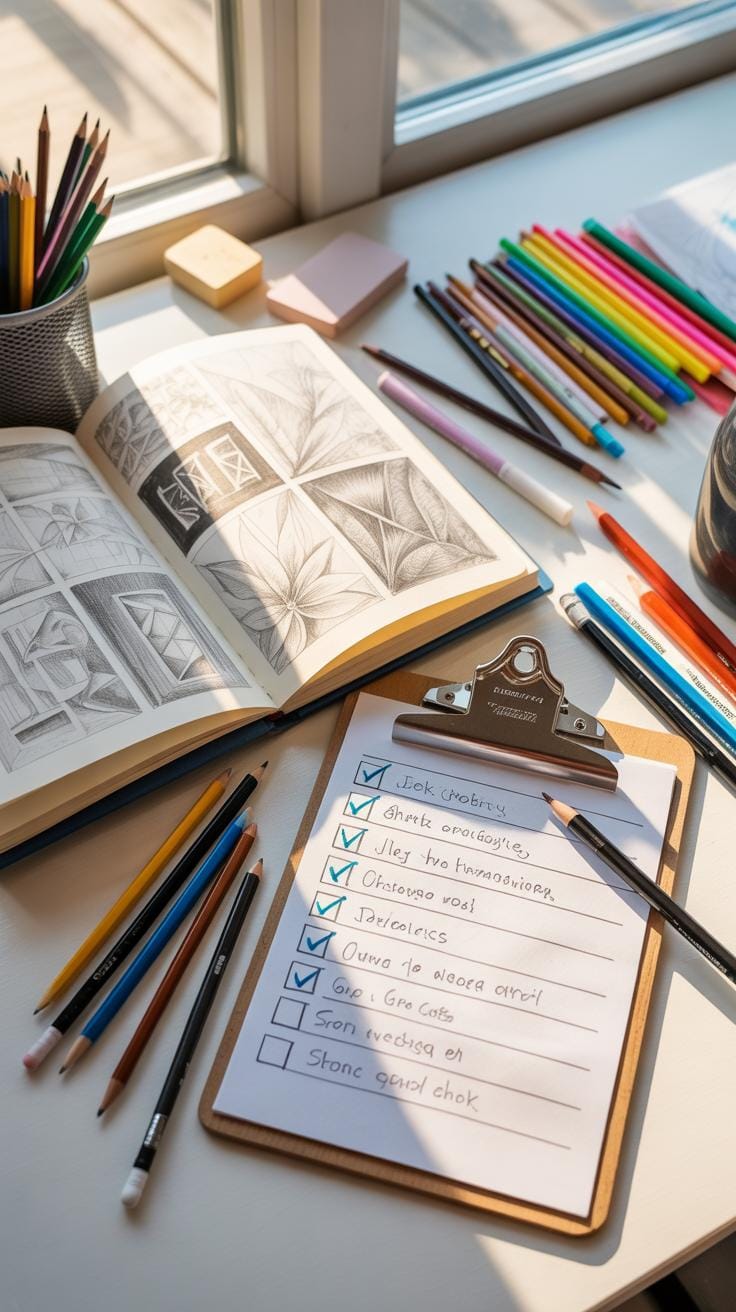
Developing your sketching skills needs more than just random doodling. Having a checklist can keep your practice focused and purposeful. Think of it as a quick guide to stay on track with improvement, session after session.
First, try to focus on key shapes. It may sound basic, but honing the ability to draw circles, squares, triangles, and ovals precisely builds a solid foundation. Almost everything you want to sketch breaks down into these shapes, so practicing them sharpens your eye and hand coordination.
Don’t rush through your sketches. After finishing, take a moment to review your work carefully. Look for mistakes or areas that feel off. It’s tempting to just move on, but those corrections are where real learning happens. Tweak lines or adjust proportions thoughtfully.
Here’s a simple checklist to try for each sketching session:
- Warm up with basic shapes for at least 5-10 minutes.
- Choose a subject that interests you.
- Sketch it without worrying about perfection initially.
- Step back and compare your drawing to the reference.
- Identify key inaccuracies or weak areas.
- Make corrections patiently, even if it means erasing parts.
- Reflect on what was challenging and plan to practice it next time.
Following this checklist brings a bit of order to the unpredictable process of sketching. It’s not about rigidity but about consistent effort. I remember once skipping the review step and spotting mistakes only days later – imagine saving that time by pausing just a minute or two more! Have you noticed which shapes or corrections test you most during your sketches?
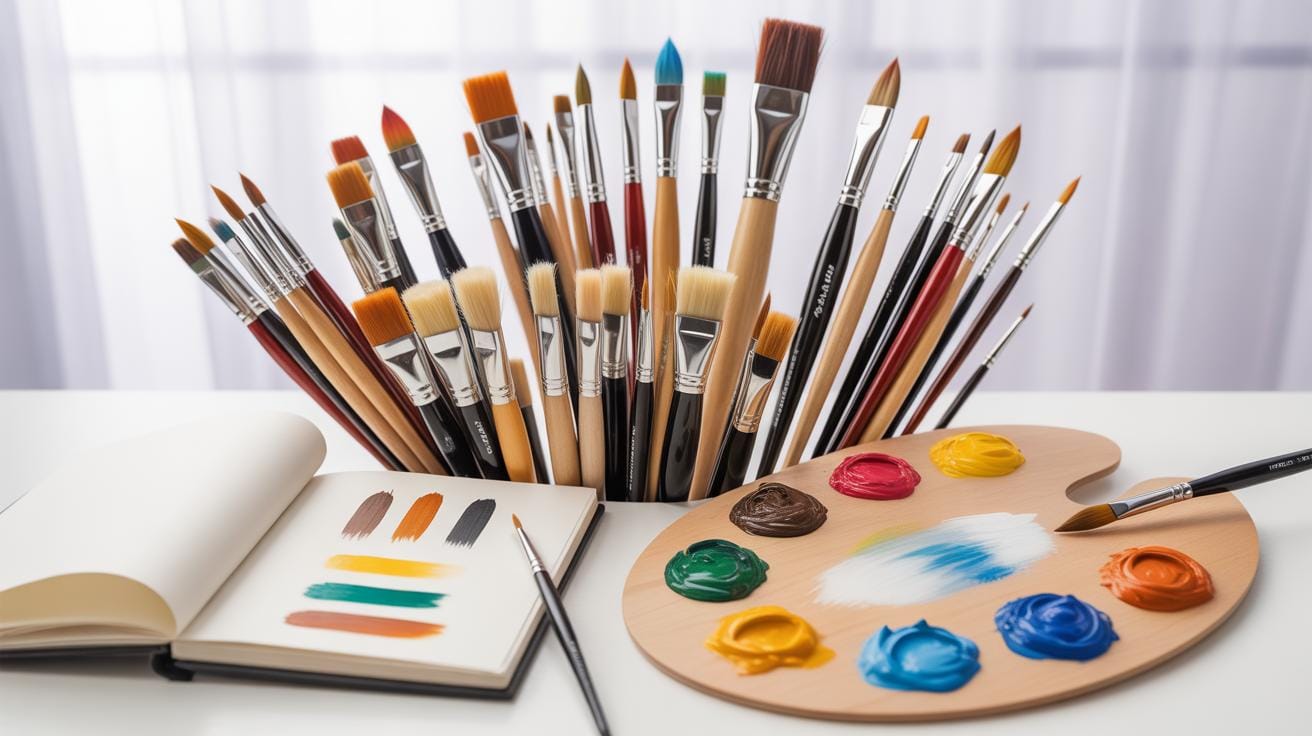
Tools To Complement Hand Drawing
When you dive into hand drawing, some basic tools can really support your efforts. You may already have some at hand, like rulers, compasses, and yes, light boxes. Each has its place and purpose, making certain tasks easier and more precise.
Using A Light Box
I think a light box can be a game changer. It’s essentially a flat surface that lights up from underneath. Why does that matter? Because it lets you trace references directly. Say you’ve found a photo or a sketch you want to use as a guide. Place it on the light box, then your blank sheet on top. The light shines through the paper, allowing you to see and trace the image beneath. It’s especially helpful for maintaining proportions and capturing subtle details without guessing or free-handing it completely. But, and this is just a thought, relying too much on tracing might stunt developing your own observational skills. So maybe use it when you want accuracy, but still practice free drawing often.
Rulers And Compasses For Precision
Rulers and compasses—these are straightforward but invaluable. With a ruler, you can measure lengths and draw straight edges. That sounds obvious, yet many overlook it and struggle with crooked lines. Compasses help when circles or arcs come into play. It’s not just about neatness; these tools bring a certain geometric accuracy to sketches that freehand can’t easily match. I remember once trying to freehand a circle and ending up with something lopsided and frustrating—lesson learned. But then again, perfect measurements aren’t always necessary in art. Sometimes the slight imperfections add character. So, these tools complement your hand drawing but don’t replace the eye and hand coordination that develop over time.
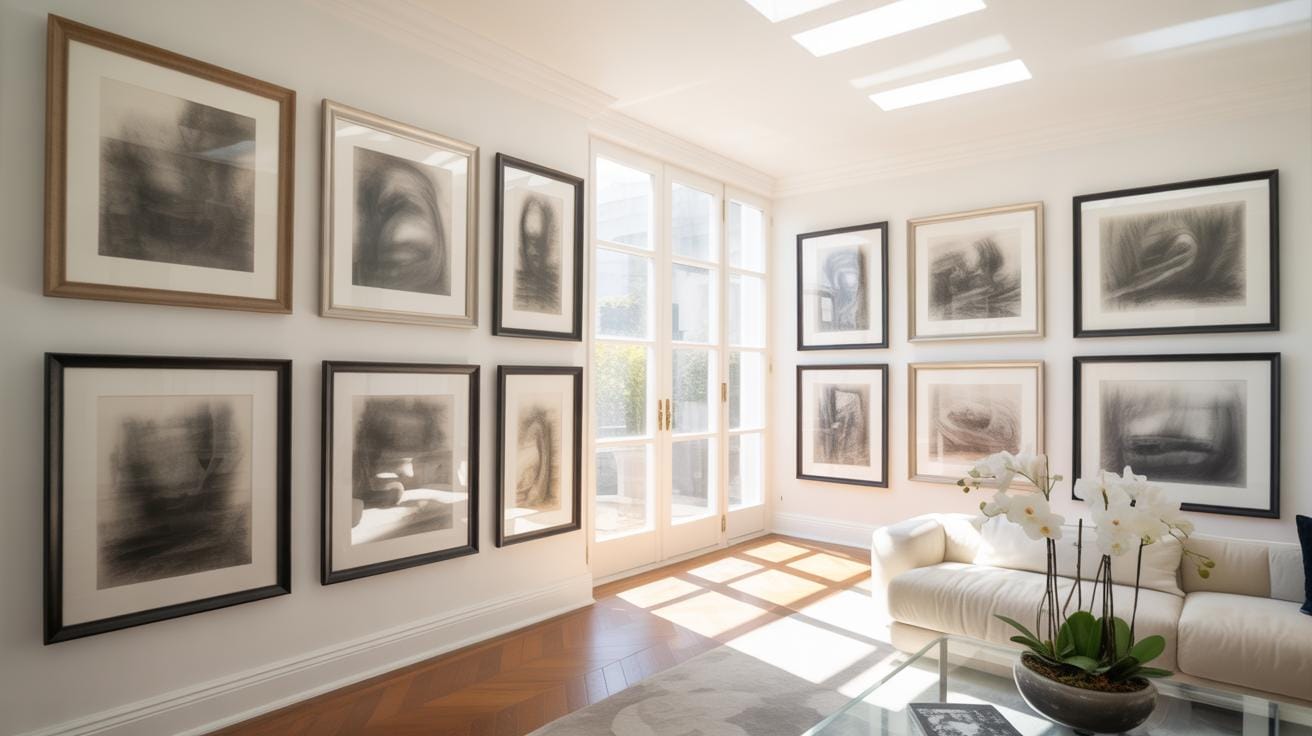
Tracking Progress And Setting Goals

Keeping track of your drawing progress can feel a bit tricky at times — how do you really measure improvement? One effective method is to maintain a sketchbook. Not just a place for random doodles, but a deliberate record of your work over weeks, months, even years. This way, you can flip back and see the evolution of your skills in drawing perspective, shading, or anatomy. Sometimes, the changes are subtle, maybe a slightly cleaner line or better proportions. Other times, you’ll catch a drastic leap forward, which can be surprisingly motivating.
Updating your sketchbook regularly offers clear evidence of growth that you might otherwise overlook. It also acts as a space for experimentation and trials without fear of failure. What about setting goals? It helps to think smaller, especially in the beginning. Instead of aiming to master the entire human figure immediately, perhaps focus on capturing accurate hands or feet for a month. These small achievements accumulate, preventing frustration and keeping motivation alive. It’s like taking one step at a time rather than trying to jump ahead.
Consider writing down your targets alongside your sketches. When you review progress, ask yourself: Has this goal been met? What adjustments can I make? These reflections deepen your understanding of your own practice. Also, it keeps you engaged — art isn’t always a straight line, and neither is progress. Maybe one week feels like a step back, but tracking helps see the bigger picture. Do you think a structured approach with clear checkpoints might suit your style better, or would you prefer a more freeform method?
Conclusions
The techniques presented offer a straightforward path to improving your hand drawings. By choosing the right materials, practicing line work, and applying shading thoughtfully, you can add depth and accuracy to your sketches. Working from references helps you sharpen your observation and replicates real-world details more effectively.
Consistent practice with these steps will make your sketches clearer and more confident. Using hand drawing as a foundation supports growth in many art and design fields. Keeping tools simple and techniques direct makes the process enjoyable and effective for anyone looking to enhance their drawing skills.


