Exercises to Build Basic Drawing Skills
Drawing exercises help improve your ability to see and replicate what’s in front of you. This practice targets basic skills like creating lines, shapes, and shading. Such exercises build a foundation to make your drawings more accurate and lifelike.
This article covers essential drawing fundamentals exercises. You will learn about line control, proportions, perspective, and shading methods. These exercises are developed to gradually refine your hand-eye coordination and visual perception, which are crucial to drawing well.
Basics Of Lines And Shapes
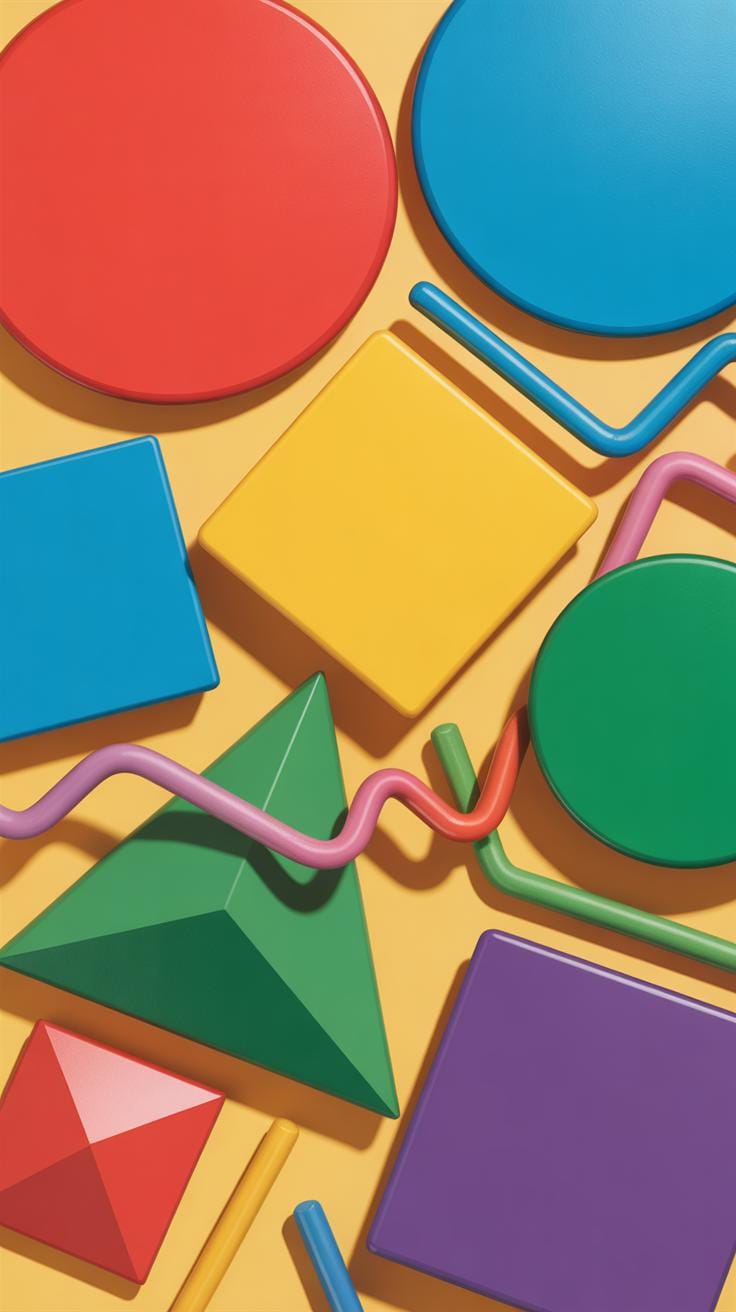
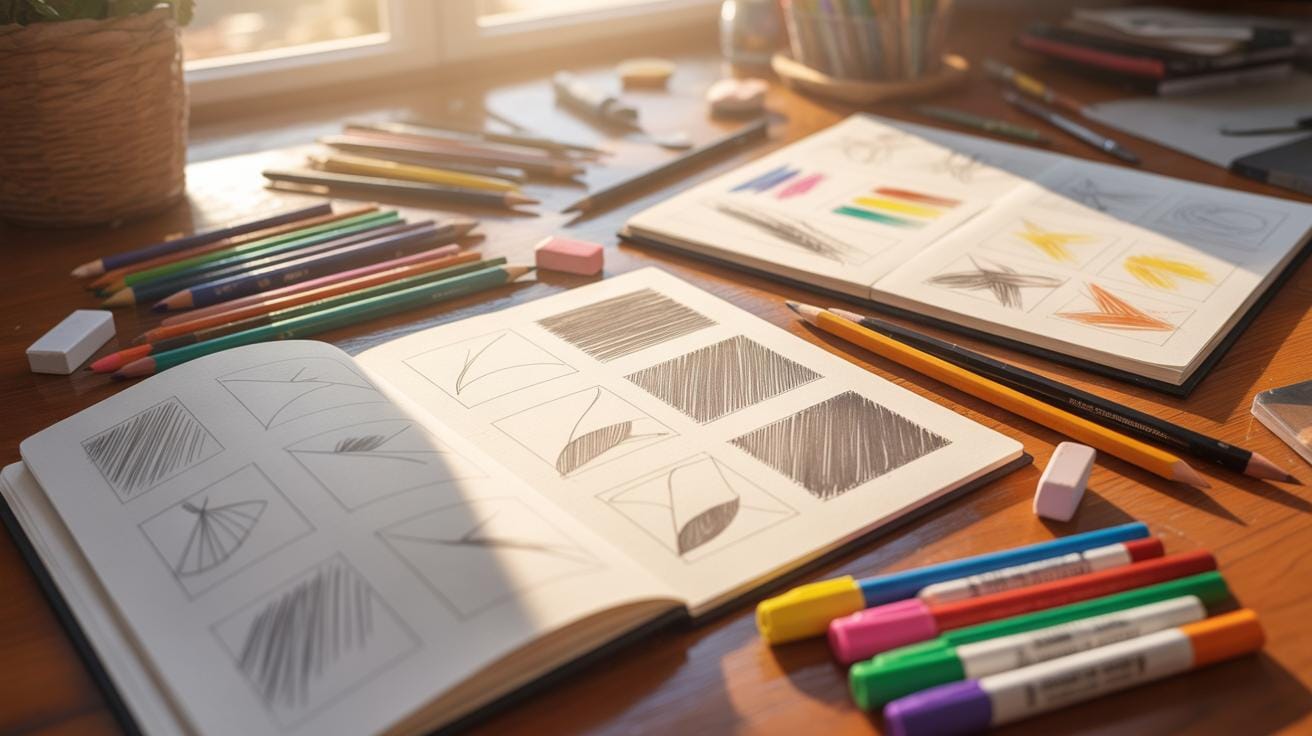
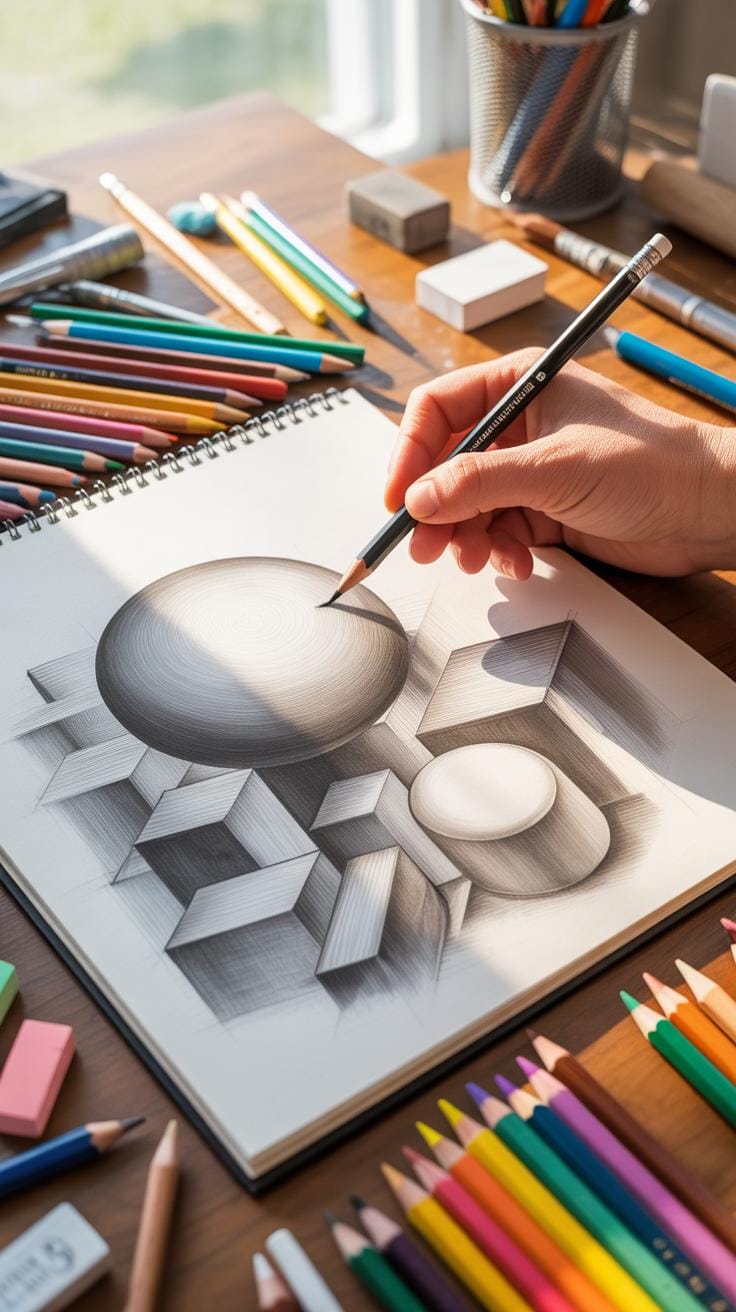
Focusing on basic drawing exercises involving lines and simple shapes can feel surprisingly effective. You start by practicing straight lines, then move on to curved ones, with some varied lines thrown in to challenge your control and precision. This isn’t just about repetition but really about feeling how your hand moves. Tracing circles, squares, and triangles helps build muscle memory, but don’t stop there. Try drawing these shapes freehand too, aiming for steady, confident strokes rather than perfection. You’ll likely notice that your control improves over time, even if your lines won’t be perfectly straight or symmetrical right away. It’s about training the hand and eye together, working toward precision in each deliberate line and shape.
Line Variation Exercises
Line variation is more than just an artistic choice—it’s a practical skill that shapes the look and feel of your drawing. Practicing thin, thick, straight, curved, and zigzag lines separately allows you to explore how different pressures and speeds affect your hand control. For example, try moving from thin to thick lines on the same stroke, or combining zigzag with smooth curves on one paper. These exercises not only add visual interest to your work but also help you better understand how to express different textures or forms when you draw. It’s fascinating how slight changes in line weight can create depth or emphasis. Keep testing your range; it’s part of learning how your tools respond to different motions.
Shape Construction Practice

Drawing shapes like circles, squares, and triangles might sound basic, but focusing on symmetry and proportion within these forms is a challenge for many. You can start by drawing one shape repeatedly, then reflect on inconsistencies—some sides longer, some angles sharper—and adjust accordingly. One method is to break the shape into smaller parts, like dividing a triangle into equal sections before drawing it, or marking the center of a circle to keep it balanced. It takes patience, especially when your shapes don’t look quite right at first. Over time, though, you’ll sense a subtle improvement in your eye for proportion and your hand’s reliability. It’s all about practicing with intention rather than just sketching aimlessly.
Exploring Proportions And Relationships

When you’re working on your drawing skills, understanding proportions and relationships between objects is crucial. One exercise that helps with this involves using a pencil held at arm’s length. It might sound simple, but this technique forces you to really observe sizes and distances carefully. What you do is hold the pencil straight out, close one eye, and use the pencil as a measuring stick. By aligning the pencil with parts of your subject and marking off lengths against it with your thumb, you get a relative measurement. Then, compare these measurements between different parts of your subject — say, the width of a face to the height of an eye, or between two objects in a still life. This comparative method trains your eye to recognize and translate real-world size ratios into your drawing.
It’s a bit like tuning an instrument. At first, you might struggle to keep consistent measurements or to place them accurately, but after practicing, you start to trust your own judgment more. Using a ruler is a more rigid approach but combining it with the pencil technique can reinforce your accuracy. For example, once you get a rough measurement with the pencil, you can check it with a ruler on your drawing to ensure proper scale.
Another approach that’s worth trying is the sight-size drawing method. This one’s a bit different. Instead of guessing proportions in your head, you set up your drawing so that you view the subject and your paper from a fixed point where both appear the same size. From that vantage point, you draw what you see exactly as it appears—no scaling up or down. This can feel like a revelation, as your drawing matches your view directly, reducing guesswork. The sight-size method helps you lock proportions in place since everything you draw corresponds to what you’re seeing right in front of you.
What’s tricky, though, is keeping your viewpoint perfectly steady and remembering to check distances repeatedly as you work. With time, this method can make your drawings much more accurate, especially when working with live models or detailed still lifes. Have you tried switching between these methods with your own drawings? Sometimes I find that combining these techniques offers the best balance between instinct and measurement.
Perspective Basics For Beginners
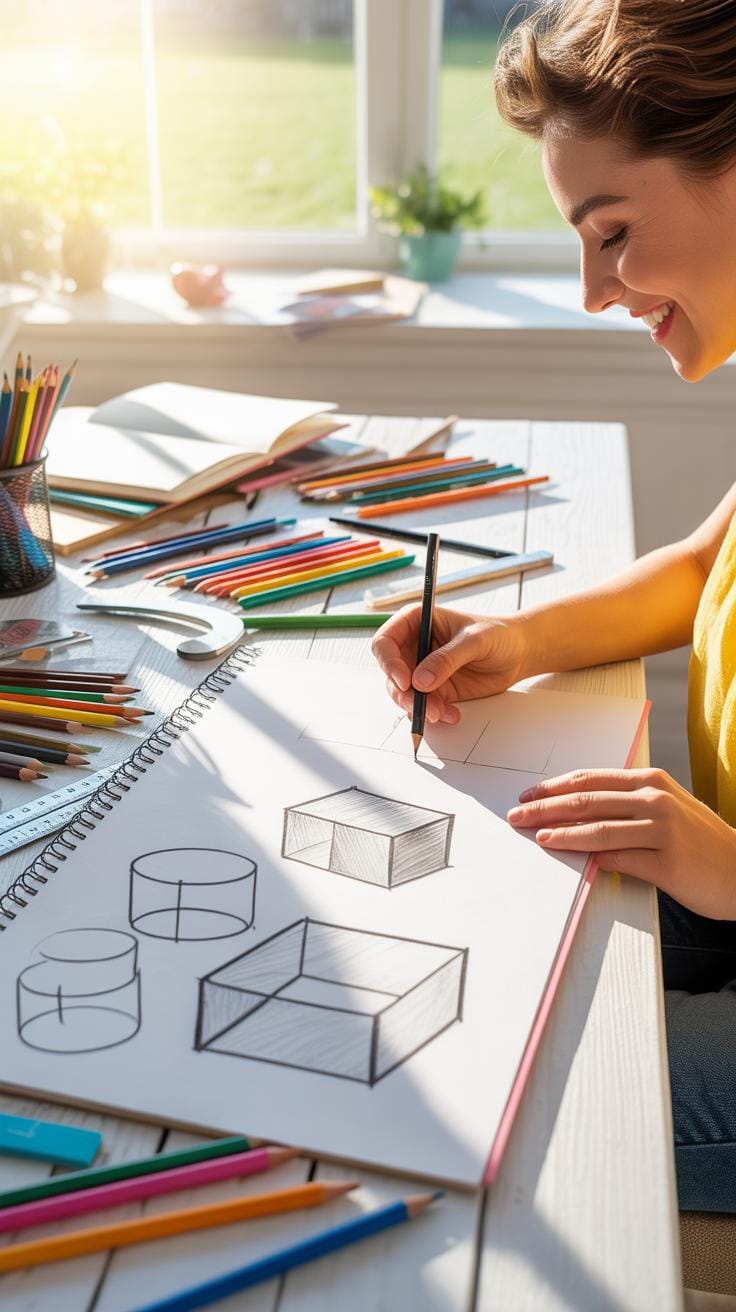
When you start practicing perspective, the key things you want to get comfortable with are horizon lines, vanishing points, and basic shapes. These form the backbone of creating depth in your drawings. Without these, it’s hard to give your work a sense of space or distance.

One-point perspective is a good starting point. Imagine a single dot on the horizon line—that’s your vanishing point. From there, you draw lines receding towards it; these lines help objects shrink realistically as they move away from you. I remember when I first tried this exercise, it felt odd to purposely make shapes look smaller, but it really does the trick.
Two-point perspective adds complexity by using two vanishing points on the horizon line. This setup lets you draw corners of buildings or boxes, emphasizing how edges meet in space. It’s a bit tricky at first to manage two directions at once, but practicing helps you see how objects exist in a three-dimensional world on paper.
Try sketching simple geometric forms—like cubes and cylinders—using these methods. It’s straightforward yet crucial practice. Ask yourself: how does the placement of your vanishing points change the way the shapes look? The small shifts can make a big difference in realism.
One Point Perspective Exercise
To get started with one-point perspective, find a flat surface and draw a horizontal line across it. This is your horizon line. Next, pick a single point anywhere on the horizon—this is the vanishing point.
Now draw a square or rectangle somewhere in your drawing space. From each corner of that shape, draw straight lines going back towards the vanishing point. These lines create the illusion that your shape is receding into space.
Then, add a line to close off the shape so it looks like a box stretching away from you in the distance. You’ve just constructed a simple object that follows one-point perspective rules. It might feel a bit mechanical at first, but repetition makes it natural.
Two Point Perspective Practice
Two-point perspective is a natural next step. Start again with a horizon line, but this time place two vanishing points far apart on it. Think of these as the points where parallel lines converge on the left and right sides.
Draw a vertical line between the two vanishing points; this will be the closest edge of your box. From the top and bottom of this line, draw lines going back to each vanishing point. These create the sides of your box extending into space.
Close off the back edges with vertical lines, and your box takes shape, showing depth from two directions. This technique feels more realistic because it simulates how we see corners in real life.
It may seem like a lot to juggle, but focusing on these exercises helps build an intuitive sense of spatial relationships that’s hard to achieve otherwise. Don’t worry if your first attempts look awkward—this kind of practice is about seeing things differently.
Shading Techniques To Add Depth
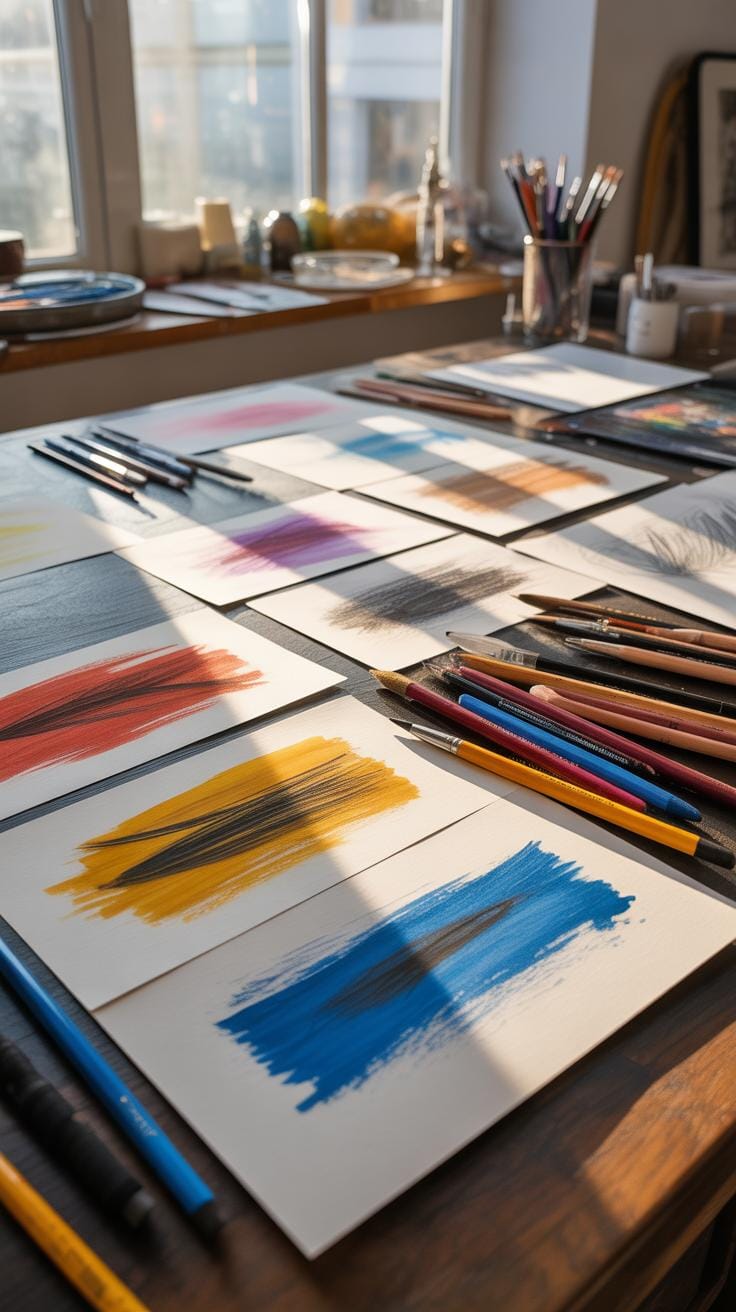
When you begin exploring shading exercises, the difference in pencil pressure and stroke direction quickly becomes clear. Press lightly to create pale, subtle tones and increase pressure for darker, denser areas. It’s a bit like coaxing the pencil to reveal its range. You might try simple strokes along the paper, shifting pressure gradually to see the smoothness or abruptness of the transition.
Now, about value scales—they’re more than just a chart of grays. Practicing with a value scale helps you see how light and shadow shape objects. Draw a strip divided into sections, each one darker than the last, from nearly white to darkest black. This scale sharpens your eye to subtle shifts, which is crucial when you want to capture realistic volume and light.
Value Scale Drawing
A practical exercise is to create a smooth gradient using only pencil pressure as your tool. Start with the lightest tone by barely touching the paper, then slowly build up pressure across the strip. This demands control—too much pressure too soon breaks the smoothness. I’ve found to pause occasionally for a quick glance at the scale from a distance; it often reveals inconsistencies not visible up close.
Consistency is key. Keep the pencil stroke direction steady—often horizontal or vertical. If the tones jump abruptly, smooth them out by layering more gentle strokes rather than pressing harder. That delicate balance between soft and firm can feel elusive but is essential for a believable gradient.
Directional Shading Methods

Beyond pressure lies how you apply strokes. Hatching involves drawing lines parallel to each other—simple, yet powerful. Cross-hatching adds intersecting lines, creating richer shadows. Circular strokes, although less common, offer a different texture—soft and irregular—useful for more organic objects. Experimenting with each can reveal surprising textures and depths.
For instance, when shading a sphere, hatching can mimic the gradual change from light to shadow by spacing the lines wider where light hits and closer where it fades. Cross-hatching can strengthen shadowed regions further, while circular strokes offer a gentle, blended look. These methods don’t replace each other; they combine depending on the effect you want.
So, which technique feels more natural to you? There’s no absolute rule. Your choice might depend on the object, the mood, or just what seems right that day. The key is practice and observation—notice how light shapes the real world and try to mimic it with your pencil, pressure, and stroke direction.
Drawing Negative Space Effects
Negative space—it’s the area around and between the subjects of your drawing. At first glance, it might feel like the “empty” part, the background that just fills the gaps. But, pause and reflect a bit. Those spaces hold shape and form, almost like invisible elements shaping your composition. Not focusing on them means missing a large part of what makes a drawing feel balanced or believable.
Think about the spaces between the legs of a chair or the gaps between tree branches. When you start to notice those shapes, your perception shifts. It sharpens your ability to observe and teaches your hand to draw what you truly see, not what you think an object should look like.
Try this:
- Pick a simple setup: a few objects placed apart, like a cup and a spoon on a table.
- Instead of drawing the cup or spoon, focus on the shapes in the space between and around them.
- Sketch only those spaces. No outlines of the items, just the negative space.
It’s a slightly strange exercise. You might feel like you’re drawing “nothing,” but this practice tunes your eye and makes you more mindful. This can sometimes unsettle you, since it contradicts usual ways of drawing. And that’s precisely the point. It breaks old habits and encourages seeing the whole picture—spaces included—bringing your drawings closer to reality.
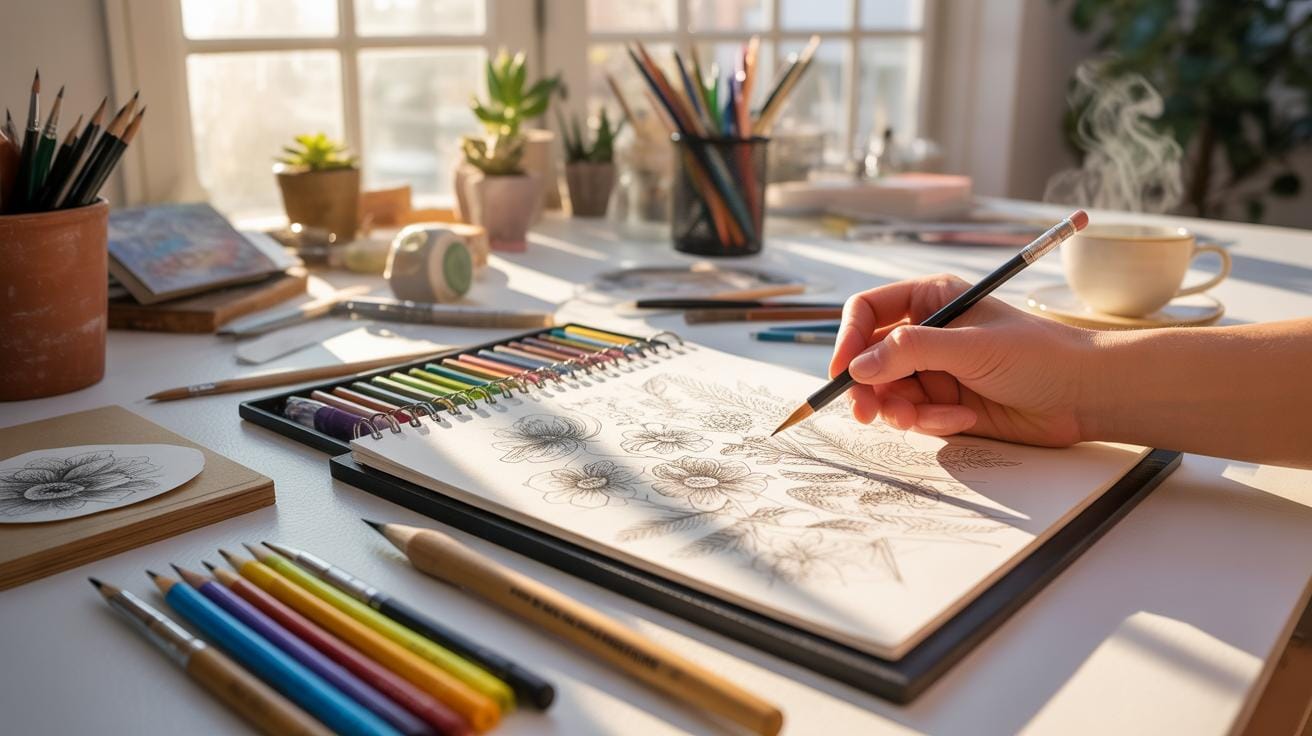
Contour And Gesture Drawing Practice
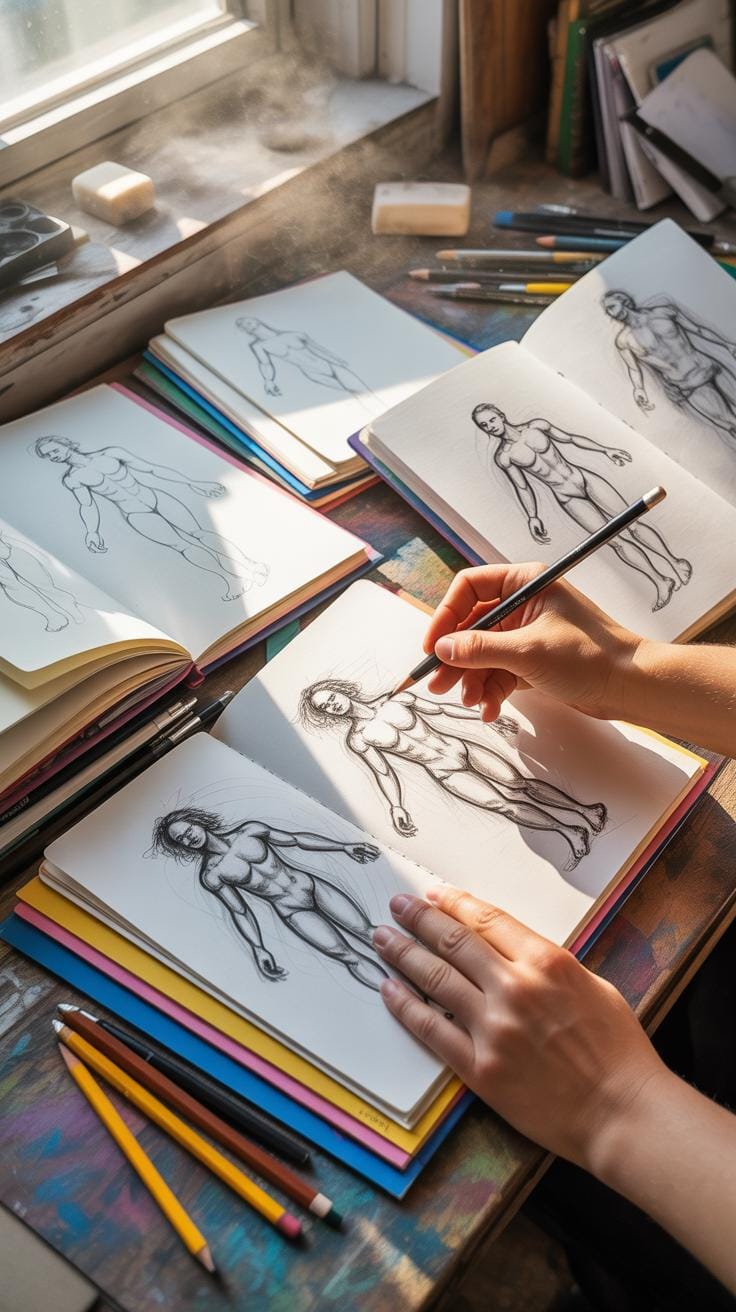
Contour drawing exercises invite you to slow down, focusing on the edges and shapes of your subject. One of the most unusual yet revealing methods is blind contour drawing. You look solely at the subject, not the paper, as you draw the outline in one continuous line. This might feel awkward or even frustrating at first because your hand seems disconnected from what you see—but that’s the point. By breaking the habit of glancing at your drawing, you force yourself to observe more intently. It’s less about creating a perfect representation and more about training your eye and hand to work together. I find that blind contour exercises can sharpen your observational skills dramatically, even if the results look nothing like the subject initially.

Then there’s quick gesture sketching, which aims to capture the essence of movement and posture in a matter of seconds. Here, speed is crucial. It’s not about details but rather the energy and flow of the figure or animal in motion. When sketching a dancer or a dog running, let your strokes be loose, spontaneous, and suggestive. Try to find the primary lines of action that communicate the form and pose without getting caught up in minutiae. I’ve sometimes surprised myself by how a rough, ten-second gesture can feel more alive than a meticulously detailed study. What details could possibly eclipse the rawness of motion and emotion embedded in a swift gesture?
Both of these exercises—blind contour and quick gesture sketches—challenge you to abandon control and expectation, emphasizing observation and expression over precision. They may feel uncomfortable, even chaotic, but that disruption helps to build the foundation for more confident and accurate drawing later on. So, next time you draw, pause and ask yourself: Am I really looking? Am I truly capturing the figure’s movement or just its shape? These questions keep your practice honest and growth steady.
Memory And Imagination Drawing

Moving from drawing what you see to drawing what you remember or imagine is a big step. It can feel daunting at first because you can no longer rely on the lines and shapes right in front of you. Instead, you have to call up images from your mind. This shift challenges your ability to visualize and recall details, which are skills that can be strengthened with practice.
Try this exercise: look at an object for just a minute or two, really focusing on its shape, texture, and proportions. Then turn away and draw it from memory. Don’t worry if your drawing isn’t perfect. The goal is to build your mental picture and translation skills. Repeating this exercise with different objects helps your brain hold images longer and more precisely.
Another way to develop your imagination is to mix elements from things you’ve seen before to make new compositions. For instance, combine the pose of a bird you’ve seen with the texture of tree bark you’ve studied. These playful combinations encourage creativity and help loosen the habit of strict copying. You might find unusual connections or ideas in this process—sometimes, your brain surprises you with something unexpected or even unfinished, which can be a good thing. Creativity doesn’t always follow a straight path.
Common Pitfalls To Avoid

Drawing exercises often trip people up in the same ways. One frequent mistake is drawing what you think something looks like instead of really observing it. I know I’ve fallen into this trap myself—quick sketches that end up looking more like mental shorthand than the actual subject. To fight that, try slowing down and really focusing on what’s in front of you. Squinting can help simplify shapes and force observation over assumption.
Another pitfall is relying on shapes from memory. When you sketch a chair, for example, you might replicate a “chair shape” you’ve drawn a hundred times. This habit can distort the reality of what’s actually there, which might be a bent leg or an unusual curve. You can avoid this by constantly reminding yourself to look hard and compare your marks to the real object. It’s uncomfortable at first, but trains your eye to see nuances.
Lines can betray your confidence. If your strokes are stiff or hesitant, the drawing feels forced or unnatural. I found that underdrawing with loose, quick lines helped me loosen up. Practicing drawing continuous lines without lifting the pen allows your arm to warm up and reduces stiffness. Getting comfortable with a relaxed stroke doesn’t happen overnight, but it makes a big difference in capturing fluidity.
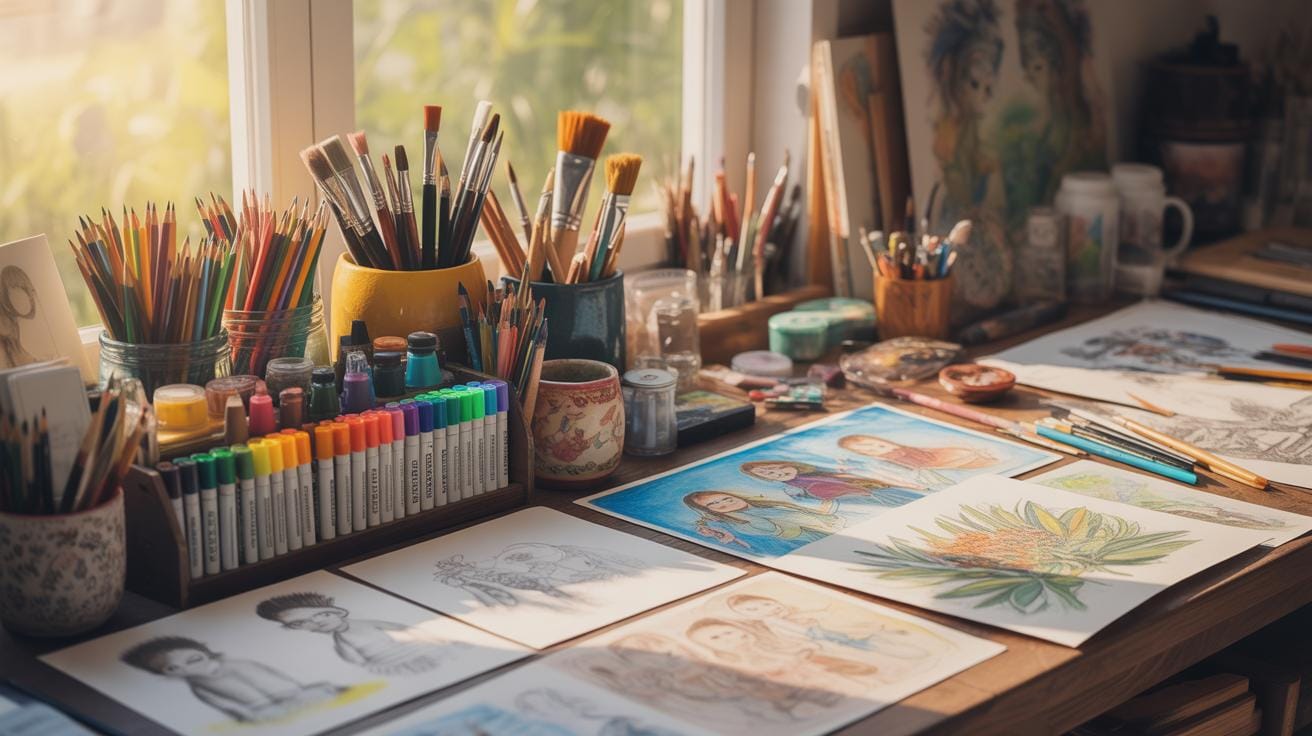
Tracking Progress In Your Practice

Tracking your progress with drawing exercises can feel a bit daunting at first, but it’s one of those things that pays off in ways you might not expect. One of the simplest, yet most effective, ways to do this is by keeping a sketchbook journal. This isn’t just about filling pages—it’s about creating a timeline of your artistic journey. Try to sketch daily or weekly, depending on what fits your schedule. Over time, flipping back through these pages will give you an honest look at where you started and how far you’ve come.
Here’s what keeping a sketchbook log offers:
- Immediate visual feedback on your skills and style shifts
- A safe space to experiment without pressure
- A motivational boost when you notice subtle improvements
- A record that helps you recognize recurring challenges or strengths
Now, assessing your work objectively isn’t always easy. You might find yourself fixating on flaws or ignoring wins altogether. To balance this, try combining self-critique with questions like: What part of this drawing feels confident? Where did I struggle? Did I capture the proportions better than last time? This can help highlight areas needing more work while also celebrating real progress.
It’s a bit like having a conversation with your art, sometimes supportive, other times constructively challenging. This blend keeps your practice grounded and moving forward. So grab that sketchbook, and make tracking your progress a part of your drawing routine—it’s a simple habit with a worthwhile payoff.
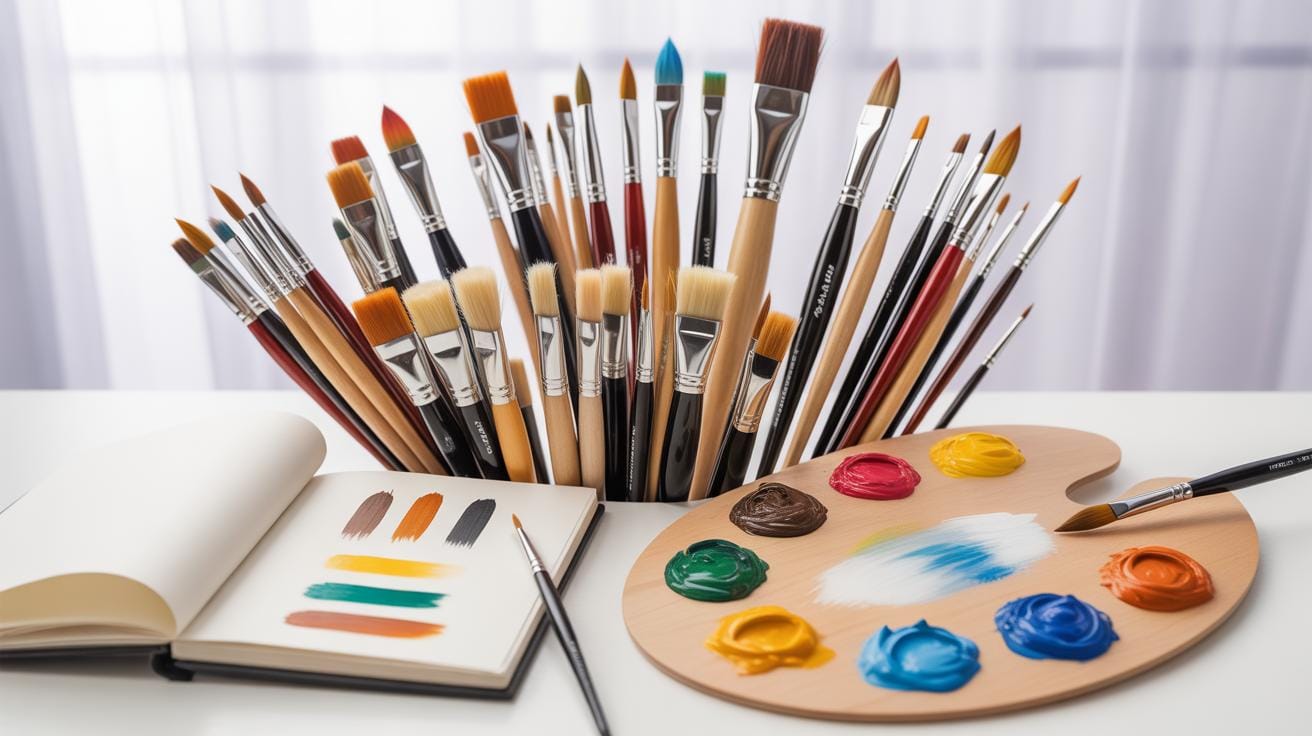
Tools And Materials Checklist

When starting out on your drawing journey, the right tools can make a significant difference. It’s not about having the fanciest supplies, but rather those that support your practice and growth. For pencils, having a range from hard (H grades) to soft (B grades) can help you experiment with line quality and shading. For example, a 2H pencil is great for precise lines, while a 4B or 6B pencil gives rich, dark tones. Don’t overlook the eraser—kneaded erasers are flexible for lifting graphite without damaging paper, and a regular rubber eraser helps with clean corrections.
Paper choices influence how your drawing feels under the pencil. Start with smooth, medium-weight sketch papers which handle graphite well but aren’t too fragile. You might want to try textured papers later for different effects, but initially, consistency in your surface helps maintain focus on drawing fundamentals. Thin newsprint can be tempting due to cost, but it might frustrate you with tearing or smudging.
Optional aids like blending stumps or tortillons can be handy for softening shadows, but use them sparingly. They’re not essential at first—you want to build hand control before relying on tools that mask uneven pressure. Likewise, rulers and templates have their place for technical drawing but might interfere with looseness in early exercises.
Setting up your workspace also plays a subtle, yet important role. If you can get a drawing board or easel, you likely will notice improved posture and less strain. Keeping your paper at a slight angle, rather than flat on a table, encourages more natural arm movement and helps maintain proper proportions. A comfy chair and good lighting round out the setup. You might find this takes some trial and error to get right, but investing the effort here can make practice sessions less tiring and more productive.
Conclusions
Regular practice with fundamental drawing exercises sharpens your visual and manual skills. You will notice improvement in your ability to capture shapes, lights, and shadows more precisely. These exercises train your brain to move away from assumptions and focus on actual observation.
Starting with simple lines and shapes and advancing to shading and proportion exercises will build your confidence. Staying consistent with these exercises provides steady progress. This approach lays a strong foundation for more complex artwork later on.


