Introduction
Drawing Tutorials For Art Tutorial Success And Art Tools Drawing Tips offer a practical path to improve your artistic skills. This topic covers how structured tutorials can help you grasp drawing techniques effectively. You will also discover which tools to use to make your drawing process smoother and more enjoyable. These insights help both beginners and those looking to refine their skills.
This article presents clear guidance on selecting the right art tools and applying effective drawing tips. It guides you step-by-step, from starting your first sketch to completing detailed drawings. By following this advice, you will build a solid foundation and increase your confidence in drawing.
Setup Checklist For Drawing Tutorials
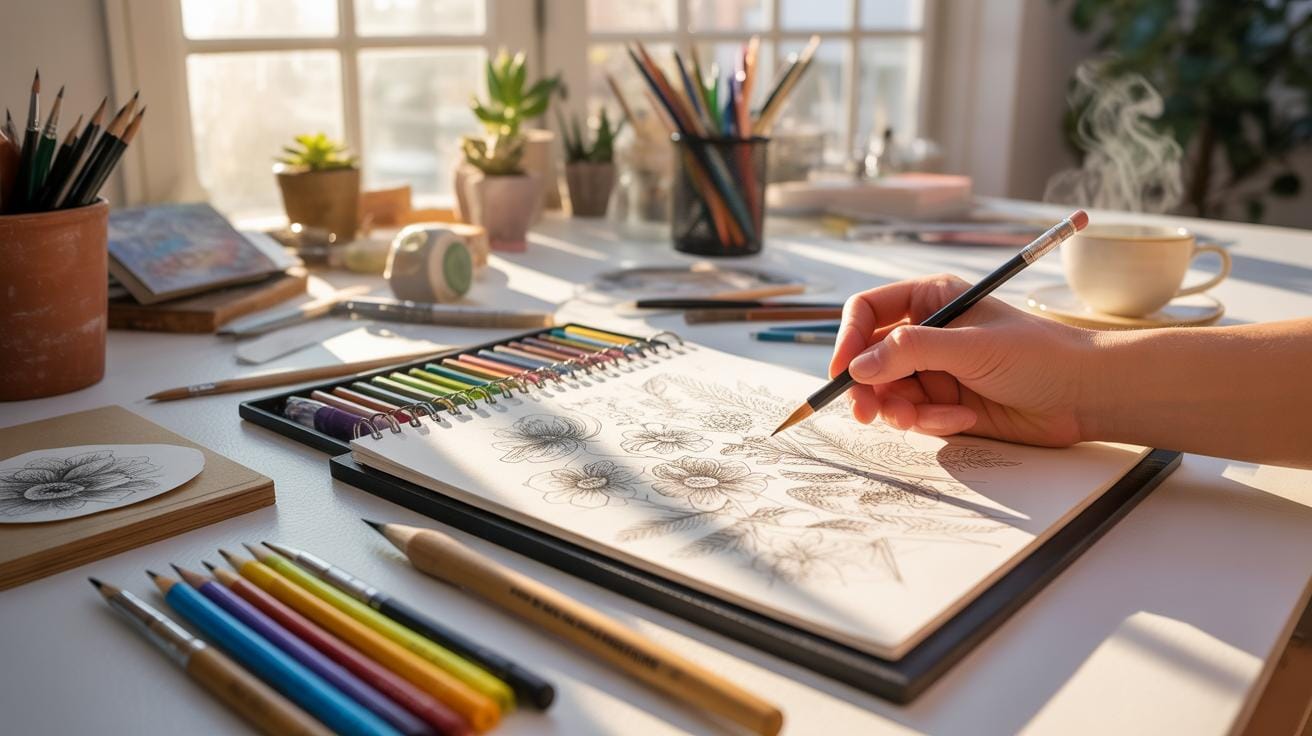
You want to start your drawing tutorial with a space where you won’t get distracted. It’s tempting to just grab any spot, but I think a little preparation can make a big difference. You’ll need a flat surface to work on—like a desk or a sturdy table. Make sure you can sit comfortably, with good posture, because you might be drawing for a while.
Before you begin, gather all your materials. Having everything at hand helps keep your momentum going; it’s discouraging to stop halfway just to hunt for a pencil. Also, think about lighting—natural light is great, but if that’s not possible, get a decent desk lamp that won’t cast weird shadows over your paper. Some beginners overlook this, yet lighting really influences how well you see your lines and shading.
Finally, set aside distractions. Turn off your phone, or at least silence notifications. Drawing requires focus, and interruptions can break your concentration. It’s a simple setup checklist, but these small efforts can make your tutorials easier and more productive.
Materials Required For Basic Drawing
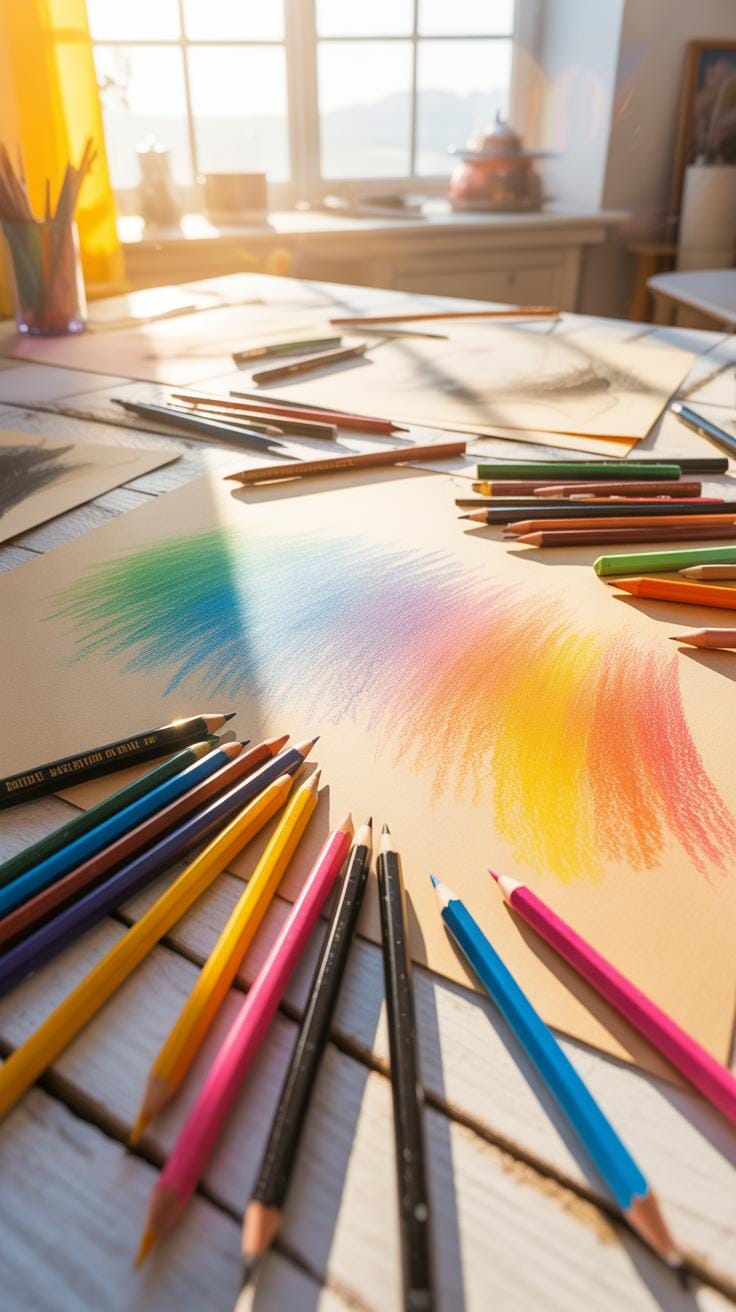
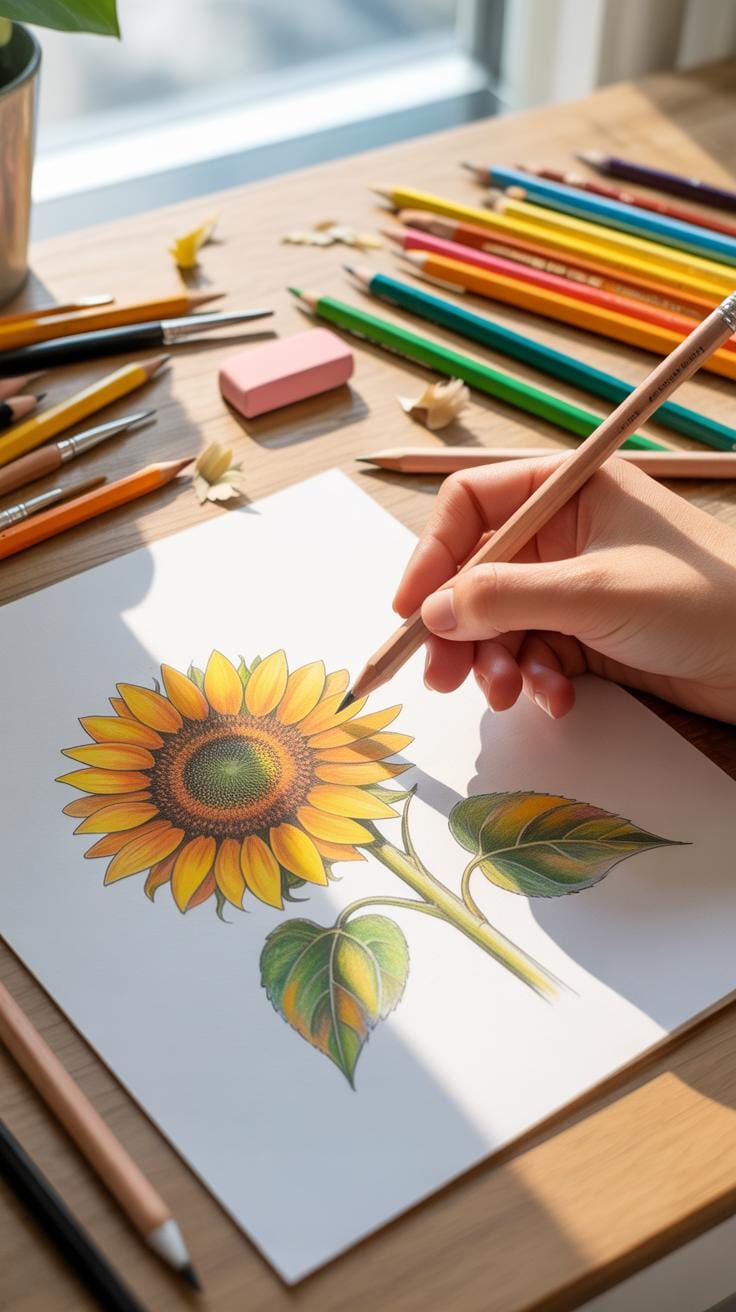
Begin with a few key supplies that won’t overwhelm but will give you room to experiment. A set of drawing pencils in different grades is a must—like 2H, HB, and 2B—to play with light and dark shades. Erasers are more than just for fixing mistakes: a kneaded eraser works well for lifting graphite gently, which is handy when you want subtle highlights.
Choose paper that’s appropriate for pencils; smooth drawing pads or sketchbooks work well. Don’t pick something too rough or too thin, as it can affect how your pencil moves or even bleed through. A reliable sharpener is essential too, but be careful—some sharpeners are too rough and can break your pencil tips, which I’ve found frustrating at times.
These materials might seem basic, but each has a role in helping you control your marks and learn shading, contour, and texture—the foundations of drawing success.
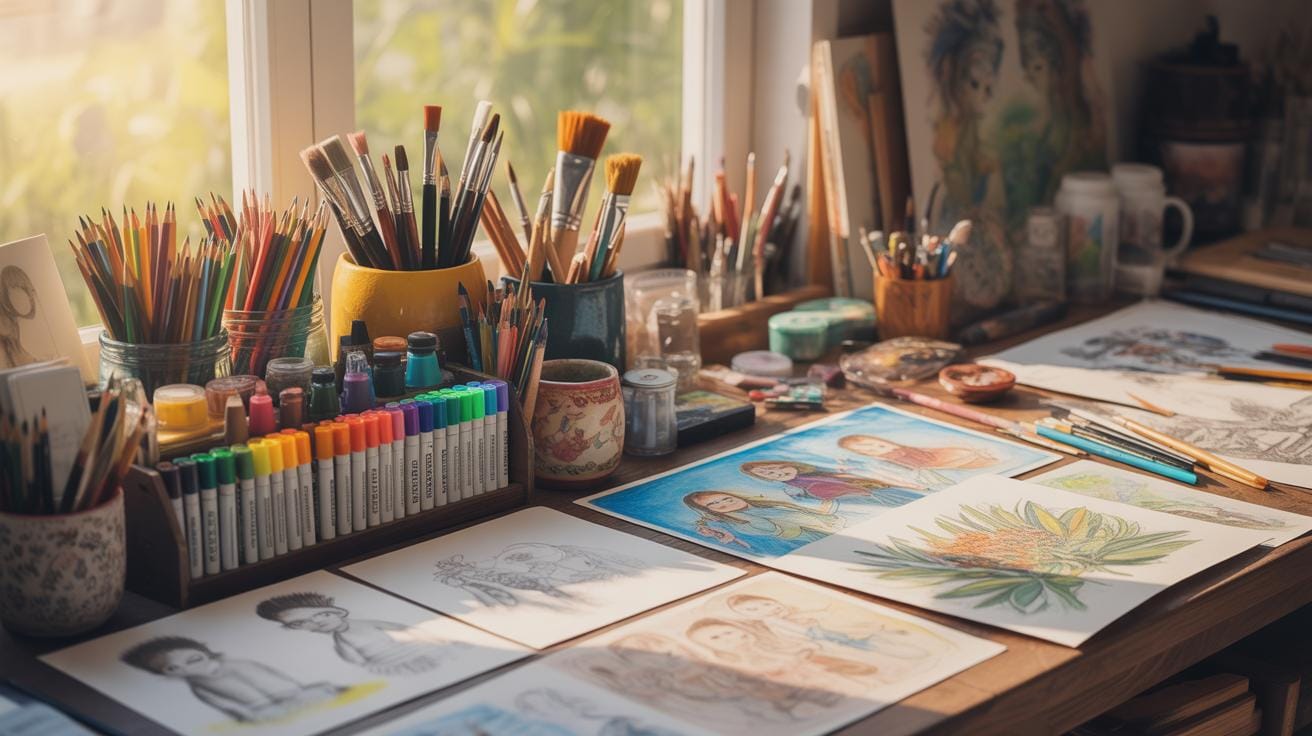
Organizing Your Workspace
A clean workspace matters more than you might think. I try to keep my area free of clutter since too many things can distract or annoy me during a tutorial. Having a dedicated spot for your drawing tools makes it easier to find what you need without interrupting your flow.
Light is another critical factor. Position your workspace near a window if you can, but remember the sun moves, so having a good adjustable light source closer by helps when natural light fades. Comfort is also key—consider using a comfortable chair and maybe a cushion if you sit long.
It’s worth experimenting with your setup until it feels right. Maybe you find having a small plant or a bit of background music helps your focus, or perhaps plain silence works best for you. Your workspace should support your concentration and keep you motivated throughout your drawing sessions.
Common Drawing Techniques Explained
When you start exploring drawing tutorials, you’ll quickly encounter a few fundamental techniques that keep appearing. These are shading, cross-hatching, and contour drawing. Each serves a distinct purpose, but they all aim to help you represent objects more realistically or graphically on your paper.
Shading, for example, introduces the illusion of volume. It’s not just about making parts of your drawing darker; it’s about understanding how light interacts with surfaces. You might think it’s simple, but shading properly takes some patience — the way light falls can create subtle gradients that bring your art to life.
Cross-hatching is somewhat like shading but uses tiny overlapping lines. The closer these lines are, the darker the area becomes. It’s a bit like building texture by layering lines in different directions, and it can give your drawings a sense of structure as well. Sometimes, it feels a little… rigid, but it’s efficient, especially in pen and ink drawings.
Contour drawing is all about capturing the edges. It focuses on creating clear outlines that define the shapes and boundaries of your subject. Practicing clean contours sharpens your observational skills, and it forces you to look carefully at what you’re actually seeing, not just what you think is there.
Shading To Create Depth
Imagine shading as your tool for making a flat drawing look three-dimensional. By adjusting the darkness and lightness, you mimic how light hits an object. Different parts get highlighted or shadowed, which gives volume. You can start with basic shading — gently pressing your pencil to add tone — then move on to more deliberate techniques like stippling or blending with a stump.
For example, when drawing a sphere, shading from dark on one side to light on the other gives it that rounded shape instead of looking like a flat circle. Even using your finger or a blending tool to smooth out pencil marks can enhance realism.
Drawing Clean Contours
Clear outlines are your drawing’s framework. Without them, shapes can appear vague or messy. Try slow, deliberate strokes — it’s not about speed here. Practicing contour drawing can be as simple as drawing the shape of an object without lifting your pen or pencil. This trains your eye and hand coordination.
Contouring isn’t about rigid lines only; sometimes, softer edges or broken lines capture a subject better. Think of it like keeping your drawing honest to what you see, even if parts look imperfect or unfinished. It helps your drawing stand out because viewers can understand the form clearly. Over time, clean contours lead to more confident, precise sketching.
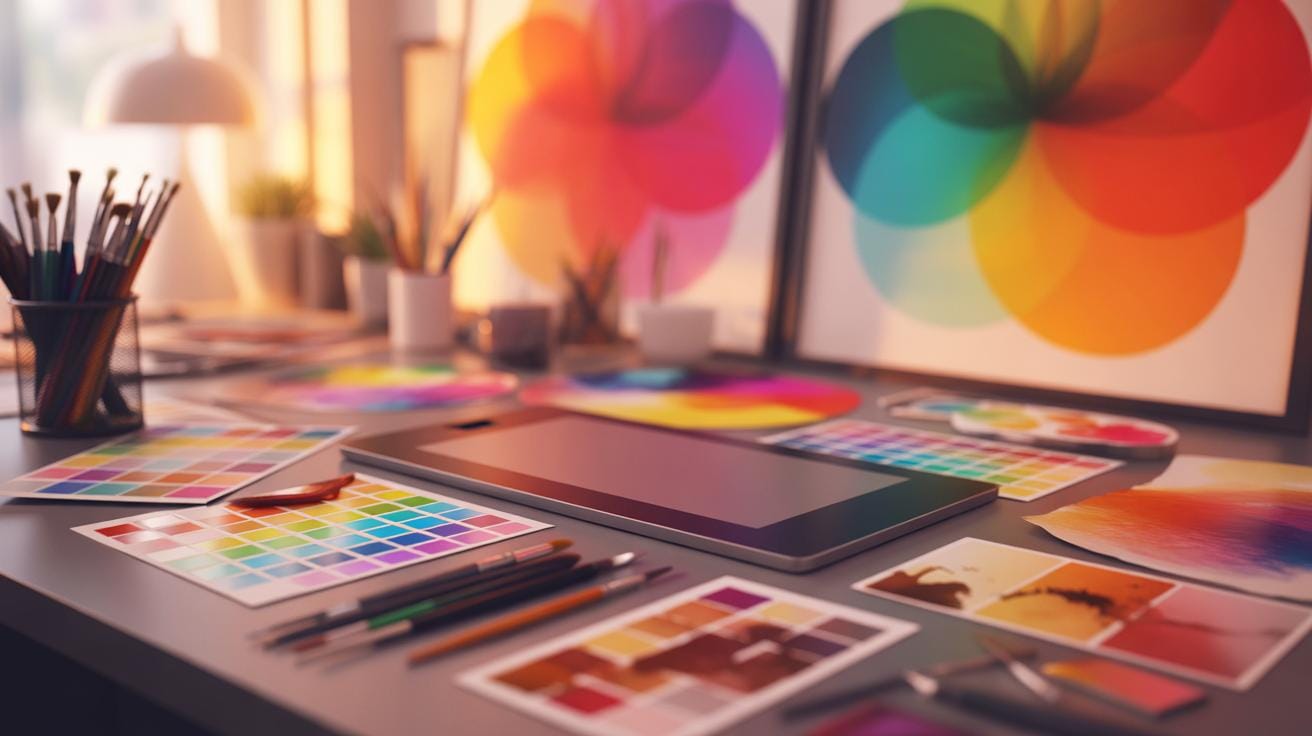
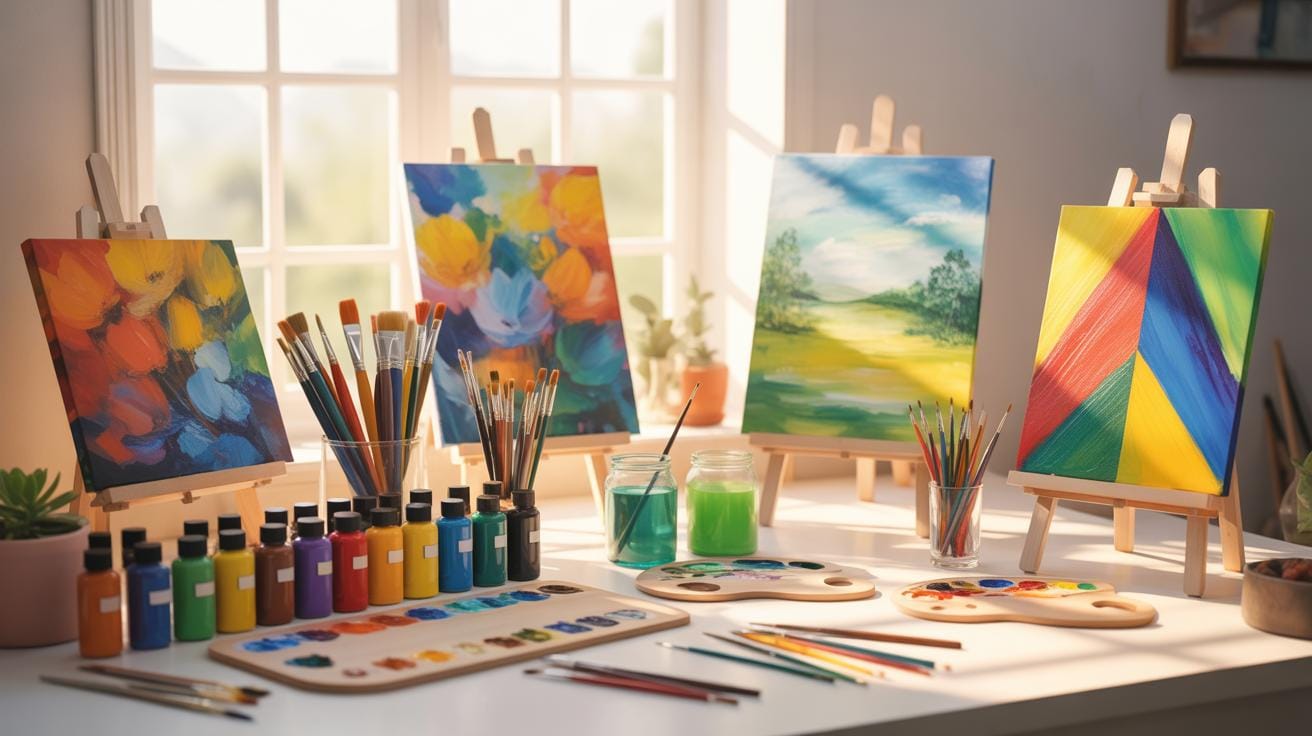
How To Choose Art Tools

Choosing the right art tools isn’t just about grabbing whatever looks good at first sight. Your skill level and drawing style should guide these choices – what works for one person might not suit another. For example, if you’re new to drawing, a versatile pencil like HB offers a decent balance between hard and soft lead. It’s forgiving enough to make corrections but still good for shading.
As you progress, you might find 2B or 6B pencils better for getting those deep shadows since they lay down softer, darker lines. But beware, the softer the lead, the messier it can get. Choosing paper is just as crucial. Smooth paper suits fine lines and detailed work, while rougher textures add character and grip, which can influence your shading and line quality.
Pencils And Paper Types Comparison
Graphite pencils come in grades – HB is kind of the ‘middle ground,’ 2B is softer and darker, great for shadows, and 6B is ultra-soft, producing rich blacks but smudges easily. This can affect whether your drawing looks delicate or bold. On paper textures, a smooth surface lets your pencil glide, ideal for crisp lines or detailed portraits. Rough paper, though, gives more texture, perfect if you want your drawing to have a tactile feel.
Think about what you want your drawing to express. Are you after sharp precision or a looser, more expressive effect? Your pencil and paper choices will shape that.
Selecting Erasers For Different Uses
Not all erasers serve the same purpose. Kneaded erasers are soft and moldable, great for lifting graphite gently without scratching paper. I use them often when I want to lighten areas subtly or create highlights without harsh edges. Vinyl erasers are firmer and erase thoroughly but can damage delicate paper if you’re not cautious. Rubber erasers are the classic type, effective for general erasing but can leave residue behind.
Choosing the right eraser depends on your drawing technique and the paper you use. If you’re working with soft pencils on rough textured paper, a kneaded eraser can be lifesaving. On harder paper or with firmer pencil marks, a firmer vinyl eraser might be a better choice. It’s a bit of trial and error, honestly, and experimenting is part of the process.
Stepwise Drawing Practice Process
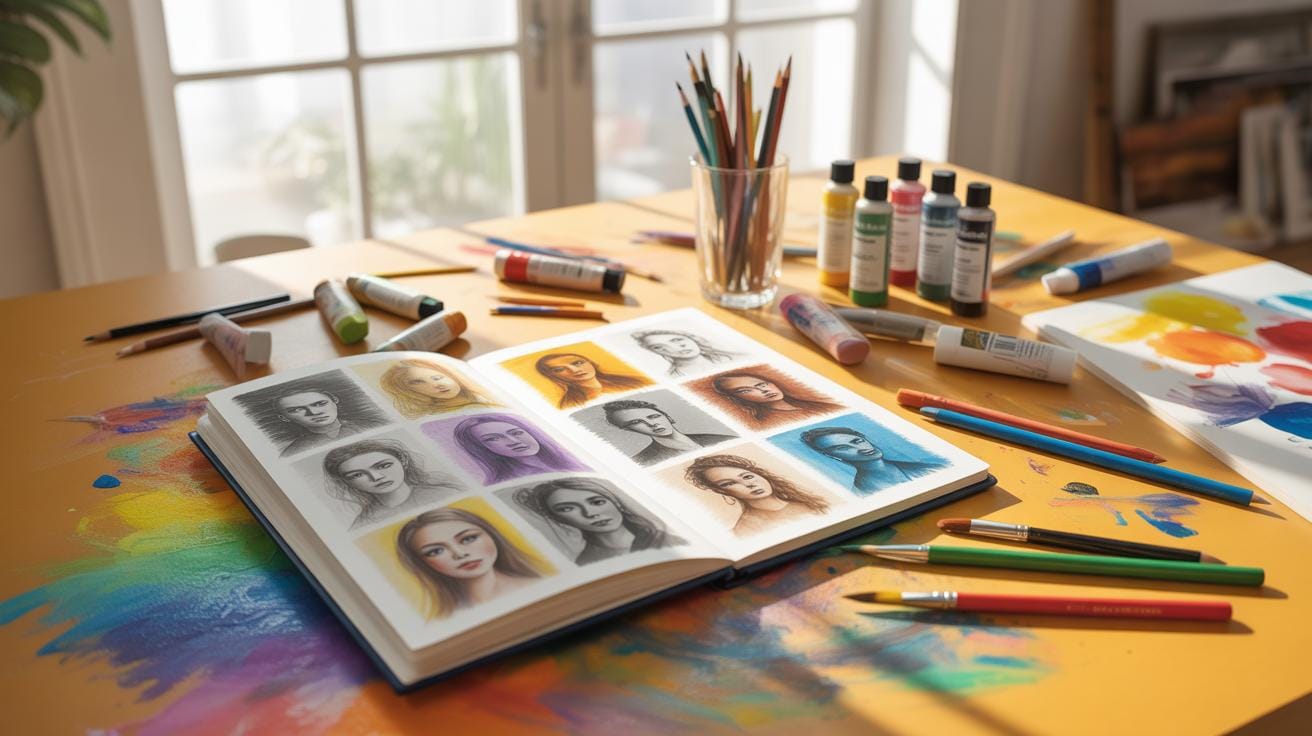
When you start a drawing tutorial, following a clear step-by-step process can really make a difference. Think of it as breaking down the drawing into manageable chunks. First, focus on the basic shapes. This means sketching simple forms like circles, squares, and triangles to map out the general layout. It might seem boring or too simple at first, but this foundation is crucial for getting proportions right.
Next, gradually start layering in details. Don’t rush to add complex features straight away. Instead, build upon your outlines bit by bit—work on defining the contours, adding shadows, or refining shapes. This approach lets you spot mistakes early and adjust without redrawing the whole piece.
Along the way, keep checking your progress stepwise. A good practice is to pause after each step and compare your work with the example or reference. This way, you can see your growth and identify areas needing more practice. It’s almost like a mini-assessment after each stage, which keeps your learning structured.
You might find adding small details tricky at times, especially if you’re excited to see the final drawing. But patience here pays off—it’s where your drawing quality really improves. So, start with shapes, then shape the details gradually, and check your progress often. This method makes drawing tutorials less overwhelming and more productive.
Troubleshooting Common Drawing Issues
When you start drawing, it’s easy to hit a few bumps almost immediately. Maybe your sketch looks off, or your pencil smudges and ruins the neatness you were aiming for. These problems often cause frustration. But there are practical ways to tackle them, which can keep your motivation intact.
One frequent issue is proportion mistakes. You can check proportions by using simple methods like measuring the relative sizes of parts of your drawing with your pencil held at arm’s length or visually comparing one section against another. If something seems out of place, don’t hesitate to erase and try again. It’s a trial and error process; even experienced artists do this.
Smudging is another common annoyance. To avoid it, consider placing a clean piece of paper under your drawing hand. Use pencils with harder leads like H or 2H instead of softer ones like 2B or 4B when you want clean lines. Also, keep your eraser and hands clean to prevent dirt spreading on the paper. It might seem tedious now, but these habits build cleaner results over time.
Most importantly, remember this: mistakes are part of learning. If your sketch isn’t perfect, it’s not failing—it’s growing. How you respond to these little setbacks shapes whether you’ll want to keep drawing or give up.
Checklist To Track Drawing Progress
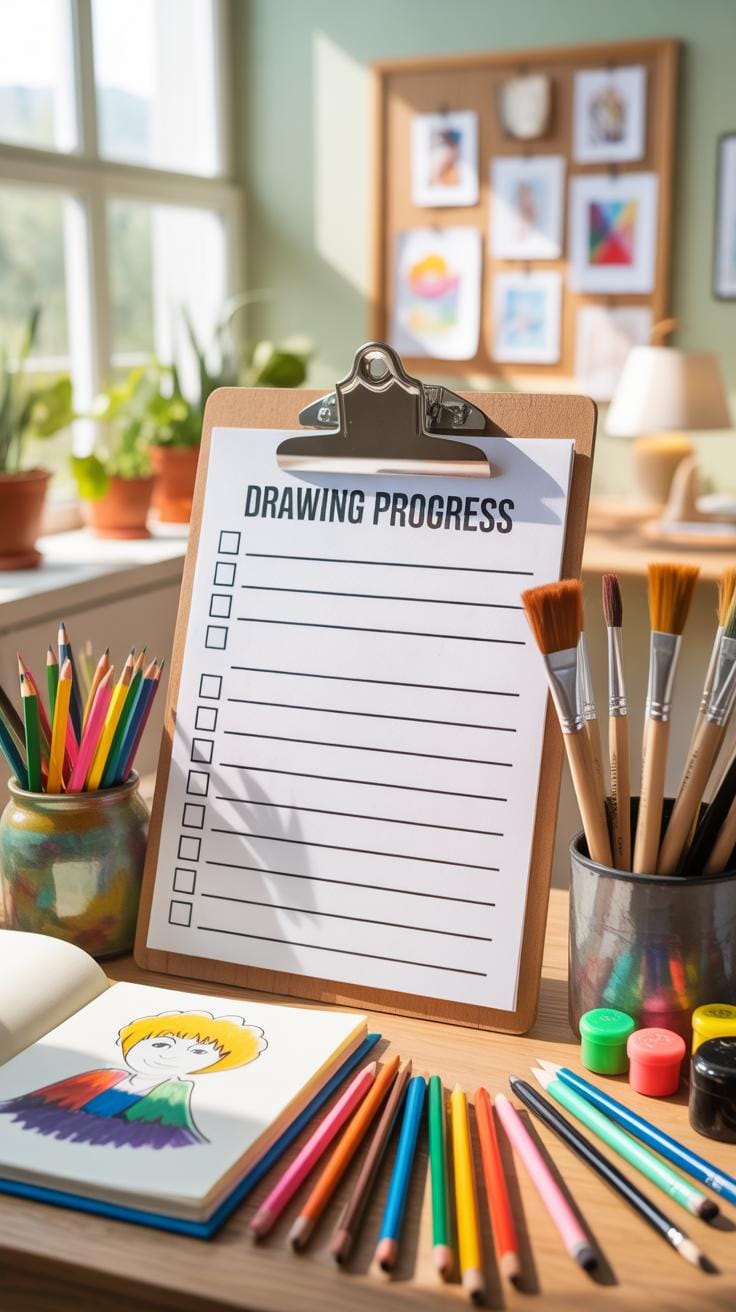
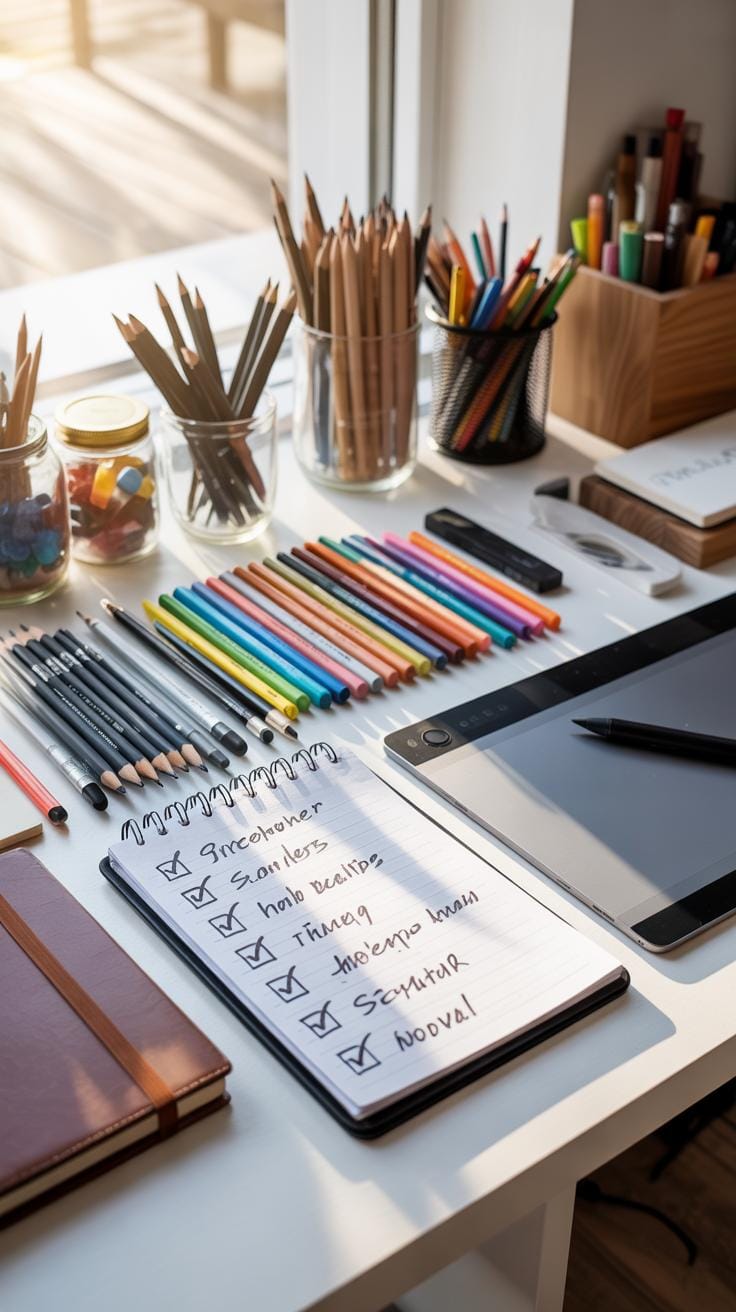
Tracking your drawing progress can feel a bit abstract sometimes, so having a checklist might help ground your practice and give you real moments of achievement. Here’s a straightforward checklist you can try during your tutorial sessions to mark improvements and set clear goals:
- Consistent Line Practice – Are your lines less shaky this week compared to the last?
- Basic Shape Construction – Can you form shapes with more precision?
- Proportion Accuracy – Are the proportions of your subject becoming more natural?
- Light and Shadow Usage – Do you see better depth in your sketches via shading?
- Detail Work – Are you adding finer details that look intentional rather than rushed?
- Speed versus Quality – How do you balance drawing quickly with accuracy?
- Experimentation – Have you tried new techniques or tools recently?
- Reflection – Have you reviewed earlier sketches to spot progress and areas to improve?
It’s useful to jot down quick notes next to each point right after a tutorial session, almost like a mini diary—this can reveal trends over time. Don’t be discouraged if some items seem sticky; improvement often ebbs and flows.
Evaluating Line Quality And Control
Line work is the backbone of many drawings. You might want to compare your recent lines to older ones and ask yourself: Do these lines feel deliberate? Smooth? Confident? I often find that early lines in my sketches look hesitant, as if I’m unsure where to place the stroke. Later, the lines tend to flow more freely but with control.
Try focusing on these aspects when studying your lines:
- Consistency — Are the lines evenly weighted and steady?
- Variation — Do you achieve different line thicknesses naturally, or are they all the same?
- Overlapping — Are the lines clean without unnecessary scribbles?
Sometimes a shaky line is okay, even expressive, but learning when to push for precision versus looseness is part of progress. Maybe you feel differently after each session, and that’s worth noting too.
Recognizing Improvement In Shading
Shading can be tricky to judge, since it depends on subtle changes. One handy way I’ve used to notice growth is by putting old drawings side by side with recent ones. Look at how shadows fall, the gradient smoothness, and the contrast you’re getting.
Ask yourself:
- Has my shading started to better suggest form, rather than just filling in spaces?
- Do I see more depth and dimension in shaded areas?
- Am I using a wider range of tones — from light to dark?
Some days shading feels almost magical; other times, it looks flat. This inconsistency can be frustrating, but it’s normal. Keep in mind that progress is not always linear, and sometimes those less successful attempts teach more than the perfect ones.
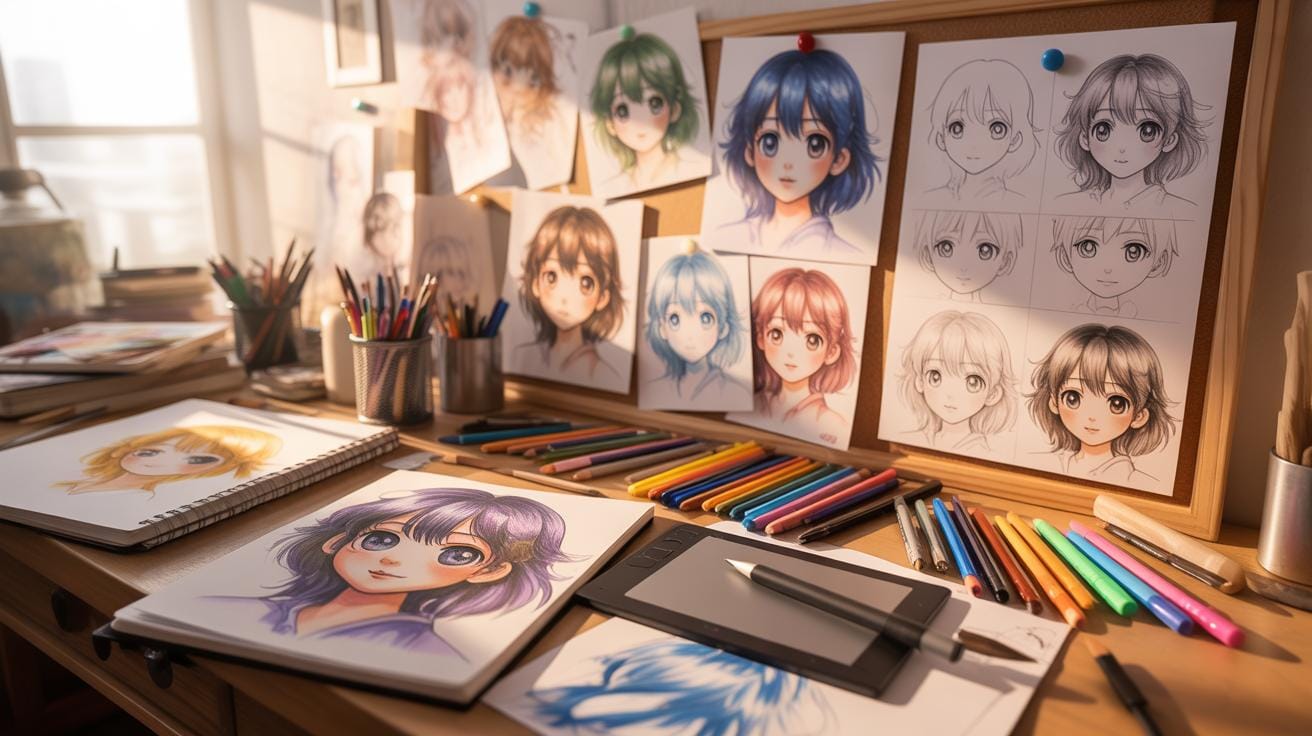
Examples Of Drawing Tutorials Success
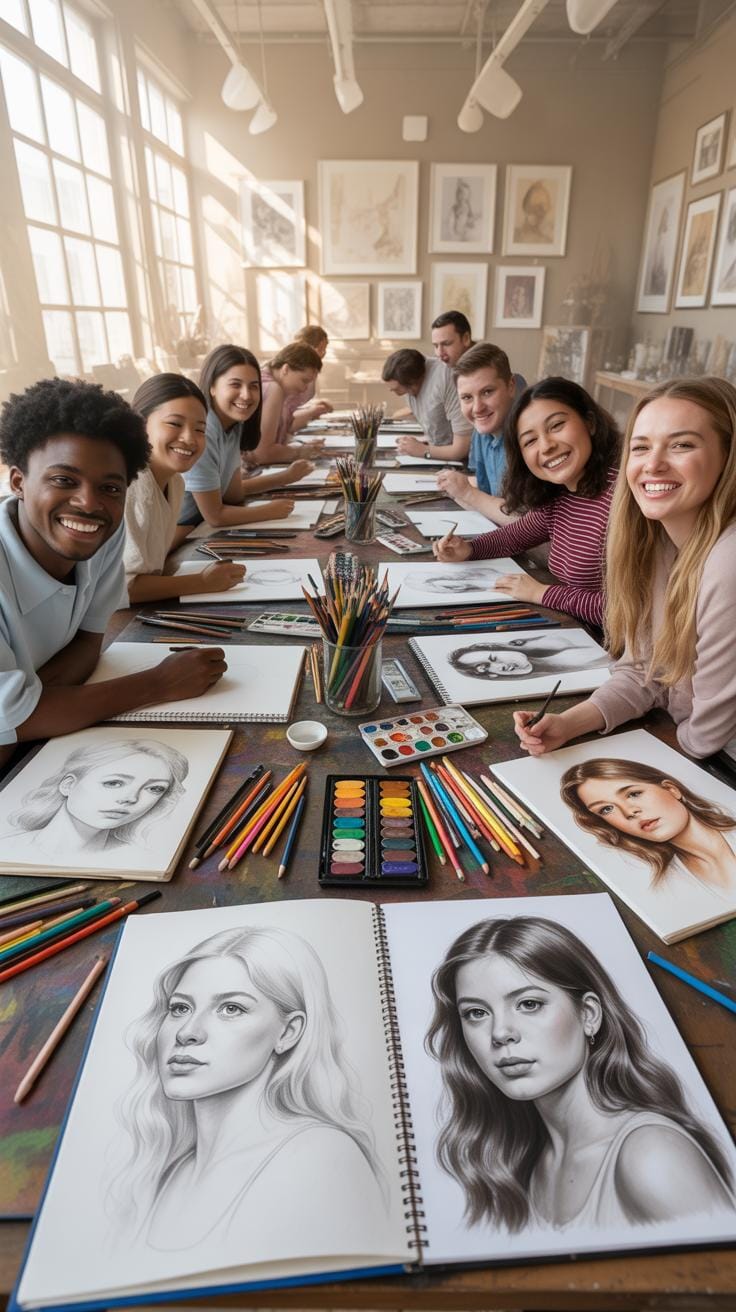
Beginner To Confident Sketch Artist
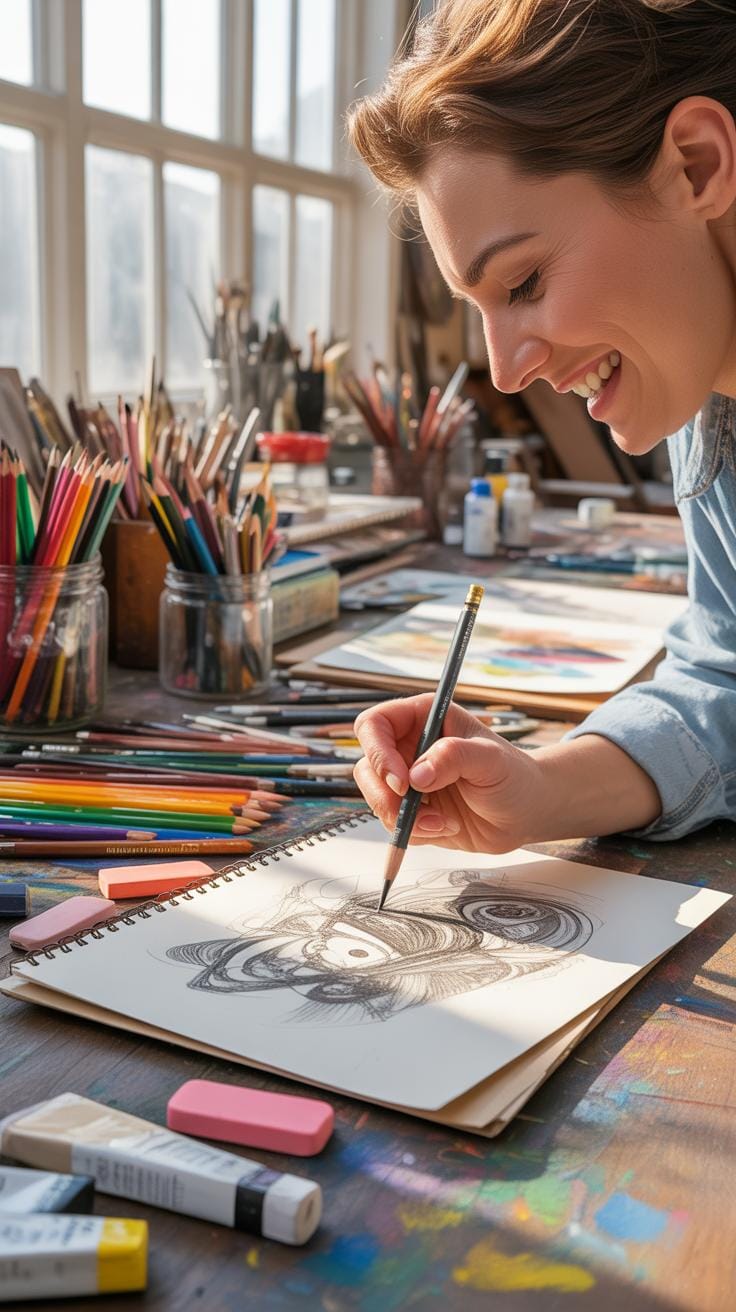
Consider a beginner named Emma, who started with little more than a pencil and a desire to draw. At first, her sketches were basic—awkward lines and uncertain shapes. But Emma found a series of drawing tutorials online that patiently explained fundamentals like proportions and shading. Step by step, she practiced. Over weeks, what once felt intimidating gradually became manageable. Emma’s confidence grew, and so did her skill. She moved from copying simple forms to creating her own sketches with more fluidity. The kind of progress she made reminds us that tutorials aren’t just about technique—they’re a guide to building belief in your own abilities.
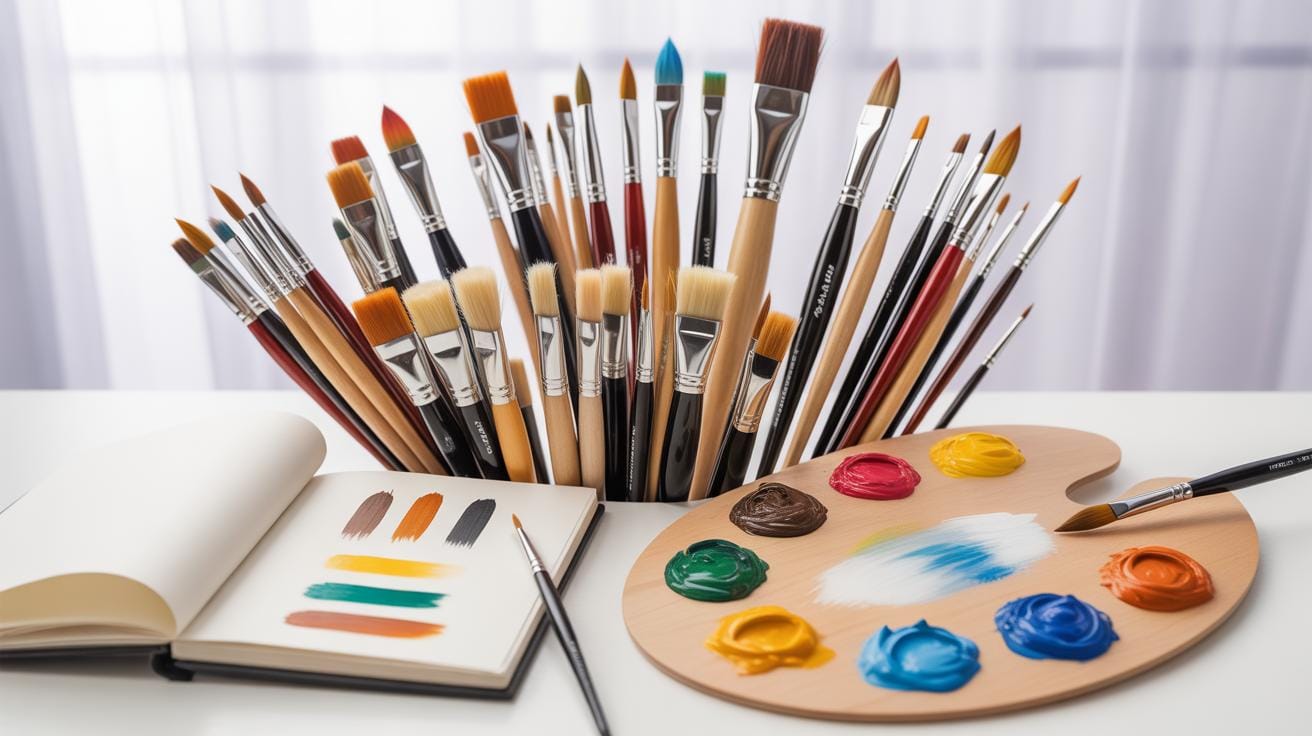
Impact Of Right Tools On Art Quality
Then there’s the case of Mike, an artist who noticed his work felt flat despite his effort. After some trial and error, he invested in better pencils and sketch pads recommended through art tutorials. Choosing tools isn’t merely about spending money; it’s about suitability. With softer pencils, Mike could achieve richer shading and smoother gradients. The paper texture affected how his lines appeared. This switch in tools didn’t instantly make him a master, but it amplified the quality of his results and reignited his enthusiasm. It’s a reminder that the right tools can open up new possibilities, making your art more expressive.
How To Stay Consistent With Practice

Setting Daily Or Weekly Drawing Goals
Keeping up with drawing regularly isn’t always easy. One day, you’re pumped to draw; the next, it feels like a chore. Setting clear, manageable goals helps you stay on track without feeling overwhelmed. For example, decide to spend just 10 minutes a day sketching, or focus on completing one small piece weekly. The key is to make your goals realistic. You want to encourage steady progress, not burnout. Aiming for too much too soon can lead to frustration, and that’s the last thing you want when you’re trying to build a habit.
Using Tutorials To Keep Motivation High
Tutorials aren’t just about learning new techniques; they can also keep your motivation alive. When you follow a tutorial, you get a clear path to follow, which can be comforting when practice feels aimless or difficult. Plus, seeing little improvements after completing each tutorial reinforces your sense of accomplishment. If you find one tutor whose style you enjoy, their videos or guides can feel like a friendly coach cheering you on. And if motivation dips, switching up tutorials or tools might shake things loose and reignite your interest. The structure and variety they provide often help learners to stick with drawing longer than going it alone.
Conclusions
Drawing tutorials combined with smart tool choices lead to steady improvement in your art. They help you focus on practicing essential techniques and understanding how different materials affect your work. Using the right pencils, papers, and accessories reduces frustration and speeds up learning.
Following simple drawing tips makes your practice more effective and enjoyable. Keeping your goals clear and practicing regularly are key to success. With patience and the right approach, you develop skills that let you bring your creative ideas to life.


