Simple Wall Mural Ideas Anyone Can Try
Painted wall murals bring life to any room. They add personality and style to your home. You don’t need to be an artist to create a mural. Many ideas are simple enough for anyone to try at home. They can also make a big impact without a big budget. In this article, you will learn easy steps to create your own painted wall mural.
We will explore the types of walls that work best, basic painting techniques, and design ideas. You will also find tips on choosing colors and tools. By the end of this article, you will have the confidence to start your own wall mural project. Let’s explore how you can turn a plain wall into a work of art.
Understanding Wall Murals and Their Appeal
What Is a Wall Mural
A wall mural is essentially a large painting or design applied directly onto a wall’s surface. Unlike framed art, murals are integrated into the architecture of a room, making them a unique part of the space rather than something that can be moved around. Murals vary widely—some are simple, single-color patterns, while others are complex scenes covering entire walls. Techniques differ, too. You might see murals created with brushes, rollers, or even spray paint. Some artists use stencils or tape for sharp lines, while others prefer freehand work that feels more organic. Sometimes, murals are designed to look like wallpaper but offer a more personal, customized touch. The variety is truly broad, reflecting the many ways people express themselves through walls.
Reasons to Paint a Wall Mural
Why paint a mural at home? There are several reasons that might draw you in. For one, murals let you personalize your space beyond conventional decorations. If you want a room to feel authentically yours, murals do that well—no mass-produced prints or standard colors needed. Creativity plays a big role, too. Even if you’re not an expert painter, trying out a mural can be a rewarding project, one that grows as you experiment with colors and shapes. Another upside is how murals can change a room’s mood or highlight certain features; they can make a plain wall pop or give a cozy room some depth. And sure, beyond style, there’s a kind of satisfaction in seeing your own artwork on your wall. It’s an ongoing project, both practical and expressive, and maybe that’s why so many choose to dive in.
Choosing the Right Wall for Your Mural
Wall Location and Size
Picking the right wall for your mural can feel a bit tricky at first. Think about how much space you have—too small, and your design might get cramped; too large, and it could feel overwhelming or unfinished if you’re not ready for that scale. A good rule of thumb is to choose a wall you see often, so your mural really becomes part of daily life, not just decoration you forget about.
Also, consider the room’s purpose. A mural in a kitchen might invite something playful or bright, while a living room might benefit from something calmer or more detailed. Visibility matters too; a wall behind doors or furniture probably won’t get the attention it deserves.
Sometimes, a hallway or stairwell offers a narrow but interesting canvas, turning a typically overlooked space into something memorable. Have you noticed how much a simple change in location can make a mural feel different? It’s worth standing around for a while, imagining how you’ll look at the wall over weeks and months.
Surface Type and Condition
Not all walls will work the same. Plaster, drywall, brick, or concrete all have their quirks. A smooth, primed drywall makes painting easier, but an old brick wall might add texture and character—if you prepare it right. Sometimes rough or flaky surfaces can make details harder to capture, or the paint might not stick well unless you seal it first.
Before you start, check your wall closely. Is the paint peeling? Are there cracks or bumps? These imperfections can affect how your mural looks when it’s done. You might need to sand, fill holes, or apply a primer to get a good base. I’ve found that spending a bit of extra time here saves frustration later—small annoyances during painting can really slow you down.
One tricky thing: walls near windows or exterior faces might get moisture, which could cause problems over time. You could ask yourself whether you want to risk painting there or find a wall with a bit more stability.
In the end, the right wall isn’t just about size or location—it’s also about how prepared you feel to work with what’s there. Sometimes a less obvious spot can surprise you, especially if the surface encourages you to try a different technique or style.
Materials and Tools You Need
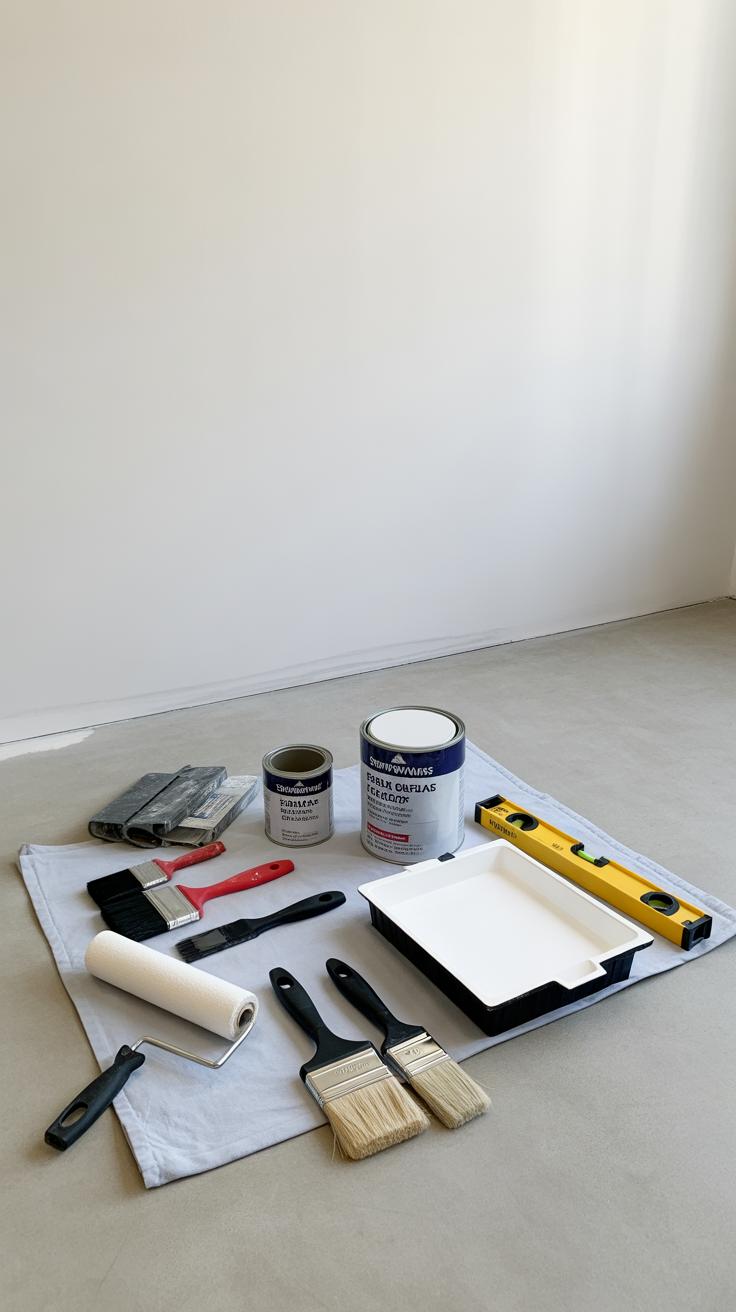
Starting your wall mural means gathering the right materials—without the proper supplies, things can quickly get frustrating. You’ll want to have paints that hold well on walls and brushes that give you control. Usually, acrylic or latex paint works best because they dry quickly and clean up with water. Oil-based paints, while durable, might be a hassle to handle indoors and require solvents.
For brushes, a variety of sizes helps; think bigger flat brushes or rollers for background fills and smaller angled or round brushes for details. Rollers with smooth or semi-smooth nap cover large areas faster, but they might miss finer spots, so be prepared to switch tools often.
Apart from paint and brushes, some extras make painting less messy and more accurate. Painter’s tape can define edges where you don’t want paint to spread, but sometimes it peels off under pressure or leaves marks if left too long. A drop cloth is almost non-negotiable—trust me, the floors will thank you. And, if your mural reaches high spots, a sturdy ladder or step stool is necessary, though watching your balance while focusing on brush strokes can feel a bit tricky.
Thinking about all these tools and how they work together can help you avoid those little annoyances that slow a project down. Have you noticed how sometimes the simplest tools make the biggest difference? That’s definitely true here—you don’t need a whole hardware store, just the essentials, and maybe one or two extras to keep things smooth.
Planning Your Wall Mural Design
Selecting a Theme or Idea
Before you even pick up a brush, think about what suits your space. It’s tempting to choose something complex or trendy, but keep it simple. A single, clear subject—like a plant, a geometric pattern, or a subtle landscape—works better in most rooms. Consider the size of your wall and how much attention you want the mural to draw. A large, busy design might overwhelm a small room, while a simple motif might feel lost on a huge wall.
Ask yourself this: what mood do you want to create? Peaceful? Energetic? Your choice of theme should reflect that, but don’t feel pressured to pick something permanent right away. Sometimes, testing a few rough ideas is the best path.
Sketching and Transferring the Design
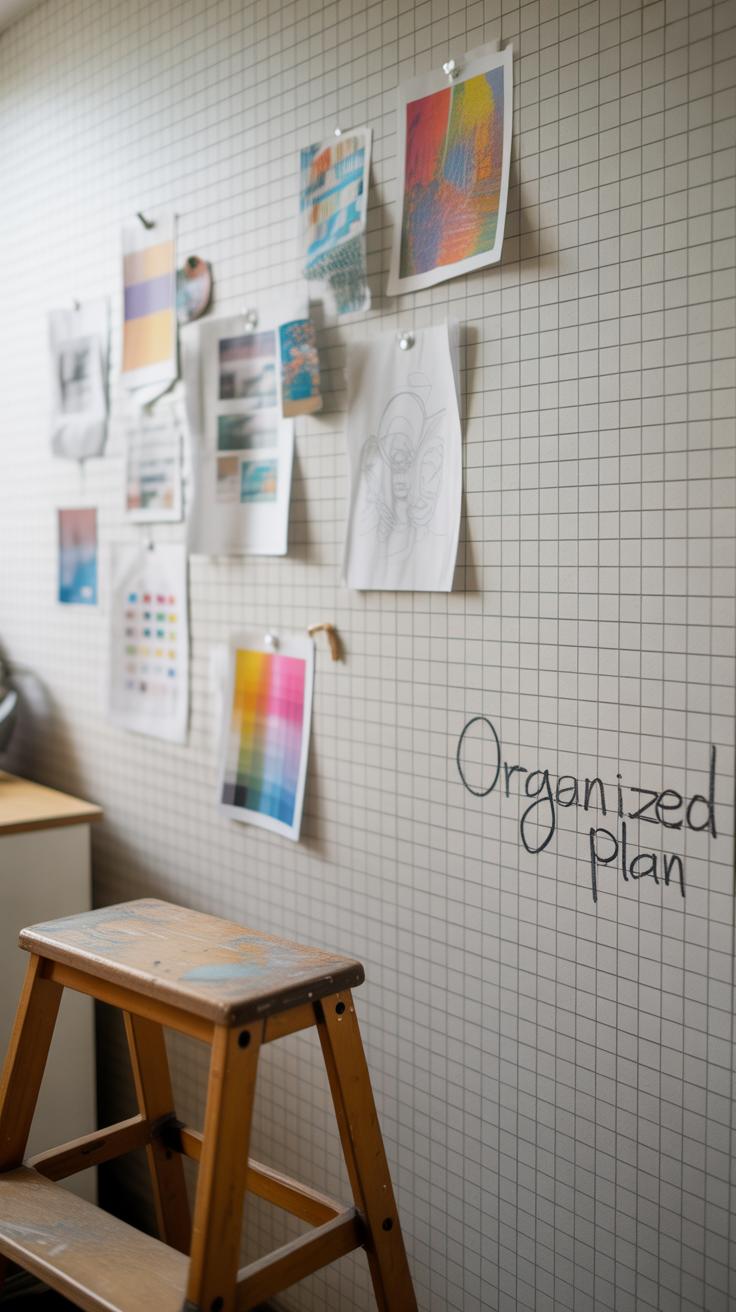
Start with paper. Rough sketches help you experiment without fear. You don’t need to be an artist—a few lines or shapes can give you a rough blueprint. Use tracing paper if you want to refine or adjust parts without redrawing everything.
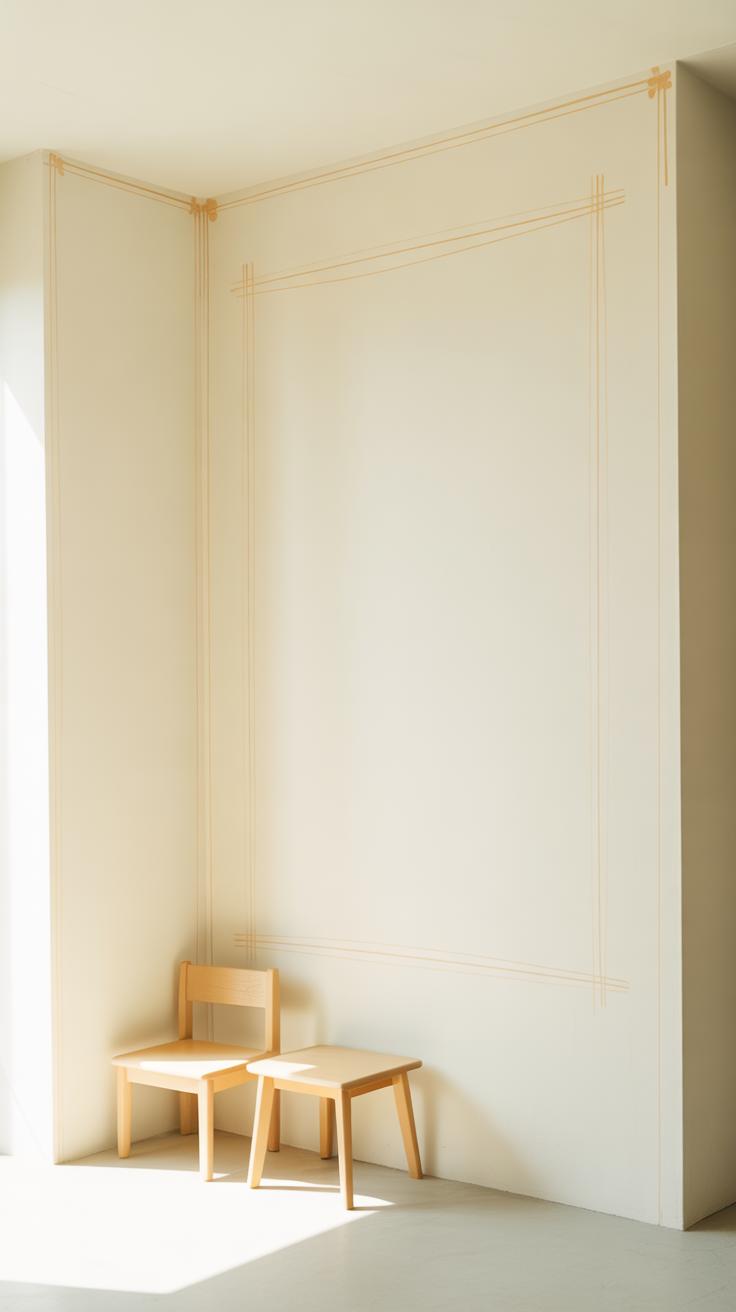
Once you’re happy with your sketch, transferring it to the wall is the next step. A common method is using a grid system: draw a grid over your paper design and then mark the same proportions lightly on the wall with pencil. It helps keep proportions right, especially if the mural is large or detailed. Or, if you prefer, you can use a projector to trace the image directly onto the wall, which saves time but requires a bit of setup.
Whichever you choose, remember—your sketch on the wall is just a guide. It doesn’t have to be perfect. It’s okay if some lines wander or shapes shift. You’ll adjust and refine as you paint. The planning phase isn’t about perfection; it’s about having a clear enough roadmap so you feel confident when the real work begins.
Techniques for Painting Wall Murals
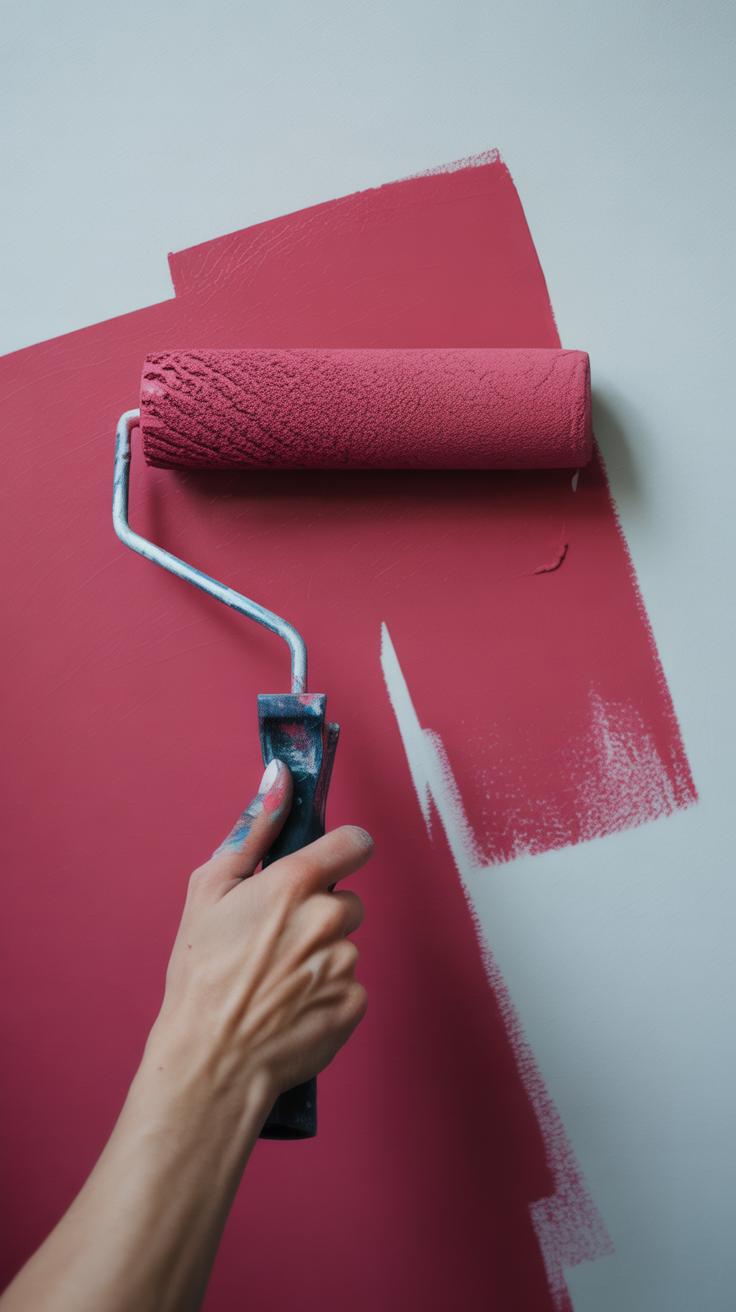
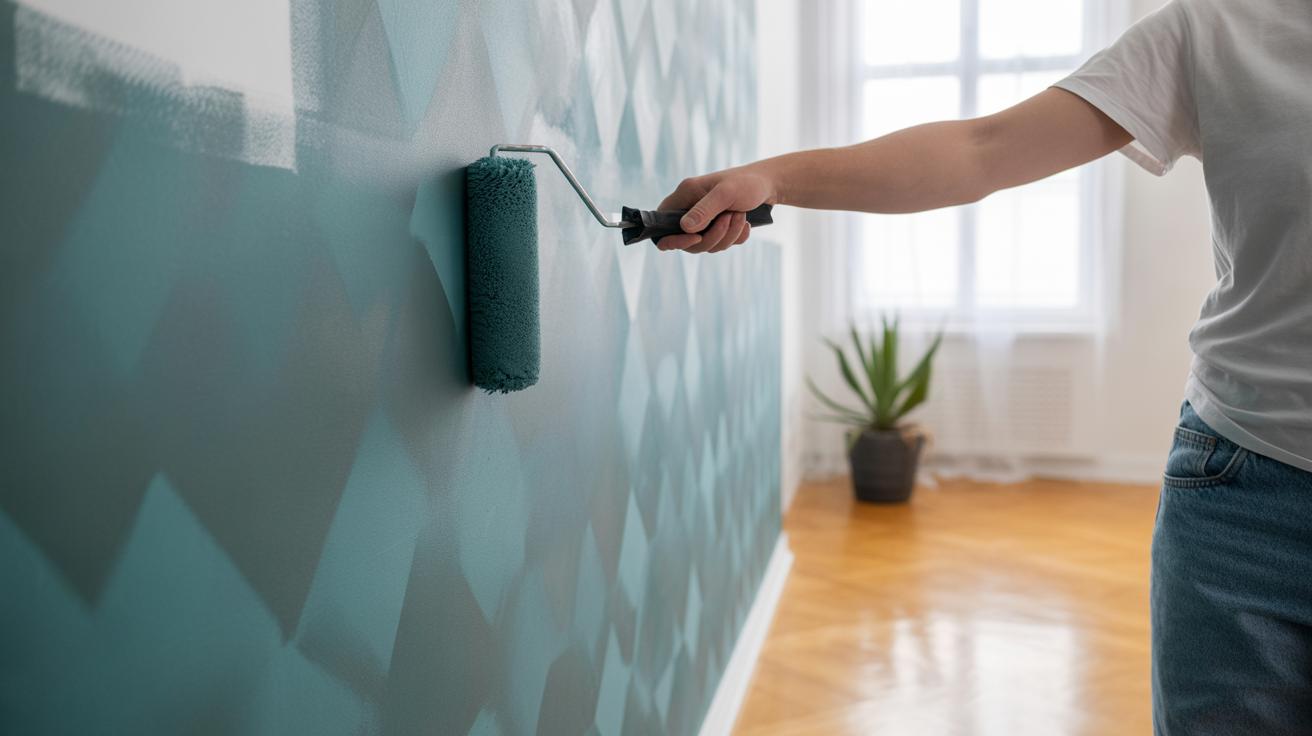
When it comes to painting your mural, the tools you choose can make a big difference, especially if you’re just starting out. Brushes and rollers are great staples, each giving a different touch to your wall. Rollers cover large areas quickly and smoothly, perfect for the base layers or background colors. You might find that a foam roller leaves a finer finish, while a nap roller creates a bit more texture—sometimes that little imperfection adds character.
Brushes let you get into details and edges that rollers can’t reach. Using different brush sizes is handy; a wide brush for filling in bigger spots and smaller brushes for lines or shapes. You don’t have to worry if your strokes aren’t always clean—murals can have a bit of roughness and that can look quite charming.
Painting in layers can help you build depth without rushing to get everything done at once. Start with lighter colors or broad strokes, and once dry, move to darker shades or accents on top. This layering also gives you a chance to fix little mistakes without scrapping the whole thing. For finer details, you might want to switch to a small, firm brush. I often find that stepping back regularly helps—what looks good up close might not work as well from across the room.
Adding details last makes your mural feel complete, those little touches turn a simple wall into something memorable. Whether it’s a few dots, lines, or even shading, details catch the eye and add personality. You don’t need to be precise like a professional; sometimes a spontaneous mark feels more alive.
Choosing Colors That Work Well
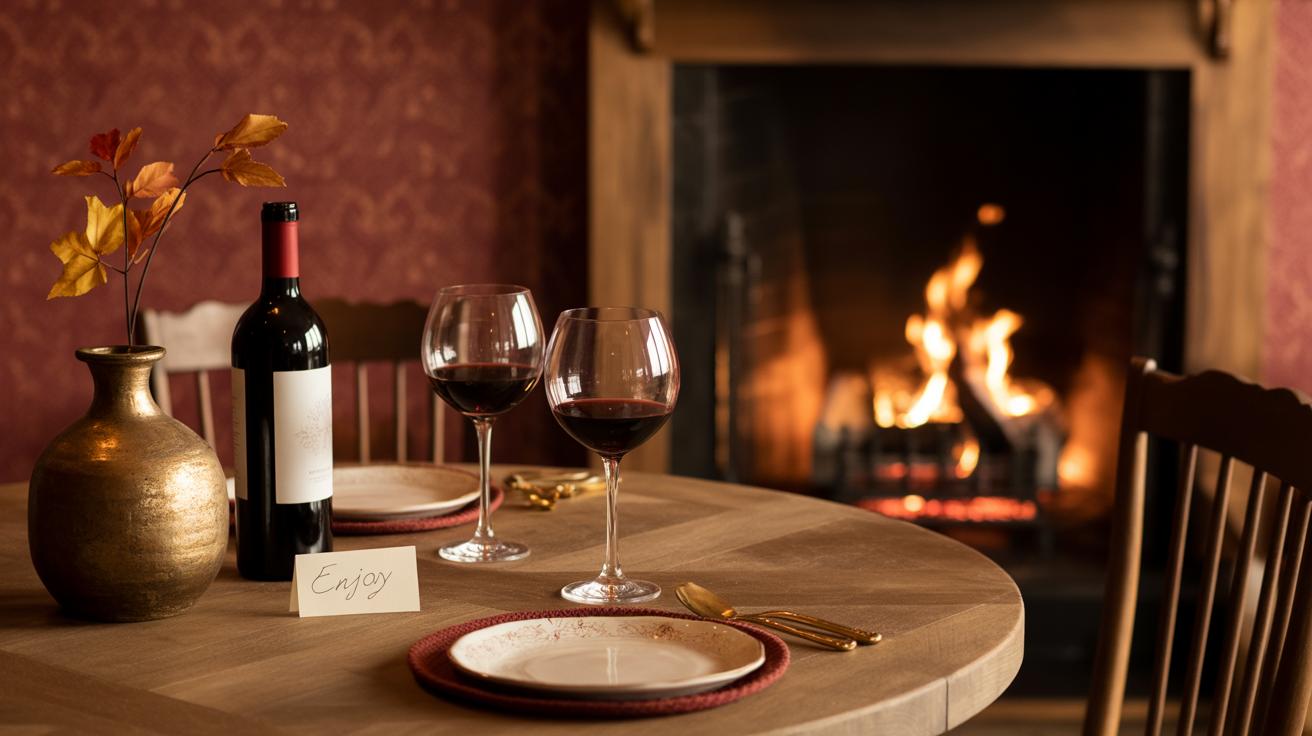
Picking the right colors for your mural can feel a bit overwhelming, especially if you’re not sure what works well with your existing space. Often, people lean toward colors they like personally, which makes sense, but it’s also helpful to consider how those colors play with your room’s lighting, furniture, and even the mural’s style. You may notice that some colors brighten a room, while others create a more cozy or moody vibe. Think about the mood you want to evoke. Do you want calm and subtle or bold and energetic?
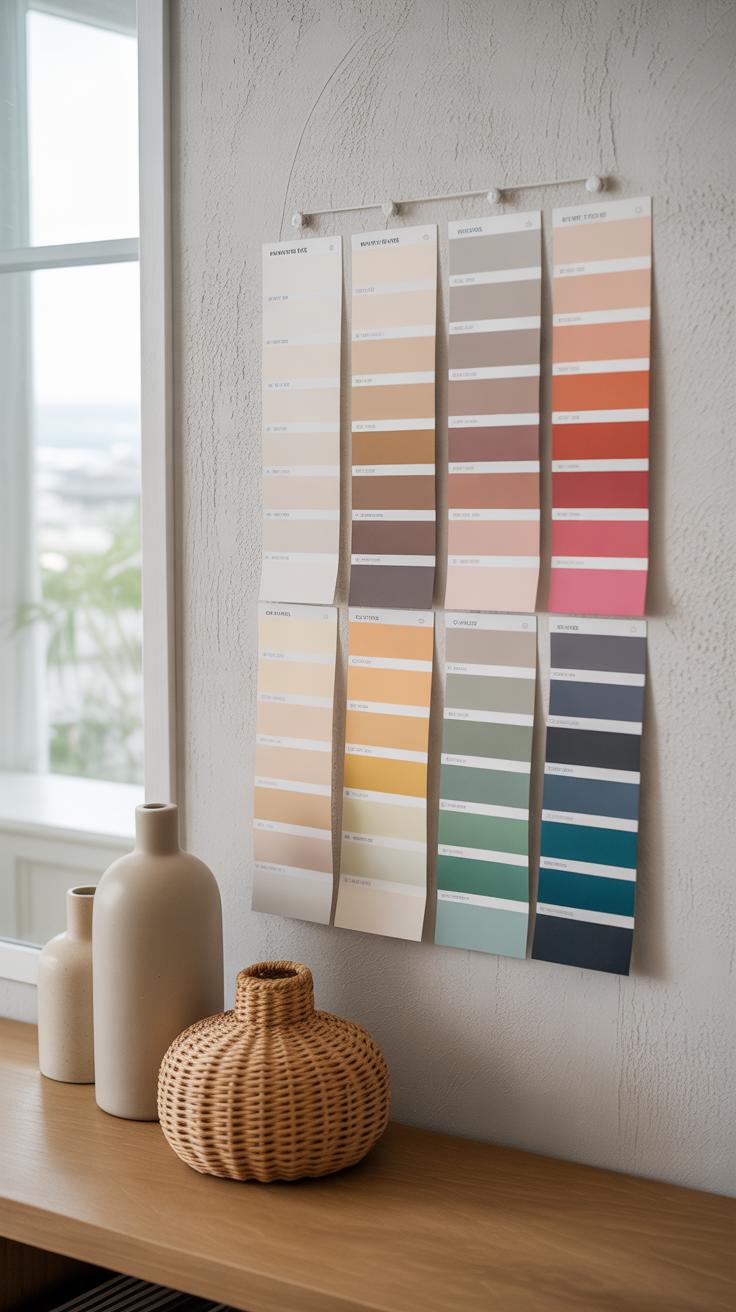
Color Combinations
Simple color combos tend to work best for wall murals. You could try:
- Monochromatic shades—different tones of a single color—which add depth without too much complexity.
- Complementary colors—those opposite each other on the color wheel, like blue and orange—that offer a striking contrast and really pop.
- Analogous colors—ones side by side on the wheel, like green, teal, and blue—that blend smoothly, creating a harmonious feel.
When picking these, I like to test swatches near the wall to see how natural or artificial light shifts them throughout the day. Sometimes what feels perfect in the store or on the palette looks very different once painted. Also, don’t hesitate to use one main color with small accent tones to avoid overwhelming your space.
Paint Finishes That Enhance
The finish you choose will change how the mural looks and feels. Matte paint absorbs light, giving a soft, muted effect. It’s great for hiding minor wall imperfections but can seem a bit dull under low light.
Satin has a light sheen, reflecting some light without being too shiny. It’s often the sweet spot—offering richness and more durability, especially in living spaces.
Gloss paint stands out with a high shine. It makes colors appear more intense but also highlights every bump and brushstroke. For murals, some people avoid gloss unless they want to emphasize texture or add a modern edge.
Personally, I think satin works well in most rooms, balancing subtlety and vibrancy. But it often depends on your room’s function. Maybe try small patches of each finish on your wall before committing. That small step can save a lot of second-guessing later.
Making the Most of Small Spaces
Simple Designs for Small Spaces
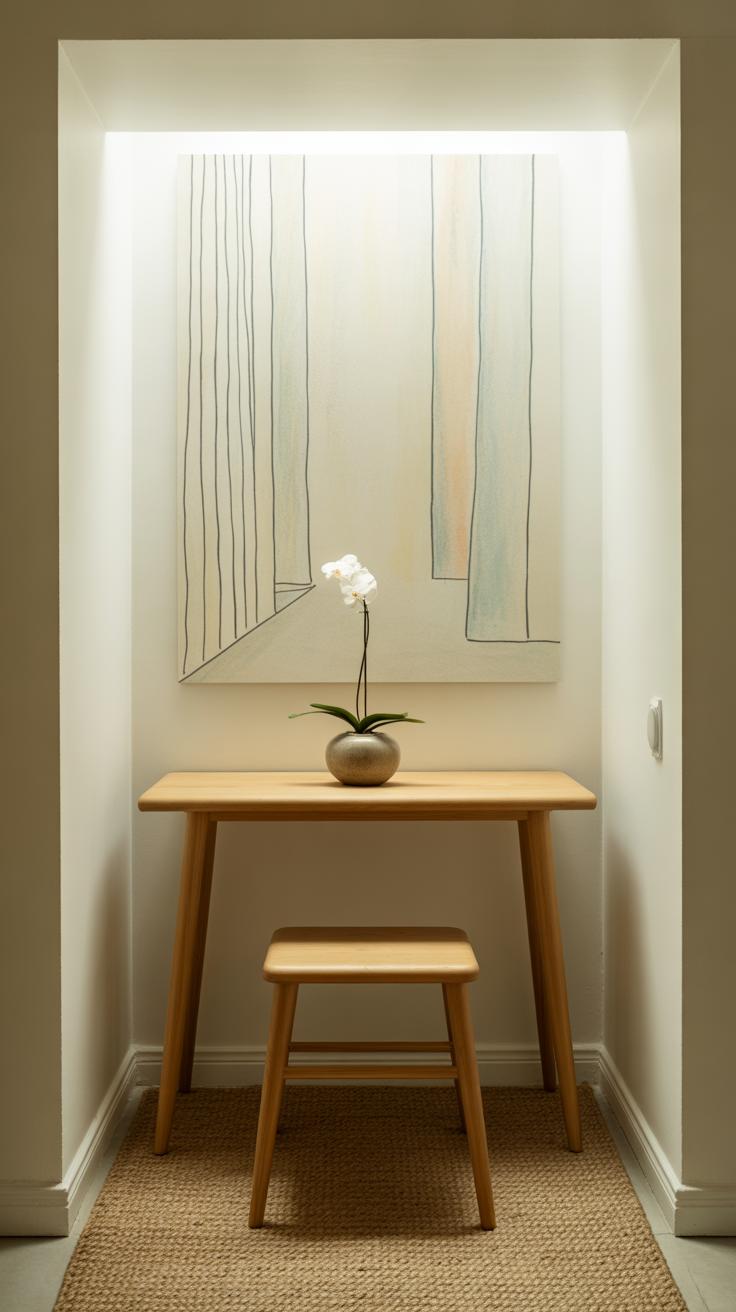
When working with smaller walls or rooms, keeping your mural design straightforward can make a big difference. Think about simple shapes or patterns rather than detailed scenes. For instance, a large single-color shape, like a circle or a wave, can add interest without feeling crowded. You might try geometric patterns—triangles, stripes, or soft curves—since these create movement without clutter. I’ve noticed that too busy a design on a small wall can feel overwhelming rather than cozy. So, it often pays to pick one concept and stick with it. Leaving some of the wall blank can actually improve the mural’s impact.
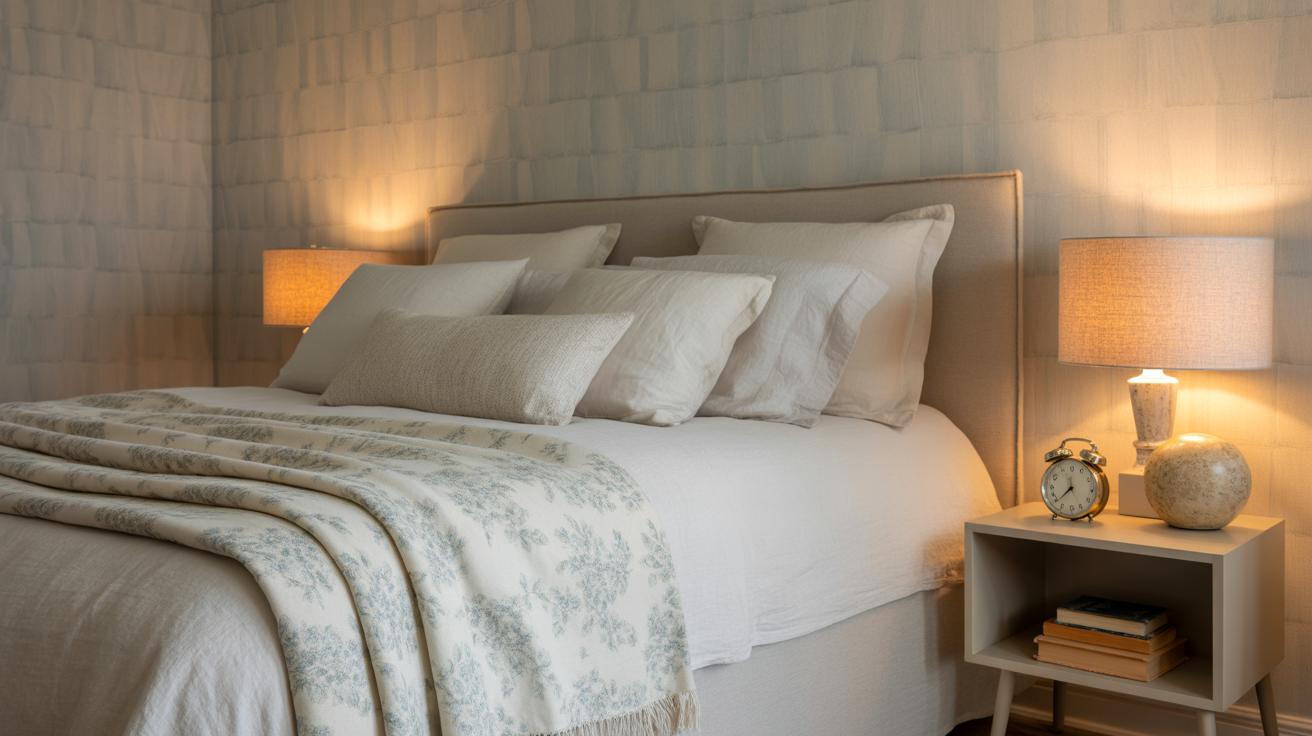
Using Light and Color to Open Space
Light shades really help make small rooms feel airier. Whites, soft pastels, and gentle neutrals bounce light around the room. You don’t need to avoid color altogether, though. Try subtle gradients or watercolor-style washes that touch the wall gently without competing with the space. Patterns with diagonal lines or soft curves can suggest movement and draw the eye around—almost tricking your brain into seeing more depth.
One thing I sometimes wonder is whether a splash of unexpected color in a specific corner could make the room feel less boxed in. But that depends on the room’s lighting and furniture placement too. Sometimes, a light background with spots of brighter color works better than an all-over bright mural.
It’s a balancing act, and your senses are the best guide. Look at the wall at different times of day and imagine how each design might interact with natural and artificial light. What feels right for you? There’s no perfect formula; it’s really about how your space feels to you.
Caring for and Maintaining Your Wall Mural
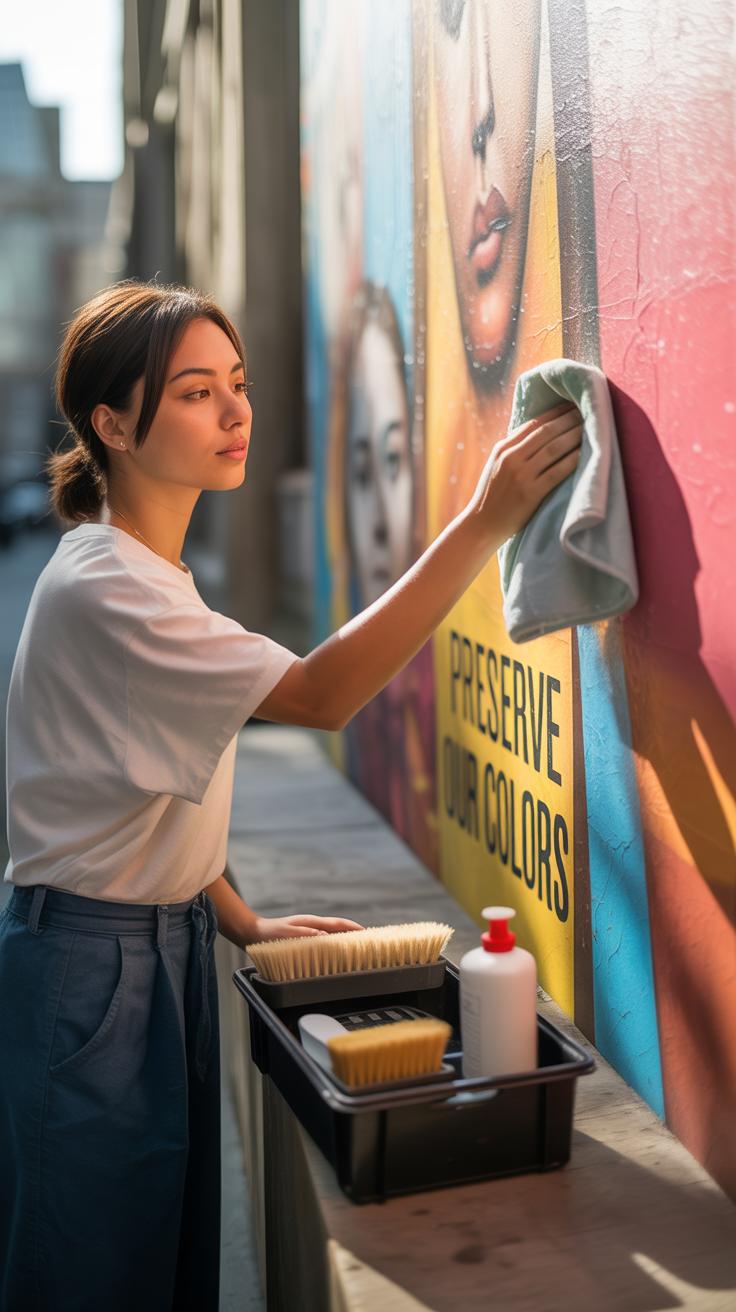
Keeping your painted wall mural looking fresh over time takes some care, though it doesn’t have to be complicated. You want to avoid harsh chemicals or abrasive cleaning tools—they can easily wear down the paint or blur fine details.
Cleaning Tips
For most surfaces, a soft, dry cloth or a gentle duster works best to remove dust and light debris. If you need to tackle smudges or fingerprints, try a slightly damp sponge or microfiber cloth. Use plain water or mix in just a tiny bit of mild soap. Always test on an inconspicuous spot first. Don’t scrub vigorously; light, careful strokes will do. This helps protect the paint layer without risking damage.
Be mindful of moisture, too. Water can sometimes seep into uneven paint or cracks, which might cause peeling down the line. Dry the wall immediately after wiping, even if the area feels only lightly wet.
Touch-Up Ideas
Touch-ups come into play when you notice chips, scratches, or patches where the color has dulled. It’s best to handle these soon after spotting them rather than waiting for the damage to spread.
You can keep small amounts of your mural paint for this purpose—just store it in airtight containers. When ready, use a fine brush and apply paint carefully, matching the original colors. Sometimes, layering thin coats works better than one thick application to blend seamlessly.
If the mural is older, be a bit cautious. Some paints yellow or change shade slightly over time, so what you touch up might look different later. Use natural light to compare colors before starting. Do you notice any fading overall? Sometimes a gentle refresher coat over the whole mural refreshes the look more evenly.
And here’s a thought—don’t stress minor flaws too much. They can add character, showing that the mural is part of your lived space, not a pristine showroom piece.
Inspiring Ideas and Examples to Try
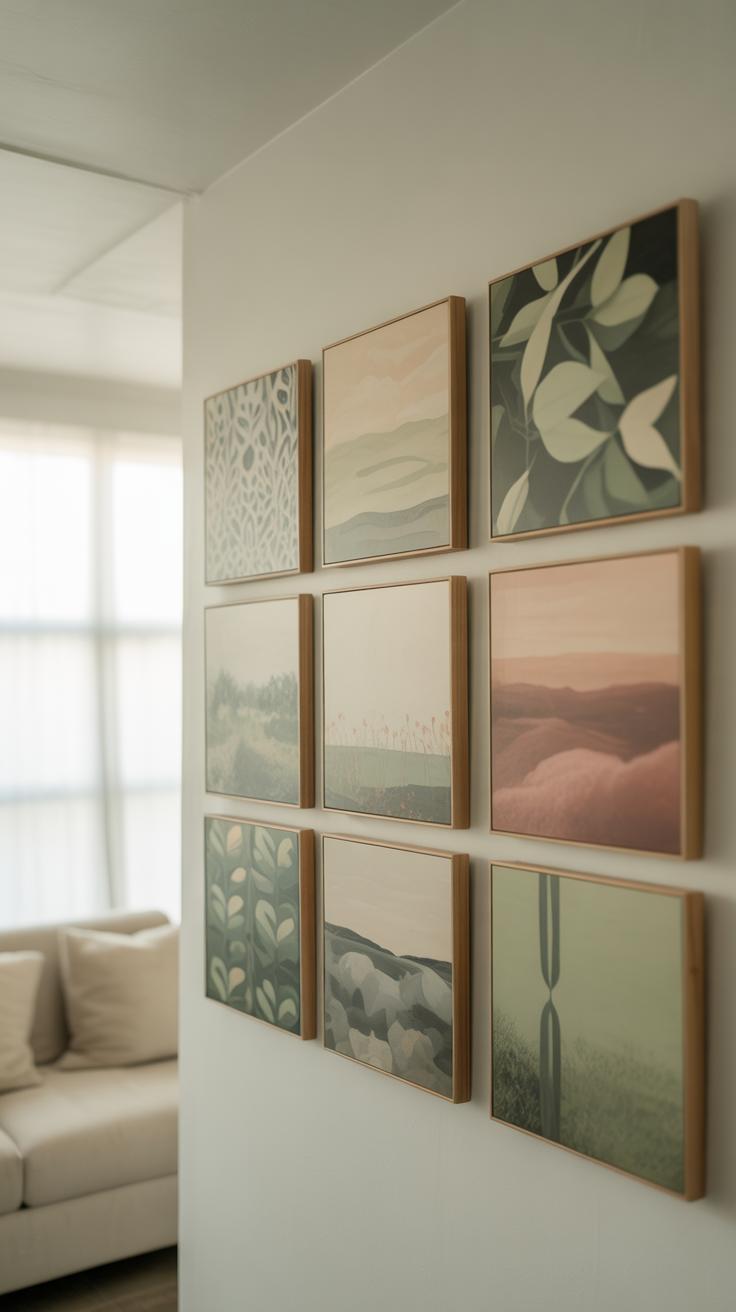
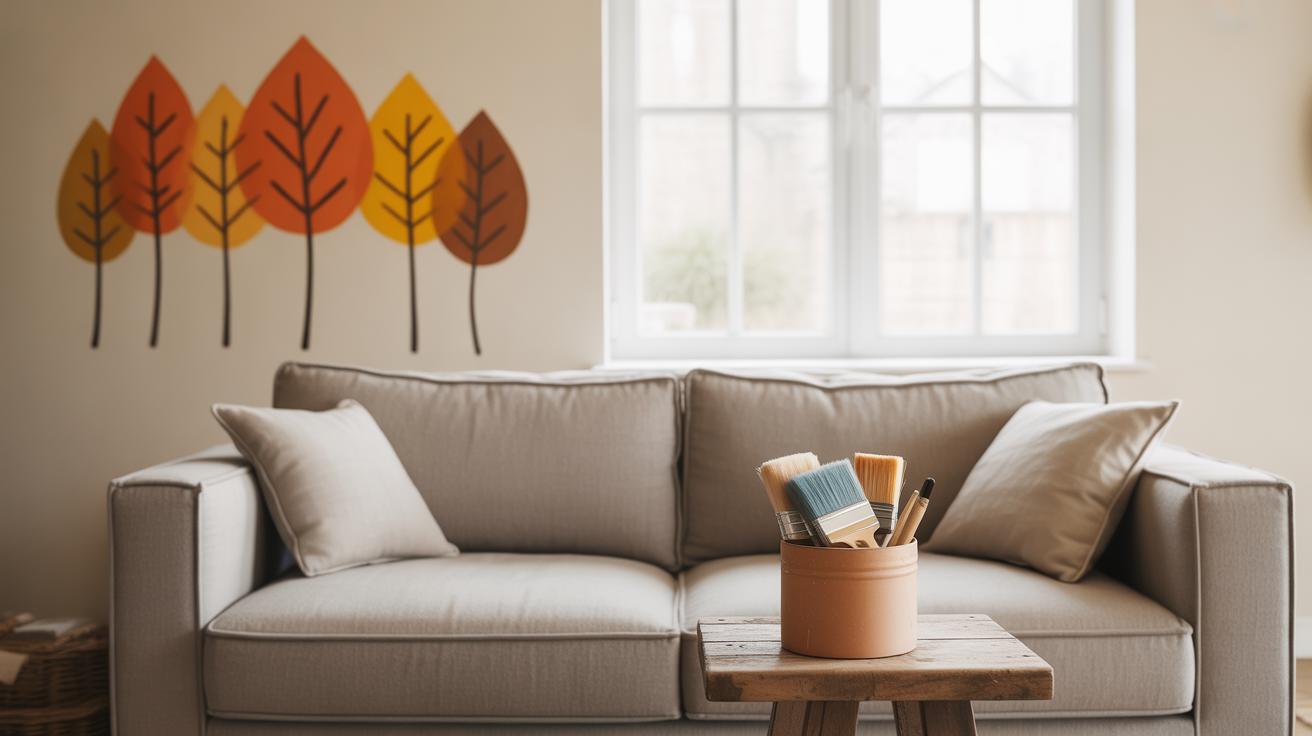
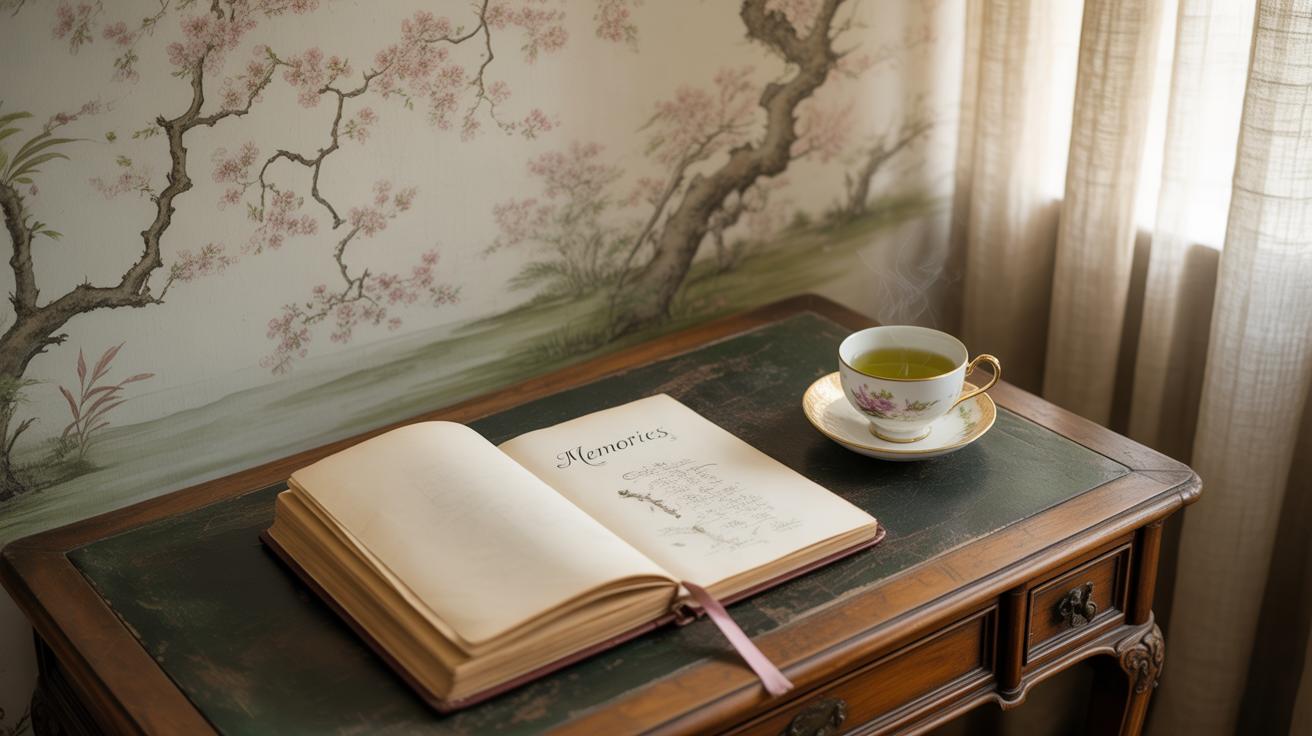
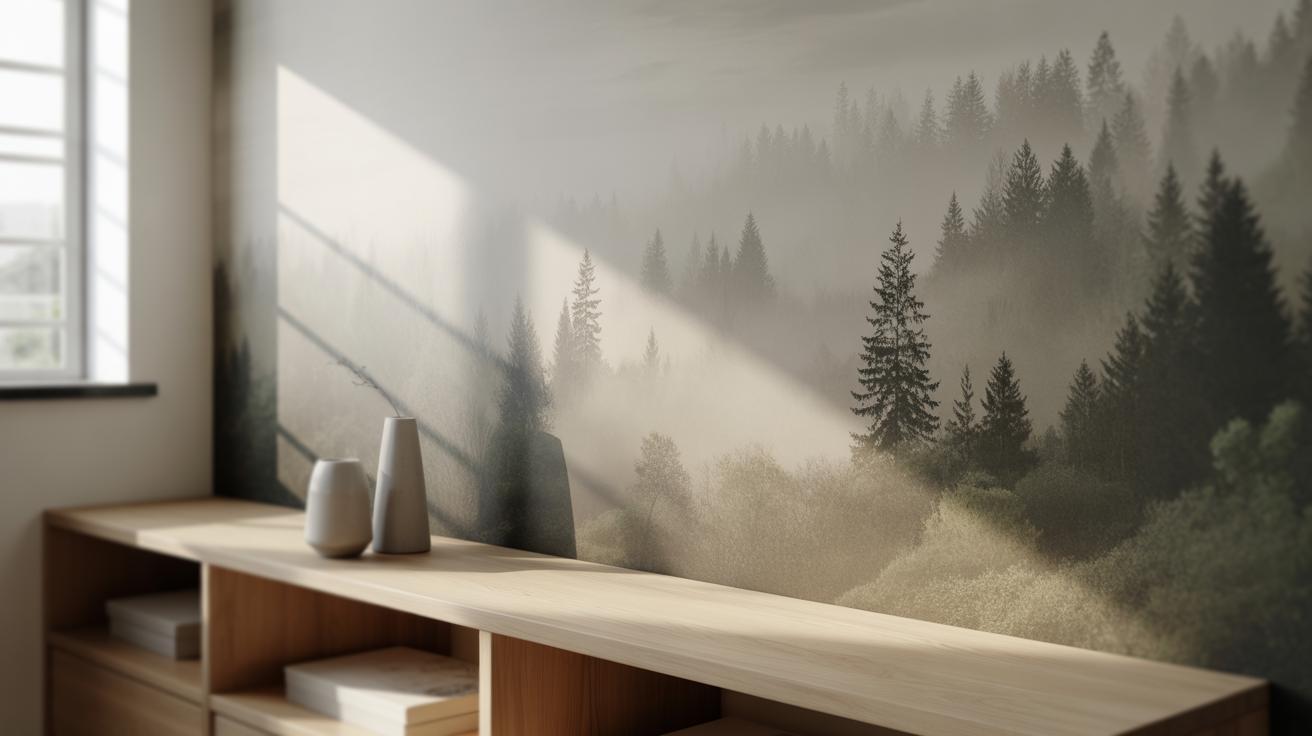
When it comes to painting wall murals at home, you don’t need to be an expert artist. Simple designs can make a big impact, and often, less is more. Think about nature-inspired patterns—trees, leaves, or even just branches. These shapes are straightforward to sketch, and you can play with colors or keep them monochrome. I once painted a single, large tree silhouette in my living room; it didn’t take long, but it changed the whole vibe of the space. It’s surprising how something so basic can feel personal.
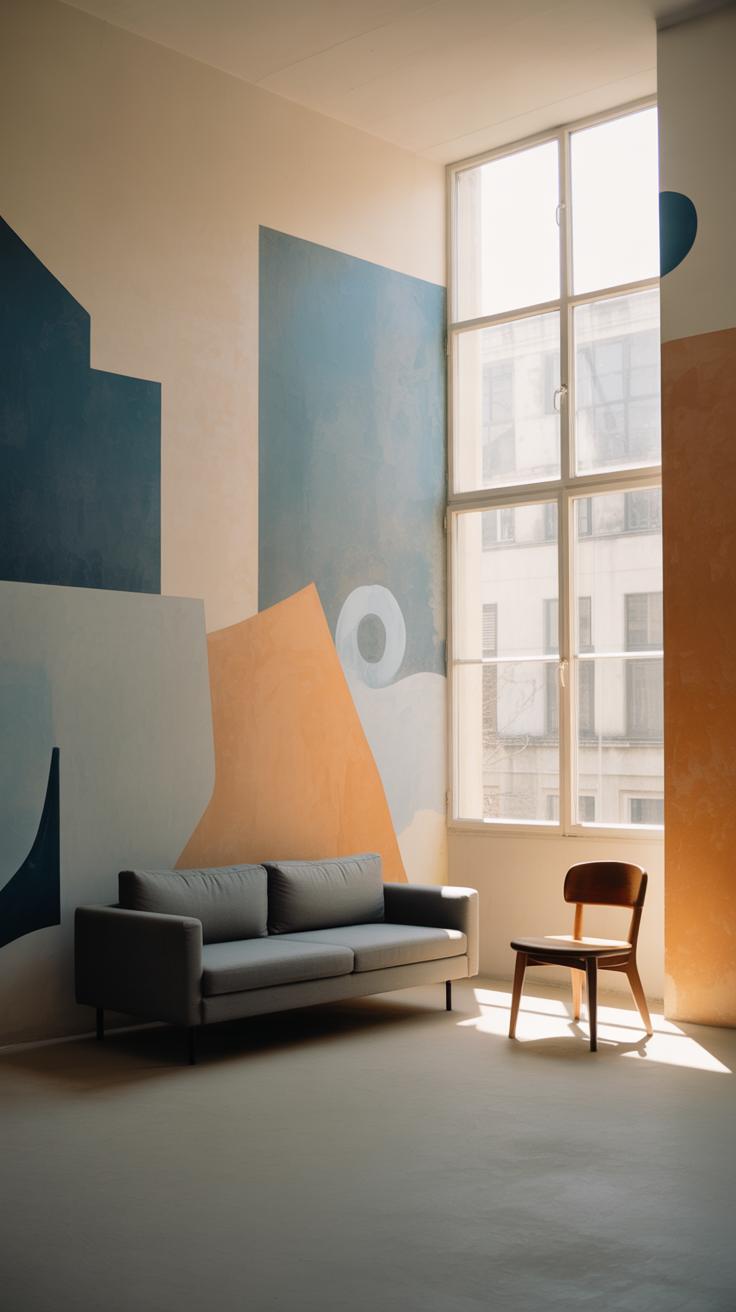
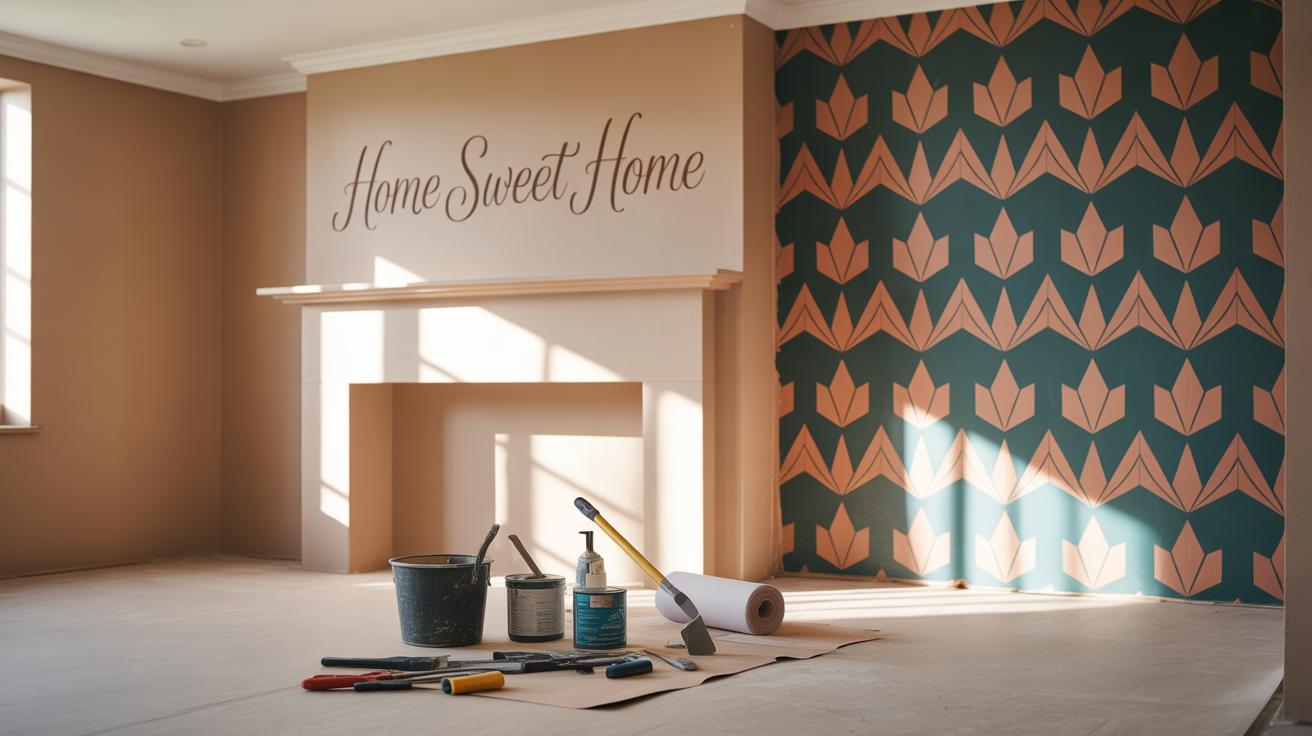
Geometric patterns also offer an easy way to add character without overwhelming the room. Triangles, circles, or chevrons repeated in a calm color palette create a modern yet cozy feel. These patterns don’t require freehand skills since you can use painter’s tape to get clean lines; though, slight imperfections sometimes add charm, don’t they?
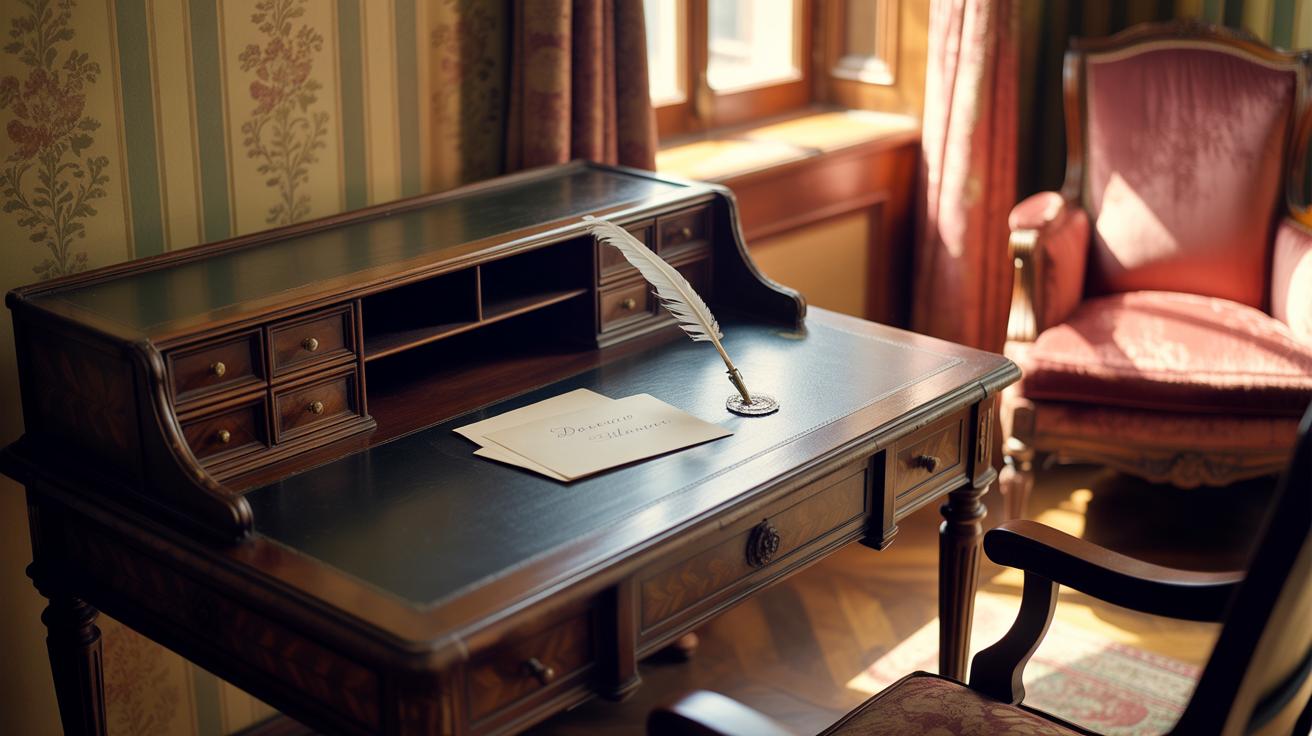
You might also consider using words or quotes. Painting a favorite line or a meaningful word lets you personalize your space in a very direct way. I experimented with different fonts with just a pencil and brush, and even small mistakes made the letters feel more human. It’s almost like the wall speaks for you without being too loud.
Conclusions
Creating a painted wall mural is a rewarding project. It changes the look and feel of a room quickly. With simple tools and your own creativity, you can create unique designs. Whether you want a bold statement or a subtle accent, mural painting lets you express yourself.
Remember to plan your design and prepare your wall well. Choose colors that suit your space and use the right techniques for a great finish. Most importantly, enjoy the process and make your home reflect your personal style. Your wall mural will be a beautiful part of your living space for years to come.