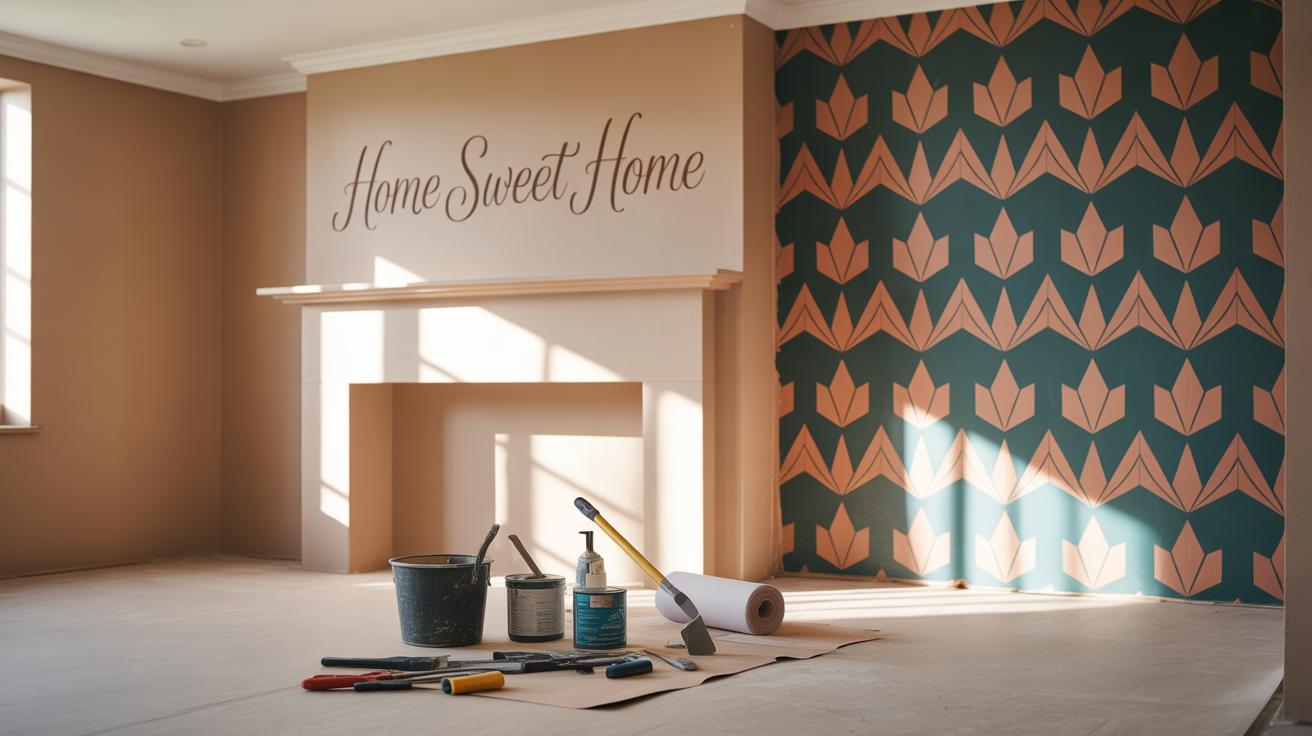
A Living Room Wallpaper Makeover Guide
Are you ready to breathe new life into your living room? Fresh wall papering ideas can transform your space, adding personality and style without a complete renovation. This guide provides straightforward tips and inspiring ideas to help you pick the best wallpaper and apply it effectively.
You will discover how to select wallpapers that suit your taste and space, explore creative patterns and textures, and learn practical steps to get the best wall papering results. Your living room makeover journey begins here, with easy-to-follow advice for a beautiful finish.
Understanding Wallpaper Types
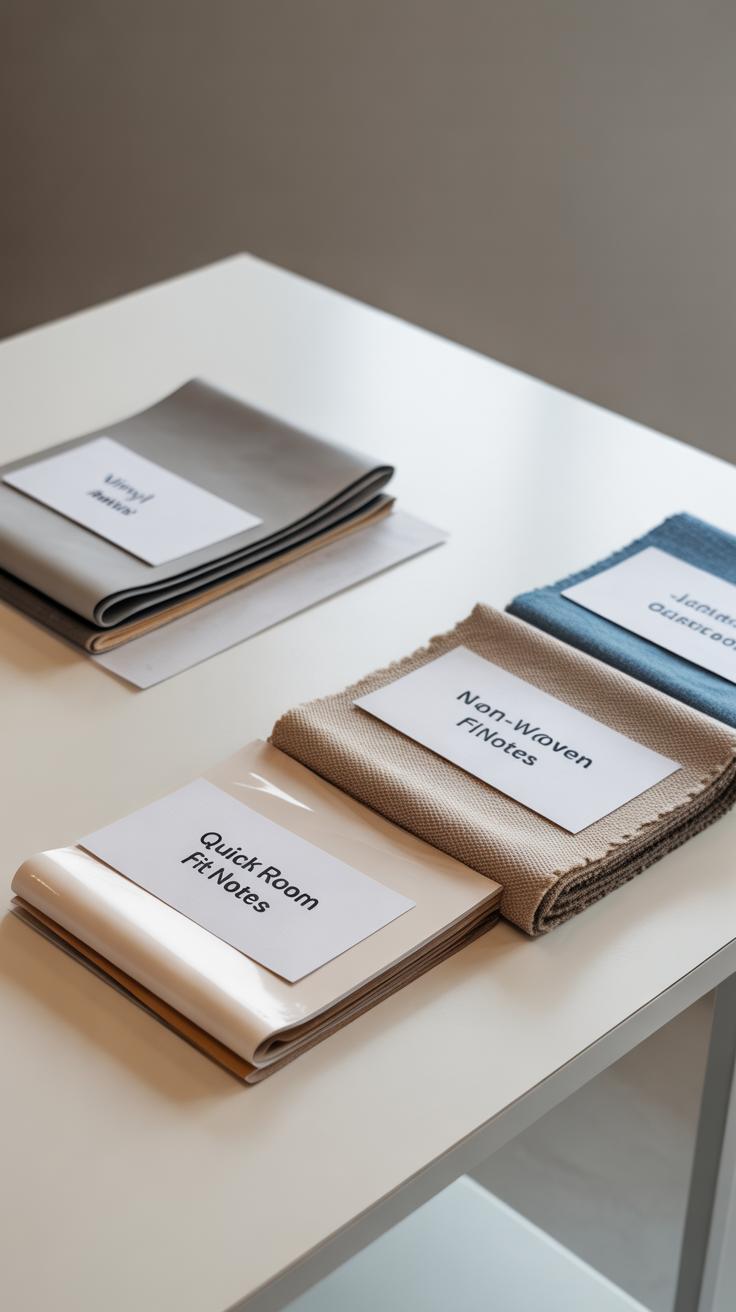
When choosing wallpaper for your living room, knowing the types can really shape your decision. Vinyl wallpaper is popular for its moisture resistance and easy cleaning, making it a go-to if you want something practical. It might not always feel as “luxurious,” but it holds up well, especially in busier homes.
Non-woven wallpaper, sometimes called breathable, is easier to install and remove. It tears less easily during application, which can be a lifesaver if you’re a bit clumsy with paste. This type often feels more durable than paper-based options and works well in rooms where you want a polished look without fuss.
Paper-based wallpaper is more traditional. It offers lovely textures and patterns but can be less forgiving in busy households. If you’re set on elegance but not keen on maintenance, it’s worth thinking twice. It tears easily and isn’t great with moisture.
Fabric wallpaper brings softness and depth, but it demands care. It adds a unique tactile element to the room, but you might find cleaning a headache. For formal living rooms where wear isn’t heavy, fabric can elevate the space beautifully.
Wallpaper Material and Durability
Durability varies widely across wallpaper types, which matters if your living room sees a lot of action. Vinyl generally tops the list here—it’s tough and easy to wipe down. Non-woven wallpaper follows, offering a good balance between durability and appearance.
Paper-based wallpapers don’t fare well in high-traffic areas; their delicate nature means they wear down quickly, especially where kids or pets roam. Fabric wallpaper, while elegant, isn’t as durable—think more about style than resilience unless you’re prepared for careful upkeep.
For high-traffic living rooms, vinyl or non-woven wallpapers tend to be the safer choice. They can take scuffs and spills without showing wear too quickly. If you love a specific wallpaper that’s less durable, perhaps reserve it for accent walls or less busy spaces.
Selecting Wallpaper Based on Living Room Use
If your living room is the family hub—kids running around, toys everywhere—you’ll want something forgiving. Vinyl wallpaper’s water resistance and easy cleaning make it fit well here. You might even consider patterns or textures that camouflage marks.
Pet owners face a similar challenge. Scratches and fur can be problematic, so non-woven or vinyl types that resist damage and can be wiped clean usually work better. A delicate fabric or paper wallpaper might look stunning but barely survives a curious pup or kitten.
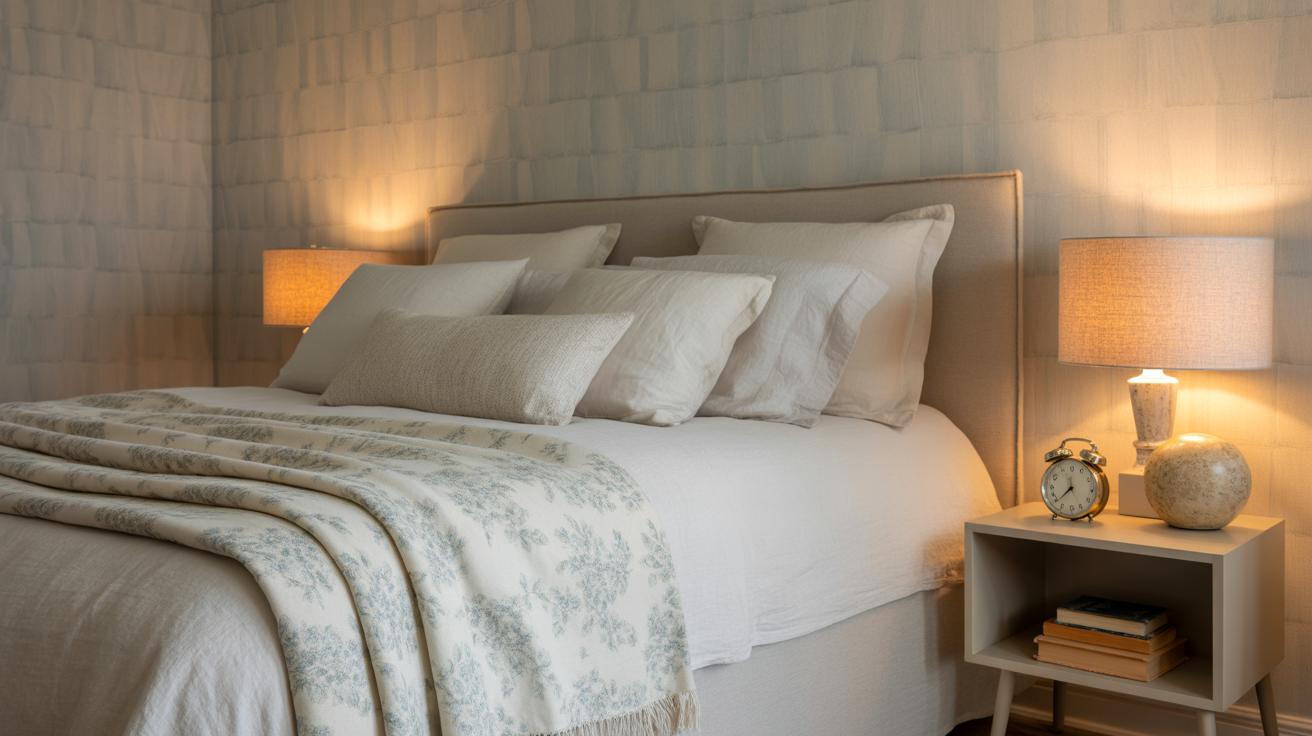
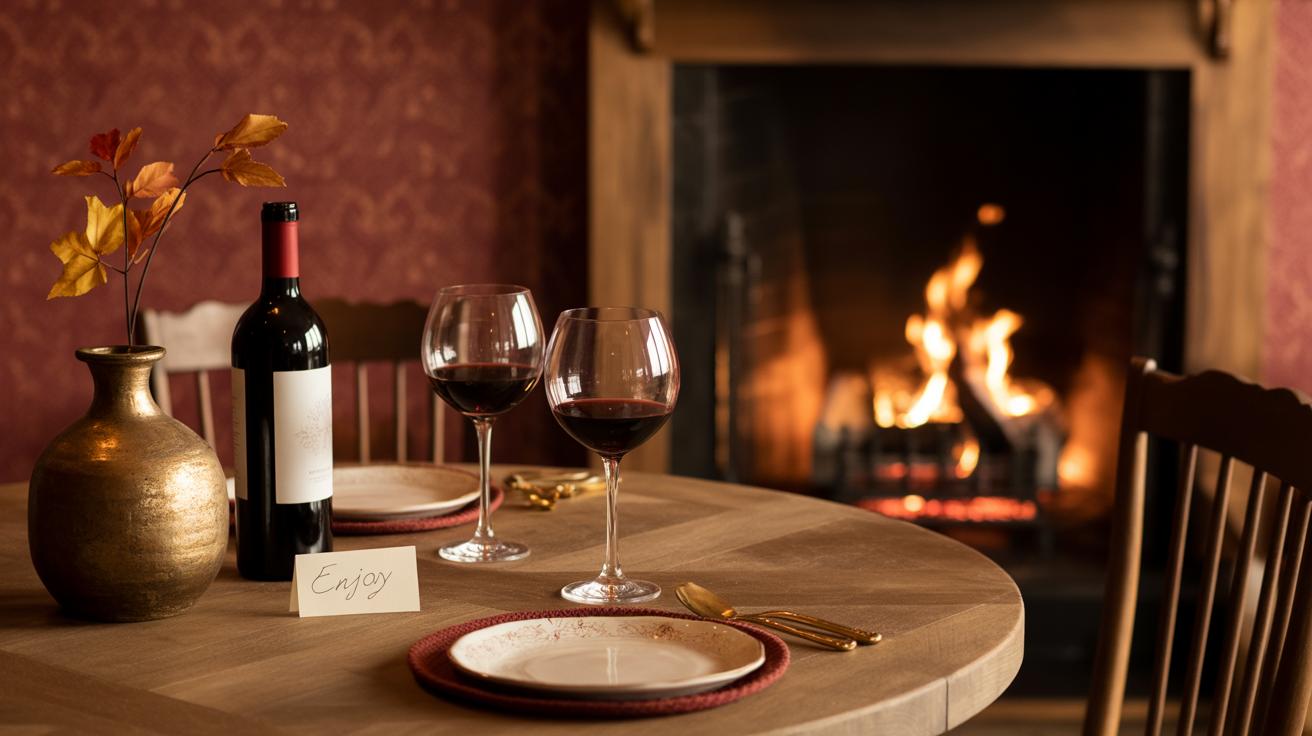
For more formal living rooms—ones mostly welcoming guests or reserved for quiet moments—fabric wallpapers or high-quality non-woven designs add an air of sophistication. Since traffic tends to be low, the occasional wall scuff is less of a concern, letting you focus on style.
Choosing the right wallpaper also means thinking about your lifestyle honestly. Sometimes, the prettiest option isn’t the most practical. Are you okay with extra care or do you need something near indestructible? It’s a question worth asking before falling for a gorgeous pattern.
Choosing Colors and Patterns
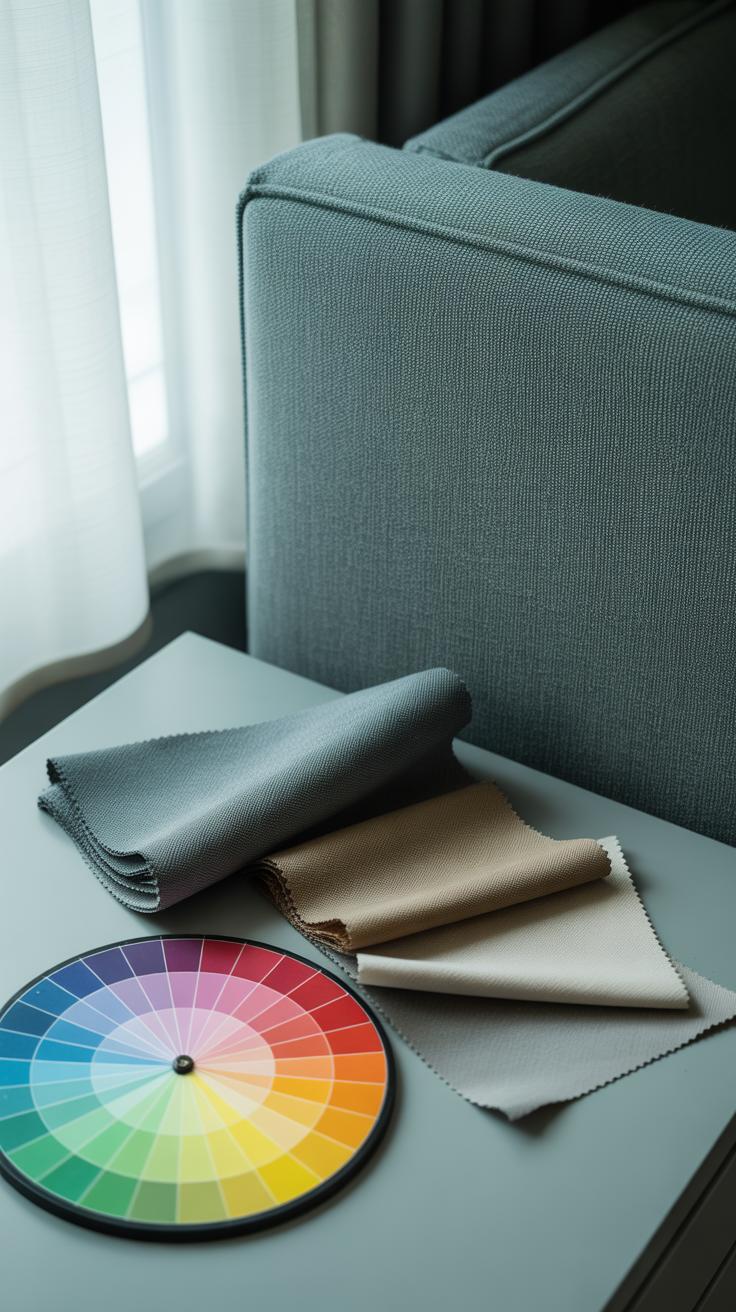
Picking wallpaper colors and patterns that fit your living room isn’t always straightforward. You want something that plays well with the lighting, the furniture you have, and the size of the space. Bright rooms with plenty of natural light can handle cooler or more muted tones without feeling dull. On the other hand, darker rooms often benefit from warmer or lighter shades to avoid a gloomy atmosphere. But then again, that’s not a rule set in stone. I once tried a deep navy wallpaper in a rather small, north-facing room, and surprisingly, it didn’t feel cramped—more like intimate, in fact.
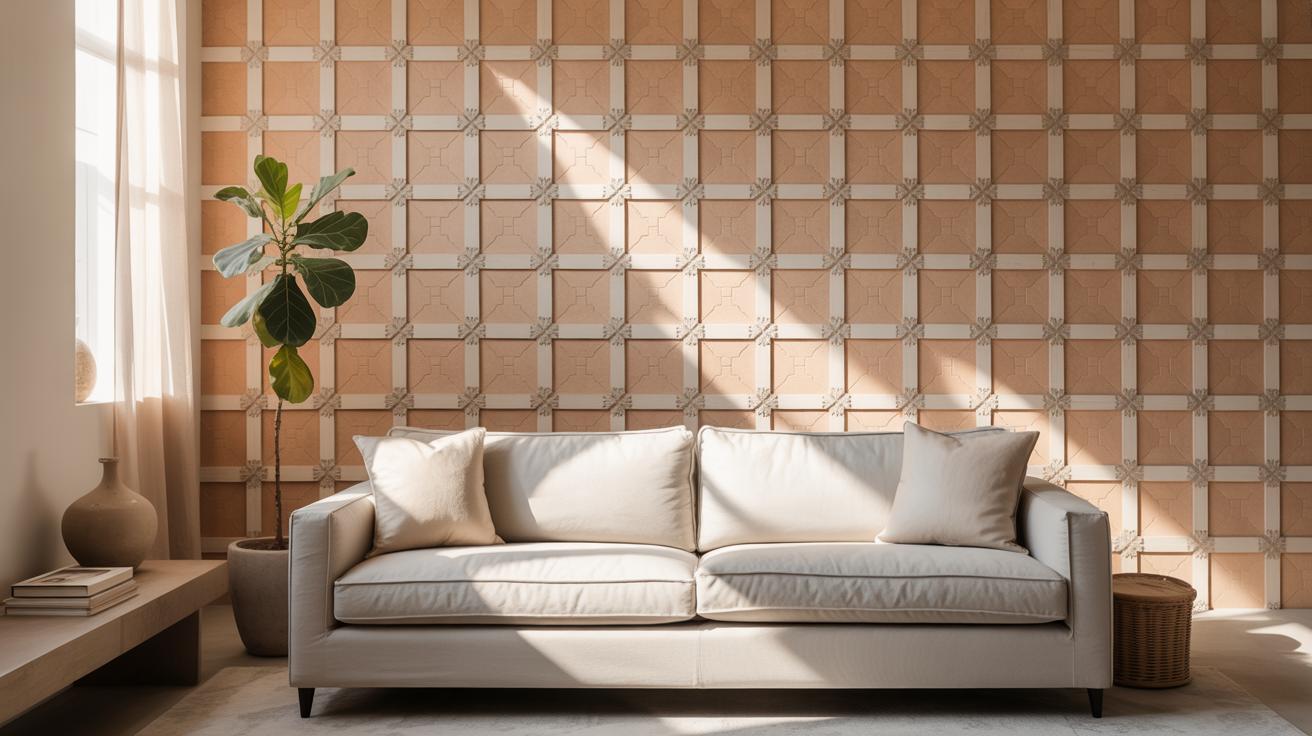
When matching wallpaper to your furniture, consider whether you want the décor to stand out or blend in. Busy patterns can compete with ornate sofas but might balance a simple, minimalist setting. For room size, remember that larger prints can overwhelm small rooms, while tiny, repetitive patterns might get lost in big spaces.
Using Color to Change Room Perception
Colors have this curious power to alter how you perceive space, sometimes in unexpected ways. Light colors—the usual suspects like whites, creams, and pale blues—tend to reflect light, making rooms seem bigger, no surprise there. Yet, sometimes pale walls can feel cold or less inviting. Dark colors absorb light, which can make large rooms feel cozy or smaller rooms downright tight. But, if you pick a rich, deep color and pair it with good lighting and light furnishings, it might just create that snug feeling you want without closing the room off.
So, would you want your living room to feel airier or more snug? Do you crave an expansive vibe or a cocoon of comfort? Your answer to that can guide your color choices more than conventional wisdom.
Pattern Types and When to Use Them
Patterns bring personality to walls but can be tricky. Here’s some rough guidance:
- Stripes: Vertical stripes can elongate walls, making ceilings seem higher. Horizontal stripes widen a room. Use stripes sparingly in small rooms to avoid too much visual noise.
- Florals: These can soften a space and add a touch of elegance or vintage charm. Large floral prints work better in bigger rooms, while tiny florals can create a cozy, classic look in smaller spaces.
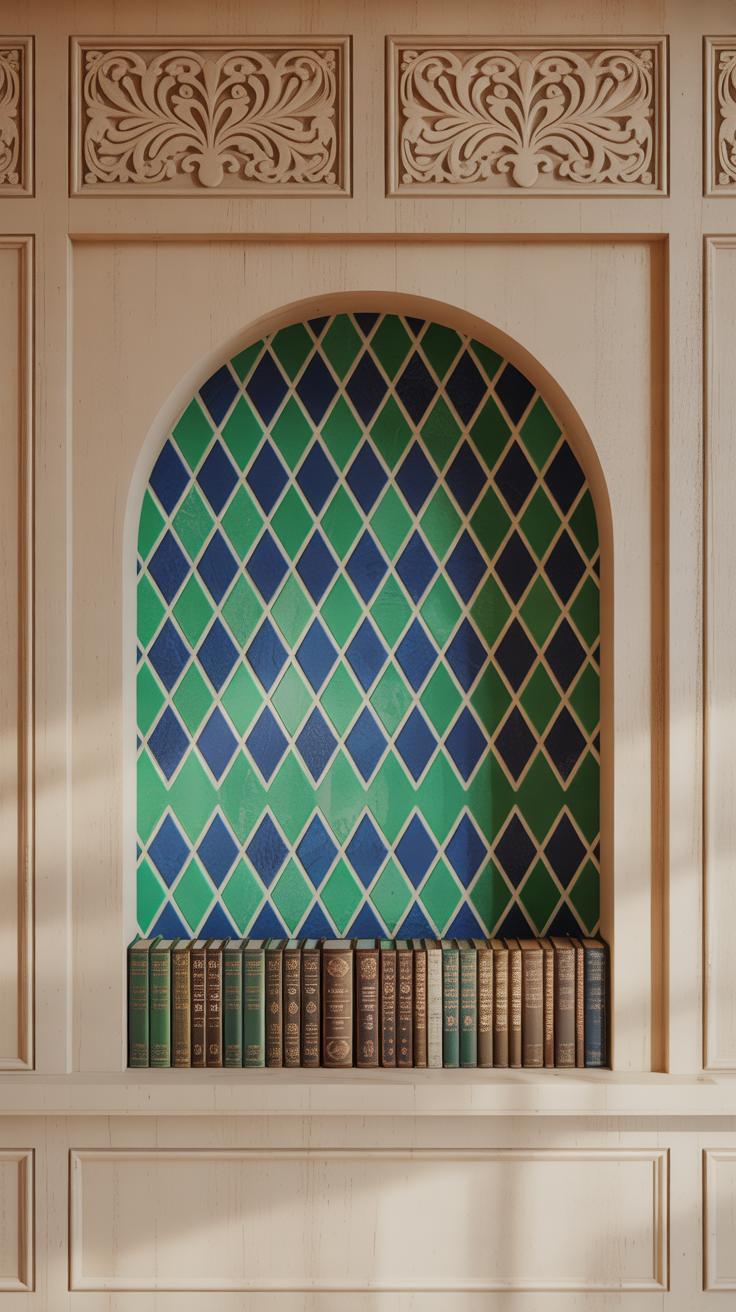
- Geometrics: Bold shapes and repeating angles suit modern or minimalist designs and can add energy. But sometimes they might feel overwhelming if overdone—perhaps choose one feature wall with geometrics rather than all four walls.
You might find yourself leaning towards a pattern you had never considered just because it pairs nicely with an old armchair—or because it simply feels right in the space, even if it doesn’t check all the “rules.” Trust your gut a bit; decorating is rarely just about rules.
Preparing Your Walls for Wallpaper
Cleaning and Repairing Walls
Before you even think about hanging wallpaper, your walls need some attention. Dust, grease, or old paint residues can mess with how well the wallpaper sticks. So, grab a sponge and some mild detergent, and give your walls a good wipe down. Don’t rush it—sometimes a stubborn stain or sticky spot will require a repeat cleaning. If your walls have cracks or holes, it’s worth taking the time to patch them up. Use a filler or spackling paste to smooth these out. I’ve found that skipping this step led to bubbles under the wallpaper once. It wasn’t pretty. After filling, sand the spots gently until the surface feels flush. You’ll want walls that look, and feel, even to the touch.
Priming and Smoothing Surface
After cleaning and repairing, primer is your next stop. Priming isn’t just an extra step; it really helps the wallpaper stick better and last longer. You can find primers designed specifically for wallpaper. Applying even a thin coat prevents the wall from soaking up too much moisture from the paste, which could cause peeling later on. Use a roller for this, but watch for drips and try to keep coverage consistent—uneven primer may mean uneven wallpaper. If your walls are rough or have texture, consider lightly sanding after priming. The goal is a smooth canvas, so the wallpaper lays flat. Sometimes, you might think a wall looks OK, but the wallpaper can reveal every bump and ridge. That can be frustrating, of course. So take your time here; it pays off in a cleaner finish.
Measuring and Cutting Wallpaper
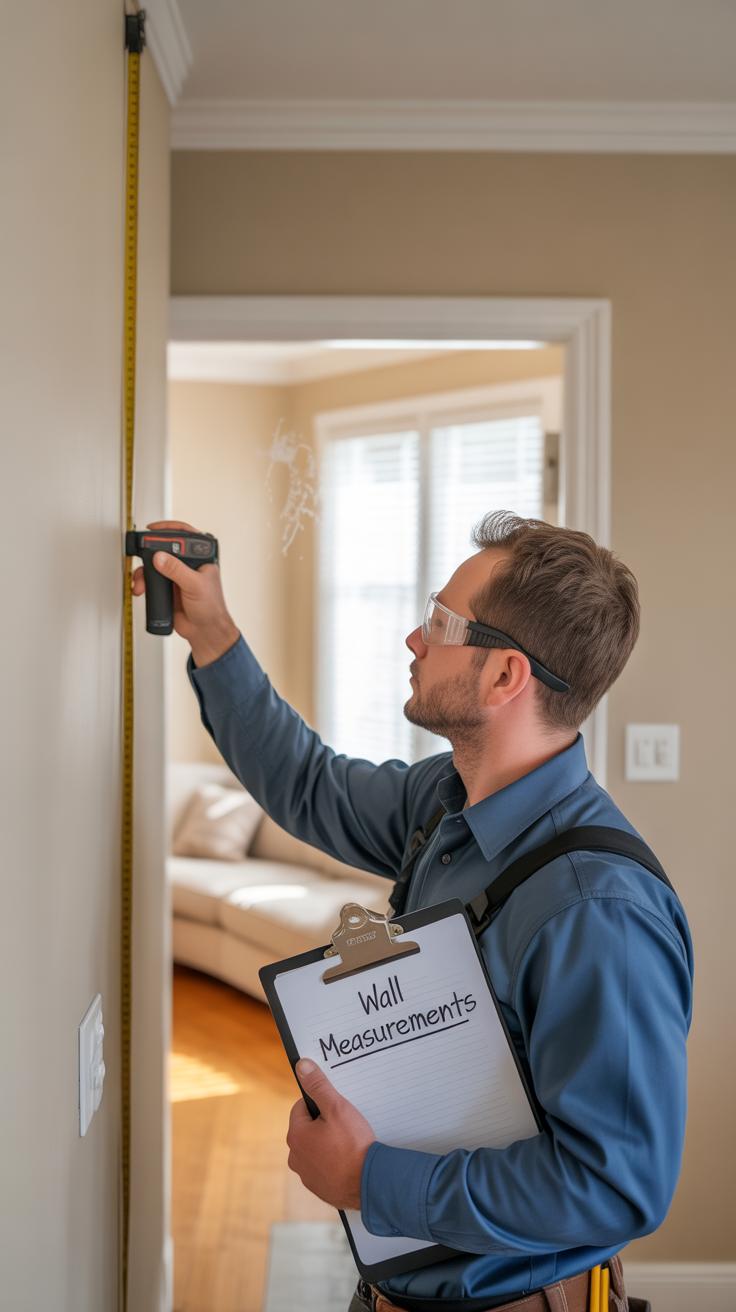
Calculating Wallpaper Needed
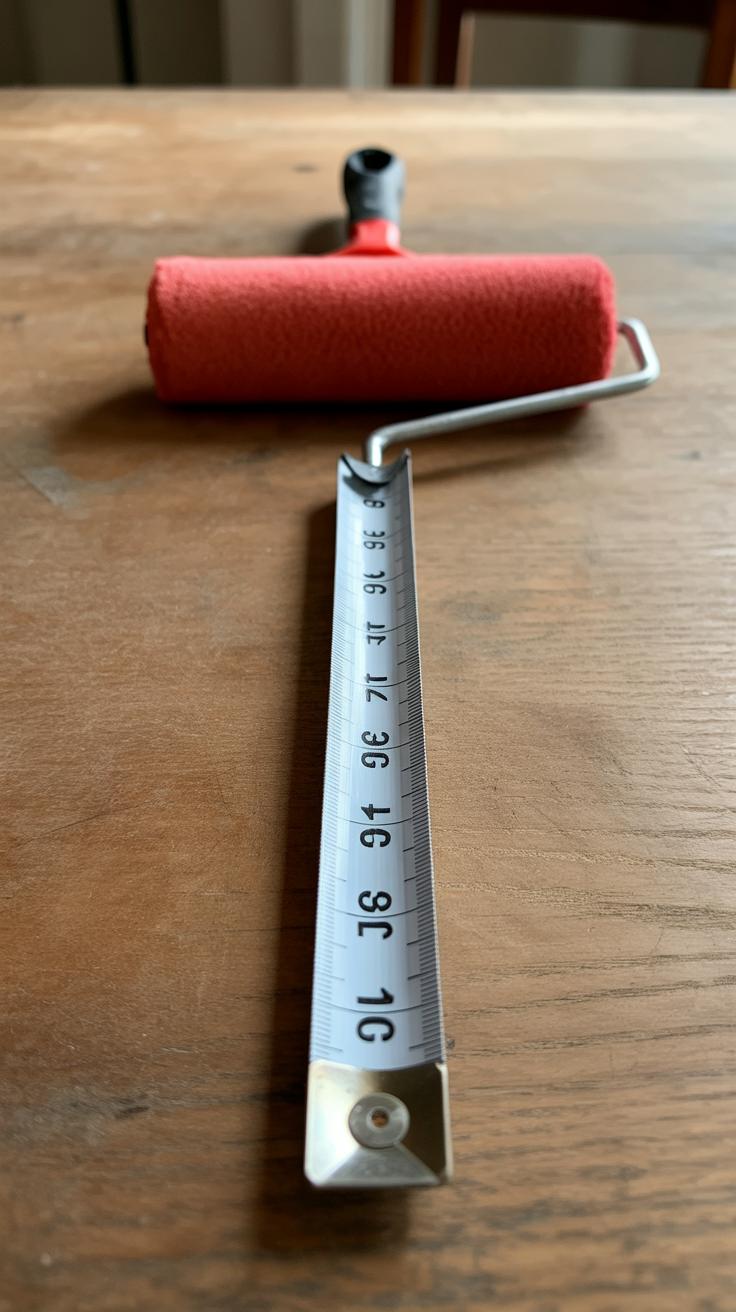
Start by measuring the height and width of each wall in your living room. Use a tape measure and jot down the numbers carefully—don’t rush this part. Multiply the height by the width to get the total square footage per wall. Add these up for the whole room. Now, wallpaper rolls usually cover about 50 square feet, but it depends on the brand. Check the label on your chosen wallpaper.
Remember to consider windows and doors—they reduce the wallpaper needed, but leave some extra for pattern matching and mistakes. I usually add about 10% to the total to be safe. You might think that’s overkill, but trust me, running short in the middle of a project is frustrating. So, better to have a bit too much.
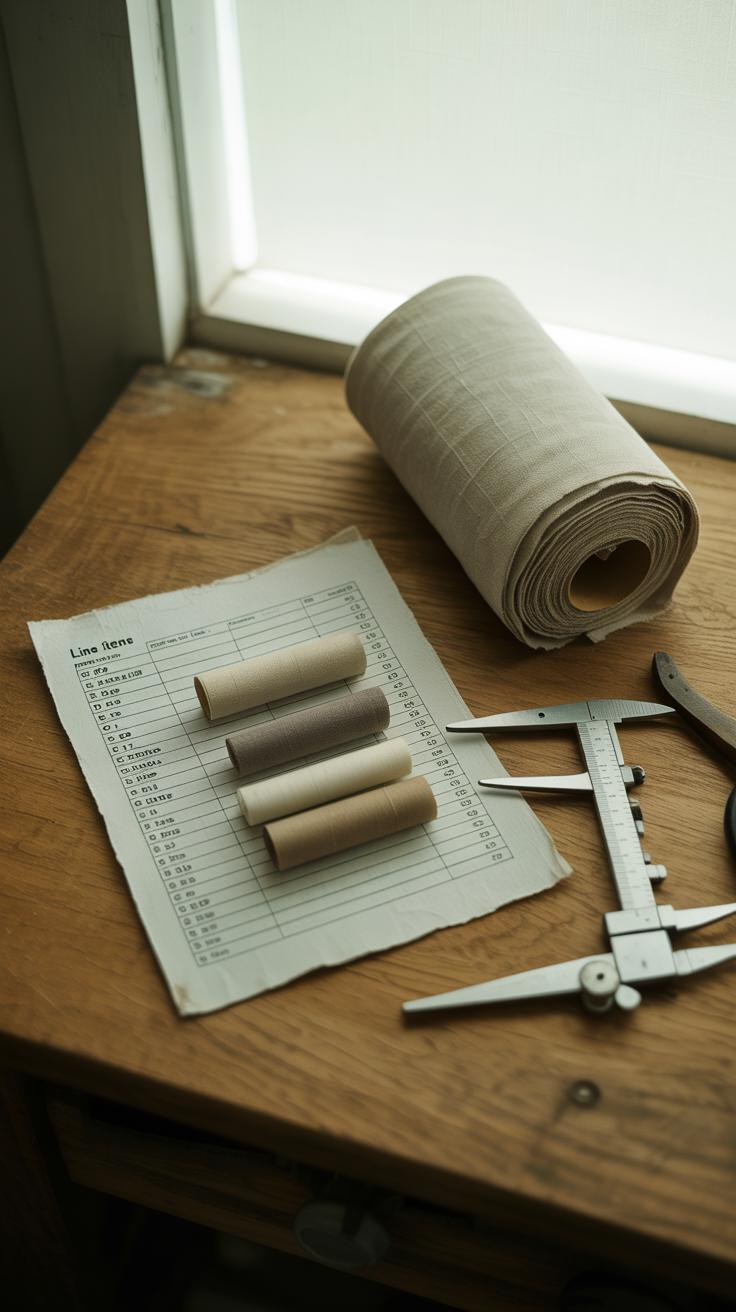
Matching and Cutting Patterns
When you lay out your wallpaper strips, watch the pattern carefully. Some designs repeat every 12, 18, or even 27 inches. You want the patterns on adjacent strips to line up nicely to avoid odd breaks that catch the eye. It can be tricky because you’ll need to cut a bit extra at the top and bottom to match patterns properly.
Cut your strips slightly longer than the wall height—about 4 to 6 inches extra—so you have room to trim precisely after hanging. While cutting, line up the pattern repeats across all strips before making a mark. If your wallpaper has a large floral or geometric pattern, a mismatch can stand out. It takes patience, and perhaps a few tries, but once you get the hang of it, the results feel worth it.
It’s annoying at first when the patterns don’t line up perfectly on your cutting table. But don’t worry—you’re not alone. Almost everyone encounters this. Just take your time, and you’ll get smoother joins that look much cleaner once on the wall.
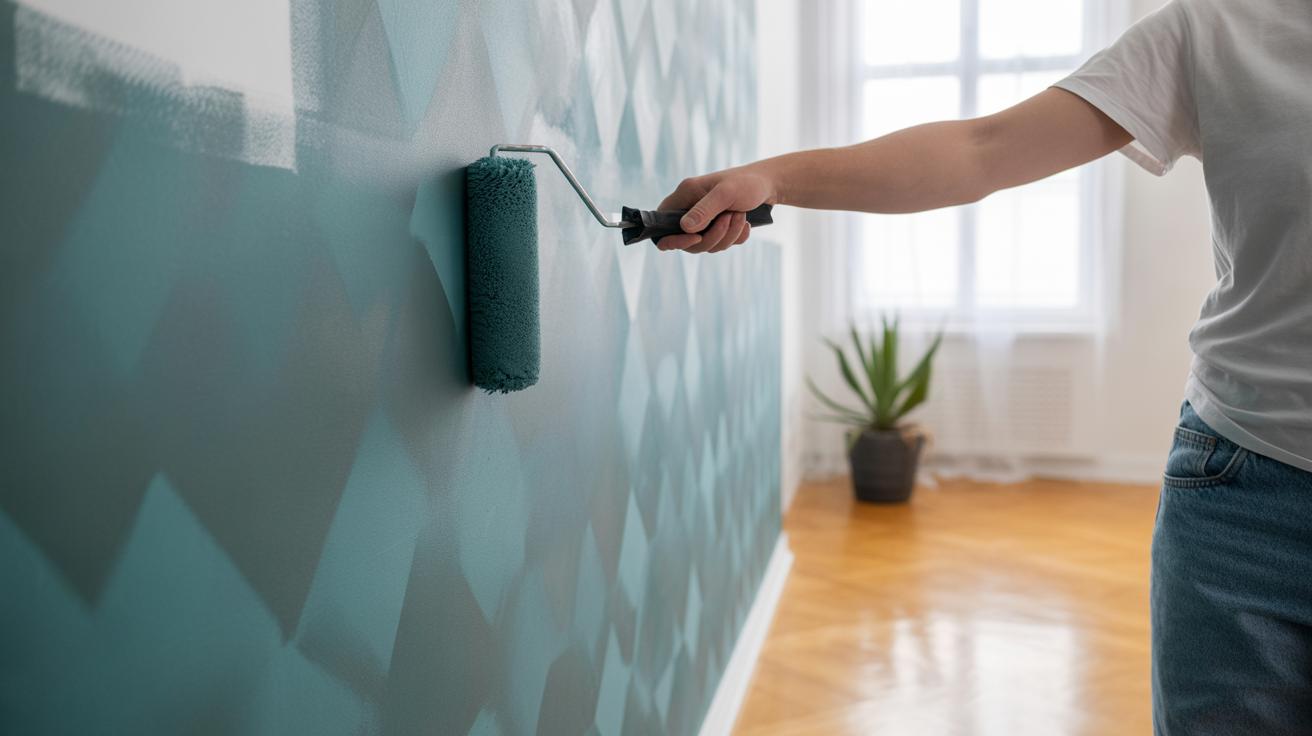
Applying Wallpaper StepbyStep
Once you’ve measured and cut your wallpaper, it’s time to get it on the wall. Start by spreading the adhesive paste evenly on the back of the wallpaper if it’s unpasted. Some wallpapers come pre-pasted, which means you just need to soak them briefly in water—makes life a bit easier, honestly. When you spread paste manually, use a roller or brush to cover every inch without leaving thick or thin spots. Uneven glue can lead to bubbles, which are frustrating to fix later.
Positioning the wallpaper strip can feel tricky. I find it helpful to start at a corner or edge you marked earlier. Hold the top edge against the wall, then gently unroll downward. Don’t rush this part. Let gravity help, but keep a close eye on the alignment, especially if your wallpaper has a pattern. You might want to step back occasionally to check if the strip is sliding out of line.
Once the strip is hanging, it’s time to smooth it out. Use a wallpaper brush or a plastic smoothing tool to press from the center outward. This pushes air bubbles and excess paste out toward the edges. If you’re like me, sometimes you’ll find stubborn air pockets—poke them carefully with a pin, then flatten with the smoother. Repeat for each strip, making sure edges meet neatly without overlapping. It’s a bit of a balancing act, but patience here pays off handsomely.
Applying Adhesive Correctly
You might wonder about adhesives—there are different kinds. Standard wallpaper paste is common, but some wallpaper requires special adhesive, like heavy-duty glue for vinyl or fabric-backed types. Check the manufacturer’s instructions—they matter more than you might expect.
Applying glue evenly is crucial. If some areas get too much paste, the paper might bubble or sag as it dries. Too little paste and the edges lift or peel later. I find that rolling the glue on with a paint roller gives the best consistency over brushes, which can be streaky. Also, don’t forget to fold your pasted strip gently (booking it) to let the glue absorb before hanging. It’s a small step but prevents slippage.
Aligning and Smoothing Wallpaper
Aligning strips perfectly can feel like fitting puzzle pieces. Start strips next to each other right against the previous edge—no overlaps and no gaps. A slight misalignment can ruin the look, especially with patterned wallpaper. Use a level or plumb line to double-check your vertical placement if you’re unsure.
When smoothing, I often use a plastic smoother or a wallpaper brush. Press firmly but don’t tear the paper. Work slowly from the center toward the edges, pushing out air bubbles and excess paste. If the wallpaper feels wet and starts sliding, pause, press it firmly, and maybe give the paste a moment to set. It’s easy to feel impatient here, but steady hands make the difference between DIY success and a redo.
Creative Wallpapering Ideas for Living Rooms
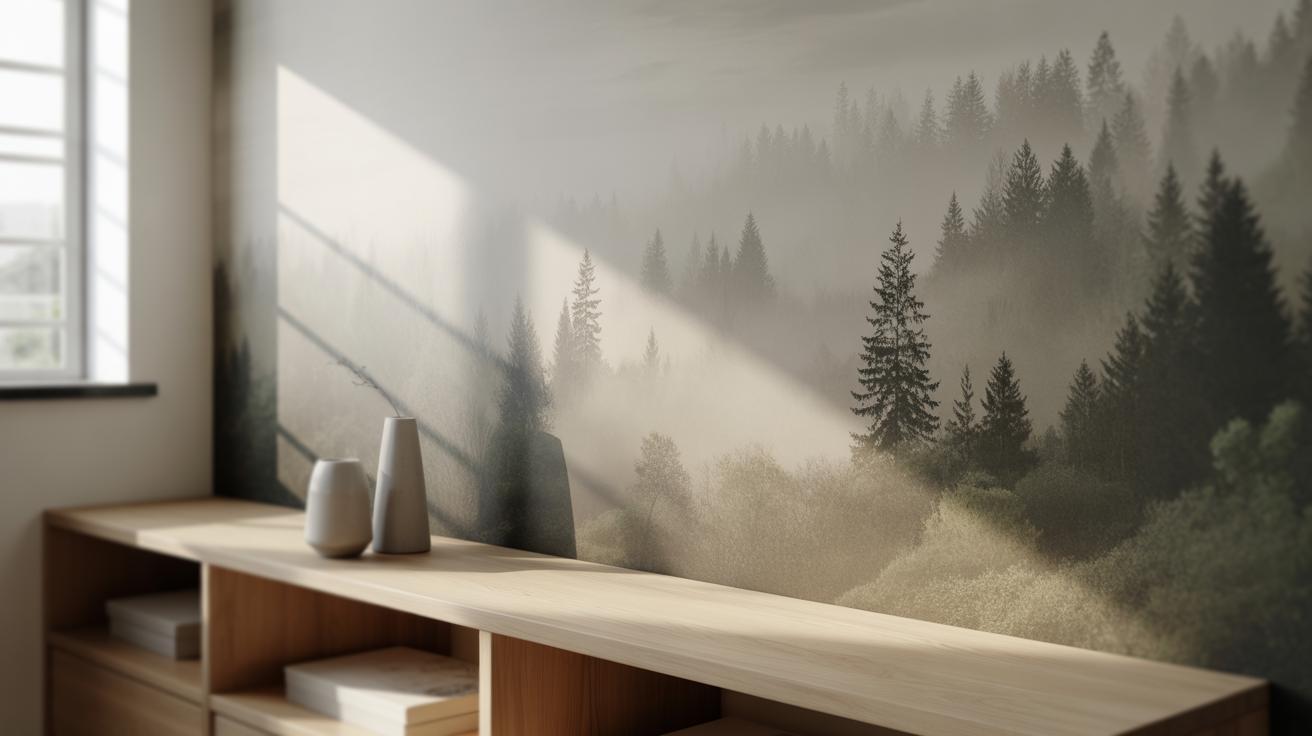
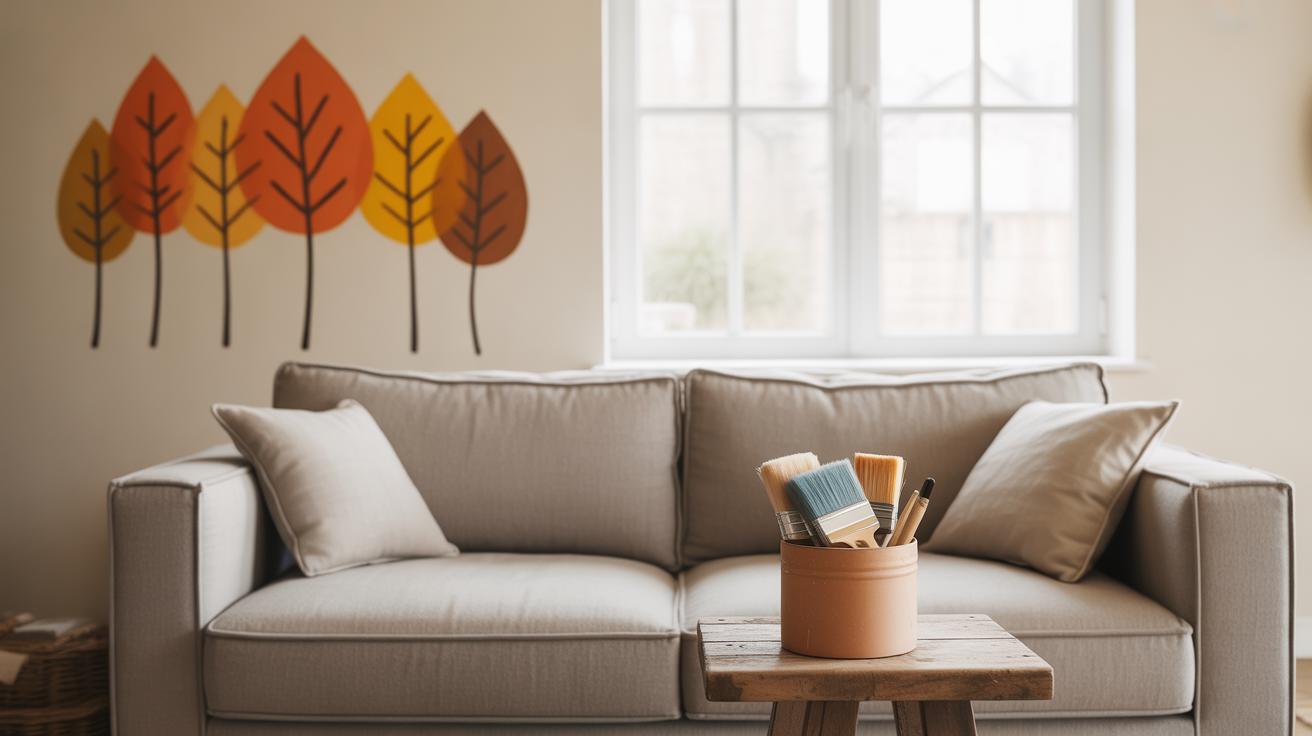
Wallpaper can change the whole mood of your living room if used thoughtfully. One of the most popular approaches is creating an accent wall. Pick that one wall you want people to notice first—often the one behind the sofa or the fireplace—and cover it with wallpaper that stands out. It doesn’t have to be loud or busy; sometimes a subtle pattern or texture can do the trick just as well. I’ve found that when you keep the other walls plain, this makes the wallpaper pop without overwhelming the space.
Another way to play with wallpaper in living rooms is by mixing it with paint. This might sound tricky, but it’s more about balance than anything else. Try wallpaper on the bottom half of the wall and paint on top, or vice versa. Using borders or chair rails can help separate the two surfaces neatly. Maybe you have a patterned wallpaper but want to calm it down—pairing it with a color that matches one of the wallpaper’s shades usually works well. It’s a nice way to make the space feel put together while still keeping some variation.
You could also mix patterns, but this is where things get a bit unpredictable. Combining stripes with florals or geometrics with dots—if done right—can feel fresh and layered. But at times, it might just look busy or clash. Honestly, sometimes the best way is to try and see how it feels over a few days before committing. And don’t forget, borders aren’t only for kids’ rooms; a narrow strip of wallpaper along the edges can highlight architectural features or create a subtle frame effect that changes how the wall looks overall.
Wallpaper Maintenance and Care
Keeping your wallpaper looking fresh isn’t always straightforward. You might think a quick dust-off will do, but some types need a bit more attention. Cleaning depends a lot on the material. Vinyl wallpapers are pretty forgiving—you can wipe them down gently with a damp cloth or mild soap. Just avoid soaking the paper; it can loosen the adhesive. For non-woven or fabric-based wallpapers, dusting regularly with a soft brush or vacuum with a brush attachment is safer. Water can stain or warp these, so be cautious.
When dealing with stains or marks, test a small hidden area first. Spot cleaning is easier and avoids the risk of ruining a whole section. If you notice peeling edges or bubbles forming, that’s a sign the glue is failing. You don’t have to strip the entire wall—carefully lift the peeling piece and apply wallpaper adhesive with a small brush. Press it back firmly, smoothing out air pockets. Sometimes, trimming frayed edges with a sharp blade helps as well.
Touch-ups can feel a bit tricky, especially with patterned wallpaper. I’ve found keeping leftover strips from your original rolls a real lifesaver. Matching the pattern exactly can be annoying, but patience pays off. When repairs are needed, work slowly and make sure the surface behind the paper is clean and dry before reapplying anything. What about stubborn scuffs or marks? A gentle eraser might do the trick on some paper types, though it can smudge if you’re not careful.
Do you ever wonder if all this care is worth it? Well, wallpaper does tend to hold character better than paint, but it demands respect in return. Maybe you prefer an easy wipe-clean, maybe something more delicate. Recognizing your wallpaper type early on helps avoid guessing games later, and trust me, your walls will thank you. Little efforts here and there keep the look sharp far beyond the initial wow.
Cost Considerations and Budgeting
Costs of Materials and Tools
When thinking about wallpapering your living room, the costs can add up in ways you might not expect. Wallpaper rolls typically range from $25 to over $100 each, depending on the pattern, texture, and brand. Paste or adhesive usually costs between $10 and $30 per bucket, which is enough for most rooms unless you’re dealing with an especially large wall.
Basic tools like a smoothing brush, utility knives, and measuring tape might set you back roughly $20 to $50 if you don’t already own them. If you decide to hire professionals, prices vary widely—from about $200 to $600 for a standard room—but keep in mind this can cover prep work and cleanup too.
Budget-Friendly Wallpapering Tips
If the idea of spending a lot feels overwhelming, don’t worry. You can save quite a bit by choosing simpler designs or paper with fewer pattern repeats, which means less waste. Partial wallpapering—like creating an accent wall—is another smart option. It reduces the amount you buy and can still majorly impact the feel of your living room.
Also, look for clearance rolls or damaged boxes that retailers often discount. DIY application also cuts costs, though it requires patience. Sometimes splurging on one roll of something special and combining it with paint or other textures makes a space feel fresh without breaking your budget.
When to Hire Professionals for Wallpapering
There’s a time and place where hiring professional wallpaper installers makes sense. Think of rooms with tricky patterns—those that need precise matching, especially repeats that throw you off if you’re off by even a fraction of an inch. Large living rooms are another scenario. The sheer scale means the work can drag on and gets physically demanding pretty fast, not to mention keeping the seams straight over wide walls can be challenging.
Professionals come with steady hands and a practiced eye. They know how to prep surfaces well, keep air bubbles out, and handle corners without leaving awkward edges. When you’re dealing with textured wallpapers or heavier materials, their experience really shines. Also, if your walls have imperfections—bumps, dents, or uneven patches—they’re better equipped to smooth things out before applying paper.
Ask yourself: how confident am I with precise measuring and cutting? Can I dedicate the time and patience needed here? If your answer wavers, or if you value time over doing it yourself, a pro might be a good call. But if your wallpaper’s simple, walls are flat, and you don’t mind a bit of trial and error, taking on the project yourself can be rewarding. Just don’t underestimate the details. Sometimes, what feels doable turns frustrating quickly.
Conclusions
Wallpapering your living room is a cost-effective way to update its look. By choosing a design that speaks to you and preparing your walls properly, you set the foundation for a stunning makeover. Remember, attention to detail during application makes all the difference.
Whether you opt for bold patterns or subtle textures, the right wallpaper can define your room’s atmosphere. Use the ideas and tips in this guide to refresh your living space with confidence and style.