Introduction
Epoxy resin is a special material used for making crafts, art, and repairs. It is strong and can create shiny, clear, and colorful surfaces. Many people enjoy epoxy resin DIY projects because they are fun and help you create beautiful items. If you are new to working with epoxy resin, this guide will help you start your projects with confidence.
In this article, you’ll learn about what epoxy resin is, how to choose the right supplies, and simple projects that you can try at home. Each step is explained clearly to make sure you understand and feel safe while working. By the end, you will be ready to create your own epoxy resin masterpiece.
What Is Epoxy Resin
Epoxy resin is a type of liquid plastic that hardens when mixed with a special ingredient called a hardener. Think of it like a glue, but one that becomes solid and clear once it’s ready. Chemically, it belongs to a group called polymers, which means it’s made of long chains of molecules that link together tightly. When these chains form, they create a tough, solid material.
Because epoxy resin becomes hard and strong, it’s popular for lots of DIY projects. You can coat surfaces, make jewelry, or even repair broken objects. It sticks well to many materials, which is great if you’re working on things like wood, metal, or glass. Its ability to capture objects like flowers or coins in a shiny, see-through layer makes it a favorite for craft lovers.
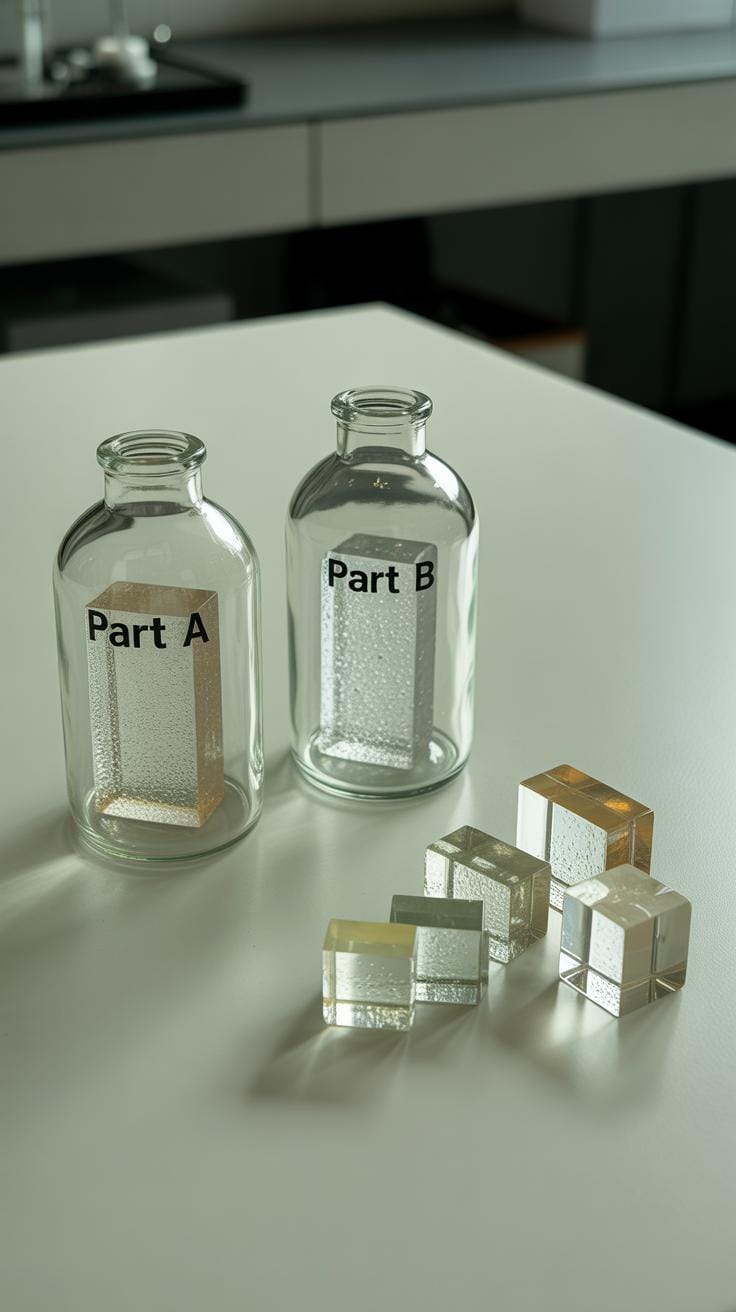
The Chemical Makeup And Properties
At its core, epoxy resin consists of two parts: the resin and the hardener. When combined, they undergo a chemical reaction called curing. This process creates a dense molecular network, giving the material its signature strength. The clear versions of epoxy look almost like glass, which is why it’s often used where clarity matters.
Some key properties you’ll notice are:
- High strength that resists cracking or breaking
- Durability that stands up to wear and moisture
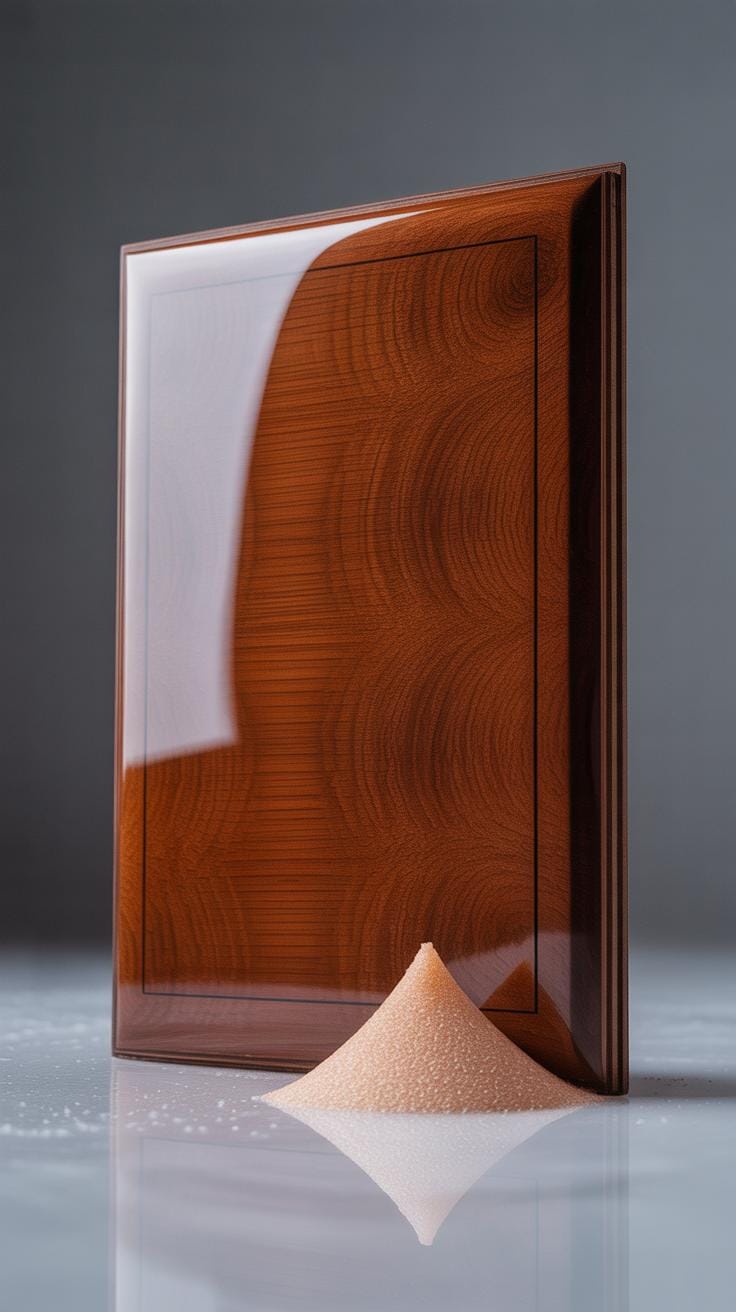
- Clarity and gloss, giving projects a polished finish
These qualities make epoxy stand out compared to other plastics or coatings.
Common Uses In Diy Projects
In hands-on projects, epoxy resin pops up everywhere. Here are a few simple ways people use it:
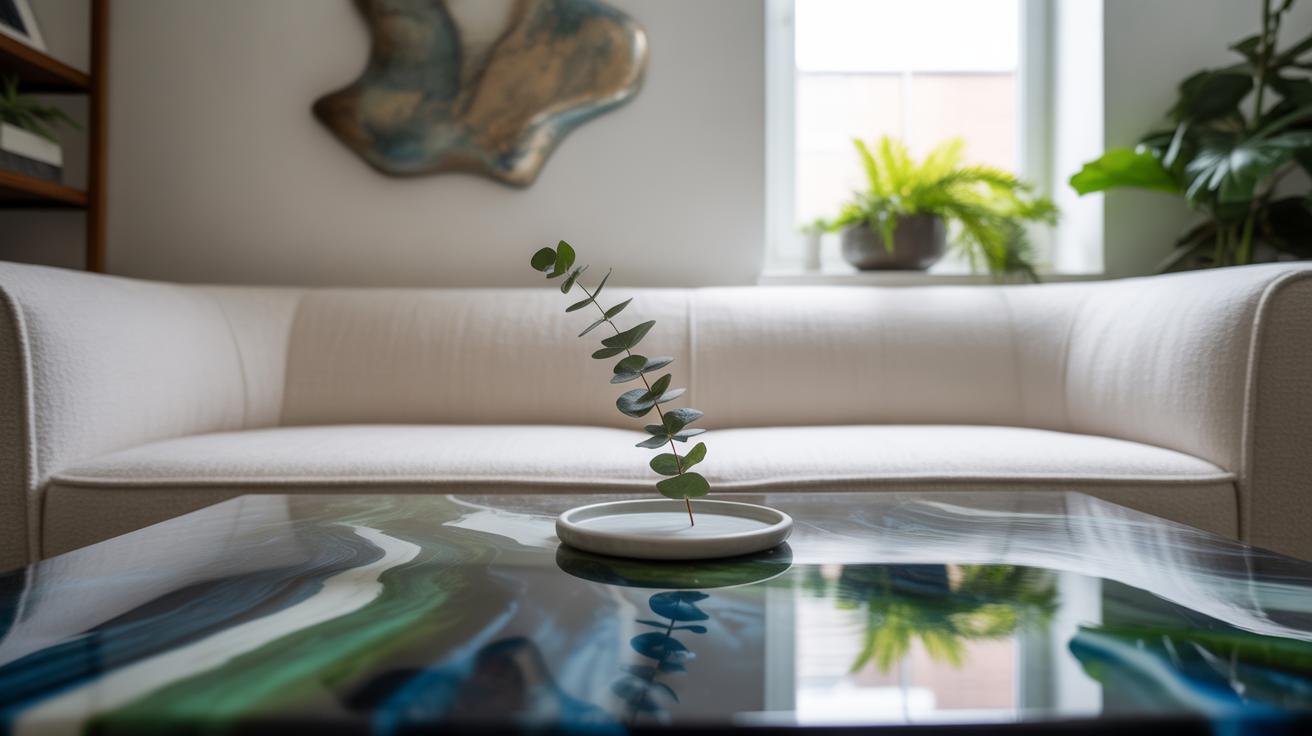
- Creating art pieces like river tables or resin paintings that mix color and texture
- Making jewelry by casting shapes with embedded decorations
- Coating and sealing wood surfaces to protect against scratches and water damage
- Fixing cracks in ceramics or small chips in furniture
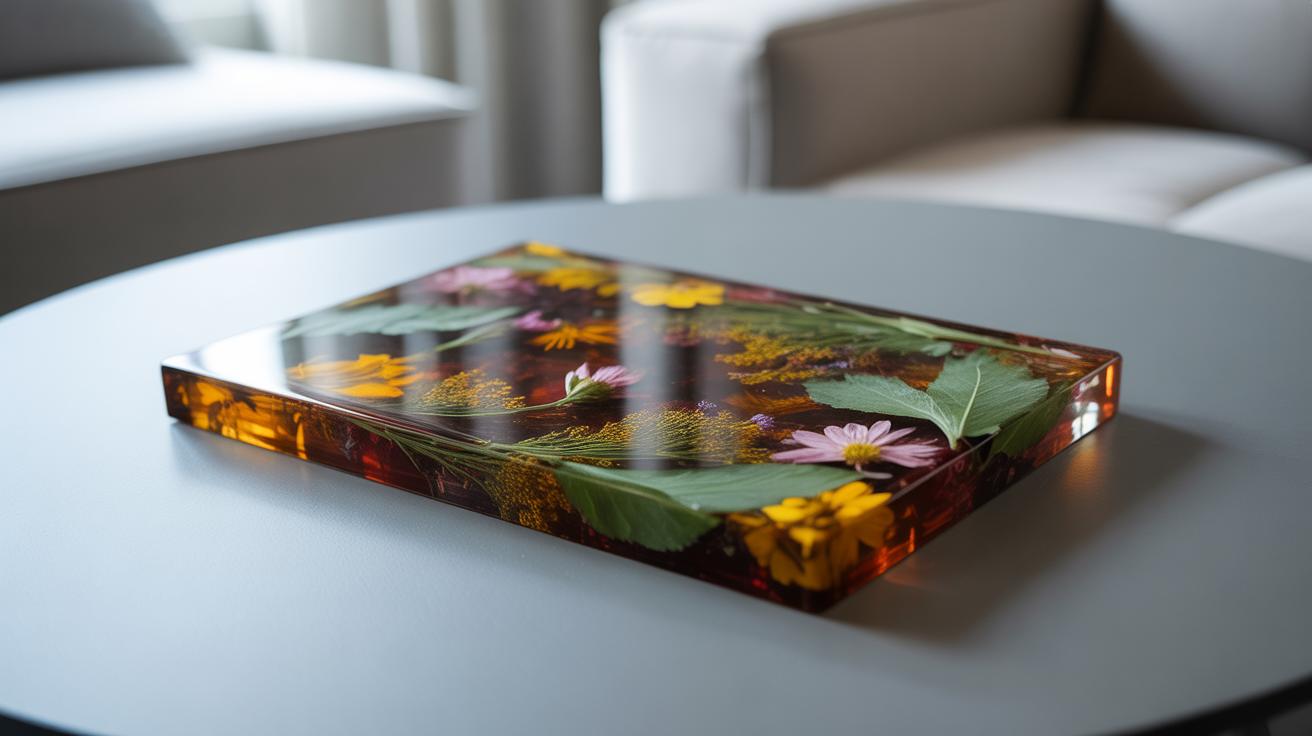
- Embedding keepsakes or objects in clear blocks for display
If you’ve ever seen a clear, shiny layer on a countertop or a handmade coaster holding tiny flowers, there’s a good chance epoxy resin was involved. For beginners, it offers a way to transform ordinary items into something a bit more special—while also being surprisingly easy to work with once you get the hang of mixing and pouring.
Choosing The Right Epoxy Resin For You
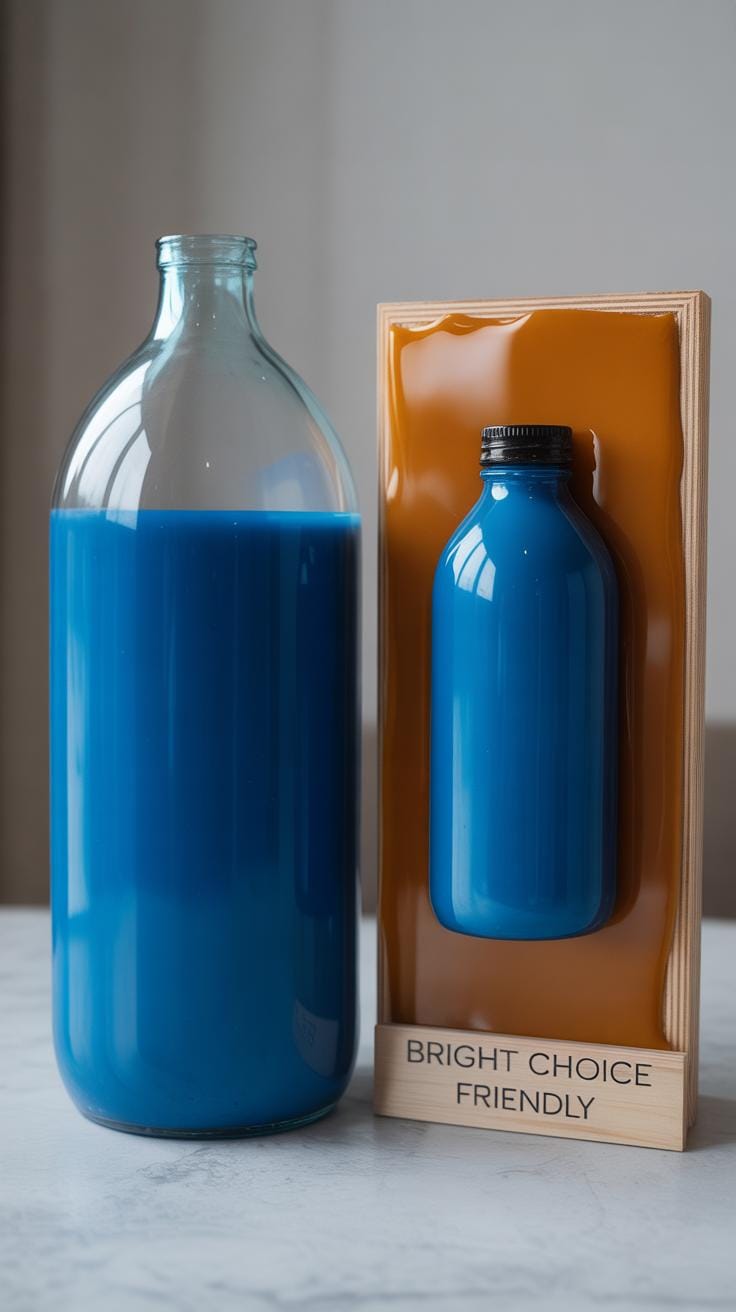

Picking your first epoxy resin might feel a bit overwhelming. You’ll find several types out there, and each kind behaves a little differently. There are fast cure epoxies that harden quickly—sometimes in 10 to 30 minutes—great if you want a quick finish or multiple layers in one day. But fast curing means less working time, so you might feel rushed, especially if you’re just starting. On the other hand, slow cure resins take hours or even a day to set. This longer open time lets you tweak your project, remove bubbles, or add details without panic. But patience is needed.
Some special varieties exist too—like UV-resistant formulas for jewelry or flexible epoxies better for surfaces that move. If your project involves wood, metals, or casting molds, look for types made specifically for those uses—they can prevent issues like yellowing or cracking later.
When buying, think about usability first. Is the mixing ratio simple? (I usually prefer 1:1 over 2:1 mixes—less chance for error.) Read safety warnings carefully. Resins can irritate skin or release fumes, so ventilation and gloves are musts. Don’t underestimate package size either. Large bottles might be tempting for future projects but can go bad if unused for a long time. Smaller kits may cost more proportionally but save you from waste or frustration.
Ask yourself: How patient are you? What’s your project size? Can you handle fiddly steps or want something straightforward? The right resin fits the project, your pace, and comfort with safety steps. There’s no perfect resin—it’s often about what suits you best right now.
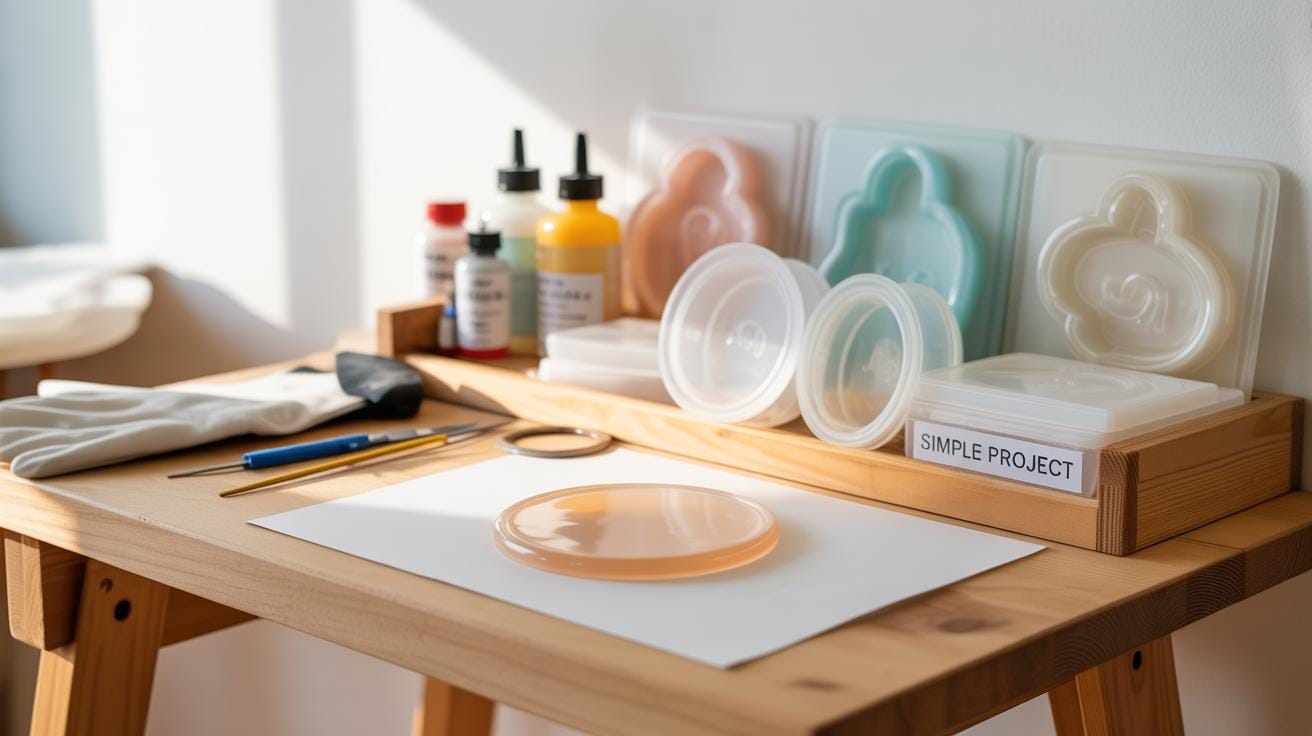
Essential Tools And Materials For Epoxy Diy
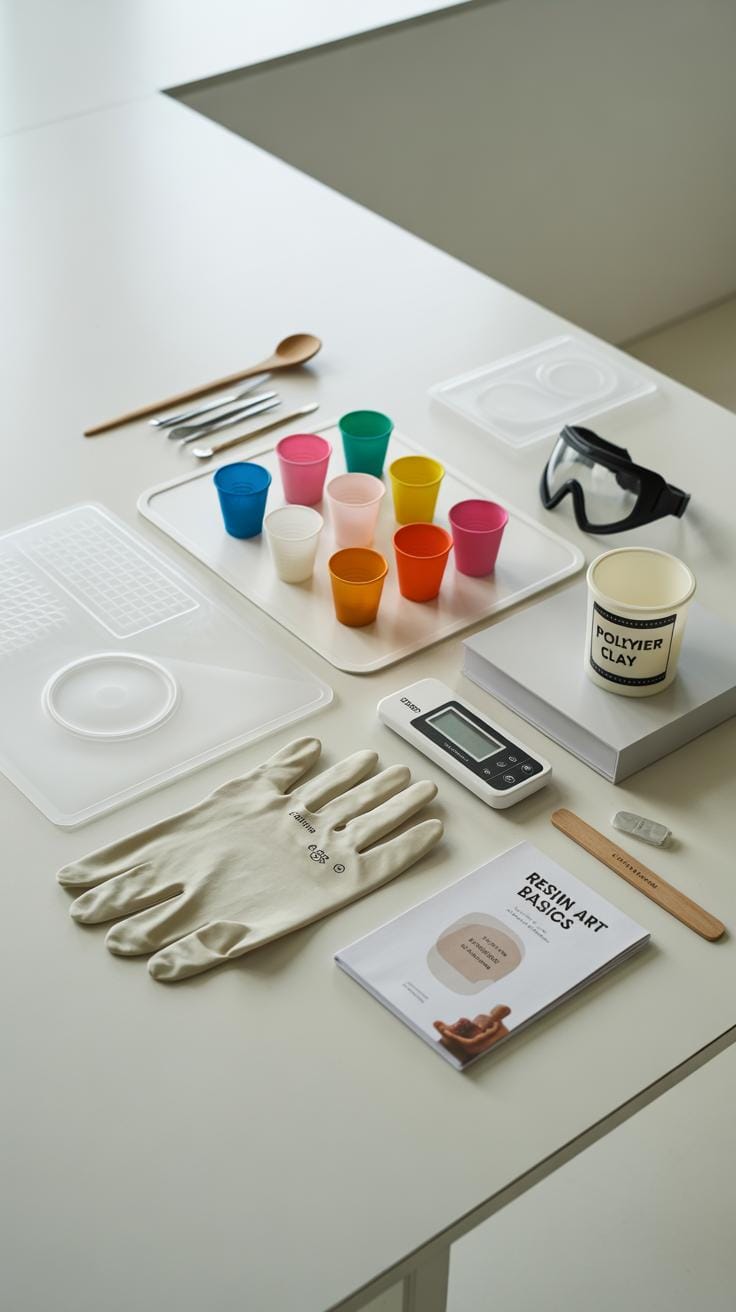
Basic Tools You Need

Starting with epoxy resin means gathering a few key tools before you dive in. You’ll want mixing containers—clear ones are best so you can see the consistency as you stir. Those plastic or silicone cups that you toss after use work fine.
Don’t skip gloves. Epoxy can stick to your skin in ways that are annoying and maybe even irritating. I learned that the hard way. Stir sticks are pretty basic but crucial; wooden sticks often work better than plastic since they don’t flex too much when mixing.
And, yes, safety gear too—at least safety goggles and a mask to avoid fumes. Even if your space is well ventilated, I think this is one spot you can’t be too careful. It might feel a bit much at first, but once you try it, you probably won’t want to skip protection again.
Optional Extras To Improve Your Work
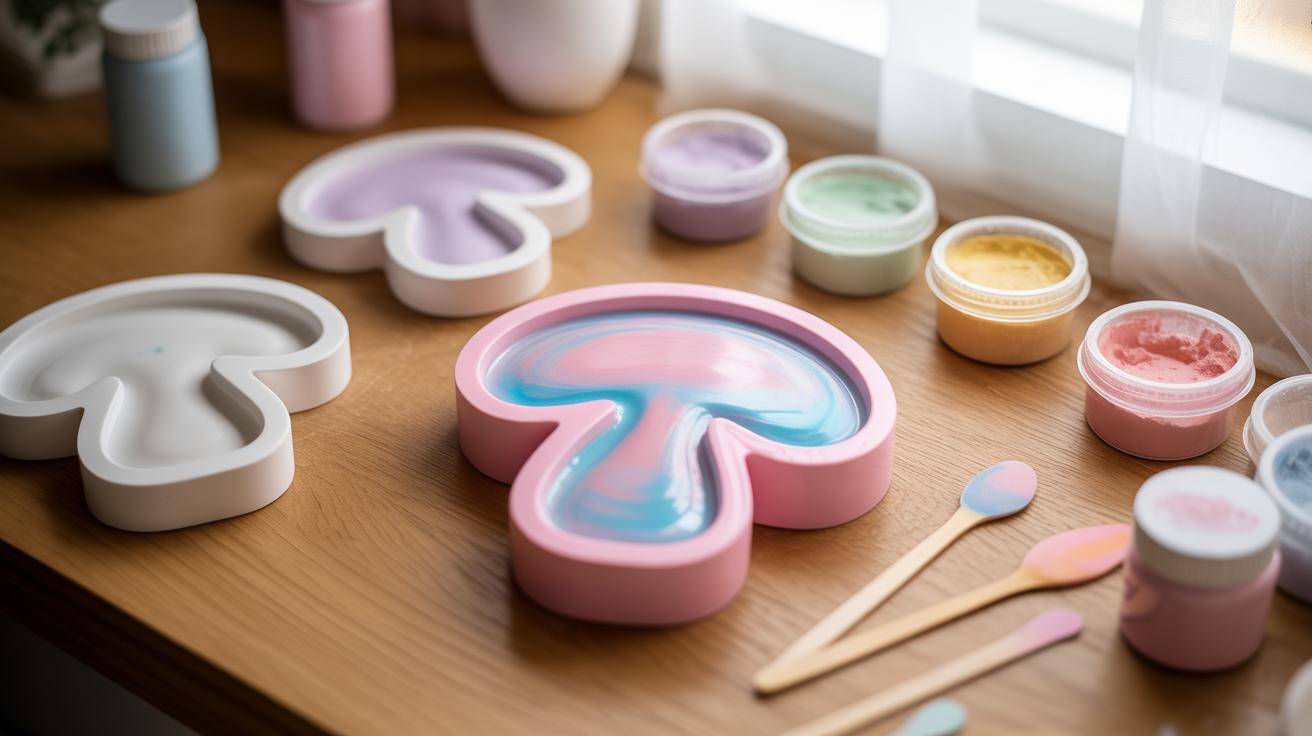
Once you have the basics, you might find a few extras helpful, depending on what you want to create. Silicone molds are fantastic if you want neat shapes or coasters. They make cleanup easier and help keeps your designs consistent.
Then there are pigments, dyes, or mica powders. Adding color is exciting, but be mindful—too much can affect how well the epoxy cures. I sometimes go a bit overboard with pigments, and the resin cures slower or remains tacky.
Sealers or clear topcoats can add a professional finish and protect your pieces from scratches or moisture. Not everyone uses them, but I found that sealing really enhanced my work’s durability, especially if it’s something functional like trays or countertops.
So, what tools or extras do you think you’d try first? It’s okay to keep it simple and add more as you go along—sometimes, less is more when learning something new.
Safety Tips When Working With Epoxy
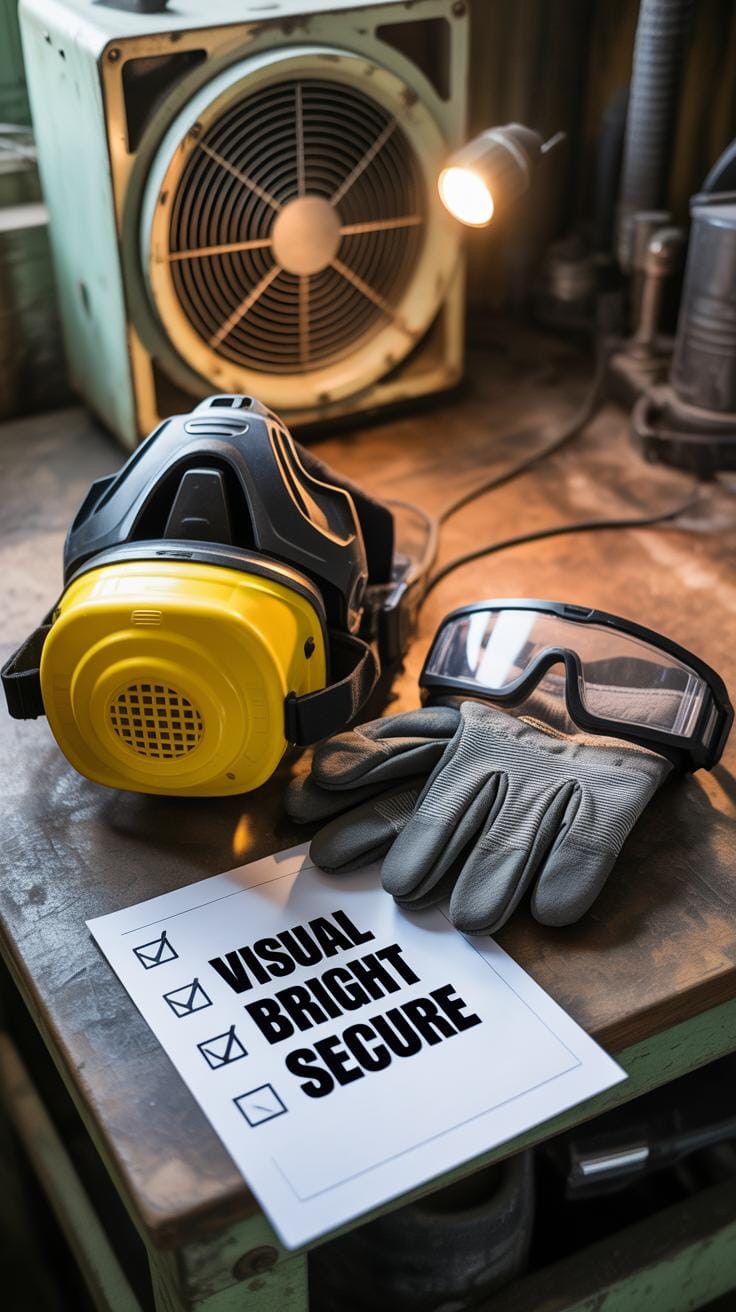
Working with epoxy resin is pretty rewarding, but it calls for some caution to keep yourself safe. First off, gloves are a must. The resin can irritate your skin, and while some might get away without gloves, why take the risk? Nitrile gloves work better than latex because they don’t let the chemicals soak through quickly. You might think a quick dab won’t hurt, but exposure adds up over time.
Masks are another good idea, especially if you’re mixing large batches or working in a spot that isn’t well-ventilated. Epoxy releases fumes that you really don’t want to breathe in. Even if you’re just making a small coaster, opening a window or using a fan makes a difference. I once ignored this and later regretted the headache that followed.
Handling epoxy carefully means measuring precisely and mixing slowly to avoid splashes. Spills can be tricky, so keep some paper towels and rubbing alcohol nearby for cleanup. Alcohol helps soften the resin before it cures, making cleanup easier. Clean your tools right away before the resin hardens; waiting too long turns it into a stubborn mess you can’t fix.
Think about where you place your project too. Too close to the edge of the table, and it might drip or fall. Protect surfaces with plastic sheets or disposable liners—the cleanup is less hassle that way. Safety isn’t just about gear; it’s about how you handle everything, from the moment you open the epoxy containers to the cleanup. Are you sure your workspace allows for that?
Preparing Your Workspace
Choosing where to work on your epoxy resin project is more important than you might think. You want a spot that’s well-ventilated since the fumes can build up quickly, even when following safety tips. A room with a window that opens or a fan nearby works well. I’ve tried cramped corners before, and it never feels quite right—airflow keeps things more comfortable and safe.
Surface protection is next. Epoxy doesn’t forgive spills. I usually cover my table with thick plastic or disposable paper. Sometimes, I find myself double-checking if every inch is covered because even a small drop can cause stains or sticky messes. You’ll want to avoid damaging your furniture or floors because cleaning resin off can be a headache.
Lighting is a big deal, too. You want bright, steady light—not just shadows from overhead bulbs. Natural light is great for seeing true colors and spotting bubbles or imperfections early. If your workspace is a bit dim, a desk lamp can fill in the gaps.
Now, when it comes to organizing, keep all your tools and materials within easy reach. This setup helps you stay focused and reduces the chance of knocking things over. For me, having measuring cups, stir sticks, gloves, and paper towels lined up neatly means fewer distractions and less fuss.
Think about potential accidents. Clear out clutter to avoid tripping or accidentally tipping resin containers. Sometimes I realize halfway through a project that I’ve crowded my workspace, making it harder to move smoothly. A tidy station allows for calm, thoughtful work—and less stress.
Do you notice how setting up your area changes the vibe of your project? It’s like giving yourself a fresh start, inside and out. Maybe your workspace will never be perfect, but it can be good enough to keep your resin work enjoyable and safe.
Mixing Epoxy Resin Correctly
Getting your epoxy resin mix right is one of those steps that seems simple but can trip you up if you’re not careful. The key is measuring the resin and hardener exactly as directed. Usually, this means a 1:1 or 2:1 ratio, depending on your product. Skipping this step or eyeballing it doesn’t usually turn out well—you’ll either get a sticky mess or a piece that won’t fully cure. I’ve learned the hard way that even a tiny mismatch can affect the final texture and clarity.
Once you have your portions, mixing needs patience. Stirring too quickly might feel tempting but pushing the process just causes bubbles. Try to stir slowly and steadily, scraping the sides and bottom. It’s worth stirring for about 3 to 5 minutes to ensure everything blends thoroughly. You might think you’re done earlier, but mixing thoroughly prevents uneven curing, which can ruin your project.

Also, keep an eye on your timing. After mixing, the resin starts its chemical reaction, so working quickly but carefully is crucial. Too short mixing or rushing might trap bubbles, yet overmixing isn’t a thing—just slow and steady does best. I often find that pouring just after mixing helps reduce bubbles before they rise to the surface.
So, measure carefully, mix slowly, take your time—these small steps shape your project’s success more than you might expect.
Simple Diy Epoxy Projects To Start
When you’re just getting your hands on epoxy resin, it’s easy to feel overwhelmed by all the possibilities. But starting with small, manageable projects can help you get comfortable with the material without stressing too much. Two of the most straightforward projects you could try are making basic coasters and crafting jewelry pieces. Both are fun, quick, and show you the range of what epoxy can do.
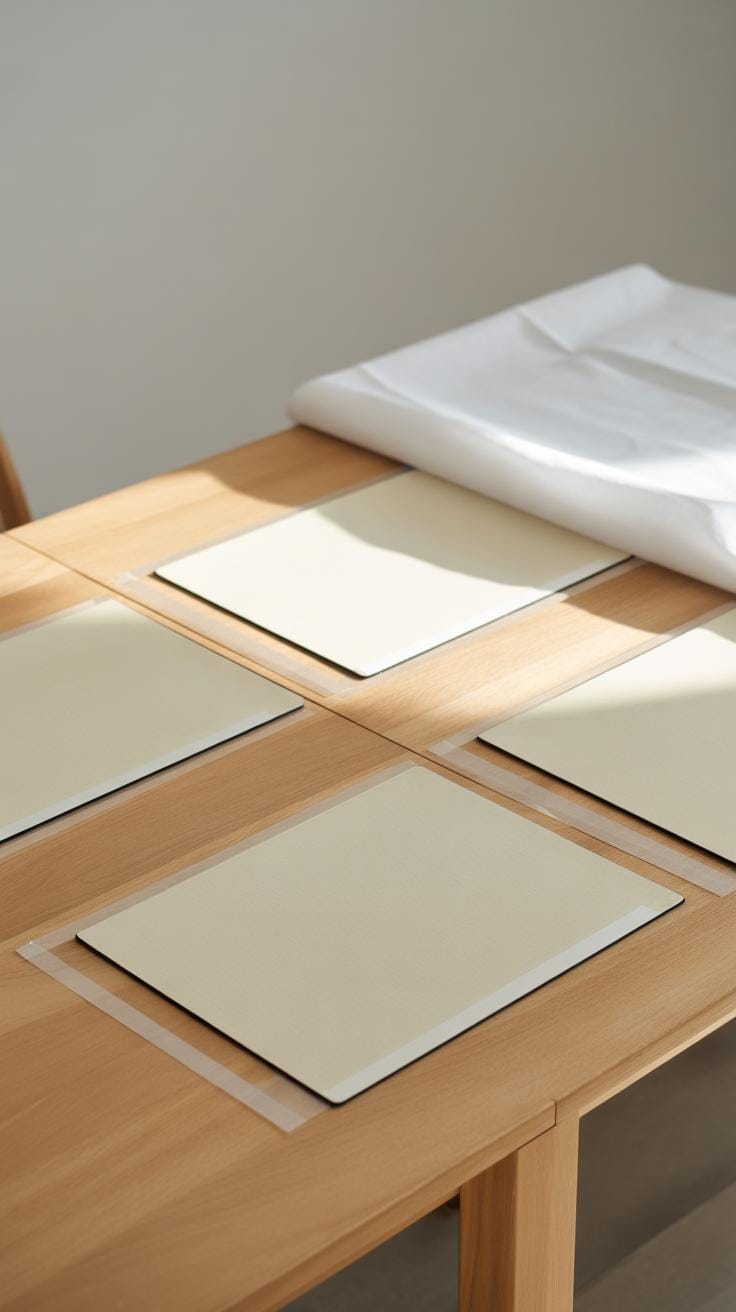
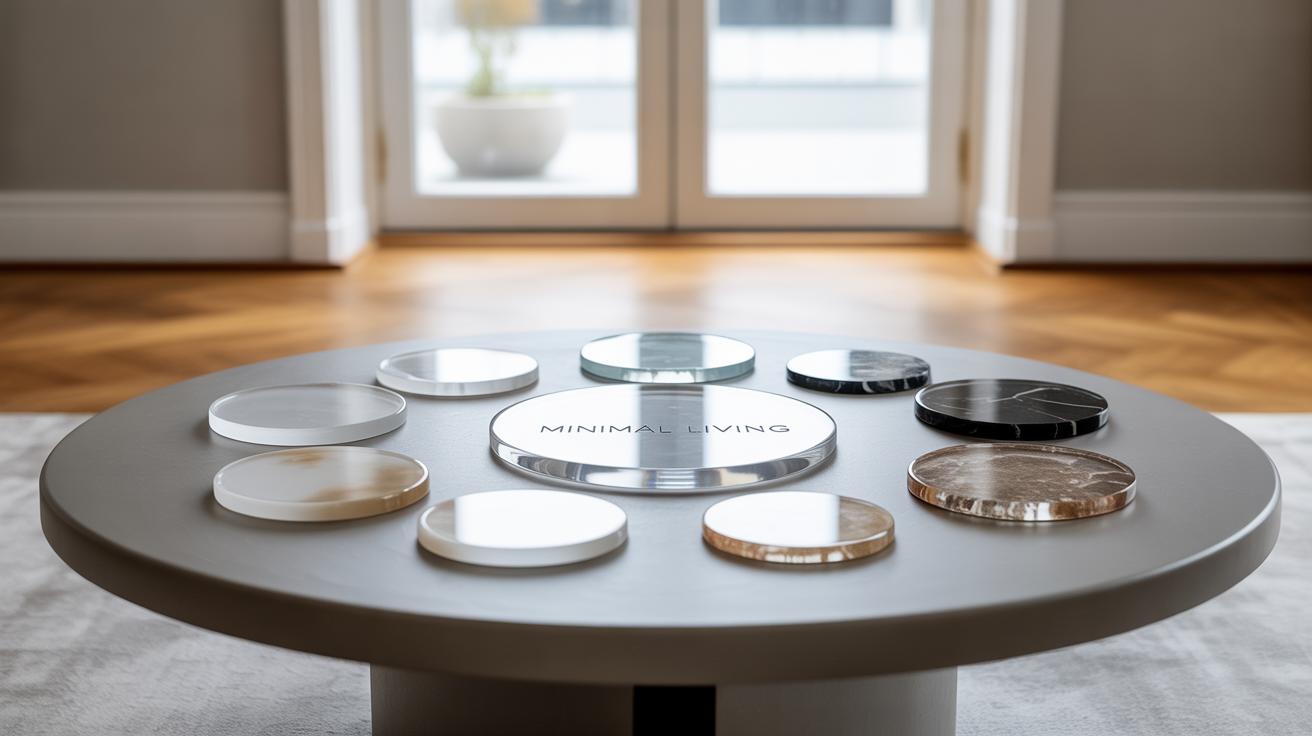
Creating Basic Coasters
Coasters are kind of the classic beginner epoxy project. They’re simple shapes, usually square or round, and you can customize them with colors, glitter, or small decorations like dried flowers or tiny beads. Here’s a rough idea of how you might go about it:
- Start with a silicone coaster mold or make a frame using tape and a flat surface.
- Mix your epoxy resin carefully following the right ratio.
- Add decorations or colors directly into the resin, or pour plain resin and add items after a bit of curing.
- Pour the resin into the mold, making sure no bubbles get trapped. You might want to pop bubbles with a toothpick or heat gun.
- Let it cure fully for 24–48 hours before unmolding.

Making these coasters might feel slow at first—but then again, watching the resin settle can be oddly satisfying. And if one doesn’t come out perfect? That’s okay. Every mistake teaches something. Plus, you end up with personal, handmade coasters that you can actually use or gift.
Making Jewelry Pieces
Jewelry is another approachable project with epoxy resin. Using small silicone molds shaped like pendants, rings, or earrings, you can create delicate pieces that look good with minimal experience. Here’s how you might do it:
- Choose or make your mold for the jewelry shape.
- Mix epoxy resin in a small batch to avoid waste.
- Add tiny inclusions like glitter, pigment, or even small photos before pouring.
- Carefully fill the mold, avoiding overflows.
- Allow the resin to cure thoroughly, usually a day or two.
- Once hardened, peel the piece out and optionally sand edges if needed.
A nice thing about jewelry is you can wear your art, and it sometimes encourages you to experiment more with effects and design. Maybe the first few pieces are simple, but soon you might find yourself layering colors or embedding unusual objects. It’s a small project but with room to grow, which I think is perfect when you’re just starting out.
Adding Colors And Effects
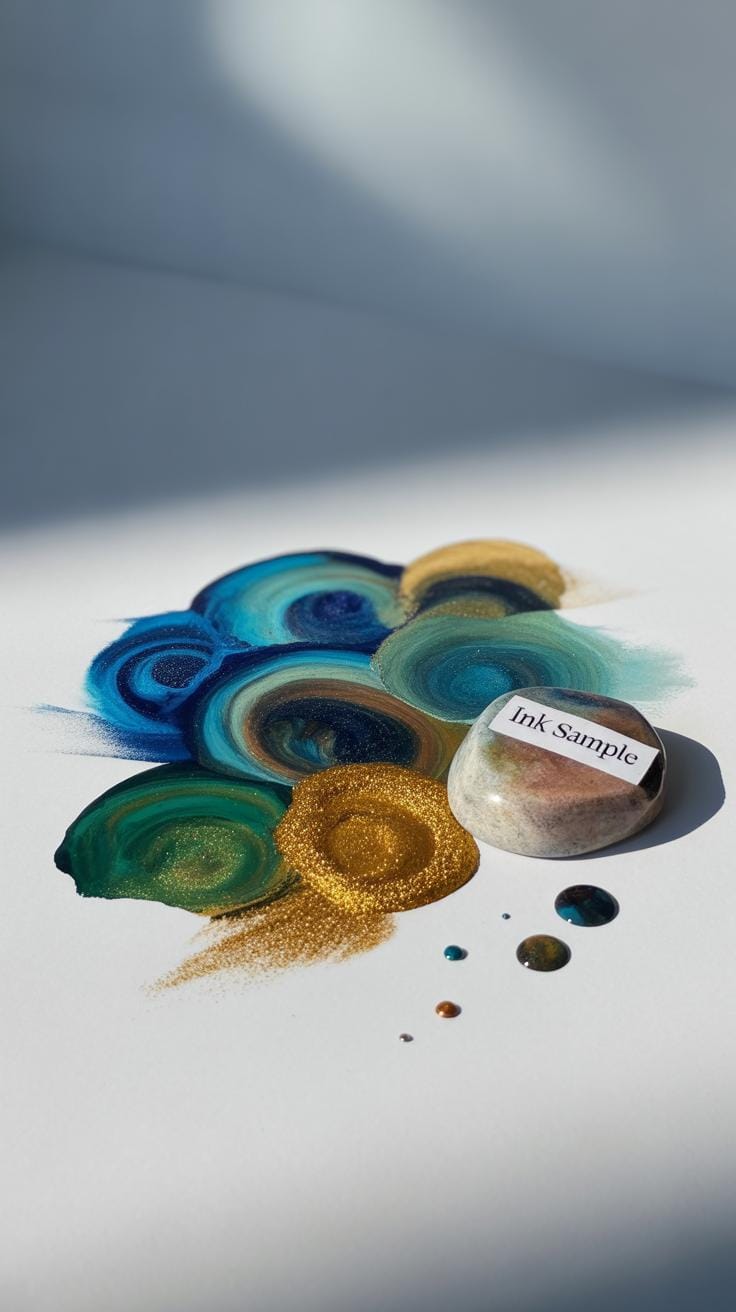
When you start working with epoxy resin, adding colors and effects can completely change the look of your project. It’s not just about pouring clear resin and waiting; playing with pigments and glitter opens up many possibilities. You might wonder how much pigment to add or how to avoid muddy colors. There’s no perfect answer, but a cautious approach usually works better—too much pigment can thicken the resin and affect curing.
Using Pigments And Dyes
Pigments come in powders, liquids, or pastes, and each behaves a bit differently when mixed. For beginners, powdered pigments are often easier—you just sprinkle a tiny bit into your resin and stir gently. Too much can make the color dense and less transparent, which might be what you want or not.
Dyes, especially liquid ones, blend quickly and produce translucent effects. Mixing different pigments to create new shades is fun, but keep track of your ratios if you want to replicate a color later—otherwise, you might get unexpected results. Sometimes colors shift as the resin cures, which is a bit frustrating but also part of the process.
Creating Textures And Layers
Layering is where you can really get creative. Pour a thin layer of clear or lightly colored resin, let it partially cure, then add glitter, small beads, or even dried flowers. The trick is in timing; waiting too long means the next layer won’t bond well, too soon might mix the layers unintentionally.
Textured effects are also possible by embedding small objects or using additives like mica flakes for a shimmery surface. You could experiment by gently swirling pigments or glitters within the resin before it sets, creating marbled or wave-like effects. Honestly, some trials might not look great the first time, but that’s part of learning and discovering what works for you. Have you thought about trying translucent layers with different tints to add depth? It’s surprisingly rewarding, even if a bit fiddly at first.
Finishing Touches For Your Projects
Sanding And Polishing
Once your epoxy project has fully cured, it’s time to focus on smoothing out edges and perfecting the surface. Sanding is key here. Start with a medium-grit sandpaper, say around 220, and gently work the surface or edges. Don’t rush—uneven pressure can cause more harm than good. If you find it tricky to keep a steady hand, take breaks and assess your progress. It’s normal for the sanding to produce some dust. Wearing a mask helps, just as a precaution.
After that, move to a finer grit like 400, then 600. The surface should start to feel smoother. For a really polished look, using a polishing compound with a soft cloth or buffing pad can bring out a nice shine. You might be surprised how much difference this makes—what looked dull becomes glassy. Some people skip polishing altogether, but it truly sets a project apart in terms of professionalism. If you want to go further, a rotary tool with polishing pads can help, but it’s optional.
Applying Protective Coatings
Although epoxy itself is pretty durable, some prefer an extra layer of protection. Varnishes or sealers can help prevent scratches and yellowing, especially on pieces exposed to sunlight or heavy use. Water-based polyurethane is a common choice—easy to apply and it dries fast. Sometimes a spray-on clear sealer feels more convenient.
When should you apply these coatings? Ideally after all sanding and polishing is done and you’re happy with the finish. Ensure the surface is clean and dust-free. Lightly wipe with a tack cloth. Then apply the coating in thin, even layers. Thick coats can bubble or drip, so patience matters here.
Remember, adding extra coats might improve protection but can change the look slightly, maybe a bit less glossy or with a slight haze—something to test before committing. Do you want to keep the original resin glow, or are you okay with a softer sheen? The choice is yours.
Troubleshooting Common Epoxy Problems
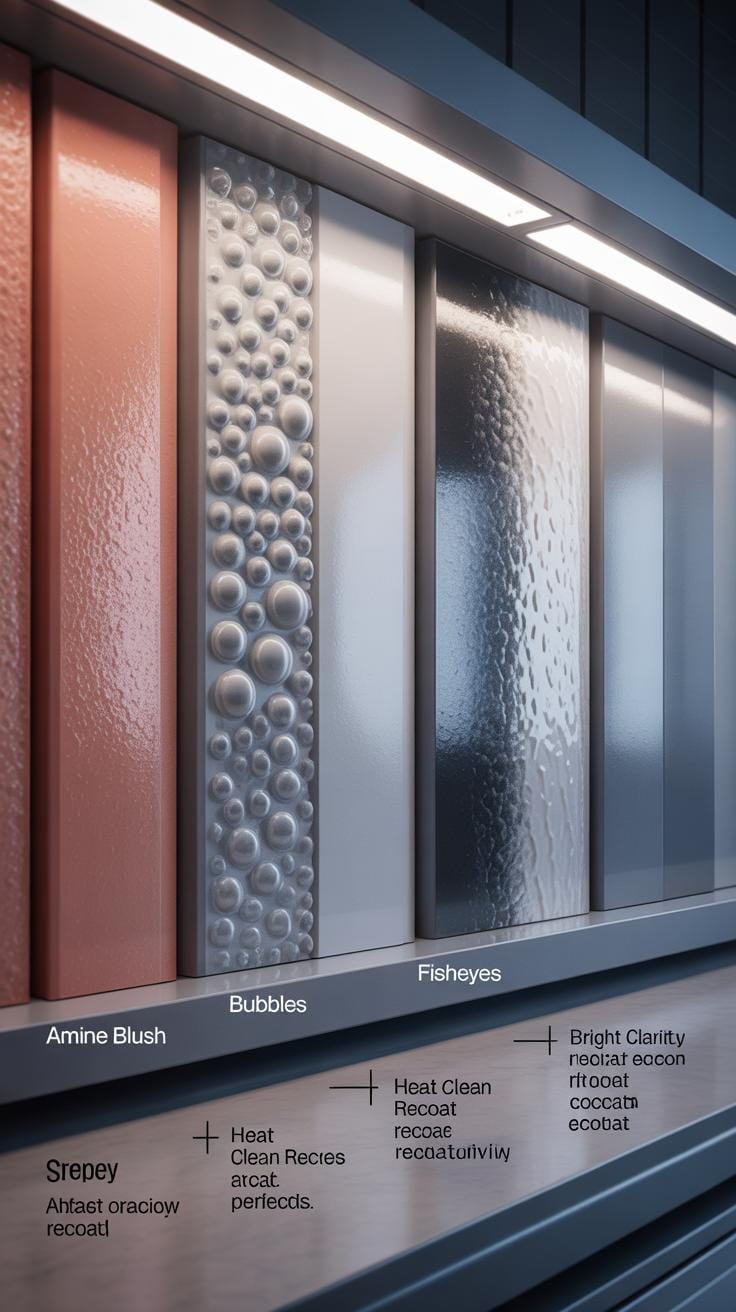
Working with epoxy resin isn’t always as smooth as you’d hope. Bubbles, sticky patches, or uneven surfaces can sneak into your project and test your patience. When bubbles appear, they usually form when mixing introduces air or if the resin is stirred too aggressively. To reduce this, try mixing slowly and steadily. Warming your resin and hardener slightly before mixing can help lower viscosity, making bubbles less likely.
If bubbles do show up, you can gently pass a heat gun or even a kitchen torch over the surface to pop them. Just keep it moving so you don’t scorch your piece. Some folks swear by blowing gently with a hairdryer on low heat, though I’m a little cautious about airflow disturbing resin too much.
Sticky resin—yeah, that’s frustrating. If your project feels tacky after curing, it might be because the resin didn’t get the right mixing ratio, or it was applied too thickly in cool, humid conditions. One time, I left mine overnight with a window open, and it never fully hardened. Usually, curing again with a fresh mixture over the tacky layer can seal things, but too thick a layer might trap sticky resin underneath.
When resin doesn’t cure properly, ask yourself: did you measure carefully? Is the temperature too low? Resin prefers warm spaces, around 70-75°F, ideally. Also, old or expired resin can lose its hardening power. I’ve seen projects just sit sticky because the resin was past its prime. Sometimes, waiting longer helps, but sometimes it won’t—then you might need to strip the piece or add a new layer.
Troubleshooting epoxy can feel a bit like guesswork, but paying close attention to your environment and process will steer you right most of the time. It’s rarely perfect the first run, and that’s okay.
Conclusions
Working with epoxy resin can be a rewarding experience. You learn new skills, make unique items, and enjoy a hands-on activity. Remember to choose the right materials and follow each step carefully to get the best results. You do not need to be an expert; anyone can start with simple projects and improve over time.
Now that you know the basics and the steps to follow, you can pick a project and start. Keep practicing and trying new techniques. Soon, epoxy resin DIY projects will become an exciting and creative part of your life.


