Introduction
Resin design has become a favorite for people looking to add unique touches to their rooms. This material allows you to create beautiful, durable, and customized pieces. From furniture to wall art, resin works well in many ways. You can find many ideas that fit your style and your room’s needs.
In this article, you will learn different resin design ideas that can uplift any room’s look. We will explore how resin works, ways to use it, and tips to make the best of it. Whether you want something simple or bold, resin designs offer plenty of options for you to try.
What Is Resin and Why Use It
Resin is a kind of synthetic material that starts out liquid and hardens into a solid when mixed with a catalyst or exposed to certain conditions. It’s been around for decades, but only recently has it caught on with designers and DIY enthusiasts. I guess part of its appeal comes from how flexible it is—you can pour it, shape it, cast it, or coat surfaces with it.
There are different types of resin, each with its quirks and uses. Epoxy is probably the most popular in home design. People use it for making countertops, tabletops, and even art pieces. Polyester resin has been the classic go-to for boat repairs and outdoor projects because it dries fast but smells strong. Polyurethane is a bit more niche but often pops up where you want something really tough and resistant, like floor coatings or sealants.
So why has resin become such a favorite in design projects? One reason is its versatility—no other material allows this kind of creativity mixed with real function. You can embed objects, create layers, or get a glass-like finish. And it’s durable: resistant to scratches and most liquids, which matters a lot in kitchens or bathrooms. But beyond that, resin lets you tweak every detail, from color to texture. You don’t need vast skills, just patience and a little practice.
Types of Resin Commonly Used
When people talk about resin in design, they usually mean one of these three:
- Epoxy Resin: Clear or tinted, epoxy is widely used for furniture surfaces or art because it cures slowly, giving time to work and fix mistakes. It’s glossy and strong but can yellow over time if exposed to too much sunlight.
- Polyester Resin: Faster curing and less expensive than epoxy, polyester has a distinct chemical smell and isn’t quite as clear. It’s common in molding and repair jobs, like fixing damaged plastic or making casts.
- Polyurethane Resin: This one’s tough, flexible, and less brittle when cured. People often use it for industrial applications but also for coatings on floors or walls that need to endure traffic or moisture.
Each type has its place, so it’s worth thinking about the end use before choosing. For example, I tried polyester on a small project once because it seemed quicker, but I wasn’t thrilled with the smell or finish. Epoxy felt safer for indoor use.
Benefits of Resin in Design
Resin offers several clear benefits that explain its popularity in modern home design:
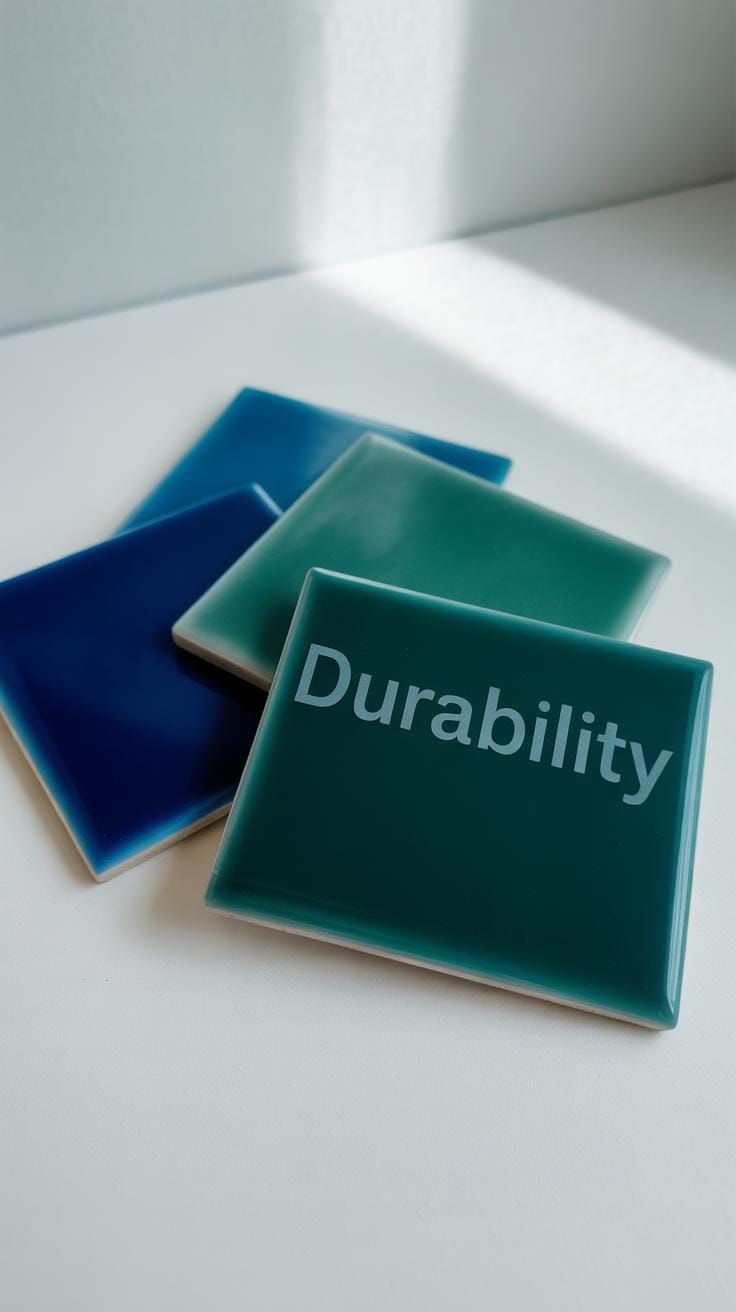
- Durability: Once cured, resin withstands scratches, stains, and water better than wood or paint, making it ideal for high-use areas.
- Customization: You can add pigments, dyes, glitter, or even embed objects like leaves, photos, or coins. This level of personalization is hard to match with other materials.
- Visual appeal: Resin can mimic glass, ice, or smooth stone, creating interesting textures and finishes that enhance a room’s look without extra maintenance.
- Seamless application: It creates smooth, continuous surfaces without visible joins, which can make spaces look cleaner and more modern.
- Ease of maintenance: Cleaning resin surfaces usually just means wiping with a damp cloth—no special treatments required compared to natural materials.
Still, resin isn’t perfect. It can be sensitive to UV light (depending on type) and might yellow over time. Sometimes it’s tricky to work with until you get a feel for how it cures. But if you’re willing to experiment, resin could open up a whole range of creative and practical design options you might not have considered before.
Basic Resin Design Techniques for Beginners

Mixing and Preparing Resin
When you first try resin, the mixing part might seem tricky. You typically combine a resin with a hardener in a specific ratio, usually one-to-one or two-to-one, depending on the brand. Measuring accurately matters—a lot. Too much hardener or resin will affect curing, sometimes making the finish sticky or soft.
It’s best to mix slowly by stirring gently; fast mixing creates bubbles that can ruin your piece. I remember my first attempt—I stirred like crazy, thought it would speed things up, but ended with a ton of tiny bubbles trapped inside. Taking your time really pays off.
You’ll want to mix thoroughly but avoid whipping air in. After mixing, let the resin sit a few minutes. This pause helps bubbles rise to the surface, ready to pop before you pour. It’s a small step, but it matters more than I expected.
Common Tools Needed
Starting with resin, you don’t need a lot of fancy equipment, but certain basic tools are essential. Here’s what you want on hand:
- Molds: Silicone molds are great because resin comes out easily.
- Measuring Cups: Make sure these are disposable or easy to clean since resin sticks hard.
- Stir Sticks: Wooden or plastic sticks work well for mixing without adding bubbles.
- Protective Gear: Gloves and a respirator or mask keep you safe from fumes and sticky resin.
- Heat Gun or Torch: Handy for popping bubbles after pouring, but use carefully.
Other optional items include silicone mats for work surfaces and toothpicks to swirl colors or fix small imperfections. The gear isn’t complicated, but skipping safety measures—believe me, I learned that the hard way—can make your experience unpleasant. Resin crafting isn’t just about making things look good; it’s also about working smart and careful.
Resin Furniture Ideas That Impress

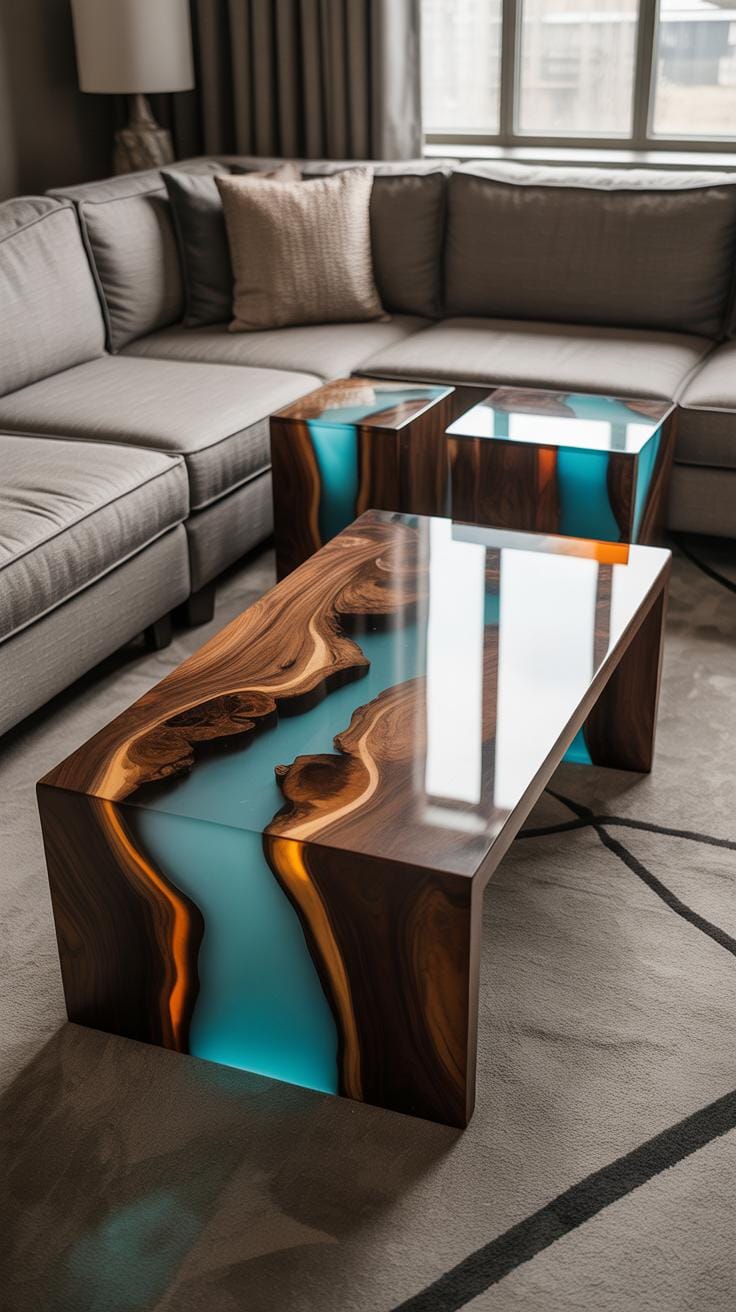
Resin has this cool ability to turn ordinary furniture into something that catches your eye without being loud. When you think about tables, for example, resin can be poured over wood with a natural edge, trapping colors or even tiny objects inside. Many coffee tables use river designs—where a strip of resin flows between planks of wood—and honestly, that look can work in both modern and rustic rooms. Sometimes a desk with a resin inlay doesn’t just look good; it feels smoother to touch and is easier to clean, which is something I always appreciate.
It’s not just the surfaces where resin shines. Chairs and shelves can get a whole new vibe when you add a resin coating or decoration. A glossy resin layer can protect painted or stained surfaces and bring out colors with a depth that regular varnish can’t match. Some artists even embed small items, like pressed flowers or metallic flakes, on chair backs or the edges of shelves before sealing them with resin. That step takes a piece from functional to a bit of a conversation starter.
If you want to try this at home, start simple. You might pour resin onto a wooden chair seat or the face of a shelf to create a shiny, durable surface. Or, experiment with just small resin accents—like resin-filled grooves or shapes applied on flat surfaces. Each approach adds personality and can make old furniture feel new again. Ever wonder how something so clear can create such an impact? That’s the kind of question resin furniture keeps teasing out.
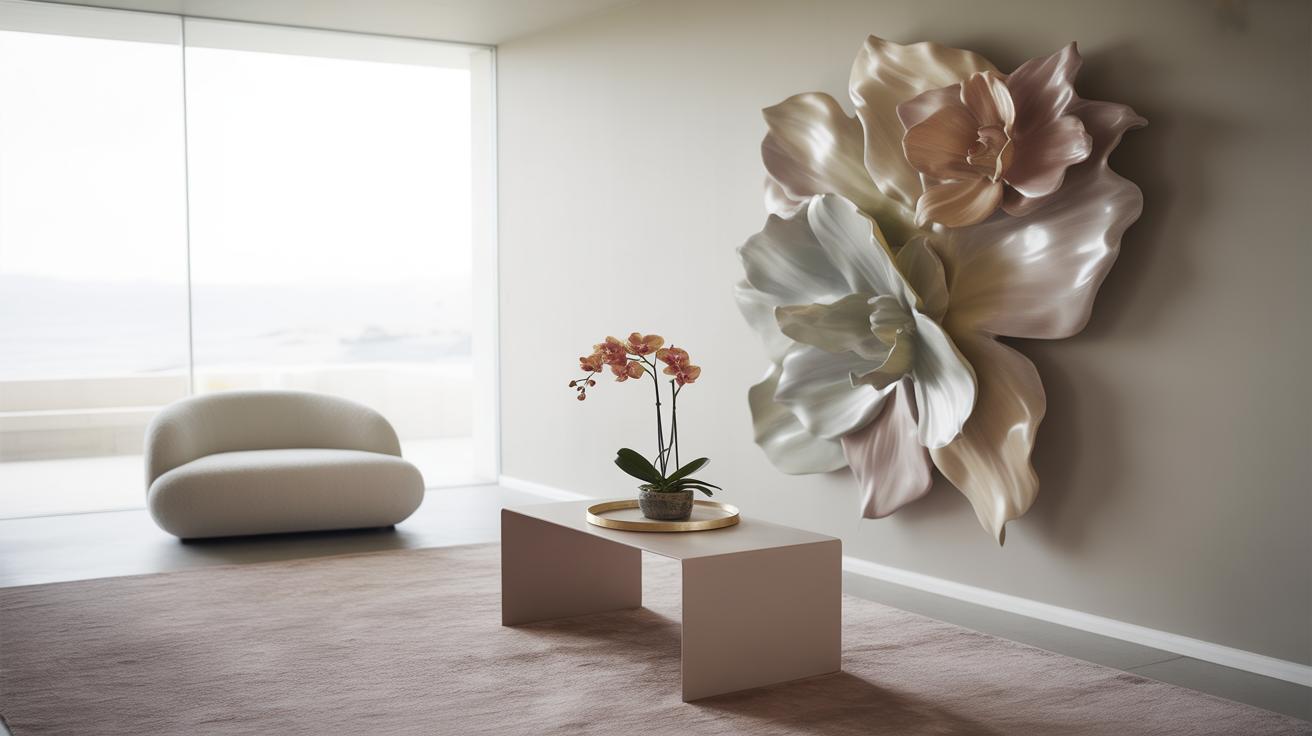
Creating Resin Wall Art and Decorations
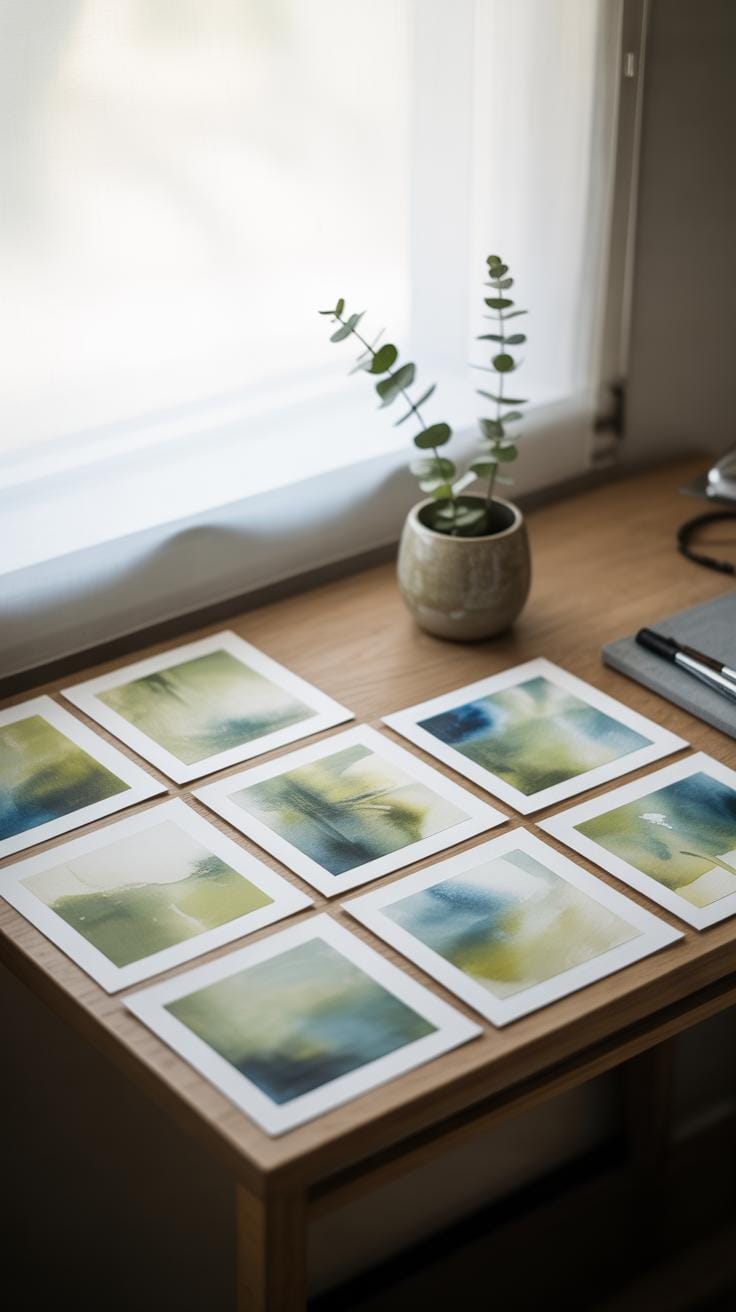
Using resin for wall art can change the whole vibe of a room. You might start with simple resin paintings or flat panels. These usually involve mixing pigments or dyes into clear resin and pouring it over a surface like canvas or wood. The result? A glossy, layered piece that feels almost alive. Sometimes, letting the resin flow naturally creates interesting shapes and textures you wouldn’t get with traditional paint. It’s tempting to control every detail, but a bit of unpredictability often adds character.
For making resin paintings:
- Prepare your base—canvas, wood panel, or anything rigid enough to hold the resin.
- Mix resin with colorants, then pour it slowly, allowing colors to blend or remain separate depending on your aim.
- Use a heat gun or torch briefly to remove bubbles and encourage movement.
- Layer colors in stages if you want depth, waiting between pours.
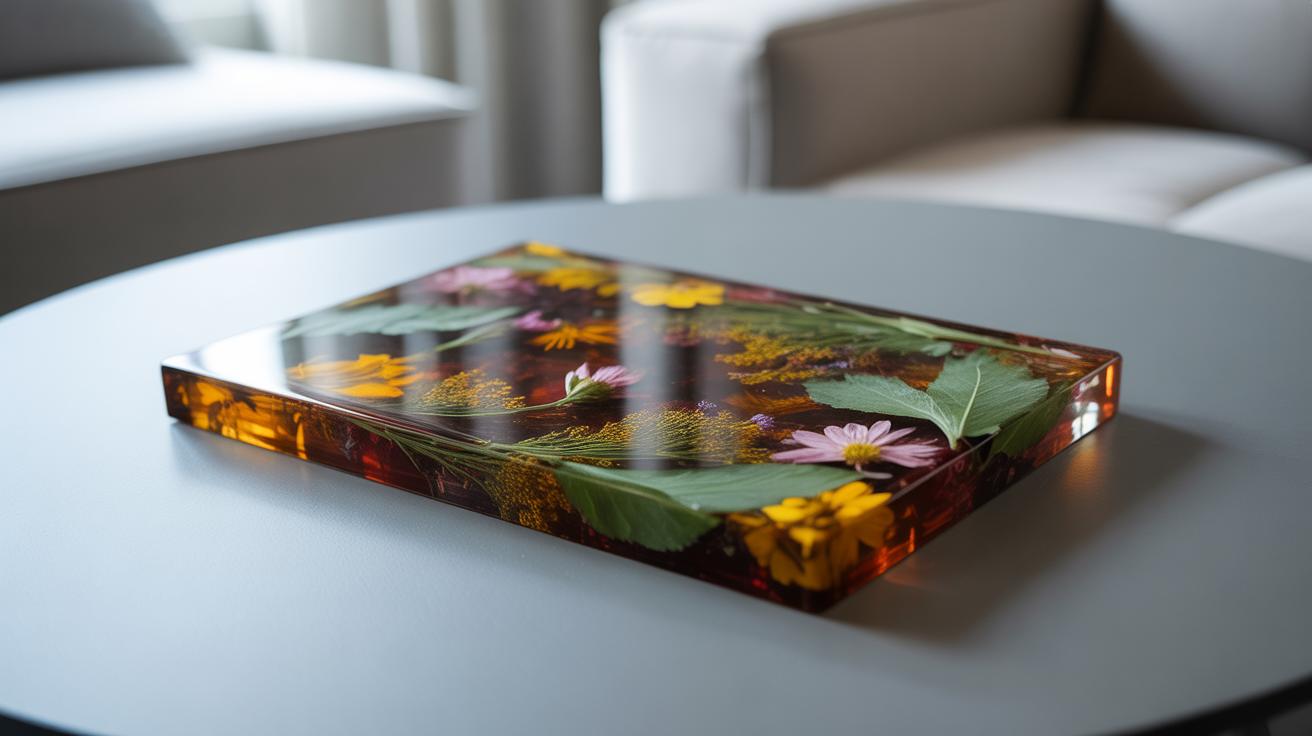
Combining resin with other materials opens even more doors. Embedding wood slices, stones, or metal objects inside resin can create dimensions and textural contrasts that catch the eye. For example, a wood panel partially submerged in resin preserves the organic feel while adding a smooth, shiny surface. Metal flakes or wires give a hint of shine and modernity, balancing natural materials.
Mixing resin and wood often reminds me of river tables, but applied vertically it makes striking panels. Stone embedded in resin looks like frozen fragments, while metal can suggest movement or frame sections subtly. It’s about what mix suits your style and space—sometimes just a small accent is enough.
Have you tried combining resin with unexpected materials? The mix can bring surprises, like how textures interact under the glossy resin layer. Resin art isn’t just about looks; it’s about tactile qualities and how pieces relate to the room around them.
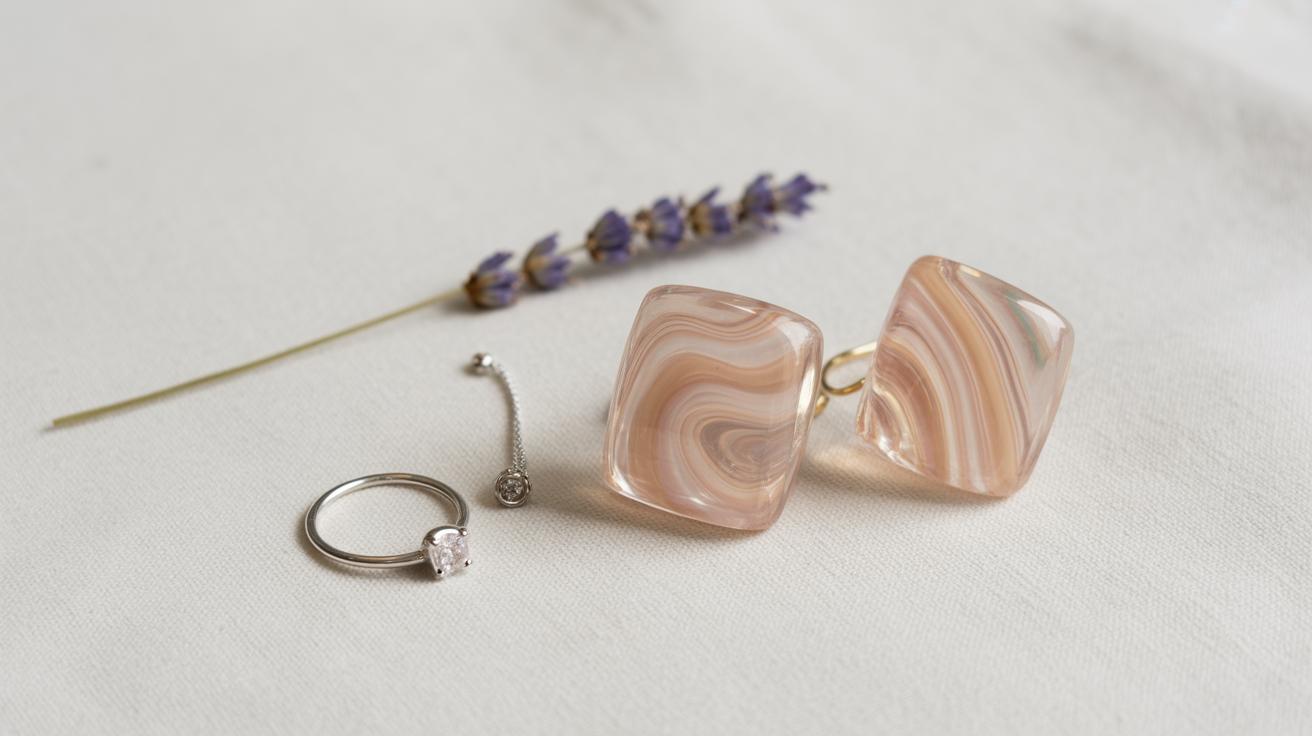
Personalized Resin Coasters and Trays
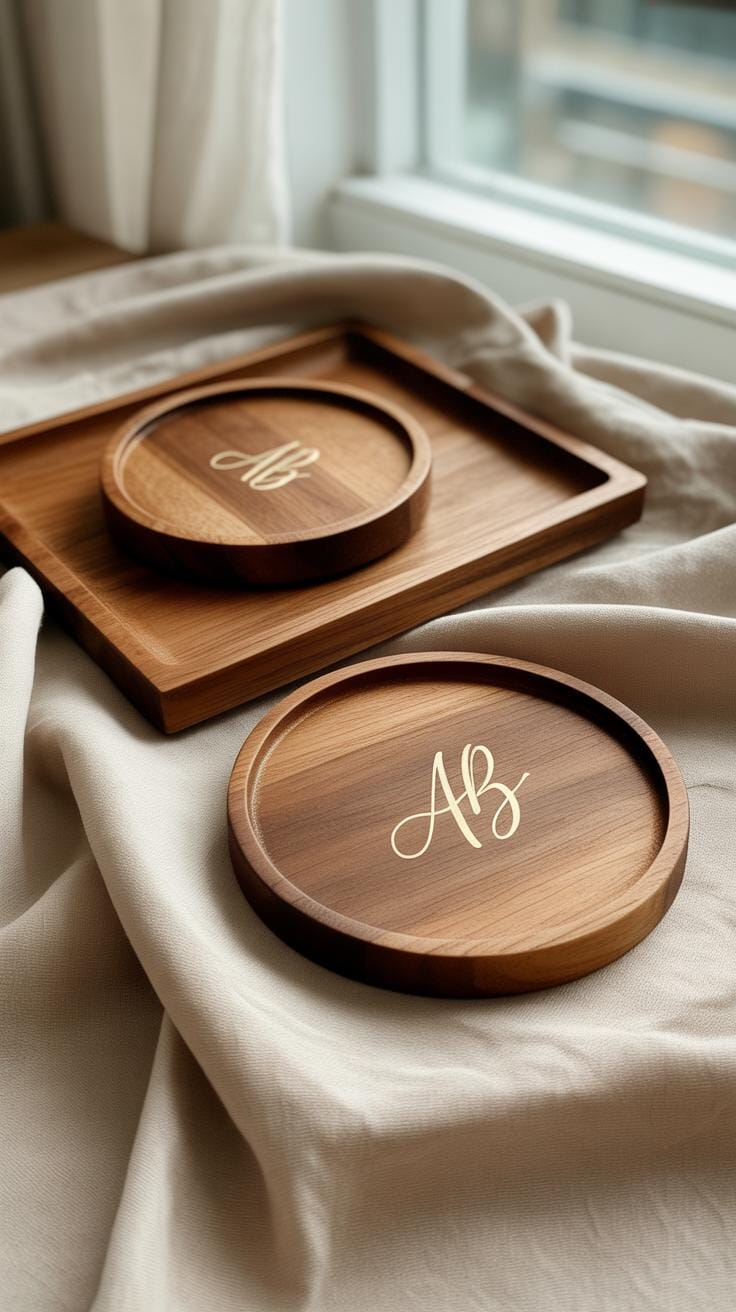
Small resin projects like coasters and trays offer a surprisingly good way to add personality to your space. They don’t take up much room but can speak volumes about your style, taste, or memories.
Design Ideas for Resin Coasters
When making resin coasters, you have quite a few creative options to explore. Embedding small objects is popular—think dried flowers, tiny shells, or even colorful beads. Sometimes, layering different items in clear resin creates depth, but it might feel a bit overwhelming if overdone. Patterns can also bring a simple but striking effect.
Try mixing geometric shapes with transparent layers or pouring resin in swirls to catch the light oddly. Textured coasters, like those with embedded sand or glitter, offer a tactile charm that’s often overlooked. And if you like personal touches, incorporating initials or small hand-painted designs before sealing with resin can make them feel truly yours.
Making Serving Trays with Resin
Resin trays provide both function and flair. Start with a wooden or acrylic base that fits your room’s vibe—maybe a rustic wood slab or a sleek black rectangle. Pour a clear resin layer, or tint it lightly to echo your color scheme.
Embedding objects that relate to the room’s theme can pull the design together. Picture a tray with tiny coffee beans embedded for the kitchen or soft moss and pebbles for a nature-inspired living room. For a neat effect, pour resin in sections, allowing layers to dry between pours. It takes time, but the result often feels more intentional and custom.
One odd thing I noticed is that the drying process can sometimes alter embedded items’ colors, which might be frustrating yet adds character in unexpected ways. If you want to protect surfaces while using your tray, consider adding a coat of non-slip resin or attaching rubber feet underneath. Practical and pretty—resin trays can be both everyday and a bit special. They might even spark a conversation or two.
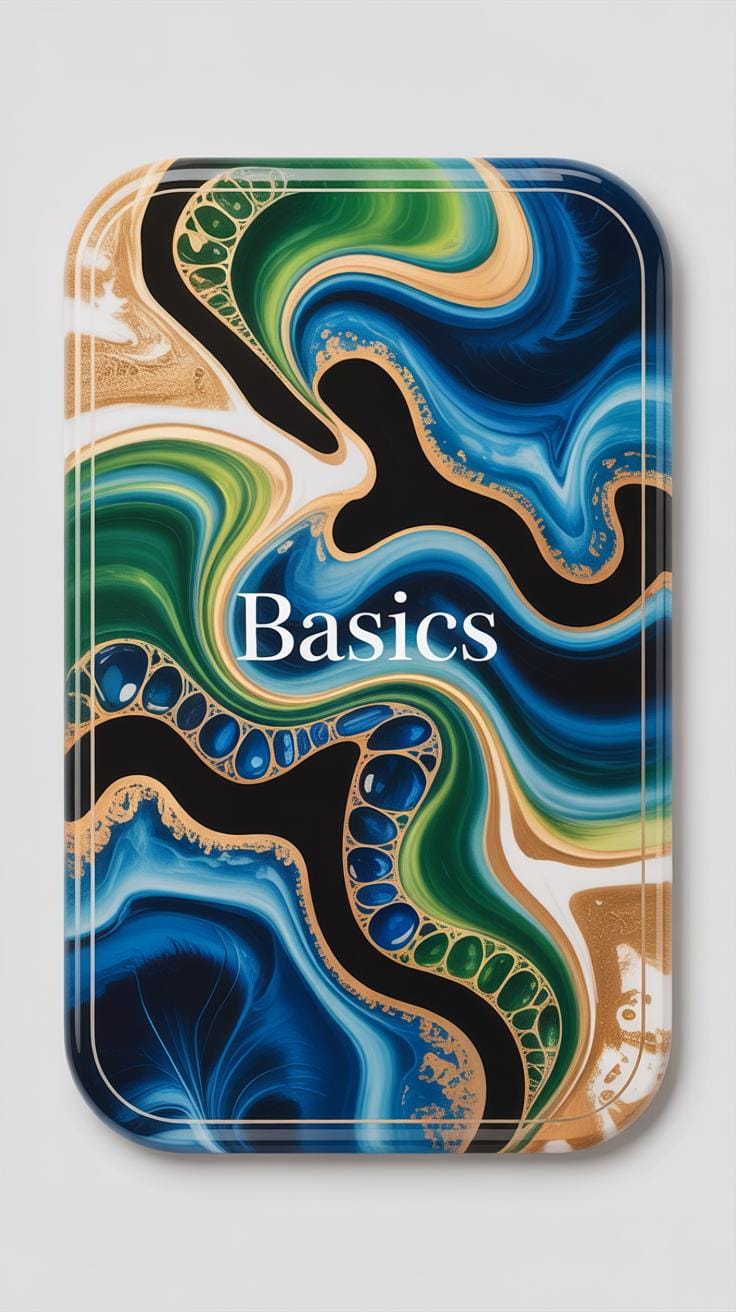
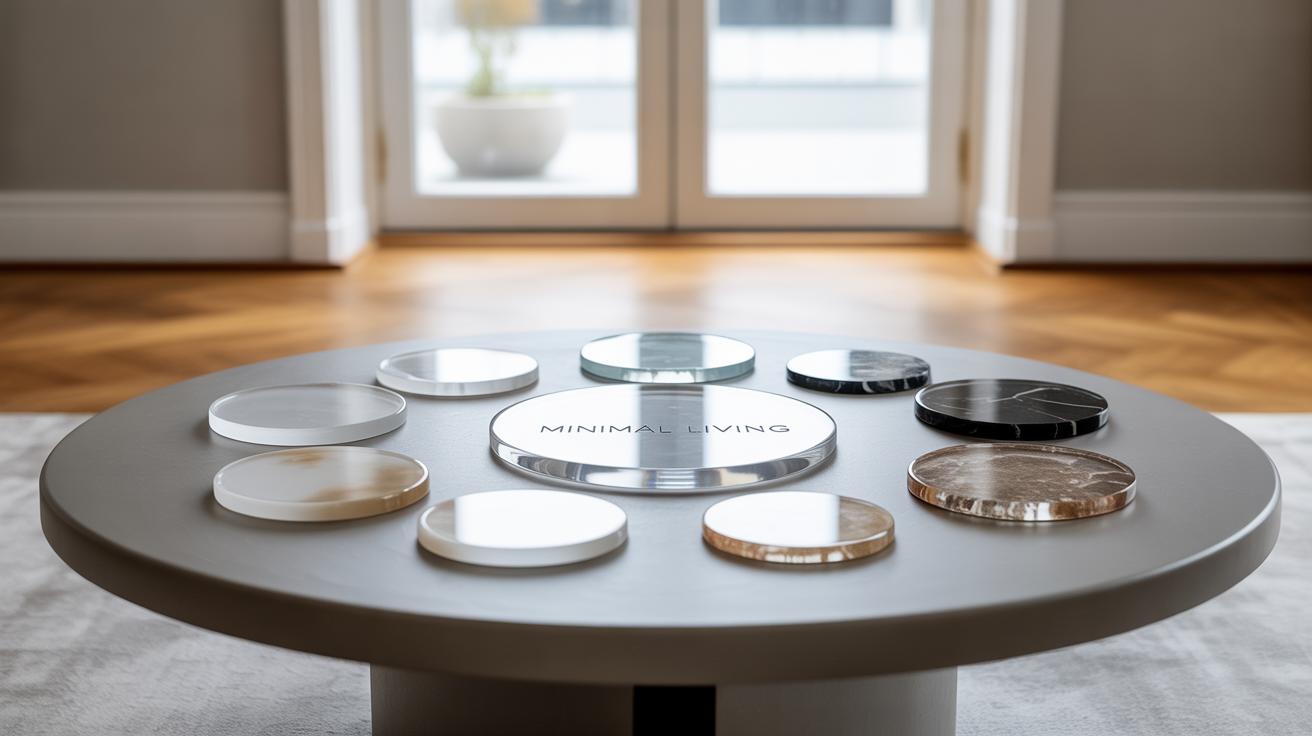
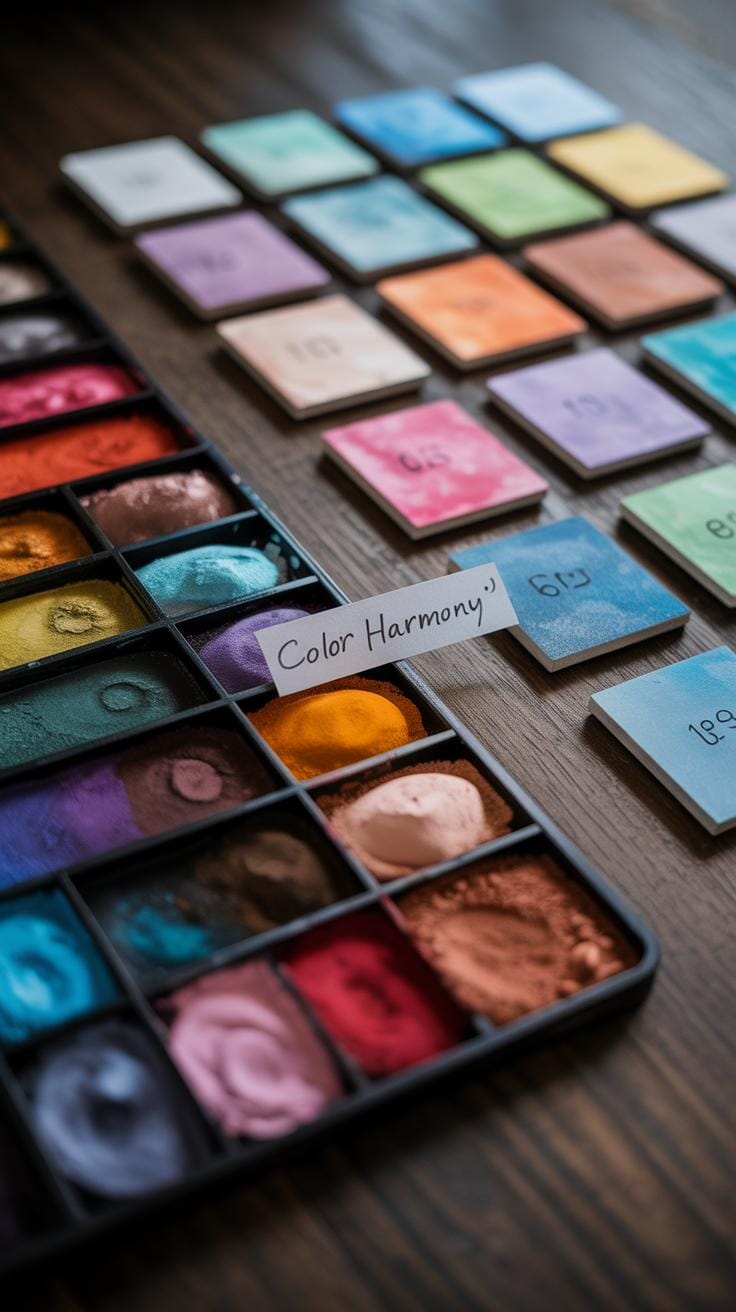
Using Color and Effects in Resin Design
Choosing Colors for Your Room
Picking resin colors that actually fit your room isn’t always straightforward. You might think matching the resin exactly to your walls or furniture is the safe bet, but sometimes a subtle contrast works better. For example, in a mostly neutral room, a soft pastel resin can add just enough warmth without overwhelming the space.
Consider the lighting in your room, too. Resin’s glossy surface can make colors appear brighter or darker than you expect. I once chose a deep blue for a resin tray, but it looked almost black under warm light—something I hadn’t fully anticipated. So, testing small samples before committing can save a lot of guesswork.

Think about which colors create the mood you want. Calm blues and greens for relaxation, maybe bold reds or yellows to energize. Sometimes, layering translucent tints gives that depth you can’t get with paint alone.
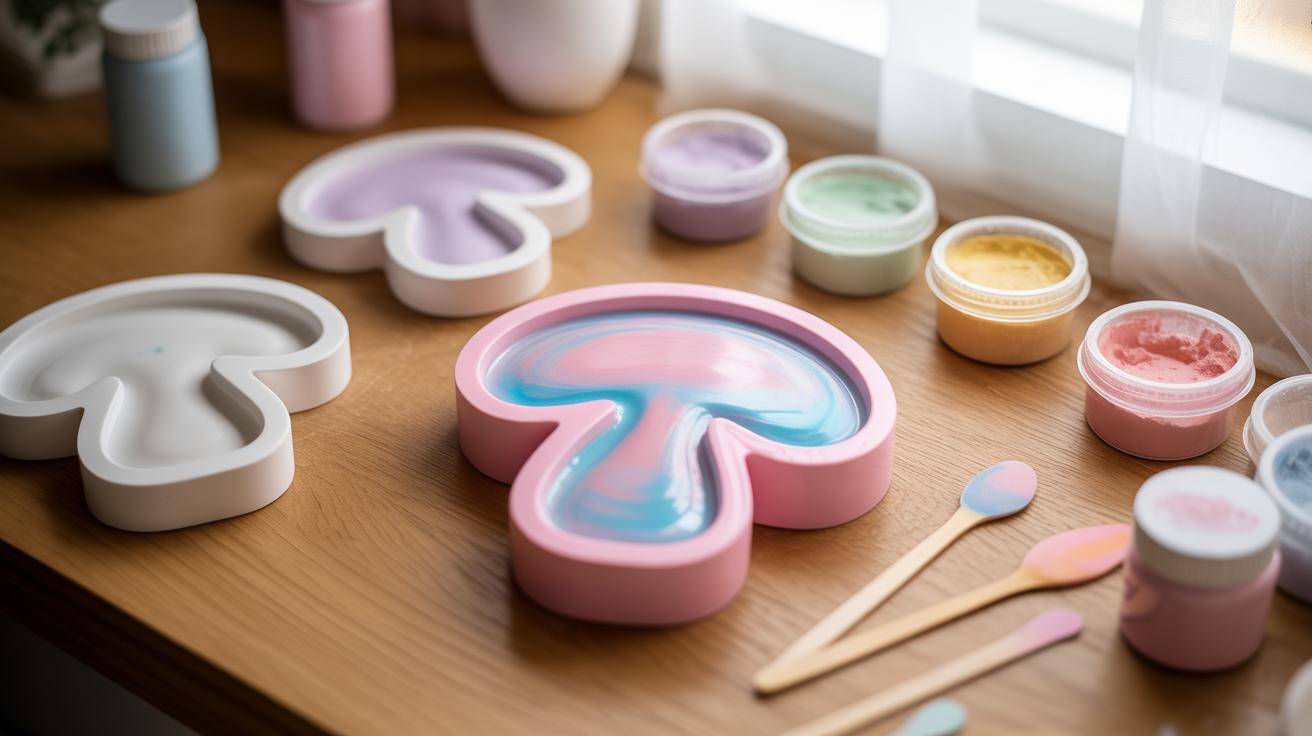
Adding Glitter and Metallics
Glitter and metallic powders can transform resin from plain to striking—but the key is in the dose. Too much glitter and the piece feels cluttered; too little and it’s barely noticeable. The shimmer changes as you move around the piece, which can be pretty captivating.
Metals like gold, copper, or silver powders add a dimensional shine that catches light differently than regular pigment. I remember using bronze powder in a resin countertop project; the metallic tended to settle slightly, giving a natural, almost stone-like character.
Try mixing powders with transparent resin layers rather than opaque colors. That way, you get that subtle sparkle beneath the surface, not just on top. And always stir gently—vigorous mixing can create unwanted bubbles or clumps in the metallics.
Maintaining Resin Pieces for Long Life
Cleaning Resin Surfaces
Cleaning resin furniture and decor isn’t as tricky as it might seem, but it does require some care. You want to avoid harsh chemicals that could dull or damage the surface over time. Usually, a soft cloth dampened with warm, soapy water does the trick. Mild dish soap works well, just enough to lift dust and light grime without being abrasive.
Try not to soak resin pieces or let water sit on them for long. Wiping gently in circular motions helps keep the finish smooth. If there’s stubborn residue, something like isopropyl alcohol on a soft cloth can be used sparingly—but test a small spot first, just to be safe. I found this method works well for tabletops, but on smaller decorative objects, a quick dust can often be enough.
Avoiding Damage and Scratches
Resin looks durable, yet it scratches more easily than you might expect. Protecting resin surfaces means thinking ahead. Use coasters or placemats under plates and glasses; this saves you from little rings or scratches you might barely notice at first.
Placing felt pads under furniture legs is a simple, overlooked tip that stops scratches on your floors and protects the resin from friction. Avoid dragging resin pieces across rough surfaces. Even a tiny grit trapped underfootwear or objects can leave marks. Sometimes, clear resin tops can be almost too smooth, causing items to slide—so adding a little grip here or there can help.
Sometimes I wonder if the shine of resin tricks people into thinking it’s tougher. It’s tempting to place heavy or sharp items directly on it, but these can leave permanent marks. Careful handling goes a long way.
Have you noticed how a minor nick or scrape can feel like a big deal on resin? Treat it gently from the start, and you’ll keep your pieces looking fresh for years.
Safety Tips for Working with Resin

Working with resin can be a bit tricky when it comes to safety. You may be tempted to dive right in, but taking a moment to set some ground rules can save you from unwanted problems later. Resin emits fumes that aren’t exactly pleasant or safe to breathe for long periods. Plus, it’s sticky and can irritate your skin. So, you want to be cautious.
One basic safety rule is to always read the instructions on your resin kit carefully. They’re there for a reason, even if you think you know what you’re doing. Don’t rush mixing the parts either—getting the proportions wrong not only ruins your project but could cause excessive fumes. And, try to keep resin away from children and pets. You never know when mishaps happen.
Protective Gear You Should Wear
When it comes to gear, there are a few essentials you shouldn’t skip. Gloves, for example—a pair of nitrile gloves usually works best. They prevent resin from sticking to your skin, which can be irritating or cause allergic reactions over time. Latex gloves are common, but not always reliable, as resin can seep through.
Then, you’ll want a mask. A simple cloth mask won’t cut it. Look for a respirator with organic vapor cartridges or at least a well-fitted mask specifically designed to filter out chemical fumes. Even if you don’t notice the smell bothering you, the fumes can still affect your lungs gradually. Eye protection can help too. Goggles or safety glasses keep resin droplets out of your eyes—something I learned the hard way.
Safe Workspace Setup
Setting up your workspace might feel like extra trouble, but it really pays off. Aim for a well-ventilated area—open windows, use a fan to push air outside if you can. Avoid working in tight, unventilated rooms where fumes can build up. Also, cover your surfaces with disposable plastic or silicone mats that you don’t mind getting messy.
Keep your resin and hardener containers firmly closed when you’re not using them. This reduces fumes and prevents spills. Avoid food or drinks nearby; it’s better not to risk contamination—plus, resin tastes awful, I’d imagine. And, have a trash bag or container handy for used mixing sticks and paper towels. You don’t want clutter or accidental contact while working.
Would you try mixing resin in your garage or kitchen? I’d lean toward the garage or outdoor porch, to keep fumes away from living spaces, but that’s not always possible. Just be sure you’re ready to pause if the smells become overwhelming or you feel dizzy or irritated. Your health has to come first with projects like this.
Choosing the Right Resin Supplier

What to Look for in Resin Suppliers
Picking a resin supplier isn’t just about finding the lowest price or the prettiest packaging. It starts with checking the quality of the resin itself. You want clarity, consistent curing times, and a resin that doesn’t yellow quickly—these factors show up only with reliable products. Look for detailed product descriptions. If a supplier provides clear instructions, safety data sheets, and curing guidelines, that usually reflects confidence in their product.
Customer reviews can be revealing but don’t take them at face value. Sometimes, even well-rated products can have odd users who misunderstand how to handle resin—so scan reviews for recurring issues rather than isolated complaints. Do they mostly mention ease of use, how the resin behaves, and the finish quality? Those points matter.
Then there’s responsiveness. Try contacting the supplier with a question. Are they helpful and prompt? That can save you headaches later on.
Cost vs Quality in Resin Products
Budget is real, especially with bigger projects, but cutting corners can backfire. Cheaper resins might have shorter pot lives or cure unevenly, making your work look rushed or flawed. Sometimes, paying more upfront means less waste and fewer ruined pieces.
Still, expensive doesn’t always mean better. Some mid-range brands deliver good consistency without the premium price tag. Maybe try small test batches before committing to large quantities. That way you can balance cost and quality more safely.
Ask yourself: Do you prioritize perfect finishes, or is a bit of imperfection okay? Your answer might shift how much you’re willing to invest. It’s a personal call but being aware helps prevent impulsive buys that end up disappointing.
Inspiring Resin Design Ideas for Every Room
Resin Ideas for Living Rooms and Bedrooms
In living rooms, resin can add a unique vibe, especially if you want something different yet subtle. Think about resin coffee tables with embedded natural elements like leaves or small stones. These pieces often become a conversation starter without overwhelming the space.
Resin side tables or lamp bases can bring a modern touch, and because resin can mimic glass or wood, it fits various styles. In bedrooms, resin headboards or decorative trays on dressers add a personal feel. You might even try incorporating resin wall art, where colors flow together unpredictably — it’s something you don’t see every day.
One thing I’ve noticed is that these resin pieces age well. They don’t scratch easily, which is great in a busy living room or bedroom. Yet, there’s a slight gamble with colors; what feels fresh now can look a bit dated later. But maybe that’s part of the charm.
Resin Designs for Kitchens and Bathrooms
Kitchens and bathrooms are practical spaces, and resin offers solutions that merge function and style. For instance, resin countertops are popular because they resist stains and heat better than some materials. Plus, you can customize the design — swirling colors or even embedded herbs can make your kitchen uniquely yours.
In bathrooms, resin works wonderfully for sinks or vanity tops. Unlike porcelain, resin allows shapes that aren’t standard, offering smooth, flowing edges. The waterproof nature is a clear advantage here. A resin backsplash also adds a splash of color and is easier to clean than tile grout.
Still, there’s a delicate balance. Resin can show scratches over time, especially with heavy use. So, choosing a finish that matches usage patterns is key. But one thing’s for sure: resin lets you break away from the typical white or tiled surfaces, giving your spaces a bit of personality without losing practicality.
Conclusions
Resin design offers many practical ways to improve your room’s appearance. You can create personalized and lasting decorations and furniture pieces. By understanding the material and current trends, you can choose ideas that suit your style and space.
Try experimenting with resin in your home to experience its benefits firsthand. Remember, unique resin designs can change a room’s feel without needing major changes. Use the tips and ideas discussed here to start your resin project and enjoy a fresh, creative space.


