Introduction
Resin jewelry DIY ideas for trendy looks are a fun and creative way to make your own accessories at home. Resin is a versatile material that can be shaped into beautiful pieces by mixing it with color, glitter, or small objects. Making resin jewelry lets you enjoy a craft project while creating unique items that fit your personal style.
This article will take you through everything you need to know about resin jewelry DIY. You will learn about the materials needed, techniques to use, and tips to design trendy and beautiful jewelry. Whether you’re a beginner or already crafty, these ideas will inspire you to make your resin jewelry collection.
Understanding Resin And Its Types
Resin, in simple terms, is a liquid substance that hardens into a solid form through a chemical process. When it comes to jewelry making, resin’s appeal lies not just in its glossy finish but also in how it can capture tiny objects, colors, or textures inside a clear or tinted shell. This ability to suspend and preserve materials makes resin uniquely suited for creative expression, but also practical because of its toughness.
There are a few key types of resin used in DIY jewelry, each with its own quirks:
- Epoxy Resin: A favorite among hobbyists due to its clarity and relatively long working time, making it easier to mix inclusions or pigments carefully. You generally mix two parts—the resin and the hardener—and it cures over several hours or days depending on the formula.
- UV Resin: This type cures quickly when exposed to UV light or sunlight. It’s perfect for small projects or quick fixes, but working time is tight, so precision is necessary. The finish is usually shiny and clear.
- Polyester Resin: Less common in casual crafting but still used by some for its hard, durable finish and lower cost. It cures faster than epoxy but can emit stronger fumes, so ventilation is key. Also, it tends to yellow with time, so it’s less ideal if you want long-lasting clarity.
Each resin type brings its own balance of ease, cure time, and finish. If you’re just starting out, epoxy or UV resin often feels less intimidating. But working with resin is often a bit trial and error—so experimenting might be the best way to find what clicks for you.
Gathering Materials And Tools
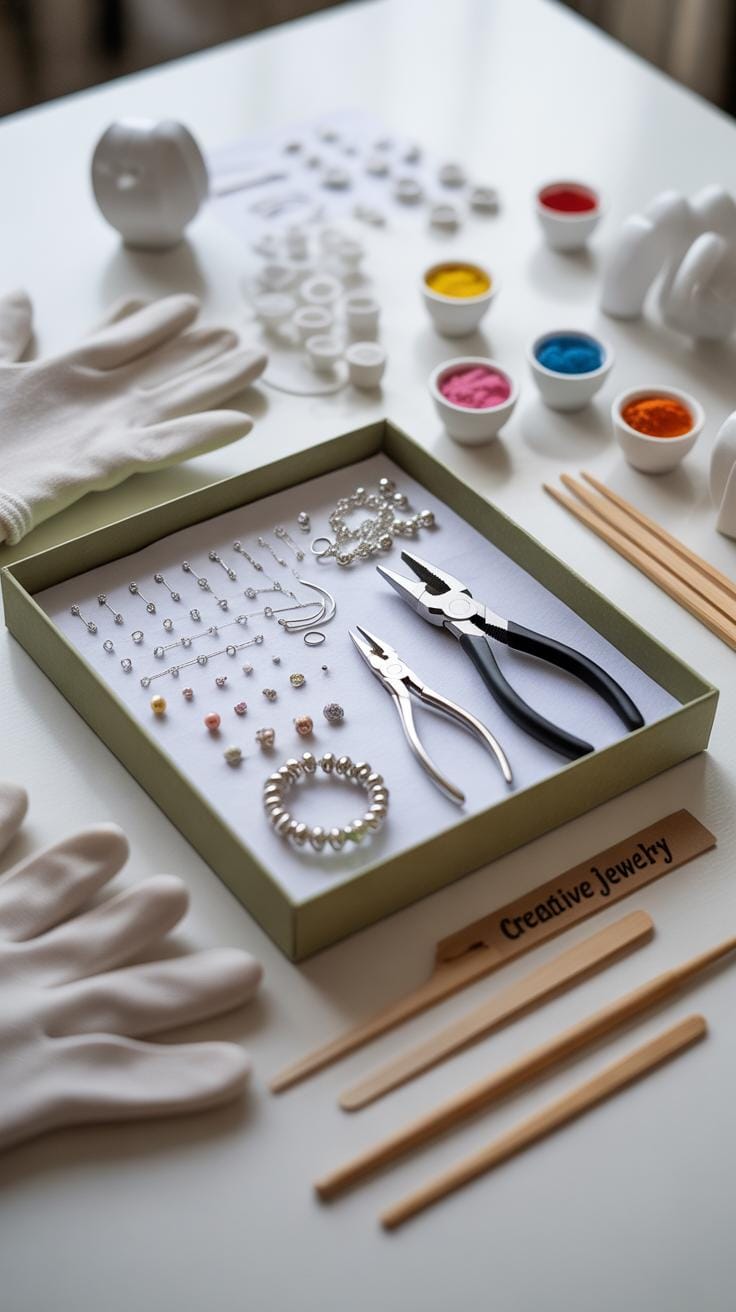
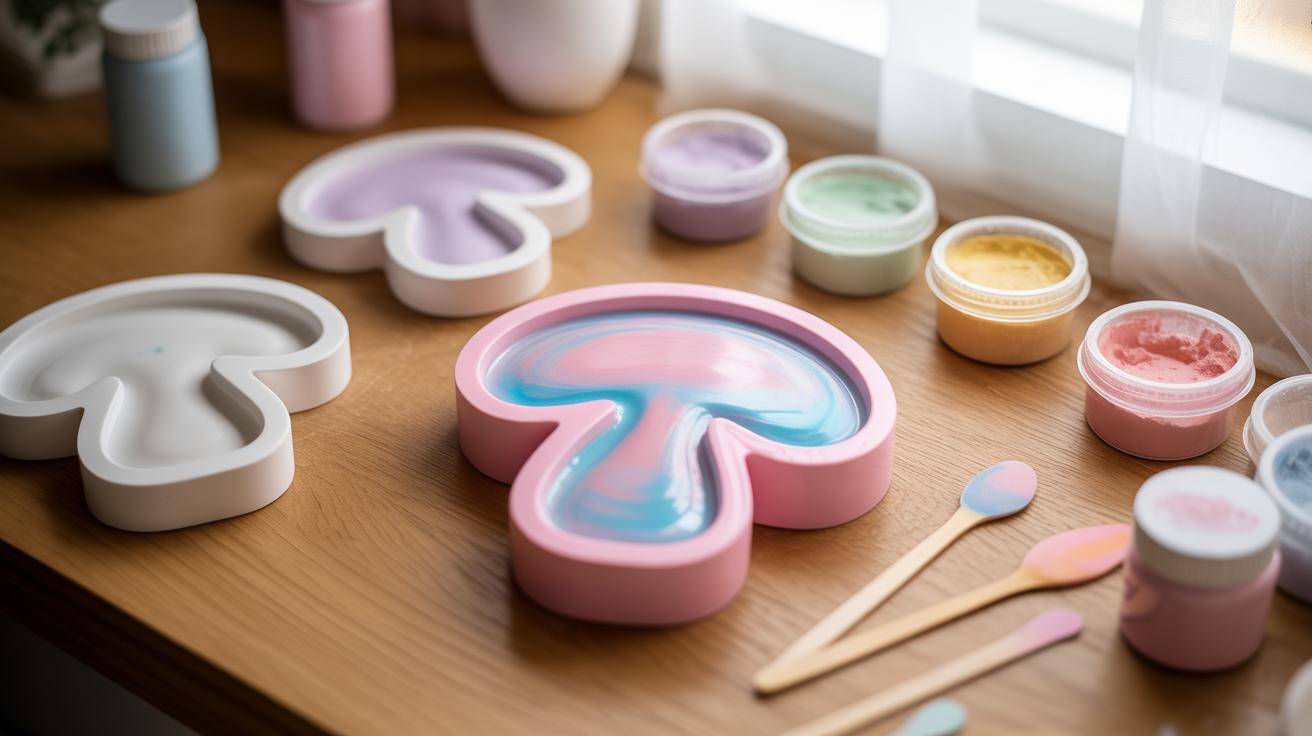
Getting started with resin jewelry means having the right materials and tools close at hand. You’ll need resin and hardener—the basics without which nothing happens. Then there are molds to shape your pieces; silicone molds work well because they flex and release jewelry easily. Pigments add color, but don’t overlook decoration items like dried flowers or tiny beads if you want to get creative.
Mixing cups and sticks are simple but essential—you want to combine your resin carefully without introducing lots of bubbles. Sometimes a slow stir works better than rushing through. Now, safety gear might feel like a drag, but gloves and masks protect your skin and lungs from irritants. Yes, even if you’re just trying this for fun at home.
When it comes to finishing, polishing materials and fine-grit sandpaper will help smooth edges and bring out shine. It’s surprising how much the right tools can affect your results. You could skip a few steps, but then again, why not do it properly if you want your pieces to last?

So, here’s a quick list to check:
- Resin and hardener
- Silicone molds
- Mixing cups and stirring sticks
- Pigments and decorative inclusions
- Disposable gloves and respirator masks
- Sandpaper (400-600 grit) and polishing cloths
Do you already have some of these? It might be tempting to rush without prep, but gathering everything first saves frustration. And sometimes you realize you’re missing a tool only halfway through mixing. Trust me, been there.
Preparing Your Workspace
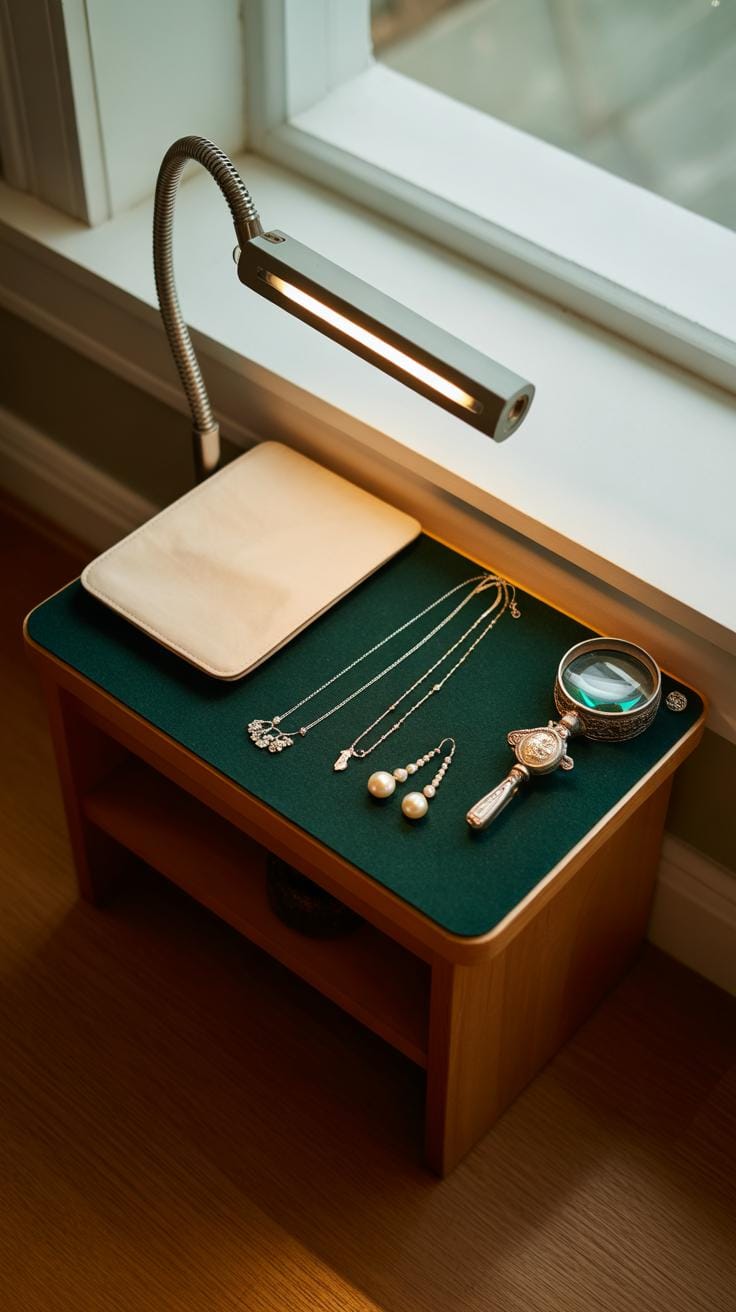
Choosing The Right Workspace
Picking the right spot to work with resin matters more than you might think. Ideally, you want a space that’s well-ventilated—maybe near a window that opens or with a fan to move the air around. Resin fumes can linger a bit, and while they’re not always overwhelming, it’s better to be cautious. A kitchen or dining table might seem tempting but usually isn’t the best choice. A dedicated corner in a studio or a craft room is better; it keeps everything contained and prevents accidental spills on furniture you care about.
Comfort plays a role, too. You’ll be sitting or standing for a while, mixing resin and carefully pouring it. Think about a spot where you have good lighting and enough room to spread out. Natural light helps, but strong, bright lamps will work if you’re working after sunset.
Essential Safety Precautions

Safety gear isn’t just a suggestion. Gloves are a must—nitrile ones work best because they resist resin better than latex. You don’t want resin stuck on your skin; it can be tricky to remove and sometimes irritating. Some people skip masks if they’re working with small batches, but I’d rather play it safe and wear a respirator or at least a mask rated for fumes. You might not notice the smell much at first, but it can get to you over time.
Ventilation is tied closely to safety, but consider surfaces too. Cover your work surface with disposable plastic sheets, wax paper, or silicone mats—anything you can toss or wipe clean easily. Resin spills dry quickly and stick stubbornly. Organizing your tools within arm’s reach helps avoid scrambling around and possibly knocking things over. Arrange your molds, mixing cups, pigments, and sticks neatly before starting—this keeps your focus on the craft, not finding stuff mid-pour.
Basic Resin Jewelry Techniques
Mixing And Pouring Resin Correctly
Getting your resin and hardener ratio right is crucial. Usually, it’s a 1:1 or 2:1 mix, depending on your product, so double-check before you start. Use precise measuring cups—eyeballing this rarely works well. Stir slowly and steadily for at least two minutes. Rushing can trap bubbles, and you’ll see that in your finished piece. Still, sometimes stirring finds you watching the clock more than the mixture, a sort of hopeful wait for those tiny bubbles to disappear.
Pouring should be deliberate but gentle. Pour resin close to the mold surface to avoid splashing air inside. If you notice bubbles after pouring, you can lightly pass a heat gun or even a warm breath over the surface. But be cautious; too much heat can cause resin to cure unevenly or form waves.
Curing Resin For Best Results
Curing times differ—some resins set in 12 hours, others need 24 to 72. Patience is really a game-changer here. Avoid touching the resin as it hardens; fingerprints and dust often catch when the surface’s still sticky. Place your pieces somewhere dust-free and flat, because resin tends to level out as it cures, but that also means any tilt might cause uneven thickness.
Light and temperature impact curing, too. Room temp around 70 degrees Fahrenheit (21 degrees Celsius) is ideal. Too cold or too hot? You risk cloudy finishes or incomplete curing. And, yes, sometimes a perfectly clear piece turns out hazy despite all efforts—which is part of the charm and challenge, I suppose.
Adding Color And Embellishments
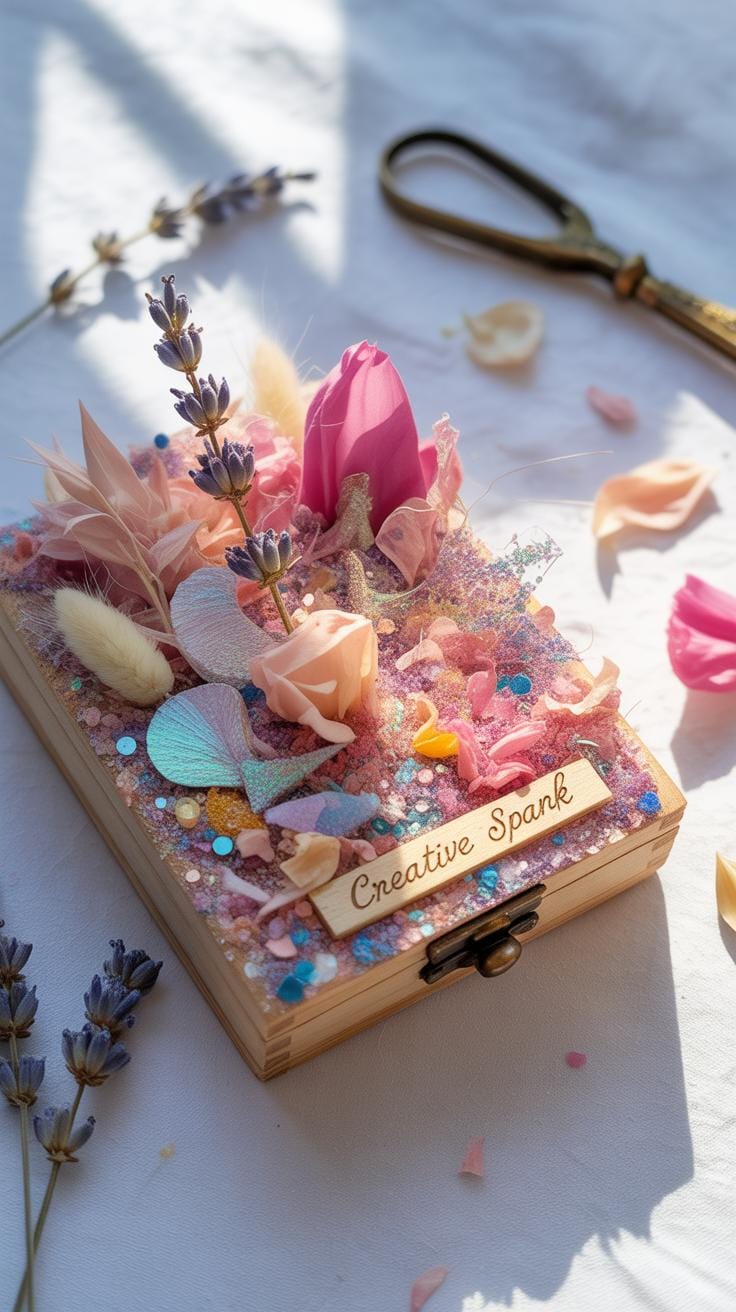
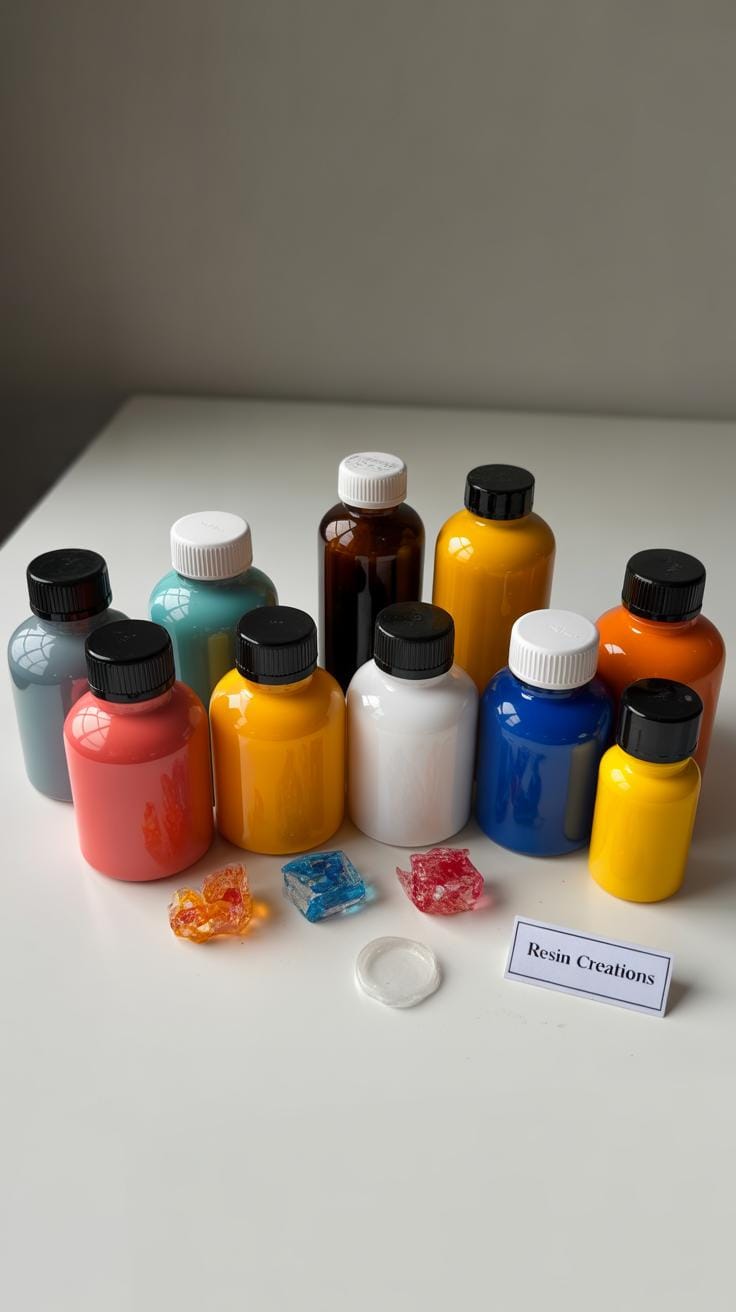
When it comes to elevating your resin jewelry, colors and little decorations can make all the difference. Mixing pigments into resin is a popular way to introduce hues, but it’s not just about dumping color in; how you blend them matters. You can add powdered pigments, liquid dyes, or even alcohol inks—each behaves a bit differently in resin. Powders tend to give a more opaque, solid color, while liquid dyes provide translucent or subtle shades. Sometimes, I’ve tried blending both to get an interesting depth, though it doesn’t always turn out as planned.
Placing embellishments like glitter, tiny beads, or small dried flowers requires a little patience. You might want to pour a thin resin layer first, then carefully add the decorations to avoid sinking or clumping. Tweezers can be handy here, but I often find myself juggling tools. You can also suspend items mid-pour, which creates a floating effect. But timing is key—too early, and decorations sink; too late, and resin won’t settle well.
Think about how each element interacts with light or color. For example, clear resin with white dried flowers can look simple but elegant, while a sprinkle of fine glitter might bring a touch of charm. I sometimes wonder if too many embellishments overpower the design, so I try to strike a balance—though what feels balanced can be subjective, honestly.
To sum up a few tips for embedding decorations:
- Use small, dry items to prevent moisture interfering with curing.
- Try layering resin and adding decorations step-by-step to control placement.
- Experiment with the amount of pigment—sometimes less creates more impact.
- Keep in mind how the resin’s clarity and color interact with the objects inside.
Have you noticed how some colors seem to highlight certain items better than others? Playing around with pigments can reveal surprising results, often worth the trial and error.
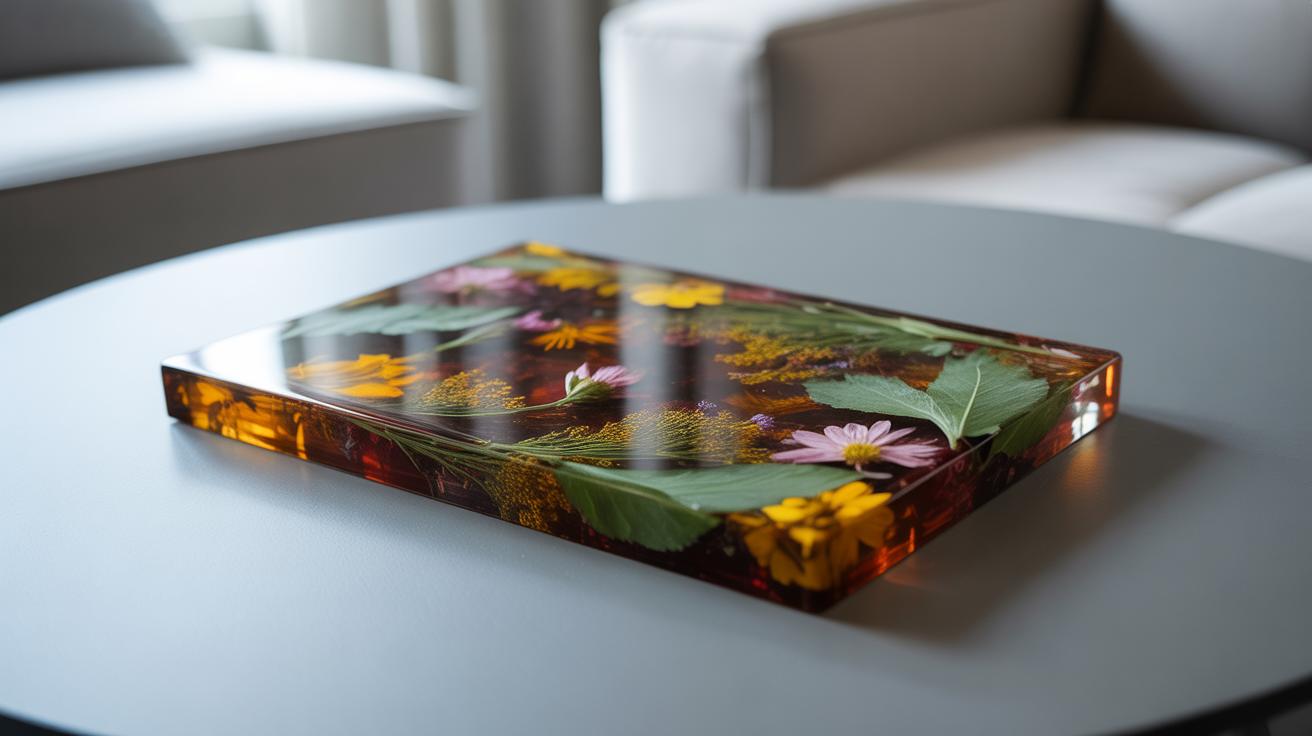
Design Ideas For Trendy Resin Jewelry
Trendy Shapes And Styles
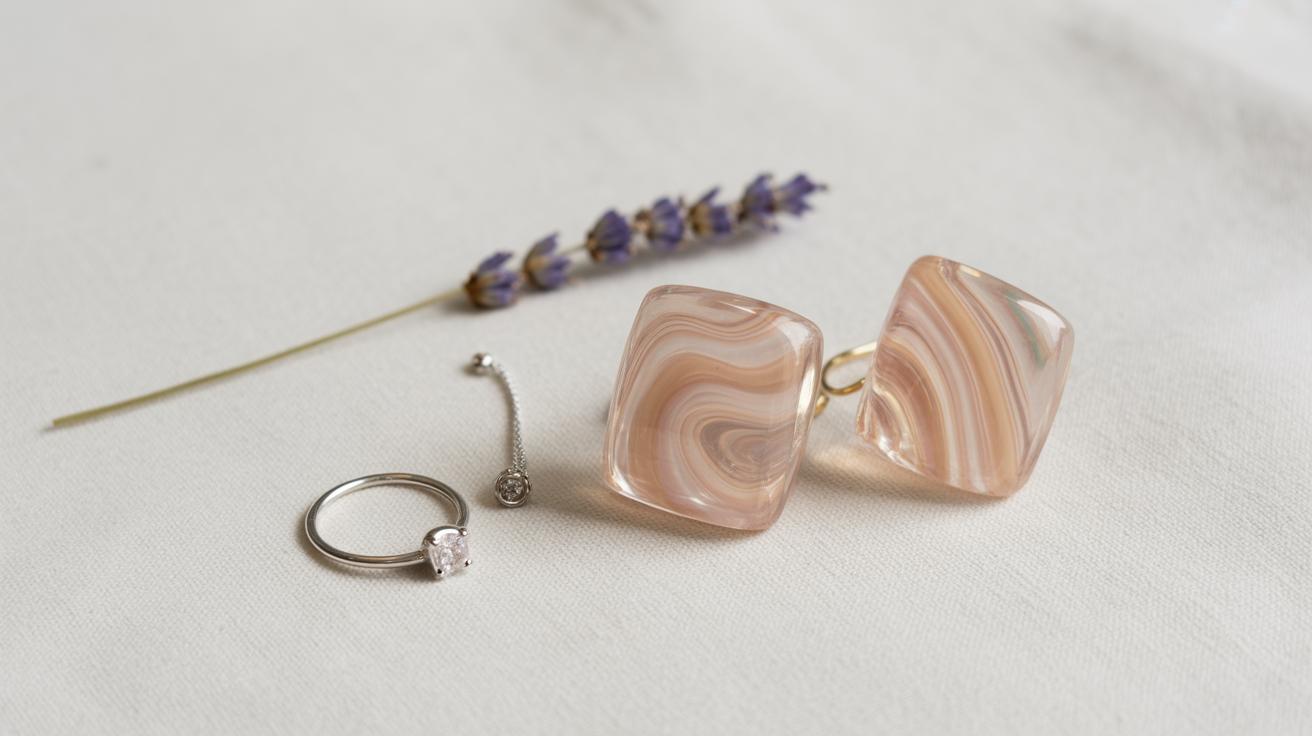
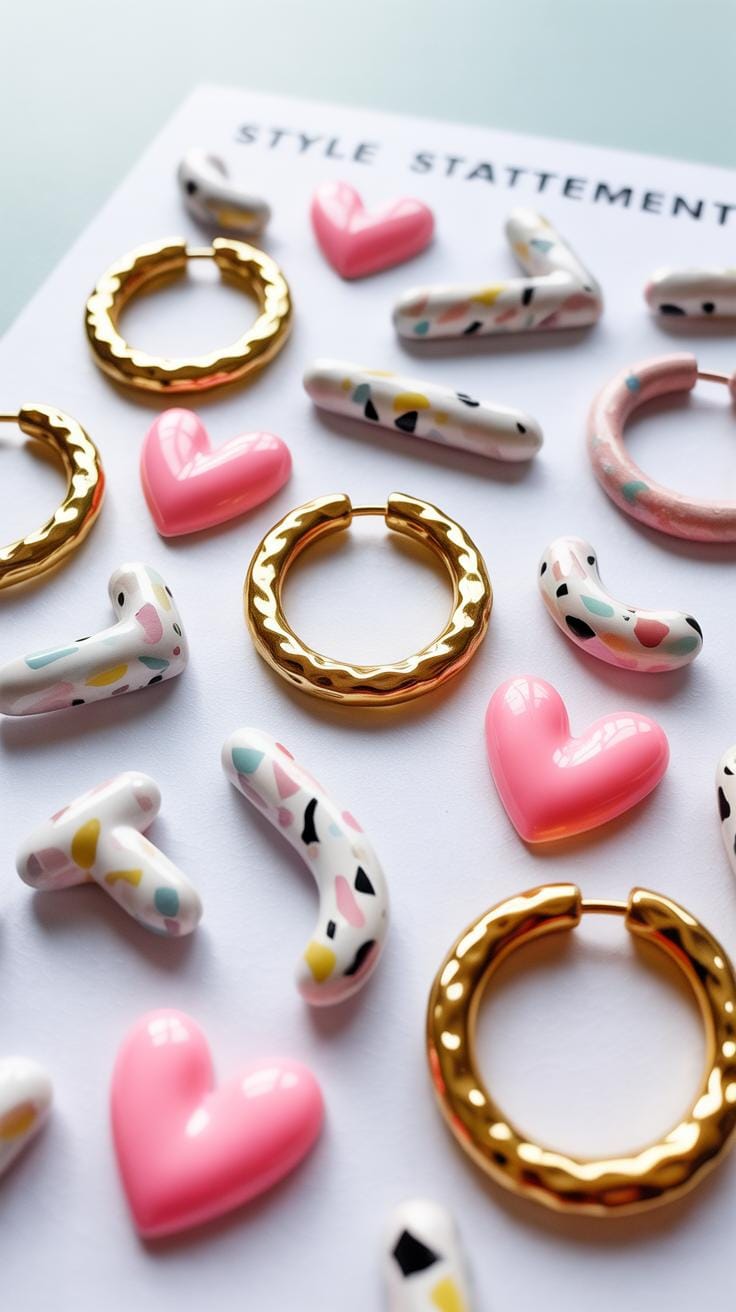
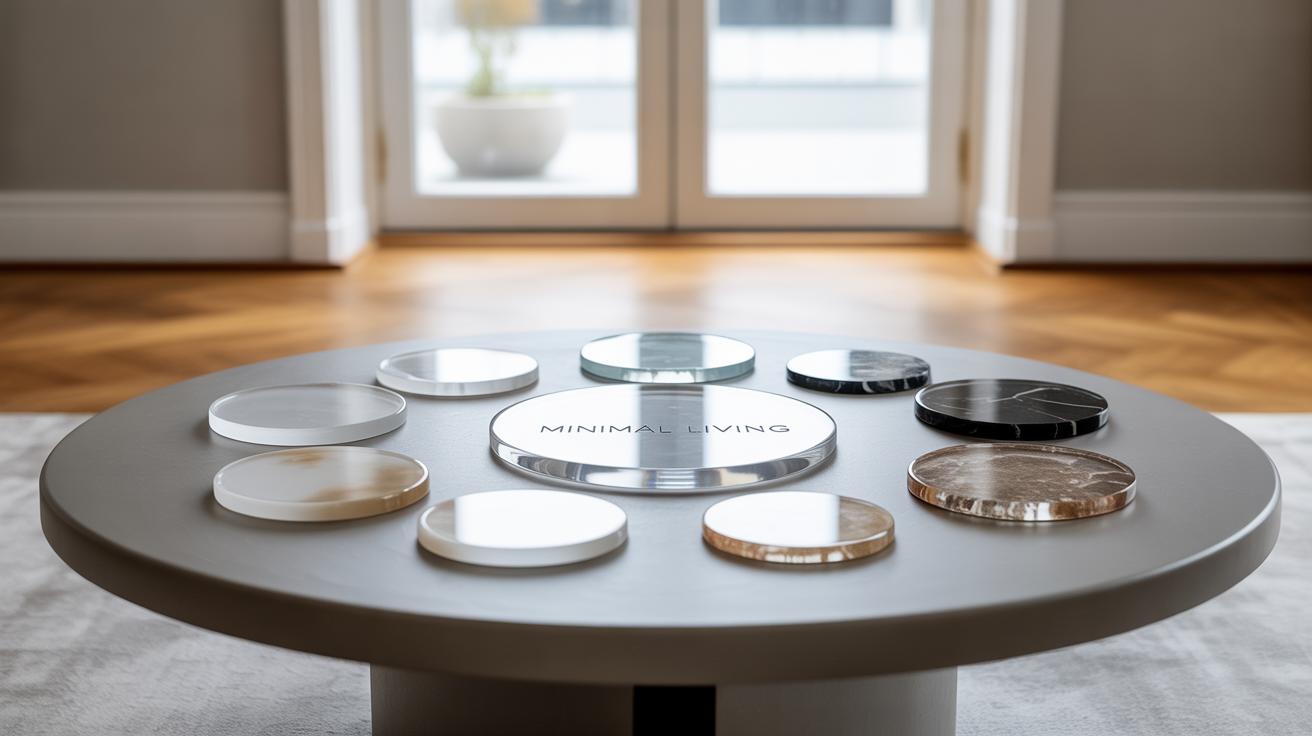
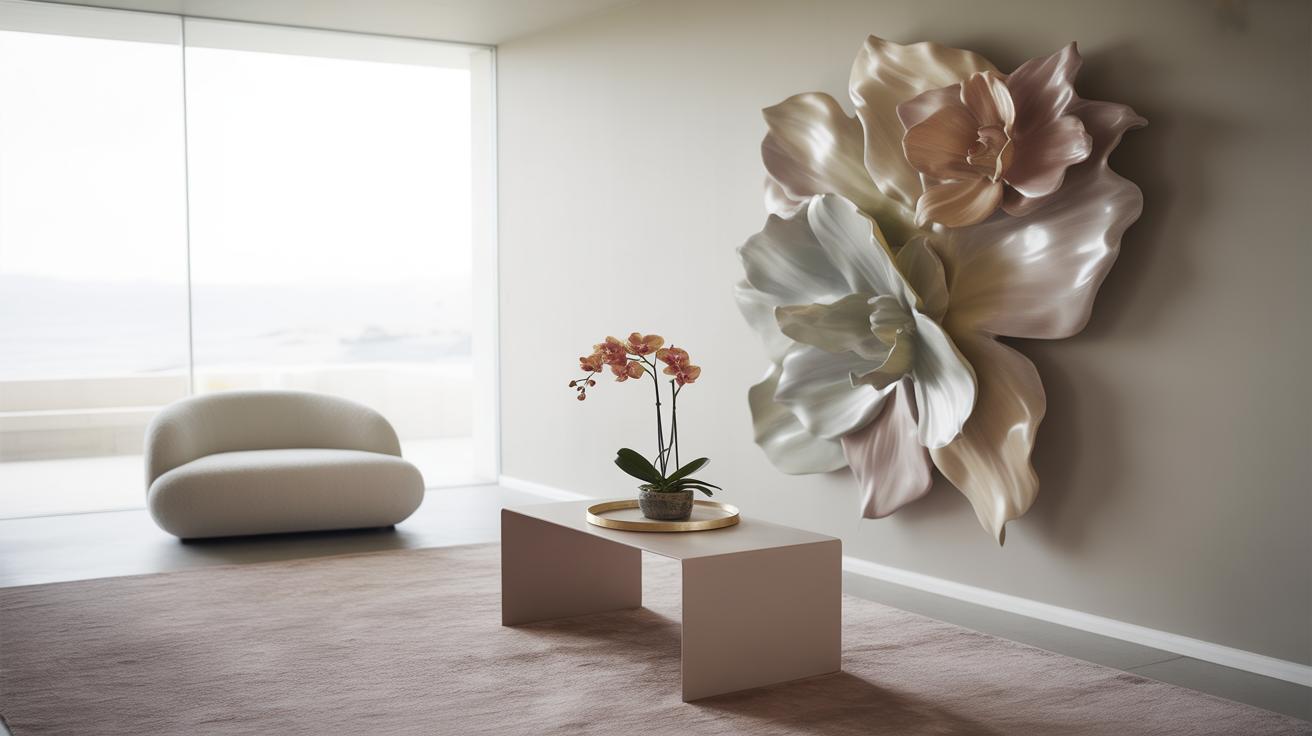
When it comes to resin jewelry, certain shapes keep popping up and catching attention. Geometric forms—think sharp triangles, hexagons, and clean circles—have a strong modern vibe. They feel fresh and minimal, but also versatile enough for everyday wear or statement pieces. It’s interesting how simple shapes can make such a bold statement when cast in resin. Floral designs, on the other hand, bring a softer touch. Small, delicate flowers or leaf impressions embedded in resin give an almost poetic feel. These work well if you prefer something a bit more romantic or vintage-inspired.
Abstract shapes are also on the rise. Irregular, organic forms that look almost accidental can add a unique edge. They don’t follow rules; sometimes these imperfect outlines make the piece stand out more than neat, planned shapes ever could. If you’re experimenting, try mixing a few different shapes in one piece—like a geometric base with a small floral accent embedded inside. It creates a kind of unexpected harmony.
Mixing Colors For Modern Looks
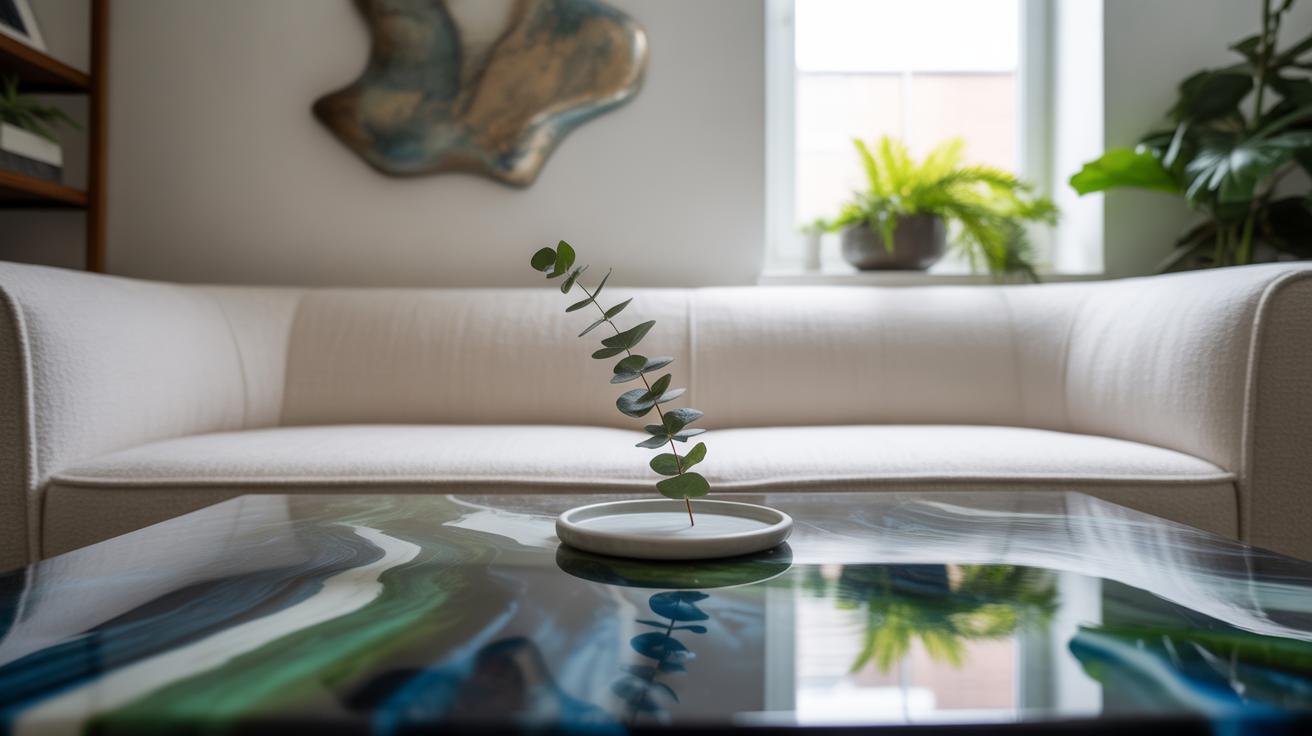
Color mixing in resin is where creativity really shines. Layering translucent colors can build depth, making your jewelry feel more like tiny windows than just solid pieces. Blues and greens are popular for a calm, oceanic effect, but pairing those with a splash of gold or copper leaf can suddenly make them feel chic and luxurious. I’ve tried layering a soft pink over a deep navy, and sometimes the subtle overlap surprises me, creating delicate new shades I didn’t expect.
For bold, fashion-forward looks, contrast is your friend. Pair bright coral with turquoise or mustard yellow with lilac. Or even better, try gradients that shift slowly from one tone to another within the same piece. This technique adds motion—almost as if the colors flow within the resin.
Don’t forget about incorporating translucency versus opacity. You could pour a solid pastel base then add a translucent top layer colored with mica powder or alcohol ink. This mix of solid and sheer makes your piece catch and play with light differently. It’s a small detail, but it can change the vibe dramatically.
Have you played around with layering before? Sometimes, adding thin layers rather than one thick pour can give you more control and surprising effects. It’s a bit slower but worth the extra patience.
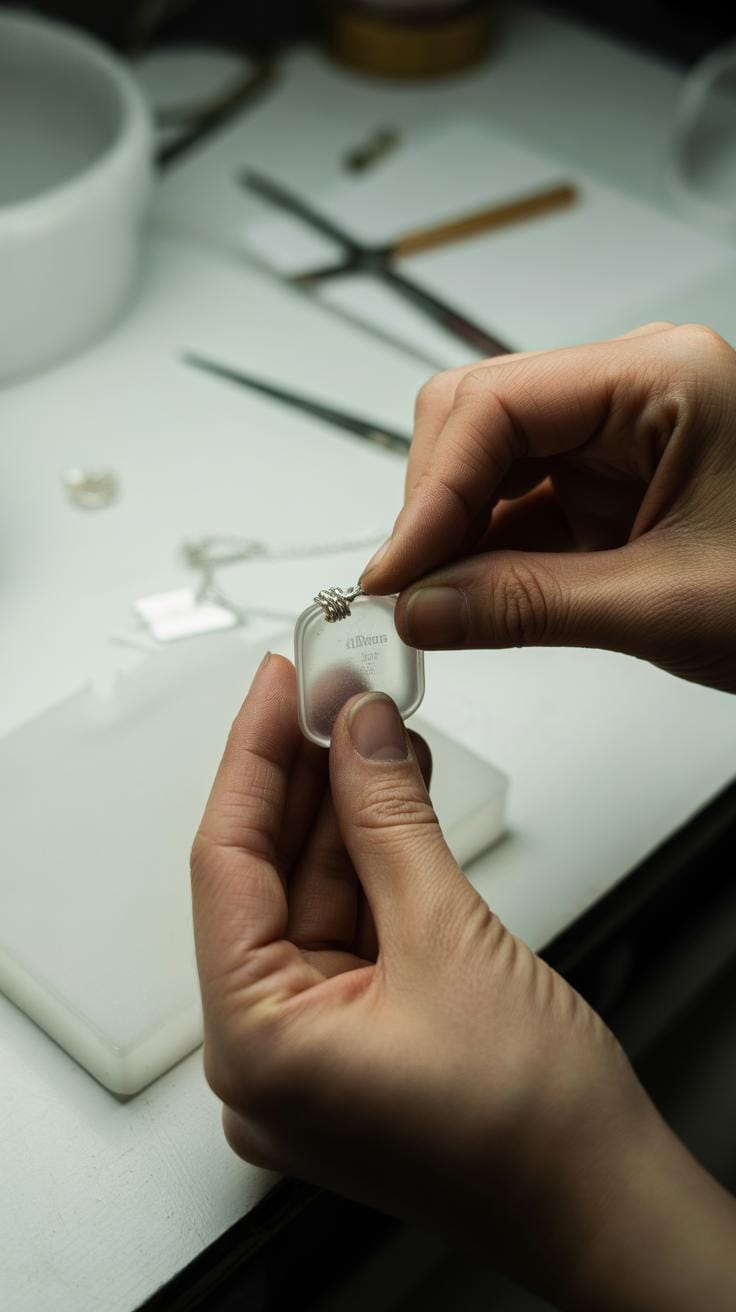
Finishing And Caring For Resin Jewelry


Once your resin pieces are fully cured, the finishing touches can really make them stand out. Start by inspecting each piece for any rough edges or bumps—these often happen along mold lines or where resin pools. Sanding is your best friend here. Use fine-grit sandpaper, beginning around 400 grit and gradually working up to 1000 or even 1500 grit. It’s a slow process, but patience pays off. You might think, “Is this really necessary?” Well, yes, because skipping this leaves your jewelry looking unfinished and can be uncomfortable to wear.
After sanding, polishing comes next. For a smooth, shiny finish, a polishing compound or even a microscopic buffing wheel helps. If you don’t have that, a gentle hand polish with a soft cloth and resin-safe polish works too. Your pieces will reflect light better and feel more refined, almost like professionally made jewelry.
When it’s time to attach findings—like earring hooks or necklace chains—small drill holes often come into play. I like using a precision drill carefully to avoid cracking. Jump rings connect your resin charms to these findings, offering flexibility and movement. Make sure the rings close tightly; a tiny gap can lead to lost pieces. If chains or clasps are involved, attaching sturdy jump rings or small eye pins does the trick.
The care part can’t be overlooked. Resin jewelry isn’t indestructible. Keep it out of harsh chemicals and avoid long sun exposure—these can dull colors or cause yellowing. Cleaning is best done with a soft, damp cloth. You might be tempted to use soap or jewelry cleaner, but they can be too abrasive. Just gentle wiping usually keeps your pieces looking fresh.
How often do you find yourself redoing or polishing your jewelry? I sometimes underestimate this step, but it truly enhances the piece and your enjoyment of it.
Troubleshooting Common Resin Issues
Dealing With Bubbles And Cloudiness
Bubbles often sneak into resin when you mix too quickly or pour from a great height. Sometimes trapped air just refuses to leave the mix. You can try stirring more slowly or pouring gently in layers to reduce them. Some crafters use a toothpick to pop bubbles on the surface before curing. Others swear by a quick pass with a heat gun or even a small torch; the heat helps bubbles rise and break. Just be careful not to overdo it—too much heat can affect the resin’s finish.
Cloudiness can be trickier. It often happens if you mix the resin and hardener unevenly or if the curing environment is too cold or humid. You might want to check your room temperature before starting. Sometimes waiting longer before demolding can help; resin can clear up after a day or so. If all else fails, sanding and polishing the piece after it cures might restore some shine, though that doesn’t fix the cloudiness inside the resin.
Fixing Sticky Or Soft Resin
Sticky resin usually means it didn’t cure fully. This can be due to incorrect mixing ratios or old resin past its prime. Double-check your measurements—too much resin or hardener throws off the chemical reaction. If your batch feels tacky, try placing it in a warmer spot; higher temperatures may finish the cure. But if your mixture’s too far off, you might be stuck with a soft piece.
Sometimes a sticky surface can come from contamination—oils, dust, or even silicone mold release agents. Cleaning your molds well or switching to a different mold might help. In some cases, a thin layer of resin left uncured on the surface can be sanded off or sealed with a clear, thin resin coat. It’s annoying but sometimes necessary.
Have you noticed these problems before? What weird fixes did you try that… worked, sort of? Resin never quite behaves the same way twice.
Conclusions
Making resin jewelry yourself opens up many possibilities for trendy and personalized accessories. By understanding the materials and following clear steps, you can create beautiful, unique pieces. This craft allows you to express your style and can be a rewarding hobby or even a small business opportunity.
Now that you know the basics and the creative ideas for resin jewelry DIY, it is time to get started. Experiment with colors and shapes, and don’t be afraid to try different techniques. Your resin jewelry can be as simple or as complex as you want – the choice is yours to make your trendy looks come alive.


