
Introduction
Epoxy resin is a popular material used in crafting, coatings, and repairs due to its strong adhesive qualities and durability. If you are new to working with epoxy resin, it’s important to learn some key tips that will help you get the best results. This article will explain what epoxy resin is and guide you through simple but critical advice for beginners.
By following these tips, you will avoid common mistakes and make your projects smoother and more enjoyable. Whether you want to create art pieces, protect surfaces, or make repairs, understanding how to handle epoxy resin safely and effectively matters. Let’s explore the basics and grow your confidence in using this versatile material.
What Is Epoxy Resin and How Does It Work
Epoxy resin is a kind of synthetic polymer that you often find in two parts: the resin itself and a hardener. When you mix these together, a chemical reaction starts, turning the liquid into a solid. It’s not just drying or evaporating—it’s a curing process where molecules link up tightly, forming a strong, durable material.
The science is pretty fascinating if you think about it. Epoxy molecules have reactive groups—these are open rings called epoxides. When the hardener, usually containing amines, meets these rings, they open and bond together. This creates a dense network called a polymer. Over time, this network grows until the resin hardens completely.

Usually, the curing happens at room temperature, but sometimes heat helps speed things up. The whole process can take anywhere from minutes to days, depending on the mix and conditions.
Basic Chemistry of Epoxy Resin
To break it down simply, epoxy resin is made from two key components:
- Epoxide resin: This is the main ingredient with those special reactive rings.
- Hardener: This chemical reacts with the resin, triggering the curing.
When mixed, the hardener attacks the epoxy rings, opening them. Then chains of molecules start gluing together, which is why the liquid slowly becomes solid. This process is called cross-linking. The strength you get comes from how many of these bonds form.
You might wonder why sometimes the resin feels sticky for a while. That’s because the reaction isn’t finished. It’s a gradual build-up rather than an instant change.
Common Uses of Epoxy Resin
Epoxy resin shows up in many areas thanks to its strong bond and resistance to wear. Some typical uses include:
- Protective coatings on floors and surfaces—because it’s tough and can resist chemicals.
- Adhesives for bonding wood, metal, glass, and plastics. It sticks where other glues might fail.
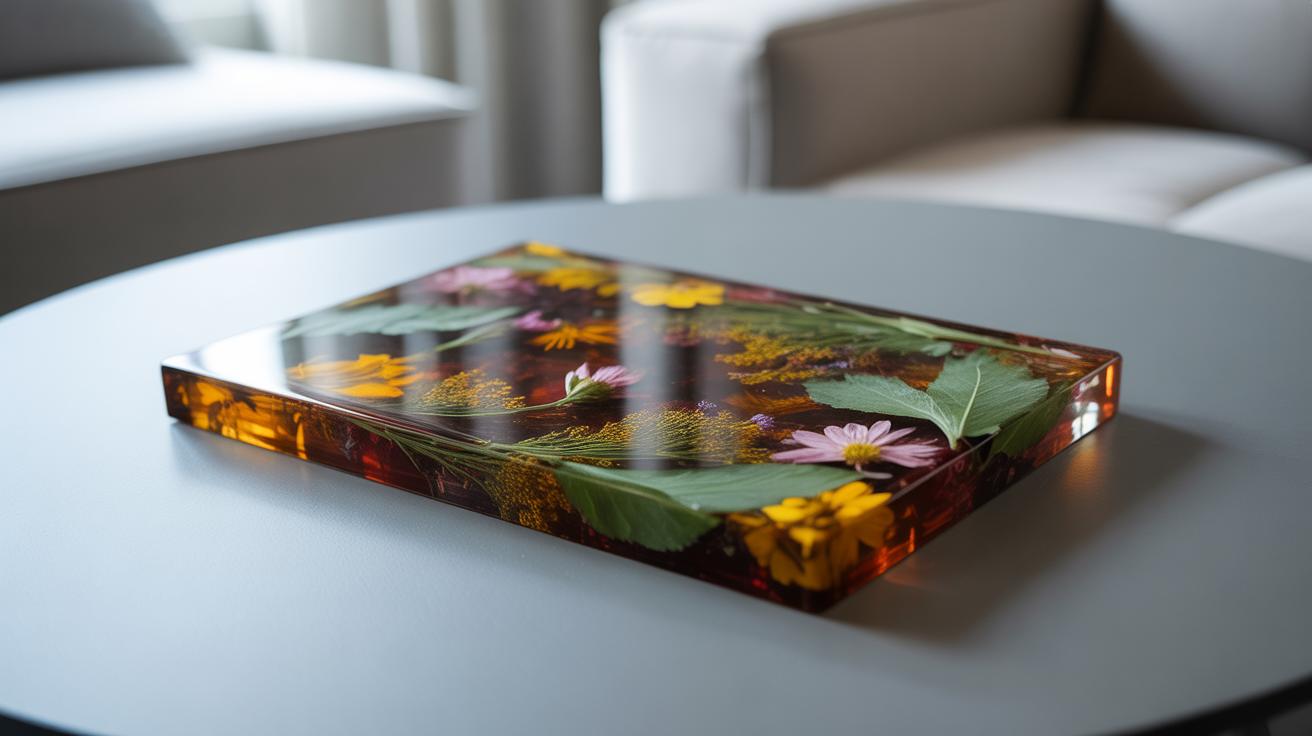
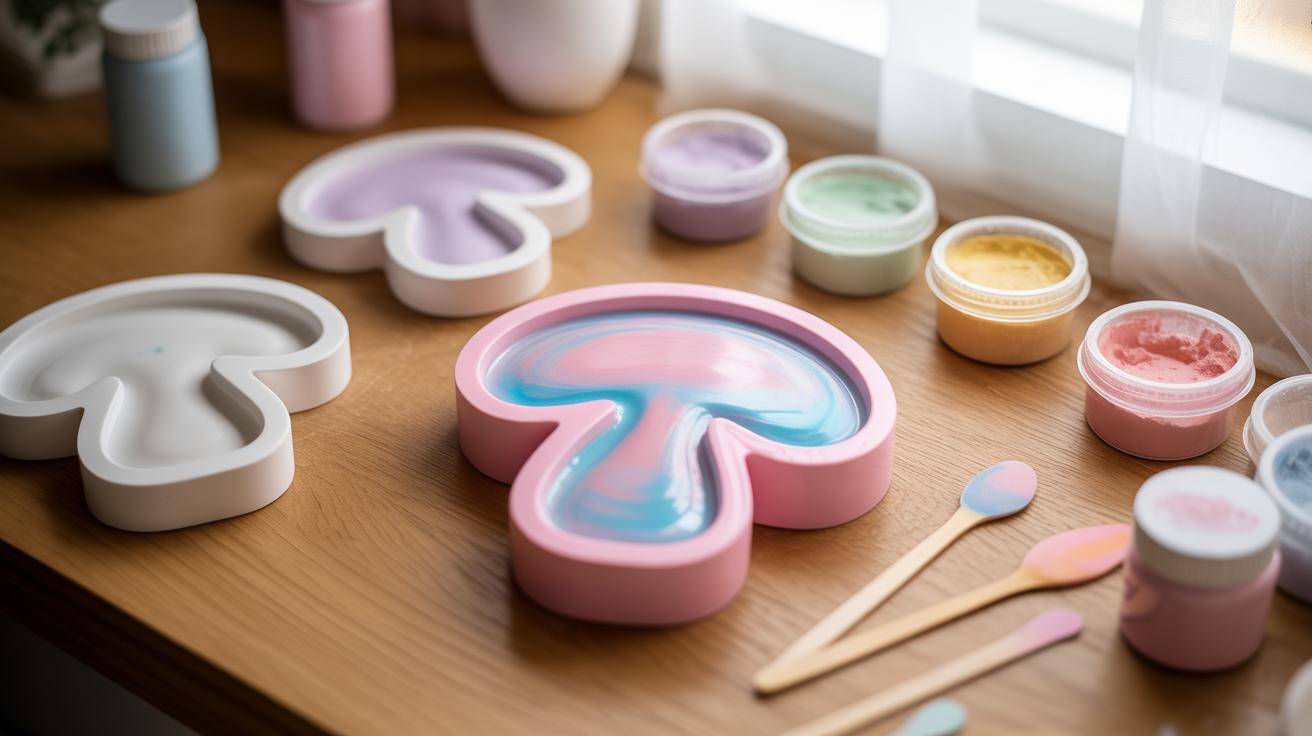
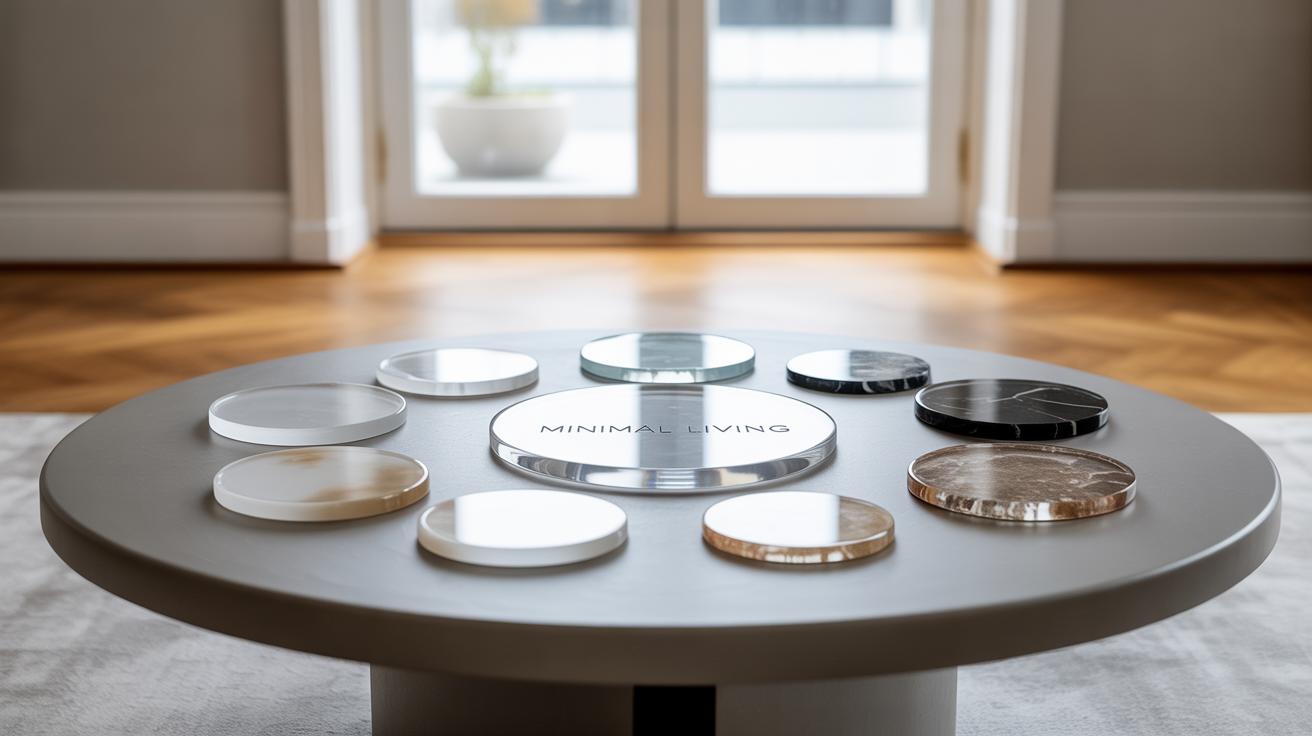
- Art and crafts, like resin jewelry, river tables, and encapsulating objects in clear resin.
- Electrical applications, where it insulates and protects components.

Why choose epoxy? Mainly because once it cures, it’s stable, water-resistant, and hard. But it’s also versatile—you can adjust curing times and finish types depending on what you need. I remember trying different epoxy mixes on a small project; the differences in hardness and gloss were pretty surprising.
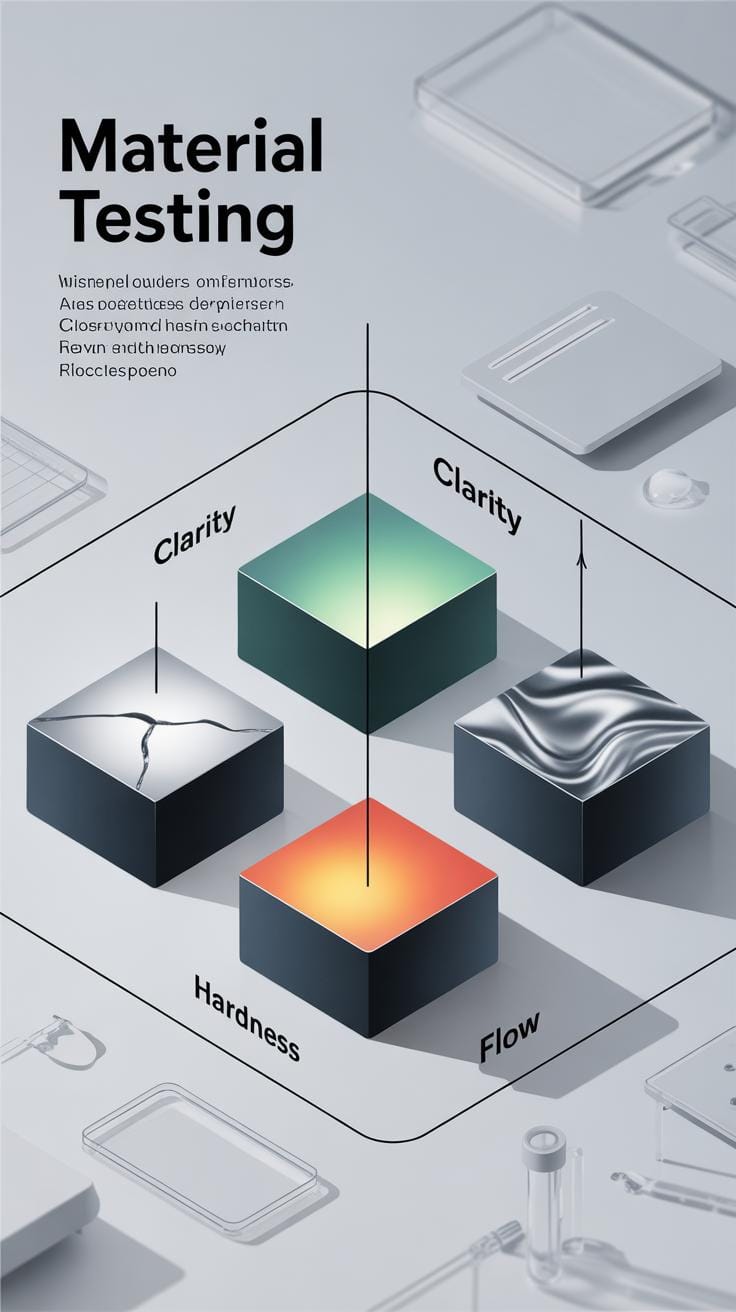
Choosing the Right Epoxy Resin for Your Project
When picking an epoxy resin, the first thing to consider is what you want to achieve. Not all resins are created equal, and using the wrong type can lead to frustration or a failed project. For example, a resin designed for casting will behave differently than one meant for surface coating. You might think all epoxy works similarly, but subtle differences in viscosity, cure time, and hardness really matter.
Differences Between Types of Epoxy Resin
Generally, epoxy resins come in several main categories:
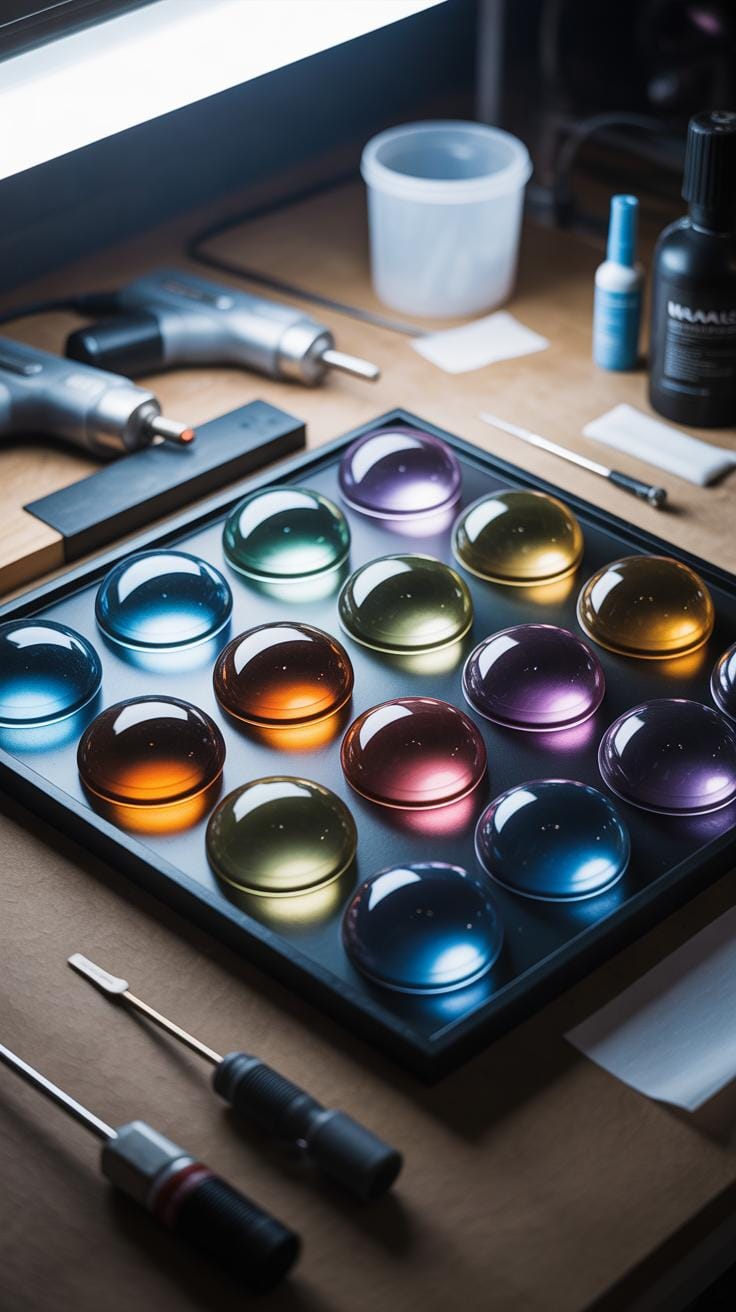
- Clear Casting Resins: These have low viscosity and cure slowly. Perfect for embedding objects or thick pours, but might trap bubbles if you aren’t patient.
- Coating Resins: Thicker and faster-setting, designed to level out smoothly on surfaces. They usually resist yellowing but aren’t great for deep casting.
- Flexible Resins: Less rigid once cured, good for projects needing some movement, like jewelry or parts needing slight flexibility.
- Rapid Cure Resins: Cure in minutes, handy for quick repairs. Though faster, their shorter working time can make mixing and pouring a bit hectic if you’re new.
The variety gets confusing because some resins mix these traits. You might find a coating resin that can do shallow casting, though it won’t look perfect for deeper pours.
Matching Resin to Project Goals

Think about what you really want to do before buying. If you’re making art pieces with multiple layers and embedded objects, a slow, clear casting resin is usually best. For a furniture finish, try a coating resin made for durability and gloss. Want to fix a cracked item fast? A rapid cure resin might save the day, though you’ll need to move quickly.
It’s tempting to buy a “one-size-fits-all” resin, but that rarely works well. Knowing a bit about the resin’s purpose can save hours of frustration. Also, expect some trial and error—I’ve had projects where a resin didn’t behave as I hoped simply because I chose the wrong type. Sometimes you only realize this after it’s already cured.
If you wonder which resin is the best “all-rounder,” I’d say sticking to slower-setting casting resins offers more flexibility for beginners, though they take longer to finish. But think about your timeline, too—patience isn’t everyone’s strong suit, and that’s okay.
Tools and Safety Equipment You Need
Basic Tools for Mixing and Applying
When working with epoxy resin, a few basic tools will quickly become your go-tos. Start with disposable mixing cups—clear ones help you see the layers as you pour and mix. Use stirring sticks that are sturdy; I’ve found wooden Popsicle sticks work well because they don’t flex too much and are cheap. You’ll also want measuring tools—some resins need a precise 1:1 ratio; others use 2:1, so accuracy really matters here.
Don’t forget gloves. Nitrile gloves are best since latex can sometimes react with the resin or just let it seep through. I once thought thinner gloves were fine, but after a spill, I realized thicker ones are much safer. A plastic spreader or a silicone brush also helps with smoothing out your resin, especially if you want to avoid bubbles or get a clean finish.
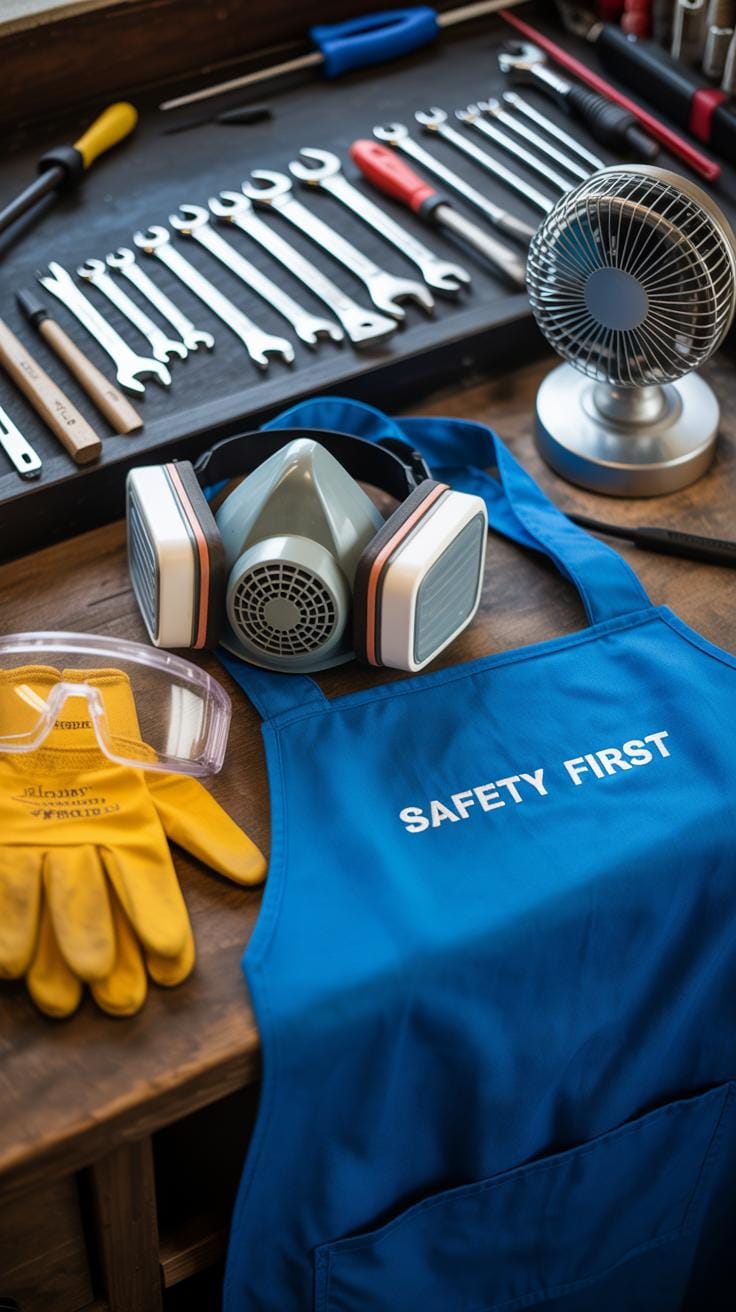
Protecting Yourself From Harm
Epoxy resin can irritate your skin or lungs, so safety is more than just a hassle—it’s necessary. Wearing nitrile gloves is step one, but long sleeves and possibly a disposable apron protect your arms and clothes from sticky spills, which happen more than you’d expect.
Ventilation is tricky. If you don’t have a dedicated workshop, open windows and use a fan to keep the air moving. Fumes aren’t overtly dangerous if the space is airy, but I do worry about them accumulating—so definitely don’t skip this part. A respirator with organic vapor cartridges is a good idea if you’re doing larger projects or working indoors for extended periods. You might think gloves and a mask are enough, but I’ve learned to take extra precautions—sometimes better safe than sorry.
Preparing Your Workspace for Epoxy Resin

Choosing the Right Surface and Temperature
Your workspace surface really matters when working with epoxy resin. You want something flat and stable—wood tables, plastic trays, or even glass can work. Avoid anything porous that might soak in resin or hardener. I’ve seen people struggle when using rough wood or unsealed surfaces because resin sticks and gets messy.
Temperature plays a bigger role than you might think. Epoxy cures best around 70 to 75 degrees Fahrenheit. Cooler temps slow down curing, which might sound ideal if you want more working time, but it can leave your project tacky for longer or cause uneven curing. Too warm, on the other hand, can make the resin cure too fast, creating bubbles or cracking. If your space tends to be cold, a small heating pad or a space heater nearby might help—just don’t overdo it.
Cleaning and Protecting the Area
Nothing ruins the mood like unexpected sticky spots on your floor or table. Cover your work surface thoroughly. Many use plastic drop cloths or disposable paper rolls to catch drips. It only takes one spill to learn this the hard way. Also, keep some isopropyl alcohol and paper towels nearby. If resin lands somewhere it shouldn’t, wiping it up quickly with alcohol can stop it from curing there.
Don’t forget about ventilation setups or fans if your room isn’t naturally airy. You want fumes moving out without stirring dust into your fresh resin pour. Finding that balance can be frustrating. But once you get your workspace prepped—clean surface, correct temperature, and protected area—you’re set for smoother work ahead.
How to Measure and Mix Epoxy Resin Correctly
Importance of Proper Ratios
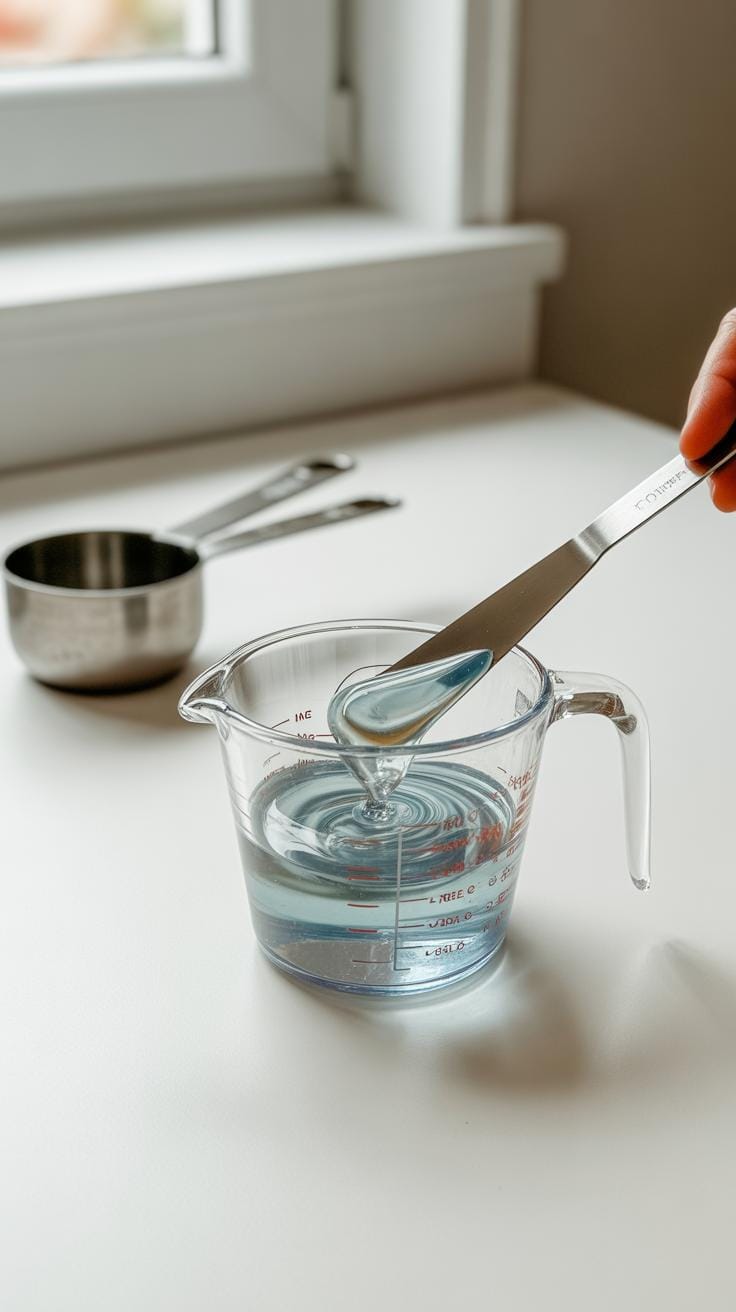
Getting the ratio of resin to hardener exactly right matters more than you might think. If you’re off even slightly, the epoxy could remain sticky or fail to cure fully, which is frustrating after all that effort. Most resins specify a mixing ratio by volume or weight, like 1:1 or 2:1. You really shouldn’t guess here—precise measurement is key.
When I first started, I just eyeballed it, which led to a batch that stayed tacky for days. That was a mess. Using a digital scale or clear measuring cups helps avoid these issues. Remember, even temperature and humidity can affect curing, but an inaccurate ratio throws everything off faster.
Mixing Techniques to Avoid Bubbles
After measuring, mixing smoothly is your next crucial step. Stirring too fast or aggressively whips air into the mix, creating bubbles that later mar your project’s surface. I’ve found that stirring slowly and steadily—just enough to blend the two parts—is the trick.
Try these tips:
- Use a flat-bottomed stirring stick and scrape the sides and bottom thoroughly
- Mix for about 3 to 5 minutes, but don’t rush it
- Avoid whipping motions; go for a gentle fold instead
- Pause occasionally to let trapped air rise to the top before continuing
Sometimes, letting the mixed resin sit for a minute or two helps bubbles escape before you pour. If bubbles still linger, a quick pass with a heat source like a torch or hair dryer (at a safe distance) can pop them. It might seem fiddly, but this makes a big difference in the final look.
Applying Epoxy Resin to Your Project

Pouring epoxy resin sounds simple, but getting it even can be tricky. When you pour, try to do it slowly in small amounts rather than dumping a big blob at once. This helps you control the thickness more easily. Sometimes I find myself pouring a little too quickly and then scrambling to spread it before it settles unevenly. Starting from the center and moving outward can help guide the resin across the surface without pooling in one spot.

The thickness you aim for depends on your project. For thin coatings, a gentle pour with less resin works better, while thicker pours require more patience—as the resin takes longer to level out and cure. You might notice some self-leveling happen naturally if you leave it undisturbed, but it’s never perfect on its own.
Using Tools for Smoothing and Spreading
After pouring, spreading the resin can make or break your finish. Tools like plastic spreaders, foam brushes, or even a silicone spatula come in handy here. I often lean on a plastic spreader because it glides smoothly without leaving brush marks, but sometimes a foam brush helps reach tricky corners better.
One thing I learned the hard way—don’t overwork the resin. Moving your tool too much creates bubbles or streaks. Instead, gentle, confident strokes work best to spread the resin evenly. You can also use a heat gun or torch lightly after spreading to pop any bubbles that form. But don’t go overboard or you might cause the resin to shift or thin out too much.
Spreading isn’t just about aesthetics either. A flat, consistent coat helps the resin cure faster and more evenly. Sometimes I wonder if a rougher texture might add character, but for most projects, smoothing is the safer bet. What’s your take? Do you like the perfect gloss or something a bit more organic?
Common Problems and How to Fix Them
Dealing with Bubbles and Uneven Surfaces
Bubbles in epoxy resin can be frustrating. They often show up as tiny spots or larger pockets stuck beneath the surface. Usually, bubbles form when you mix the resin and hardener too quickly, trapping air inside. Sometimes the environment plays a role—a cold room or high humidity can make bubbles more likely. In my experience, even stirring gently helps reduce bubbles; you don’t want to whip the mixture like batter.

To remove bubbles after pouring, a heat source like a small torch or heat gun works well. A quick pass over the surface pops bubbles almost instantly. You could also try blowing gently with a straw or using a toothpick to coax bubbles out, but that can get tedious. For uneven surfaces, ensure you pour slowly and spread resin carefully. If it pools in low spots, it will solidify unevenly. Sometimes leveling your project helps avoid that—an extra few minutes setting your piece flat makes a difference.
Handling Sticky or Soft Spots
Sticky resin is usually a sign it hasn’t fully cured. That often happens when the mix ratio is off—too much resin or hardener messes up the chemical reaction. Also, mixing insufficiently can leave parts uncured and tacky. I’ve had a few projects where storage temperature was a culprit; colder conditions slow curing and cause softness.
If you find sticky spots, you can try letting the project sit longer in a warmer area. Patience sometimes fixes it. If the resin never hardens all the way, you might need to apply a fresh layer, properly mixed this time, over the soft parts. Light sanding the sticky area before applying new resin improves adhesion. Just be aware: soft resin can sometimes mean starting over on that section, which is frustrating but necessary if the damage is bad.
How to Cure and Finish Your Epoxy Resin Project

Understanding Curing Times
Epoxy resin doesn’t cure instantly—so you’ll need some patience. The full cure time usually ranges from 24 to 72 hours, depending on the product and environmental conditions. Cooler temperatures slow the process, while warmth speeds it up, but if it’s too hot, you might get bubbles or uneven curing. The thickness of your pour matters too; thicker layers take longer to harden. Sometimes, you might think your resin is ready to handle after overnight, but it could still be soft underneath. I’ve learned to wait a bit longer just to be safe—it can be frustrating, but better than ruining the finish.
Airflow also influences curing. A well-ventilated space helps epoxy cure evenly, but direct drafts might cause dust or imperfections on the surface. So, find a balance where air circulates but isn’t too strong.
Sanding and Polishing for a Glossy Finish
After your resin cures fully, don’t rush to admire it right away—some sanding will refine the result significantly. Start with a coarser grit, like 120 or 220, to smooth out any bumps or imperfections. Then, gradually move to finer grits, 400 to 600, to eliminate scratches. Wet sanding can make this easier and cleaner, but it needs some care so you don’t remove too much resin.
Polishing finishes the job. You might think a buffing compound is overkill, but it does bring out a beautiful shine. Using a soft cloth and gentle circular motions can restore clarity to slightly dull sections. I remember polishing a tabletop and feeling surprised how much clearer and glossier it became. If you’re aiming for that deep, glass-like surface, this step isn’t optional, honestly.
Do you wonder if you should seal the resin after polishing? That’s something you can try, but many find the polished epoxy itself quite resilient. Still, choices depend on your project type, and experimenting a bit helps you decide what looks best.
Cleaning Up and Storing Epoxy Resin
Safe Cleaning Methods
Cleaning up epoxy resin can feel a bit tricky, especially when the resin starts to harden. The key is to work quickly, before the resin cures. For tools like brushes or mixing sticks, wipe off as much resin as you can with paper towels or rags right after use. Then, use isopropyl alcohol or acetone to remove the sticky residue. It’s a bit harsh on your brushes though, so consider using disposable ones if you don’t want them ruined.
When it comes to your hands, avoid using solvents directly—that can dry your skin out a lot. Instead, wash with soap and warm water while the resin is still wet. If it’s stuck, gentle scrubbing with a pumice soap or a special resin remover helps. I’ve found that patience pays off; rushing can irritate your skin more than necessary.
Storing Epoxy Resin for Future Use
Unused resin doesn’t keep forever, but with the right storage, you can extend its life quite a bit. Store your resin and hardener separately in airtight containers. Make sure these containers go somewhere cool and dark, like a cupboard away from sunlight and temperature swings. Warmth speeds up resin degradation—you’d want to avoid that.
Before sealing those containers, check there’s no moisture or dust inside. Both can ruin the resin or lead to improper curing later on. If you’ve only opened a small portion of a new container, don’t just leave it half-open. Even indirect air exposure can start changes you won’t notice right away but will affect future projects.
Ever wondered if you can mix leftover resin? Mixing small amounts from different batches usually isn’t the best idea. The chemical balance might shift slightly, leading to weaker results. So, try to measure and mix only what you need. Still, if you must, keep track of batch dates and test a small patch first. Better safe than guessing.
Conclusions
Epoxy resin may seem complex at first, yet with the right knowledge, anyone can use it effectively. Remember to always measure carefully, mix thoroughly, and work in a well-ventilated space. These steps help maintain safety and ensure your resin cures properly without bubbles or soft spots.
As you gain experience, your skills will improve and allow you to take on more detailed and creative projects. Keep these tips in mind to avoid frustration, and soon you will enjoy crafting with epoxy resin that lasts and looks great. Your next project awaits, ready to shine with your new understanding.


