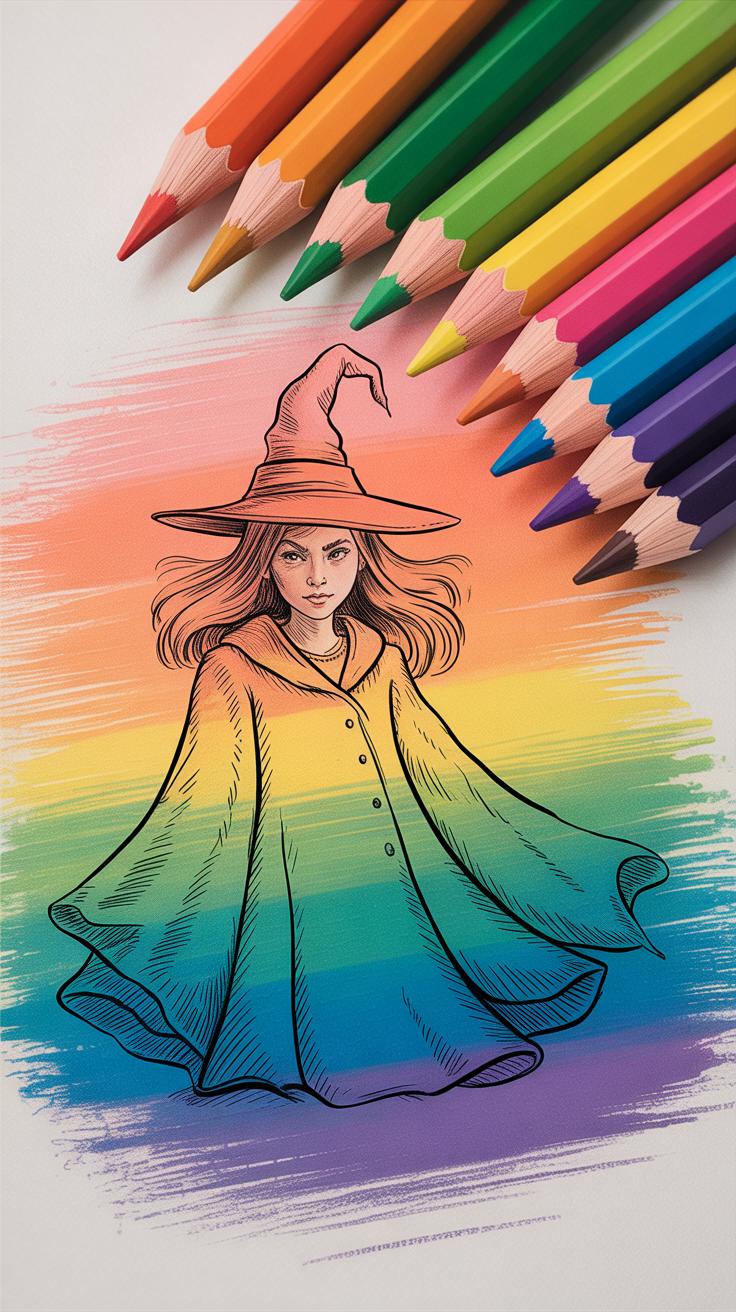
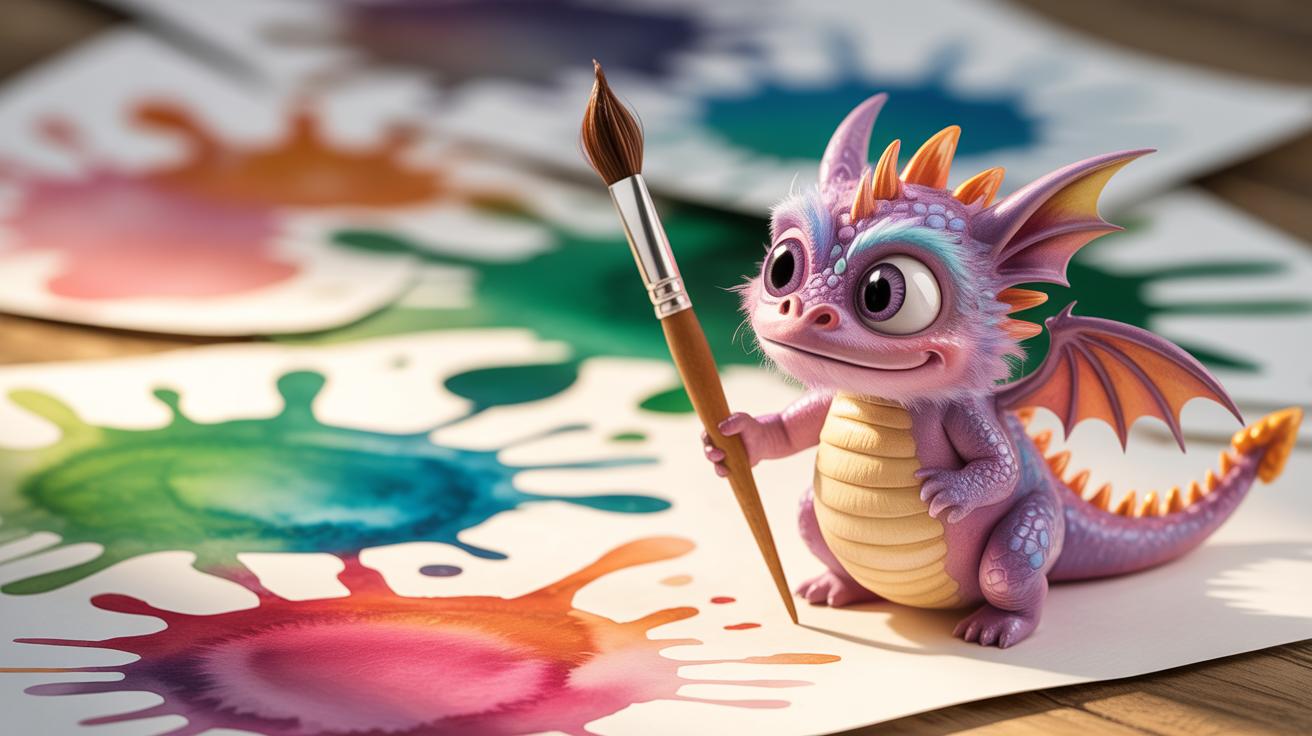
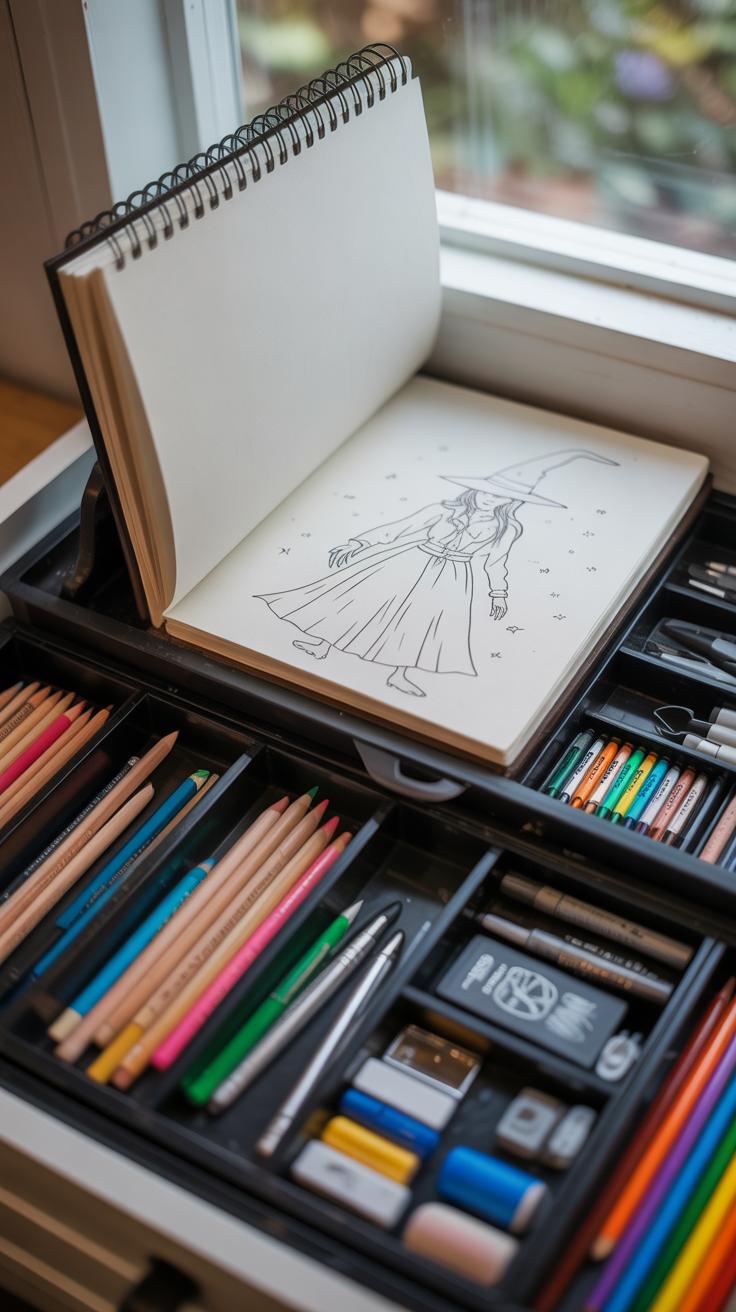
Bringing a Fantasy Witch to Life
Creating fantasy witches using color pencils and markers offers a unique way to express imagination and creativity. You can bring magical characters to life by mastering simple art tools and techniques. This article guides you through everything you need to know to start drawing and coloring your own fantasy witch.
You will discover how to sketch your ideas clearly, choose the right colors, and apply shading and highlights. Whether you are a beginner or looking to improve, these tips will help you create a vibrant fantasy witch that feels alive and magical.
Gathering Your Art Supplies
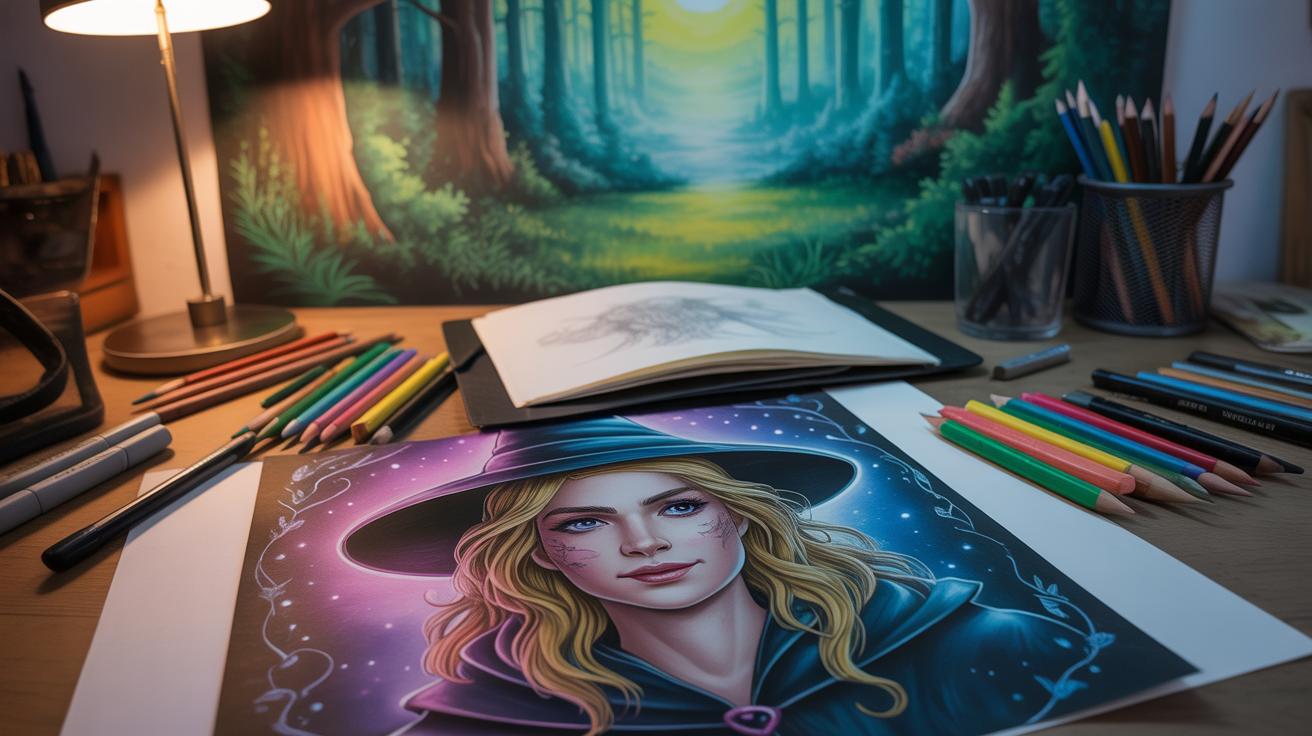
When you’re ready to bring your fantasy witch to life, having the right supplies makes a big difference. You don’t need a huge collection—just a few basics that work well together.
Start with color pencils. Look for ones that blend smoothly and have good pigment. Sometimes beginners pick pencils that feel scratchy or too hard, which can be frustrating. I found that brands with softer cores are easier to layer and shade. You don’t have to buy the most expensive set, but a decent quality pack—around 24 colors—usually covers what you need.
Markers add boldness and contrast. Alcohol-based markers are popular because they blend nicely, but they can bleed through paper if you’re not careful. If you’re unsure, water-based markers are less intense but still effective. Try to get a set that includes a range of colors, especially skin tones and a few dark shades for shadows.
Other basics you’ll want are:
- A smooth, thick paper designed for mixed media—this prevents warping from the markers.
- A good eraser—preferably a soft one to avoid damaging your paper.
- Sharpener to keep your pencils precise. Keep it handy.
Choosing your supplies partly depends on your style. Do you want crisp, bright colors? Then markers will play a bigger role. If you lean toward soft shading and detailed textures, pencils might be your go-to. Maybe you’ll mix both—you can experiment, and that’s part of the fun.
When shopping, don’t hesitate to test a few options. What feels right in your hand matters as much as the brand names. And if you only get a couple of pencils or markers to start, that’s perfectly fine. You can always build your collection as your skills grow.
Check Your Art Supplies
Starting your fantasy witch drawing means rounding up the right tools. You’ll definitely want a good set of color pencils and markers, but not just any kind will do. For example, a soft pencil that blends well can make layering colors easier and smoother, making your witch look more alive. Beginners often struggle with cheap pencils that don’t blend, so it’s worth investing a bit.
When choosing pencils, look for those labeled as wax-based or oil-based—they tend to blend better. Brands like PrismaColor or Faber-Castell Polychromos come highly recommended. They’re a little pricey but the smoothness and control you get often justify it. Oddly, some people like a mix: softer pencils for shading and harder ones for details.
Markers are another tricky choice. Alcohol-based markers, like Copic or Ohuhu, give bright colors and smooth coverage. Yet, they can bleed through paper or smudge if you rush. On the other hand, water-based markers are less intense but more forgiving. For fantasy witches with intricate details, it’s smart to test colors on scraps and see what works best before applying.
Also, keep an eraser handy for fixing mistakes and a blending stump for soft gradients. These simple tools can make a surprising difference when working on your witch’s robes or magical auras. Don’t overwhelm yourself with tons of colors either—start small. Have a few pencils and a handful of markers you trust, and add more as you get comfortable.
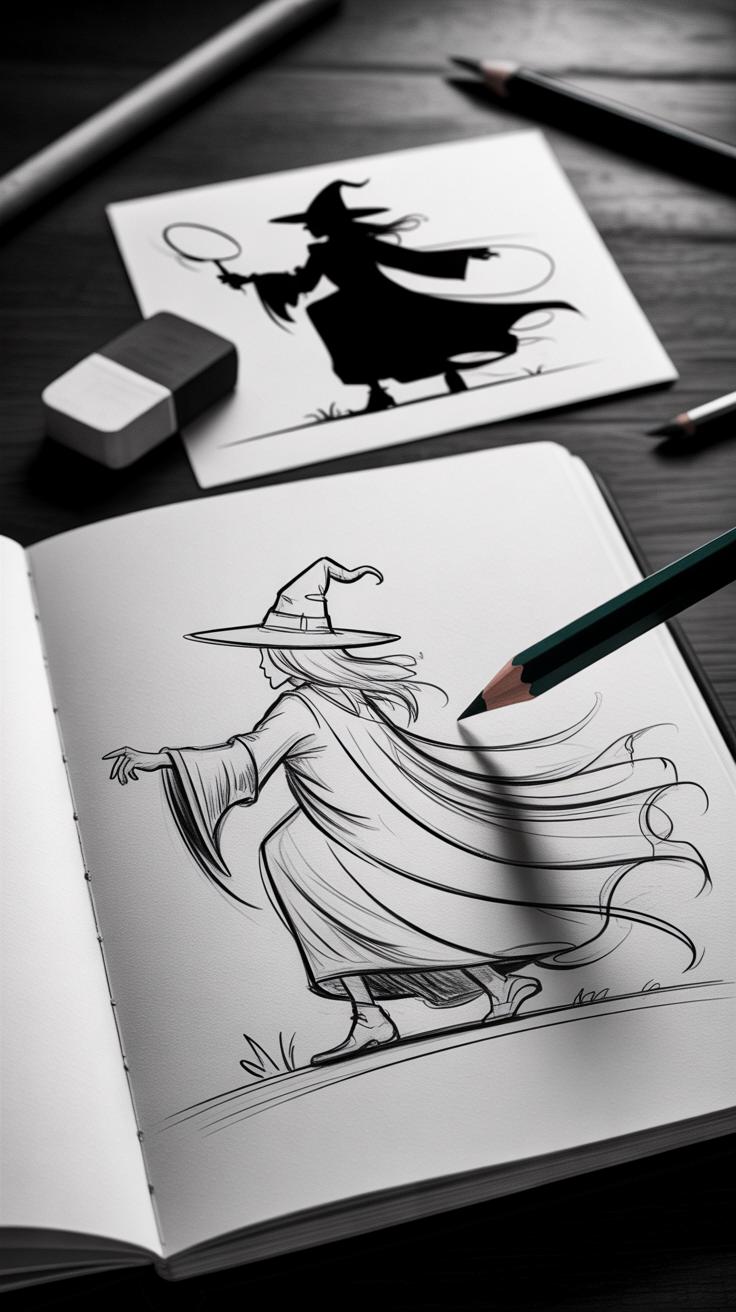
Sketching Your Fantasy Witch Design
Starting a pencil sketch for your fantasy witch might seem straightforward, but getting the basics right makes all the difference. Begin with light lines. They keep room for changes and corrections without making your paper messy. You don’t want to press hard too early—it’s easier to erase faint lines than dark ones.
Using Basic Shapes For Sketching

Try breaking your witch down into simple shapes. A circle or oval for the head, a larger oval or elongated shape for the torso, and lines for the limbs. These shapes act as a rough skeleton.
- Draw a circle for the head, keeping it light and loose.
- Use a vertical line down the face to help with facial symmetry.
- Add ovals for the chest and hips, connected by a simple line for the spine.
- Sketch thin lines for arms and legs, like stick figures to start.
This framework helps you focus on the pose and flow before adding complicated stuff.
Improving Proportions And Details
Once that framework feels right, start adjusting proportions. Witches often have elongated limbs or slightly exaggerated features—don’t be afraid to tweak!
- Check if the head size fits the body; too big or small changes the character’s vibe.
- Adjust arm length or torso size to fit the pose and personality you want.
- Begin to lightly map out facial features—eyes, nose, mouth—using your vertical and horizontal guides.
- Mark folds in clothing where the body bends to hint at movement or fabric texture.
Adding these details now sets up your design for easier coloring later. You might notice some areas needing rework. That’s okay—and part of the process. Have you tried tilting your page to see if the pose feels natural? It sometimes reveals odd proportions you didn’t catch before.
Keep the lines simple and subtle. You want your sketch to guide, not overwhelm the final artwork. Trust your eye but don’t rush. Sometimes waiting a moment and coming back helps you spot what’s off.
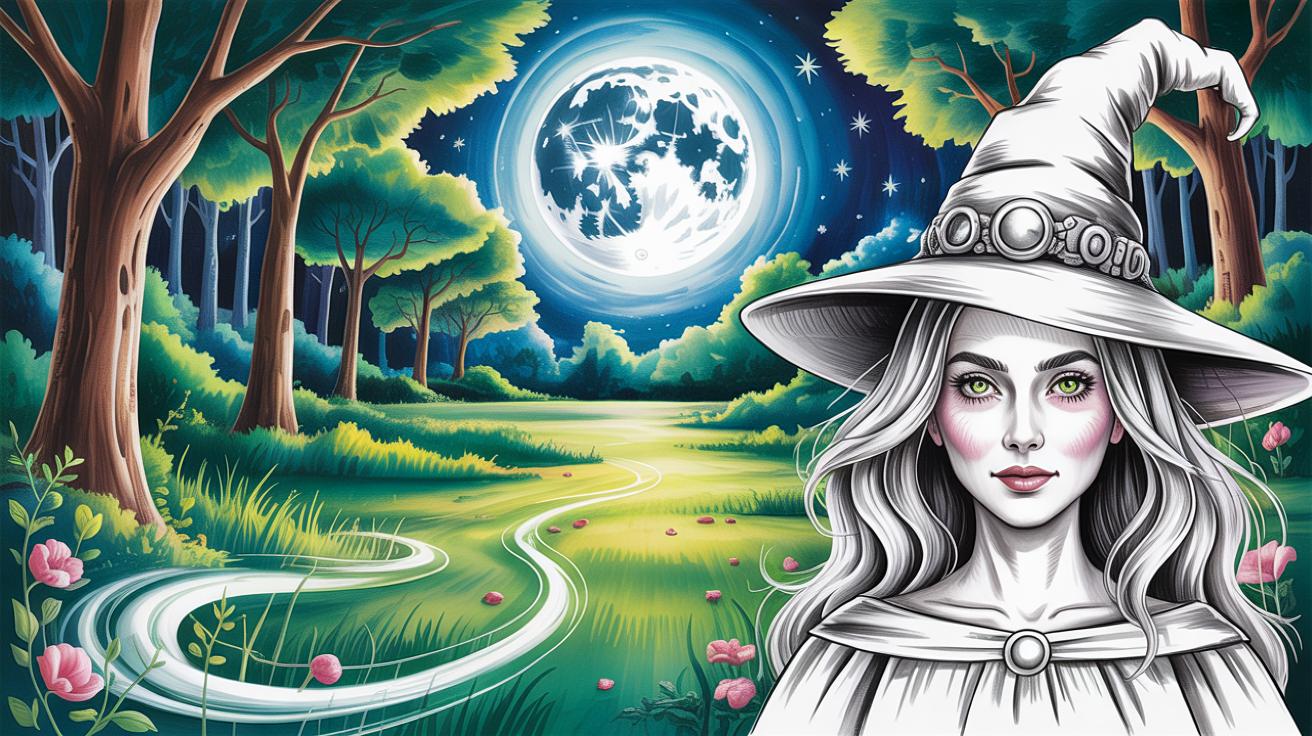
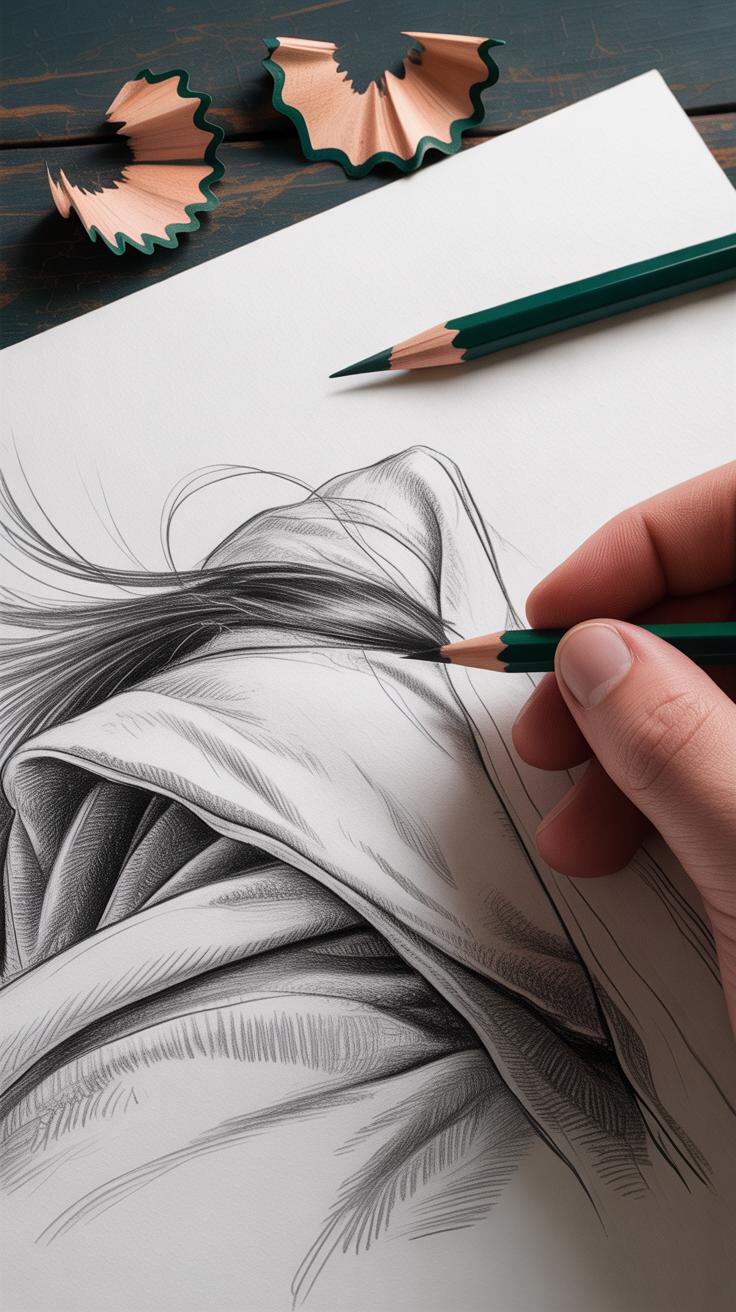
Adding Details And Textures With Pencils
When you shift focus from basic shapes to finer details, your fantasy witch suddenly feels alive. Color pencils give you a delicate control that’s perfect for adding texture and personality, especially if you’re patient with layering and gentle strokes.
Drawing Hair And Facial Features
Hair can make or break the character’s vibe. Start with light, directional strokes that mimic the flow of strands. Try varying pressure—harder for darker sections, softer for highlights—to build volume without harsh lines. Don’t be afraid to leave some bits loose or wispy; it adds life, not mess.
Faces demand a subtler approach. Use small circular motions for skin texture and gentle shading to contour cheeks or shadows around the nose. Pay attention to eyes—they define her mood. Adding tiny strokes can suggest eyelashes or soft eyebrows. These fine touches help bring out her personality without overwhelming the overall sketch.
Creating Textures For Clothes And Accessories
Clothing textures ask for patterned pencil strokes rather than random shading. For example:
- Velvety fabrics need smooth, even shading with subtle highlights.
- Rough wool or burlap calls for short, uneven strokes layered in different directions.
- Laces or embroidery can be suggested with tiny repeated patterns—dots, loops, or crosshatching.
Magical accessories, such as charms or amulets, benefit from a combination of sharp lines and soft shading. Try crosshatching to show metallic gleam, and use smudged pencil marks around glowing stones for a hint of radiance. Small details like these bring fantasy elements into believable existence, I guess. They add an extra layer of richness that flat coloring just can’t match.
Coloring Techniques With Color Pencils
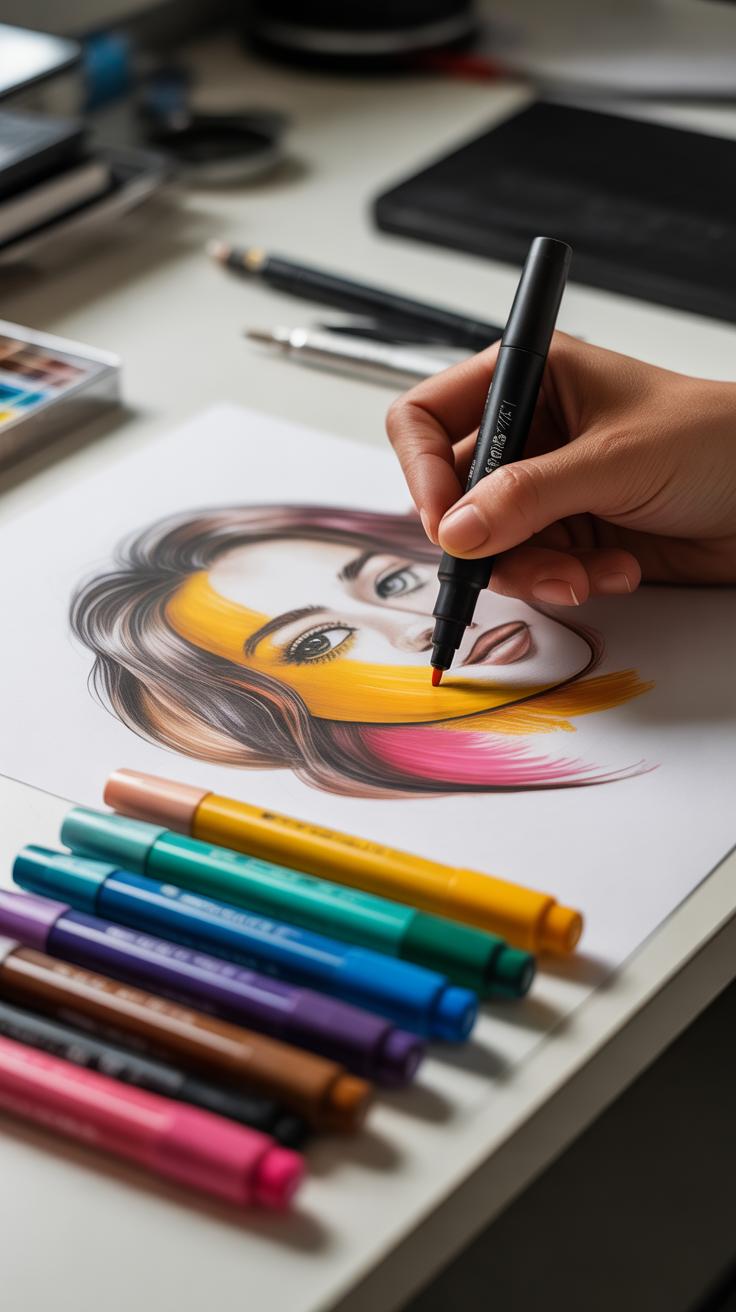
Layering colors with pencils is more than just piling on shade; it’s about building subtle depth that feels alive. When you start adding color to your fantasy witch drawing, think of it like painting in slow motion. Begin lightly, almost hesitant, letting the pencil barely kiss the paper. Then, gradually press a little firmer with each pass, layering one color over another.
This slow buildup helps avoid harsh lines and creates that rich, dimensional feel. For example, a deep crimson cloak might start as a soft pinkish base, then gradually deepen with reds and hints of maroon. You won’t get the depth right away—it’s a quiet process that rewards patience.
Blending is where pencils shine, but it needs a gentle touch. Using light pressure and small circular motions, you can smooth out transitions between colors. It can feel tricky, sometimes things blend perfectly, and then other times, the textures stubbornly resist. Don’t rush it. Sometimes, I find rubbing with a lighter pencil or even a blending stump helps, but remember, overblending might flatten the details you carefully added.
Try layering too many colors without breaks, and you risk a muddy look. On the other hand, leave some areas untouched to contrast against your blended spots—that mystery can make your witch’s features pop unexpectedly.
Using Markers To Enhance Your Artwork

Markers can truly make your fantasy witch drawing stand out. When used thoughtfully, they bring a brightness and intensity that pencils alone often can’t achieve. Think about using markers to push certain colors so they pop—like the glowing green of a witch’s spell or the rich purple of a cloak. These bold areas catch the eye instantly and can give your artwork a striking mood.
Applying markers over pencils requires a bit of caution. The trick is to keep your pencil details visible while letting the markers add intensity. I usually work slowly, layering light marker shades first and building up color gradually. If you go too heavy, you risk smudging or masking your pencil shading, which is frustrating.
Markers can also help with highlighting and contrast. You might darken shadows around the witch’s face or under her hat to add depth. On the other hand, using a lighter marker or even leaving small gaps can create subtle highlights that make features stand out. It’s a balancing act—too much contrast can feel harsh, too little might make the drawing flat. You might try testing on a scrap piece first to see how the marker blends with your pencil base.
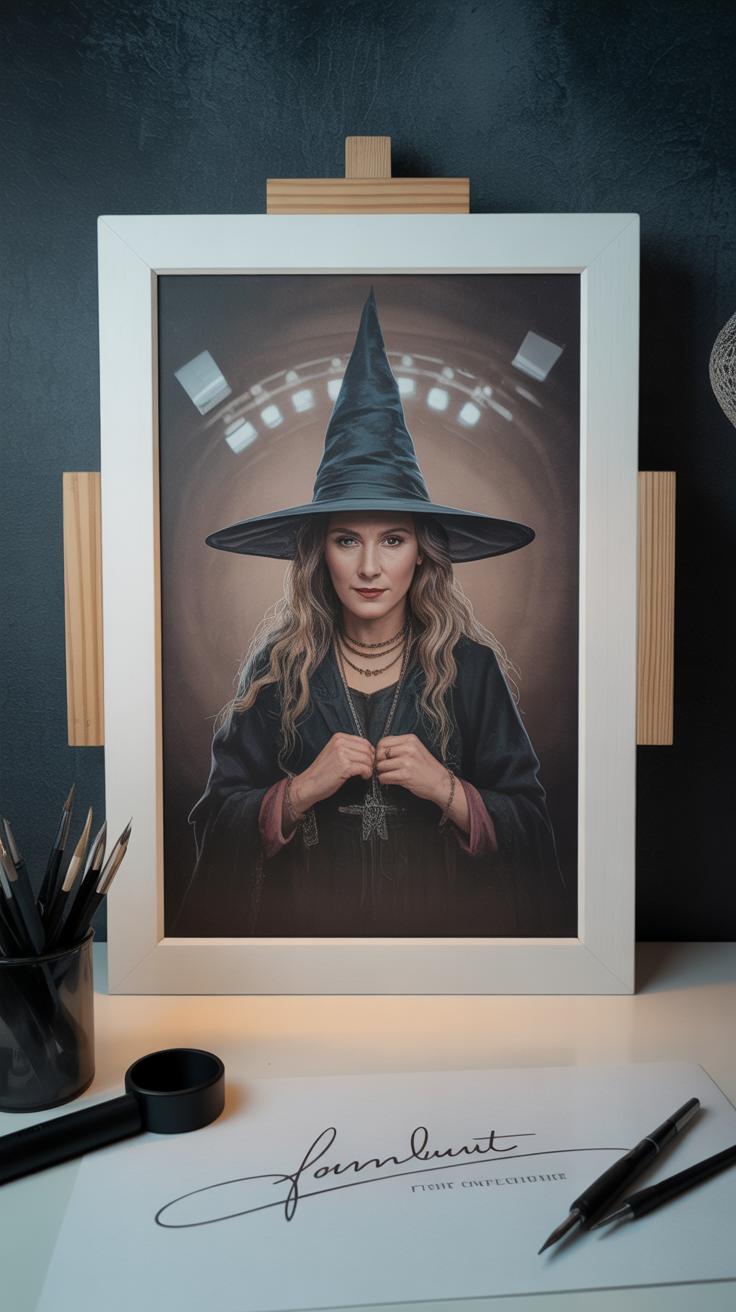
Finishing Touches And Presentation

Cleaning And Refining The Drawing
Once your colors have settled and the markers have dried, it’s time to give your drawing a tidy finish. Start by gently erasing any leftover pencil lines that you don’t want to be visible. Use a soft eraser so you don’t smudge or damage your paper. Sometimes, those faint pencil marks add texture, but often they just feel messy. It’s best to clear them away carefully.
After erasing, check if some outlines need sharpening. You can go over them lightly with a fine-tip pen or a sharpened colored pencil to bring more definition. But be cautious—too much dark line work can overpower the soft color layers you created. Finding that balance is a bit of trial and error and might depend on your style.
Adding Magical Effects And Display Tips
For magic effects, small touches go a long way. Try adding sparkles using a white gel pen or tiny dots of opaque white paint. Soft glows can be created by gently layering pale markers or pencils around a light source, like a glowing orb or your witch’s wand. You might also experiment with subtle gradients around magical parts to suggest energy.
When it comes to presenting your artwork, framing under glass often gives it a polished look, but plain clips or mounts work well too. Digital sharing is another route—photograph your piece in natural light, avoiding glare. Think about where this witch might live. Would she be proud on a wall? Or maybe in an online gallery, inspiring others? Presentation affects how your art feels finished, so don’t rush this step.
Practicing And Improving Your Skills
Drawing fantasy witches with color pencils and markers is a skill that grows with time. The key is to keep practicing, even when it feels frustrating or slow. Trying to recreate a witch you imagined yesterday might not look perfect today, but each attempt adds something useful—like understanding shadow placement or how colors blend. You might think you’ve hit a wall, yet sometimes just switching up the subject sparks new ideas.
Experiment with different drawing styles. Maybe start with a sharp, detailed look and then try something looser and sketchier. Don’t stick to one way of coloring, either. Markers can give smooth gradients, while pencils lend texture. Mixing those can create interesting effects you didn’t expect.
Look at other artists’ work often. Watch tutorials or browse art communities to see how others handle witch designs, color choices, or even poses. You might notice a technique you can try or a perspective you hadn’t thought about. Learning doesn’t mean copying but absorbing what could fit your style—and that’s a process. Which artists inspire you to push further? That question alone can keep your creative fire alive.
Conclusions
Drawing a fantasy witch with color pencils and markers is a rewarding process. You learn how to shape her form with pencils and add depth and color with markers. Each step brings your witch closer to reality and allows your creativity to shine.
Keep practicing the techniques shared here to improve your skills. Remember, your fantasy witch reflects your unique style, so enjoy every part of the journey. You can create artwork that tells your magical story and captivates others.


