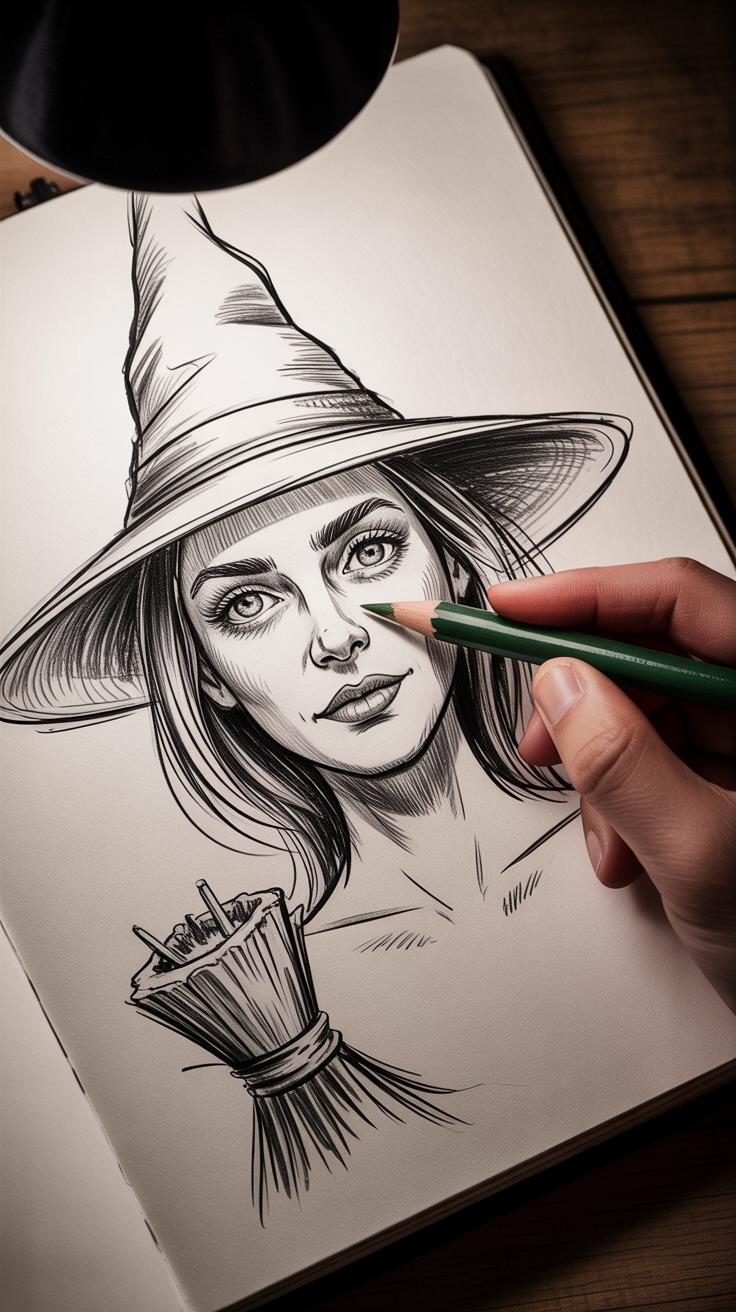
Portraying a Moon Witch in Color Pencil
Capturing the image of a Moon Witch in a mystical nighttime color pencil portrait invites you to blend creativity with storytelling. This unique art subject draws from rich mythology and fantasy, portraying a figure deeply connected to the moon, magic, and night. Through careful use of color pencils, you can bring out the eerie beauty and mysterious aura that defines the Moon Witch.
This article explores how to understand the Moon Witch concept, prepare your materials, choose the right colors, and apply techniques to create a portrait that feels alive with nocturnal magic. Whether you are an artist or an enthusiast, these insights will guide you to portray the Moon Witch with clarity and enchanting detail.
Exploring the Moon Witch Mythology

The Moon Witch is a figure rooted in various mythologies, often tied to the mysteries of the night and the shifting phases of the moon. She’s not just a simple character but a blend of ancient beliefs and folklore, embodying the enigmatic pull the moon has held over humans for ages. Her origins trace back to stories where the moon was seen as a powerful force governing time, tides, and hidden knowledge.
Often, the Moon Witch is portrayed as a guardian or wielder of lunar magic, someone who thrives in darkness yet illuminates secrets beneath the stars. She is linked to the moon’s cycles—waxing, full, waning—and sometimes embodies the moon itself. In fantasy and folklore, she steps beyond a mere sorceress role and becomes a symbol of transformation, intuition, and sometimes isolation.
What’s interesting is how her character blends fear with fascination, reflecting how people have historically viewed the night. She stands at the intersection of light and shadow, the known and the unknown. That duality makes her especially compelling when you try to capture her likeness or essence through art.
The Role of the Moon Witch in Legends
The Moon Witch appears differently across cultures, but a few themes repeat. In some Native American legends, she guards sacred lunar knowledge, representing wisdom cloaked in mystery. European folklore often casts her as a solitary figure practicing magic under moonlight, embodying feminine power and independence—but sometimes feared for that very reason.
In East Asian stories, she might be connected with lunar goddesses or spirits, linking her to concepts of balance and renewal. What she often represents is a connection to magic that is intuitive, subtle, and potent—far from the explosive or violent sorcery you see elsewhere.
She carries a certain mystique, inviting respect and sometimes caution. In that way, the Moon Witch is a symbol of hidden power. You could say she reflects our ongoing fascination with the night—not just as darkness but as a space filled with potential and change.
Visual Symbols Connected to the Moon Witch
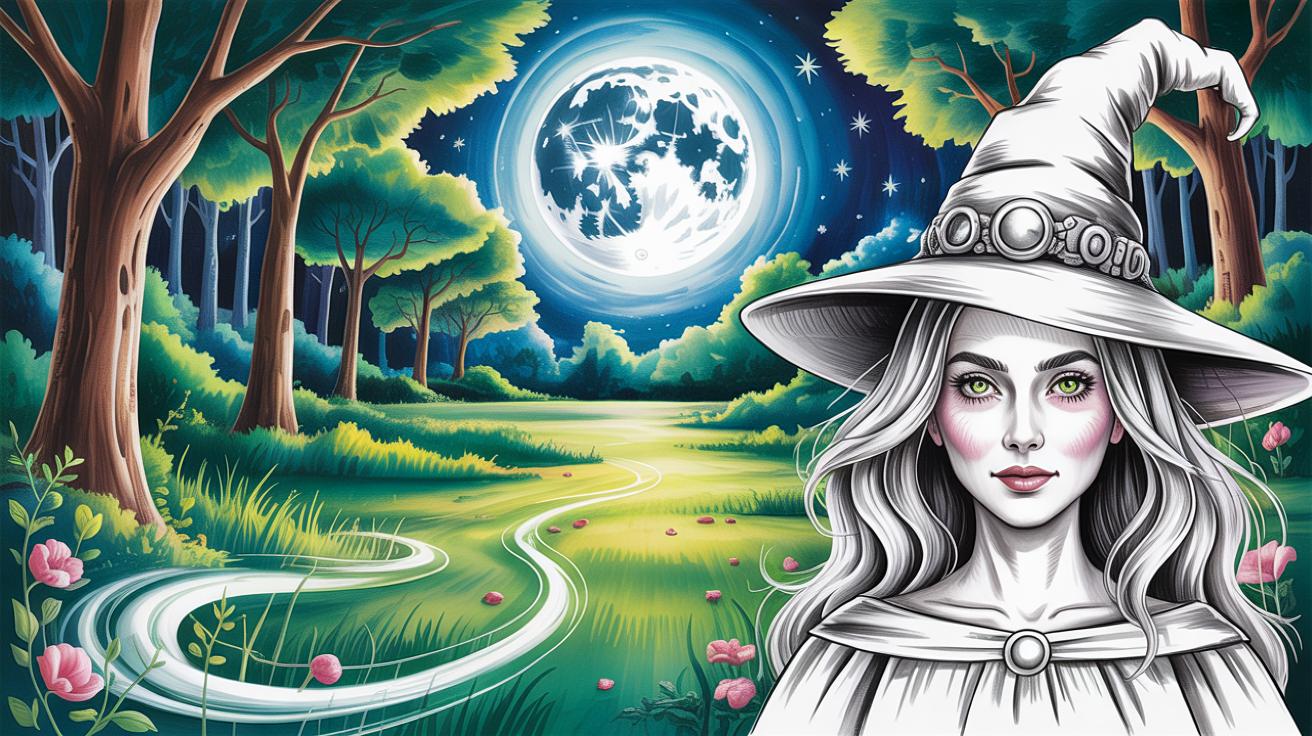
Visualizing the Moon Witch often involves a handful of recurring symbols that hint at her story and magic. The crescent moon is probably the most obvious—a sign of her connection to lunar phases and the cycles of nature.
Besides the moon itself, night skies with stars serve as a natural backdrop. These elements emphasize her domain as one that thrives in twilight and darkness. Sometimes you’ll find spiders or webs included, symbolizing fate, weaving of spells, or quiet patience. Magical artifacts like crystal balls, wands, or herbs appear too, indicating her knowledge of hidden, natural forces.
These icons don’t just decorate her image; they tell you who she is and where her power lies. When you paint or draw a Moon Witch, including these symbols helps capture her essence beyond just a person—she becomes part of a larger story about mystery, magic, and the night.
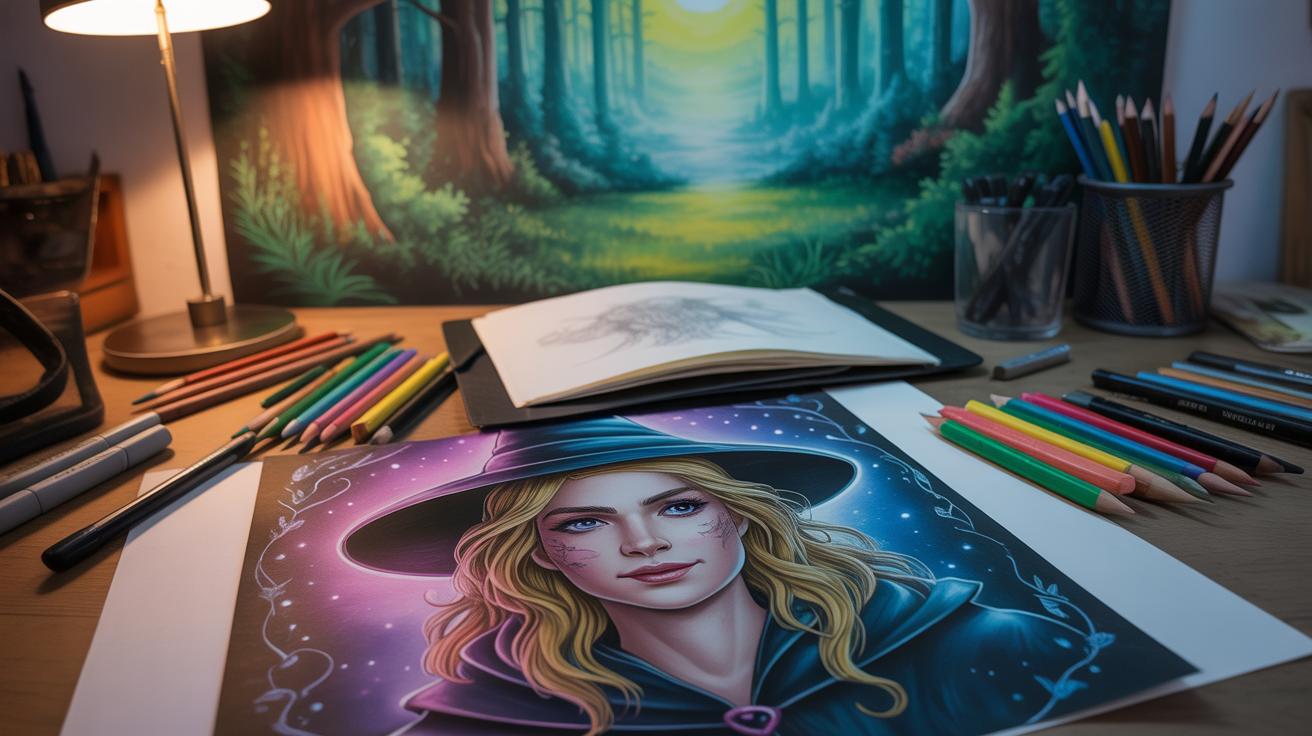
Gathering Materials for Color Pencil Portraiture
When preparing to create a nighttime color pencil portrait of a Moon Witch, the choice of materials can make or break your work. You want pencils that offer deep, rich pigments to capture the subtle shades of moonlight and the darkness of the night sky. Look for pencils with strong pigmentation and smooth application—these will help you build layers without the colors becoming muddy or dull.
Brands like Prismacolor Premier and Faber-Castell Polychromos often come up. Prismacolor feels creamy and blends beautifully, though sometimes I find the leads a bit soft if you press too hard. Faber-Castell is firmer, offering precision but with less buttery softness. You might want to try both to see which suits your style better.
For paper, something with a slight texture usually works best, but it shouldn’t be too rough—you need enough tooth to grip the pigment but smooth enough not to distract from fine details. Bristol board or heavyweight drawing paper around 100-150 lb range tends to hold up well under multiple layering. Some artists swear by textured pastel paper to add an extra dimension, but that’s a personal preference.

Don’t forget about supporting tools. A kneaded eraser is incredibly handy for lightening areas subtly without damaging the paper, while a vinyl eraser helps clean tougher lines. Blending stumps can soften edges or help transition shadow to light, especially in your nighttime scenes. Finally, a workable fixative can protect your work as you build layers, preventing smudging but also letting you continue layering.
It’s a bit of trial and error honestly—sometimes you don’t realize what tool works best for your vision until you start. Are you aiming for soft glows or crisp details? That will nudge your choices a bit more.
Planning Your Moon Witch Portrait
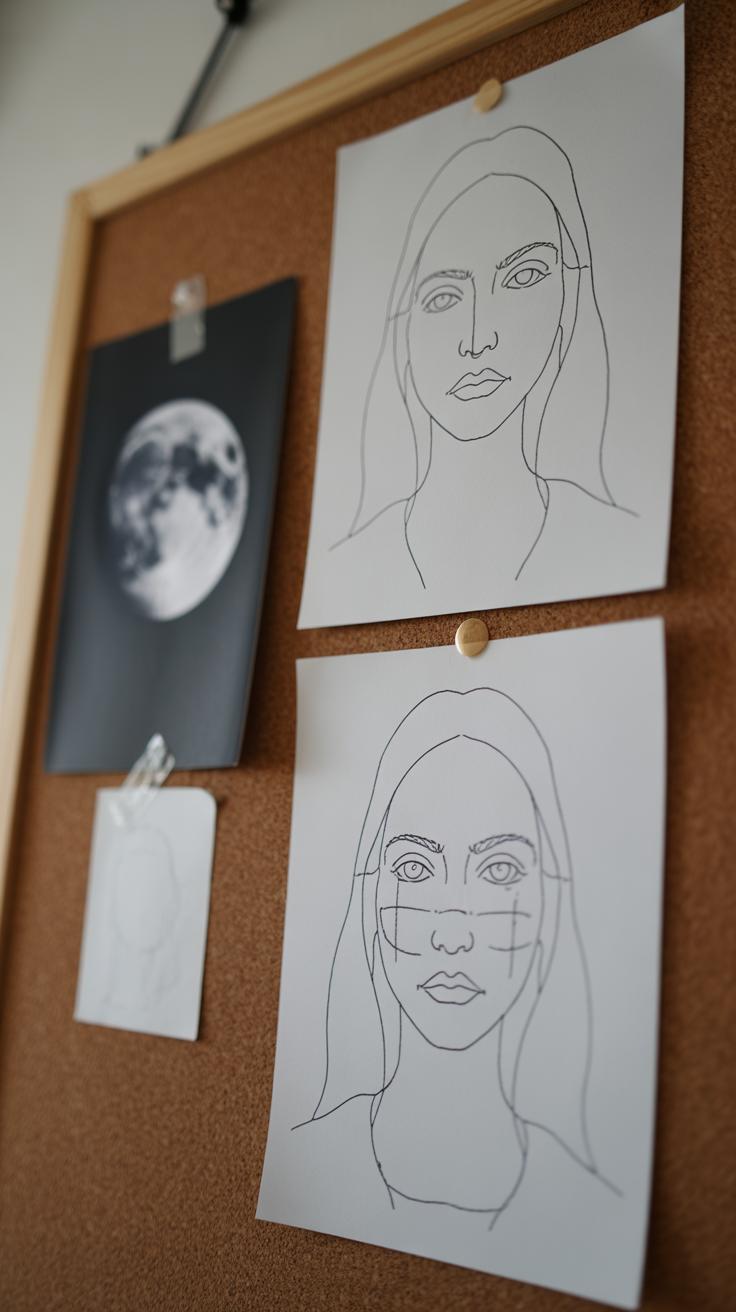
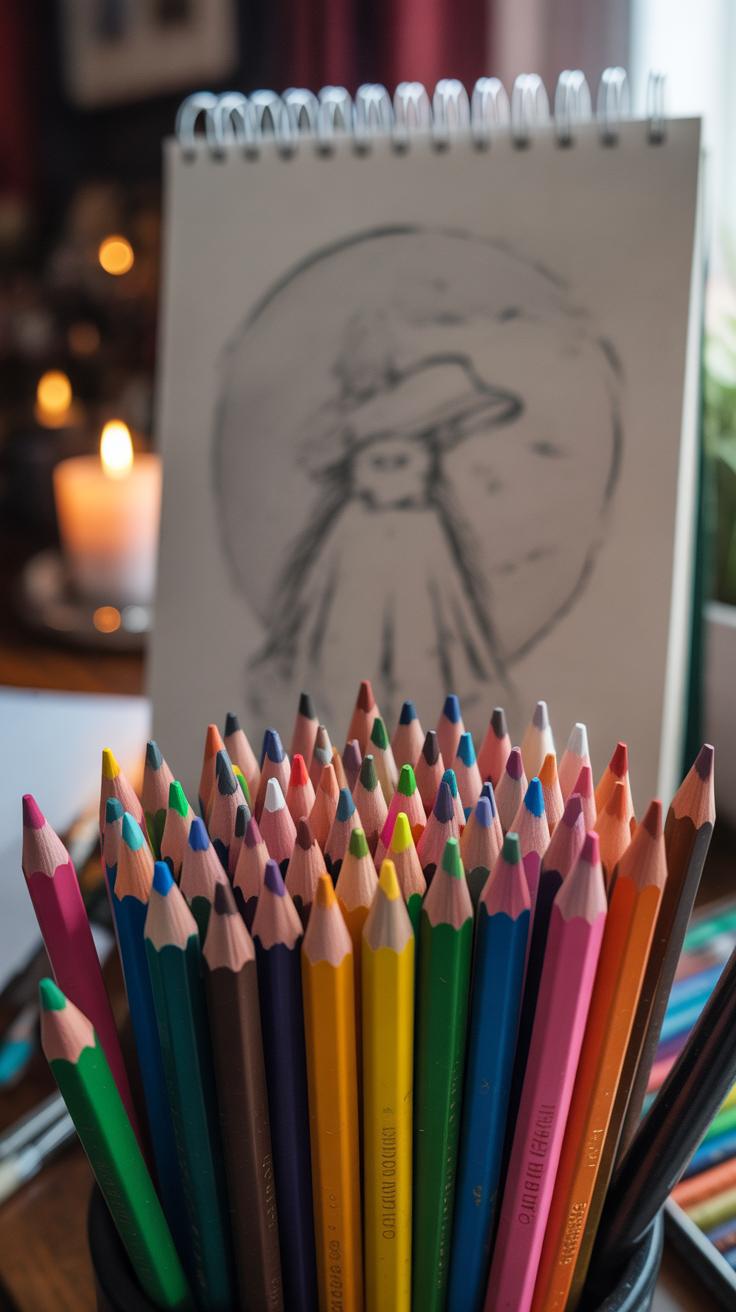
Starting your Moon Witch portrait means deciding what mood you want to capture with that soft, eerie glow. You might begin by imagining her stance—will she stand tall and confident beneath a full moon, or be hunched, whispering spells? Her pose sets the tone, so sketching a few quick versions helps to settle this before anything too detailed. I usually keep these early lines very loose, just enough to catch the energy and flow.
Facial expression plays a big role too. What sort of look suits a Moon Witch? Maybe a secretive smile or a distant gaze that pulls you in? Don’t fret if your first attempt feels off—it’s a process, and sometimes the expression changes once color brings her to life.
When considering composition, think about where she sits within the frame. Placing her center stage can feel more powerful but sometimes offsetting her slightly invites mystery. You could balance her figure against a glowing moon or shadowy trees—both choices shift the atmosphere. I find sketching multiple layouts side by side helps you see how different placements influence the feeling.
And don’t forget the environment. Is she in the deep woods or an open sky? The moonlight’s angle and intensity define shadows and highlights, so try to decide early where your light source comes from. Visualize how the silvery tones will play across her features and cloak. Feel free to jot down notes or small thumbnails exploring these lighting ideas before committing to the full portrait.
Techniques for Drawing Facial Features and Expression
When drawing a Moon Witch, your goal is to capture more than just features—you want to suggest mystery, magic, something just out of reach. Start by shaping the face with your colored pencils, layering softly rather than pressing hard. Use cool tones like pale purples or grays to contour the cheeks subtly, blending them gently with warmer blush shades to keep the skin natural but touched by otherworldliness.
Focus on the eyes—they should draw the viewer in. Begin with light layers of muted blues or greens, then build depth by shading the pupils and adding fine highlights to suggest an unspoken power beneath. Eyes that flicker with a hint of shadow on the lids convey secrecy better than bold lashes or sharp lines. The nose and lips should follow suit: softly shaped, using gradual shading to suggest volume without harsh edges.
To capture that partly hidden, mystical expression, think quiet intensity rather than overt emotion. Sometimes, less is more. A subtle shadow across one side of the face can hint at secrets while small highlights on the corners of the mouth or the bridge of the nose give life to the character. Play with contrasts—shadow next to light—to invite the viewer to linger, wondering what lies behind that look. If you can, avoid perfect symmetry; slight irregularities make her expression feel more natural, or maybe a bit unsettling, just as a Moon Witch should be.
Have you tried layering very light colors in thin, multiple coats for a smooth finish? It’s slow, but worth it. Experimenting with subtle smudging or tiny, deliberate lines can provoke a sense of magic seeping through her face. It may not be obvious at first glance, but the effect grows on you—and your drawing will tell a story that’s more than skin deep.
Drawing the Moonlit Environment
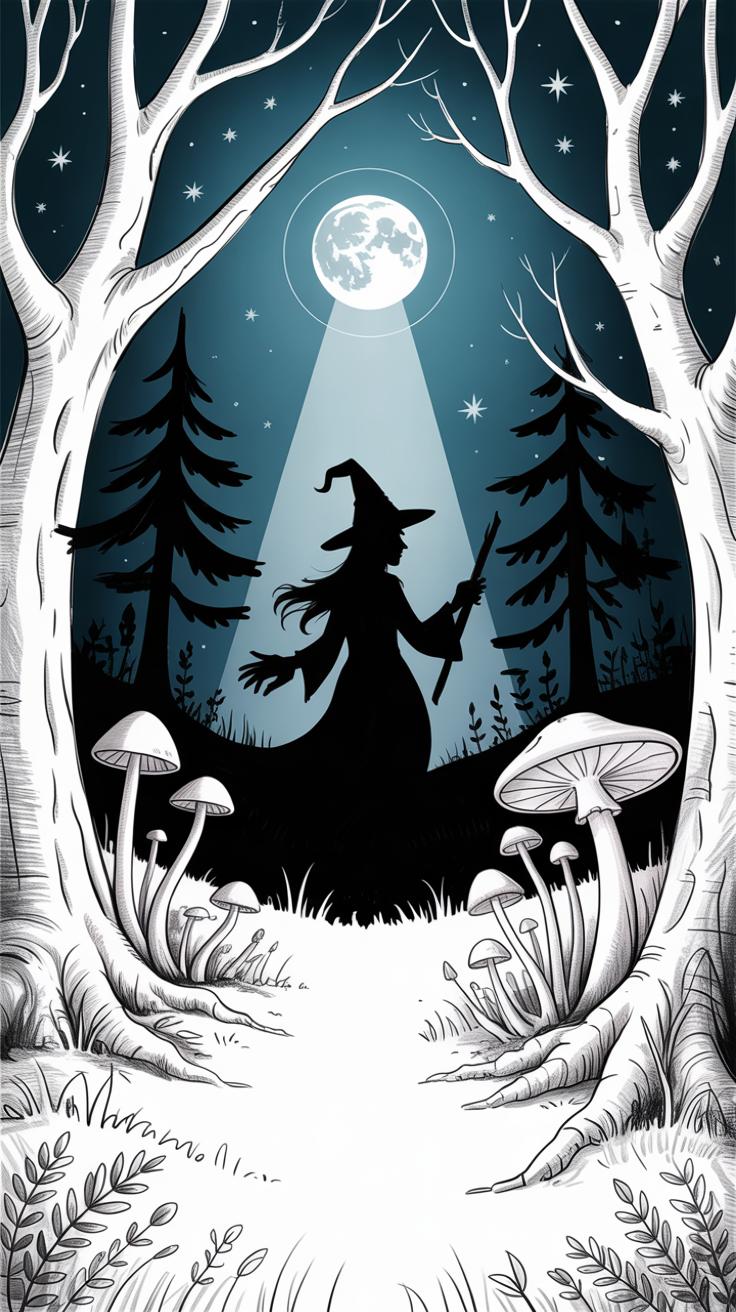
Creating a nighttime atmosphere with color pencils means starting with a careful choice of your background. Instead of simply pressing down darkly, try building depth with multiple layers of cool blues, deep purples, and soft blacks. This layering prevents the background from looking flat or lifeless. For the moon, sketch a slightly off-white circle—too bright, and it feels artificial. A little gray mixed in helps it blend better.
Stars appear more natural when scattered unevenly. Use a white pencil lightly, varying pressure to imitate twinkling. I often dot some stars with a tiny touch of pale yellow for warmth, but be subtle. The key is letting the scene breathe, letting shadows settle without overwhelming details.
Using Cool and Dark Colors for Night
Colors like indigo, navy blue, dark mauve, and charcoal handle the night setting well. Avoid pure black as your first layer—it often looks too harsh. Instead, blend in dark blues first, then overlay with charcoal or a dark brown pencil to enrich the scene.

Work softly, building colors slowly. Sometimes, I get impatient and press too hard, which flattens textures. Keeping the strokes light and layered lets the colors mix visually, making the darkness feel more natural and less monotone. Smooth transitions are more convincing this way. You might try circular motions or light crosshatching to avoid visible lines, but there’s no harm in a little texture if it suits your style.
Adding Moonlight Effects
Imagine the moonlight as gentle, cool rays brushing against the Moon Witch’s form. Use a very sharp, light-colored pencil—white, pale blue, or even a silvery gray works well. Apply strokes selectively on edges facing the moon to suggest a soft glow. Don’t overdo it; a delicate hand conveys the effect better than anything heavy.
Sometimes, I find layering a faint white over a shaded area gives the impression of reflected moonlight. It’s subtle and might be easy to miss, but it adds dimension. Consider how light would catch on her hair strands, robes, or even the wisps of mist around her. These touches bring her into the environment without making the light seem harsh or unnatural.
Incorporating Magical and Mystical Details
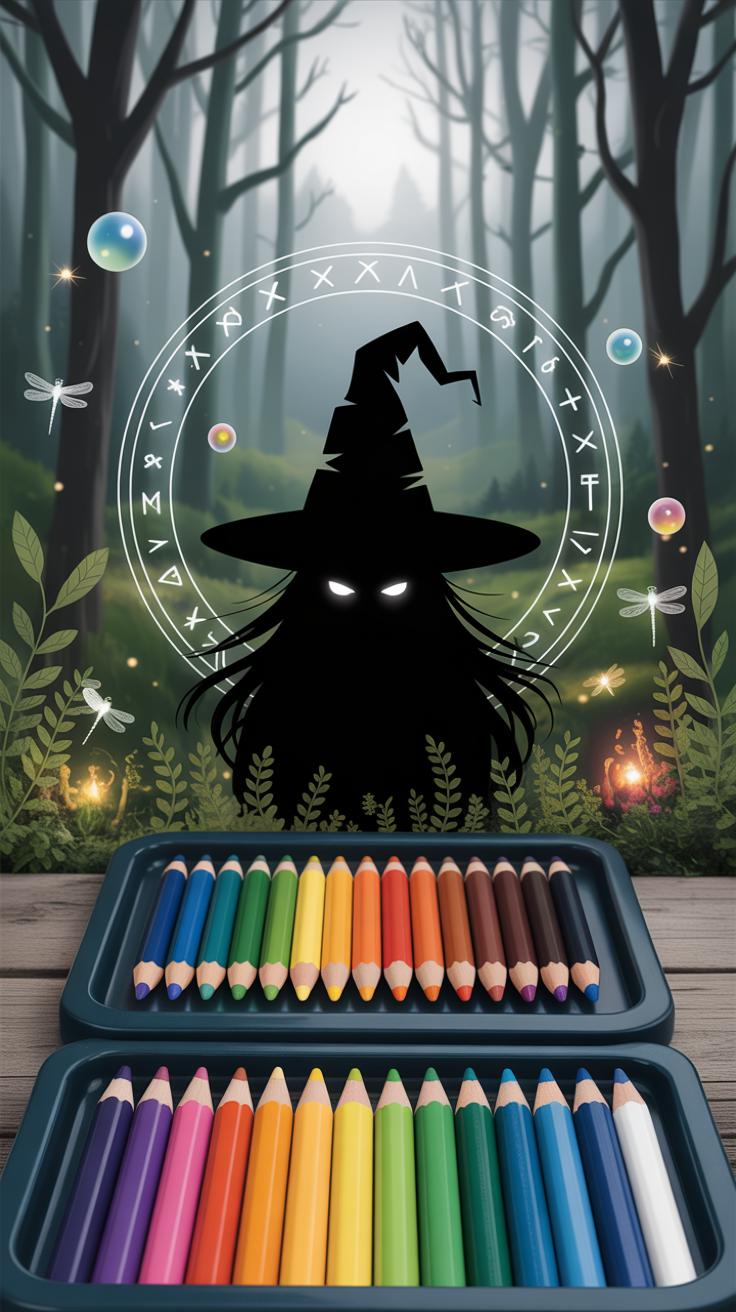
When bringing your Moon Witch to life with color pencils, small magical touches can shift the whole mood. I often find that subtle symbols—like crescent moons or arcane runes—draw the viewer’s eye and hint at unseen powers. You might sketch these symbols lightly first, then layer them softly into the hair or cloak, making them almost whisper rather than shout.
Drawing glowing eyes is one of my favorite ways to add an uncanny spark. Start by coloring the iris and then add pale highlights around the pupils. Use white or very light pencil strokes to simulate light, but don’t overdo it; you want the glow to flicker, not blaze.
Don’t stop at just eyes. Mystical objects such as a crystal orb, a delicate moon-shaped pendant, or an ancient spellbook can really ground her otherworldly essence. When drawing these, be mindful of their placement; accessories dangling from fingers or balanced on a hat brim add natural storytelling.
Drawing Mystical Accessories
Accessories reveal a lot about the Moon Witch’s identity. Hats with wide brims topped by crescent moons or stars can amplify the magical theme. I try to add texture here—like worn leather or soft velvet—using fine, directional pencil strokes to suggest the material.
Jewelry is another subtle way to evoke enchantment. Delicate chains with tiny charms, maybe a moonstone or quartz, give sense of history and power. I sometimes blend soft greys and blues to mimic the shimmer of these stones without needing perfect realism.
Consider staffs or wands too. They don’t have to look like everyday objects; a twisted branch with crystals or vines works well. Adding small details like glowing runes etched into the wood brings the item to life without being overwhelming.
Creating Glowing and Sparkling Effects
Capturing magic’s radiance on paper is tricky, but layering can help. I use light application of pale yellows, blues, or whites around sources of light—like crystal orbs or the Moon Witch’s hands. Then, I softly blend these colors outward, fading into the surrounding darkness to suggest an ethereal glow.
Sharp, tiny highlights give sparkle—think a few white dots or short strokes where light might catch. It’s easy to overdo this, so I usually place them sparsely. You want the effect to feel natural, like twinkling stars, not artificial glitter.
Shadow plays a key role too. Contrast the glow with darker shading nearby to intensify the sense of illumination. Layering pencil in circular or swirling motions beneath glowing elements helps simulate energy swirling from the source. You might experiment with layering colors repeatedly, building subtle luminosity that feels alive.
Blending and Layering Color Pencils for Depth
Bringing your Moon Witch portrait to life depends a lot on how you handle blending and layering. These steps give your piece that dimensional feel, where features don’t just lay flat but seem to exist in a space you can almost touch. You want the shadows to sink in and the highlights to pop without the colors feeling muddy or stuck.
Techniques for Smooth Blending
Start by varying pencil pressure—think of it as almost whispering the color onto the paper before pressing down fully. Soft, light strokes let you build smoothly, while firmer strokes deepen the color. Tools like blending stumps or even a cotton swab can help ease transitions between hues, but don’t overdo it; too much blending can blur fine details you’ll want to keep sharp.
Another trick is layering a light color over a darker shade and then gently blending back and forth. It’s a simple method but can create surprisingly smooth gradients, especially in the shadows around the eyes or folds of fabric.
Building Up Color Layers
Patience here is key. Instead of plunging in with a heavy hand, you add color in thin layers. Each layer deepens values and creates texture, like the subtle wrinkles in skin or the shimmer on the Moon Witch’s cloak. You might start with a muted blue to outline shadows, then add richer purples and greys atop. This gradual build-up also lets you correct course—darken areas that need more depth or lighten spots that feel too dense.
Think about the background too. Layering here helps separate the figure from the night sky, giving the portrait an almost three-dimensional effect. Sometimes, adding just a few layers of very soft colors around the edges helps the Moon Witch appear more ethereal, as if she’s emerging from the darkness itself.
Final Touches and Preservation of Your Artwork

When your moon witch portrait starts to feel almost alive, it’s tempting to just call it done. But those finishing touches—small yet deliberate—can really make your drawing pop. Adding highlights with a white or very pale pencil can bring certain features forward. Think of the shine on her eyes, the glimmer on her jewelry, or a soft glow along her cheekbones. These crisp touches catch the viewer’s eye and give a sense of dimension beyond flat paper.
At the same time, don’t forget to deepen some shadows. Darkening areas like beneath her cloak or around the edges of her face can increase contrast. This contrast creates a stronger sense of volume and mystery, which suits the moon witch’s enigmatic vibe. Yet, there’s a balance—too much can look heavy. Maybe test your shadows with light layers before committing.
Once you’re happy with the details, protecting your work is key. A fixative spray can help prevent smudging and fading, especially with delicate color pencil layers. But keep the spray light—too thick, and it can dull your colors or create a rough texture. Framing behind glass adds another layer of defense, shielding from dust and UV light. I’ve found that framing not only protects but also gives the piece a finished feel, even before anyone sees it.
Do you prefer a matte or glossy finish? That choice can subtly change the portrait’s mood, so consider what fits your moon witch—soft and mystical or sharp and mysterious. Taking these final steps requires patience, but they help your artwork endure and keep its magic intact over time.
Conclusions
Reflecting on the process of capturing a Moon Witch in a nighttime color pencil portrait highlights the importance of blending myth with artistic skill. You learned how understanding the character’s story enhances your creative choices. The choice of colors, shading, and composition all contribute to conveying the magical, mysterious atmosphere of the night.
By applying the discussed techniques and concepts, you can create art that connects with viewers and stirs their imagination. Your Moon Witch portrait will not only depict a figure of fantasy but also invite others into a world of mystery and enchantment under the moonlight.


