Designing an Enchanting Sea Fairy
Designing an enchanting sea fairy with color pencils and markers opens a world where imagination meets creativity. This guide will help you explore how to use simple art materials to bring a magical sea fairy to life on your paper. Whether you want to create a vibrant underwater scene or a delicate fairy with shimmering details, color pencils and markers offer versatility and control.
Throughout this article, you will learn about the key materials needed, techniques for blending colors, and tips on adding details that make your sea fairy unique. The goal is to provide easy-to-follow steps and ideas so you can confidently create your own charming sea fairy artwork.
Understanding the Sea Fairy Concept
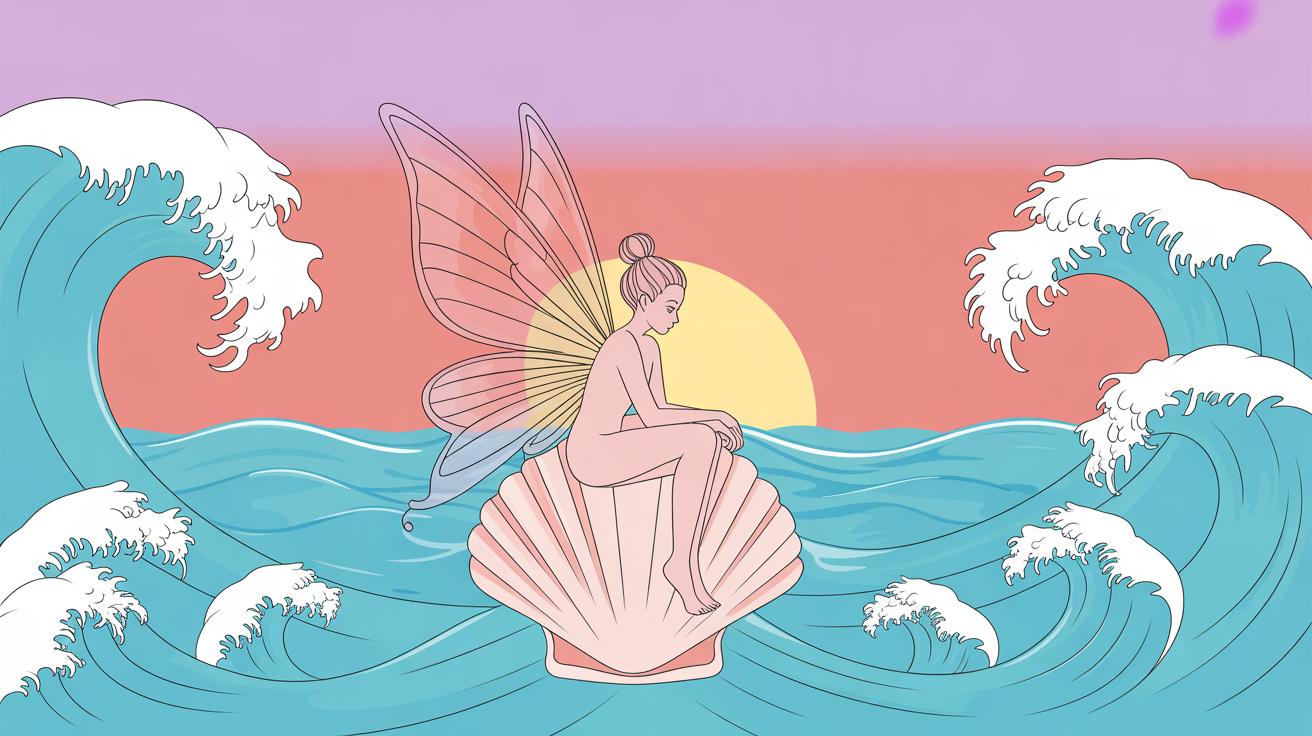
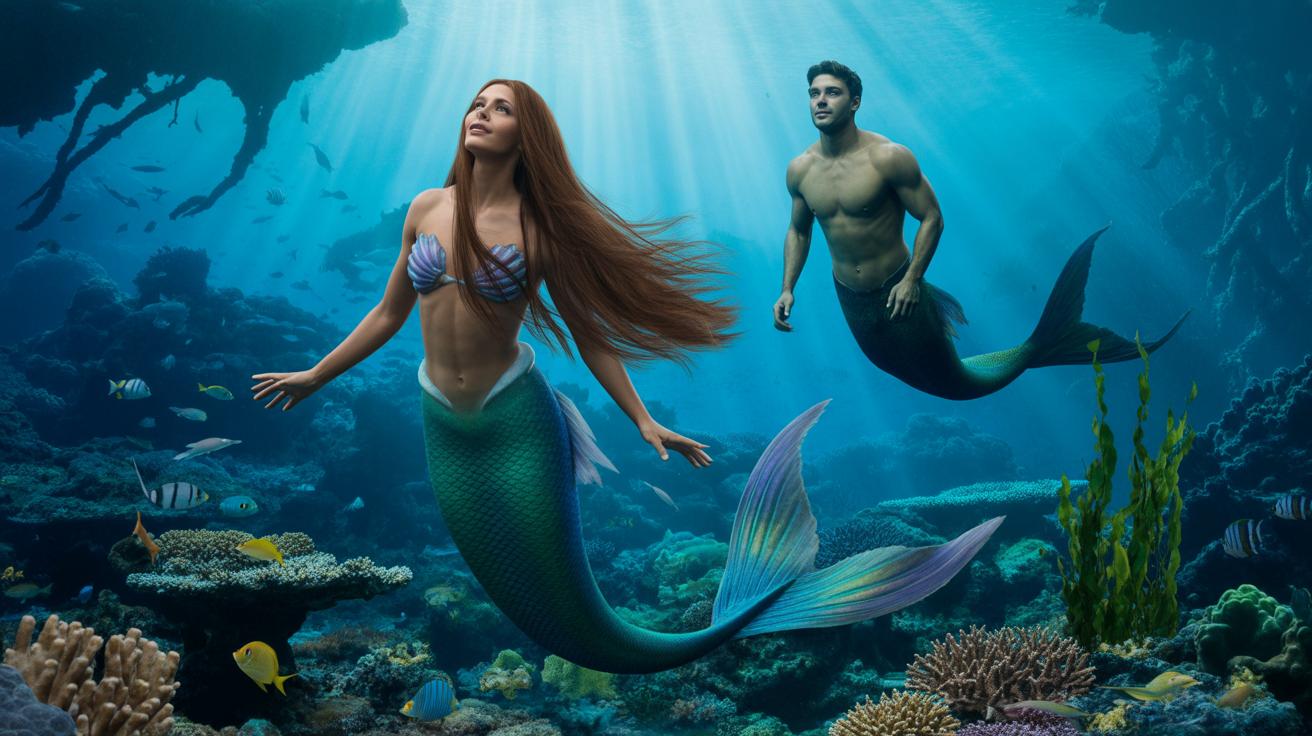
The idea of a sea fairy takes root in fantasy literature and art, often blending elements from folklore about fairies and mythical beings of the sea. These creatures aren’t just your typical land-based fairies. They embody the mystery of underwater worlds while sharing the whimsy and magic we associate with fairies. I find it curious how artists portray them differently depending on cultural background or era—sometimes with delicate fins instead of legs, sometimes with shimmering wings that look like seashell fragments.
When visualizing a sea fairy, think of traits like:
- Graceful, often slender, humanoid figure with subtle aquatic features like webbed fingers or scaled skin
- Colored hair that mimics seaweed or coral hues, making them feel part of the ocean environment
- Magical qualities including control over water currents or light reflections beneath the waves, though these powers vary widely
- A sense of enchantment that is not entirely about power but also about connection to nature’s mysteries
These aspects appear again and again, but with enough variation that the sea fairy doesn’t feel confined to one rigid image. It’s probably the open-endedness that lets artists explore and reinterpret them freely.
What Makes a Sea Fairy Unique
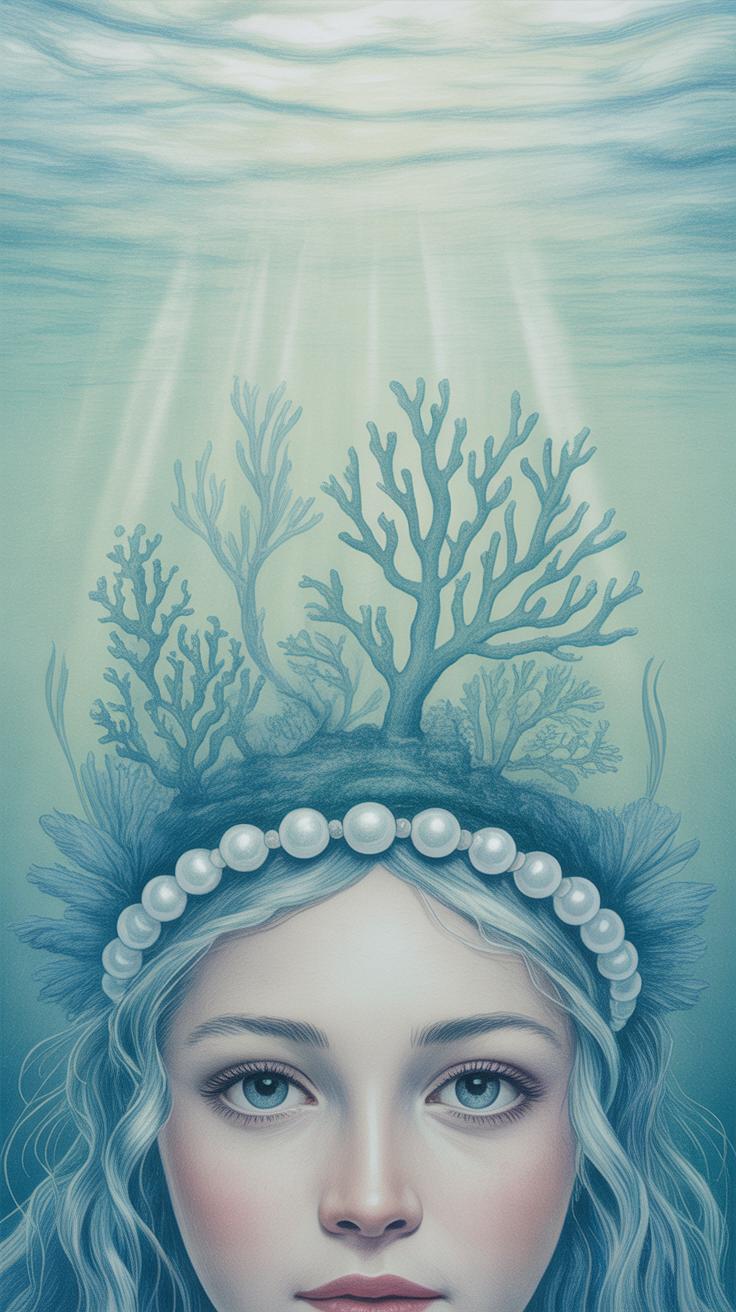
Sea fairies stand apart from other fairy types mainly because of their aquatic nature. Their key defining features typically include:
- Aquatic adaptations: Think webbing between fingers, tiny fins, or shimmering scales scattered subtly over their skin.
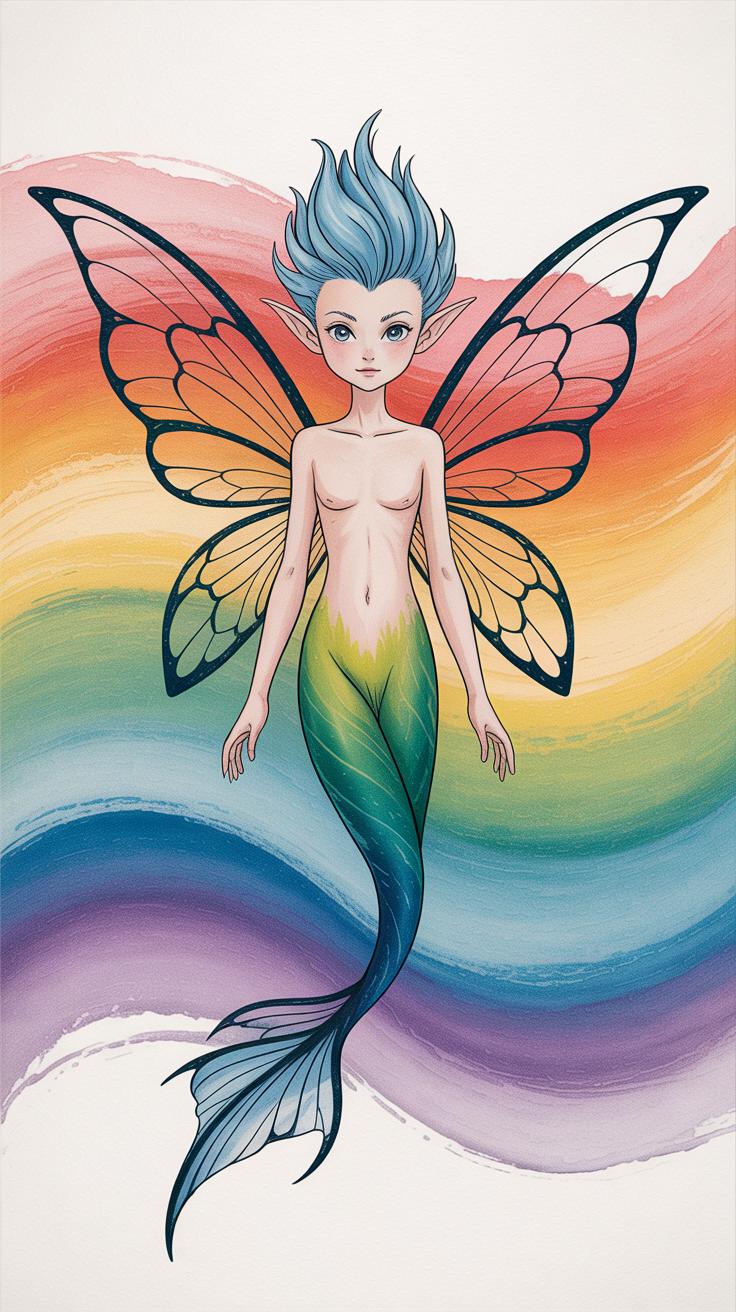
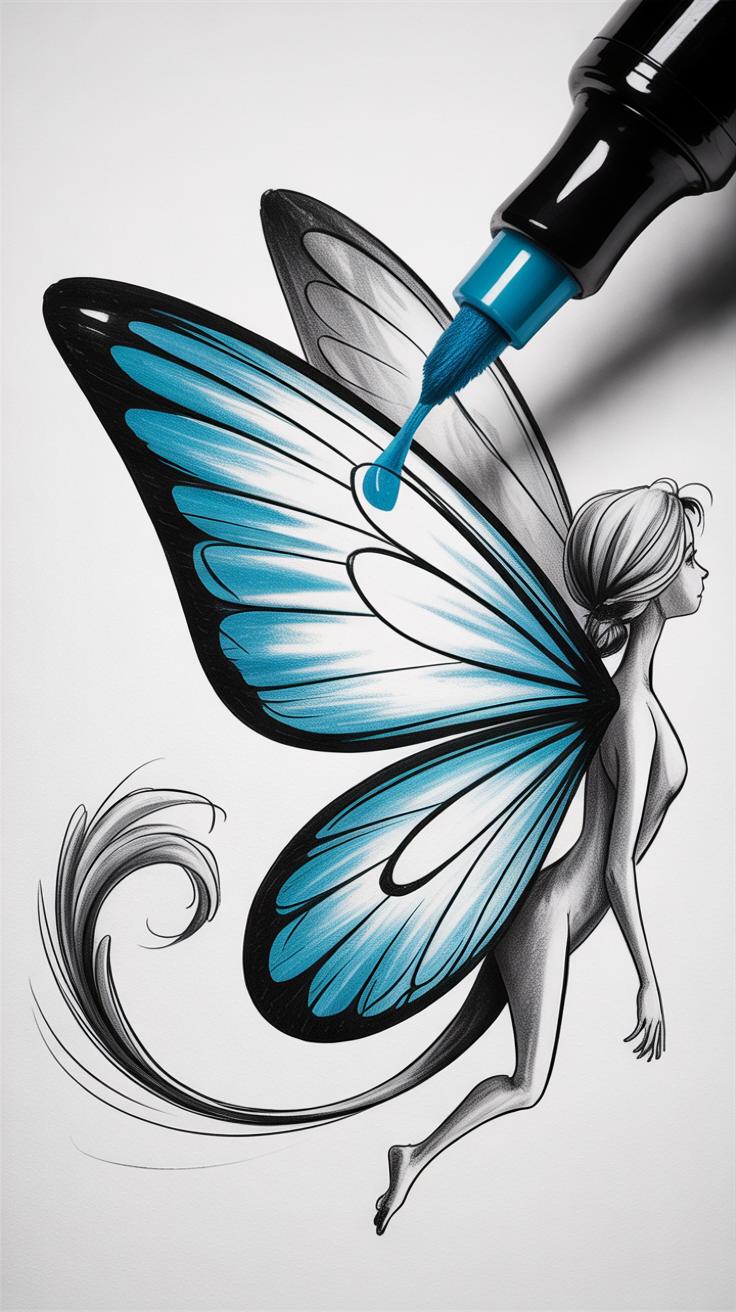
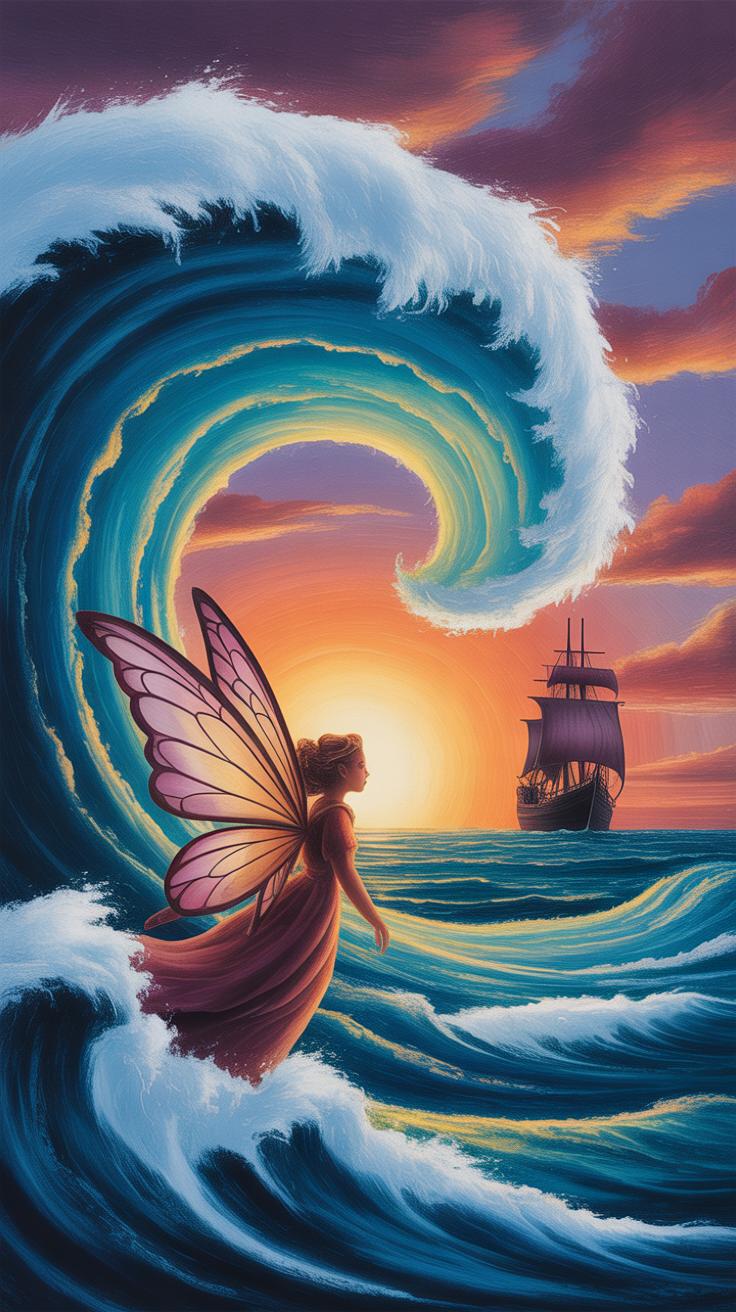
- Delicate wings: Unlike earth fairies with leaf-like wings, sea fairies’ wings often resemble translucent fish fins or reflect the fluid shapes of jellyfish tendrils.
- Deep connection to the sea: Their presence feels tied to underwater plants, coral reefs, and the rhythm of tides—not just as inhabitants but protectors or guides.
It’s sometimes tricky to decide how far the aquatic traits go. Should the sea fairy have a full mermaid tail or more human-like legs with subtle hints of their ocean world? These choices affect not just the look but the mood of your illustration.
Famous Sea Fairy Stories and Inspirations
Though pure “sea fairies” aren’t always front and center in classic literature, related tales provide fertile ground for inspiration. You might think about:
- The Little Mermaid by Hans Christian Andersen – While technically a mermaid, the story influences many interpretations of underwater magical beings.
- Peter Pan by J.M. Barrie – The character of Tinker Bell inspired many modern fairy designs, and slight watery variants of fairies can be attributed to versions in adaptations and fan art.
- Folk traditions from coastal cultures that describe water spirits or nymphs that share fairy-like traits – these often depict guardians of water bodies, shaping the way artists conceive sea fairies.
You might find it useful to blend elements from these stories or rethink them visually, perhaps adding new features to make your sea fairy feel more personal. What if your sea fairy is less about mischievousness and more about calm and wisdom? Playing with such themes can deepen your illustration’s story.
Gathering Your Art Materials

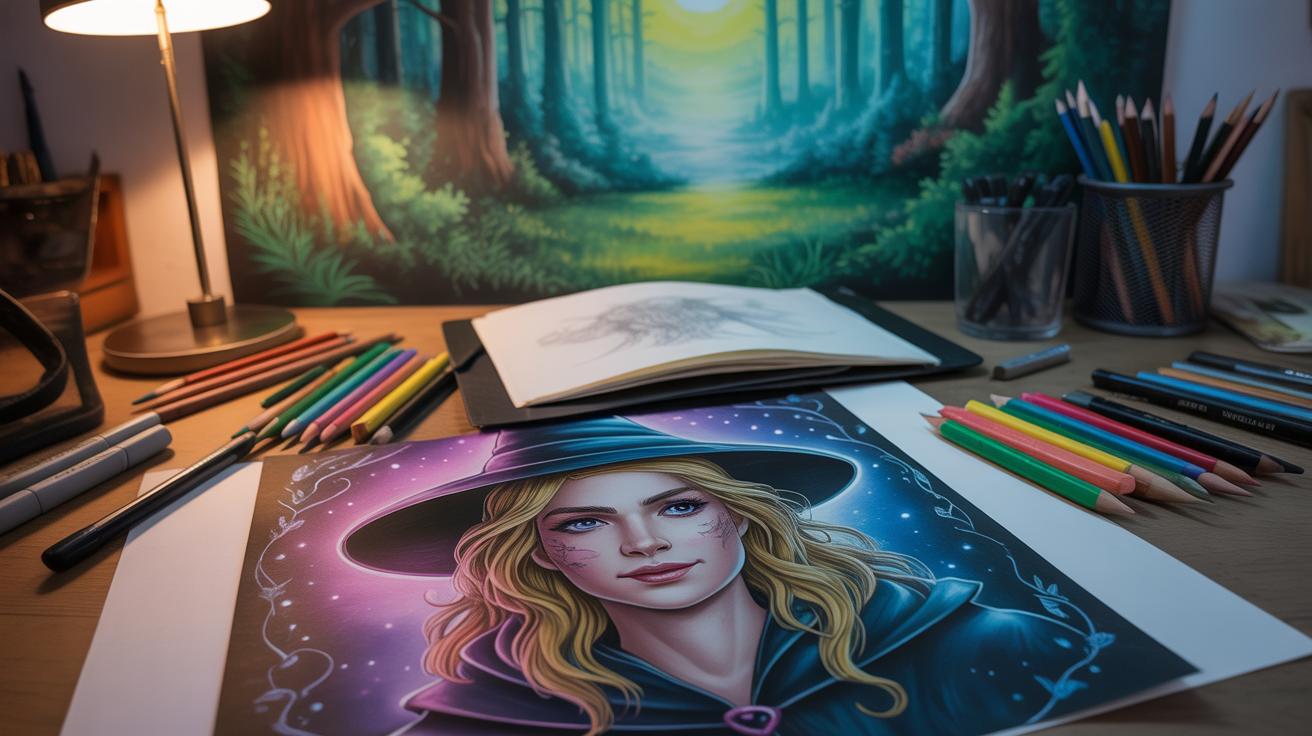
Choosing Color Pencils
When it comes to drawing a sea fairy, the choice of color pencils can make a noticeable difference in your final artwork. You’ll want pencils with rich pigments that allow smooth layering and blending. Wax-based pencils like Prismacolor tend to be popular because their softness helps mix colors naturally, but sometimes they can get a bit waxy if you press too hard. On the other hand, oil-based pencils like Faber-Castell Polychromos offer sharper details since they hold their point longer and won’t wax up quickly, which is handy for those tiny scales or delicate fins.
Honestly, I find blending a little easier with wax-based pencils, but they might not perform as well if you prefer ultra-fine lines. Maybe try both types if you can, or stick to one and use blending tools like a colorless blender pencil or a light touch with a marker. Another tip: layering colors to create subtle gradients on wings or hair makes your fairy come alive, so pencils that allow for gradual build-up are key.
Selecting Markers for Highlights and Depth
Markers play a very specific role in sea fairy illustrations. After the base colors from pencils, they bring in the magic with highlights and shadows. Alcohol-based markers, like Copic or Ohuhu, are great for smooth transitions and adding depth. You can layer over pencil work carefully to enhance shadows around the face or under scales without smudging the colored pencil underneath—though it takes some practice to avoid bleeding.
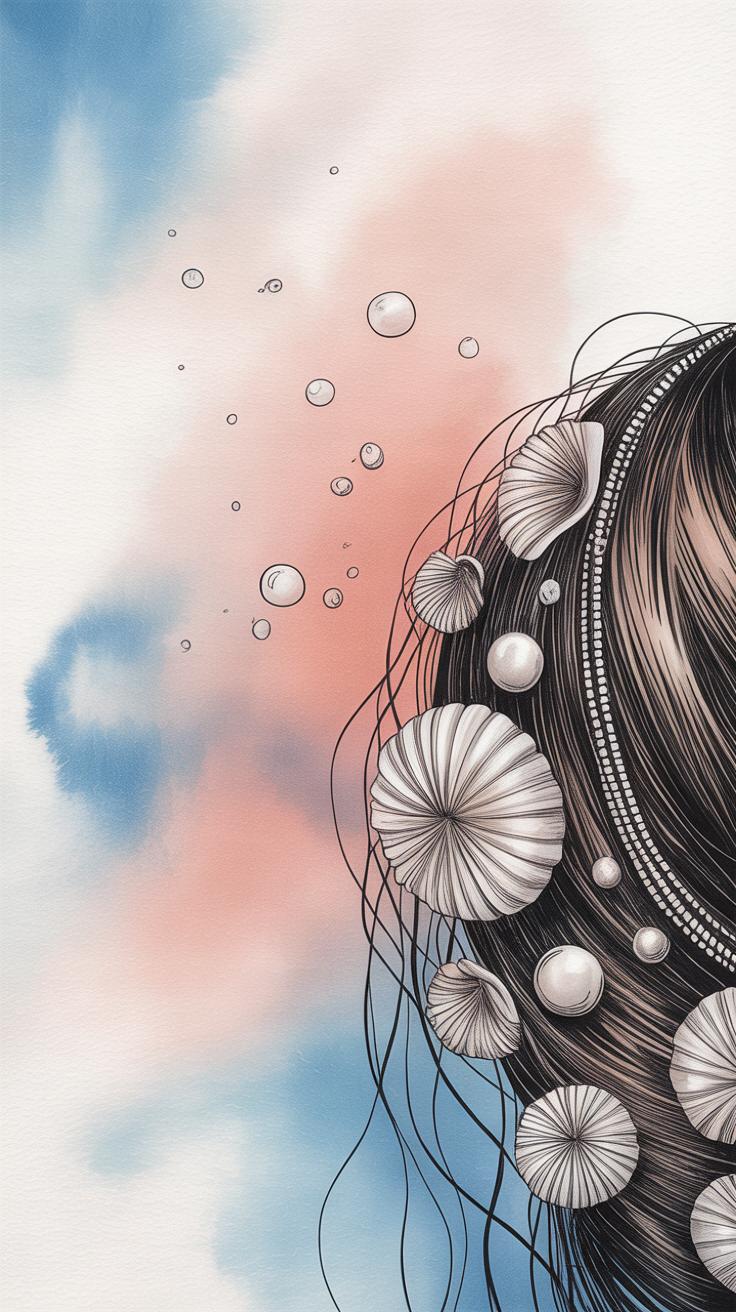
For sharper highlights, consider using white gel pens or opaque paint markers. These can add the sparkle to eyes, glimmers on water droplets, or tiny reflective spots on shells in your fairy’s hair. I sometimes hesitate to use these at first because they feel so final, but applying them near the end gives a nice pop that pencils and regular markers can’t quite capture.
Don’t forget that some markers have different nib shapes—fine liners for crisp outlines and broad tips for background washes. Choosing the right combination lets you define details and create rich textures without overworking your piece. Sometimes I find using too many tools a little overwhelming, but balancing pencils and markers helps bring your sea fairy from flat to enchanting.
Planning Your Sea Fairy Illustration
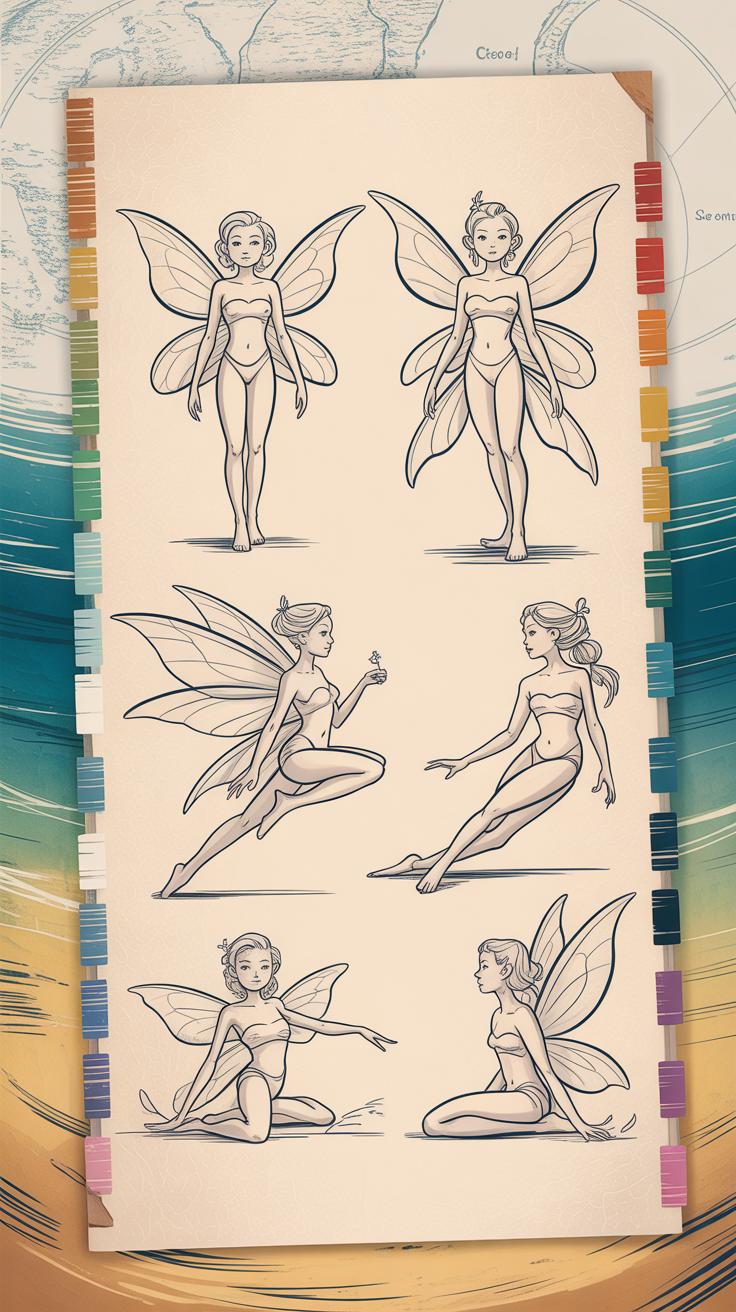
Before you pick up your color pencils and markers, it helps to pause and sketch out a rough draft. Starting with a loose plan can save you from frustrating corrections later on. I usually begin by breaking the sea fairy down into simple shapes—circles, ovals, and lines—to catch her gesture and pose. It’s tempting to jump straight into details, but shaping her form with basic shapes first makes the whole drawing feel more natural and balanced.
For example, a circle for the head, an elongated oval for the torso, and simple lines for limbs can guide the fairy’s posture. Are you imagining her swimming gracefully or perched on a rock? Let those shapes flow freely; don’t worry about precision now. You might find your fairy’s position changing as you sketch; that’s part of the process.
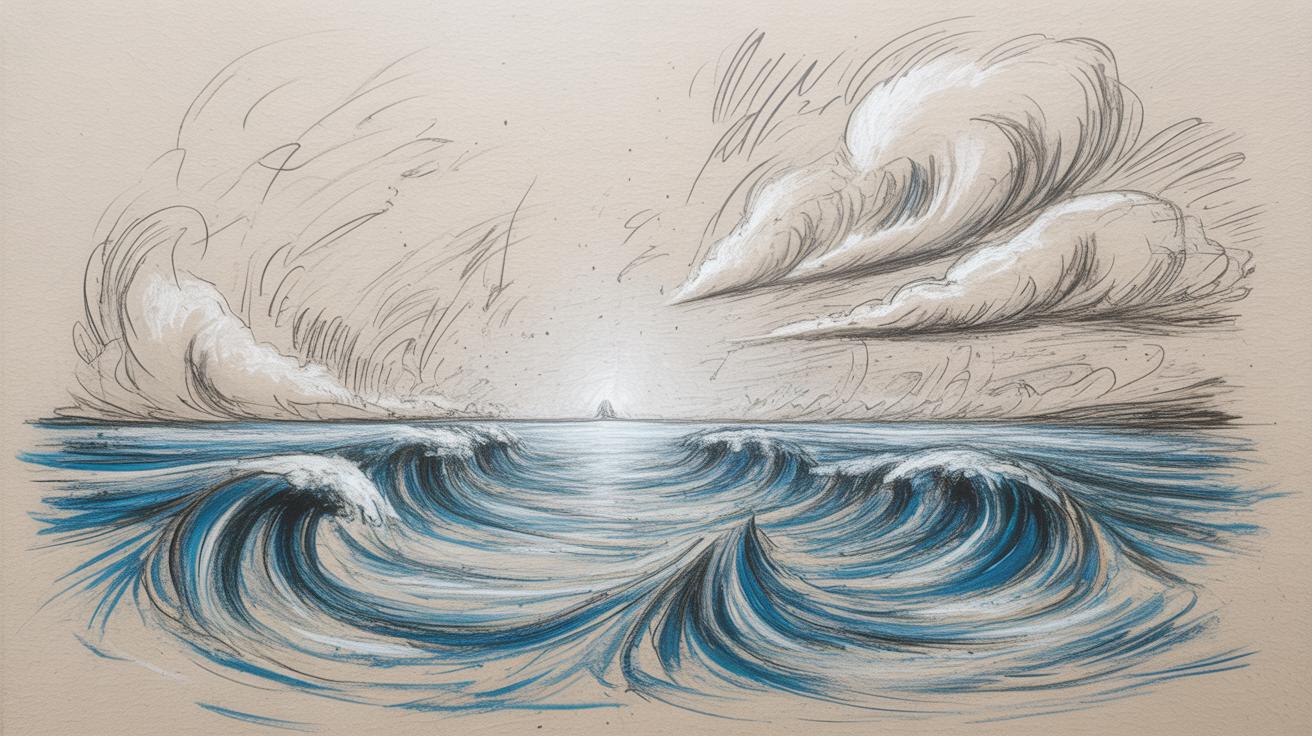
Next, consider the environment around her. The sea offers many options—bubbles, coral, drifting seaweed or even shafts of light filtering through water. Try sketching simple suggestions of these elements. Think carefully about what will highlight the fairy best without cluttering the scene. Sometimes, less is more. Will she be in a quiet underwater nook or a lively coral reef? Feel free to experiment here, as the background plays a big part in the overall mood.
Planning this way gives you a flexible, visual map before committing to color. You might even want to try a couple of quick compositions to see what feels right. Giving yourself some freedom in the early stage can make the whole drawing feel less stiff and more spirited when you start applying your colors.
Applying Base Colors with Color Pencils

Layering Colors for a Smooth Look
When you start applying base colors with color pencils, think of it like building a quiet but steady foundation. Use light, gentle strokes to avoid pressing too hard — that way, you won’t end up with harsh lines that stick out awkwardly later. Sometimes it feels tempting to fill in quickly with firm pressure, but patience here pays off. You can slowly layer colors by going over the same area multiple times, each pass softening the texture and blending the pigments in a natural way.
Try varying the pencil angle and direction of your strokes slightly. This breaks up repetitive marks and helps the colors merge more naturally. Don’t hesitate to pause and check if the surface feels rough or patchy. If it does, just keep layering, gradually building up richer color without losing control.
Choosing Colors for Skin and Tail
Picking the right colors for your sea fairy’s skin and tail depends on the mood you’re aiming for — real or fantasy. For skin, muted peach, soft pinks, or light browns work well when you want a natural look. You might add gentle blues or purples to hint at the fairy’s underwater origin. Sometimes, cool undertones can give a subtle glow, but watch out; too much can make it look unreal in a way you don’t want.
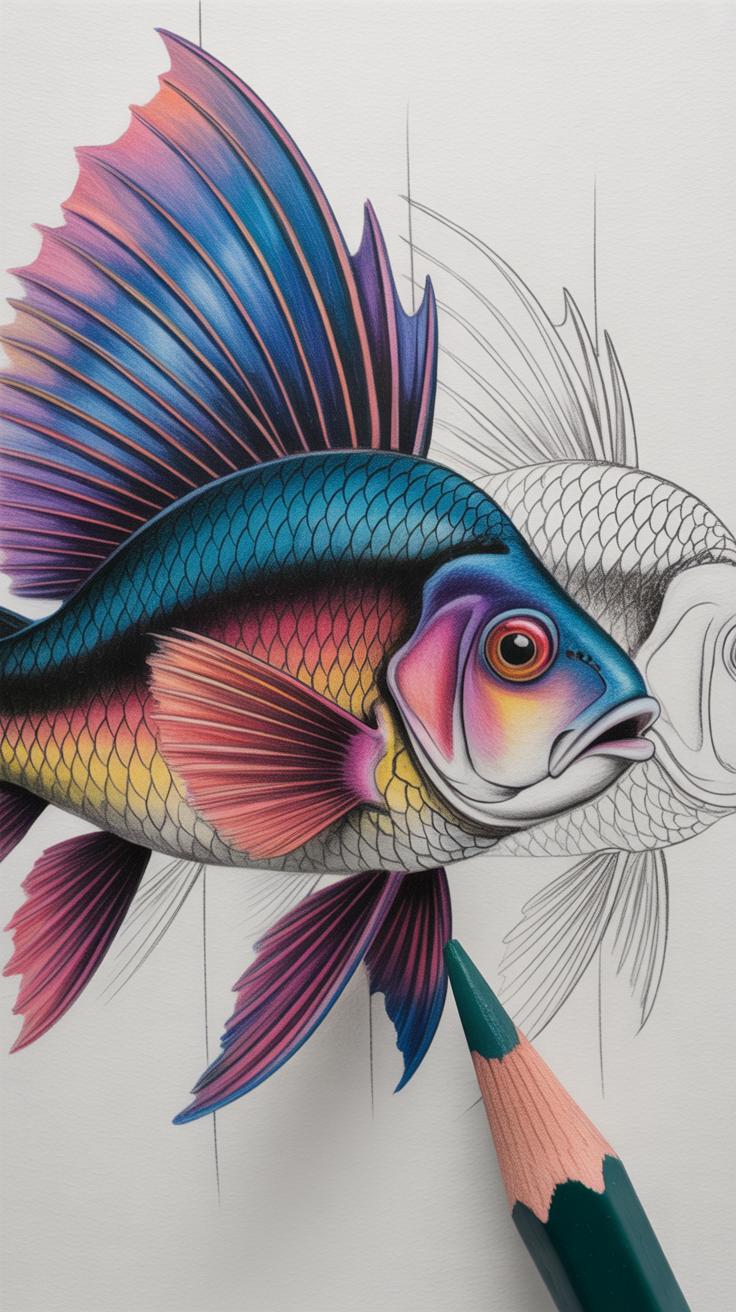
The tail is where you can play more boldly. Consider shades like aquamarine, teal, or even iridescent purples and greens. Combining these can create a shimmery effect without markers yet. Layer multiple tones—darker for the shadows beneath the scales, lighter and more vivid for parts catching the light. Don’t be afraid to blend unexpected colors. They may surprise you and add depth and charm. What colors would you choose if your sea fairy had to blend into the ocean scene or stand out boldly?
Using Markers to Enhance Vibrancy
Markers can really bring certain parts of your sea fairy drawing to life, especially when you want to emphasize brightness and give a punch of color that pencils alone might not deliver. You might notice that some areas, like the wings or strands of hair, could feel a bit flat after the base colors are down. That’s where markers come in handy—adding bold accents that catch the eye immediately.
Try applying markers sparingly on sections you want to stand out, like the tips of the wings or a few highlights in the hair. Those sharp strokes contrast nicely against the softness pencils provide. But—because markers have a sharper edge—it’s usually best to avoid heavy layering over large areas or you risk losing subtle texture.
Balancing the two tools can be a bit tricky. Markers push the colors forward with vivid sharpness, while color pencils offer a gentle depth. One approach I found useful is to lay down the pencils first, then lightly touch areas with a marker, and finally go back with pencils for blending and blending again, softening any harsh edges.
Does this mean markers always trump pencils? Not really. Sometimes, too much marker can feel out of place, but without them, the illustration might miss those moments of life that keep it from looking dull. It’s a bit of a dance—knowing where to stop and where to go bold.
Blending Techniques for a Cohesive Look
Blending colors in your sea fairy illustration creates a sense of unity, making the artwork feel intentional rather than patchy. When working with color pencils, one practical method is layering with light pressure. Start with gentle strokes, gradually building up color depth. This slow approach lets you control the transitions between shades without grinding into the paper too hard. You might find that blending with a white or neutral pencil over the layers helps smooth out harsh edges, but sometimes just softening with careful, circular motions does the trick.
Markers add boldness, but blending them with pencil colors requires more care. After applying marker ink, give the paper a moment to dry—patience is key here. Then, apply pencils on top with gentle pressure to avoid damaging the surface. The pencil can subtly mix with the marker beneath, softening its outlines or adding texture. You can also experiment by layering colored pencil first, then enhancing with marker on top, but keep in mind that markers may reactivate pencil wax, so test on scrap paper if unsure.
- Layer pencil colors gradually with light pressure to build smooth gradients
- Use a white or neutral pencil to soften transitions between hues
- Allow marker ink to dry fully before layering pencil to prevent paper damage
- Experiment with pencil over marker and vice versa, but always test the combination first
Have you noticed how some small shifts in pressure or layering order can completely change the look? It might feel fiddly at times, but these subtle tweaks often make your sea fairy’s colors connect in a way that feels natural, even magical. Don’t hesitate to try out different sequences—you might stumble on a method that suits your style better than you expected.
Detailing Your Sea Fairy
When it comes to adding the final touches to your sea fairy, the smallest details can make a big difference. You want the eyes to capture attention. They should feel alive, hinting at personality or emotion without necessarily being overly complex. Try layering colors lightly, starting with a base shade and then gently building highlights with white or a lighter tone. Adding a tiny white dot can mimic the reflection of light, making the eye seem less flat. Sometimes less is more, so don’t be tempted to overwork this part—too much detail can look unnatural.
For scales and wings, texture is where you can have some fun. Drawing scales doesn’t mean every scale has to be uniform or perfectly aligned. Scales near joints or curves often appear smaller or more irregular, which lends realism—or, if you prefer, a touch of fantasy flair. A good approach is to sketch the rough shape first, then go back with your colored pencils or markers to suggest shadows and highlights. Layers of soft shading can create a subtle shimmer, while crisp lines define the edges when you want something more graphic. Wings offer their own challenge. Instead of strict patterns, consider overlapping delicate shapes and varying the pressure on your tool to imply translucency.
Hair texture offers a chance to show your sea fairy’s personality. Avoid drawing every strand—it’s tedious and tends to look stiff. Instead, focus on the flow and volume. Use soft, sweeping strokes with colored pencils to build depth, mixing in a few marker accents for bolder sections. Experiment with slight color variations, maybe a streak of lighter blue or green, to echo the underwater theme without drawing too much attention away from the face.
Adding Background and Final Touches
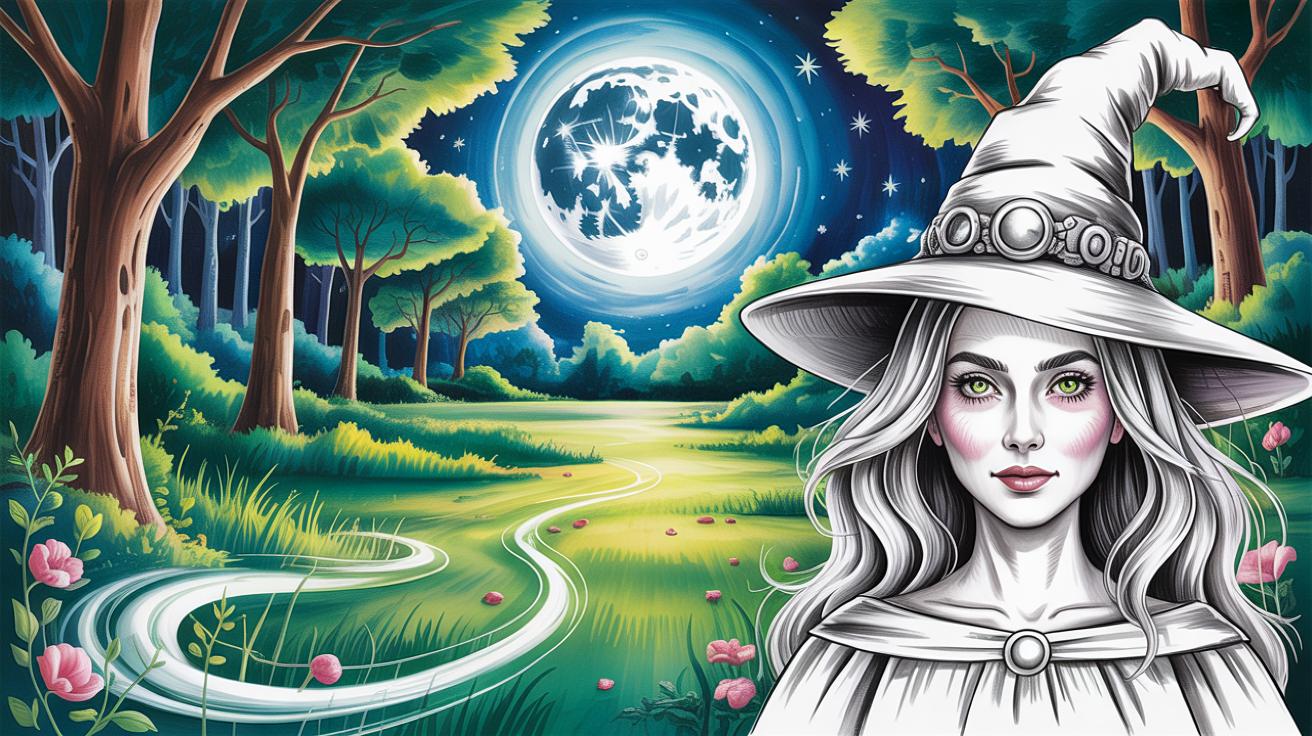
When your sea fairy feels complete, don’t rush to stop just yet. The scene around her can make all the difference in setting the mood and pulling the whole illustration together. Think about what kind of underwater world you want—maybe gentle currents, mysterious shadows, or sparkling light filtering down from above.
You might try adding subtle layers of blue and green pencils to suggest water depth. Soft strokes near the top can hint at light coming from the surface, while darker shades at the bottom add depth. Small bubbles rising around her can bring motion and life. Coral formations or seaweed can frame your fairy, giving a little natural architecture to play off her delicate lines. Even faint silhouettes of fish or shells in the background can add interest without stealing focus.
For those little highlights—grab a white pencil or a gel pen. Use them to dot the water and bounce light off scales or hair strands. These tiny bright spots can simulate reflections or the shimmer of wet skin, lending more realism or a touch of magic. Don’t overdo it; just a few strokes or dots in strategic places work best. You might find yourself experimenting, erasing, or layering until it feels just right. This part lets you really play and adjust until the scene feels alive.
Caring for Your Artwork
Once your sea fairy drawing feels truly finished, the question becomes—how do you keep it looking fresh for years? Paper and pigments, especially from markers and colored pencils, can be pretty fragile. The colors might fade or smudge if you don’t take some protective steps. It’s something I always think about after the thrill of completing a piece dies down a bit.
Using Fixatives
Fixatives are sprays designed to seal your work and prevent smudging. For your mixed media sea fairy, a workable fixative can be a great choice because it protects without dulling the colors. Try to spray it lightly and build up layers slowly, allowing each to dry to avoid ruining the delicate pencil lines or marker details.
Though fixatives help lock in pigments, they don’t make your art invincible. Some markers are water-based, and color pencils can still shift under extreme humidity or direct sunlight. Choosing the right fixative may depend on your particular materials and environment—sometimes it feels like a bit of trial and error.
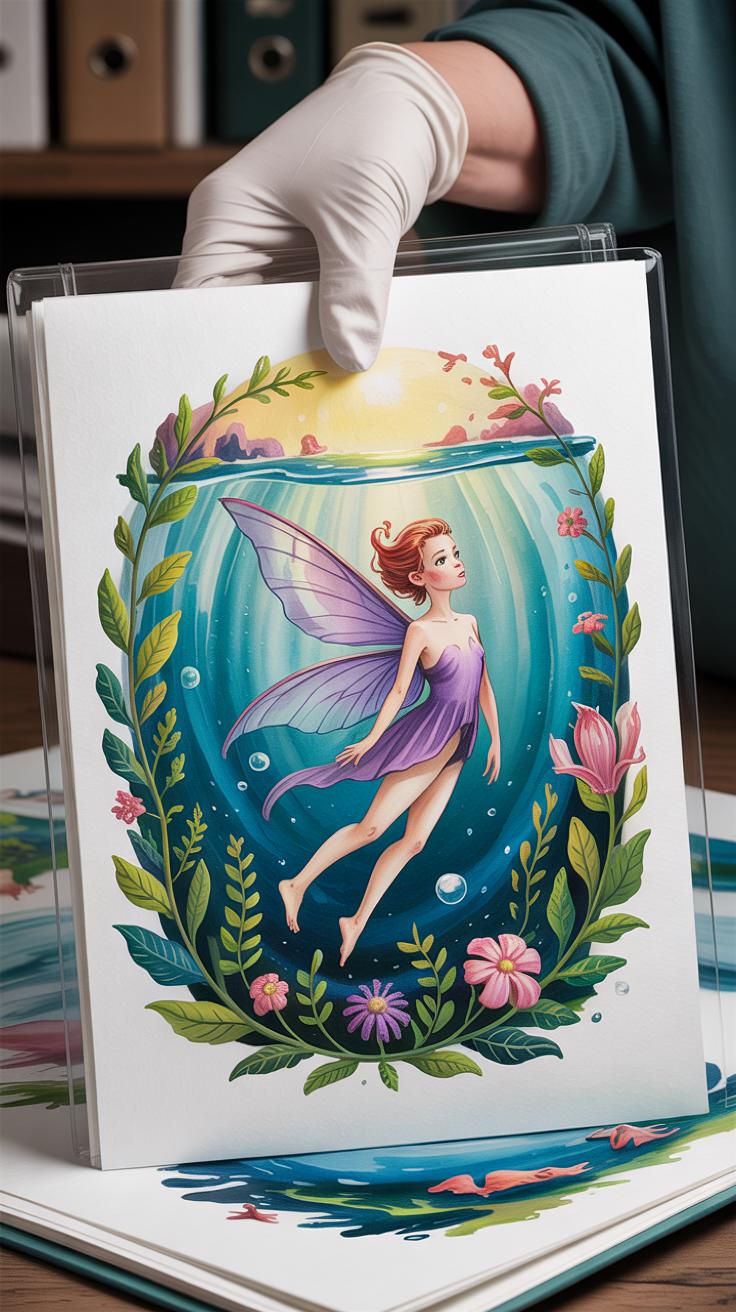
Displaying Your Sea Fairy Art
When you finally want to show off that magical sea fairy, framing is more than just decoration—it’s about preservation. Use acid-free mats and UV-protective glass, if possible, to limit fading and yellowing. This can seem like an extra expense, but I’ve found it worthwhile. Your artwork is delicate, and exposure to light and dust over time will wear it down.
If framing isn’t an option, consider keeping your sea fairy in a portfolio or a protective sleeve when not displayed. Avoid areas with strong sunlight or humidity swings. Places near windows, kitchens, or bathrooms might not be the best homes, even if they seem cozy.
Have you noticed how some artworks look almost new after decades, while others seem tired within a few years? The care you put into protecting your sea fairy might just make the difference between those two realities.
Conclusions
Your journey to designing an enchanting sea fairy using color pencils and markers shows how simple tools can create beautiful art. By selecting the right materials and practicing blending and detailing techniques, you can make your sea fairy appear lively and magical. Each step in the process adds layers of personality to your fairy.
Remember that creativity grows with practice. Your sea fairy will evolve as you experiment with colors and styles. Keep exploring different ideas and colors, and enjoy the process of transforming your imagination into a captivating sea fairy illustration.


