Illustrating a Sea Witch With Markers
The sea witch is a captivating figure rooted in maritime folklore and popular culture. Known for their mysterious powers and deep connection with the ocean, sea witches have fascinated artists and storytellers for centuries. This article delves into how you can bring this enigmatic character to life through the artistic technique of marker rendering.
You will learn about the origins and characteristics of the sea witch myth and then explore practical, easy-to-follow guidance on illustrating a sea witch using markers. Whether you are a beginner or looking to refine your skills, this guide provides actionable insights to help your creations stand out.
The Legend of the Sea Witch
Origins of the Sea Witch Myth
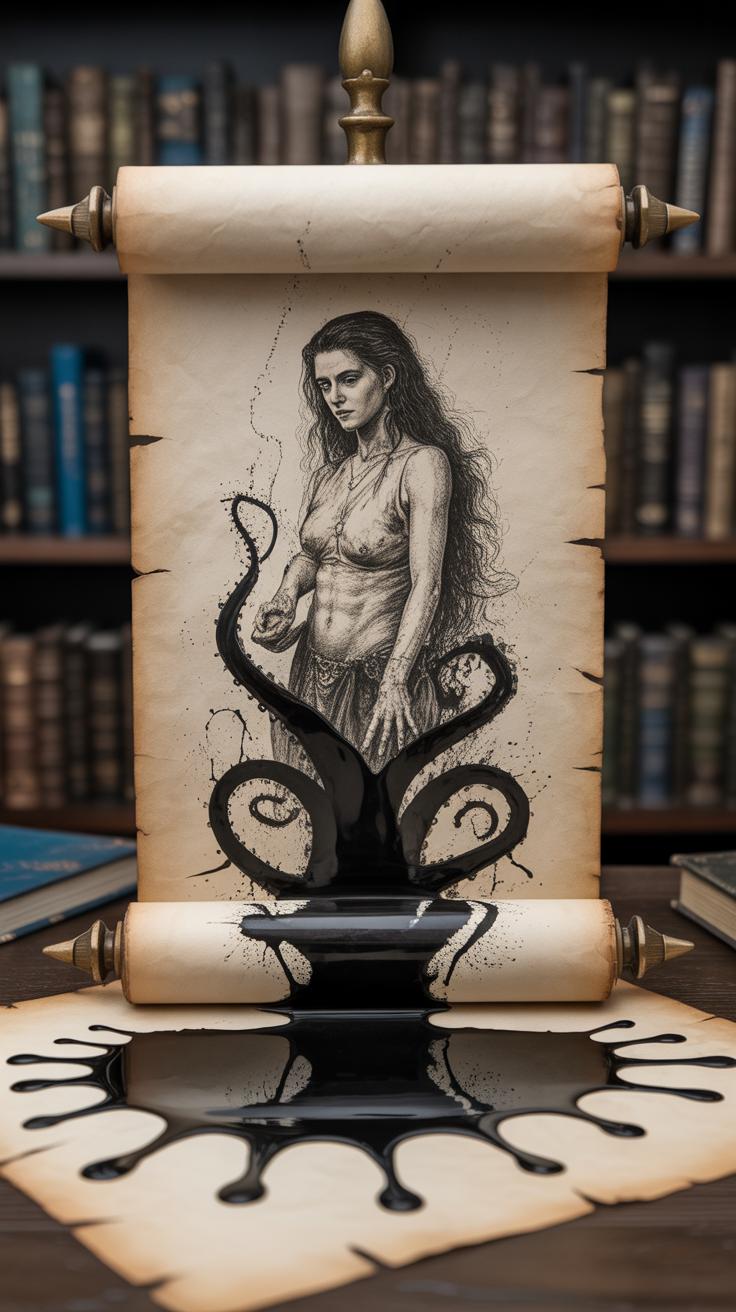
The idea of the sea witch has roots in many coastal cultures, often emerging from communities deeply connected to the ocean’s mysteries. In some early European stories, sea witches were believed to be women who controlled the weather or could lure sailors into danger. These figures sometimes blended with tales of mermaids or sirens, making the line between helpful and harmful magic blurry.
In Pacific Island myths, similar beings appear—powerful women who communicate with marine spirits or guard sacred waters. These stories evolved with local customs, reflecting both respect and fear for the sea’s unpredictable nature. It’s interesting how different cultures gave the sea witch roles that matched their own relationship with the ocean, from protectors to tricksters.
Sea Witch Characteristics and Role
Across stories, sea witches share certain traits that make them stand out. They often have strong ties to water, able to control tides or summon storms. Some are shapeshifters, blending human and marine forms, while others keep a mysterious human appearance.
Common powers include:
- Manipulating weather and sea creatures.
- Weaving curses or blessings tied to the ocean’s moods.
- Possessing knowledge of herbs, poisons, and ancient magic.
Roles vary: some sea witches act as guardians, protecting sailors and their secrets. Others embody trickery or vengeance, punishing those who disrespect the sea. This dual nature—helpful yet dangerous—makes them fascinating characters. I always wonder, are these stories warnings, or perhaps ways to explain the unpredictable sea through human traits?
Why Sea Witches Captivate Artists
Sea witches hold a strange allure that pulls artists in, and it’s not just their supernatural reputation. There’s this blend of danger and beauty, something that feels both ancient and wild. Artists often find themselves drawn to those contradictions—the softness of a human figure against the harsh, unpredictable ocean. It’s a tricky balance that seems to invite endless exploration.
Think about the qualities that make these figures so interesting to portray:
- Ambiguity: They often aren’t fully good or evil, which offers room for interpretation.
- Connection to Nature: Their power comes from the sea, a force that’s unpredictable and vast.
- Isolation: Often shown as outsiders, their solitude adds emotional depth to visual storytelling.
When you consider mystery and magic, these add layers to the artistic challenge. Mystery invites questions rather than answers, nudging artists to suggest rather than explain. Magic offers freedom—it lets the imagination run wild with symbols, colors, and effects. But this can backfire; the line between enchanting and cliché sometimes feels razor-thin.
Culture also leaves a significant mark on how sea witches appear in art. Some traditions show them as protectors, others as dangerous temptresses. This affects their style, costumes, and even the shapes artists choose. For example, Japanese depictions might highlight subtle, spiritual qualities, whereas Western art leans into dramatic, gothic elements. It makes you wonder—how much of what we see is shaped by the artist’s heritage rather than just the legend itself?
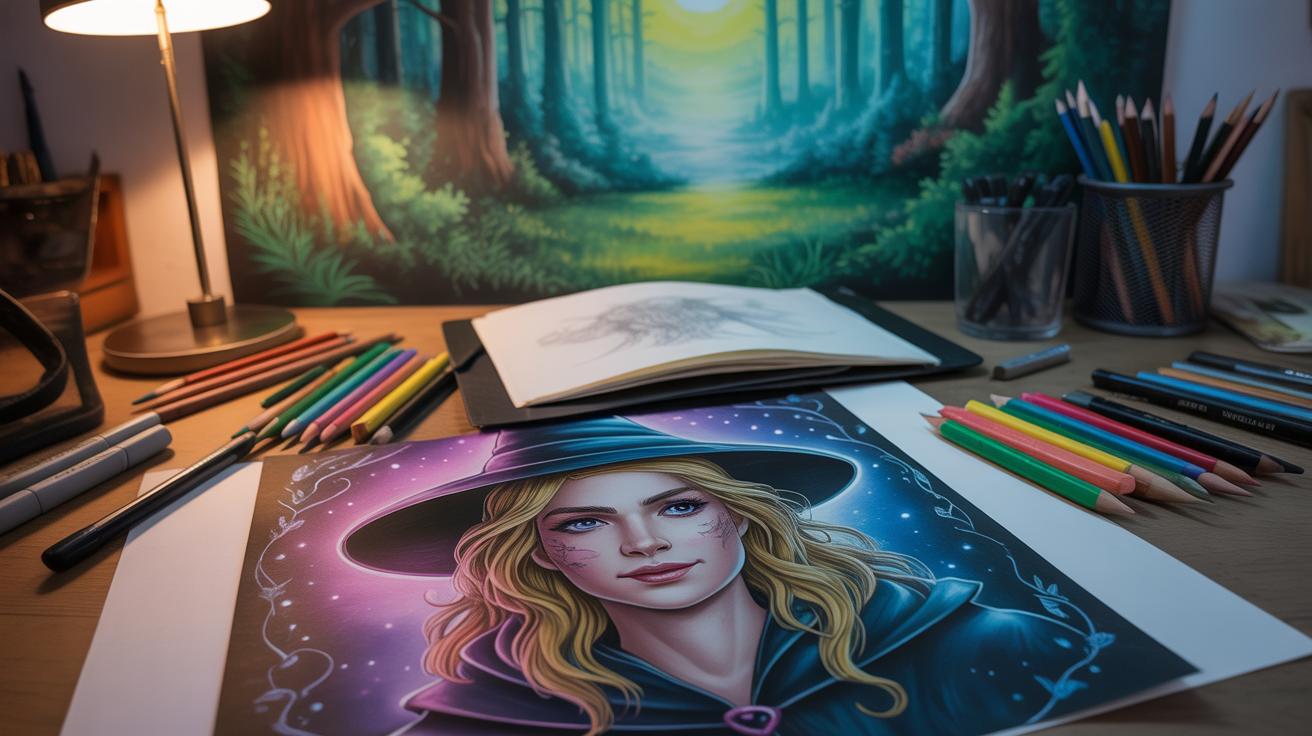
Introduction to Marker Rendering

Marker rendering is a straightforward yet versatile technique that many artists use to breathe life into their drawings. At its core, it involves applying color directly with markers, allowing you to build layers, blend tones, and create textures. What’s interesting is how markers can offer a balance between control and expressiveness—giving you a tactile connection to your work without fussing over drying times like with paint.
One of the advantages, I think, lies in the immediacy. You can make a stroke, see its effect instantly, and adapt as you go. That spontaneity can be freeing, though sometimes it means you have to be a bit patient with blending or layering to avoid unwanted streaks. Despite this, marker rendering works well whether you want bold, punchy colors or gentle, subtle shadows.
The basic materials you’ll want include a set of quality markers—alcohol-based or water-based depending on your preference—along with smooth, bleed-proof paper designed to hold the ink. Some artists also keep a colorless blender marker handy. Oh, and don’t forget a fine liner for crisp details. It’s these seemingly simple tools that let you explore all the possibilities without overcomplicating the process.
Sketching the Sea Witch Outline
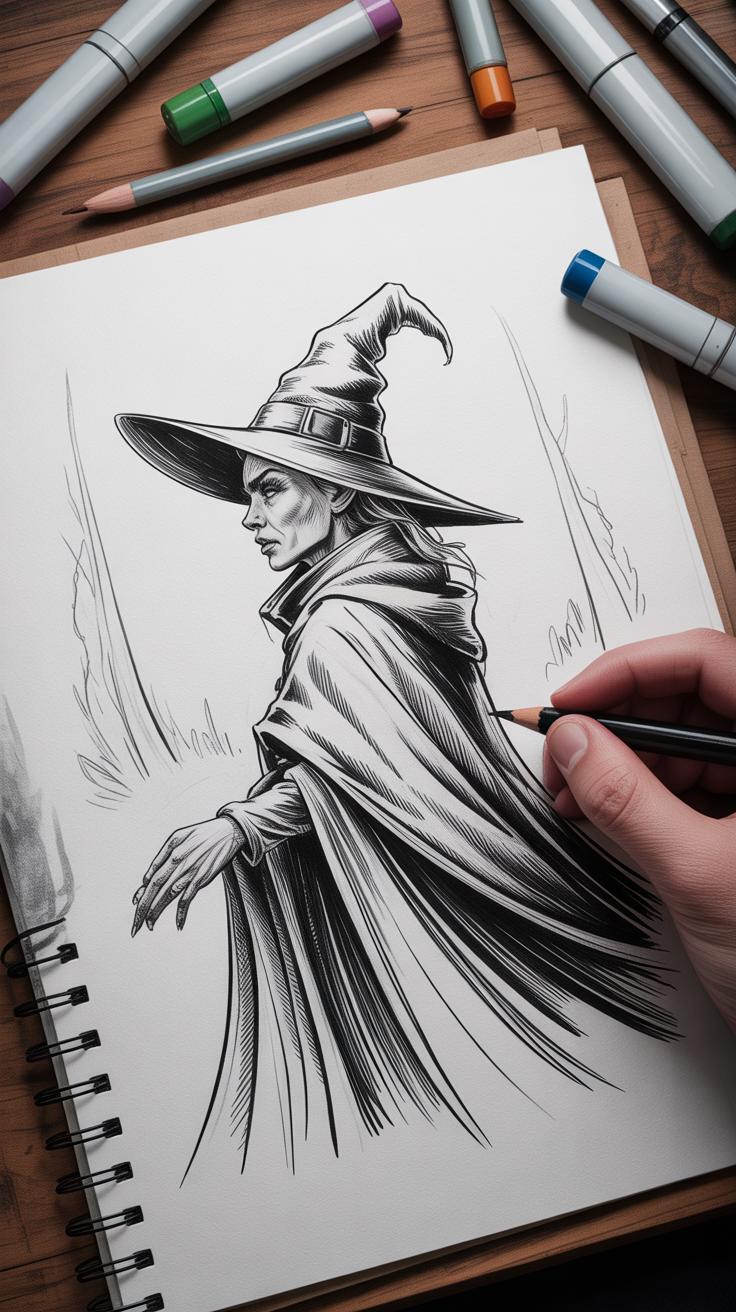
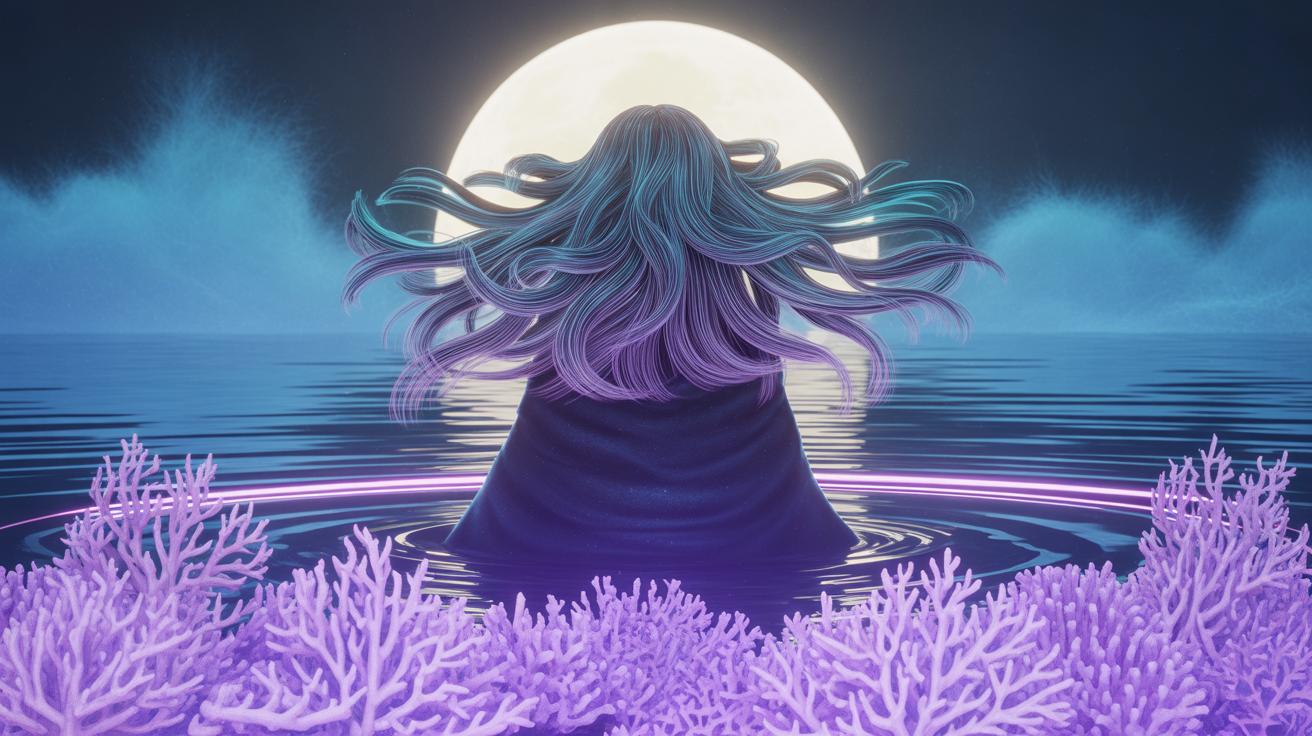
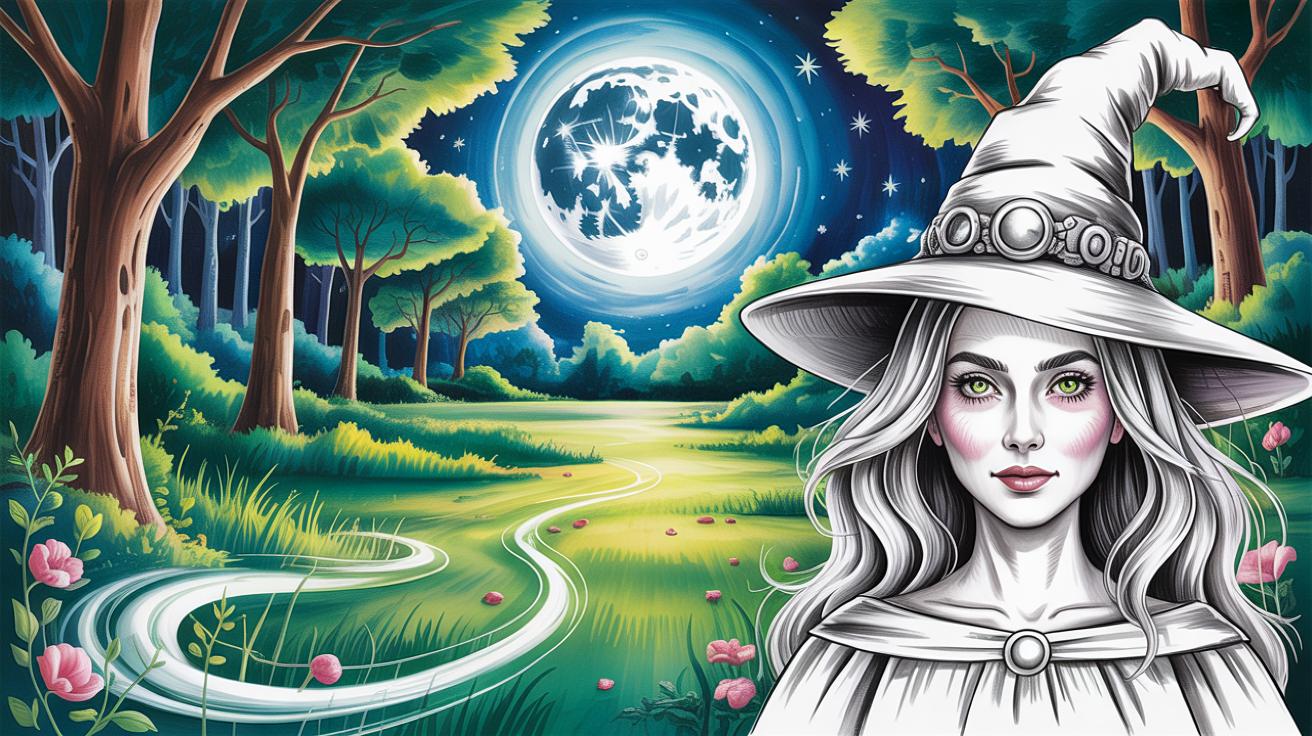
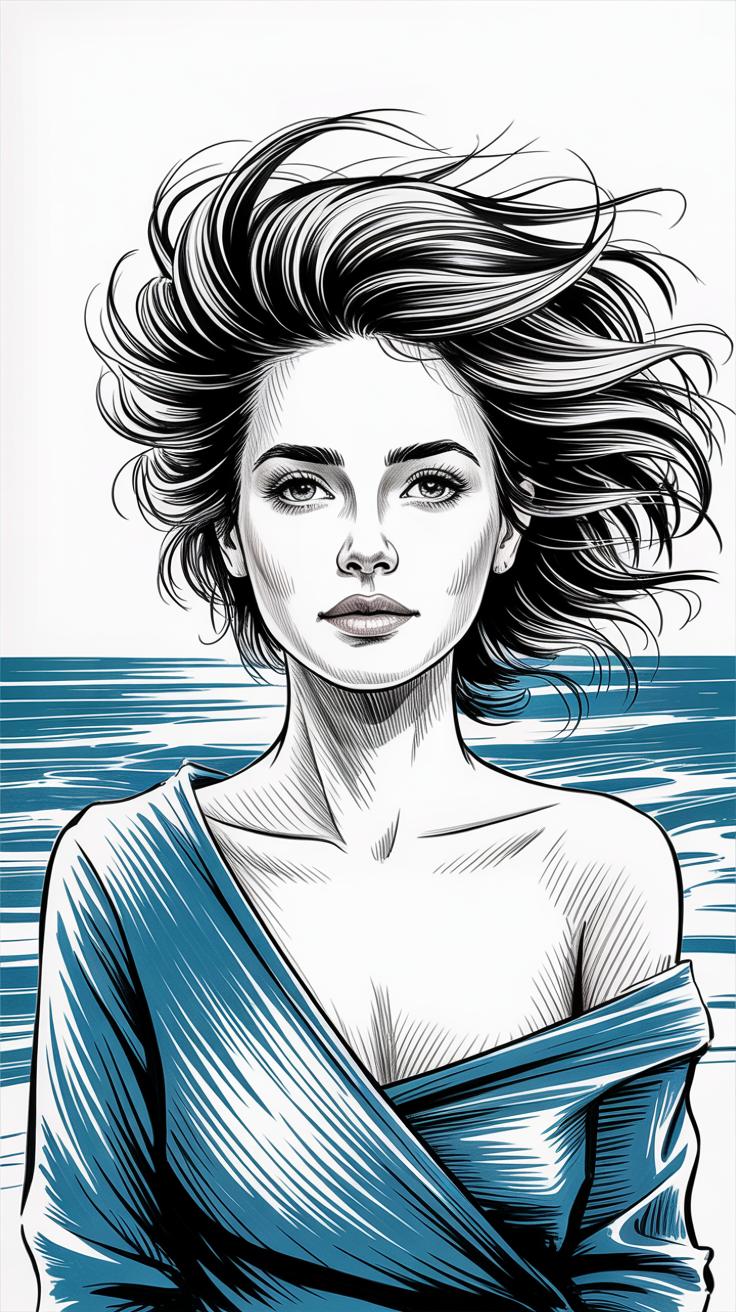
Starting your sea witch sketch begins with choosing a pose that feels both natural and a little unsettling. You want her to look alive but also hint at that mysterious, otherworldly vibe. Think about poses that suggest motion—perhaps a slight twist of the torso or a hand reaching forward, almost beckoning. You don’t need something extravagant. Sometimes, a subtle shift in weight or a tilted head creates more intrigue than an overly dramatic stance.
Once you settle on the pose, lightly map out the basic forms—circles for the head and joints, simple lines for limbs, and a faint shape for the torso. Keep this loose, so you can adjust as you go. The sea witch is a creature that blends human and sea elements, so let your lines be both confident and fluid, hinting at movement like the ocean’s ebb and flow.
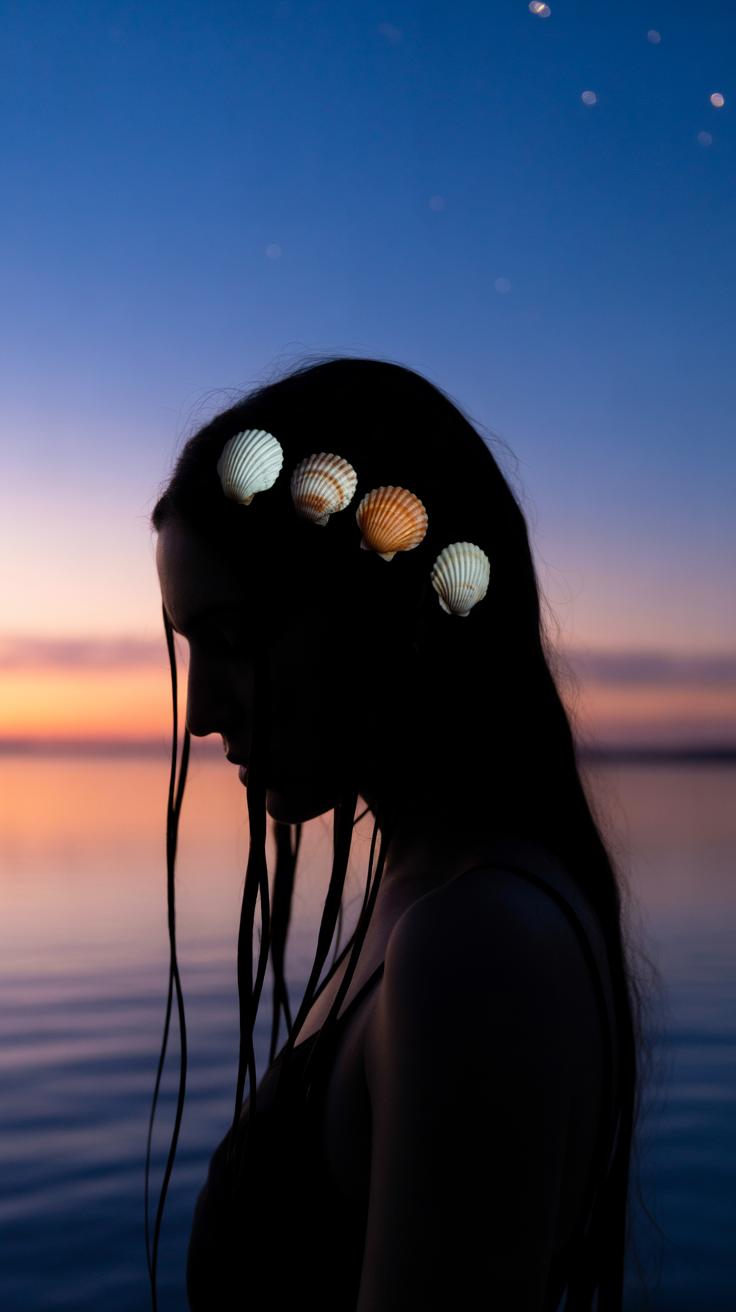
Outlining the face is crucial. The eyes, perhaps sharp or oddly shaped, should pull the viewer in. Define cheekbones and jaw subtly, avoiding perfection to keep her character. Sketch in costume details that speak sea witch: maybe tangled hair that looks wet or woven with shells, flowing robes with seaweed patterns, or tentacle-like sleeves. These elements anchor her story visually and help communicate her connection to the sea before you add any color. Taking some time here, even if it means erasing and redrawing, usually brings out the best form.
Laying Down Base Colors


When you start with markers, the first layer of color really sets the tone for your sea witch. Focus on smooth, even strokes to cover the skin, hair, and basic clothing without leaving streaks or blotches. I find that working quickly but carefully helps—the ink dries fast, so overlapping wet areas can create unwanted marks. Try to maintain a consistent direction when coloring, like following the natural curves of the hair strands or the contours of the face, which can make the base feel more organic.
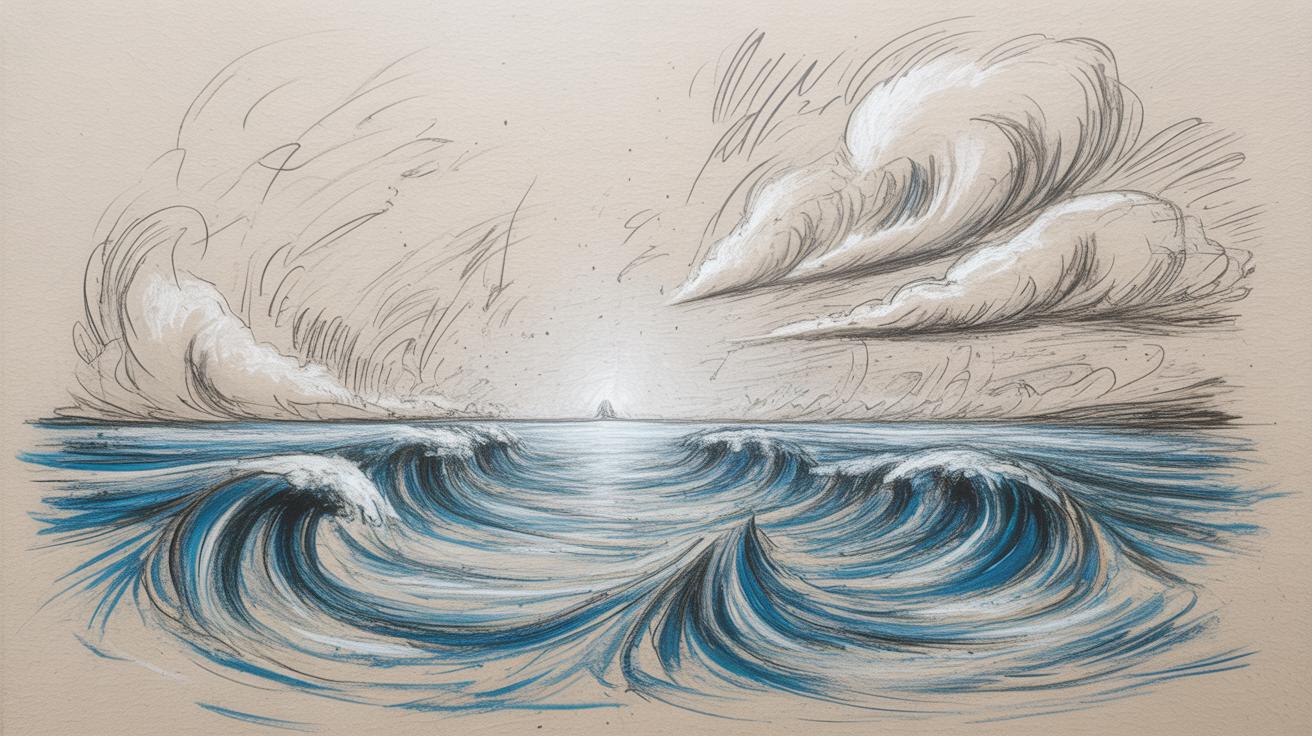
Choosing your colors is a bit tricky. You want shades that recall the sea’s mystery—dusky blues, deep teals, muted greens, maybe hints of gray or soft purples to catch that eerie vibe. Skin tones might lean towards pale with a slight cool tint, not the usual warm peach shades. It’s almost like the sea witch belongs more to the shadows than under direct light. Clothing colors can echo shells, seaweed, or watery reflections but don’t be afraid to experiment with unusual colors. Sometimes a touch of rusty orange or faded coral adds character, as if the witch has been exposed to both water and time.
To avoid streaks, try layering light colors first and then gently build up darker areas. Using lighter markers as a base creates a smooth surface for other shades to blend into. The marker tip size also matters; broader tips cover larger areas better, while fine tips help refine edges without bleeding outside the lines. Don’t rush coloring large sections—take breaks if you have to, so your hand doesn’t get unsteady. It might feel basic, but layering the base colors well makes a huge difference in how your sea witch’s form will later pop out from shadows and highlights.
Adding Shadows and Highlights
When you move beyond the base colors, the illustration really begins to feel alive. Shadows are your best tool for shaping forms and giving the sea witch dimension, but knowing where to place them isn’t always straightforward. Think about the light source: where does it come from? Which parts of her face and costume would naturally fall into shadow? Typically, areas under the chin, around the nose, beneath curls of hair, and folds in clothing merit darker hues.
Start by layering a slightly darker marker in these zones, blending gently to avoid harsh edges unless you want a stark effect. Sometimes subtlety wins—soft shadows can suggest the curve of a cheek or the depth of a twisted tentacle.
Highlights work somewhat differently. They draw attention and create an illusion of reflecting light—like the shimmer on wet skin or the gloss on intricate jewelry. Use a lighter marker or even a white gel pen to place small highlights on the tip of the nose, along the cheekbones, or on the raised parts of her elaborate costume. But don’t overdo it; a few well-chosen bright spots can communicate more than flooding the whole image with light.
It’s tricky sometimes—knowing just how much shadow or highlight is right. I’ve found that stepping back frequently, or even squinting my eyes, helps to see if the contrast feels natural. After all, the goal is to give the sea witch a presence that feels both believable and slightly otherworldly.
Texturing Hair and Clothes
When working with markers, creating texture on hair and clothing can feel a bit tricky. You want the strands or fabric wrinkles to come alive but without overworking the paper or losing control. For hair, think about its natural movement—whether it’s flowing, tangled, or clumped. Use short, directional strokes to suggest strands, layering lighter colors underneath and fine, darker lines on top to break up flatness.
For flowing hair, long, sweeping strokes work well, following the curve of the locks. Tangled hair, on the other hand, benefits from irregular, jagged strokes that cross and overlap. Don’t be afraid to pause and look at your lines from different angles—sometimes the texture feels more natural if you vary pressure as you draw.
Clothing and accessories are a different challenge. Seashells can be made to look rough or smooth by simply changing how you apply your marker. A dry brush effect, achieved by lightly flicking the tip, helps mimic the worn-out, porous surface of some shells. For cloth, think fabric folds and weave. Crosshatching or tiny parallel lines help simulate texture and depth on softer materials. Accessories like beads or coral pieces can gain realism through small dots or dashes to show bumps and imperfections—things rarely appear perfectly smooth in real life.
At times I find it useful to zoom in closely on reference photos of actual shells or textiles. That detail can be subtle but shifts your entire approach. What do you think makes a people—or an artist—stop and really focus on these tiny surface details? Maybe it’s that small hint of imperfection that catches the eye and pulls you into the whole image.
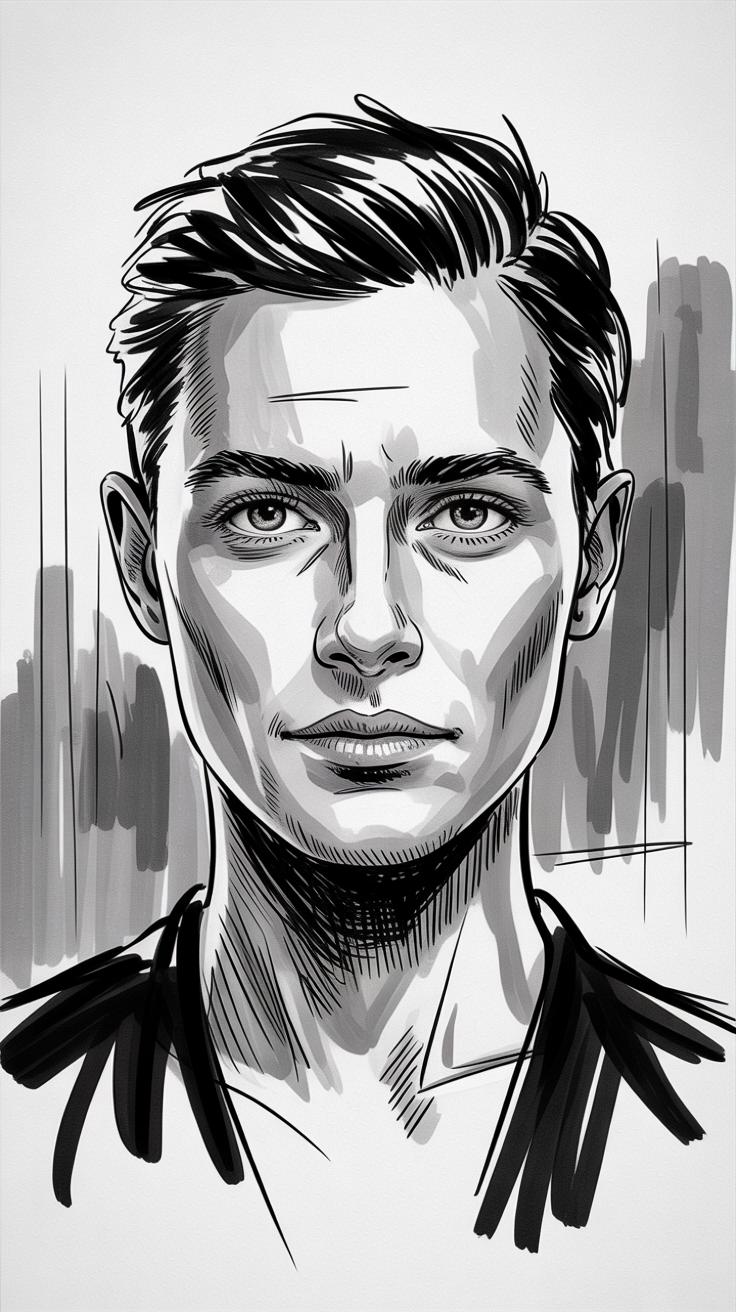
Refining Facial Expressions
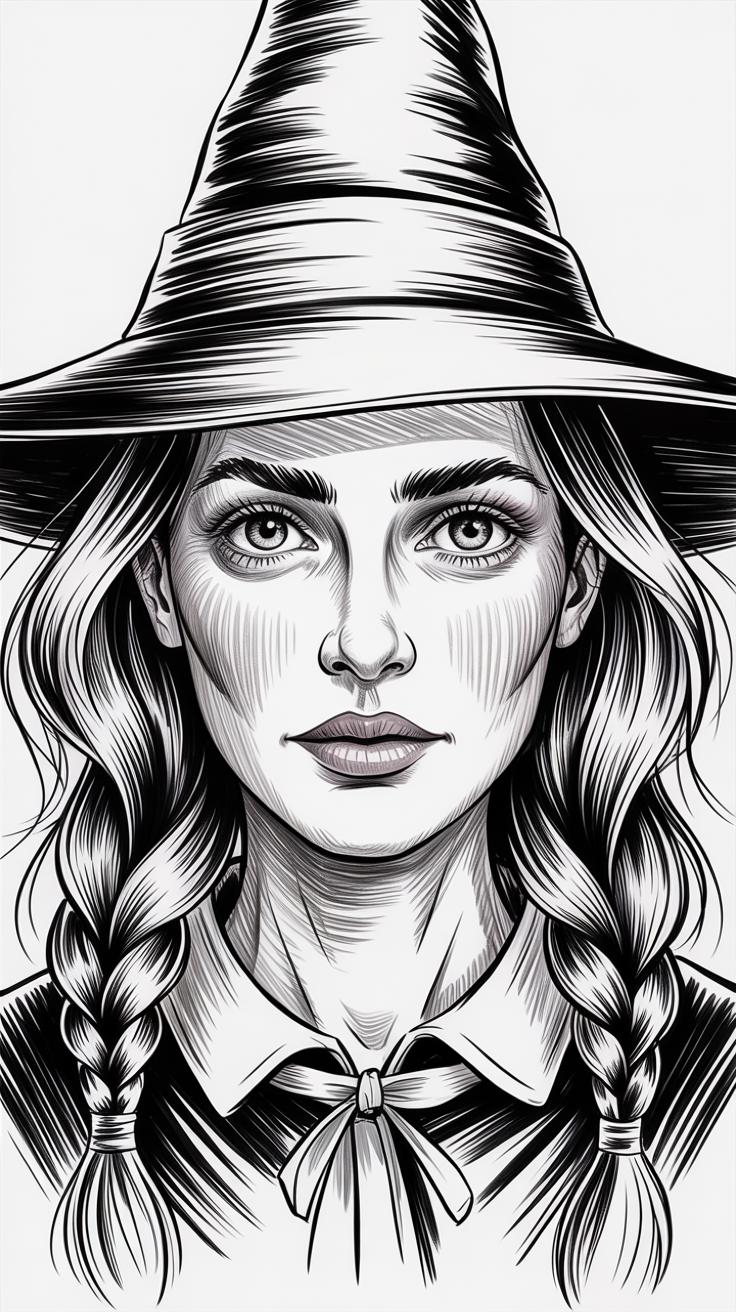
When you focus on the sea witch’s face, eyes are often where the story begins. Creating expressive eyes means going beyond simple shapes; it’s about using subtle details that hint at deeper feelings—mystery, sorrow, or even quiet menace. Start with the iris and pupil: a slightly off-center pupil can add unease, while a glint of light suggests hidden thoughts. Soft shading around the eyelids helps build depth but avoid symmetry; nature rarely offers perfect balance, and a small difference between each eye makes the expression more believable.
There’s something fascinating about how just a few lines can shift an entire mood in the mouth and brows. A gently curved brow leaning inward gives suspicion or anger, while arched brows can hint at surprise or cunning. The mouth shape, too, acts as a mood monitor—tight lips can suggest control or restraint, a half-smile might imply secrets untold. Often, I find sketching multiple small variations here helps you find the expression that fits your witch best. What story do you want those features to tell?
Pay attention to how brows and mouth interact. One angry brow with a neutral mouth tells a different tale than both elements angled sharply. Try experimenting with slight asymmetry and tension lines near the corners of the mouth or between the brows to add complexity. Don’t rush this step; sometimes, the most powerful moods come from these quiet, imperfect details.
Final Touches and Effects
When your sea witch illustration feels mostly complete, those last details can make all the difference. Adding fine lines with a thin marker really helps sharpen features and separate elements that might otherwise blend together. It’s surprising how a few careful strokes can lift a tentacle or claw out of the shadows, giving it more presence without overwhelming the drawing.
Try to focus on areas that need definition—like the edges of hair strands, the curves of shells, or the delicate veins on seaweed. These thin outlines give the image a subtle structure, kind of like a quiet frame that doesn’t shout but clarifies. You might hesitate where to add them, but a light touch can create a good balance between softness and clarity.
White gel pen highlights play a unique role here. They simulate light reflections, which breathe life into the composition. I often add small dots or short lines on watery surfaces or shiny objects like pearls and eyes. This tiny contrast tricks the eye into seeing gloss and moisture, which matches the sea witch’s environment perfectly.
Some highlights may feel almost accidental—maybe a stray dot or a faint glimmer on a claw—and that imperfection actually makes it more natural. Don’t feel pressured to highlight everything; selective shine creates focus. Remember, these finishing strokes aren’t just decoration; they help guide the viewer’s gaze and suggest a three-dimensional form.
Displaying and Sharing Your Sea Witch Artwork
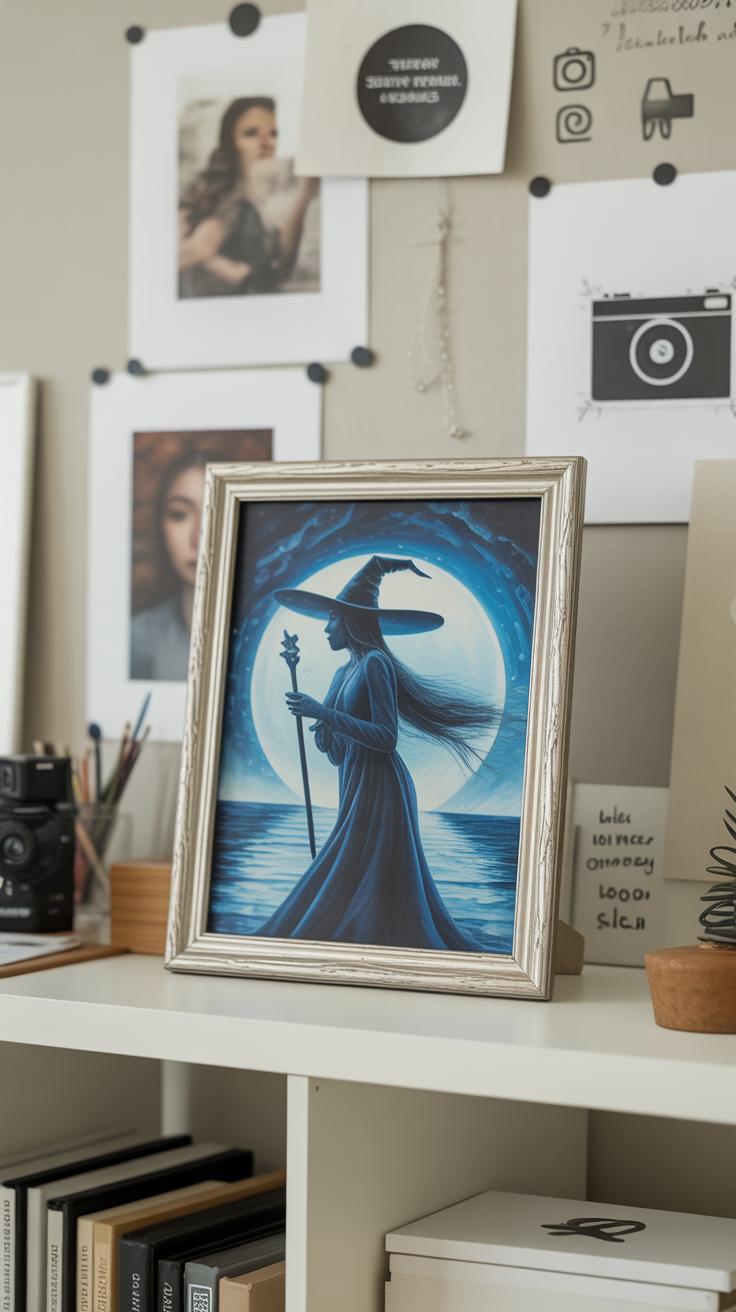
Preparing Artwork for Display
Once your marker illustration is complete, you’ll want to think about how to keep it safe and present it well. Marker ink is tricky; it can smudge or fade if not protected. Using a fixative spray can help, but test it on a scrap first to see how it affects the colors. Some artists prefer laminating pieces, though that changes the texture and feel.
Mounting your piece on a sturdy backing board gives it support and helps avoid warping, which markers tend to cause. Foam board works well and keeps the art flat without adding bulk. Framing is another option, but use glass or acrylic with UV protection if possible. It’s tempting to skip matting, but a simple mat can elevate your sea witch, creating a kind of visual breathing room around the image.
Sharing Online and Offline
Photographing marker art can be surprisingly difficult, mostly because the surface reflects light unevenly. Try shooting in soft, diffused natural light—near a window, perhaps in the morning or late afternoon—to avoid harsh shadows. Keep the camera or phone parallel to the art to prevent distortion.
Think about how background choice impacts your photo; neutral or black backgrounds often work best and make colors pop. If you have access to a scanner that can handle large-format art without damaging it, that might give you the best digital version, but it’s rarely perfect for marker textures.
When you upload online, consider showing process shots or details. Viewers like to see those highlights and subtle gradients from your pen work. In portfolios, grouping your sea witch alongside related sketches or studies adds context and depth, giving your audience a fuller sense of the creation behind the final piece. Sharing your art tells a story, so don’t just post the finished drawing—share its journey, too.
Conclusions
Drawing a sea witch with markers allows you to combine imagination and skill to depict an intriguing character tied to rich folklore. By understanding the background of sea witches, your artwork gains depth that resonates with viewers.
Following focused steps for marker rendering will enhance your ability to create compelling, detailed illustrations. Keep practicing these techniques, and you will craft striking sea witches that tell their own mysterious stories.


