The Basics of Airbrush Art
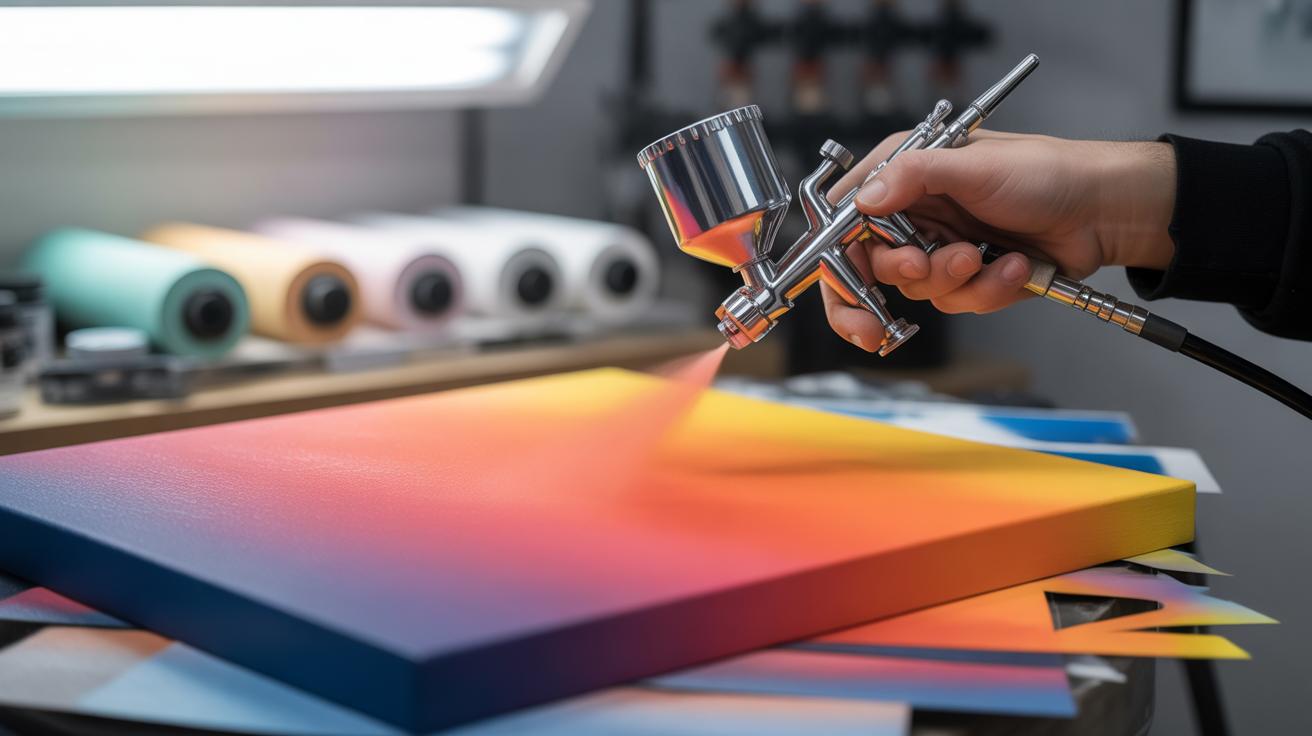
Airbrush art is a unique painting technique that uses compressed air to spray paint or ink on a surface. It allows you to create smooth, beautiful gradients and detailed images that look almost like photographs. This article explores the fundamentals of airbrush art and shows you how to achieve stunning smooth gradients in your own work.
You will learn about the tools you need, the basic techniques, and how to practice efficiently. Whether you want to decorate cars, create fine art, or paint models, understanding these basics will help you get started and improve your skills.
What is Airbrush Art and How It Works

Airbrush art revolves around spraying fine paint mist through a small, handheld device called an airbrush. It’s a way to apply paint smoothly and evenly, creating soft edges and gradual color changes that are tough to achieve with a regular brush.
Think of the airbrush as a tool that pushes paint and air together through a tiny nozzle. When you press a trigger, air flows and pulls paint from a reservoir. This mixture, turned into a fine spray, lands gently on your surface. The result? You can layer colors, create delicate fades, or even sharp details if you control it carefully.
It’s fascinating because you’re not just brushing paint on; you’re almost painting with air. The control you have over pressure and paint flow determines how thick or thin your spray is. Many artists enjoy this precise balance—it almost feels like an interaction between your hand and the air itself, which can be oddly satisfying.
The Basics of Airbrush Tools
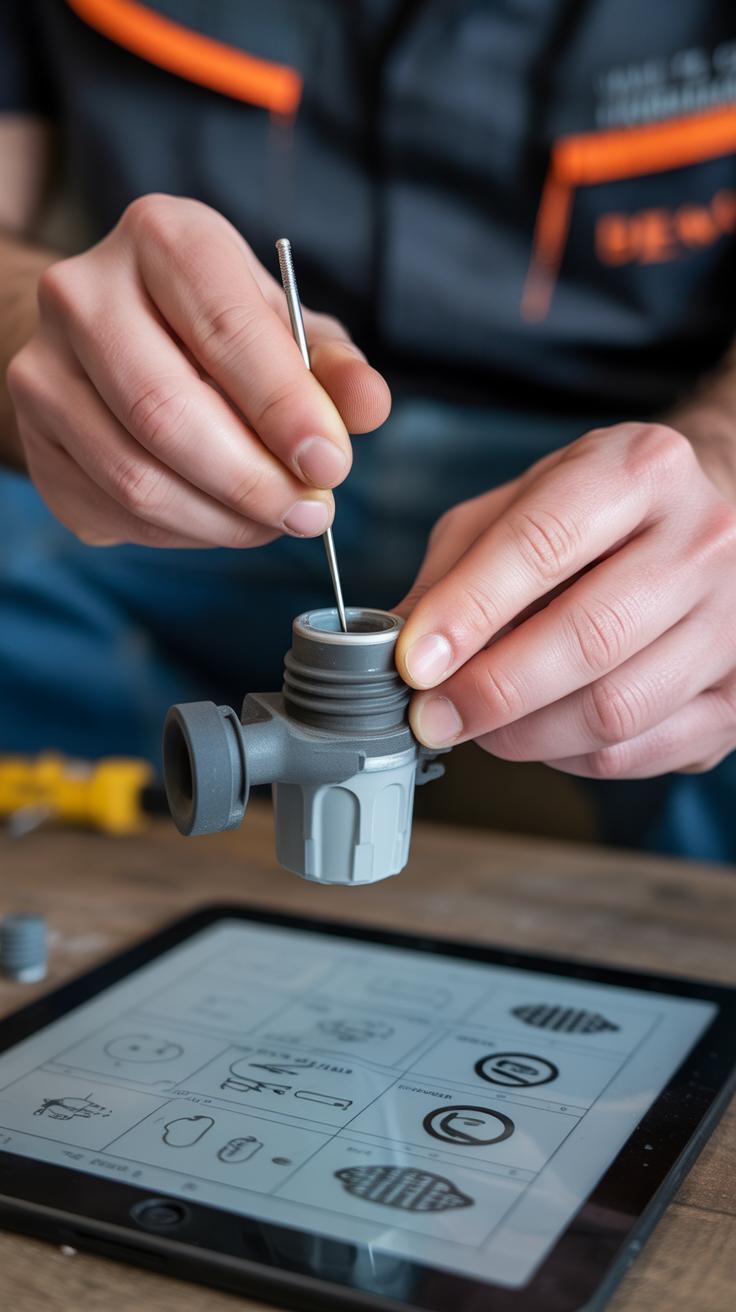
At its core, an airbrush has a few main parts you should really know. First, there’s the body—the main tube you hold. Then the needle, which controls paint flow inside. The nozzle at the tip where the paint sprays out is tiny but crucial. Without a properly cleaned nozzle, you’re basically stuck with splatters or blockages.
Other important components include the paint cup or bottle where your pigment sits, and the trigger or lever that starts the airflow. You could compare it to a pen with a spray function, but it takes some practice to coordinate trigger pressure and movement.
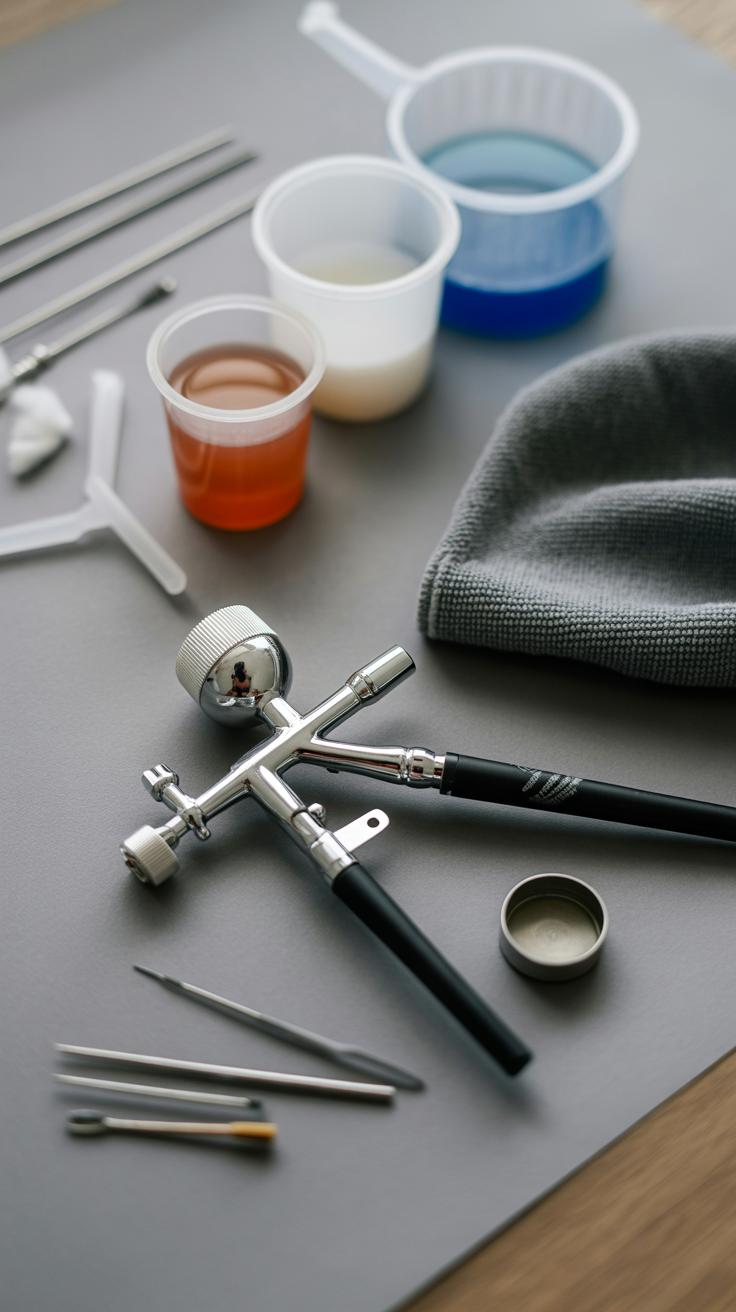
When starting, you’ll need: the airbrush itself, a compressor or air source, paint suited for airbrush use, and a cleaning kit. Each tool plays a role in making sure your work remains smooth and consistent. Forget about any one of them, and you might find your art less than flawless, frankly.
How Paint and Air Work Together
Inside the airbrush, air pressure pushes paint through the nozzle where it meets a tiny opening just big enough to atomize the liquid into tiny droplets. The paint transforms from a thick liquid into a mist almost instantly. This fine mist drifts onto your canvas or paper.
It’s almost like a dance—air pulls paint out, paint follows where air flows, but the amount of paint mixed depends on how far you press the trigger. Light press means less paint, resulting in softer shades; fully pressed down sends more paint for bolder strokes.
What might surprise you is how the viscosity of your paint affects this process. Thicker paint resists atomizing, causing clogs. Too thin paint sprays everywhere and loses pigment strength. Finding this balance can feel like guessing at first, but then—suddenly—it clicks.
The interaction between paint and air inside this tiny tool makes airbrush art unique. It’s part science, part intuition. Each spray is a delicate mixture of pressure, flow, and your hand’s control that paints almost like magic does.
Choosing the Right Airbrush and Paint
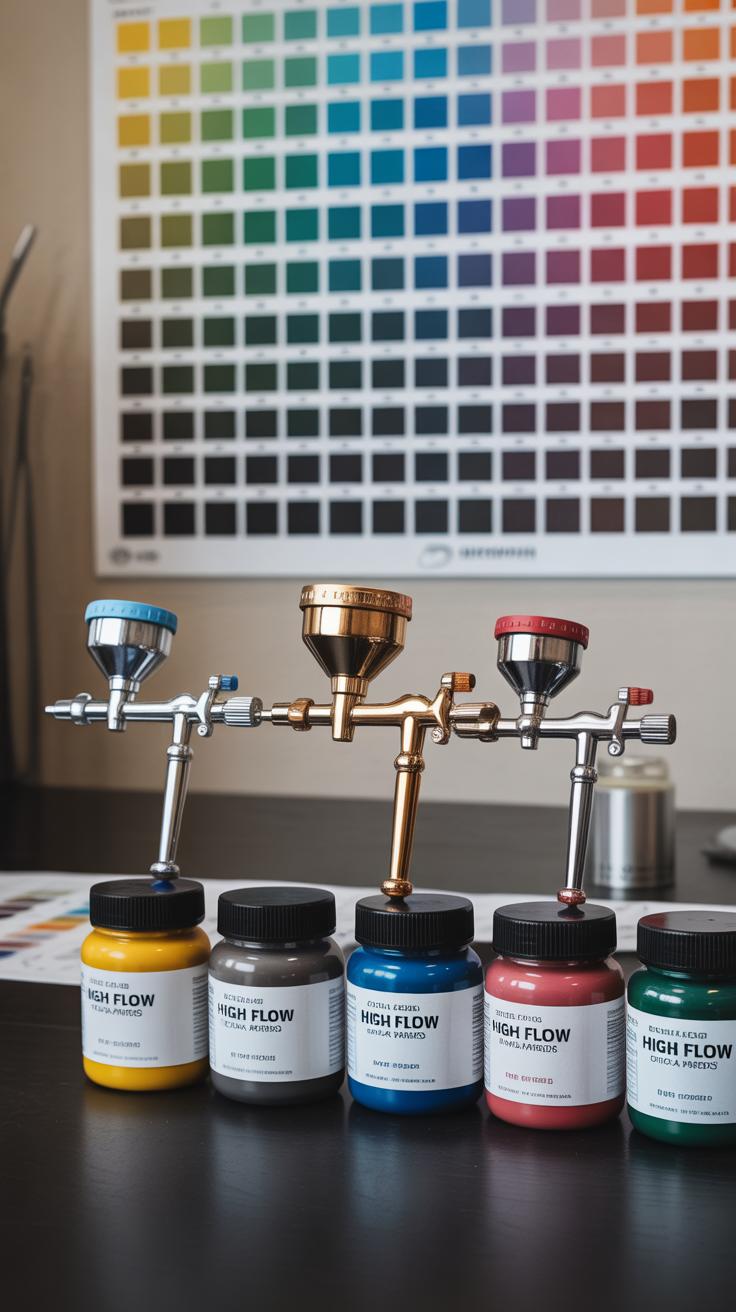
Different Airbrush Types
Picking an airbrush can feel a bit overwhelming at first. There are mainly three styles: single-action, double-action, and gravity feed. Single-action airbrushes release air and paint in one simple step. This makes them pretty approachable if you’re just starting out, but they offer less control over paint flow. If you want to create smooth gradients with subtle shifts, a double-action airbrush might be better. It lets you control air and paint flow separately, giving you more precision, though it takes some practice.
Gravity feed airbrushes hold paint on top, which helps with detail work and saves paint. They’re often preferred for fine art or model painting. I found that starting with a gravity feed double-action airbrush made tackling smooth gradients easier, but it’s not a hard rule. Your personal comfort matters.
Paint Choices and Their Effects
Choosing the right paint plays a bigger role than many expect. Acrylic paints, water-based and easy to clean, dry quickly and layer well. They’re forgiving but can sometimes clog nozzles if not thinned properly.
Then there are solvent-based paints, which are stronger and stick better to tricky surfaces like metal or plastic. But—they can be harsh and need good ventilation. If your goal is flawless, soft gradients, the type and thickness of the paint really matter. Thin paints flow smoother but risk losing color intensity.
Enamels provide a glossy finish but take longer to dry and need solvents for cleanup. Some artists mix paint types depending on the look they want, though guessing what works best can be trial and error.
Have you tried combining paints or switching airbrush types mid-project? Surprisingly, sometimes changing just one element shifts the whole result. Picking the gear and paint that fit your style is partly about experimenting—and partly trusting your gut.
Setting Up Your Workspace for Airbrushing
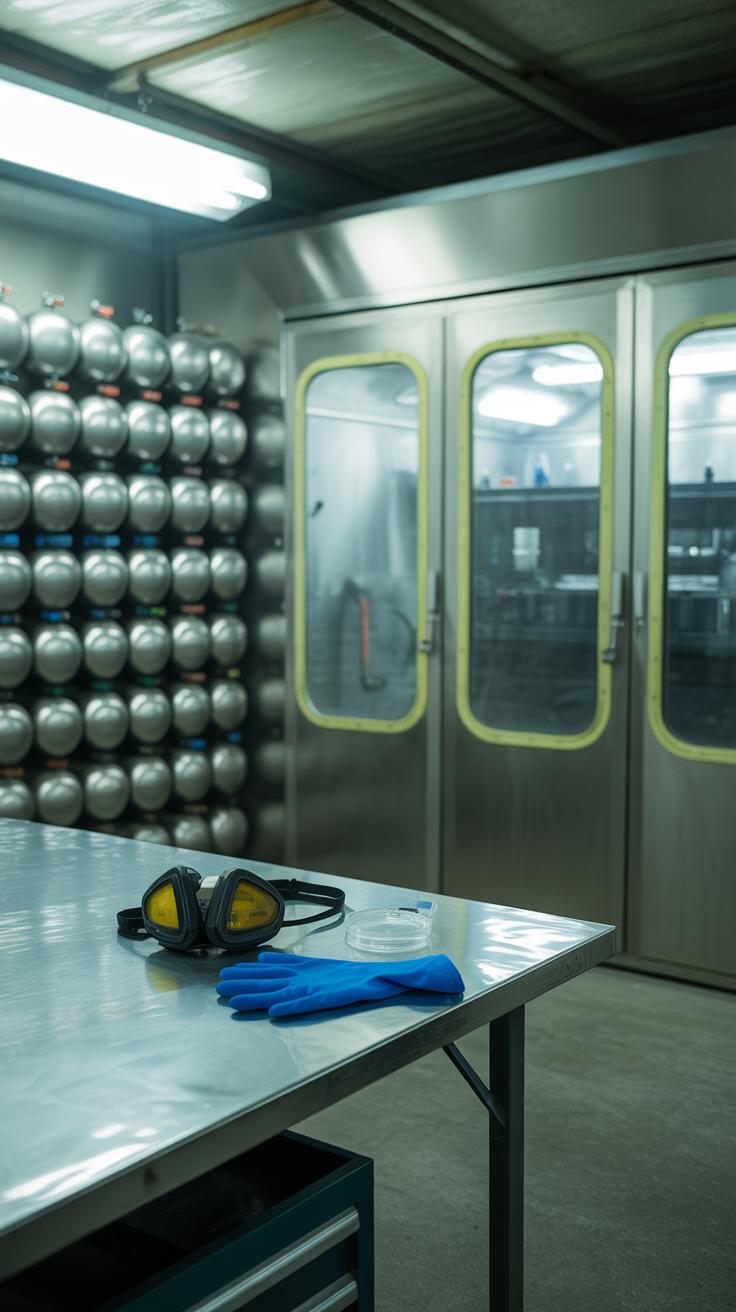
Safety and Cleanliness
Your workspace can make or break your airbrushing experience. The airbrush sprays very fine paint particles, so good ventilation isn’t just a nice idea—it’s necessary. If you’re indoors, try positioning a fan near a window or use an air purifier to move the air around. You might think a mask is enough protection, but without airflow, those tiny particles tend to linger.

Keeping the area clean is equally crucial. Paint splatters happen—sometimes no matter how careful you are. Have paper towels or rags nearby for quick cleanups. Wiping your hands often prevents accidental smudges on your art or tools. I once lost an entire gradient layer because of an unnoticed paint drip that dried too fast.
Organizing Your Tools
Arrange your airbrush, paints, and related materials so that everything you need is within easy reach. Think about what you use most and put those items front and center. Maybe your airbrush compressor sits to the right, while your paint bottles stay in a small tray close by. You’ll want a stable surface that won’t shake or wobble during delicate work.
Try grouping your paints by color or type to find them faster—time saved searching is time spent painting. Keep cleaning supplies nearby but separate from your paints to avoid confusion. Sometimes I clutter my space with too many things, only to realize a clean, simple setup helps me focus more. The truth is, your workspace needs to suit how you work, and that might change over time.
Basic Techniques for Creating Smooth Gradients
Controlling Air Pressure and Paint Flow
Getting smooth gradients really depends on how you manage your airbrush settings. The air pressure needs to be just right—not too high, not too low. Low pressure often means the paint sprays unevenly or blobs up, which can ruin delicate shading. Too much pressure, on the other hand, blows the paint too hard, making it harder to control those soft transitions. I usually start around 20 psi, but it might differ depending on your airbrush and paint type. It takes some trial and error before you find that sweet spot.
Paint flow also matters. If the paint comes out too fast, you get streaks or harsh edges. Too slow, and your gradient becomes patchy or disappears. Adjusting your needle and trigger control gently on your airbrush helps manage this. You want a steady, thin mist of color that blends naturally as you move along the surface. It feels a bit like tuning a guitar—you tweak, test, adjust.
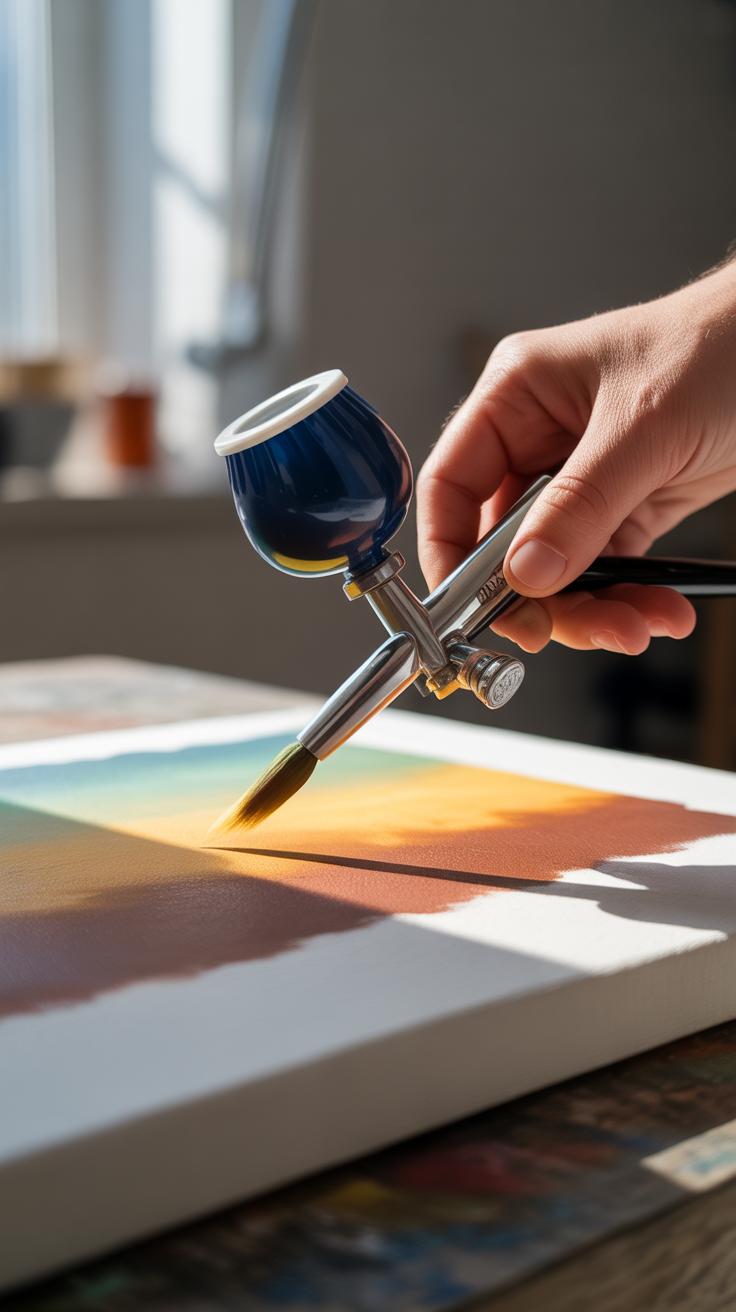
Practice Movements for Even Coverage
Your hand movement plays a huge role in smooth gradients. Slow, steady strokes often work best. Quick bursts usually create spots or uneven patches. When starting, keep your airbrush about 4 to 6 inches from the surface, but be willing to vary that. Moving closer thickens the paint’s intensity; pulling back softens it. Gradually, you can adjust distance mid-stroke for subtle fades.
Think of your motion as almost like brushing with a soft fan, sweeping side to side or a gentle arc. Keeping your wrist loose helps avoid jittery lines. Some prefer a horizontal sliding motion; others favor circular or back-and-forth. There’s no perfect way; it’s more about what feels natural and helps you control the fade. I remember fumbling a lot before my gradients looked anywhere near smooth—patience here really pays off.
Advanced Techniques to Improve Your Art
You’ll find that layering and masking open up new possibilities for your airbrush work. Layering colors isn’t just about piling paint on top of paint. It’s about controlling depth and texture without losing the smoothness you’ve been working on. Start with lighter shades and build toward darker tones gradually. This helps avoid muddy colors and keeps gradients clear. I’ve noticed that letting each layer dry just enough before the next makes a big difference. Rushing this step usually ruins the effect.
Masking is another trick you might want to play with more seriously. Using tape, frisket film, or even hand-cut paper masks lets you create sharp edges and protect areas while spraying others. That control is key when you want details popping out but don’t want to fuss over freehand precision all the time. You can mask shapes, lines—or even gradients if you’re feeling meticulous.
Stencils add another layer of control. Their strength lies in repetition and consistency. Maybe you’re doing patterns or very specific shapes that are hard to nail freehand. Stencils let you maintain sharpness and clean edges while softly blending colors around them. It’s tempting to think stencils restrict creativity—they don’t, really. They give you a steady baseline to innovate from.
If you’ve ever tried layering different stenciled patterns with carefully adjusted opacity, you get interesting textures that could feel almost tactile. The trick lies in gentle overlaps, creating subtle shifts instead of stark divisions. I remember a project where this technique brought a flat background wow-factor just by manipulating opacity and mask edges.
So, are you ready to experiment more with layers and masks? Maybe challenge your usual approach and try combining these techniques? Sometimes mixing them up leads to unexpected but good results. Don’t hesitate to pause mid-process and assess. Your airbrush art can gain depth and sharpness together, not one at the expense of the other.
Maintaining Your Airbrush Equipment
Daily Cleaning Tips
After each painting session, taking a few minutes to clean your airbrush can save you a lot of trouble. I usually flush mine with a suitable cleaner—water for water-based paints, or a dedicated solvent for others—until the spray runs clear. It sounds simple, but skipping this step sometimes leads to stubborn clogs later.

Disassemble the needle cap and gently wipe it with a soft cloth or brush. This removes excess paint before it dries in awkward spots. You don’t have to go overboard, just enough to avoid buildup. Some airbrushes even come with cleaning kits—small brushes and picks that fit into tight areas. Those can be surprisingly handy.
Make sure you dry the parts before reassembling. Wet parts can trap paint or cause corrosion. I’ve noticed that a tiny leftover drop can sometimes cause weird splatters during the next use. It’s tricky to say exactly why, but the general idea is to keep everything as clean and dry as possible.
Long-term Maintenance
Every few weeks, a deeper cleaning helps your airbrush keep performing smoothly. This means fully taking it apart—removing the needle, nozzle, and other components—and soaking them in the right cleaning solution. I prefer doing this when I feel the spray pattern isn’t quite right or the trigger feels sticky.
Use a soft brush or a needle-safe tool to clear any stubborn paint inside tiny openings. Don’t force anything too hard; risking damage is easy if you’re not gentle. Then, let all parts dry thoroughly on a clean cloth or paper towel—drying times vary based on the cleaner you use, so don’t rush this.
Finally, store your airbrush in a safe, dust-free place. Leaving it out on your desk can seem convenient but increases chances of dust getting inside, which often leads to frustration later. I sometimes use a small protective case or just a cloth cover. Have you found a storage method that works best for you?
Common Challenges and How to Solve Them
Fixing Uneven Paint Flow
Uneven paint flow is one of those issues that sneaks up on every airbrush artist sooner or later. Sometimes the paint sprays too thick, leaving blotches, or too thin, barely covering the surface. Usually, the cause ties back to your air pressure or paint consistency. Try adjusting your compressor’s pressure a little bit at a time. If the spray feels heavy, lower the pressure slightly. If it’s too sparse, increase it, but don’t push it too high—you might end up splattering.
Think about the paint itself. Has it thickened or dried out? A quick mix or thinning often helps. Too much thinner, though, and you’re back to weak spray patterns. Check your nozzle and needle for clogs; even a tiny spot of dried paint can wreak havoc. I remember once spending hours wondering why the spray was erratic—only to find a speck stuck inside. Clean it out and test again. Patiently fine-tune these settings, and you’ll regain control.
Avoiding Overspray and Mistakes
Overspray can be frustrating, especially when you want sharp edges or precise work. Setting up your workspace thoughtfully helps. Use masking tape or frisket film to protect areas you want to stay clean. It might feel tedious but saves time on touch-ups. Also, control your distance—too far, and the paint scatters over a wider area; too close, and you risk pooling paint.
Some artists find using a spray booth with exhaust helps keep the air clear and prevents paint buildup around the studio. But if you don’t have one, surrounding your workspace with cardboard or plastic sheeting makes a difference. Clean your airbrush regularly during sessions to avoid sudden sprays of dried paint chunks. And don’t forget to steady your hand—sometimes overspray comes down to rushing rather than technique. If mistakes happen, don’t stress; try spraying over with a neutral color or carefully wipe off with a damp cloth before it dries fully.
Using Airbrush Art in Different Projects
Airbrush art shows up in so many places, and your skills can fit into just about any creative project you want to try. Think about car painting—airbrushing lets you add subtle fades, flames, or detailed graphics that really stand out on a vehicle’s surface. The smooth gradients you practice can create a clean, polished look impossible to get with regular brushes.
Model painting is another area where airbrush techniques shine. Miniatures and scale models benefit from the tiny sprays, allowing for shadows and color variations that bring a piece to life. It’s a bit tricky at first, the small scale demands patience, I’ve found, but the effect is worth it.
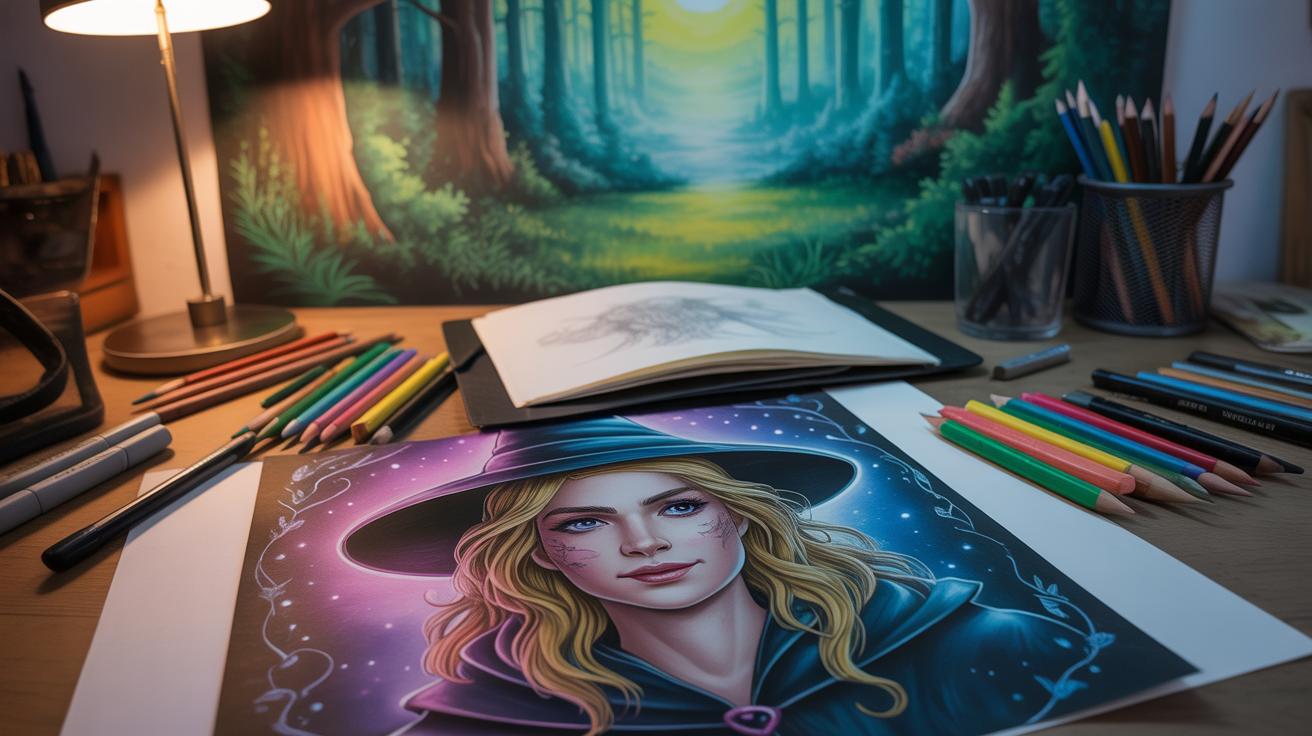
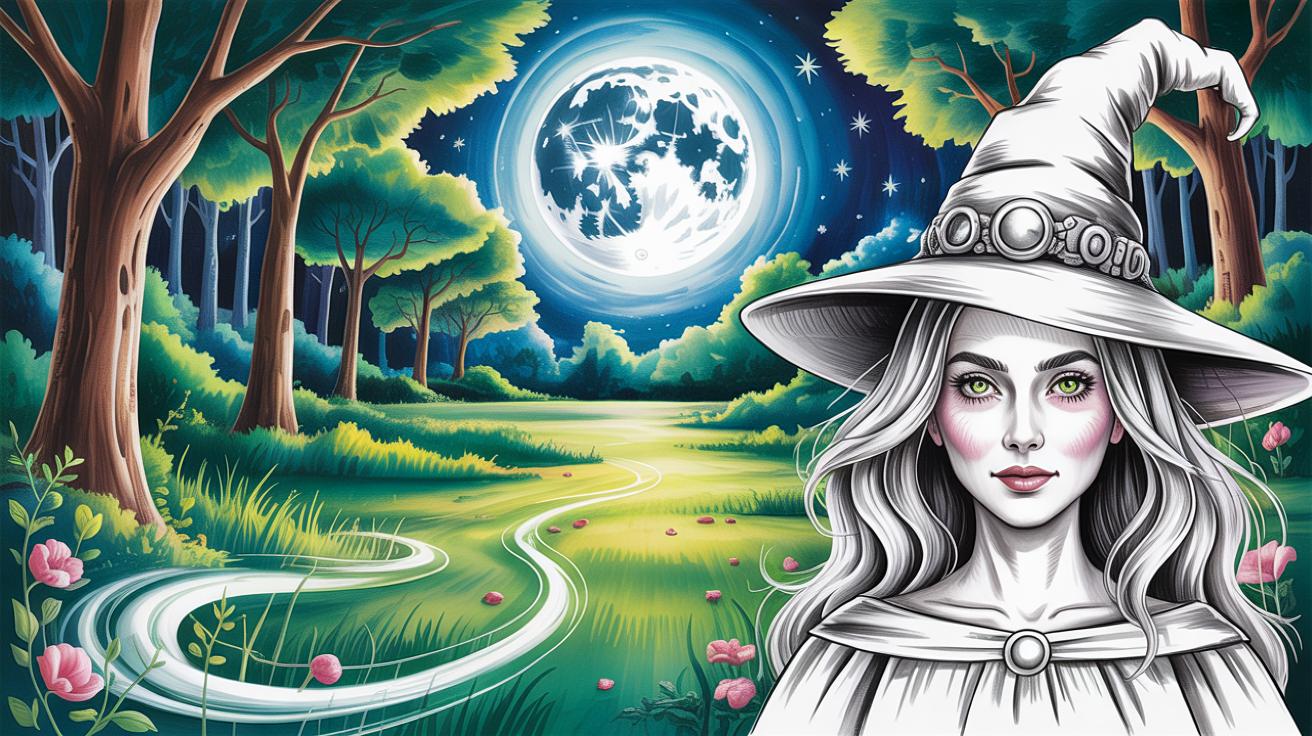
Then there’s fine art—canvases and paper can be transformed with layers of transparent color, blending delicately. That’s where your control over air pressure and distance really matters. Have you tried painting portraits or abstract shapes this way? With airbrush, you get a quiet softness you don’t get with other tools.
Airbrush Art on Different Surfaces
Not all surfaces respond the same, so you need to adjust techniques depending on what you’re working on. Paper absorbs more paint, so lighter pressure and thinner layers prevent warping or bleeding. Canvas might need a gesso base to hold the paint better and prevent it from soaking in too fast.
Metal and plastic are less forgiving but offer smooth, hard surfaces perfect for crisp lines and durable designs. Sanding the surface lightly can help paint adhere. You might also want to consider special primers or clear coats after painting to protect your work. These subtle differences, I think, can really change the feel of your project.
Inspiring Project Ideas
Looking for something to start with? Here are a few ideas that might spark your creativity:
- Create a custom skateboard deck with layered gradients and bold colors.
- Paint a detailed dragon or sci-fi scene onto a plastic model kit.
- Experiment with surreal landscapes on canvas, focusing on smooth skies and misty effects.
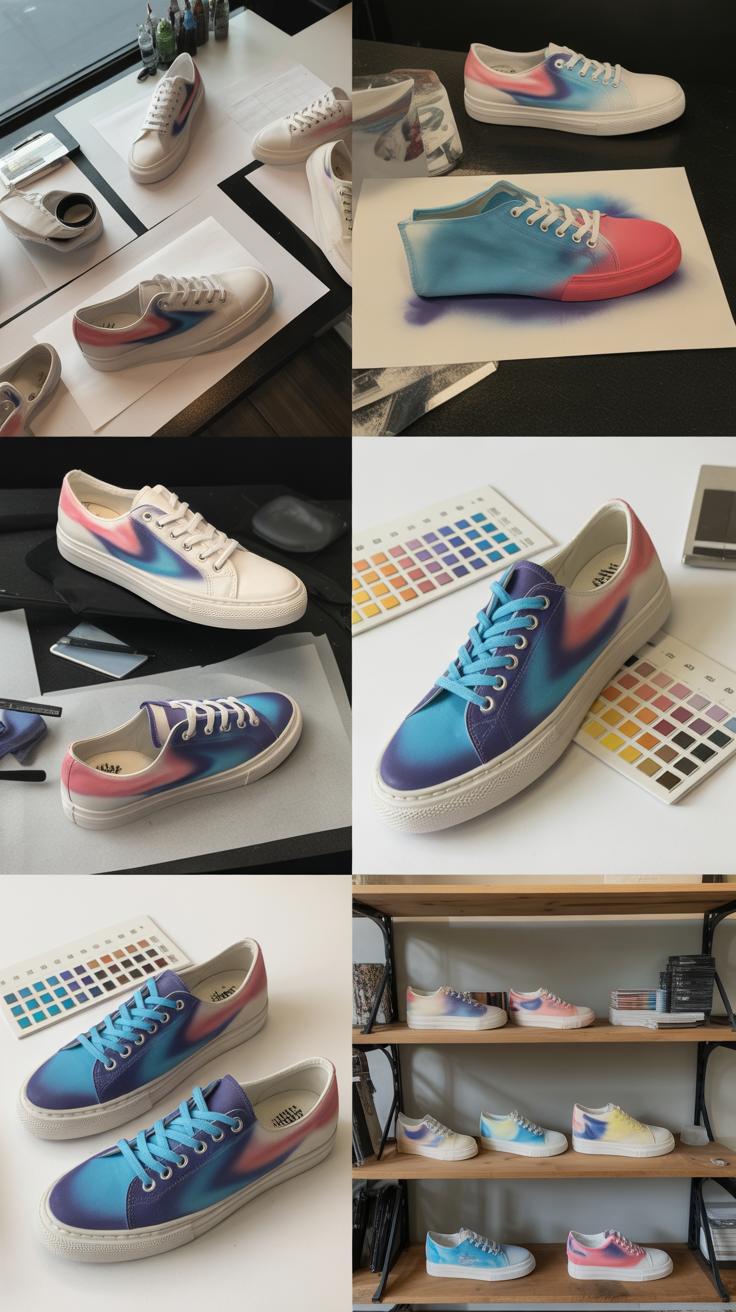
- Try personalizing accessories like helmets or phone cases with your airbrush designs.
- Practice creating textures—wood grain or marble—on metal panels.
These projects push you to adapt your skills and learn how various surfaces and themes respond to airbrush work. What project would you feel excited—or maybe a bit nervous—to try first?
Conclusions
To create stunning smooth gradients with airbrush art, practice each technique carefully. Pay attention to the amount of paint, air pressure, and distance from the surface. These details make a big difference in your final work. Keep exploring new tools and styles to find what works best for you.
Your creativity is the key to success. The more you practice, the better your airbrush art will become. Use these fundamentals to build your skills and start making smooth, beautiful gradients that impress everyone. Now, get your airbrush ready and start creating!


